Patch Pockets Linen Tunic Tutorial
Marvel at the casual-chic simplicity of this simple tunic dress. Cut from our beautiful turquoise medium-weight linen, it features a straight-cut fit, capped sleeves and large patch pockets that would flatter any body type. This lovely garment will be your wardrobe bestie all summer long – wear it like a short dress or as a tunic over a pair of skinny jeans or leggings.
Keep in mind that you can always alter the pattern to bring it to a more comfortable length.
Materials & Tools
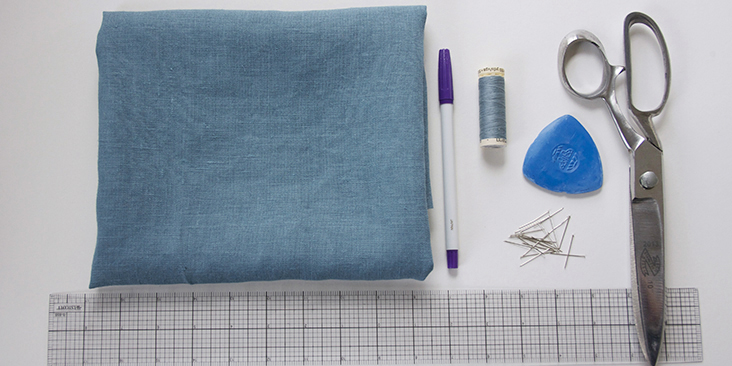
1.5 yard of IL019 TURQUOISE Softened medium weight linen
Matching sewing thread, pattern paper, scissors, fabric marker, pins, ruler, chalk, sewing machine
Time
3-4 hours
Difficulty
Beginner
Pattern
You can access the pattern by following this link HERE. Remember to add seam allowances as indicated in the pattern. You’ll also need to cut 3 bands of fabric on the bias 1.5″ (4 cm) large (one for the neckline and two for the sleeves) so make sure you have enough fabric left. For detailed instructions on how to cut your fabric on bias please follow this tutorial.
The diagram shows the pattern for US size 6-8 (UK size 10-12). If you need help grading your pattern, please follow this tutorial.
Steps
Note: Prewash your fabric and tumble dry it until it is still slightly moist, dry in room temperature. Iron the fabric so it is easier to work with.
1. Prepare your garment by pinning and sewing your shoulder seams right sides together. Note that it is best to leave the side seams open for now as it will be easier for you to attach the binding when you have an easy access to the neckline area.
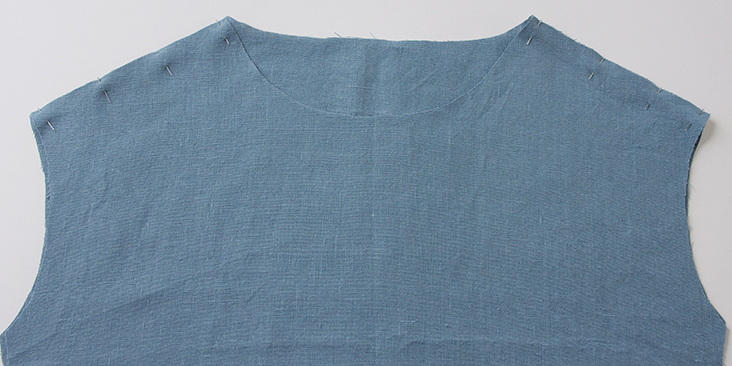
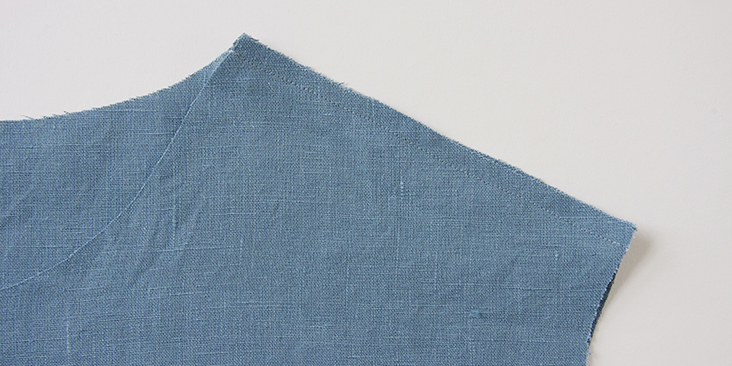
2. Trim the seam allowance to 1/4″ (0,6 cm) and serge or zigzag the raw edges together to prevent the fabric from fraying. Press the seams folding the serged/zigzagged edge towards the back of your dress.
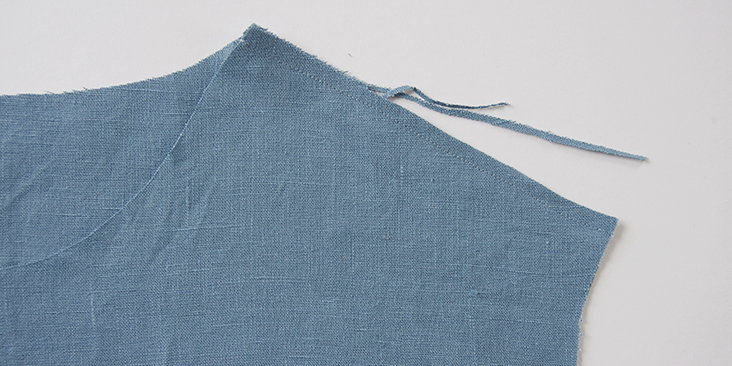
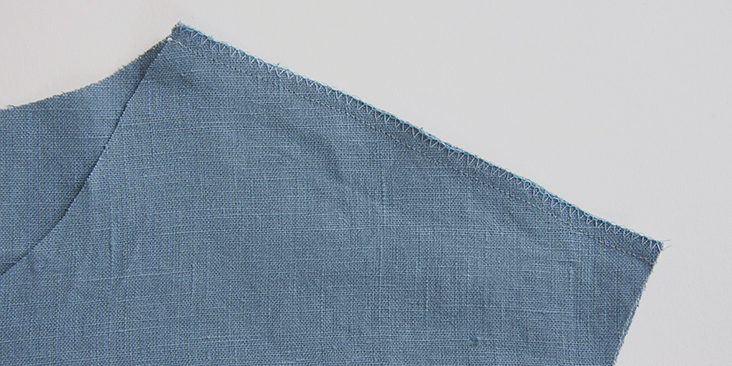
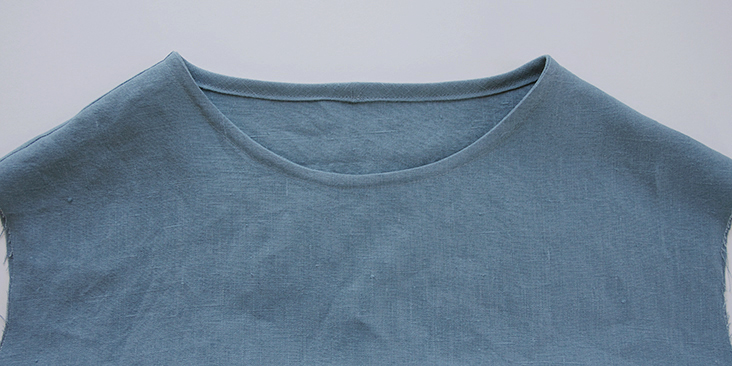
3. Bind the neckline following this tutorial.
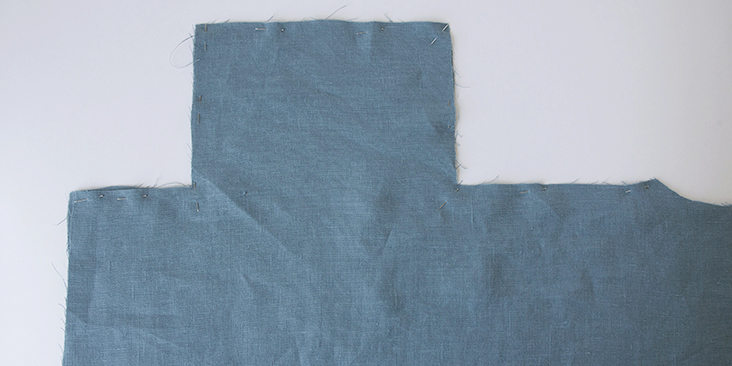
4. With the right sides together and the pockets matching up pin the side seams.
5. Sew at 3/8” (1 cm) seam allowance along the pinned sides. Trim the seam allowance to 1/4″ (0,6 cm) and serge or zigzag the raw edges together to prevent the fabric from fraying.
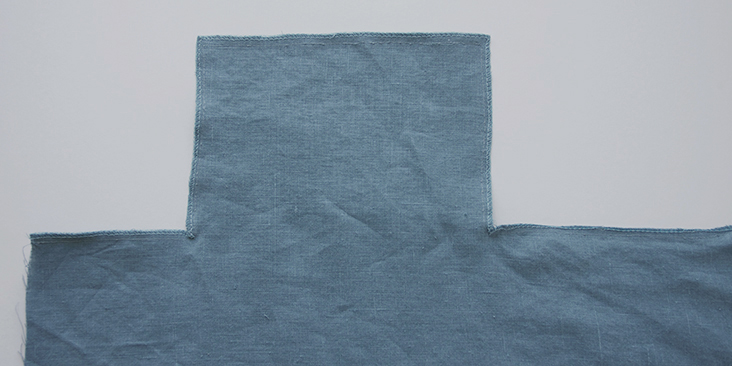
6. From the bottom corner of each pocket, stitch a straight 3.5″ (9 cm) line to create a 5″ (12,5 cm) pocket opening.
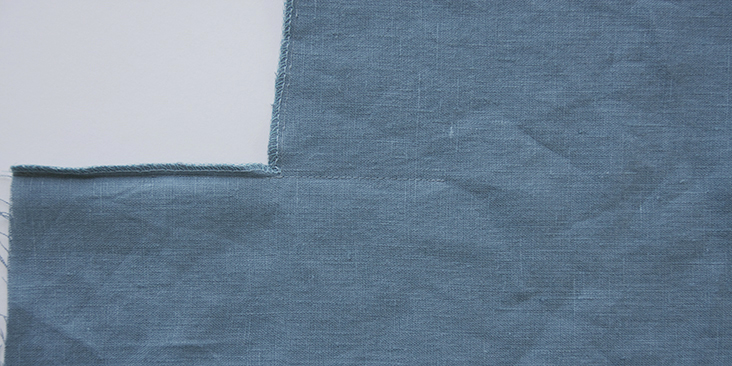
7. Turn the dress right side out and tuck in the pockets. Press the seams folding the serged/zigzagged edge towards the back and the hidden pockets towards the front of your dress.
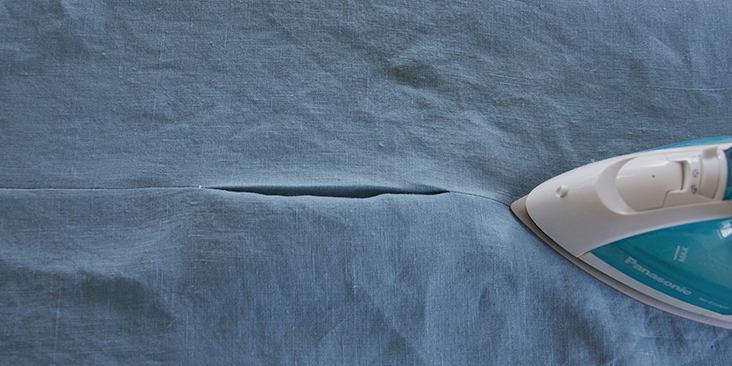
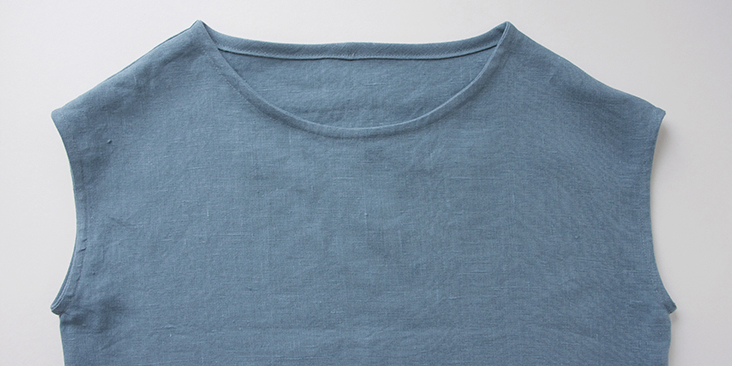
8. Now bind the armholes following the same method that you used for the neckline (refer to step #3).
The serged/zigzagged shoulder and side seams should be folded towards the back of your dress when you attach the binding.
9. Working from the wrong side, pin the pockets to the front piece of your dress. Make sure the back dress panel is not caught.
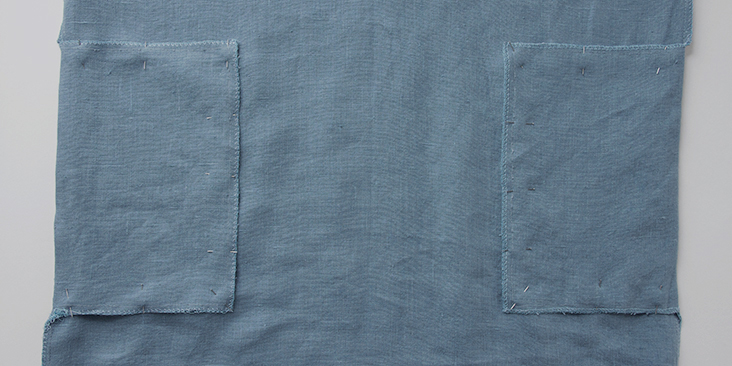
10. Topstitch the pockets to the front panel of you dress just inside (about 1/8″) the stitched line.
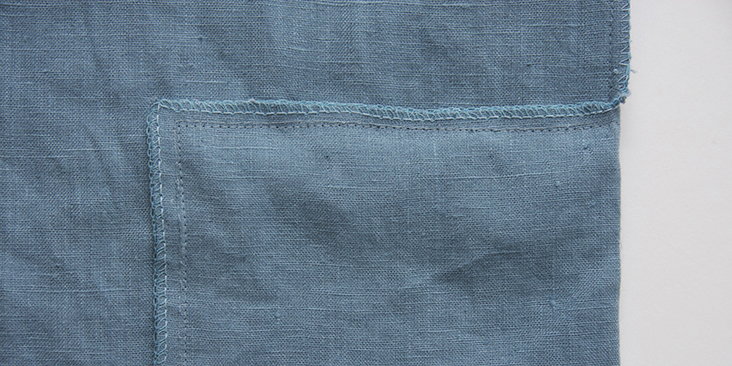
11. Now topstitch the pockets again but this time about 1/8″ from the serged/zigzagged edge. These two stitched lines will create a beautiful outline of your pockets on the right side of the dress.
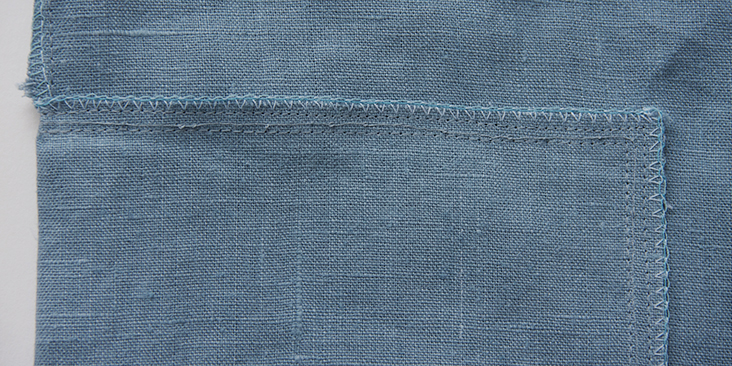
This is what your patch pockets should look like from the right side:
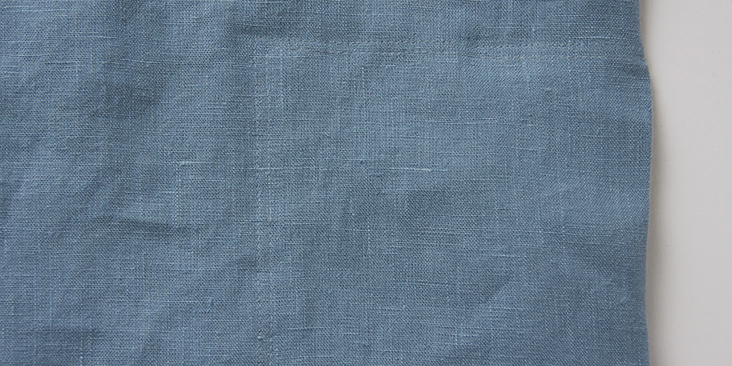
You can even use a contrasting color thread to accentuate this detail.
12. The last thing to do is to finish the bottom edge with a rolled hem. First fold and press the edge of the fabric 3/8″ to the wrong side and then another 1/2″ to enclose the raw edge within this second fold. Pin.
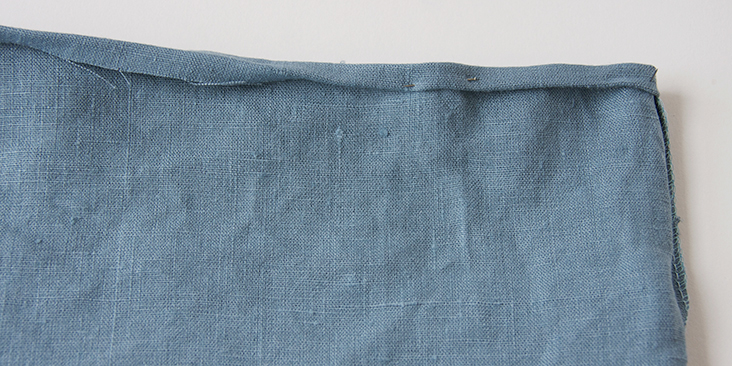
13. Stitch the fold from the wrong side as close to the inner edge as possible. Press.
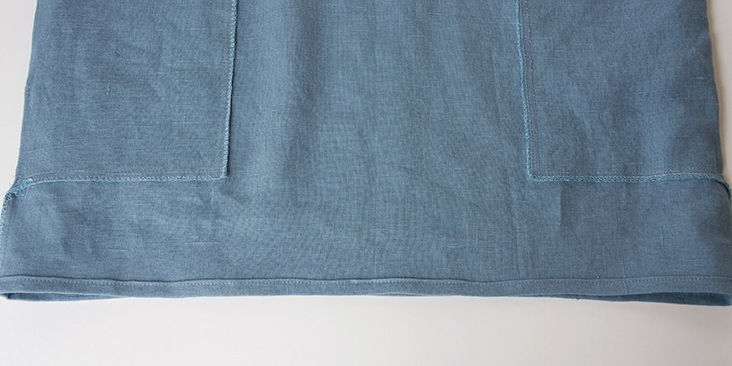
Give you finished tunic dress a good press and you’re done! Such a great summer basic that you can wear as a dress or a tunic.
If you prefer to have something lighter or cosier looking for the summer months, you can also check out our lighter linen selection and the brighter colors!












12 Comments
Cris
This is super cute and looks super simple so, of course, I’m going to try it. 🙂
RAJ
Wait. I have to draft your “free pattern” to my size? No thanks.
Rima Khusainova
Dear Raj, we are working on upgrading our pattern system – soon all of our patterns will be downloadable/printable with several sizes. So come back to see us soon 🙂
TERRY ROMAIRE
This is a great pattern for a tunic with pockets, though the first reviewer may be right about the pockets. Sincerely, thanks for the post of the pattern and the work someone, Rima, put into the post for encouraging people to try something different, especially beginners.
But really, comments are for politely asking questions, paying compliments, and thanking people for the service they give in the post. If you want to rant than go my husband’s football page called Tiger Rant, but I am not reading anything written in capital letters, and seemingly filled with ire.
That said, AmyCat, hope you are having a better day today.
Rima Khusainova
Dear Terry! Thank you very much for your kind words! We are indeed just trying to share some easy-to-sew tutorials to encourage people to explore the world of sewing. This blog is mostly for amateurs and we are glad that some people find our project inspiring and useful.
AmyCat =^.^=
This is NOT a “Patch” Pocket! Patch pockets are separate pieces of fabric, sewn onto the OUTSIDE of the garment on the sides and bottom, and open at the top. THIS tutorial is a variant on a SIDE-SEAM Pocket.
Catina
As a Technical Designer/Patternmaker in the fashion industry, I would probably have called it an inseam-opening-reverse-faux-patch-pocket-with-exposed-echo-stitching. But I have a tendency to complicate everything! 😉
Rima Khusainova
Thank you so much Catina for your professional insight! This is exactly what I tried to do here – a faux patch pocket effect!
Rima Khusainova
Hi Amy! Thank you for your remark – I guess what we tried to do here is a “faux patch pockets” effect as they look like patch pockets but are indeed a variant of side seam pockets.
Cris
Oh my. You may be right but you’re coming across as very impolite.
Patti T
Nice simple and cute. I love it! Thanks for sharing this.
Rima Khusainova
Thank you Patti! We are glad you liked it!