A-Line Dress With a Tie Tutorial
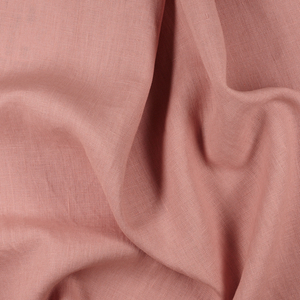
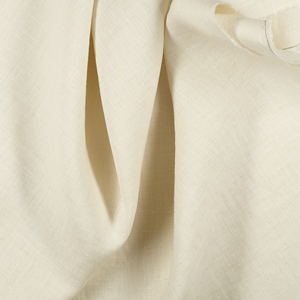
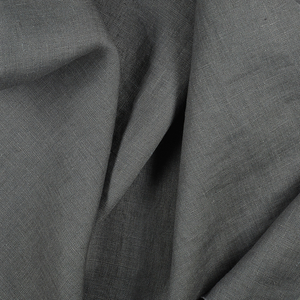
The heat is here, and that means it’s time to sew another summer dress. What could be better for hot days than a relaxed A-line sleeveless dress made from natural linen? Our gorgeous yarn dyed linen from the Premier Finish collection is not only beautiful visually, it is also very smooth to the touch which makes it the perfect choice of fabric for this project. It allows air to pass quickly through fibers keeping the skin cool and dry.
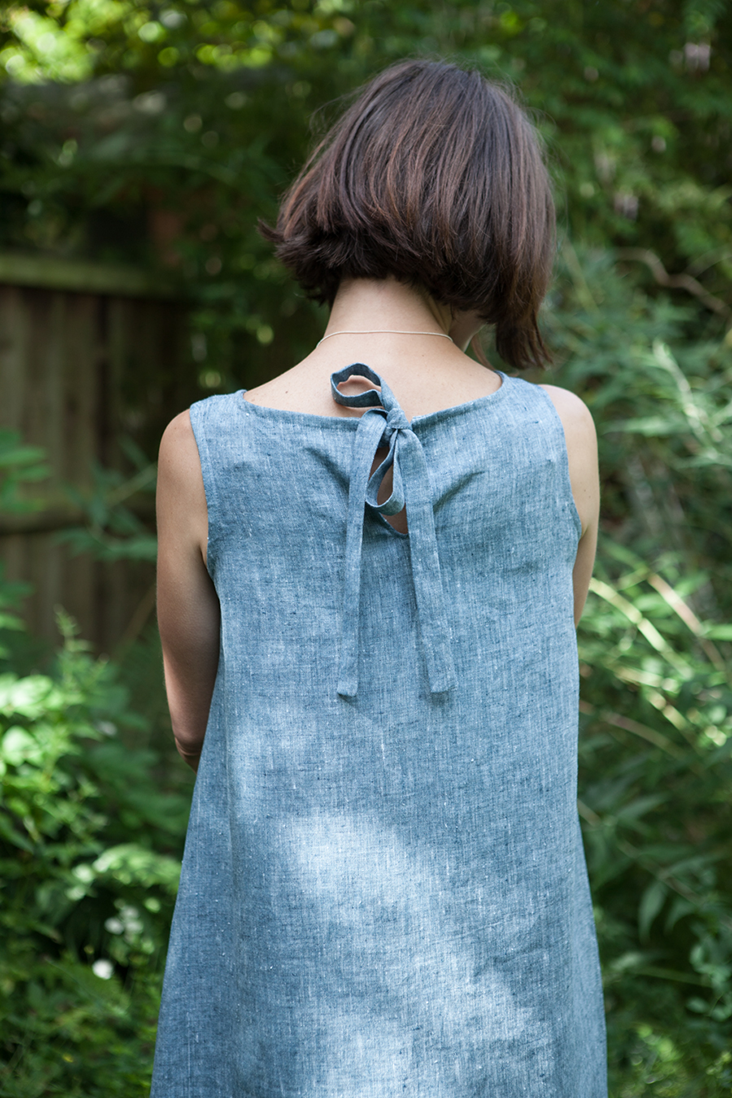
This dress has such a great classic A-line shape and features a round neckline, sleeveless armholes and a back opening with a tie. It also lends itself to so many possibilities and could be easily transformed into a top or a mini/maxi dress.
Materials
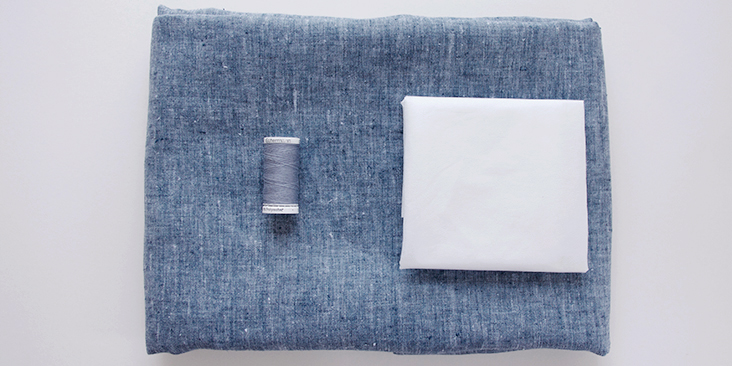
2.5 yards of IL042 909 FS Premier Finish linen
Fusible interfacing, matching sewing thread
Tools
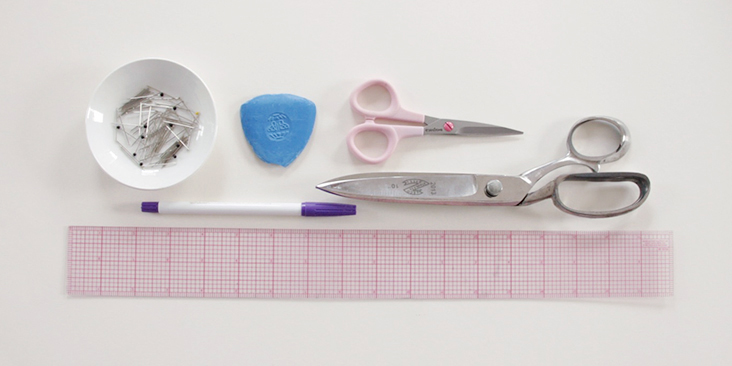
Pattern paper, ruler, fabric marker, chalk, pins, scissors, pointed object for turning corners (a point turner or a simple chopstick), sewing machine
Time
3-4 hours
Difficulty
Beginner
Pattern
You can access the dress pattern by following this link HERE. Remember to add seam allowances as indicated in the pattern.
Note that you’ll also need to cut three bands of fabric 1,5″ (4 cm) wide on the bias in order to make the bias tape for the neckline and the armholes. For detailed instructions on how to cut your bias tape please follow this tutorial.
The diagram shows the pattern for US size 6-8 (UK size 10-12). If you need help grading your pattern, please follow this tutorial.
Steps
Note: Prewash your fabric and tumble dry it until it is still slightly moist, dry in room temperature. Iron the fabric so it is easier to work with.
Before assembling the front and the back together there are a few things you need to do to each piece first. Start by sewing the front darts. The darts are indicated in the pattern and should be marked on the wrong side with a tracing wheel/tracing paper or with a disappearing ink pen.
1. Lay your front piece fabric out on a flat surface and carefully fold the darts with right sides together. Pin in place.
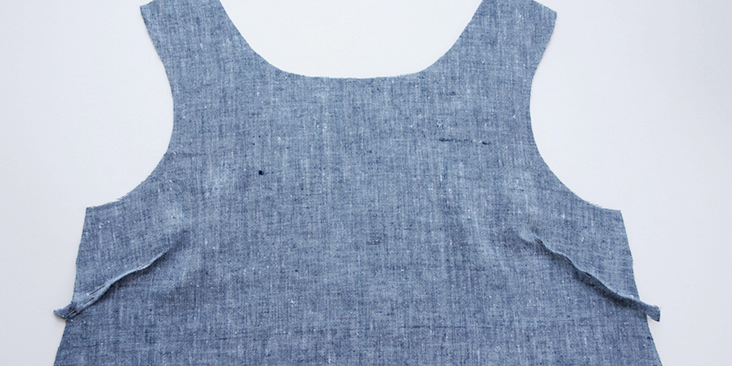
2. Sew the darts in place by running a line of stitching directly over the marked lines. Press the darts.
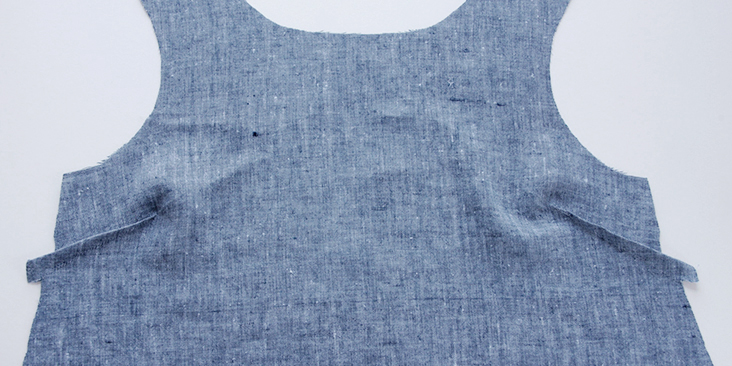
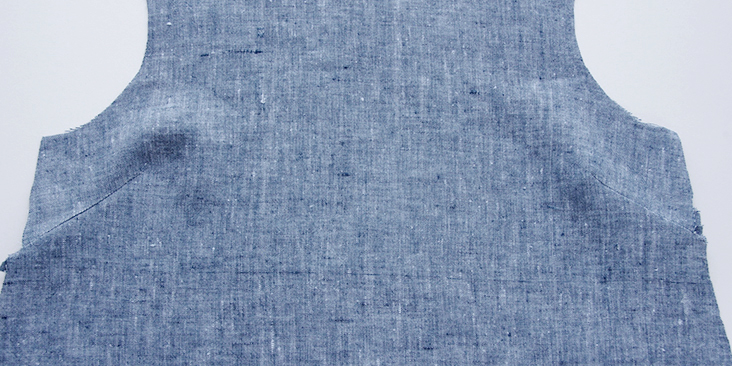
This is what your finished darts look like from the right side:
3. With your front piece now finished, you can concentrate on the back of the dress. Following THIS very detailed tutorial, sew the back slit and attach the tie.
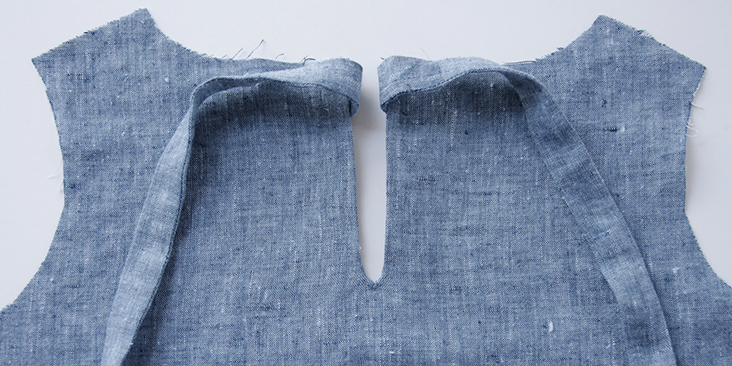
4. Now you can assemble the front and the back together. Pin the shoulder and side seams right sides together.
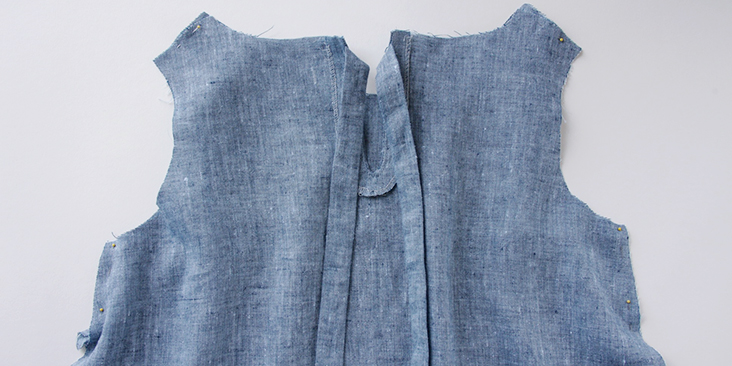
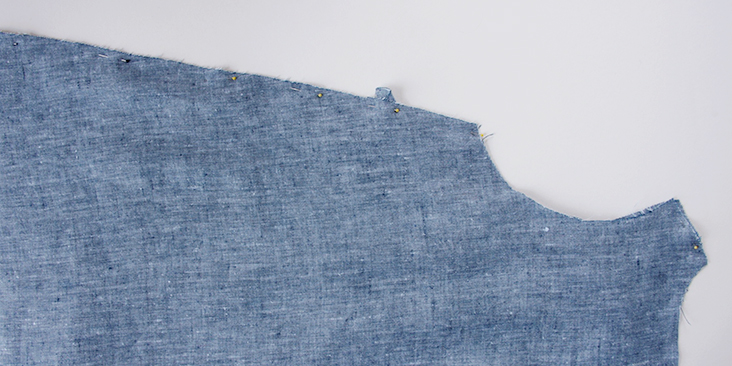
5. Sew the shoulder and side seams right sides together at 3/8” (1 cm) seam allowance, remember to backstitch. Trim the dart’s excess fabric.
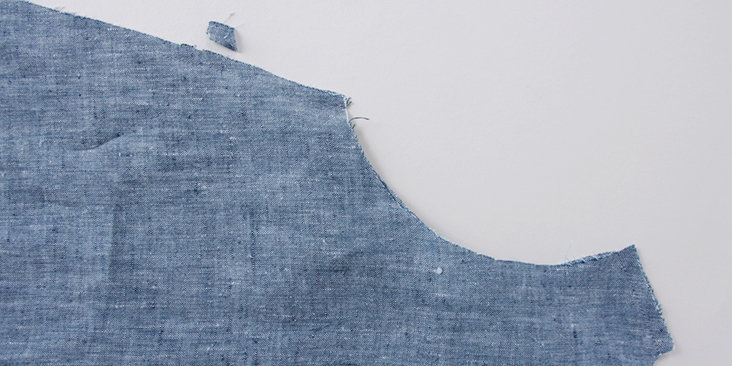
6. Serge or zigzag the shoulder and side raw edges together to prevent the fabric from fraying. Press the seams flat folding the serged/zigzagged edges towards the back of your dress.
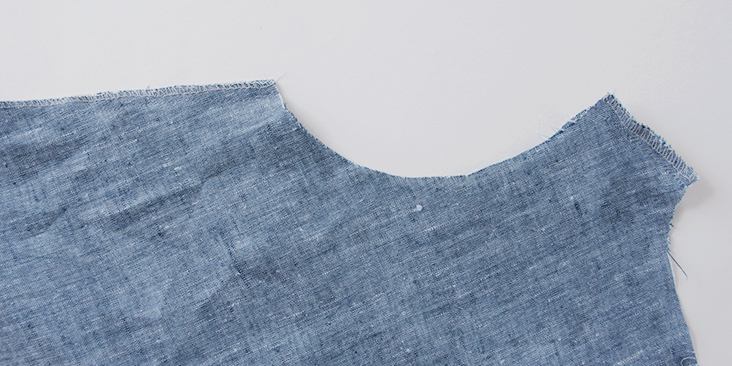
7. Following this tutorial HERE, bind the neckline and the armholes.
When you come to the tie/back opening, tuck in the ends of your bias band as shown below:
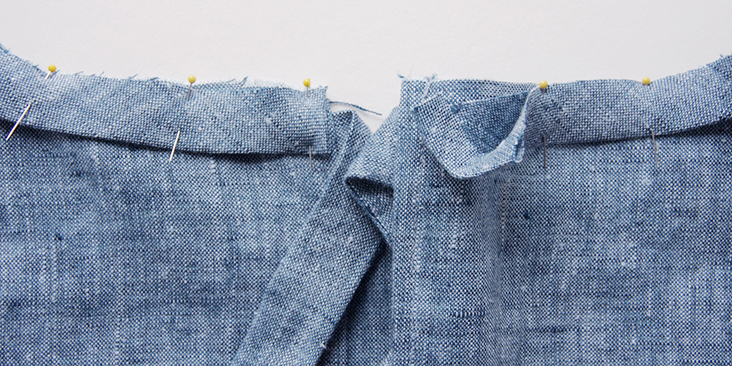
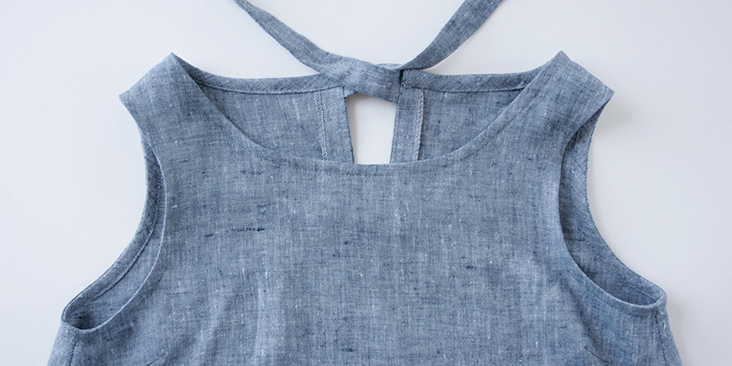
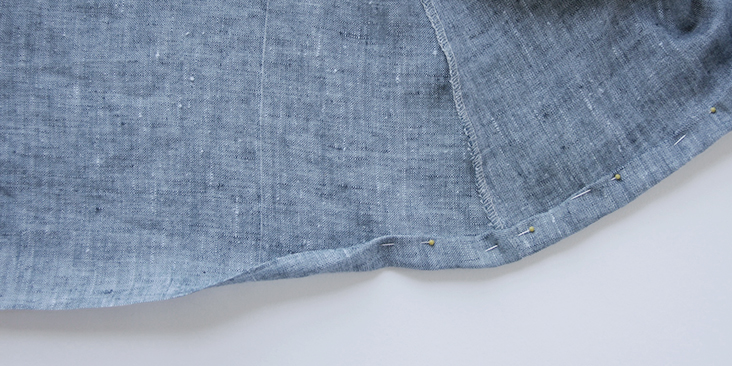
8. The last thing to do now is to finish the bottom hem by folding the raw edge twice to the inside (wrong side) – 3/8” to 1/2” (1 cm to 1.25 cm). Press and pin.
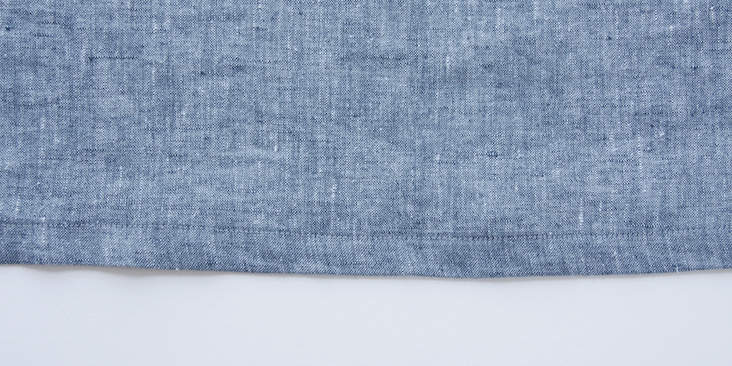
9. Edgestitch the hem and give it a good press.
This is it! A breezy, loose fit dress for those long summer days.














17 Comments
Lizzy N
I’ve drawn my pattern out onto paper, but one issue I have is that the front shoulder and the back shoulder pieces appear to be different in size so they might not line up very well. What might I be missing? I have double checked my math and still I’m coming up with different shoulder sizes. Or is it okay for them to be different, and it will work out with the sewing?
Ligita Arnicane
Love the dress but the pattern link is not working
Lauren Gates
Thanks for letting us know Ligita,
While we get this fixed up you may like our Mona dress which is very similar and comes ready to print in multiple sizes and is easily adjustable for the back ties. You can find it at the link below:
https://fabrics-store.com/sewing-patterns/mona-trapeze-linen-dress-pattern
Vicki Carroll
Still, on May 1 2021, no link.?
Lauren Gates
Hello this one was fixed, but seems to have broken again. I will send you an email with the pattern and have our team fix the link.
Ellen WP
thanks so much for this tutorial! it looks great but the link to the pattern seams to be broken. do you have an updated link?
Liepa
Is there any tutorial, how could I add sleeves to this dress?
Jolanta
Beautifull summer dress! Thanks for pattern and tutorial!
Joan Holland
Hello. Can you provide instructions on how to print the pattern? When I download it and go to print, it just comes on one 8.5×11 piece of paper. Cannot figure out how to properly print this. Thanks.
Rima Khusainova
Dear Joan, unfortunately this pattern is not to scale. So basically you’ll have to trace it yourself using the measurements provided in the diagram. Sorry for the inconvenience, we are working toward creating multi-sized printable patterns for some of our most popular designs, but it takes time…
Tanya
very nice dress, great choice of fabric. however, once again, fitted too closely to body—-back opening gaps and fabric pulls across the upper chest.(see partial fold near underarm).
Janice
This is sooo cute. Looks so easy to make and these dresses are hard to find and expensive.
I think I will sew some pockets. Thank you
Rima Khusainova
Thank you so much for your comment Janice! Pockets are definitively a great idea! Would work so well with this design.
KonaKathie
I’m sorry, but this is just about the most unattractive dress I’ve ever seen. The free pattern was hideous as well. I don’t mean to sound ungrateful, although I guess I do.
Rima Khusainova
Sorry to disappoint you Kathie. I invite you to check some of our other tutorials, maybe there’s something you’ll like.
Judy Pennington
That is so cute and easy!! Thanks for the pattern.
Rima Khusainova
Thank you so much Judy! I really appreciate your kind words.