How to Sew a Side Seam Slit Tutorial
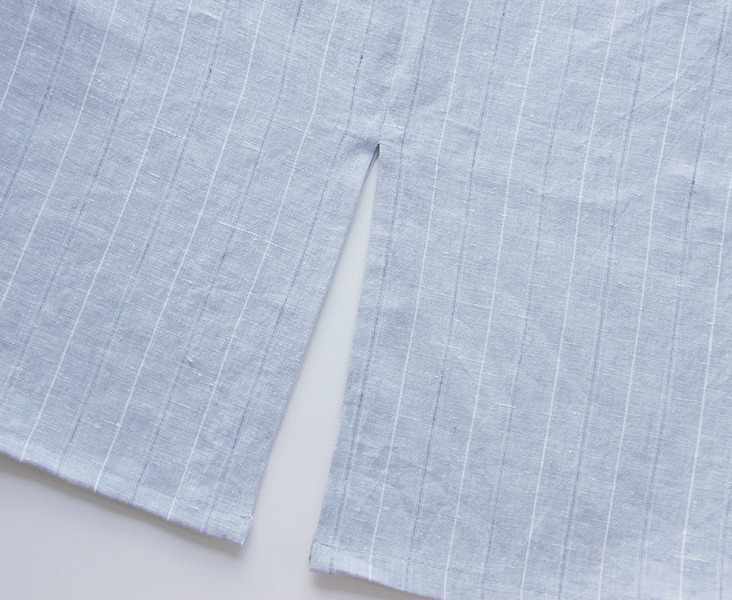
There are many ways to add original details to your simple garments, and a side slit is one of them! It can really change the feel and mood of any skirt, top or dress and make it more feminine or plainly practical.
Even if the pattern you are using doesn’t call for a slit, it is really easy to include one to almost any seam. In this tutorial we are going to show you how to sew a side slit that you could easily transform into a back or center seam slit during your next sewing project.
Materials
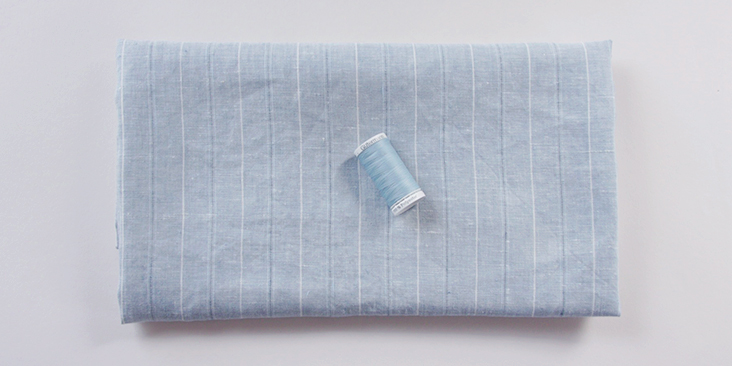
Fabric of your choice (we are using our beautiful yarn dyed medium weight linen),
Matching sewing thread
Tools
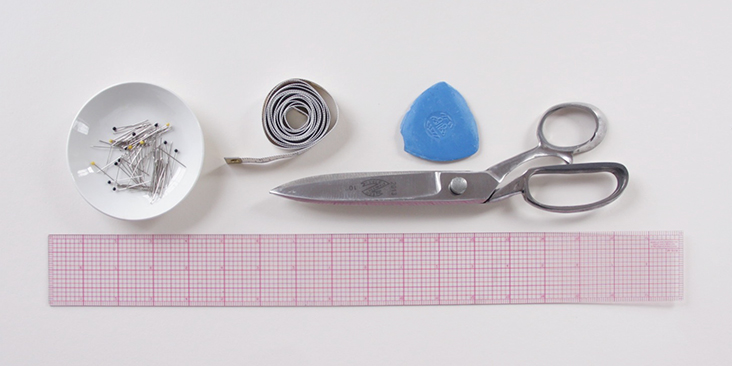
Pins, scissors, ruler/measuring tape, fabric marker/chalk, sewing machine
Difficulty
Beginner
Steps
Note: To avoid shrinking and wrinkling, prewash your fabric and tumble dry it until it is still slightly moist, let it dry in room temperature and then iron.
Before sewing, please keep in mind that a slit requires a larger seam allowance. Unless it is already accounted for in your pattern, double your standard seam allowance (instead of 3/8″ (1 cm), add 3/4″ (2 cm)).
1. Pin your side seams right sides together. Take your measuring tape and decide where you want your seam to finish and your slit to start. Then mark the top of the slit with a fabric marker.
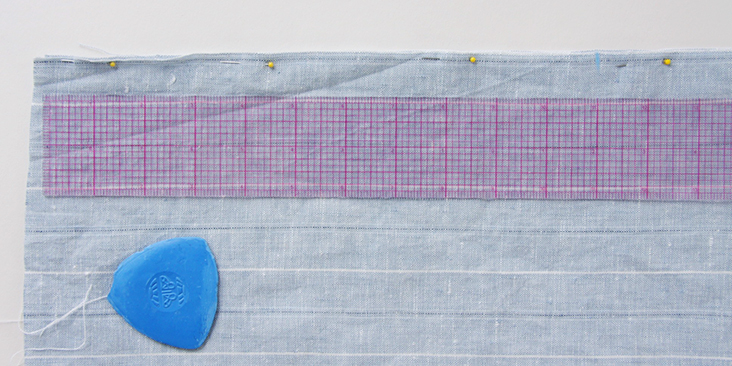
2. Sew the side seams together and stop at the mark indicating the beginning of the slit. Remember to backstitch.
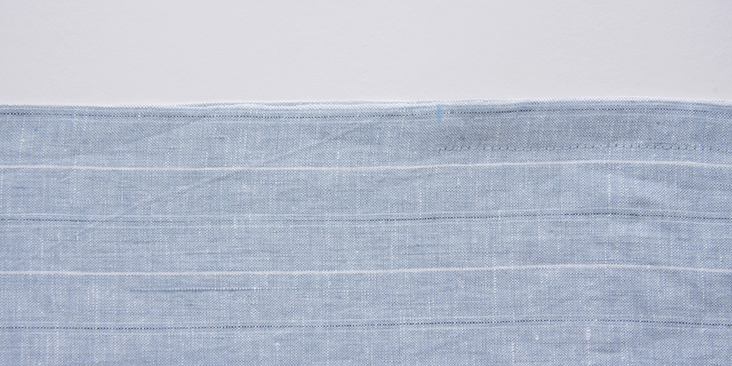
3. Trim the side seam allowance to 3/8” but stop 1” (2.5 cm) before the end of the stitch line.
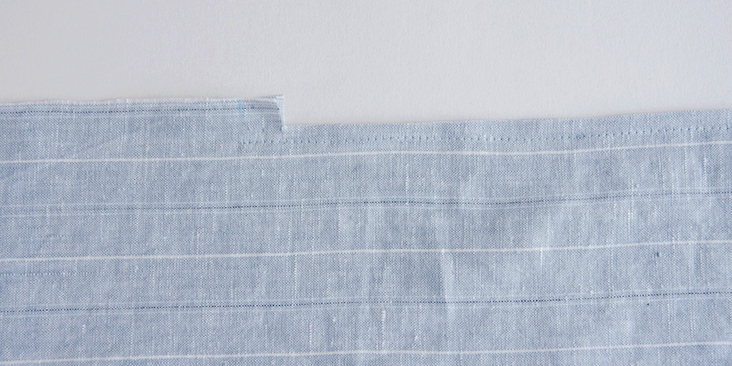
4. Serge or zigzag the side seam raw edges together to prevent the fabric from fraying.
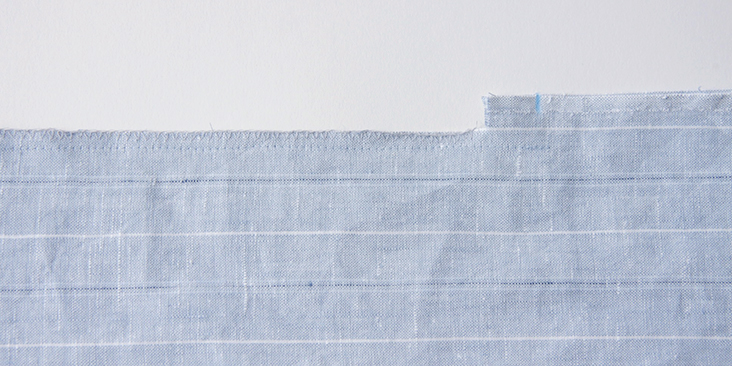
5. Make a small horizontal cut into the seam allowance. Make you sure you don’t clip through the stitch line.
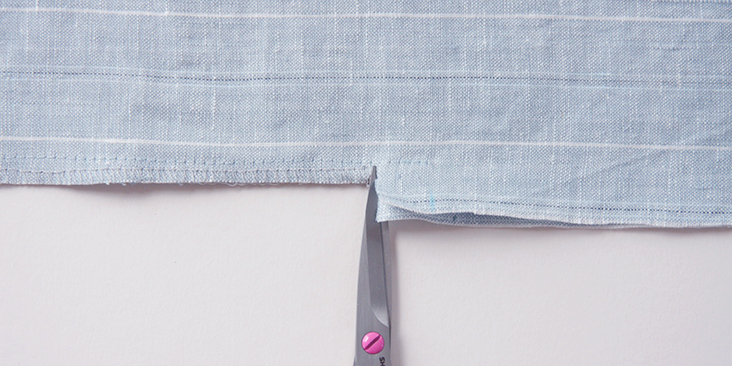
6. Following the line of the side seam, press the two flaps of the slit open toward the wrong side of your garment.
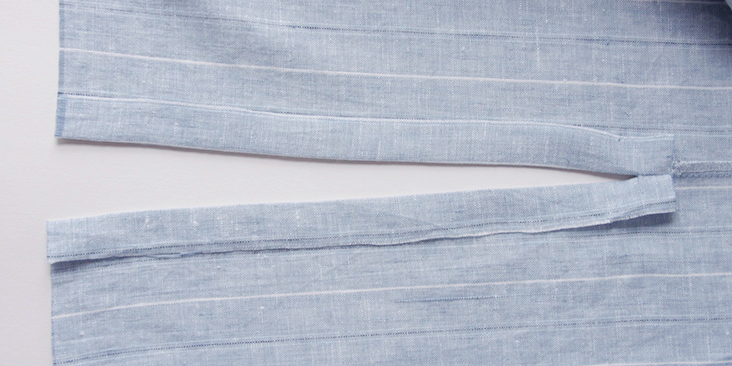
7. Fold the upper corners to create a triangle.
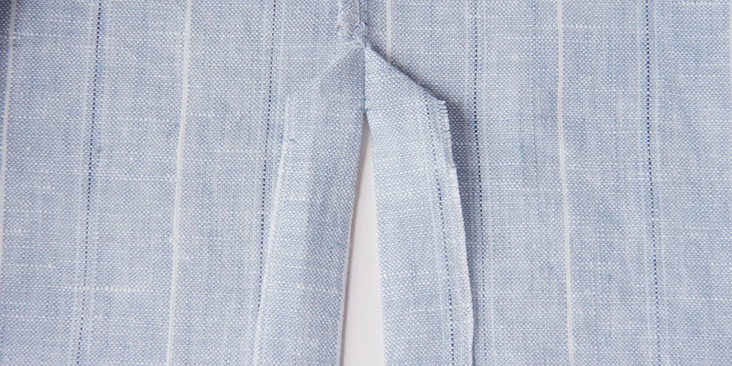
8. Fold the raw edges of the two flaps in towards the wrong side (starting from the triangle and going all the way down to the bottom hem). Press and pin.
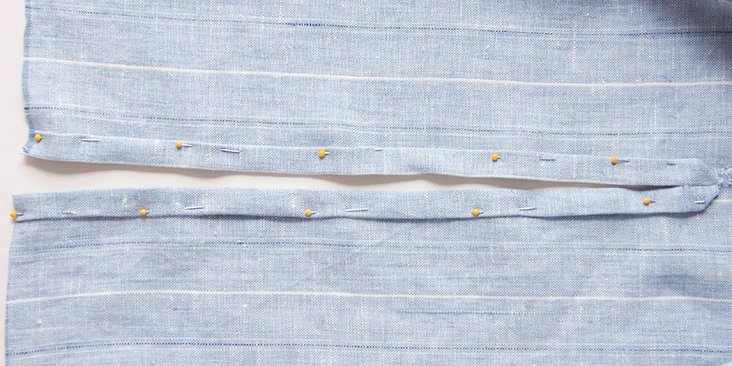
9. Starting at the hem, topstitch the folded edges in place as close to the outer edge as possible.
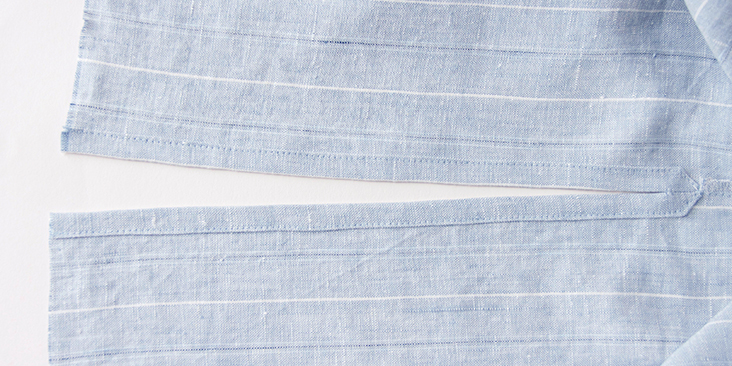
10. Give it a good press, finish the hem with a method of your choice and you are all done!
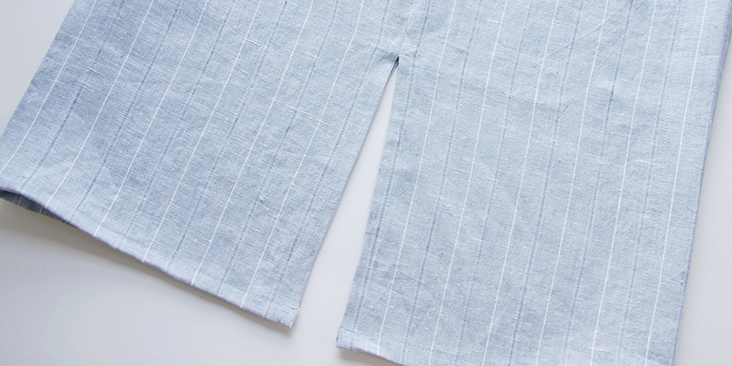
Now that you’ve learnt this simple technique, you can easily transform any standard garment into something special!
Have a browse through our selection of linen and see which of our fabrics inspire you to use your new skill!








12 Comments
Chris
Is there a way to close a slit in a purchased skirt? This would be one that is in the seam.
Angie
This was so helpful! Thank you!!!
Rima Khusainova
You are very welcome Angie! Glad we could help!
Nancy Stierwalt
Is therestandard length of a split seam at the bottom of a ladies jacket?
Rima Khusainova
Dear Nancy, that’s a very good question! I guess it all depends on the fit and the length of the jacket, as well as the size that you usually wear. What I’d recommend is to refer to one of your store-bought jackets. Measure the slit and replicate this length for your homemade projects.
Beverly Giles
I have always wanted to try to do one of these but I was never sure how. The pattern instructions read like you already knew how to do so which I didn’t/ I need to take up a lot of dresses, skirts and blouses to fit now that I have lost over 125 lbs. I am sure to add this detail to some of my patterns. Thank you so much for making it easy for me to understand and for wanting to try!!
Rima Khusainova
Dear Beverly, thank you so much for your comment! We are glad to be of help!
Patricia Hersl
Nice!
Rima Khusainova
Thank you Patricia!
Karen
Thanks for the tutorial! One question, in #7, did you actually cut the fabric to form a triangle or did you fold the fabric? I would be concerned about the cut edge fraying. It looks folded in the photos.
Rima Khusainova
Dear Karen, thank you so much for pointing it out! Yes, of course it was folded and not trimmed. I’ll correct it right away!
Mary-Margaret Schlais
It states to fold into triangle.