Button-Up Top Tutorial
In this tutorial we are going to show you how to make a simple button-up top with contrasting buttons for a touch of originality and a V-neck for a fashionable twist. Don’t be intimidated by all these buttons, they are actually very easy to sew and the pattern is so simple to follow that this project is suited even for a beginner.
Materials
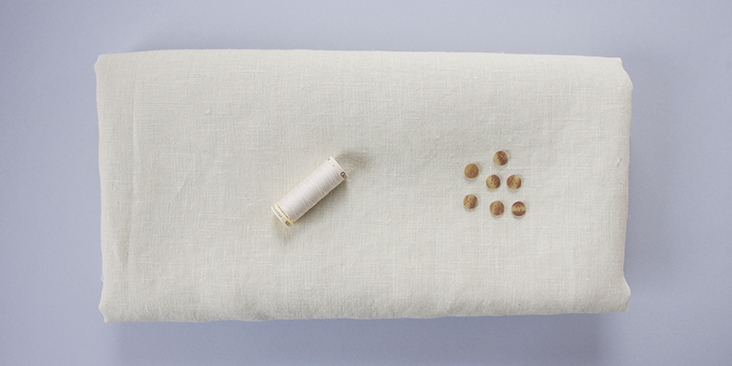
1 yard of IL019 KRISTA NATURAL Softened medium weight linen, Matching sewing thread, 7-8 small buttons
Tools
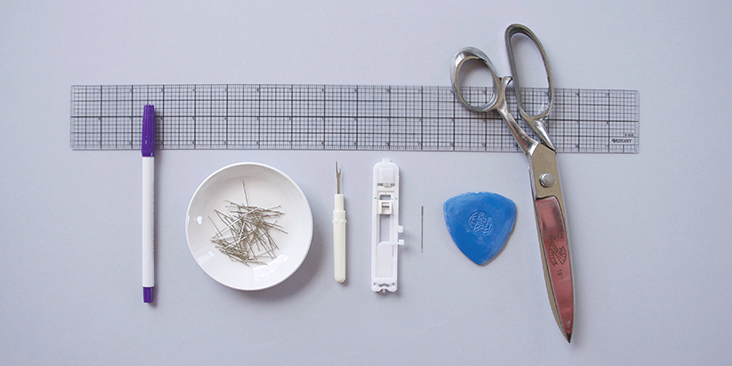
Pattern paper, scissors, fabric marker, pins, ruler, chalk, needle, buttonhole foot, seam ripper, sewing machine
Time
3-4 hours
Difficulty
Beginner – Intermediate
Pattern
Link to the pattern is HERE. The diagram shows the pattern for US size 6 (UK size 10). Remember to add seam allowances as indicated in the pattern.
If you need help grading your pattern, please follow this tutorial.
Steps
Note: Prewash your fabric and tumble dry it until it is still slightly moist, dry in room temperature.
1. Iron the fabric so it is easier to work with.
2. No need to do anything special (like serging or zigzagging) to protect the edges from fraying. All the raw edges will be enclosed within French seams or rolled hems.
3. We are going to start by finishing shoulder and side seams with French seams. Pin your shoulder and side seams wrong sides together and sew French seams following this tutorial.
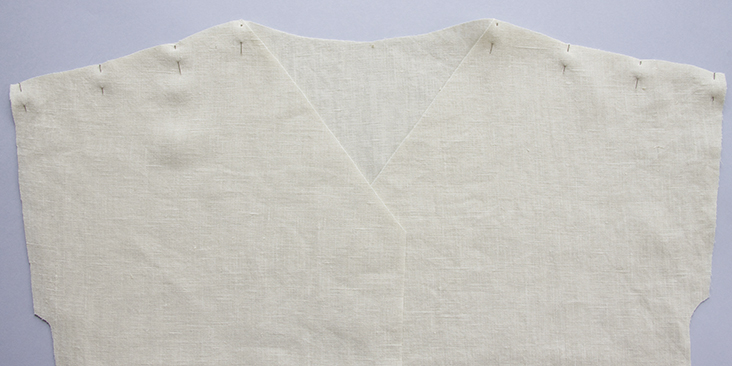
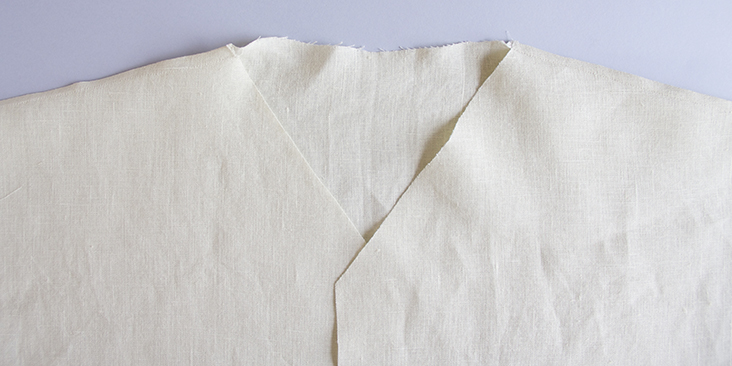
Repeat the same steps for the side seams.
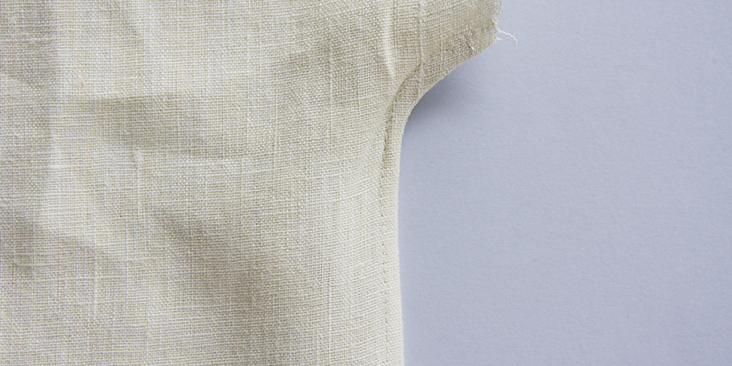
4. Hem the sleeve openings by folding twice the fabric to the wrong side. Pin.
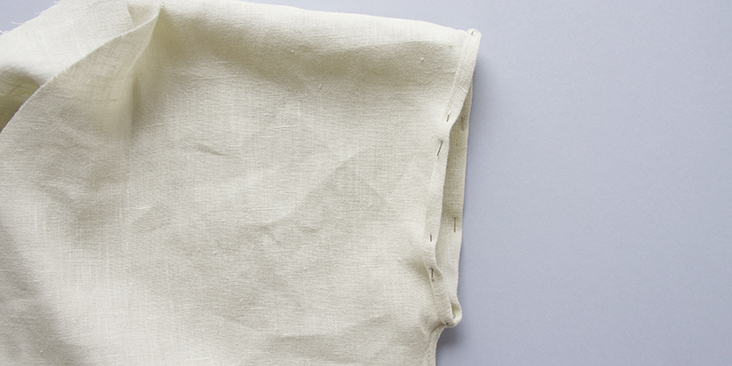
5. Stitch the fold from the wrong side as close to the inner edge as possible. Remember to backstitch.
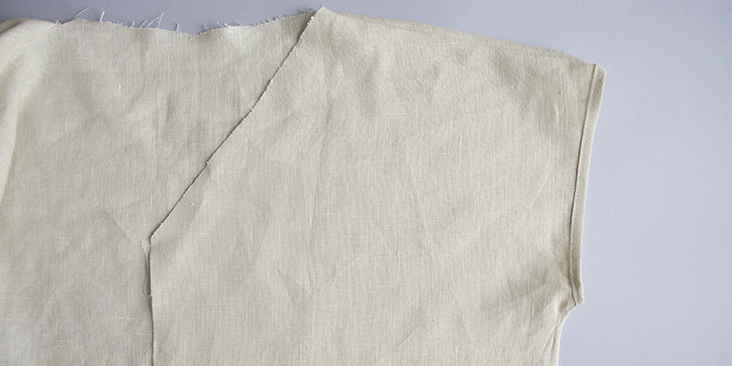
6. Press the seams.
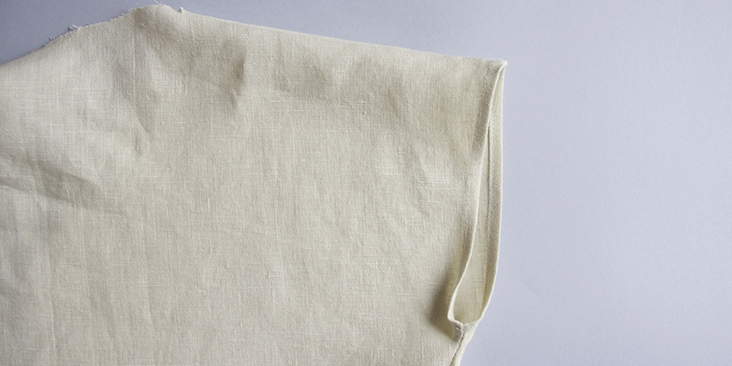
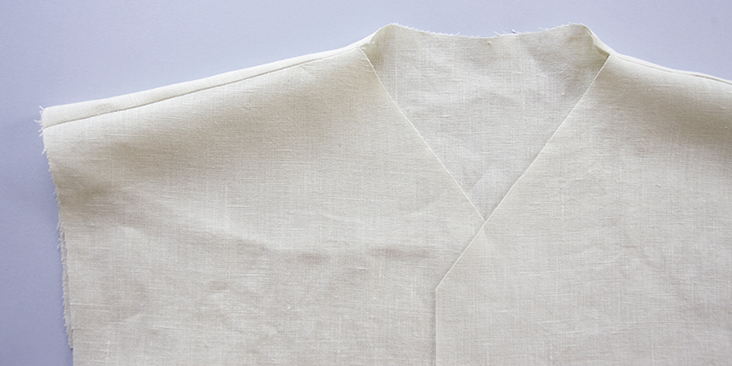
7. Take one of your buttons and measure its diameter. This will determine the width of the rolled hem that you’ll use to make the front button bands and finish the V-neckline. Basically, we are going to pin one big rolled hem around all panels (except for the bottom hem). So, fold twice the fabric to the wrong side and pin.
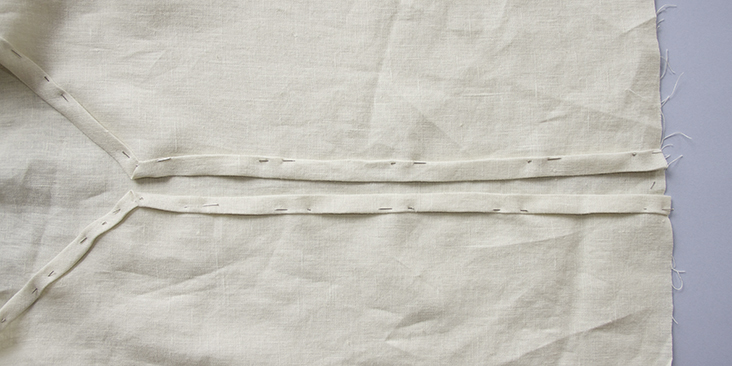
Refer to the pictures below for instructions on what to do when you come to the corners of the V-neck.
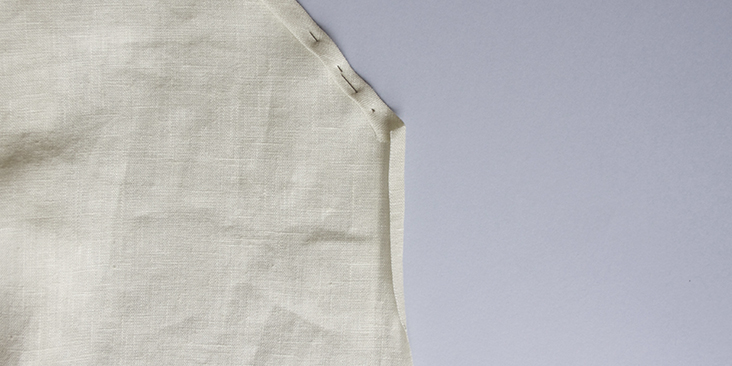
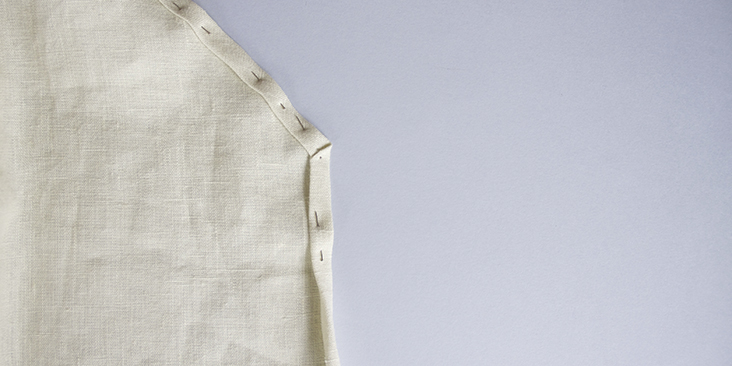
8. Stitch the fold from the wrong side as close to the inner edge as possible. Press.
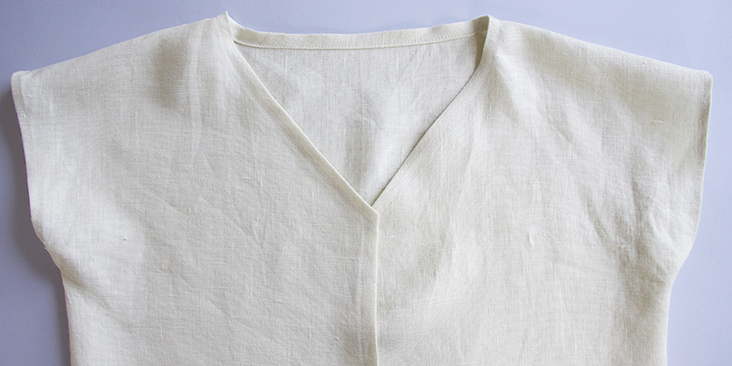
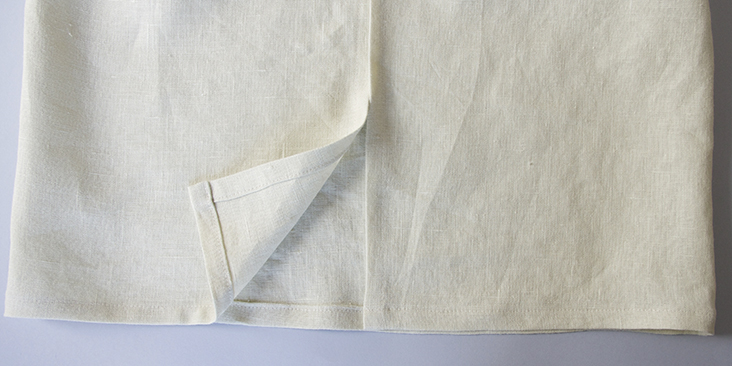
9. Repeat the same steps for the bottom hem: fold twice the fabric to the wrong side and pin. I’d recommend to use the same width of the hem as in steps #7 and #8 for a more harmonious look of the finished garment.
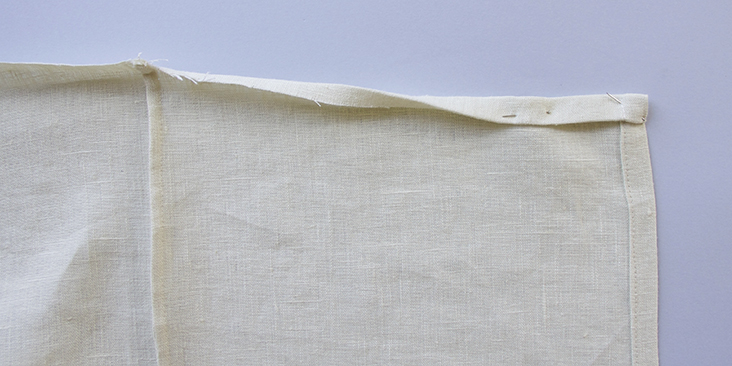
10. Stitch and press.
11. Following this tutorial make the buttonholes and attach the buttons. Mine are spaced 2” apart (5cm) but the number and the spacing are really up to you. If you want your buttons closer, just leave smaller gaps between them.
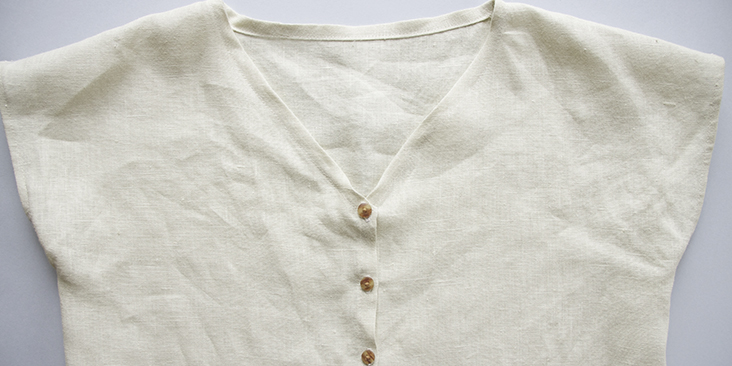
This is it, your button-up top is all done! Its boxy shape looks great on any body type and it’s so easy to wear it casually or dress it up. We like to pair it with slim jeans. Feel free to adjust the pattern and make a round neckline for a more traditional look or make it shorter for a trendy crop top.


20 Comments
Zara Glaser
Hi! I really love this and would love to make it, however the link to the pattern shows a Dropbox error page. Hope it gets fixed soon!
Lauren Gates
Thanks for letting us know Zara, I’ve passed this onto our web team who should have this fixed up shortly 🙂
Rene Norwie
Hi, i would love to make this top but the link to the pattern is not working.
Can you please help?
Thank you.
Carien Groot
Dear Rima, the Dropbox link does not seem to work, it takes me to a Dropbox error page. I’d love to sew this pattern! 🙂
reanna
I can’t find the pattern! The link takes me to your main pattern menu, and I looked through all the patterns there but this shirt doesn’t seem to be there anymore.
Rima Khusainova
Dear Reanna, thank you so much for reporting this problem to us. We’ve recently updated our website and there’s been a few issues like this here and there. The link is all fixed now and will take you to the pattern diagram with all the measurements. Happy sewing!
Sandra
Lovely pattern and website, but I can’t seem to access the pattern, could it perhaps be some issues with the link?
Rima Khusainova
Dear Sandra, the link is fixed now!
Jillian
I just tried the link to the pattern but it doesn’t take me to a drop box link. Just to the fabric store website.
How do I get it? Thanks?
Rima Khusainova
Dear Jilian, please try now, we’ve fixed the link.
Om
I try to get pattern form this but I couldn’t even I celine”here”
Rima Khusainova
Hello! Thank you for pointing out this problem to us. It’s all fixed now and the pattern is available again.
Salma
hi 🙂 I actually still can’t find the pattern! It just links to a page of 5 other garments but not this :/
Alena Mondelli
I just made this! I love it. I used the IL019 ROYAL BLUE… I wanted a long sleeves so I made them. Looks pretty sharp. Just deciding if I actually want buttons, snaps…or…just maybe stitch it up in the front.
Rima Khusainova
Hi Alena! So glad to hear that you are happy with your top! Please share your pics with us, we’d love to see how it turned out 🙂
Briony
Tried this pattern with a spare yard of 19 Natural I had. I added a box pleat in the back and doubled the small buttons in clusters of two for a nice detail and I’m very pleased with the result! It is as comfortable as T shirt but much classier!
Rima Khusainova
We are so happy to hear that you liked the pattern! Thank you Briony!
AmyCat =^.^=
I’d suggest using a facing on the neck and down the fronts. This would give more body to the button front, and eliminate the slight puckering around the buttons…
Claudia
What do I click on to get the pattern?
Rima Khusainova
Hi Claudia. There’s a Dropbox link in the pattern section. Just click on “here”.