Oversized Linen Dress Tutorial
Oversized clothing is great because it allows you to layer up, and gives you the flexibility to play with the way these clothes sit on your body. This knee-length oversized linen dress has a relaxed, oversized fit and is punctuated by a front slit and pockets. We like it layered over a thin turtleneck sweater.
Materials
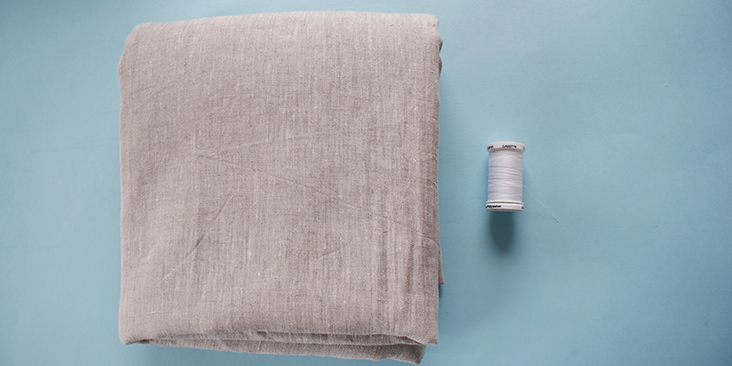
2.5 yards of IL019 Mix Natural Softened
Matching sewing thread
Tools
Pattern master, pattern paper
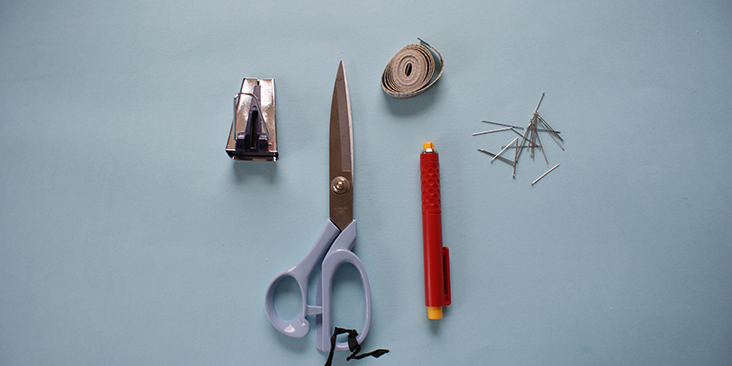
Paper scissors, fabric scissors
Fabric marker, pins, tape measure
Bias tape maker
Time
3-4′ hours
Difficulty
Beginner
Steps
Note: Prewash your fabric and tumble dry it until it is still slightly moist, dry in room temperature.
1. Iron the fabric so it is easier to work with.
Pattern
Link to the pattern here and here.
2. The diagram shows the pattern for US size 4-6 (UK size 8-10).’ Remember to add 3/8in (1cm) seam allowance around all panels. If you need help grading your pattern, please follow this tutorial.
3. Use a serger, or choose your own method to protect the seams from fraying. Make sure the method you choose does not add weight to the fabric.
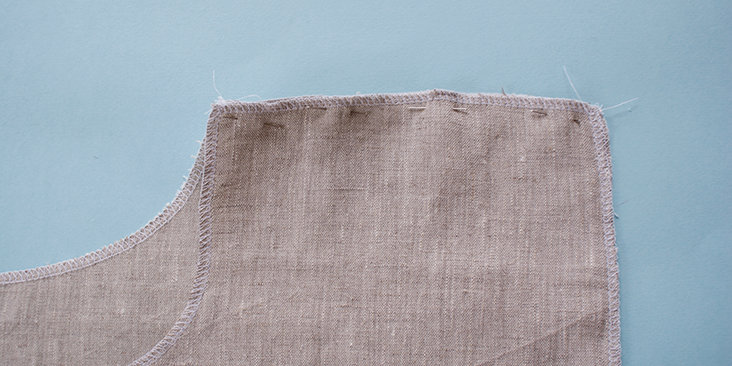
4. Place both panels one on top of each other, with the wrong side facing out. Pin together the shoulder seams, stitch along and press open.
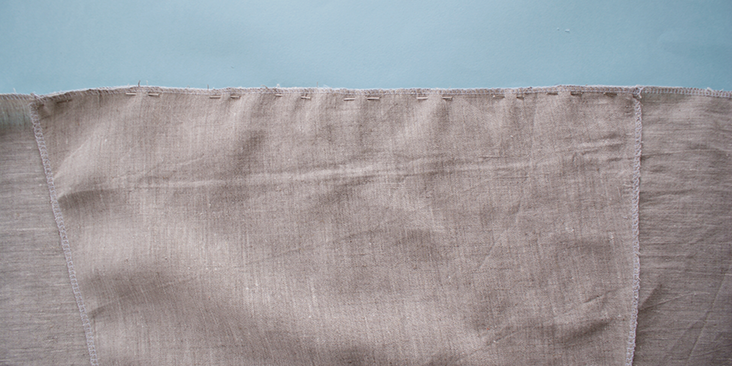
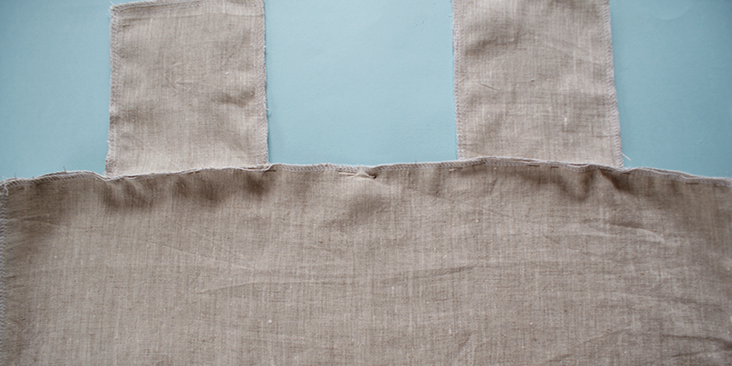
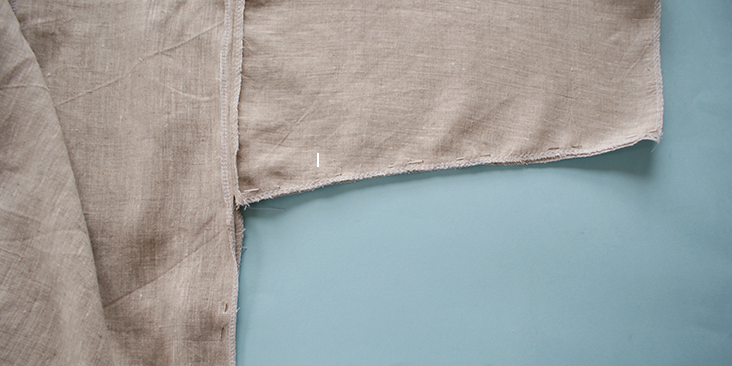
5.’ Match the notched centre point of the sleeve to the sewn shoulder seam, pin along the whole width of the sleeve panel. Stitch along, but leave 3/8 in (1cm) of the material unsewn at both ends of the sleeve panel.
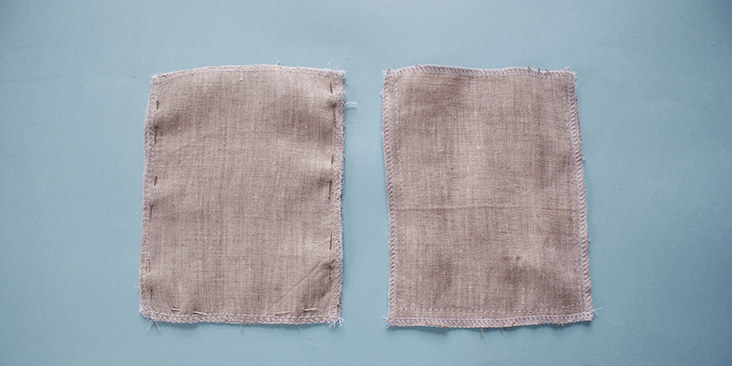
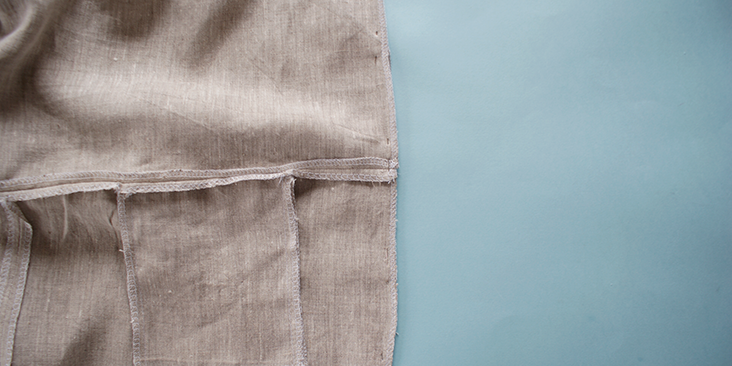
6. Pin the pocket panels together to create two pairs of small pockets. Stitch along the seam, but leave the top 3/8 in (1cm) seam allowance stitch free, this is to make it easier to pin onto the bodice panels.
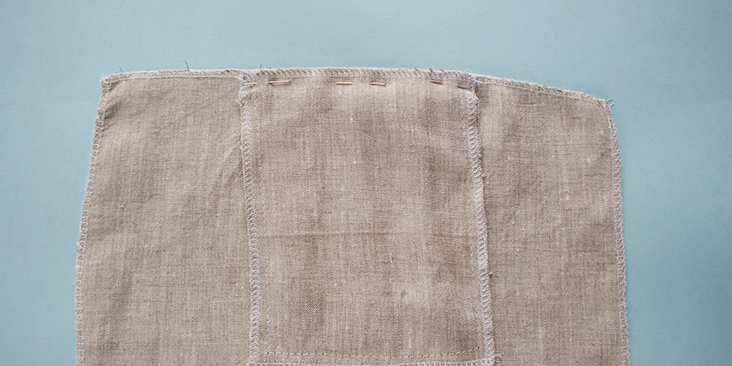
7. With the right side of the front bottom bodice panel facing you, and the pocket’s wrong sides facing outwards, take the top pocket panel and match it to the notched marks you have made on the top seam of the bottom bodice panel. Make sure the bottom panel of the pocket is not caught. Sew along this seam, leaving 3/8 in (1cm) free at both sides.
8. Press the new seam.
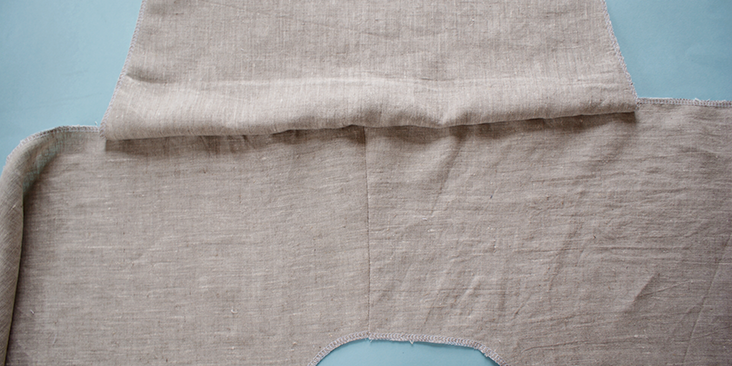
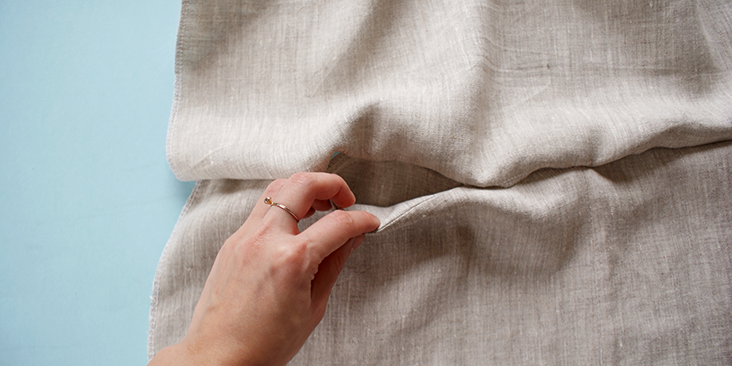
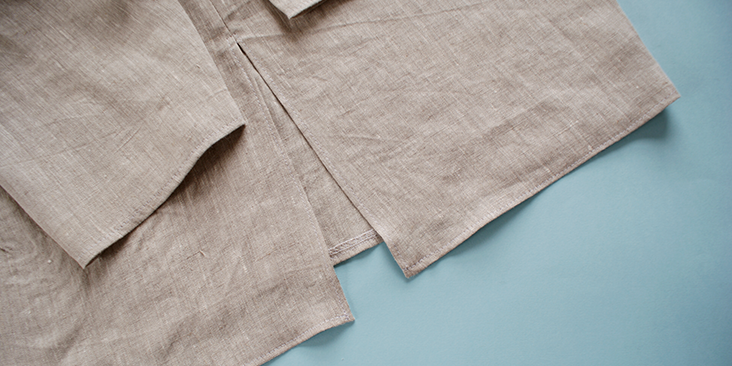
9. Once both pockets are sewn onto its respective side of the bottom bodice panel, pin the bodice panels together at the centre seam with their wrong side facing outwards, leaving 3 in (8cm) of slit opening at the bottom. Stitch along this pinned line and press open.
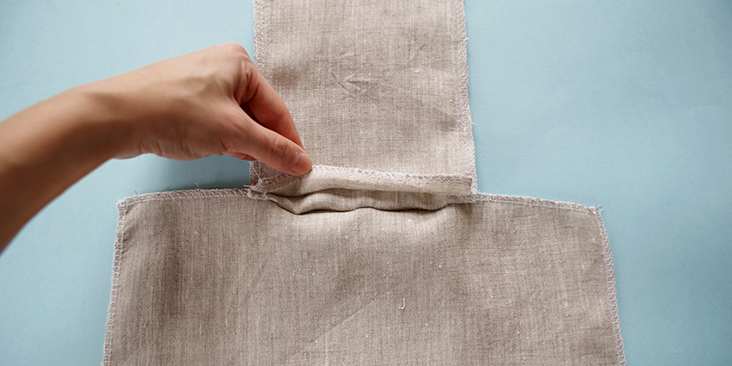
9. Now, with its wrong side facing you, pin the top bodice panel to the bottom bodice panel. Where the pockets are, pin the unstitched pocket panel onto the top bodice. Turn this onto the right side to make sure you didn’t catch any unwanted material at this opening. Stitch along this and press open.
10.’ Pin together the sleeve seam as well as the bodice side seam. Stitch along the pinned edge and press open.
11.’ Next, we will finish all hems except for the neckline. In all cases, the seam allowance should be folded inwards onto its wrong side, so essentially onto the inside of your dress. Start with the sleeve hems. Press the sleeve hems on both arms.’ Top stitch over this.
10. Continue pressing the bottom hems, including the slit. Top stitch over this pressed edge.
10. Following this tutorial, make around 1 yard of bias tape.
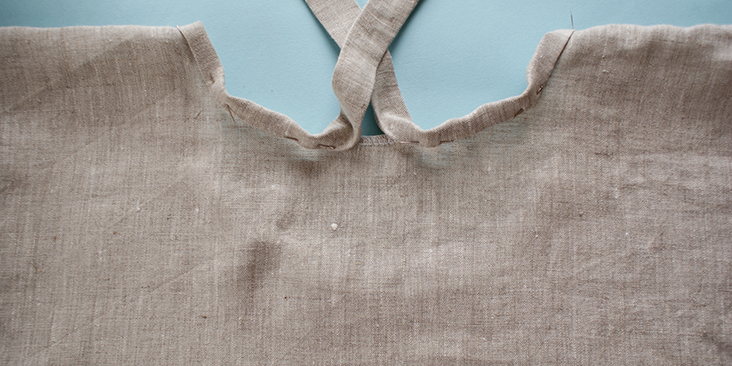
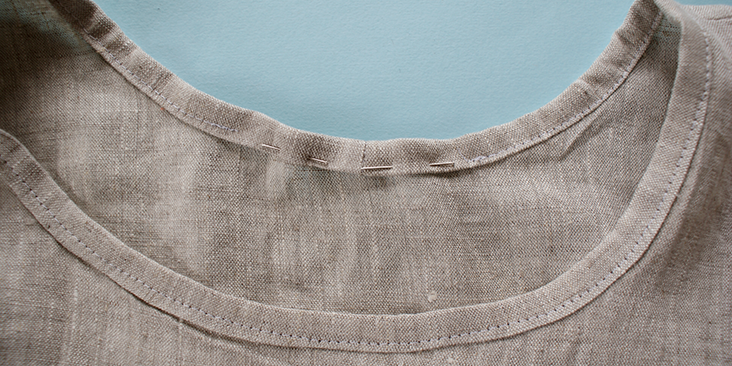
11.’ Leave 1.15 inch (3cm) of tail unpinned, then proceed to pin the tape along the collar, leave around 1.5 inch (4cm) gap from your first pin. Leave 1.15 inch (3cm) of tails at the end of pinning.
12.’ Stitch along this pinned edge.
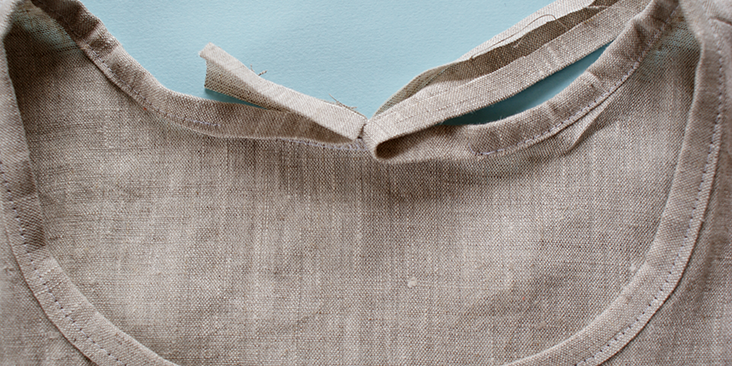
13. Then, manually match up the remaining unpinned edge and fold the tape backwards, forming a distinctive fold line.
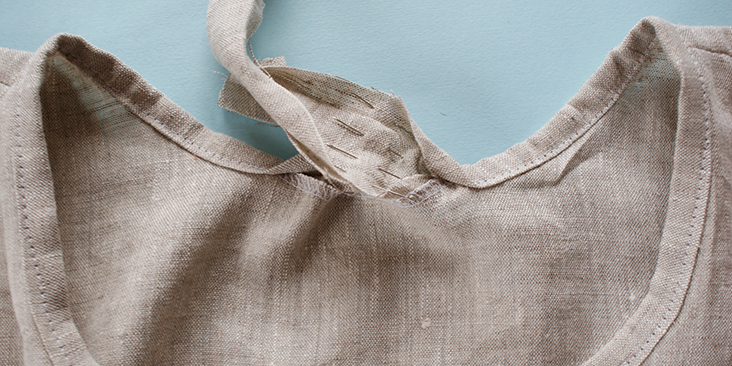
14. With the wrong side of the tape facing outwards, pin along this folded line. Stitch along the line and press. Trim away any excess fabric.
15.’ Refold the tape onto its right side and pin onto the remaining hem, top stitched over and press.















16 Comments
Alexandra Luncasu
The link to the patterns don’t seem to be working
Rebecca Jacobs
This is so lovely and I’m excited to make it. The links to dropbox don’t work though. Would it be possible to get an update with working links? Thank you!
Masha Karpushina
So sorry, this is a very old tutorial, and we no longer seem to have the diagram. This is a bit different, but perhaps it might inspire you: https://blog.fabrics-store.com/2019/01/15/harley-placket-tunic-tutorial/
Carla McKeever
I’m another who would love the link to work for this pattern!! Has anyone been able to get this pattern? Thanks so much..
ATALIE GAGNET
Would love the link to the pattern to work. Exactly what I’ve been looking for!
naty
Link is not working. l’d like to make this dress. Please to share for us.
Diane
Please make pattern available again. Thank You.
Shelley
Not able to download the pattern. Would someone be able to restore it’s availability please?
I’ve been looking for a pattern exactly like this for too long!!!!
Many thanks
AuntyMFlammatory
This is a great looking dress, so comfy. The links still aren?t working. I could swear I saw the pattern when I first scrolled through this page, then noticed the links after the pattern disappeared. But get 404 error code instead of pattern.
Thanks for your help!
Terri Kiplinger
I’d like a link to the pattern, too, please.
Mary Mackey
Hi, love this dress. Could you tell me the name of the pattern you used as link is not working.
Thank you
Heidi
Link to pattern doesn’t seem to be working.
Thanks,
Heidi
Kalle Semianiw
Hi Cynthia Fong
Im a new comer to your site. I’ve downloaded the tutorial for the Oversized Linen Dress and would very much like the pattern. Is there any chance I can purchase it please.
Regards
Kalle
Susan
Am I overthinking this? If the front panel patterns are BOTH placed on the fold, will that give a total top diameter of over 80 inches?
How would you increase size for larger sizes ie. plus size?
AmyCat =^.^=
This would look even better if you widened the skirts. If you don’t want to alter the main pattern pieces, insert a pair of long triangle gores at the side seams, at least 6-8″ wide at the hem and tapering up to a point at the waist. This would make the skirts flow and swirl as you move. 🙂
Jaimn
Thank you thank you for this! I really appreciate how you share !! :))