Children’s Karate Pyjamas Tutorial
Linen is a great’ material to sleep in, its anti- allergenic, highly breathable, absorbs moisture quickly (kids can get hot and sweaty at night sometimes)’ and is kind’ to the skin, especially as it becomes softer with every wash. Combining these qualities of a fabric’ with a loose and comfortable design makes this project one of our favorites and we hope you too will find it useful. We have taken design elements from a Karate uniform (also known as Karategi) to create this super cool pyjama set for the little ones in your family.
Materials
2 yards of IL019 Natural Softened
Matching sewing thread
Tools
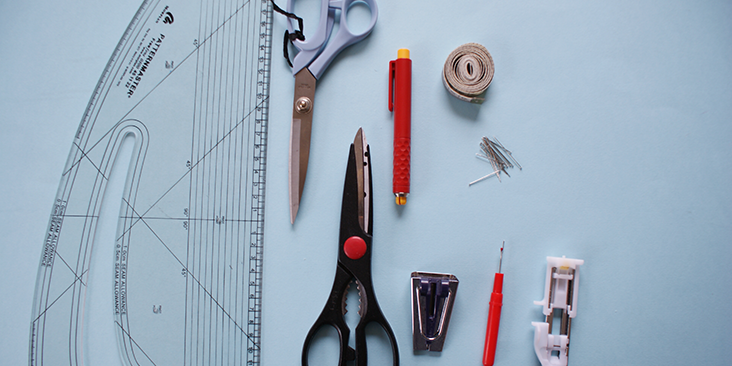
Pattern master, pattern paper
Paper scissors, fabric scissors
Fabric marker, pins, tape measure
Buttonhole sewing foot, seam ripper, bias tape maker
Time
3-4 hours
Difficulty
Intermediate
Steps
Note: Prewash your fabric and tumble dry it until it is still slightly moist, let this dry in room temperature.
1. Iron the fabric so it is easier to work with.
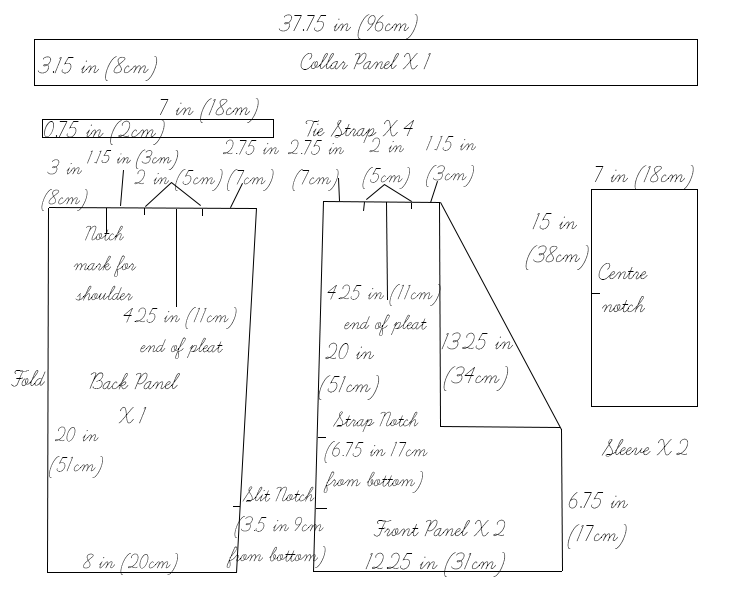
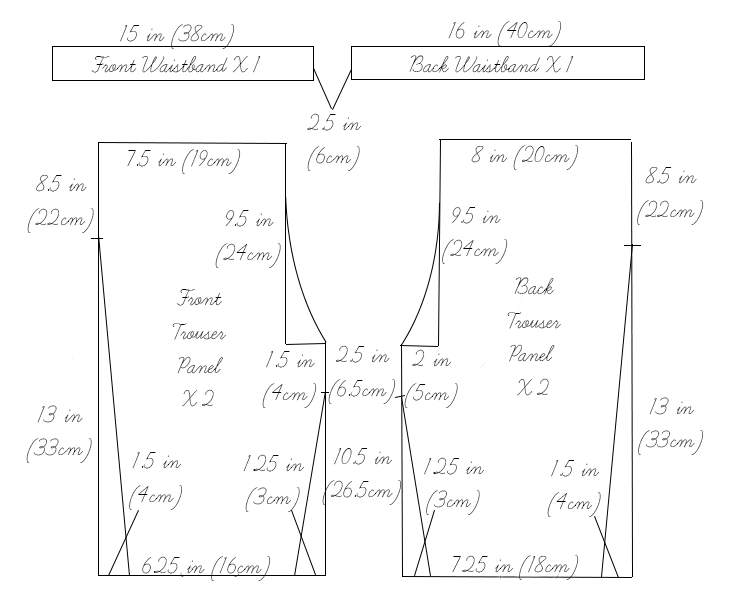
2. The diagram shows the pattern for kid aged 5-7 yrs. Remember to add 3/8in (1cm) seam allowance around all panels. If you need help to grade your pattern, please follow this tutorial. (Another set of pyjamas was also made for kid aged 8-10 yrs, by adding 3/4 in (2cm) onto each seams.)
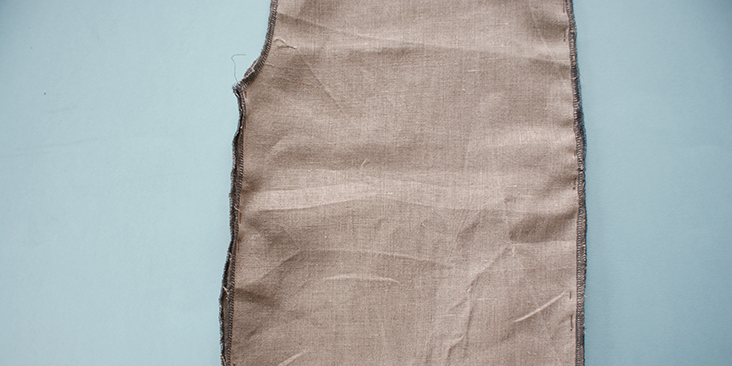
3. Use a serger, or choose your own method to protect the seams from fraying. Make sure the method you choose does not add weight to the fabric.
Pyjama Top
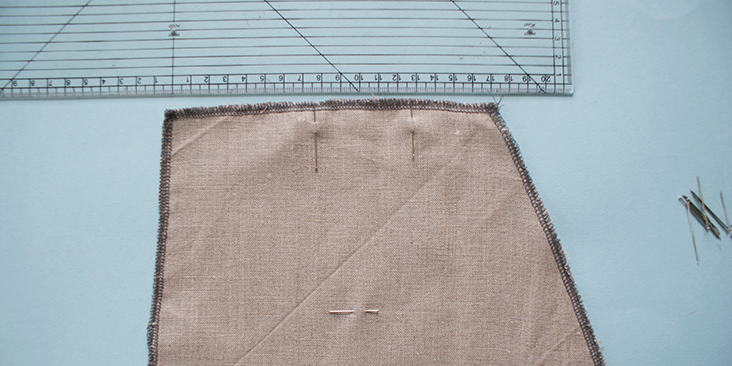
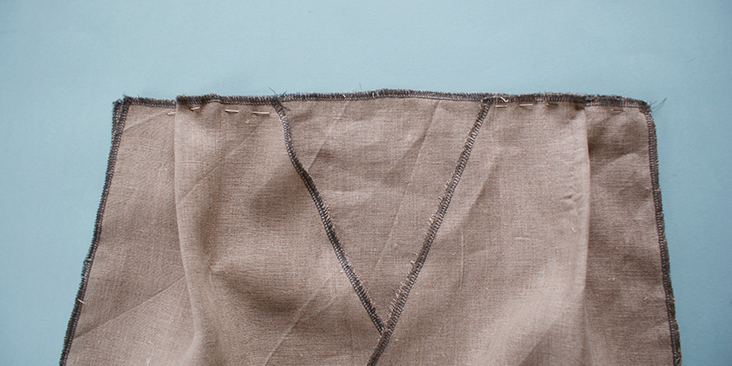
4. Mark the pleats for the front as well as the back panels.
5. Stitch along this line. Remember this pleat is not diagonal like a normal dart, it will go vertical and stop at the measured point at 4.25 inch (11 cm).
6. Next, pin together the shoulder seams with the wrong side of the fabric facing out. With the pleats press down, sew along the seam allowance and press the seams.
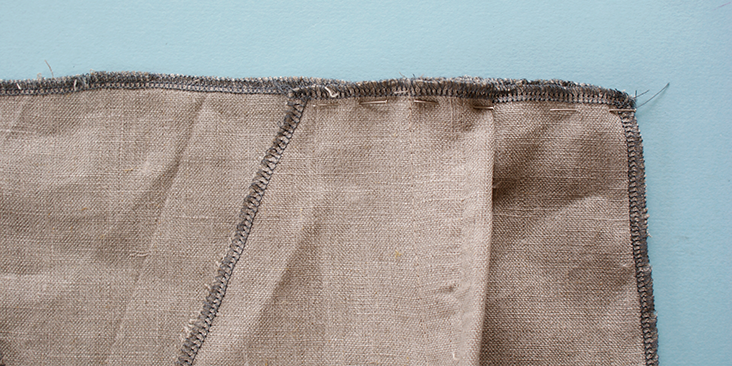
7. Match the notched centre point of the sleeve to the sewn shoulder seam, pin along the whole width of the sleeve panel. Stitch along this seam, leaving 3/8 in (1cm) of the material unsewn at the beginning and the end of the sleeve panel.
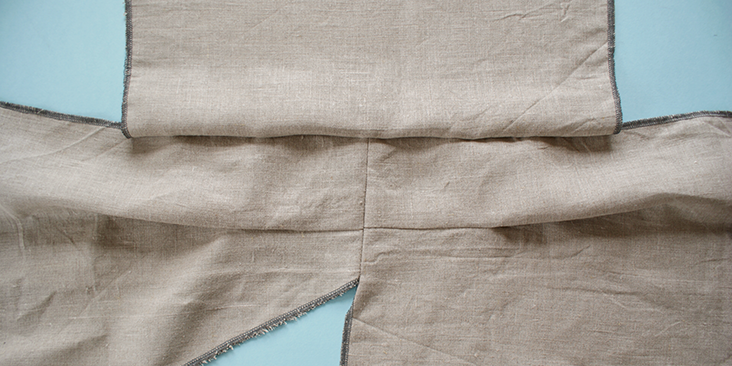
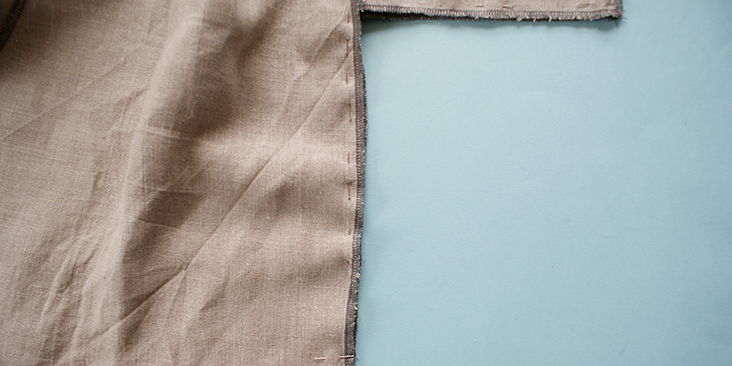
8. Measure and mark the slit opening along the bottom of the side seam, put in a mark there.
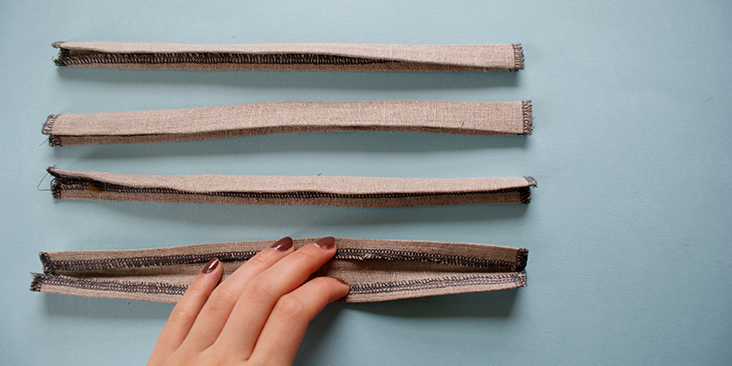
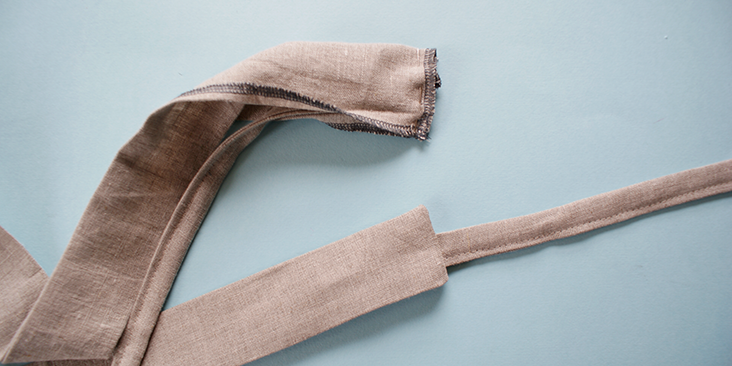
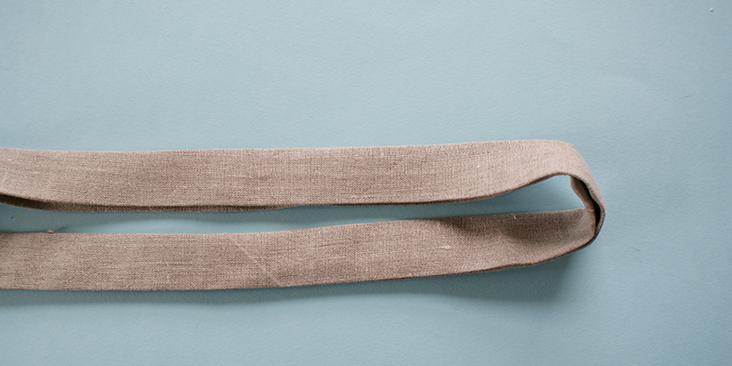
9. Next, move away from the bodice and press the four straps as shown in the image below. To create an end point of your straps fold one’ end of the strap inwards so the seams can’t be seen. Top stitch two long sides and your folded end of the strap.
10. Pin together the sleeve seam as well as the bodice side seam.
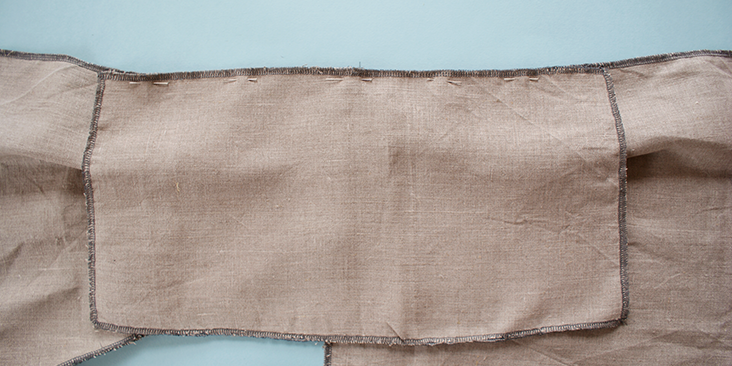
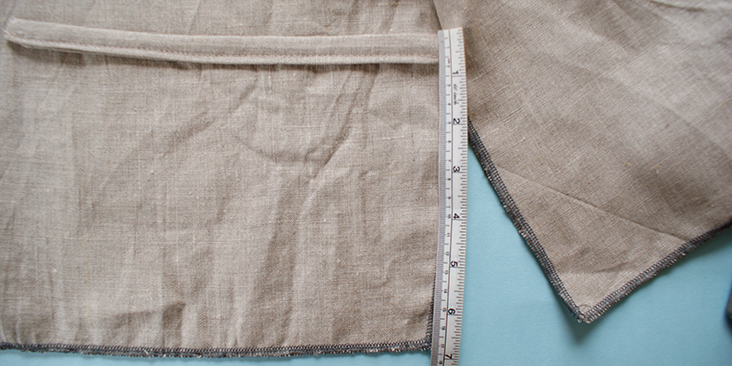
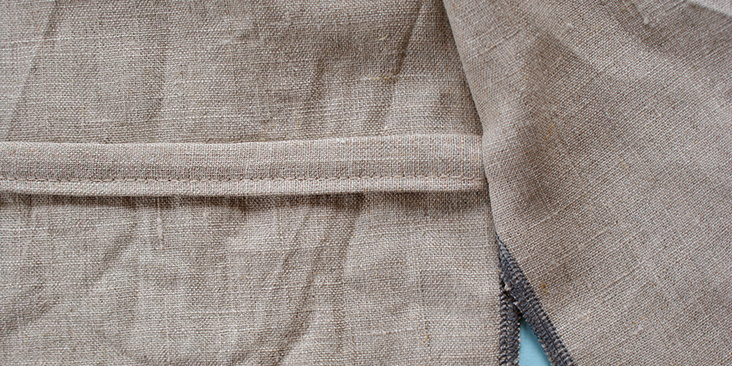
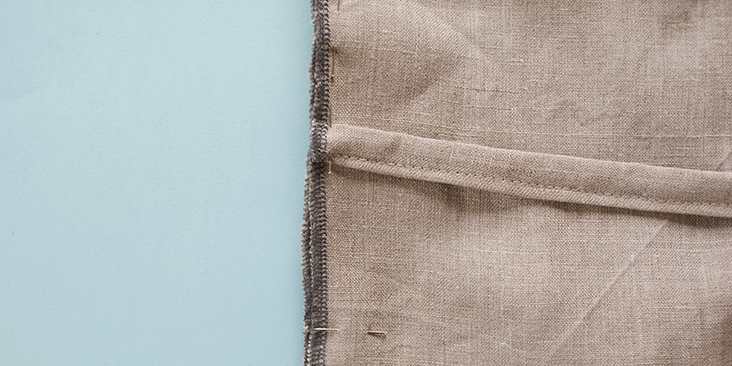
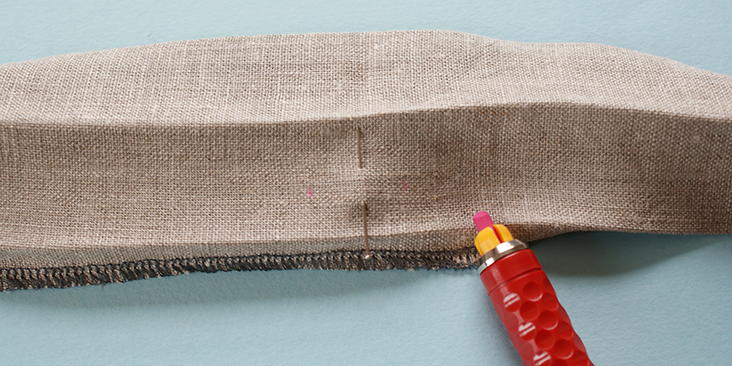
11. With the inside of the front bodice panels facing you, place two straps along the side seam at the indicated point (6.75 inch from bottom of panel) as shown in the pattern diagram above. You will be sewing on 2 straps- on the right and left front panels. On the right panel, have it sandwiched between the front and back panels. And on the left panel, simply pin it on top of the already pinned side seam, as shown in the photo.
12. Sew along the pinned edges, and go back and forth once you reached the straps to give them extra stability, and stop the stitching at the top of the slit opening. Press.
13. Next, press along both sleeve hems. Fold seam allowance inward onto its wrong side. Top stitch over this.
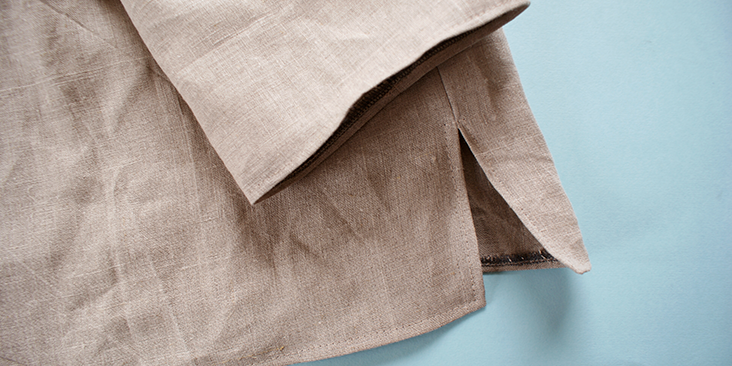
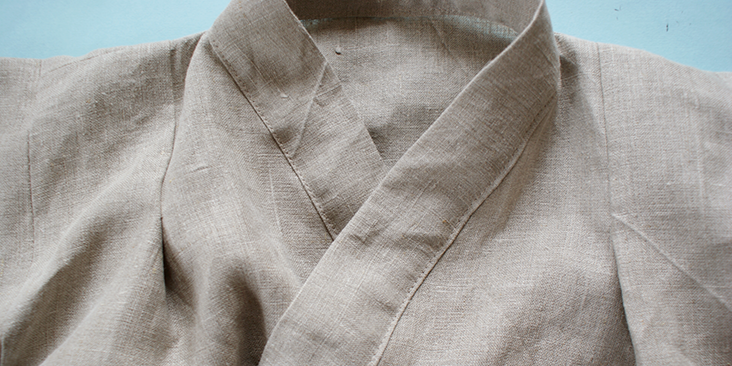
14. Now we will finish hems for the bottom and sides of the top.’ Leave out’ the slanted collar edge, start to press the hem inwards along the vertical front seam of the left front panel, carry on with the bottom seam and both slits, and back up the vertical seam on the right front panel. Top stitch over this pressed edge.
15. Next, take the collar panel and press it in half, then press the seam allowance onto its wrong side.
16. We will be attaching 2 straps on both ends of the collar panel. A strap per end. Fold the panel outwards, with the wrong side facing you, place one of your straps’ inside the folded panel end as shown below. Stitch along the seam allowance, trim away the corner and turn it back onto its right side. Repeat this step to attach the second strap for the opposite side of collar panel.
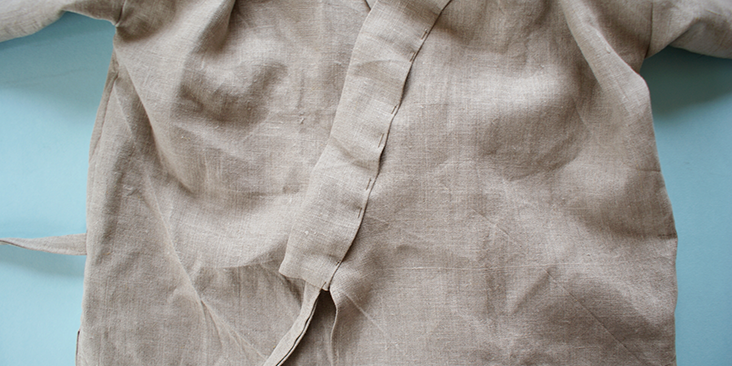
17. Pin the collar panel along the slanted collar edge. Match the centre notched mark of the panel to the centre back notch.
18. Top stitch along this panel.
Pyjama’ Trousers
19. For the trousers, match the front and back panels together, with their wrong sides facing out, pin along the inner seam and the outer seam. Sew along the seam allowance and press.
20. Turn one of the trouser legs onto its right side’ and place it inside the other leg (its wrong side is facing outwards).
21. Pin along the curved crotch seam and sew along it. Press.
22. Now we will prep the waist panel. Sew the end’ seams of the front and back waist panels together. Press it in half as well as pressing the seam allowance onto its wrong side.
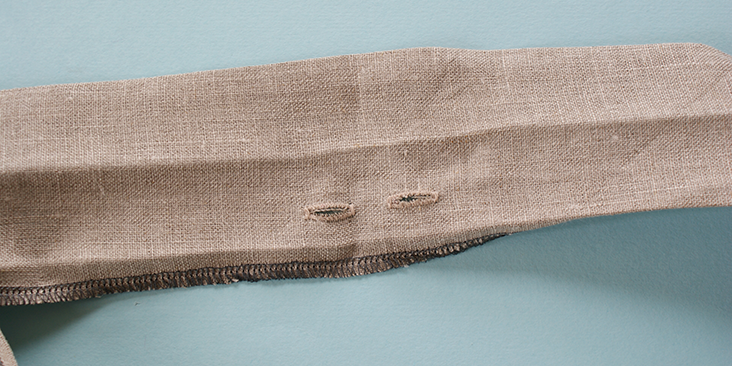
23. Mark where the centre front of the panel is, make two small button holes. Mark both sides of the centre point.
24. Following this tutorial, make two horizontal button holes.
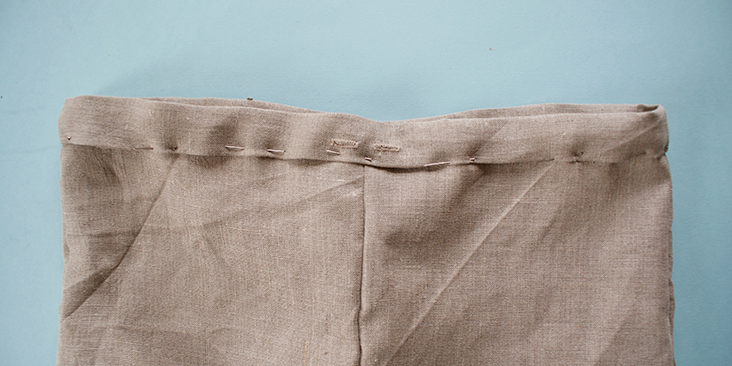
25. Place the waistband along the top of the trousers. Pin along the edge and top stitch all over.
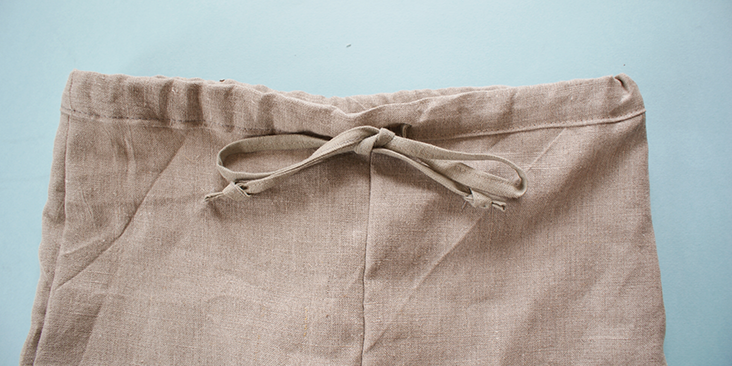
26. In order to make the drawstring follow’ this tutorial‘ and’ create around 31-35 inches (79-89cm) of tape that you will top stitch along the opening and its’ edges.
27. Using a safety pin thread the drawstring’ along the waistband, going in a one of the buttonholes and coming out from the other one.
28. Press the trousers hem onto its wrong side and top stitch along the edge.
Possibly a great christmas presents for the little ones in your family.’ Why not check out all the other colors we have and play around with all the possibilities you can find?
















2 Comments
Joan Holland
Hello. Can this be made for adults as well? How do you change the pattern to accommodate? Thank you.
Athena PN
Great idea for a tutorial pattern, thank you! Are you planning to publish adult sizes also?
One suggestion: all my martial arts trousers have a separate crotch gusset piece or pieces instead of the standard curved crotch seam, for mobility (very like the crotch gussets in traditional Turkish folk trousers). It’s also common to gather the leg fabric with elastic at the ankles to prevent the ankle area from being torn during sparring, practice etc.
A crotch gusset allows the wearer to extend her leg fully into medium & high kicks and also to drop into low, long fighting forms, such as Long Cat/Tiger, without unduly stressing the trousers’ seams. Without the gusset she’ll feel the trousers constricting the ‘longer’ moves found universally across all the martial arts, and the seams often suffer and fail from frequent, repetitive stress.
Thanks again for the tutorial!