Linen Romper Suit Tutorial
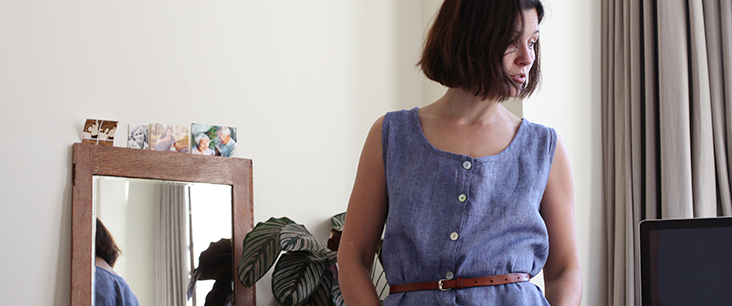
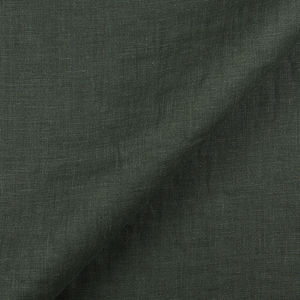
80’s at its best- we decided to pay tribute to the one and only romper suit as its the best to own and wear, especially in linen. We’ve used this fabulous Mid weight yarn dyed linen to give it a bit more texture and weight, but you always experiment with heavier or lighter fabrics.’ Throw on a jumper over’ it’ and wear this week, or keep it fresh for the summer months. Enjoy!
Materials
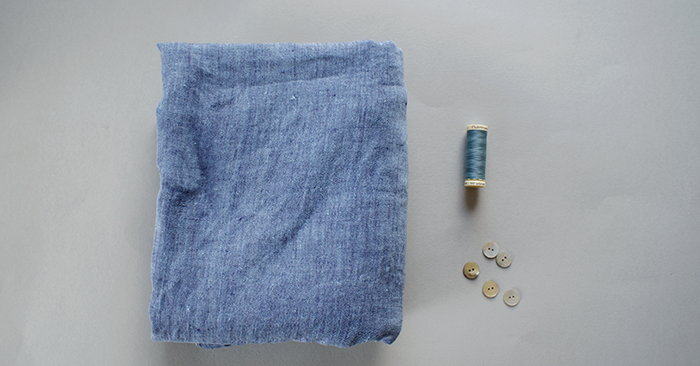
2.5 yards of IL042 903 FS Premier Finish
Matching sewing thread
5′ button
Tools
Pattern master, pattern paper
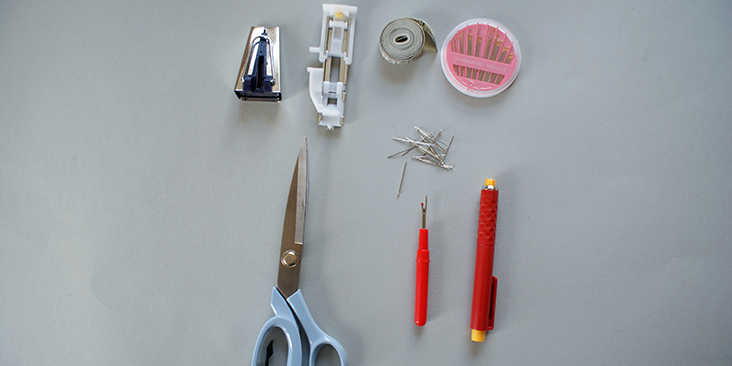
Paper scissors, fabric scissors, rotary cutter
Fabric marker, pins, tape measure, seam ripper
Bias tape maker, buttonhole sewing foot, hand sewing needles
Time
4-5′ hours
Difficulty
Intermediate
Step
Note: Prewash your fabric and tumble dry it until it is still slightly moist, let this dry in room temperature.
1. Iron the fabric so it is easier to work with.
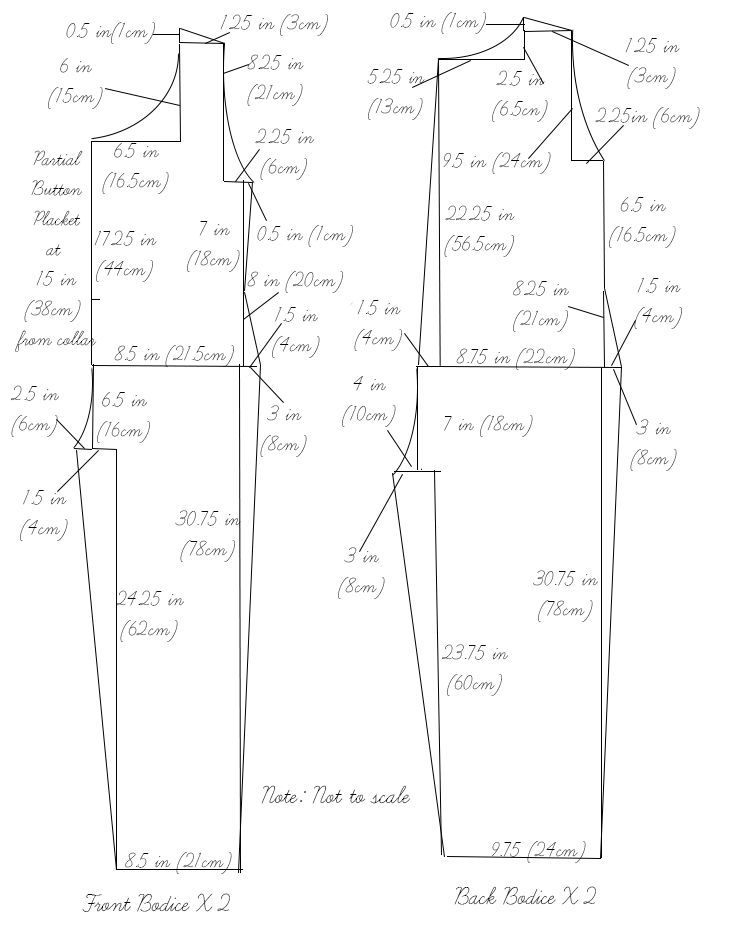
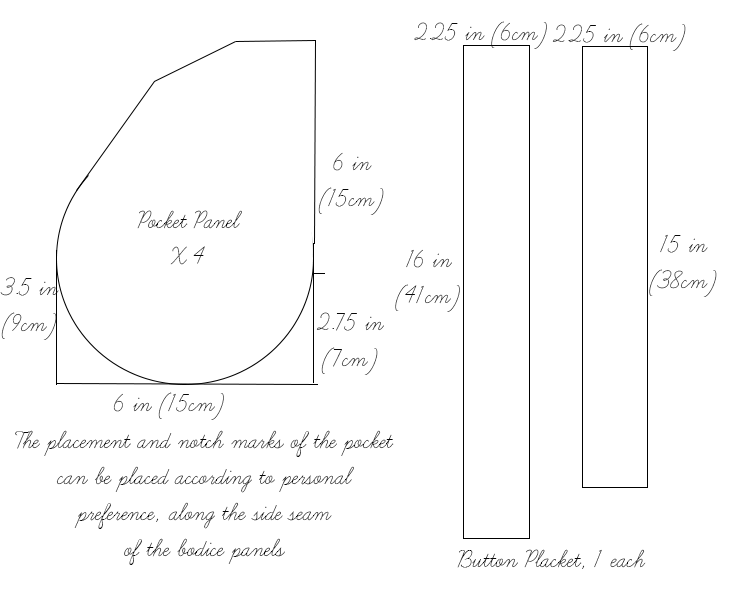
2. The diagram shows the pattern for US size 4-6 (UK size 8-10).’ Remember to add 3/8in (1cm) seam allowance around all panels. If you need help to grade your pattern, please follow this tutorial. Add on 3/8 inch (1cm) onto all the seams of the panels, unless indicated otherwise.
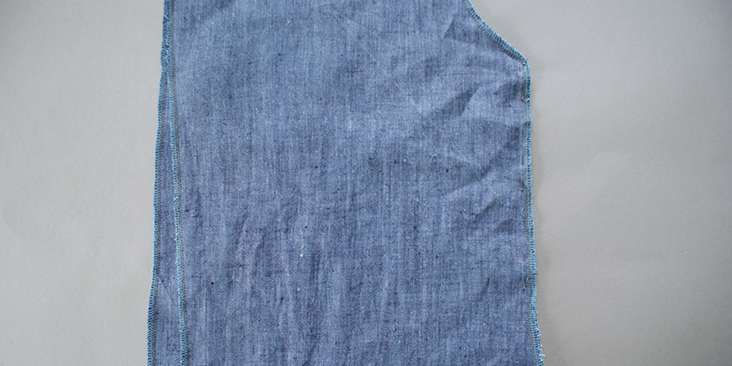
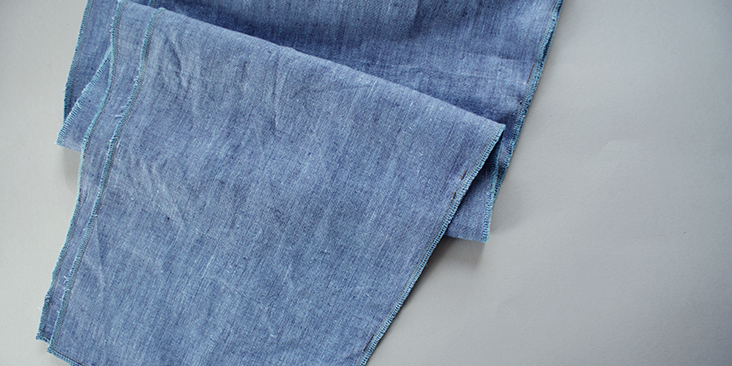
3. Use a serger, or choose your own method to protect the seams from fraying. Make sure the method you choose does not add weight to the fabric.
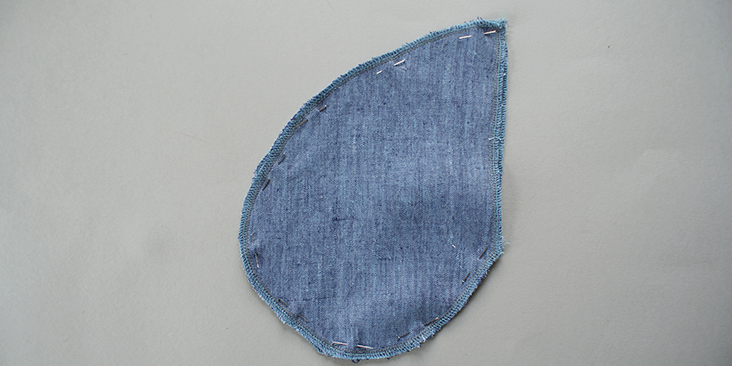
4. Pin together the curved edge of the two pocket panels. Sew them together. Repeat the same for the second pocket.
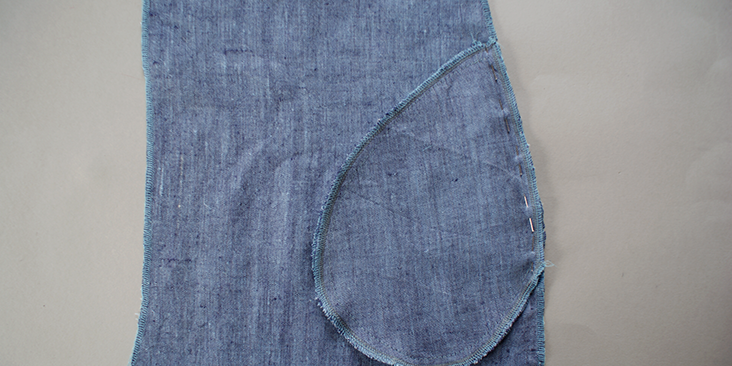
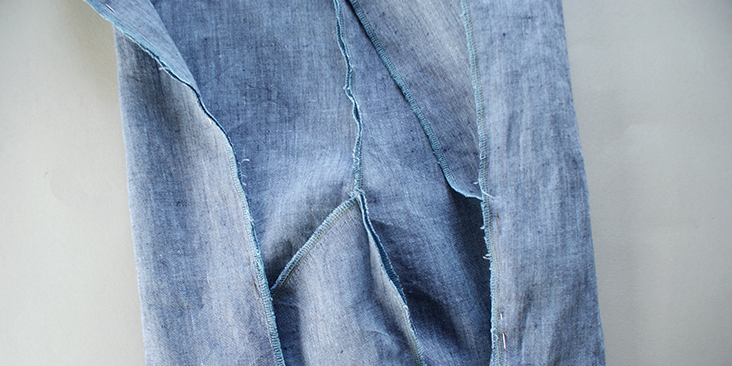
5. To attach your pocket to the bodice match the opening of the pocket onto’ the side seam of the bodice panel as shown in the photo below. Sew along this seam.’ You will only be sewing the bottom panel of your pocket to the bodice.
6. With the wrong side of the pocket and the back bodice panel facing you, match notches and pin the other side of the pocket opening to the back bodice panel.
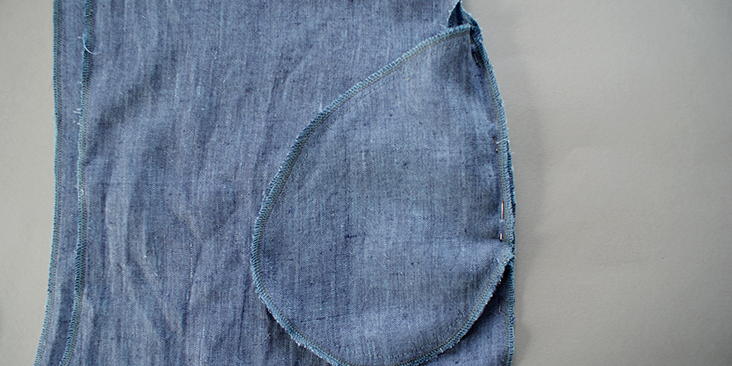
7. Next pin together the side seam of the bodice, all the way down to the bottom of trouser leg.
8. Sew this line, and be very careful when you reach the pocket opening, and make sure you don’t catch the other side of the pocket. Press the seam.
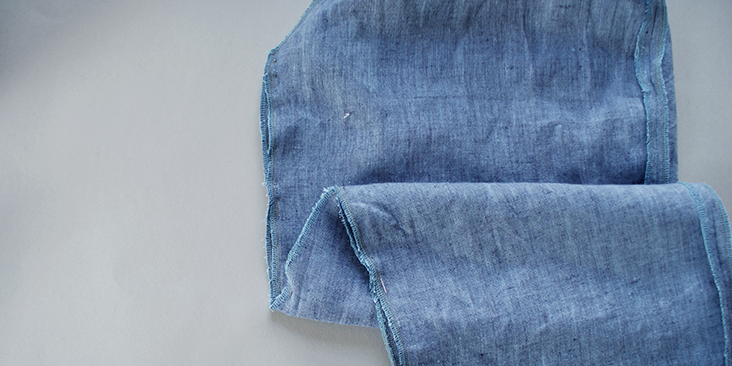
9. Next, pin together the inside of the leg panel (panels should be facing outwards). Sew along the seam allowance and press open.
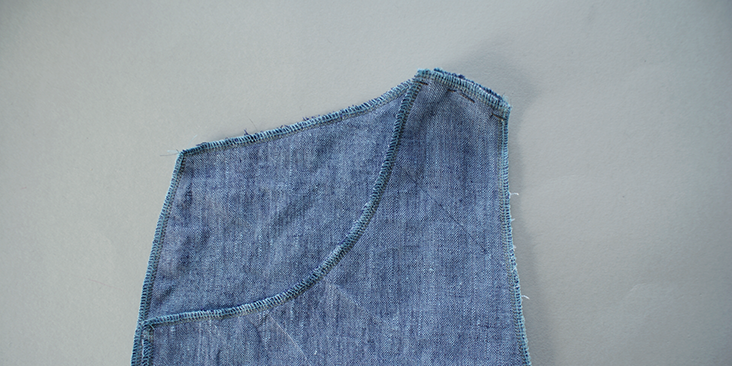
10. Pin the shoulder seams together and sew it.’ Repeat steps 5-9 for other side of romper.
11. Turn one half of the romper onto its right side and place this inside the other half.
12. Pin from the centre back of the bodice panel and along the crotch seam, all the way to the front panel and stop at’ the partial button placket indication.
13. Stitch along this seam and press open.
14.’ Following this tutorial, create around 2′ yards (1.5m) of bias binding tape.
15. First, proceed to bind around the armhole of the romper’ first.
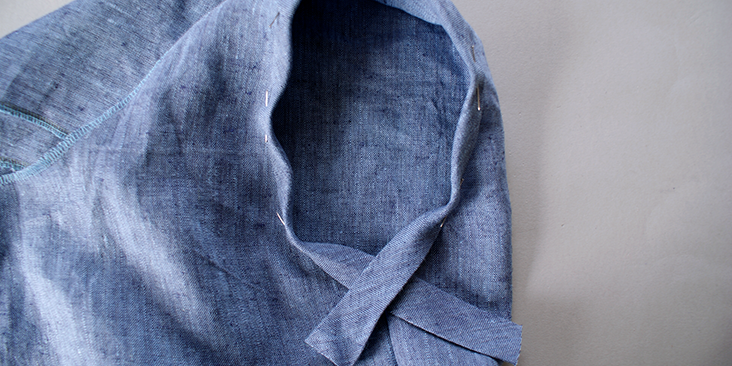
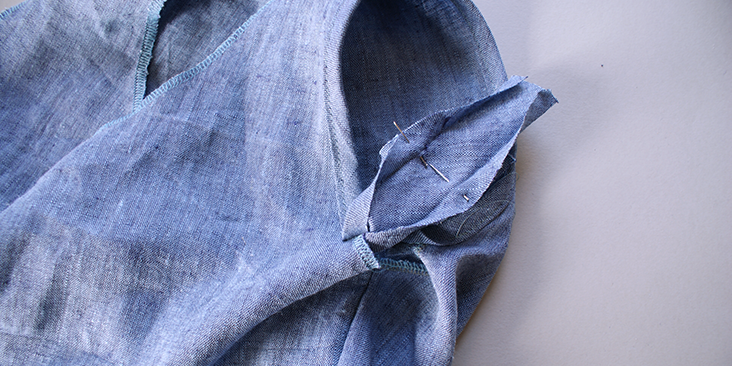
16.’ Leave’ about 1.15 inch (3cm) of tail unpinned, then process to pin the tape along the curved edge, leave around 1.5 inch (4cm) of gap from the beginning of the pinning. Finally, leave about 1.15 inch (3cm) of tails at the end of pinning as well.
17.’ Stitch along this pinned edge.
18. Then, manually match up the remaining unpinned edge and fold the tape backwards, form a distinctive folding line.
19.’ With the wrong side of the tape facing outwards, pin along this folded line. Stitch along the line and press. Trim away any excess fabric.
20.’ Refold the tape onto its right side and pin onto the remaining hem, top stitch over and press.
21.’ Repeat this for the other armhole.
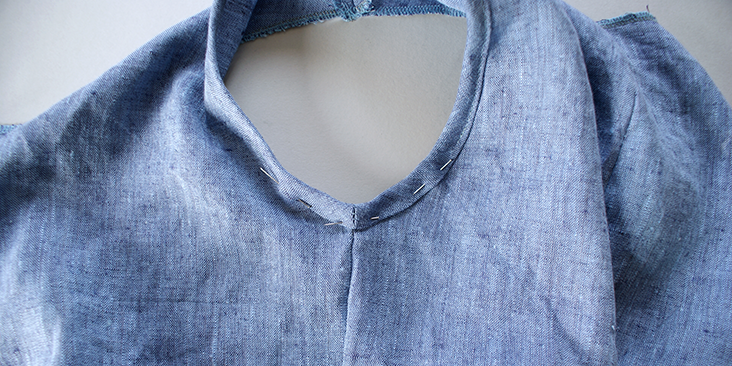
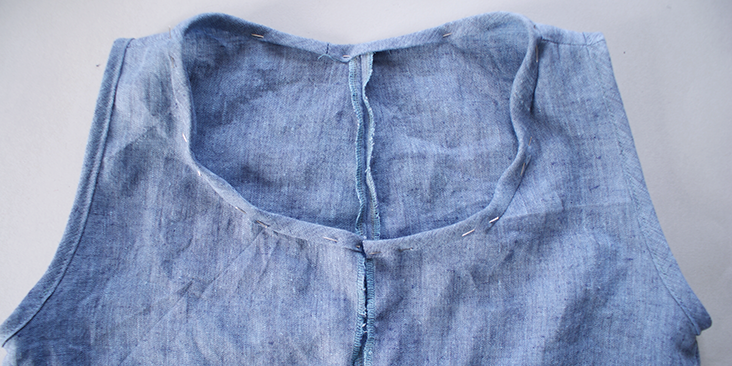
22. For the collar, repeat binding the seam as the armhole but simply pin the tape from the centre front panel, and pin along the whole collar without leaving any extra tail or untaped area.
23. Top stitch over this tape.
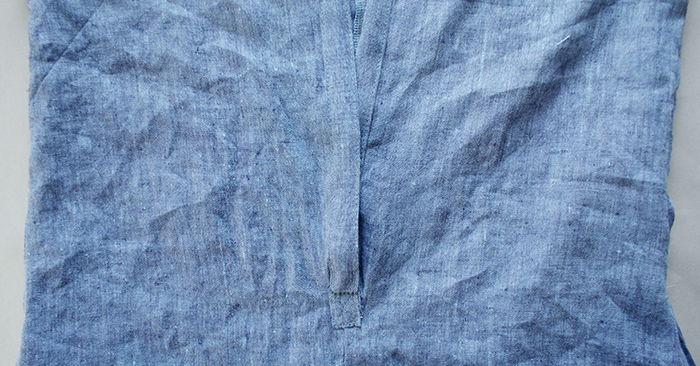
24. Then, following this tutorial, complete a partial button placket on the front of the romper. Remember this is a female’s garment, so you will be placing the placket material on the opposite side shown from the tutorial. (i.e the longer placket strip will be placed on the right hand side of the material.)
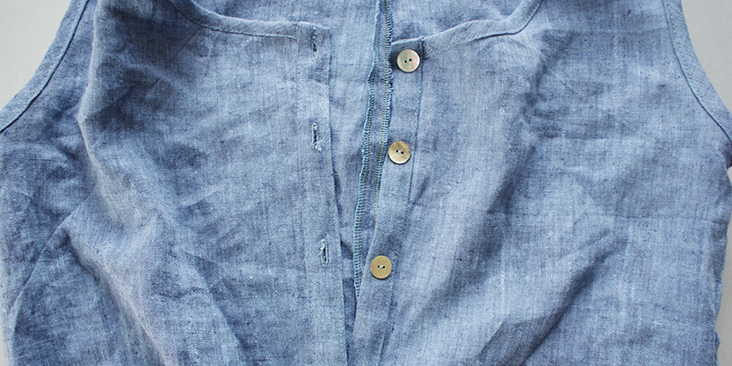
25. Next, follow this tutorial and create 5 buttonholes on the top laying button placket, spaced out equally.
26. Finally, follow this tutorial and sew on the 5 buttons accordingly on the opposite placket.
27. Last but not least, press the hem of the trousers onto the wrong side of the panel and top stitch over this hem.



















13 Comments
Melanie Shell
Please correct the pattern (errata) in the measurements. For example, when drafting the Back Bodice, the crotch is listed as both 3″ and 4″. Obviously there is an error, as identified by multiple other readers. This is such a lovely jumpsuit and it’s a shame that errata in the pattern measurements are present.
elise lehec
Hello,
I love your patterns ! I tried to draw this one but as other people commented already, it’s impossible… do you have by any chance the solution to help me ?
Thank you very much !
Jennifer Rieke
I love this patten! Can you make it into a printable, pretty please??? 🙂
Kelly
Hello!
I was so excited to find this pattern but have given up after trying to draft and discovering that it does not make any sense. As previous commenters have mentioned, the measurements are all off and it is impossible to draft the pattern as it is shown here. The lines simply don’t match up. How disappointing! It is really kind that you offer so many free and lovely patterns, but please make sure that they make sense!
Tamara
I’m trying to draft this pattern but the numbers dont seem to add up? Am i missing something?
Rachel
I love the look of this romper and I’m trying to draw out the pattern but seem to be really struggling to get the measurements the same. The areas where the trousers and top parts meet seem to be particularly confusing. Any advice?
Melissa
Very cute indeed.
Masha Karpushina
Thank you!
AmyCat =^.^=
I’d suggest making the pockets at least an inch deeper. I’ve been noticing shallow pockets lately ’cause that’s one of the places catalog clothes patterns skimp to save fabric; two skirts I got recently have 2″ shallower pockets than the same catalog # skirt bought 6 years ago. 🙁
It’s no harder to use deeper pockets when you’re making your own clothes, so why skimp?
Betty
Where do I get the pattern?
Cynthia Fong
Hi Betty,
The pattern is available for you to copy as the Jpeg file in the article. If you click on it, it will open into a new window in a larger size, where you can copy the pattern.
Hope this helps.
Bonnie
The pattern measurements would be so Verty much easier to read if the font were Both bold and Not italic – especially when trying to read on an app.
Please consider changing the font to a version that is not a struggle to decipher 🙂
I do LOVE and APPRECIATE your generous courtesy in offering classic patterns with clear and complete instructions. THANK YOU!
Cynthia Fong
Hi Bonnie,
Thank you for your suggestion, we will look into it and keep it in mind for improvement in the future. And we are glad that you enjoy the tutorials. Do share with us your take on these projects too!