Drew Linen Tunic Dress Tutorial
Oversized tunic dresses have had a strong come back recently which works fine for us, as its the perfect way we like to wear linen. For Drew we added some long sleeves and buttons for easy wear and casual flair. The size is meant to be slightly loose, but you can always adjust the width to suit your beautiful silhouette.
Note: if you are choosing this particular material, be aware that it is not entirely opaque. You might want to wear a slip dress under. We hope you enjoy!
Materials
3 yards of IL020 Krista Natural Softened
Matching sewing thread
9 buttons (You can choose to have a different amount if you prefer)
Tools
Pattern master, pattern paper
Paper scissors, fabric scissors
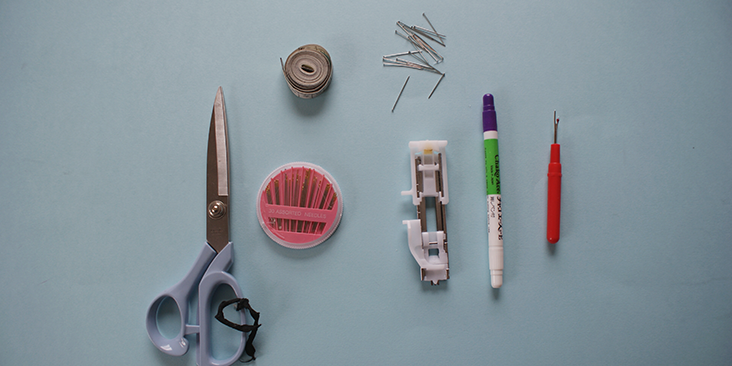
Fabric marker, pins, tape measure
Buttonhole sewing foot, seam ripper, hand sewing needle
Time
5-6′ hours
Difficulty
Intermediate
Pattern
You can access the multi-sized printable PDF pattern by following this link HERE. The model is wearing US size 6.
Steps
Note: Prewash your fabric and tumble dry it until it is still slightly moist, let this dry in room temperature.
1. Use a serger, or choose your own method to protect the seams from fraying. Make sure the method you choose does not add weight to the fabric.
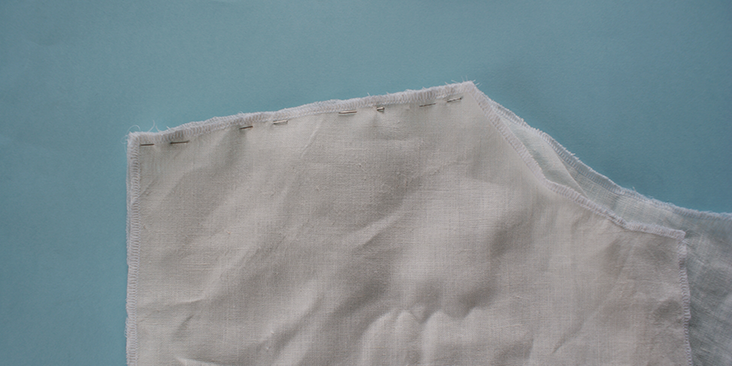
2. Pin together the front and back shoulder seams and stitch together. Press open.
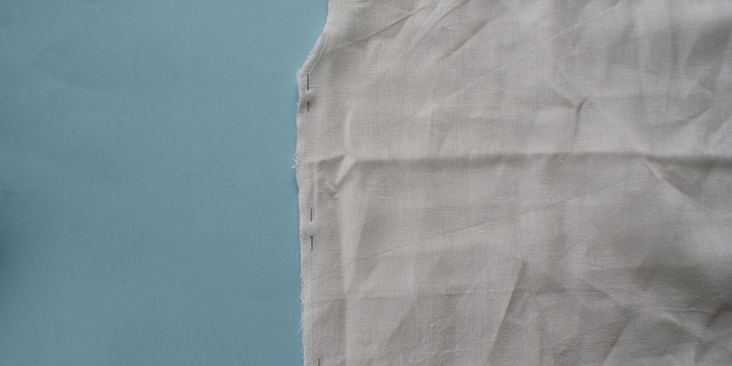
3. Pin along the side seams, and leave the bottom part of the panels unpinned as these will be the slits. Stitch and press.
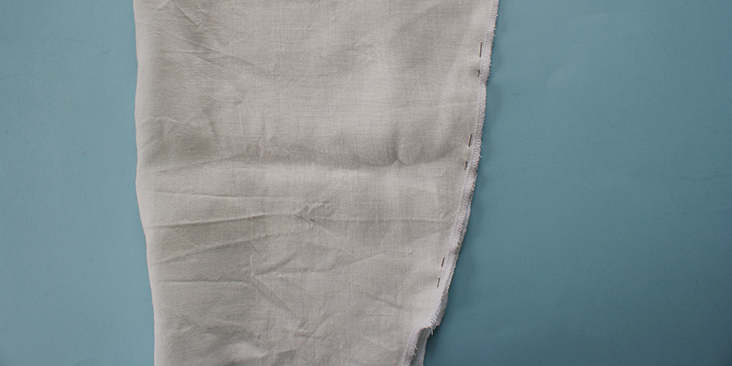
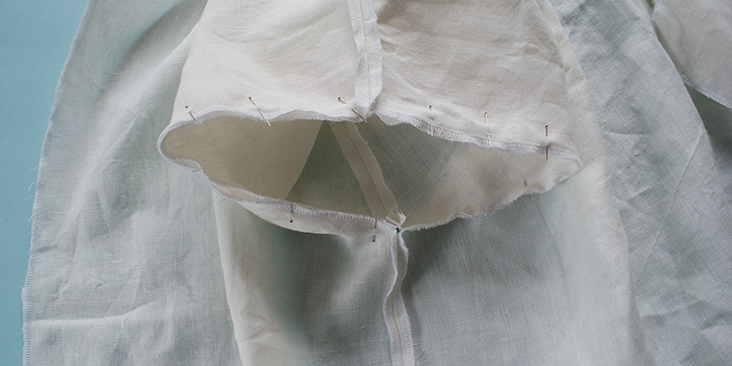
4. Join together the side seams of a sleeve, make sure the bottom of it is left open as this is the slit. Stitch and press. Repeat for the opposite sleeve.
5. With the wrong side of the body panels facing outwards and the sleeve facing right side out, place it inside the armhole and pin along the curved edge. Stitch and press.
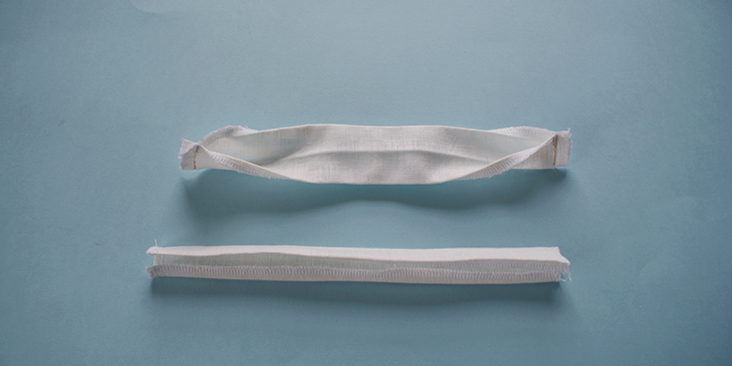
6. Press the wristbands in half and the seam allowance onto its wrong side. Stitch along the short side seam on the wrong side and turn the band onto its right side.
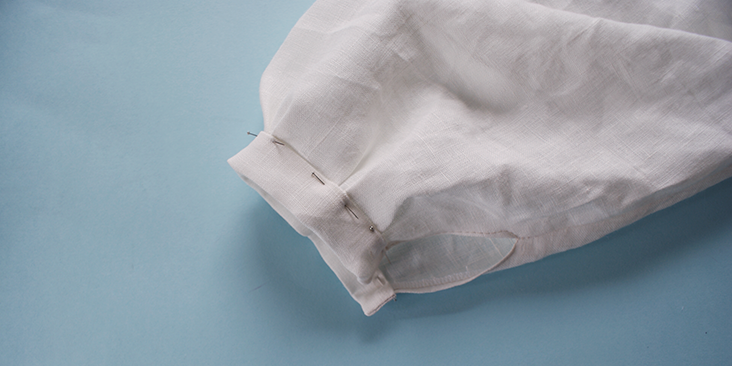
7. Pin the wristband along the sleeve hem, while gathering the longer seam so it all fits along the short wristband length. Topstitch along it and press.
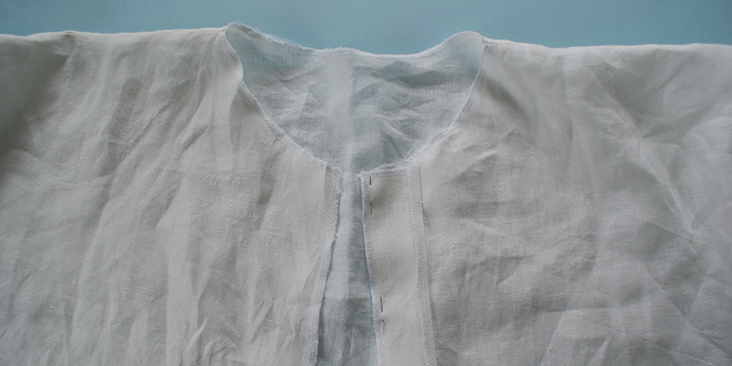
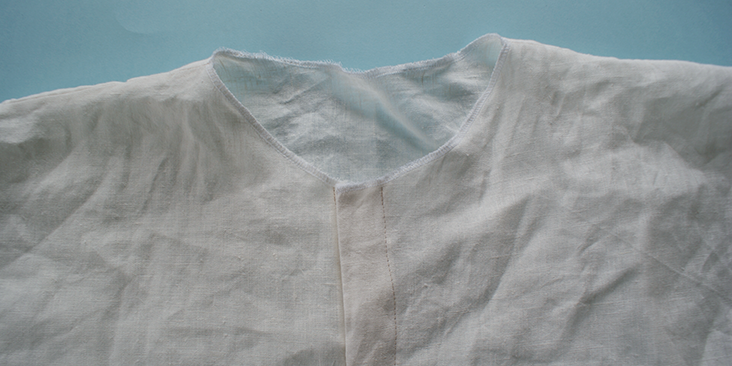
8. Press the seam allowance of one side of the button stand. Then pin the other seam of the button stand along the front centre seams of the body panel.
9. Stitch along the pinned edge, then turn it towards the wrong side of the panel and press it flat. Topstitch over the pressed edge.
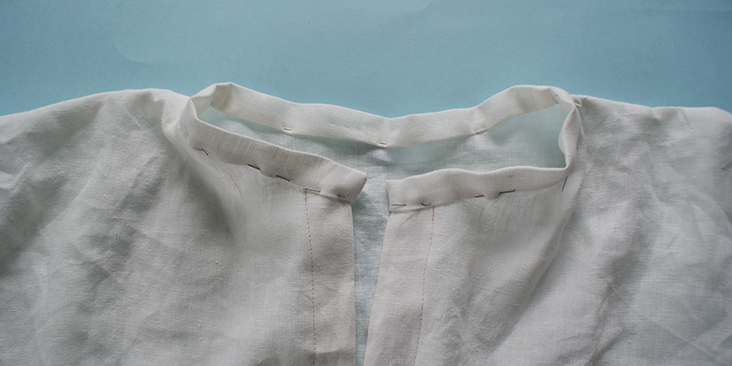
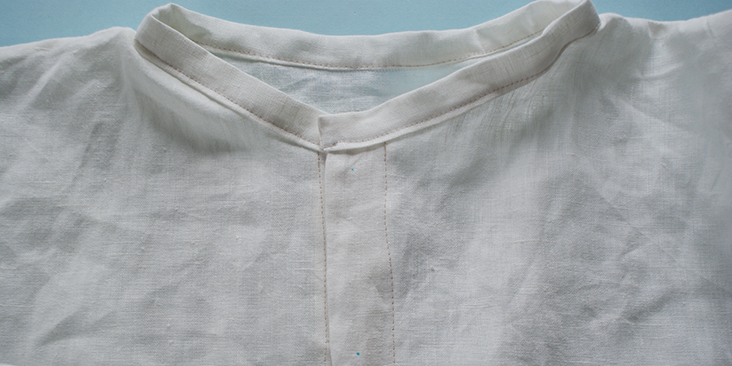
10. Press the stand in half and also the seam allowance onto its wrong side. Stitch the side seam and turn the collar stand back onto its right side.
11. Pin the pressed seam allowance along the collar edge and topstitch over the edge.
12. Following this tutorial, measure out and create the right amount of buttonholes along the button stand. Make sure all buttonholes are the same distance apart.
13. Then, follow this tutorial and sew on the buttons at relevant spots on the opposite side of the shirt.
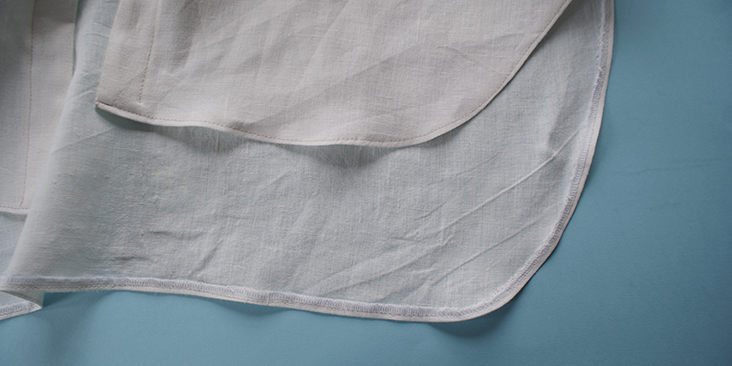
14. Finally, press the remaining unstitched edge of the side seams as well as the bottom hem towards the wrong side of the shirt, then topstitch over these hems.












16 Comments
Lauren Temple
Hi, I have looked everywhere but can’t find what the seam allowance is for this pattern.
Lauren Temple
just kidding!!! found it!
A T
Hi darlings, could you please provide a little diagram with positioning of the pattern pieces on a standard 54″ fabric as suggested in the pattern? This would be very helpful to avoid waste, as well as knowing where we can shorten/lengthen the dress. Thank you!
Lauren Gates
Hello,
We are planning on adding these diagrams to our collection of over 90 free patterns in the future. In the meantime, we suggest laying your largest pieces on your fabric first, according to the grain line, then fitting in your small pieces around it. If you’d like some more guidance, please email me and I’ll be happy to help out. Ask@fabrics-store.com
Rebecca Reardon
I’m looking forward to making this tunic with your linen in the milk-white hue of IL019-TADELAKT. I do wonder what size buttons you used? I’m a rather beginner sewest so I’d love any feedback!
elisabeth
Varför kan jag inte få ut mönstret Har installerat Adope
Sara Ashford
Can I print this pattern or purchase it ? How to copy it?
Masha Karpushina
Sara, hello, you can find the pattern here: https://fabrics-store.com/sewing-patterns/linen-tunic-dress/
Lillian
Thank you!!
Jaimn
I’m sorry that I’m confused, because I love your tutorials, and appreciate that you always have quick feedback. I am excited about the pattern, and have all sorts of variations for it, but why cut 2 for the back panel? I understand needing two for the front, but the shouldn’t the back, being cut on the fold, just be one panel? I am a novice sewer and do appreciate the help. Thank you!
Cynthia Fong
Hi Jaimn, Apologies for the confusion, there has been a mistake with the pattern and you only need to get out one panel of the back with the folded centre back. I will update the pattern accordingly. Sorry for the confusion and thank you for pointing it out for us. We hope you enjoy this tutorial.
Bonnie
Lovely, comfy, and a contemporary version of a retro style. Thank you.
Cynthia Fong
Thank you for your comment. We hope you enjoy this tutorial, it indeed is extremely comfortable.
Betty
I really like this tutorial, but do not understand where to get the pattern for the Linen Tunic Dress. HELP!
Masha Karpushina
Hey Betty, right at the top, there is a diagram on how to draw your pattern. If you need help with the diagram, we also have this tutorial to help you out work it out. If you need more help, do get in touch.
Masha Karpushina
click on the word: tutorial. otherwise here is the link again: https://blog.fabrics-store.com/2015/05/25/how-to-draft-a-pattern-tutorial/