Linen Kimono Style Bathrobe Tutorial
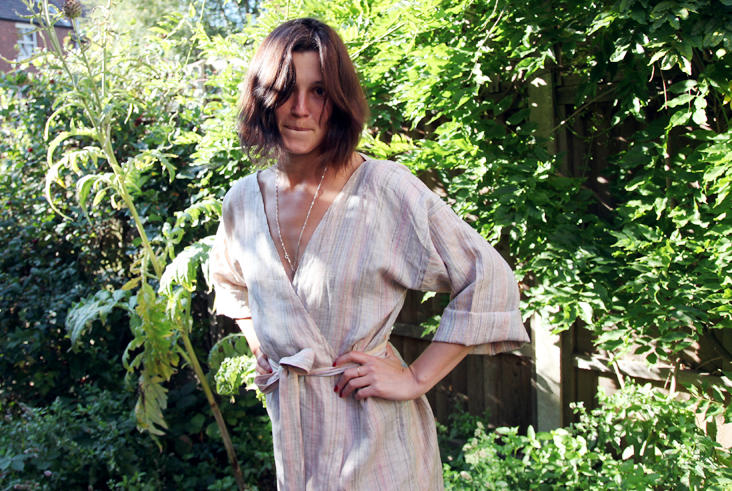

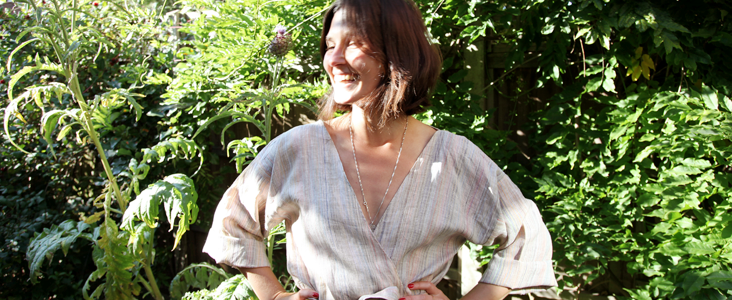
 We’ve decided to show you how to make this kimono style short bathrobe, made out of the gorgeous Yarn dye’ Multi Coloured Linen which really lifts this simple design. Rather than choosing fabric for a specific project, we started with this yarn dye fabric as we couldn’t resist not using it in some way. A kimono felt like the right direction. This fabric really is beautiful, far richer and interesting that on the photo, note that it’s rather lightweight so this top would be great for the home or to be worn out in summer. You could take it a step further and make a pair of these trousers and you’ll have yourself a fine new set of Japanese pyjamas.
Material
2 yards of Yarn Dye IL022 957 Stripes Softened
Matching sewing thread
Tools
Pattern master, pattern paper
Paper scissors, fabric scissors
Fabric marker, pins, tape measure
Time
3-4′ hours
Difficulty
Beginner
Step
Note: Prewash your fabric and tumble dry it until it is still slightly moist, let this dry in room temperature.
1. Iron the fabric so it is easier to work with
2. The diagram shows the pattern for a size US8-10 (UK12-14). Remember to add 3/8in (1cm) seam allowance around all panels. If you need help to grade your pattern, please follow this tutorial.
3. Use a serger, or choose your own method to protect the seams from fraying. Make sure the method you choose does not add weight to the fabric.
4. Pin the top of the shoulder seam of front and back Body Panels. Sew together and press the seams open. Repeat this step on the opposite side.
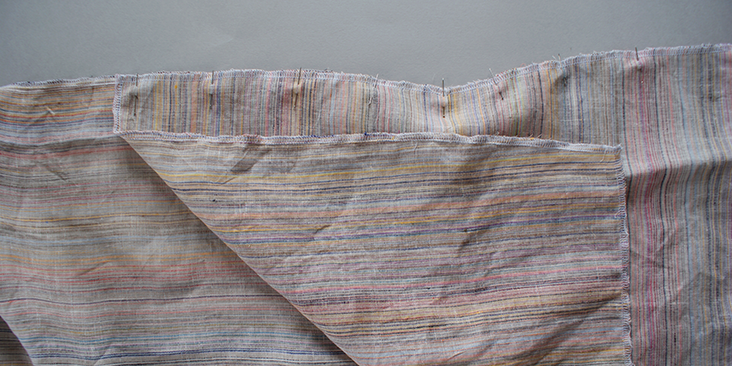
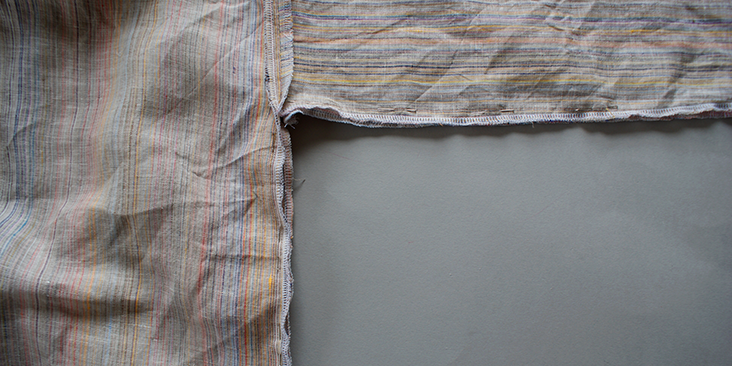
5. With the wrong side of’ sleeve panel facing you, line the top edge of the sleeve panel along the side seam of the body panel. Make sure to align the corner of shoulder seam to where you have folded your sleeve seam (Fold seam on the diagram). Stitch along the pinned edge (leave 3/8 in (1cm) at the beginning and the end of the edge stitch free). Press. Repeat this step with the other sleeve on the opposite side.
6. Then, fold the sleeve in half (as shown on diagram) with wrong side facing out and pin along the sleeve side seams as well as the rest of the body side seam. Stitch and press.
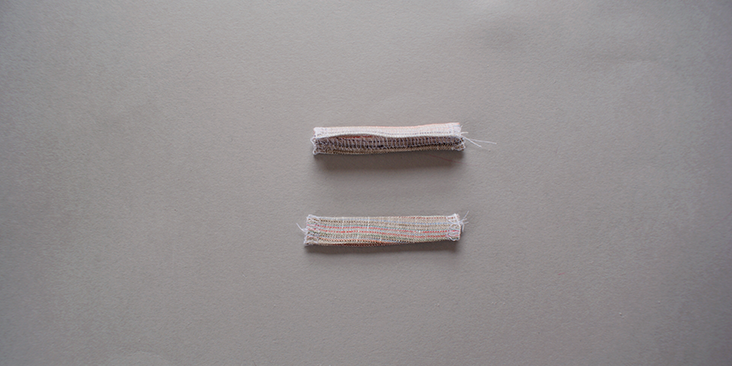
7. Fold the waist loop in half and iron the seam allowance all the way around the panel towards the wrong side of the ‘ fabric. Stitch along all edges.
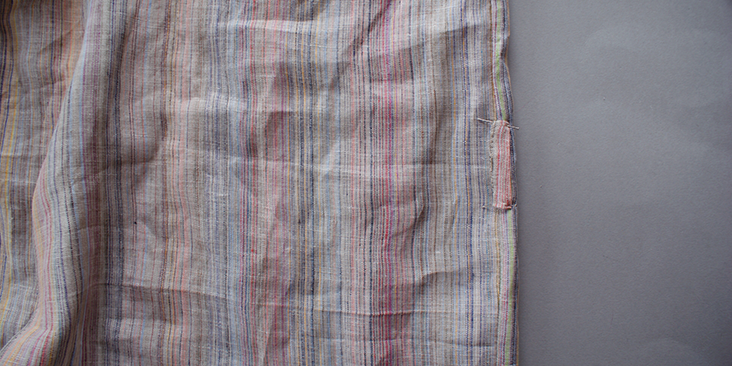
8. Pin the waistband loop onto the right side of the bathrobe, preferably along the side seam, where the waist would be. Repeat on the opposite side. Top stitch over the loops.
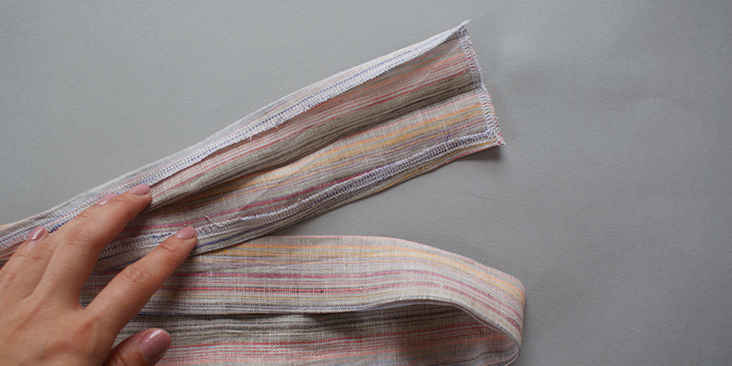
9. With the waistband, press it in half, and then press the seam allowance towards the wrong side of fabric. Top stitch over all the edges.
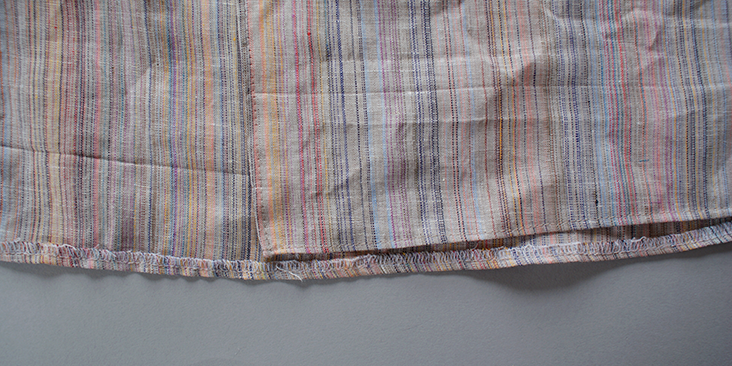
10. Press all the edges of the bathrobe (along all the collar and the bottom hem, and the sleeve hems) towards the wrong side and top stitch over these edges. Give it a press so it sits flat.
We are currently in love with this material but’ we also have many others so take a look at’ our selection‘ and take your pick of fabric!















2 Comments
Christine Tevlin
Hi,
Another Christine wanting to make this!
I love Cynthia’s posts – can you confirm all the directions are included?
Thanks!
Christina
Hi!
Was looking forward to making this linen robe. I’ve started sewing it together, and based solely on the directions it doesn’t make sense. I don’t know how long ago this was published but would love to make it work.
Thanks!
Christina