Striped Linen 60s Inspired Dress Tutorial
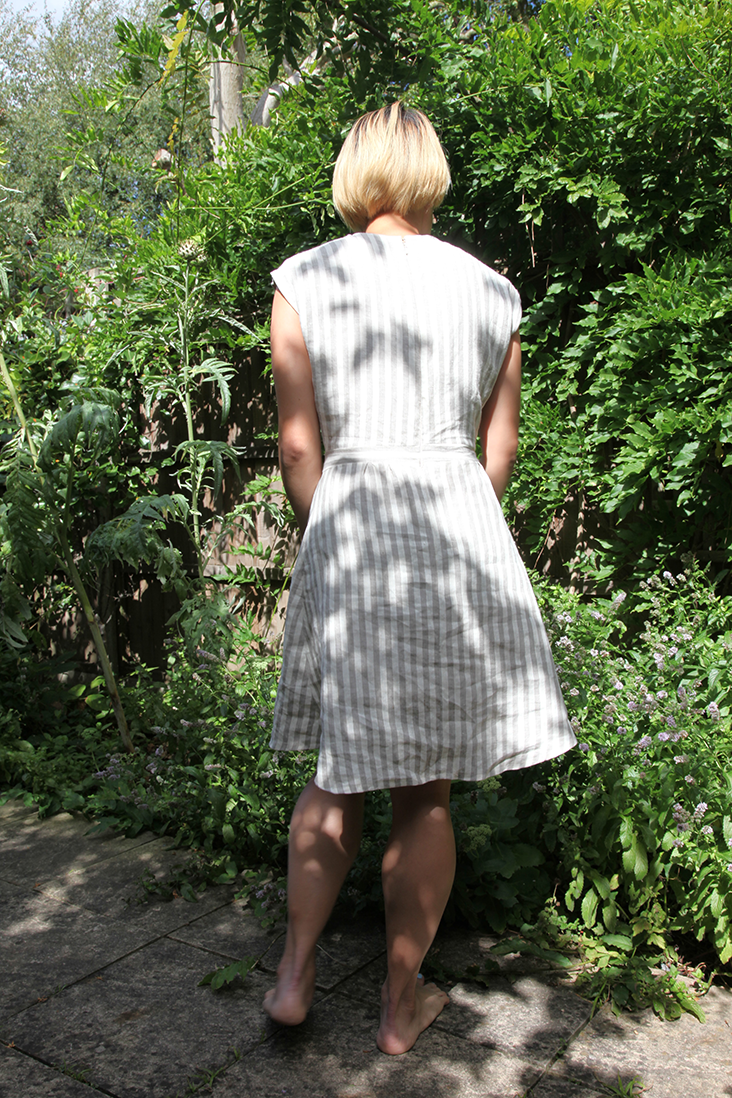
We love making linen clothes, a lot of the time our preference of’ design for linen is a loose fit with a’ sense of great comfort. This time, we decided to shake things up a little and show you how to make a pretty A-line fitted dress that doesn’t require a very difficult pattern. This pattern is based on an existing 60’s dress that belonged to an aunty, so it was absolutely a must to redesign this number in linen. We also love’ stripes and feel they add a touch of cool to our dress and make it quite special. We do hope you will enjoy this tutorial and please send us your thoughts in the comments below.
Material
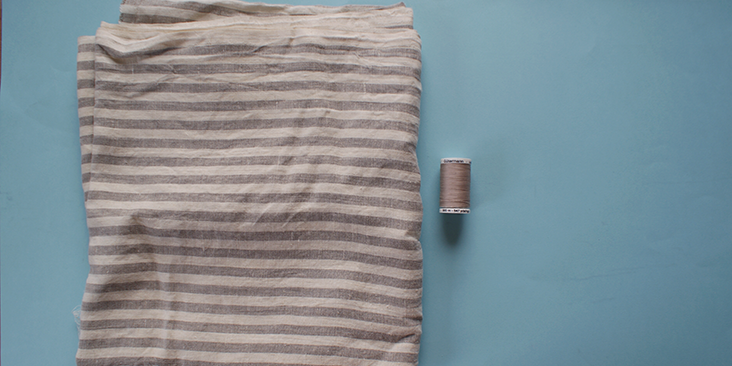
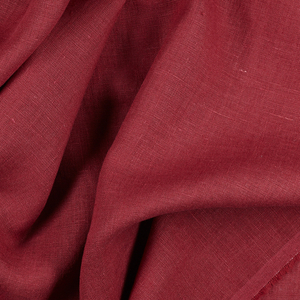
2′ yards of IL044 875
Matching sewing thread
Tools
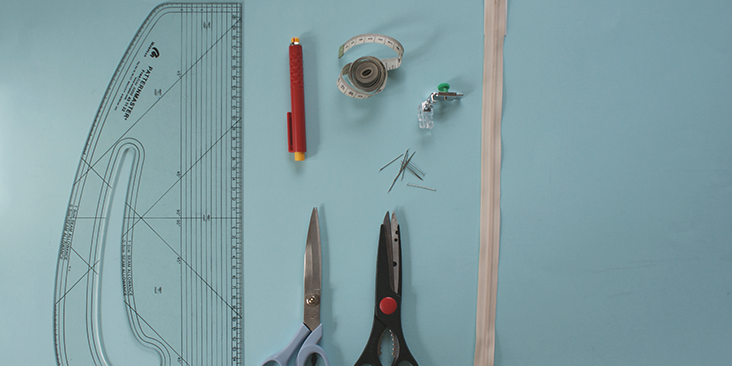
Pattern master, pattern paper
Paper scissors, fabric scissors
Fabric marker, pins, tape measure
Invisible Zip sewing foot, Zip
Time
5-6′ hours
Difficulty
Intermediate
Step
Note: Prewash your fabric and tumble dry it until it is still slightly moist, let this dry in room temperature.
1. Iron the fabric so it is easier to work with
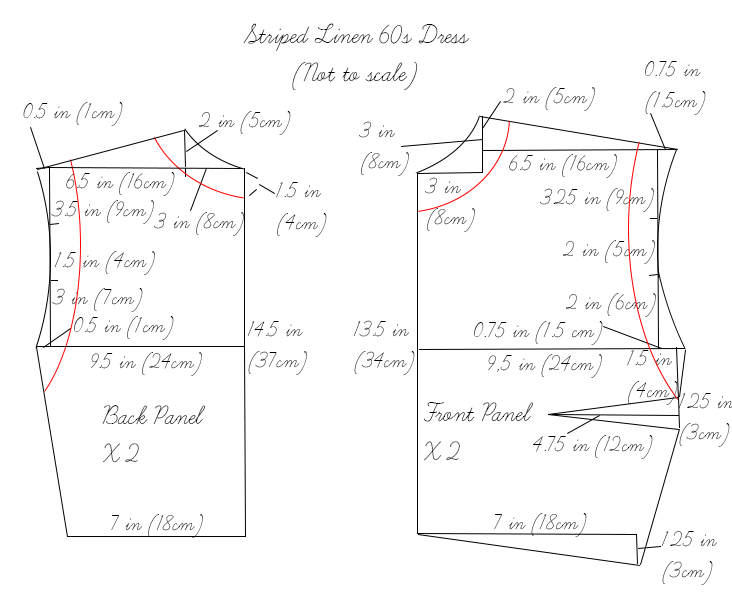
2. The diagram shows the pattern for a size US6-8 (UK10-12). Remember to add 3/8in (1cm) seam allowance around all panels. If you need help to grade your pattern, please follow this tutorial. The red lines around the collar and armholes indicate the width for the interfacing you need to cut out.
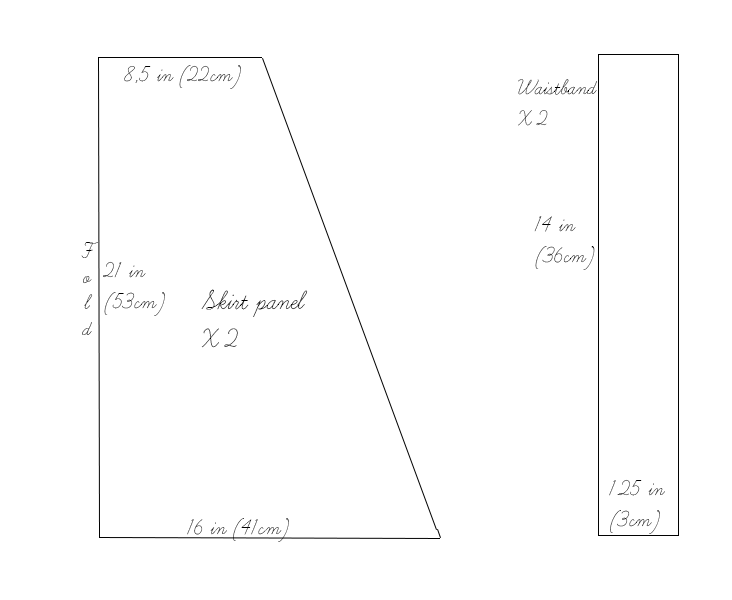
3. Use a serger, or choose your own method to protect the seams from fraying. Make sure the method you choose does not add weight to the fabric.
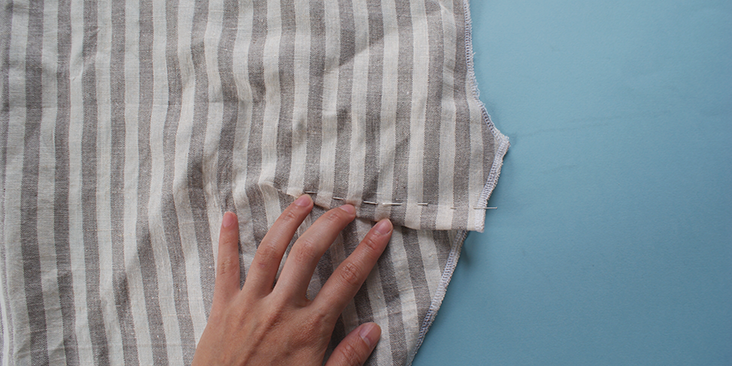
4. Pin at the chest darts on the wrong side, and stitch along this seam.
5. Pin the front centre seam together and stitch together. Press open.
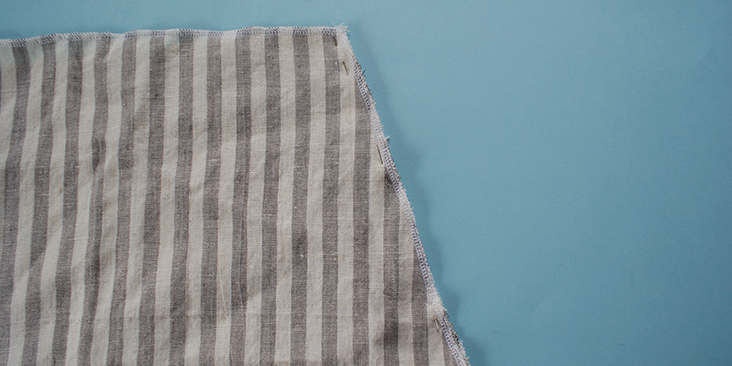
6. Pin the shoulder seams together and stitch at the seam allowance. Press open.
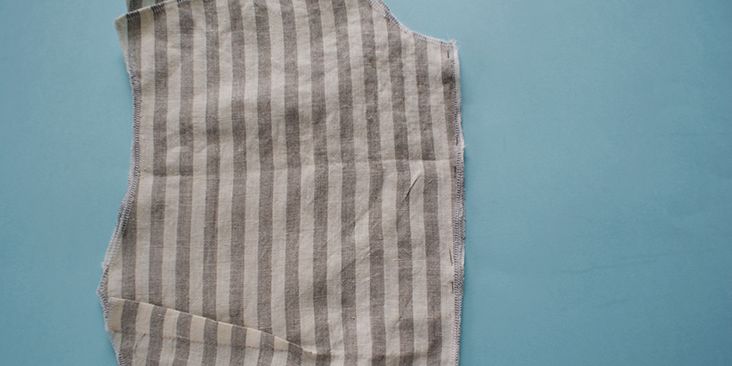
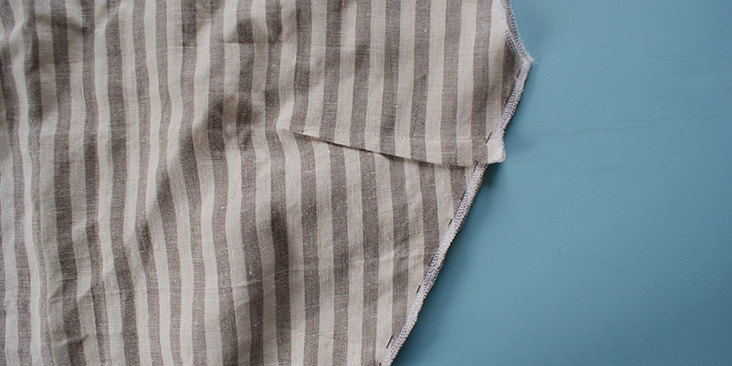
7. With the darts facing downwards, pin the side seams together and stitch, then press.
8.’ Pin the side seams of the skirt together and stitch together. Press open.
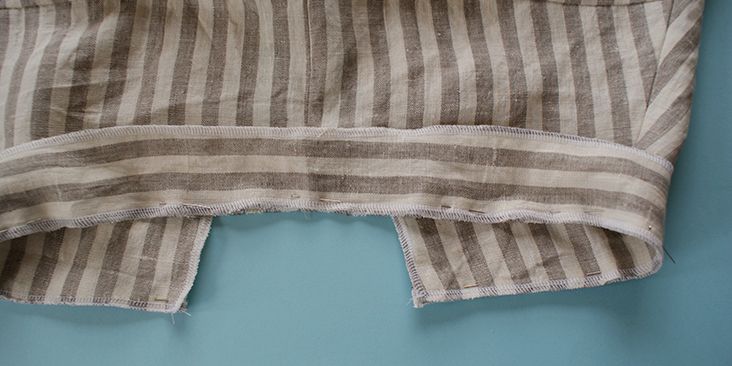
9. Pin the waistband onto the bodice and stitch together, press open.
10. Next, pin the skirt panel onto the waistband and stitch together. The skirt panel is slightly wider than the waistband so you can do some impromptu gathering whilst pinning them together. Press the seam open.
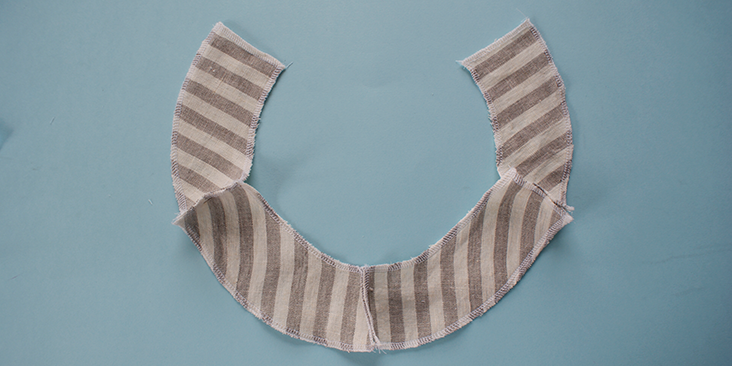
11. Pin together the front and back of the collar interfacing. Stitch and press open.
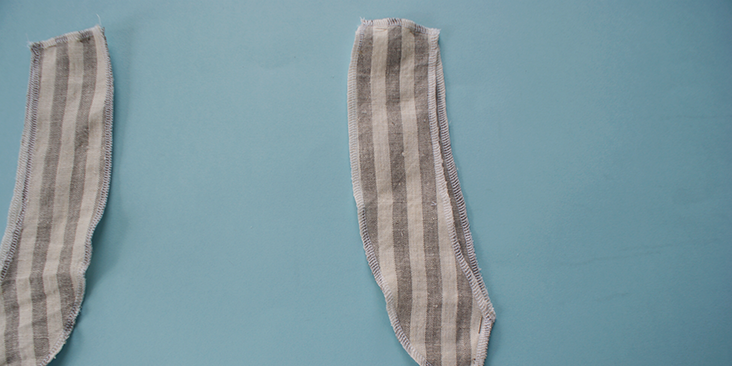
12. Take the armhole interfacing, pin together the shoulder and side seam. Press them open.
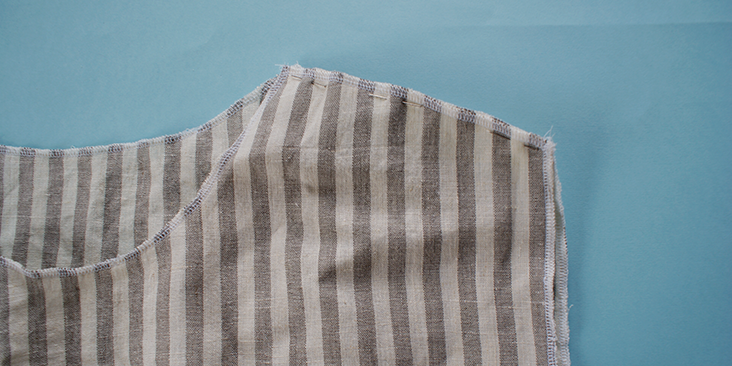
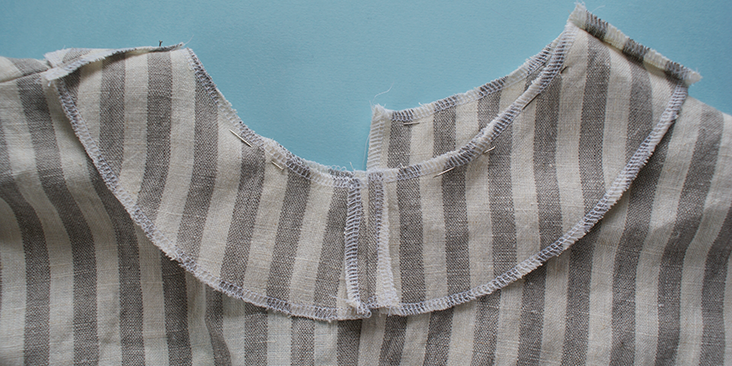
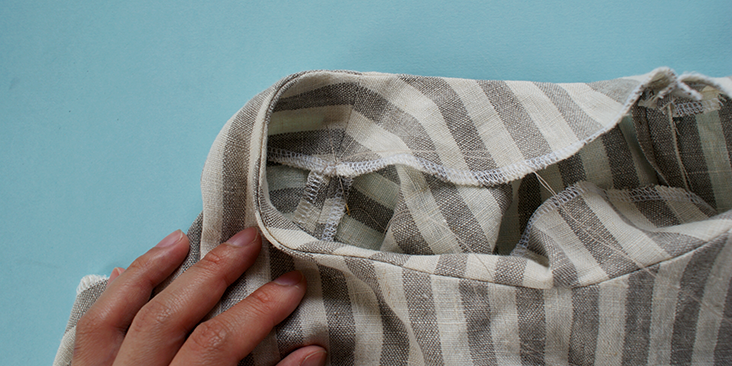
13. Pin the collar interfacing, with its wrong side facing up, onto the right side of the bodice. Stitch along the curve, and create small snippet afterwards to allow an easier movement of the fabric once folded.
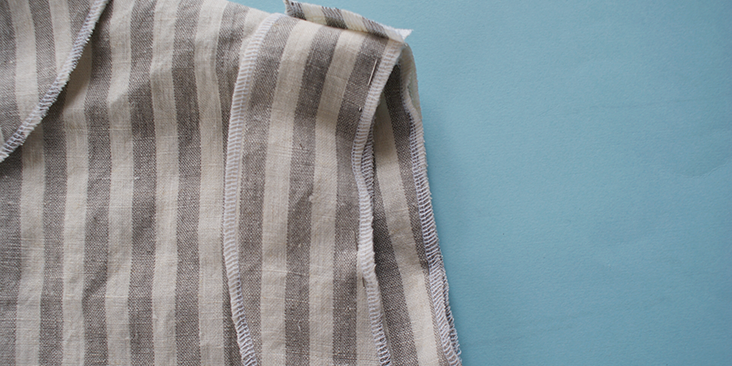
14. Do the same for the armhole interfacing.
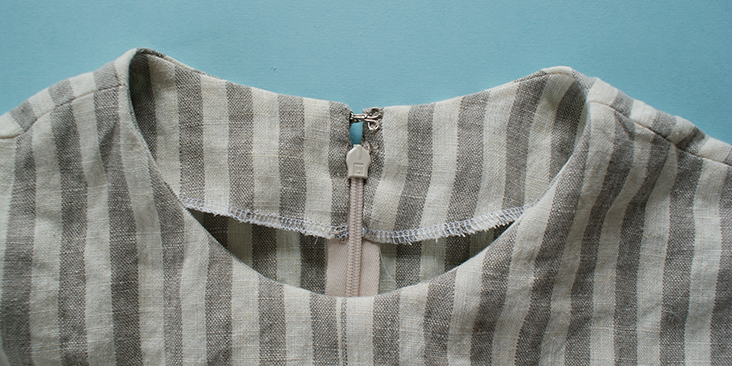
15. Following this tutorial, pin and sew the invisible zip onto the centre back’ of the dress. Making sure the zip is not at the moment attached to the interfacing of the collar. And check to make sure the waistband matches up once the zip is done up.
16. Once the zip is sewn together, turn the dress onto its wrong side again and pin together the remaining open part of the skirt side seam. Stitch along and press it open.
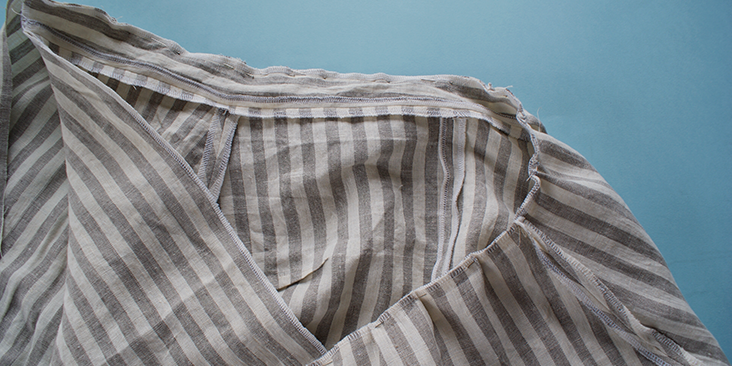
17. Take a sewing needle and hand stitch the interfacing onto the side seams of the dress, making sure the stitching does not show up on the right side of the dress.
18. Now, do the same with the interfacing that is attached to the zip. Fold the side seam of the interfacing manually and bring the fabric down so it covers the top part of the inside of the zip. Add in the hook and eye before stitching down the interfacing.’ Using an invisible hand stitch join these two together. As you can see in the imagine below, the eye is hidden inside the seam.
19. Finally, fold the seam allowance of the hem towards its wrong side and top stitch over that. Give it a press to let it set.















3 Comments
Rajiv
I too buy on the Internet sometimes but also rmebmeer reading an article by Jean Ray Laury years ago she pointed out that your local craft/fabric stores won’t be there when you want them, if you only shop them when you need them, so I try to make a point of shopping local for quilting and crafting stuff.
Anna
So helpful to see how you did the collar interfacing. Thanks for the ideas!
Petg
Well a dress that has me leaping from the computer and over to that cool fabric purchase not long ago waiting for just this pattern!
Taught a serger class last spring and I have been hoping for just the perfect one to make for the next class. Will give all credit to you Cynthia. I love the style of clothing you complete.
Thanks so much for your expertise and inspiration.