Linen Mini Skirt with Pockets Tutorial
Here is a sweet little mini skirt number in linen. Loosely based on a classic A-line skirt, we actually took inspiration from a retro skirt from the 70s, which is starting to get rather frail but is still very much loved. This particular design with multiple panels allows the skirt to sit closer to the body. We hope you enjoy and if’ you have any questions or suggestions, please leave your comments below.
Material
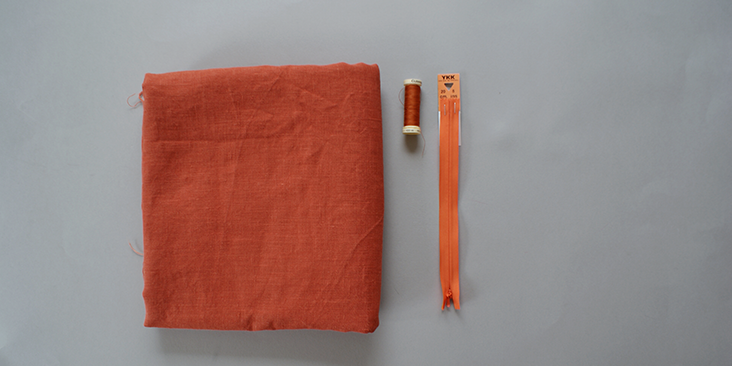
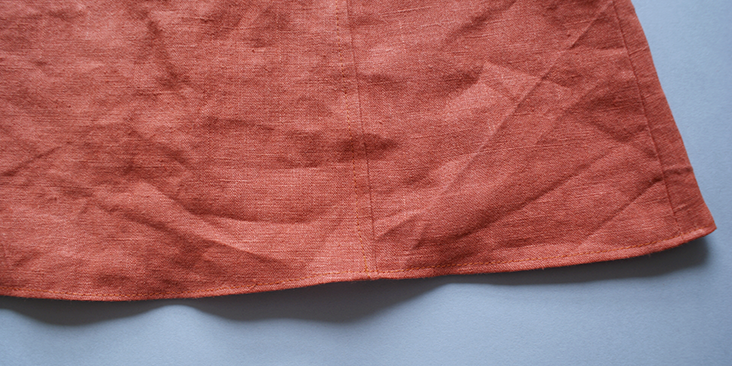
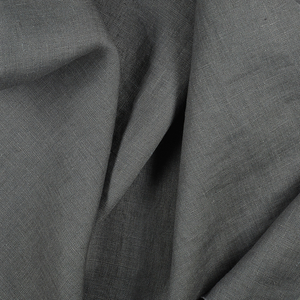
1.5 yards of IL019 Mecca Rust Softened
Matching sewing thread
Invisible zip
Hook and Eye
Tools
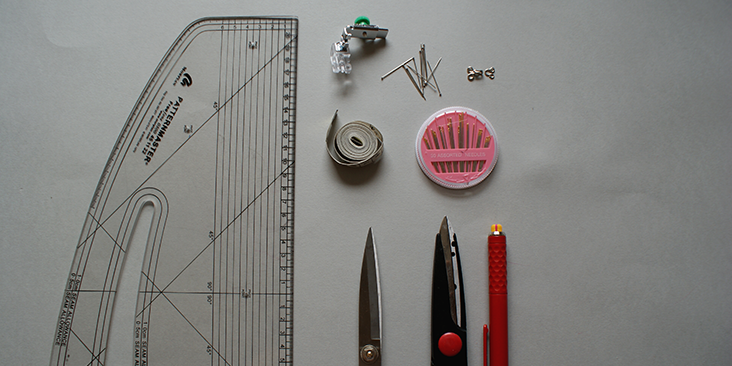
Pattern master, pattern paper
Paper scissors, fabric scissors
Fabric marker, pins, tape measure
Zip sewing foot, Sewing needles
Time
3-4′ hours
Difficulty
Beginner
Step
Note: Prewash your fabric and tumble dry it until it is still slightly moist, let this dry at room temperature.
1. Iron the fabric so it is easier to work with
2. The diagram shows the pattern for a size US14 (UK16). Remember to add 3/8in (1cm) seam allowance around all panels. If you need help to grade your pattern, please follow this tutorial.
3. Use a serger, or choose your own method to protect the seams from fraying. Make sure the method you choose does not add weight to the fabric.
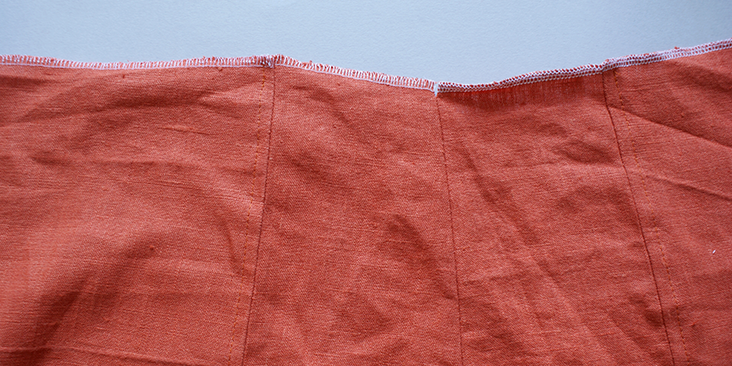
4. Following the above diagram, match up the right seams of the front and back panels of the skirt. Omitting the centre back seam, pin the rest together, making sure it’s all pinned on the wrong side. Sew together and press the seams open.
5. For the centre front panel and centre back panels, press the opening of the seam towards the centre and top stitch over it. This is to create a slightly more unique look for the skirt.
6. Pin’ the front part of the skirt with the back part. Sew at the given seam allowance and press the seams open.
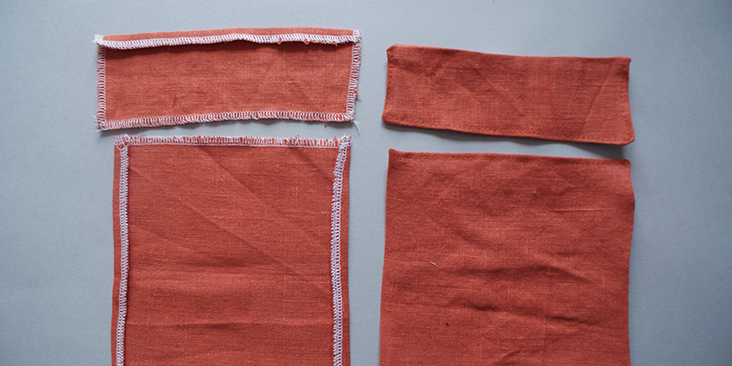
7. Press the seam allowance of the edges around the pocket panels, and pocket flaps towards the wrong side of the panel.
8. Top stitch over the top edge of the pocket panel and the side and bottom seams of the pocket flaps. These are the seams that will not be stitched onto the skirt.
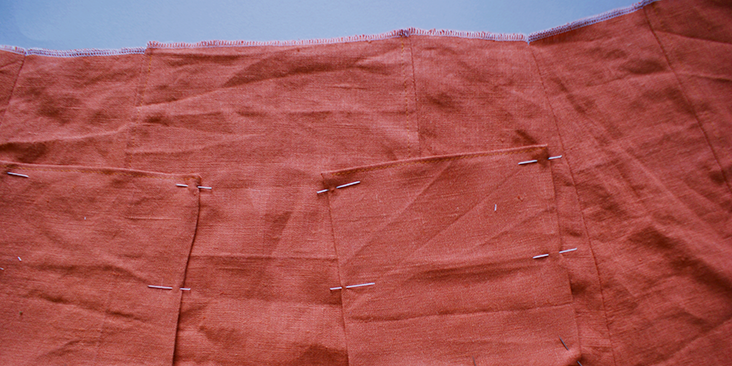
9. Place the pocket panels onto the front of the skirt. Take the measuring tap and make sure both pockets are aligned. Pin them down and stitch along the three unsewn seams.
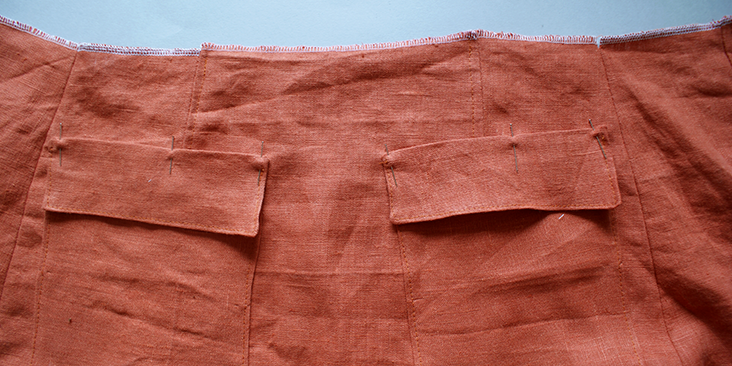
10. Next, place the pocket flaps slightly above the stitched on pockets, and top stitch over the top edge.
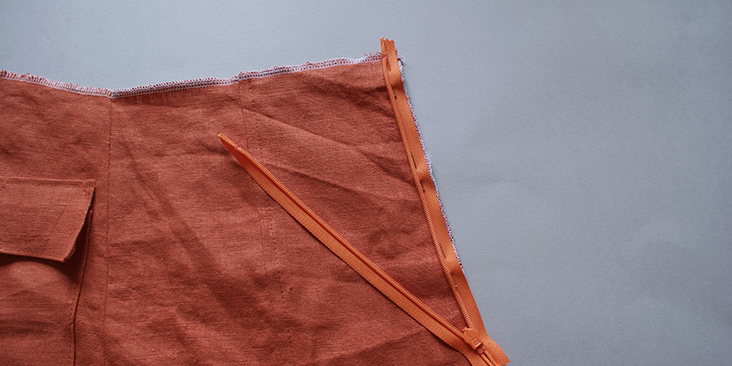
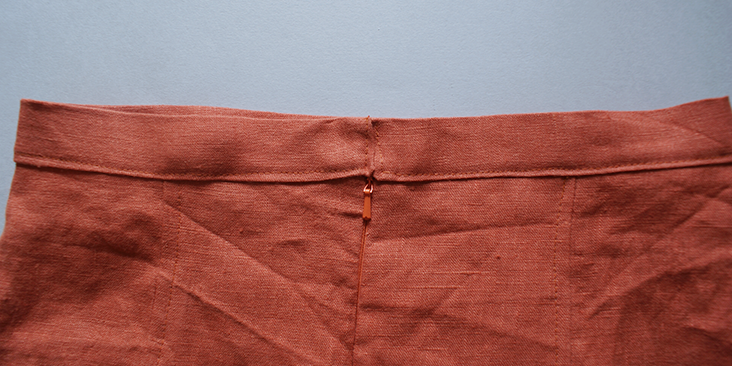
11. Following this tutorial, pin and sew on the invisible zip at the top of the centre back seam.
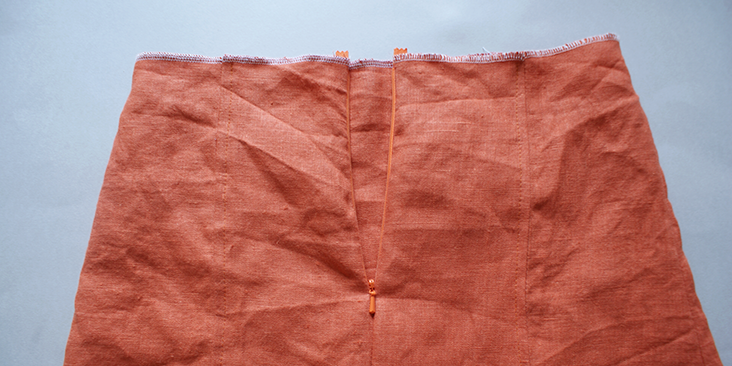
12. Continuing from the end of the zip, pin the rest of the back seams together. Sew and press open.
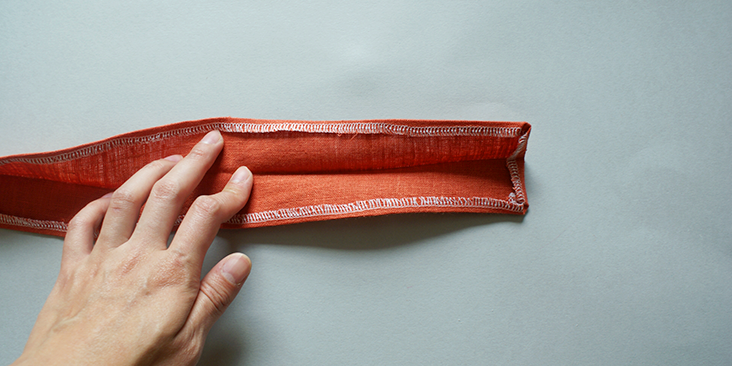
13. Press the waistband in half, and then press the seam allowance towards the wrong side.
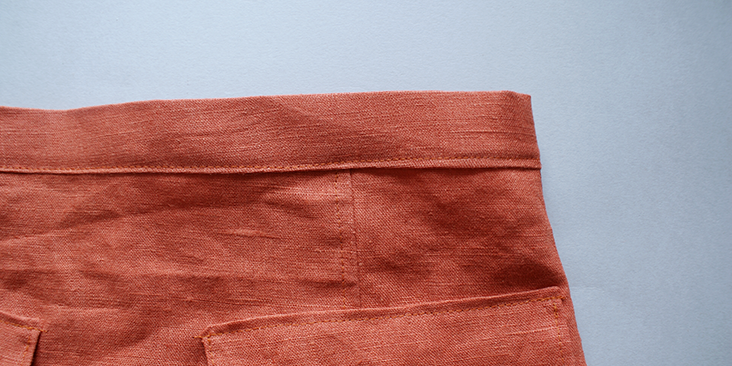
14. Pin the waistband onto the skirt, top stitch over the seam and press.
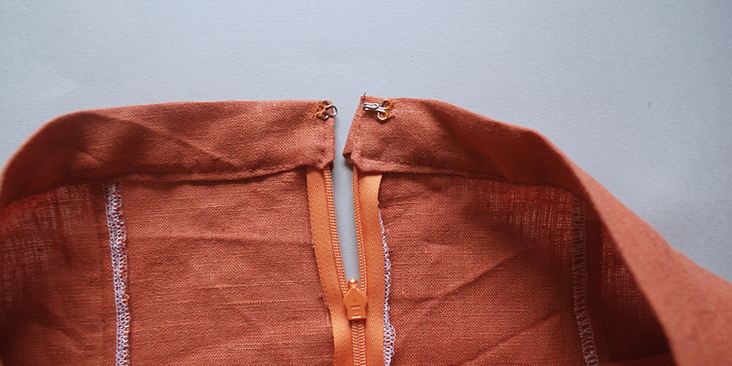
15. Following this tutorial, sew on a set of hook and eye at the opening of the waistband.
16. Fold the seam allowance at the hem onto the wrong side of the fabric and top stitch over it on the right side, and then give it a press.
















10 Comments
Margi varnum
Very cute skirt. Since I am difficult to fit I would make a muslin first ( I can hear the groans!) then I would have a pattern to use over and over and I feel it actually saves time and frustration so you do it right the first time in your lovely fabric. But an easy way to get the skirt to fit better without the muslin bit: Before putting on the waistband, put an elastic around your waist over your skirt, then adjust the skirt so it fits smoothly. Pin or mark where the elastic is. The bottom of the elastic is where the seam line for the waistband will be. This method is great for pants too. It usually takes care of bubble butts, flat butts, tummy fluff. It also helps for low rise skirts and pants.
Margi
Cynthia Fong
Thank you for your comment. This is a great idea to create a muslin toile first, especially if it’s a pattern you would like to revisit for future reference. And great tips on the use of elastic. Thank you for sharing.
Carolyn Woods
The skirt does not fit her well – too tight across the belly which distorts the center back seam. The hem is also unattractive. I would have lined it and given it a more substantial hem, maybe 1.5 inch.
Cynthia Fong
Thank you for your feedback.
Diane
In what world is a 25.5″ waist a US size 14?
B
20.5 inches is the length of each panel not the width.
Christine
I wondered the same thing. But looking at the pattern closer, you cut one folded front panel, and for the center back, two, not folded of the same pattern piece. So it ends up 4.25 x 8 (not x 6) which makes their size 14 a 34 inch waist, instead of 25.5 inch. Much more reasonable! 🙂
Eileen
Love the skirt pattern. I don’t think I will make it so fitted across the upper portion. I like a little breathing room and not so many puckers.
Good pattern and great color!
Cynthia Fong
Thank you for your comment. This is just a very simple design that we hope you would take inspiration from and create your own variation too. We look forward to seeing your end results.
guest
Great skirt but you forgot to straighten the grain of the fabric before cutting.