Linen Bathrobe Tutorial
This week’ we are going to show you how to make’ a beautiful robe for you to wear at home. Linen is one of the most comfortable and easy to keep fabric, one of the benefits is that with every wash, the fabric will get softer and softer, so a bathrobe is a great investment in your long term comfort.
Material
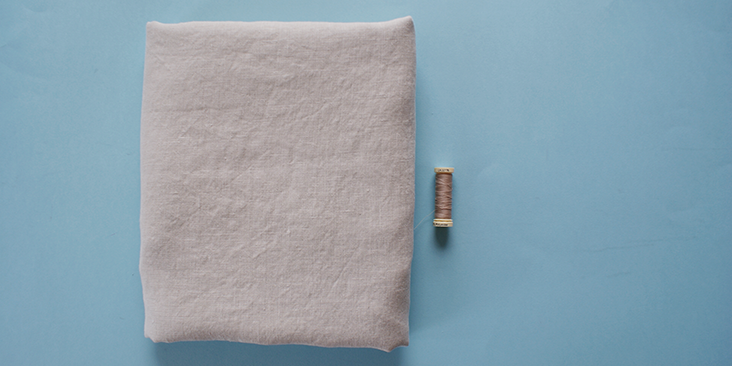
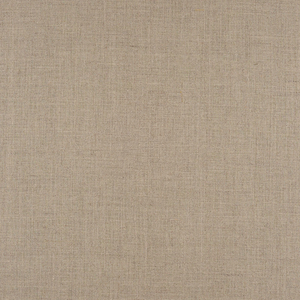
3 yards of IL019 Pebble Softened
Matching sewing thread
Tools
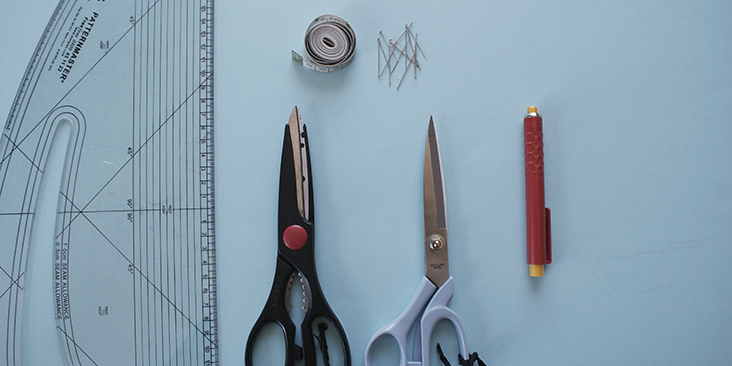
Pattern master, pattern paper
Paper scissors, fabric scissors
Fabric marker, pins, tape measure
Time
2-3 hours
Difficulty
Intermediate
Step
Note: Prewash your fabric and tumble dry it until it is still slightly moist, let this dry in room temperature.
1. Iron the fabric so it is easier to work with
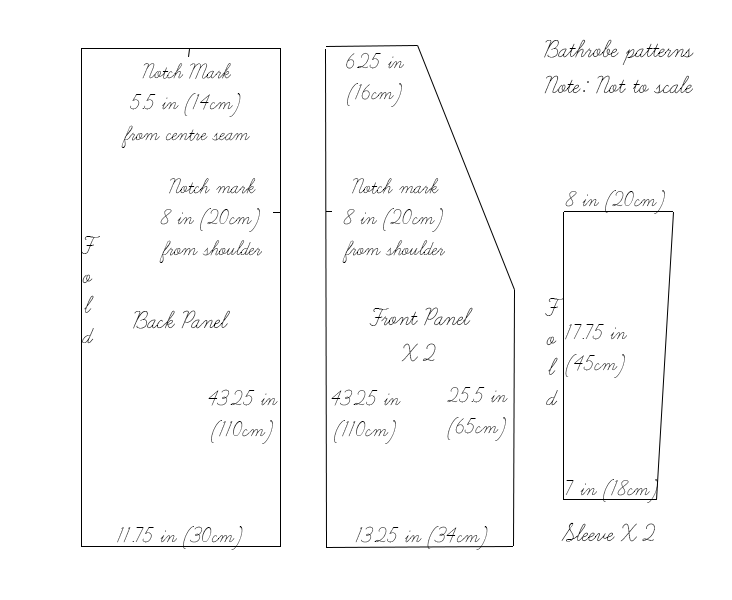
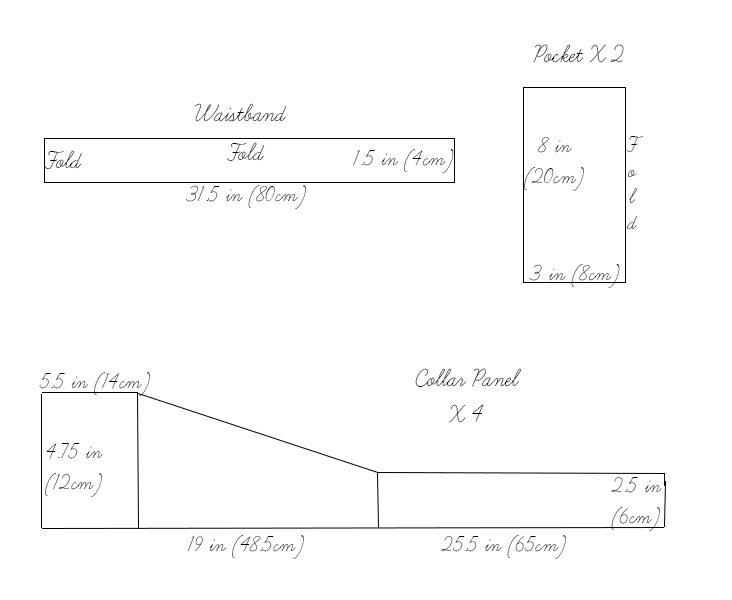
2. The diagram shows the pattern for a size US6-8 (UK10-12).’ If you need help adjusting the size of this pattern, please follow this tutorial. Add on 3/8 inch (1cm) seam allowance on all seams apart from the ones labelled with ‘fold’. It will be’ useful to notch marked points as well as the centre point of the back panel and sleeve panels.
3. Use a serger, or choose your own method to protect the seams from fraying. Make sure the method you choose does not add weight to the fabric.
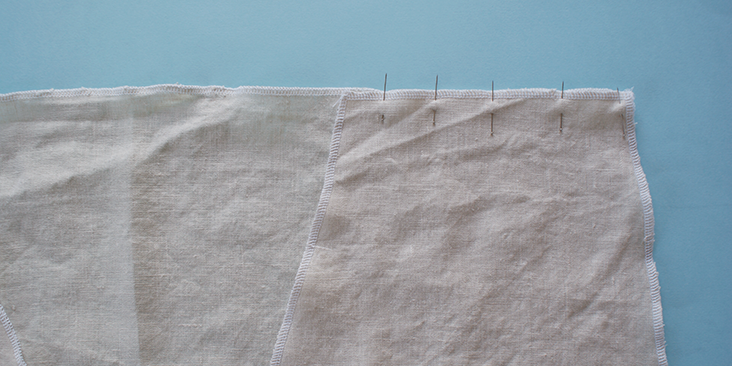
4. Pin the shoulder seams of the front and back panels together. Sew along the seam allowance and press open.
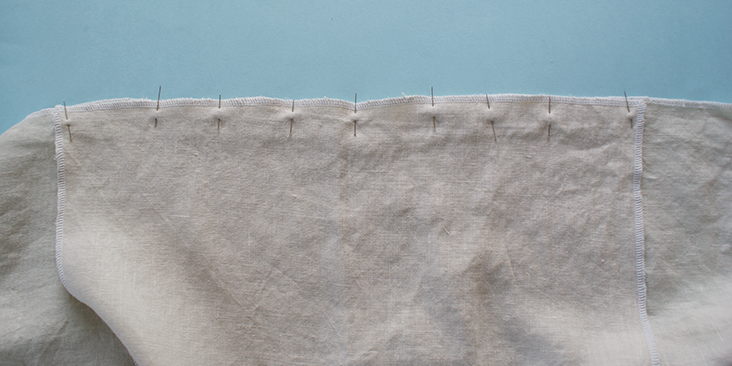
5. Place the top edge of the sleeve panel along the side seams of the front and back panels. Make sure the newly sewn shoulder seam aligns with the centre point of the sleeve. Leaving 3/8 inch (1cm) space from the sleeve edge, start sewing and stop with 3/8 inch (1cm) space still to spare. Press open the seams.
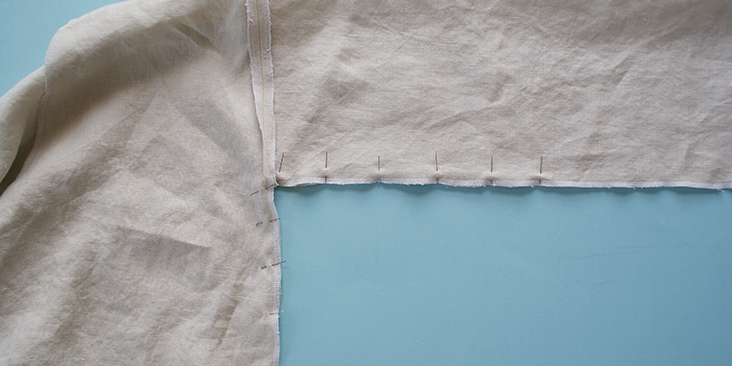
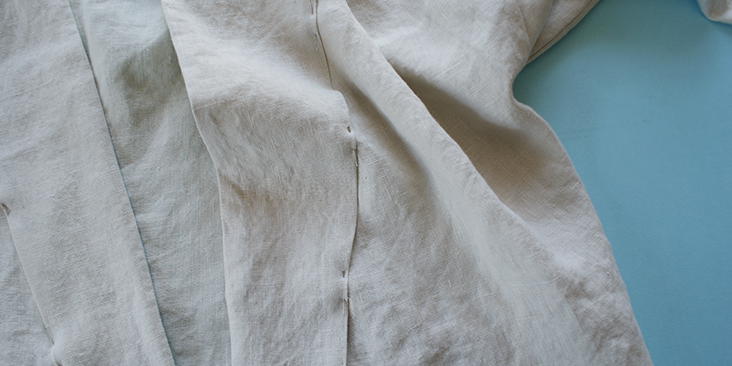
6. With the wrong side of the bathrobe facing outwards, pin the side seams of the front and back panels together, along with seams of both sleeves. Sew along the seam and press open.
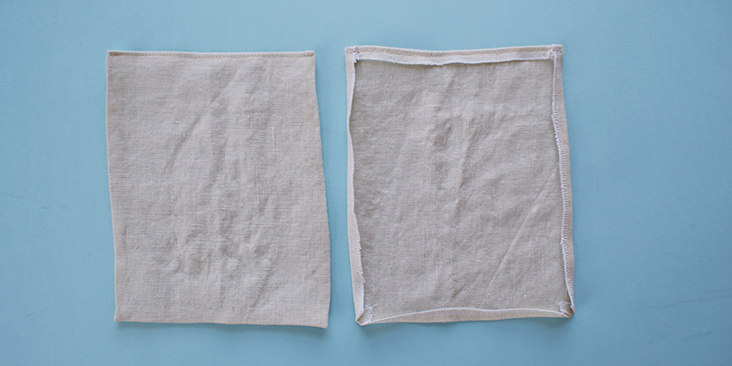
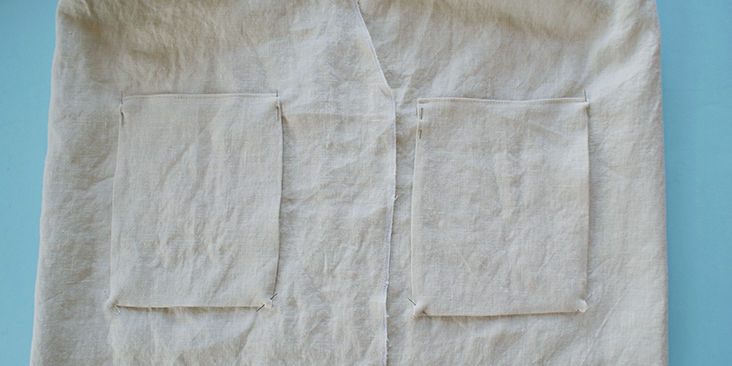
7. Press the 3/8 inch (1cm) seam allowance of the pocket panels towards it’s wrong side, and top stitch only the top edge.
8. Pin the pocket onto the bathrobe, making sure the placement of the two pockets matches on both sides.
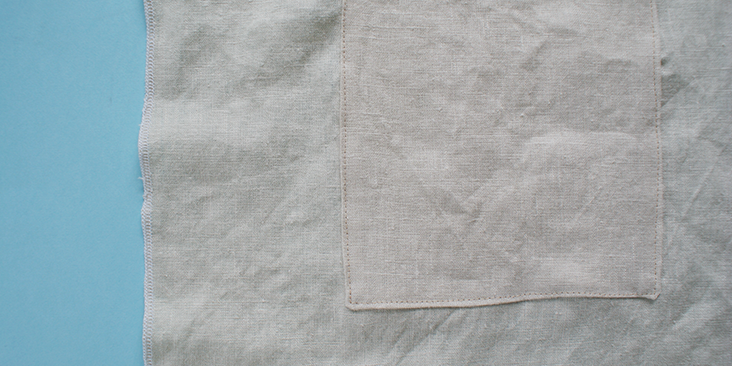
9. Top stitch over the remaining three sides’ of the pockets onto the robe.
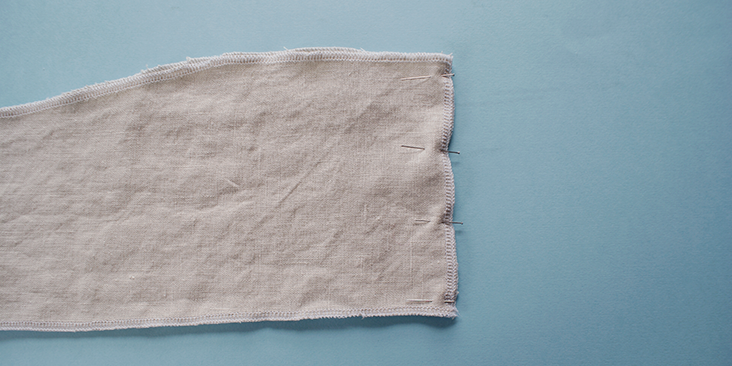
10. Pin the centre seam of the collar panels together. Stitch together and press the seams open.
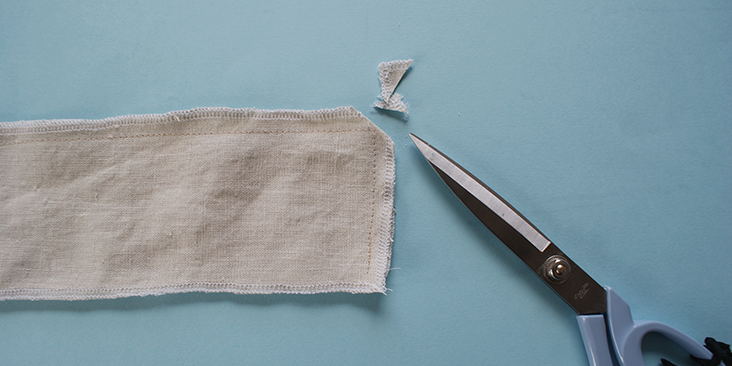
11. Pin the long straight edge of the collar panels and the short side edge, stitch them together. Press open. Cut the corner to prevent excess material.
12. Along the slanted edge, press 3/8 inch (1cm) of the seam allowance towards the wrong side of the collar panel.
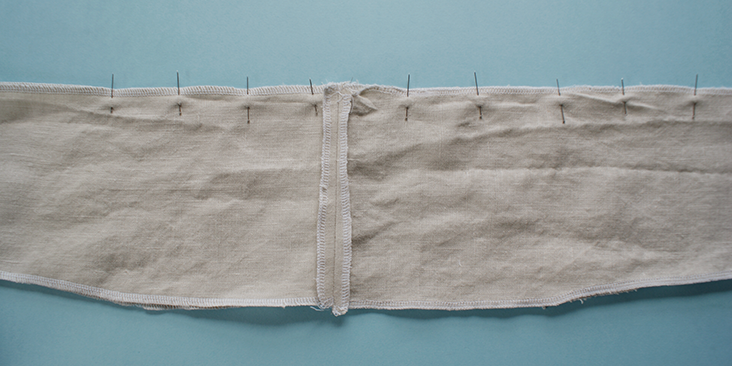
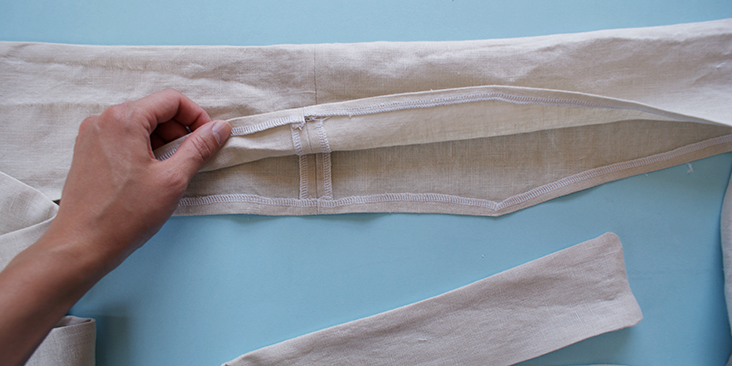
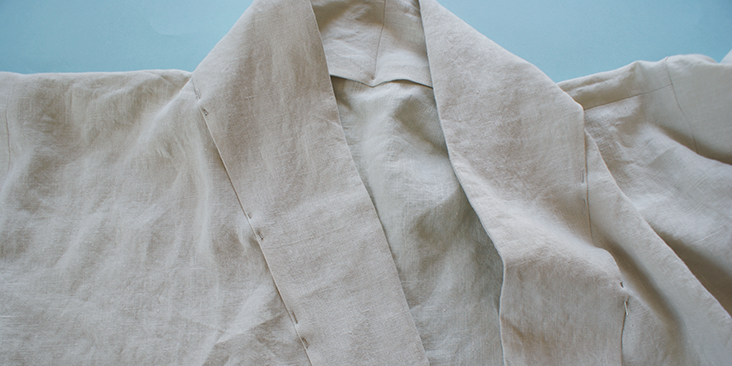
13. Pin the pressed edge of the collar panel along the front and back bodice panel. Sandwich the bodice seam inbetween the collar panel. Make sure the notched back centre mark matches with the stitched collar panel seams. Stitch along the pinned seam.
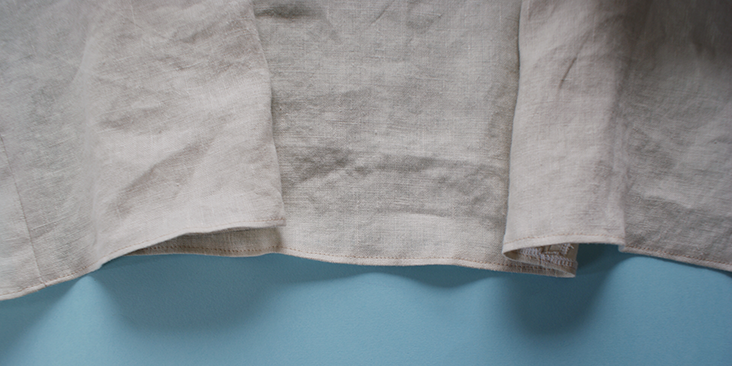
14. Press 3/8 inch (1cm) of the robe bottom edge towards its wrong side. Top stitch over this. Do the same for the sleeve panels.
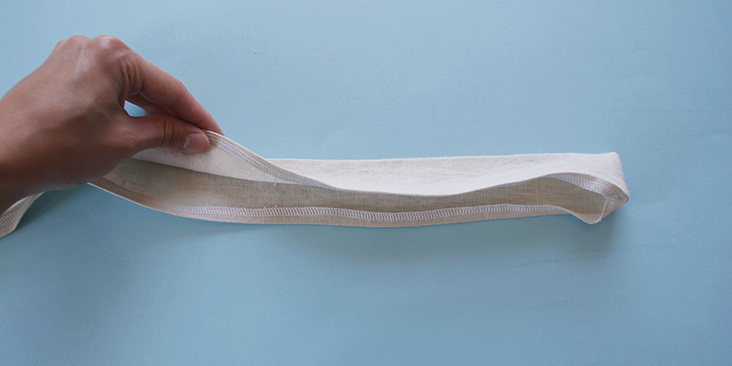
15. For the waist band, press the panel in half, and then towards the wrong side of the band, press 3/8 inch (1cm). Once you have done this, top stitch over this seam.
















13 Comments
Lisa Inche
Is there some place to print out the pattern ?
thanks so much!
Lauren Gates
Hi Lisa, This pattern is one that you draft and grade yourself. If you’d like a print at home pattern, we have the Faye Duster pattern which is very similar. Here is the link:
https://fabrics-store.com/sewing-patterns/faye–faye-linen-duster-pattern
Madilyn
What do you think of French seams for this robe. Making it out of medium weight linen, 7oz
Thank you.
Joanne
Is there a reason that that 4 collar panels are cut? Can 2 panels be cut on the fold?
Cynthia Fong
Hi Joanne,
The only reason the collar is cut out into 4 collars is because with the suggested length of the material to purchase, it will not be long enough to the panels to be cut on the fold. However if you have material that is wider, or you would like to cut your material along the selvedge. I hope this helps.
Ericha
Hi Cynthia,
I’d like to try this pattern in a heavier Jacquard linen like the 10 oz IL002 IVORY-NATURAL TETRA. It’s for my husband. Do you have any recommendations on working with this weight fabric? I definitely will pre-wash……
Cynthia Fong
Thank you for your comment. If the fabric is heavier, it might be wise to make the fit a bit closer to the size of the body, as you wouldn’t want an excess of thicker fabric gathering around the arm area. However, apart from this little difference, other parts should be fine. The most important is to wash the fabric. We look forward to seeing the outcome of your project.
JAB
A gusset under the sleeve would make the robe less likely to tear under the arm.
A cheater’s way to insert a gusset: cut a small square, then cut it in half along a diagonal. Before step 5, sew one leg of each triangle to each side of the top of the sleeve:
\| |/
| |
so that the other leg continues the top edge of the sleeve.
Step 6 will sew the square back together. This isn’t quite as sturdy a gusset as a seamless square would be, but it’s a *lot* easier to sew,
Cynthia Fong
Thank you for your feedback. This is great information for other beginner sewers. Thank you very much.
marilynn morrow
really beautiful – planning to make it this weekend.
Cynthia Fong
Thank you for your comment. Please let us know how you get on and show us photos!
Elizabeth
Cynthia-another home run! Beautiful!!! Love your design aesthetic!!!!!!
Cynthia Fong
Thank you so much for your comment. We hope this tutorial has inspired you.