Strawberry Summer Dress
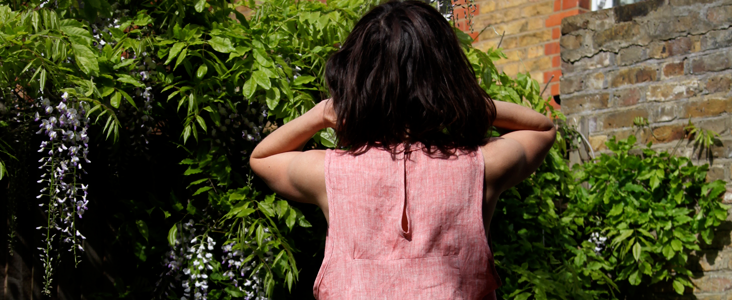
When it’s summer time, not only short dresses are popular. Nothing says style more, than a classic long linen dress, that is easy to wear, and great for the breezy and warm weather. With such a simple design, you can make a few varying in colours, giving yourself options for daywear and night time wear. Perfect for the beach or equally fabulous to hang out in your garden. We have made this in a lightweight linen, but equally it could be very interesting in a heavier fabric like IL019.
Material
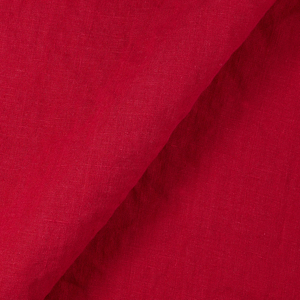
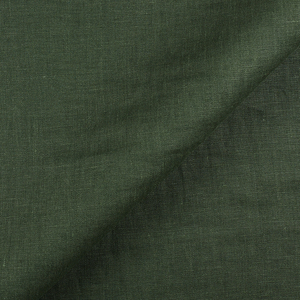
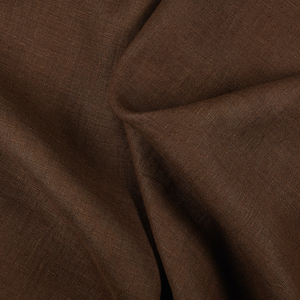
2 1/2 yard of IL042 914 FS Premier Finish
Matching sewing thread
Button
Tools
Pattern paper, Pattern master
Paper and fabric scissors
Erasable fabric marker
Measuring tape, Pin
Bias tape maker
Sewing machine, Iron
Time
2-3 hours
Difficulty
Intermediate
Step
Note: Prewash your fabric and tumble dry it until it is still slightly moist, let this dry in room temperature.
1. Iron the fabric so it is easier to work with
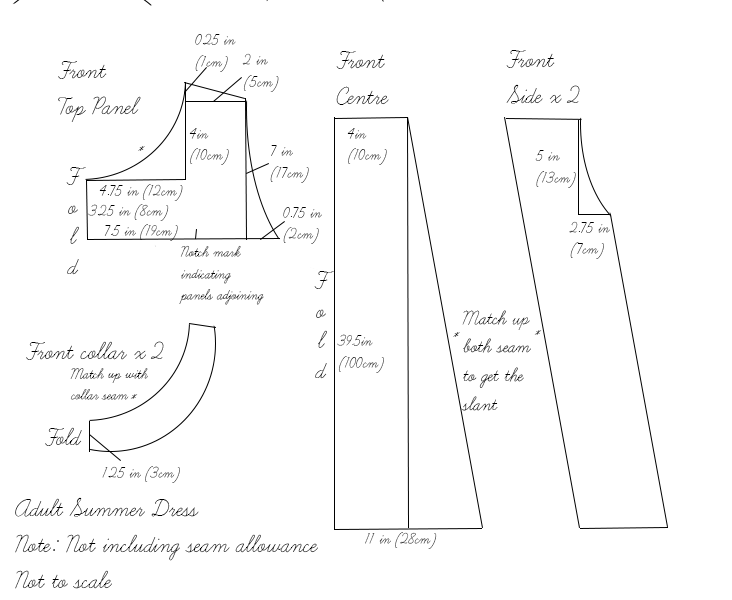
2. The diagram shows the pattern for a size US6-8 (UK10-12). Adjust by adding 3/8 inch (1cm) to each seam for each’ size up, or take away 3/8 inch (1cm) for each size downwards. So if you are size US10 you will add 0.75 of an inch to all seams shown in diagram (this will include your seam allowance of 3/8 of inch and the sizing up value of 3/8 of an inch for 1 size up) Note:’ Notching the panels as indicated on the will be useful.
3. Use a serger, or choose your own method to protect the seams from fraying. Make sure the method you choose does not add weight to the fabric.
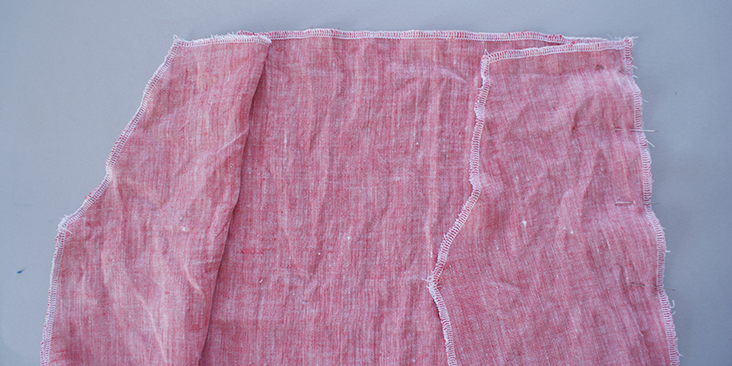
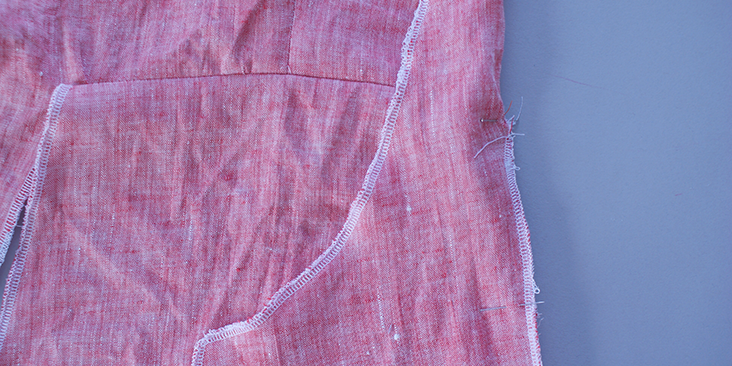
4. Pin together the front centre panel and the side panels. Stitch along the seam allowance and press open.
5. Pin the top front panel along the top edge of three panels that are sewn together. Stitch and then press.
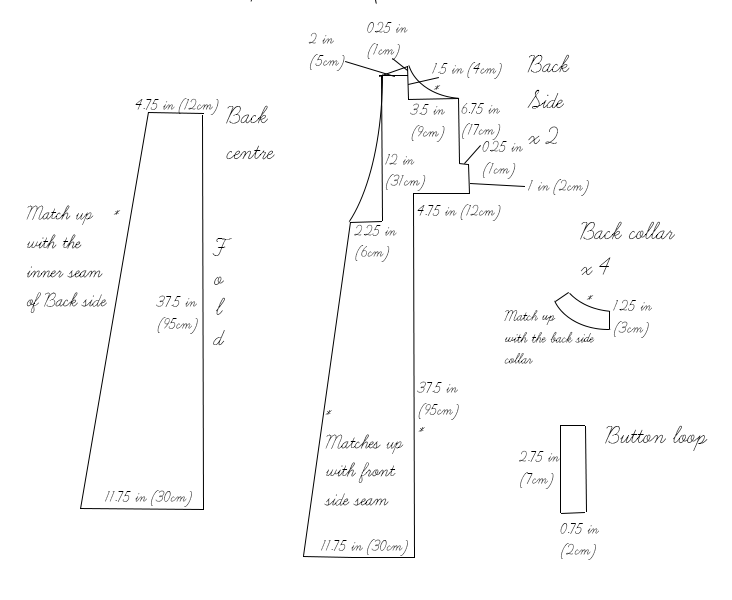
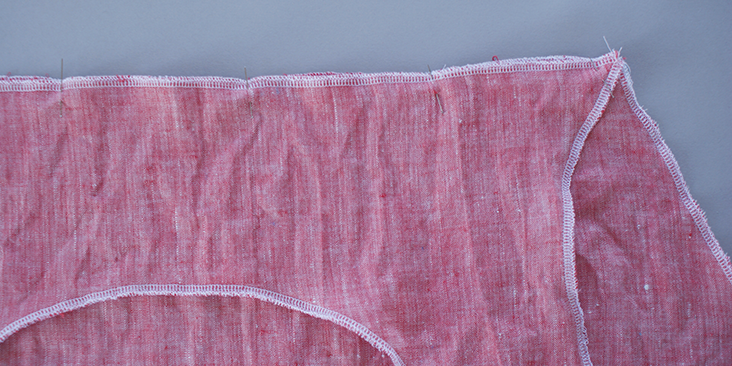
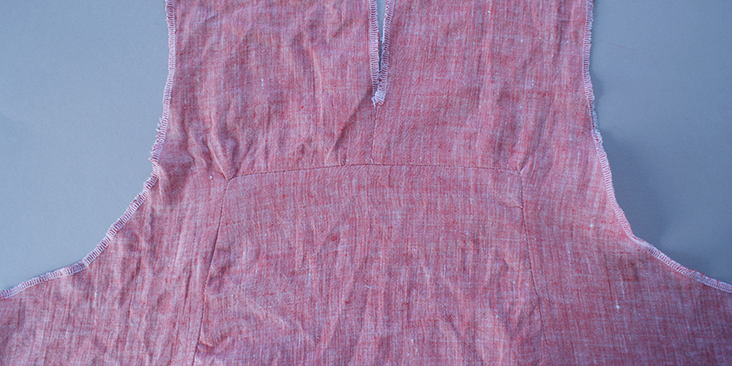
6. Join the centre seam of the top back panels together. Stitch and press open.
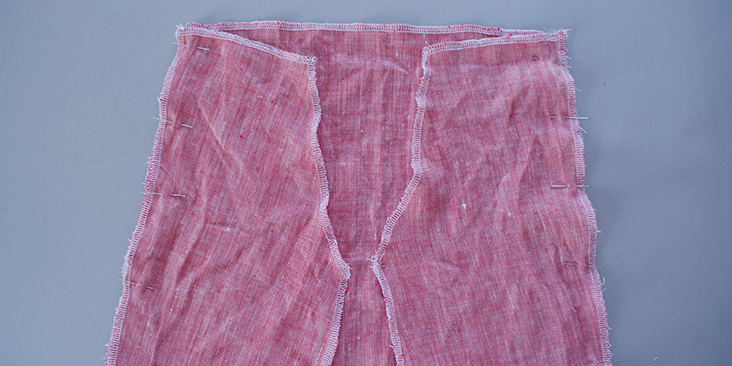
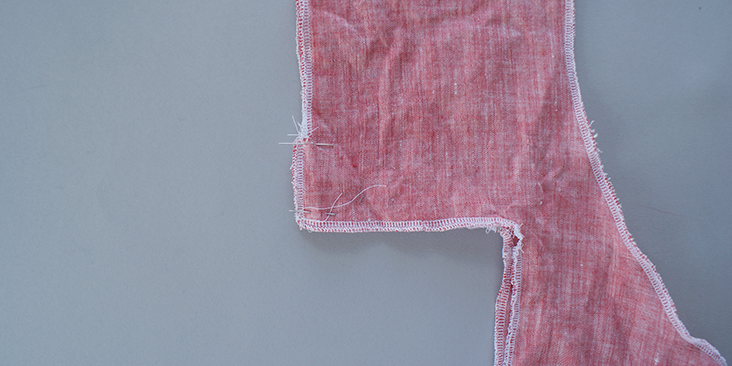
7. Carefully, pin the top seam of the lower back panel to the stitched back panels. Start the stitching 3/8 inch (1cm) away from the edge and finish the stitching in the same manner, this is to ensure you leave for the seam allowance to be sewn for the longer diagonal seams. Press open.
8. Pin together the long side seams of the back panels. Start the stitching where the top seam stitching begins/ends. Press open the seams.
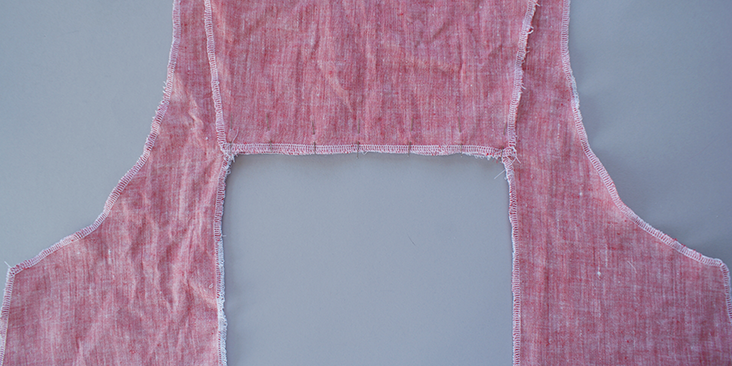
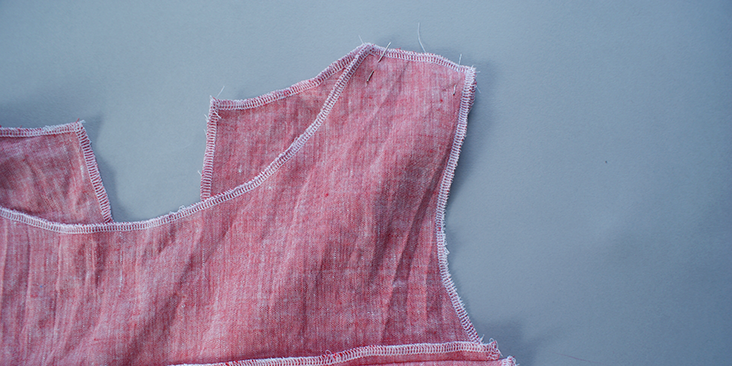
9. Join together the front and back panels’ shoulder seams. Press open.
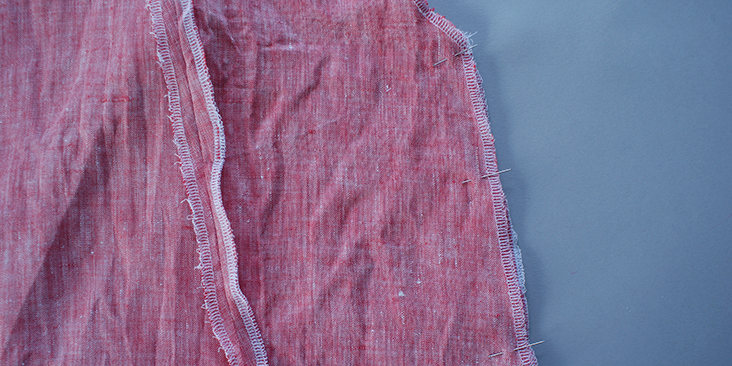
10. Pin the side seams together, stitch and press open.
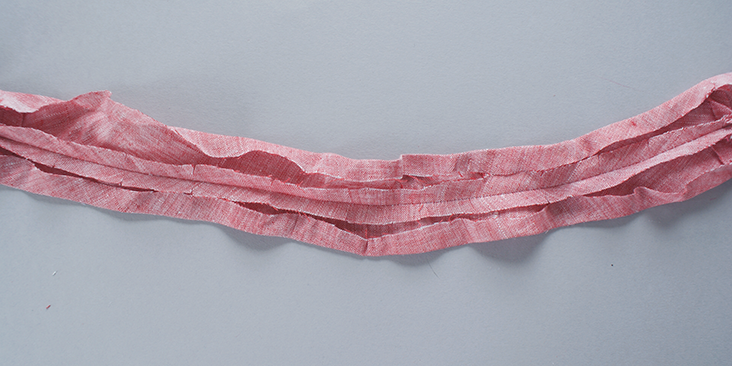
11. Following this tutorial, create around 1-2 yards of biased binding tape form remaining material.
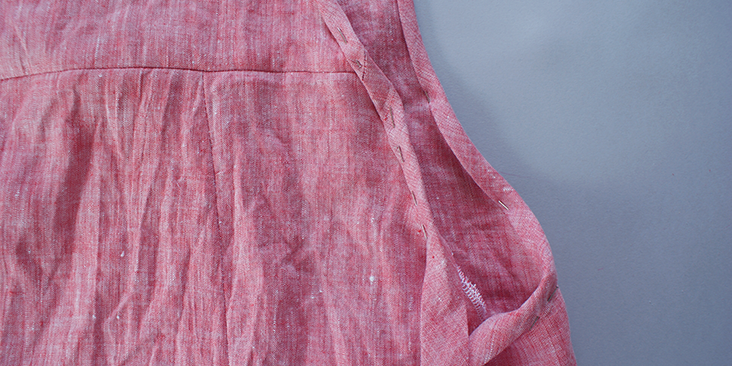
12. Pin the tape around the arm holes, leaving around 3 in (7cm) tail of tape at the beginning and end, with a around 3 in (7cm) opening between the first and last pin.
13. Top stitch over the tape and stop as you approach the last pin.
14. Manually join the two ends of tape together, until they meet. Reverse press the tape to make a visible line. Open up the tape and pin across the folded line.
15. Stitch along the folded line, press the seam open and cut away excess tape material.
16. Fold the tape back to its normal form and align it again onto the arm hole seam yet to be covered.
17. Pin it down and top stitch over the tape. Making sure you start and end the stitching matching what was previously sewn to make it as neat as possible.
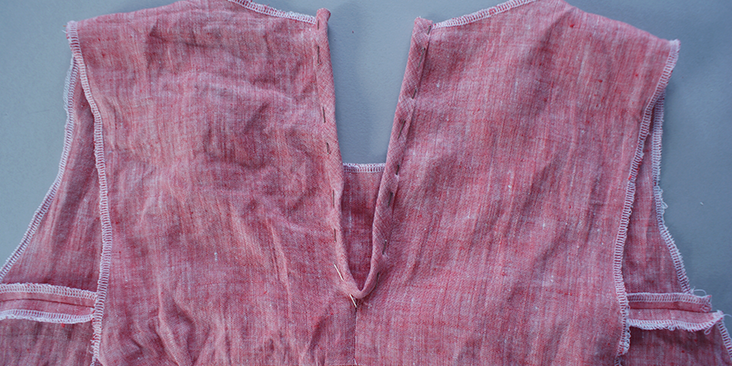
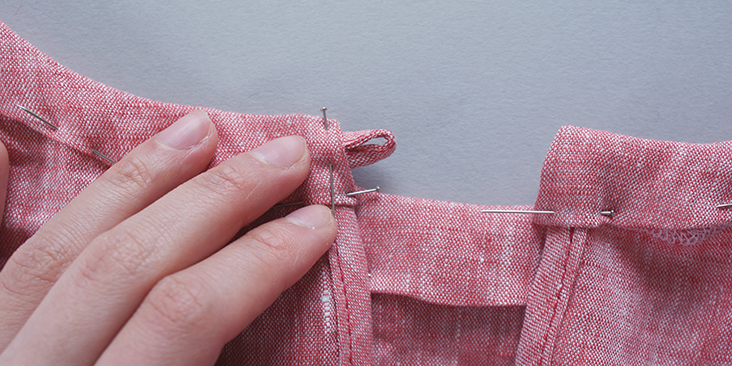
18. Pin the tape, also around the opening on the back, starting and ending where the neckline is.
19. Top stitch over that.
20. Take the small piece of material for the button loop, fold it in half, press it, then fold the raw edge in towards the folded centre line and give it another press. Top stitch over the opening.
21. Pin together the side seams of the front and back collar panels and stitch them together, give the seams a press.
22. Join the fabric together to double it up. Stitch along the curved seam allowance. Before you press the seam open, create small snippets along the curved edge to allow for movement.
23. Press the 3/8 in (1cm) raw edge of the collar towards its wrong side. Do this on both side of the fabric.
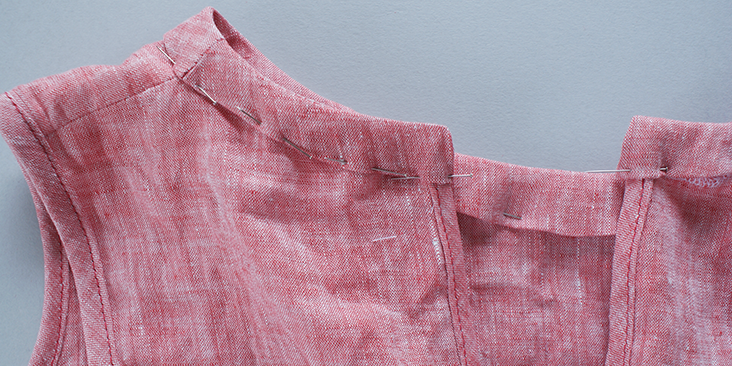
24. Pin this onto the dress collar, making sure the seams for back and front panels match up.
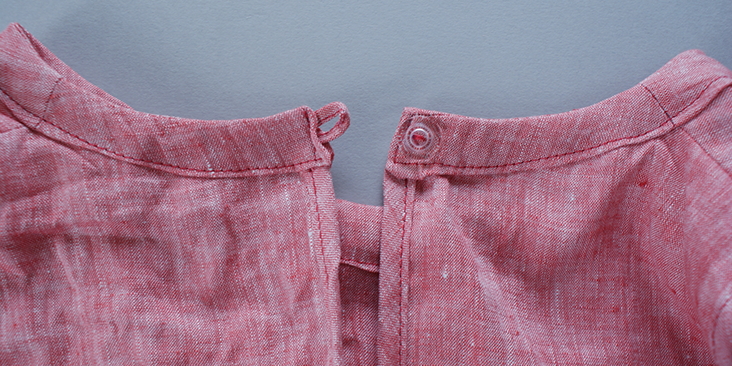
25. Slide the button loop into the left side of the back collar. Pin it down.
26. Top stitch along the end of the collar at the back as well as the curve seam.
27. Following this tutorial, sew a button onto the right side of the neck collar, making sure its placement matches up with the loop sewn on the left hand side.
28. Finally, press the 3/8 in (1cm) seam allowance of the bottom seams of the dress towards its wrong side.
30. Top stitch over the folded seam and give it a press.
What a wonderful and comfortable summer dress to make. Take a look at the plethora of linen we have, may be even try and mix and match some colours together to create that unique dress that is truly yours.














45 Comments
Renee Thibault
Hello Cynthia,
Is there a downloadable/printable pdf of the pattern? That would be helpful.
Joan Holland
Hello. I am having problems printing your patterns. Please advise how to print this. Thank you.
Christina
I wish you could develop a pattern that begins with a simple garment we own that fits (a T-shirt or tank top), then is modified (either incorporating the article itself or by tracing it). I love patterns like circle skirts that use measurements like 1 1/2 times your waist, etc., that anyone could make for themselves. Thanks.
Sarah Giorgione
Dear Cynthia
I have read and read through the comments and measurements for this pattern. You mentioned to change front panels to centre 4.5 inches and side to 3.75 inches. Will the front side arm hole still measure in 2.75 (to get curve) and is this still 5 inches down? I’m looking at the back panel to try to get it to match but on paper it looks wrong. Please please reply as I’m stuck. Thank you so much .
Sarah
Cynthia Fong
Hi Sarah,
In regards for the measurement, what size is it that you are hoping to achieving? I can may be give you a hand by letting you know the suggested measurements for these seams? The arm hole should be 5 inches down, and with the 7 inches of the armhole curve on the front top panel, this should add to 12in which matches with the measurement of the armhole on the back panel. Please keep us up to date with your progress and comment any time you have a problem.
Sarah Giorgione
Dear Cynthia
I’m reading through the comments and Elizabeth write in June about the front bodice measurements. Is this correct now? I want to be sure before I begin.
Thanks!
Sarah
Debra Britton
Any chance to buy this pattern. I have never made one from scratch, and I am in the plus size area. Or can someone help me figure it out?
Thanks in advance;
Debra Britton
Cynthia Fong
Thank you for your comment. The pattern was designed by me, so there isn’t a way to buy this. However we do have tutorials that help you to draft and grade a pattern. I hope they would help.
Sarah Giorgione
Hello there
I just ordered my fabric and am reading through to get my head around the pattern drafting which I haven’t done any of since college 20 years ago 😱. So I’m a little rusty. I will making the size 6/8 so am I right in thinking the seam allowance is included in the measurements you show?
Thank you.
Sarah
Sarah Giorgione
I just noticed you wrote seam allowance not included! Off to a good start then!
At college we would draw out the pattern block first then onto paper including the seam allowance. It was a lot of work but kept us busy.
Cynthia Fong
Thank you for your comment. Because you have to make the size smaller, instead of taking the current pattern size, it’s best to grade it down and then add on the seam allowance, because the way the curves would work around the dress will be different depending on the size and it might not work if you just took a size bigger and ignore the seam allowance.
Patti
Hi Cynthia!
I absolutely adore this dress and am going to make it. It’s perfect for my pregnant body. And it’ll be perfect after I have my baby too!
I just have one question. You said that if you raise the bottom of the armhole, then you have to shorten the curve on the top. Can you explain what you mean? Thank you so much!!
Cynthia Fong
Hi, thank you for your comment. By ‘the top of the curve’ I meant the general armhole curve. So once you raised the bottom of the armhole up, the way the curve is for the armhole will naturally change its placement on the bodice panel. So for the bottom curve, being raised up, the bottom edge of the top curve will also have to be raised (and therefore will look shorter). I hope this makes sense and helped.
Elizabeth
Cynthia -SO CUTE! I really want to make this- but I have a stupid math question. On the front, the bodice edge is 8.25 inches (7.5 plus .75) but the panels are 9 inches (5 plus 4). Am I missing something?
Also, will the drape of the dress be changed if I raise the armhole edge about 4 inches so I don’t have to wear a t-shirt?
I LOVE that the back has the panel so there’s extra drape. I’m assuming the front is cut that also to mirror the seams of the back????
Thanks!! I’m just learning how to draft a pattern from your drawings, and trying to figure it all out!!!
Cynthia Fong
Thank you for your comment and feedback. Apologies for the miscalculation, the panels should add up to 8.25 inches (which we will correct immediately). The best measurement for the panels should be centre front panel – 4.5 inches and side front panel – 3.75 inches.
as for the armhole, if you raise it, make sure you alter the length of the curve in the top of the arm hole as it will have to become shorter as you bring the arm hole up, however this is not going to make too much difference for the rest of the dress.
The side seam of the side front panel should mirror the side seam of the side back panel.
We hope you enjoy this tutorial and show us a photo of your progress! Happy drafting and happy sewing.
Stephanie Kirste
Dear wonderful Cynthia Fong, you are treasured. My thanks to you for your time and beautiful designs freely offered, that educate inspire and uplift.
Tracy
Hi! I’m a self-taught sewist and thought this would be a good project to play around with. Just finished adjusting the seams and cutting out the pattern; I’m going to make a muslin to be sure I actually understood the instructions for increasing the size. I have a beautiful blue linen that I’ve been holding onto for awhile, but I don’t want to cut into it until I’m absolutely sure the pattern fits. I wouldn’t wear it as the model did to go about my daily business, but I thought it would be a great night dress for those hot summer nights. I also thought about wearing it as what American’s call a “jumper,” with a t-shirt underneath to cover all my private bits.
I’m excited about this!
~Tracy
J
interesting
Dianne
I think the Strawberry Summer Dress design is lovely. At 63, I wouldn’t wear the dress without something to ‘fill in’ the side of the overlarge armhole, but I would NOT change the design. An under shirt or even an armhole fill in “dickie” of matching or contrasting fabric would solve the ‘side boob’ issue. What I really love (and nobody has even mentioned) is the flowing swoop of the hem—shorter front to longer back length. This dress looks like a fun, casual summer garment that will move nicely.
Cynthia Fong
Thank you Dianne for your comment. It is a lovely idea to match the dress with other items in your wardrobe and adding versatility to this garment. And we are glad that you noticed the swooping of the hem.
AmyCat =^.^=
Agree with all the rest who point out that the armholes are too big. I’d consider a garment like this for a summer night-gown or a beach cover-up, but no woman with breasts large enough to need a bra can wear it with one and not look tacky.
If you changed the top pieces to tighten the arm-holes, and made the front chest part two layers (self-lined with a neck facing, which also eliminates the need for the collar band to finish the neckline), it would work better for those of us who don’t have size 6, “A”-cup fashion-model figures. Add a self-tie at the side-seam, to tie behind the back, and it’d probably snug up the under-bust enough to be comfy and supportive for many women without a bra, too.
The color’s lovely!
pam
Every time I visit any of these tutorials there are so many b****y comments. C’mon ladies (and gents), this is a creative forum, great ideas, someone (today Cynthia Fong) has taken time to put together an idea and photograph it.
How would you like it if you got similar flack for anything you produced – a meal, a kindness…
AmyCat =^.^=
I think there’s a lot of frustration when we see that, even in “crafter” spaces, things are still skewed towards the slender and petite. A lot of us turned to making our own clothes because we don’t fit the idealized body-type for which most designers work.
OTOH, this tutorial has a lot of useful info (how to size-up or size-down, link to the self-bias-tape tutorial and using bias tape to finish edges, how to make the button-loop, and how to put it all together). The photos are clear, and for many of us, a small “fix” (tightening the arm-holes by adding a couple inches more fabric under the arms) will make this a usable pattern for OUR figures as well. It’s not being “b****y” to offer constructive criticism; when I have a kvetch, I try to also suggest some way to FIX it.
pam
Hi AmyCat – I hear you (all 75 kilos of me!), tho my feeling is I know my body has changed shape, I see what works for me now and what doesn’t. I’m limited in my creativity (unlike some of my friends) and I either copy things which work for me (mostly layering), and or bias cut, and or oversized that I tie to size on me.
The clothes http://www.gudrunsjoden.com/us are often lovely. The sales are interesting tho of course the choice is limited.
I’m always interested in the ideas here (might make a dress like this for a young niece of my husband? ) and the comments too. The pictures of other people’s work, the competitions…
Everything percolates and you never know what might turn out to be ‘just the thing’ at some point.
I was just surprised by the (for me) super critical tone of some of the comments.
xxxp
pam
(or just simpler tastes than my friends)
pam
Or AmyCat, perhaps let’s invite everyone who can, to send a larger pattern idea (in this format – photgraphed stage by stage) that they like and the fabrics-store team could post them, or make available a ‘page’ for such posts.
I hesitate, I like basically tailored things, in layers and these are available everywhere? The Burda magazine is one I have come back to and like very much http://www.burdastyle.com/blog/burdastyle-us-magazine-is-here
pam
http://www.burdastyle.com/pattern_store/patterns?creator=6&for=4&most_recent=1&pattern_garment_type=36
basic block patterns…
pam
It is even possible to print patterns http://www.burdastyle.com/statics/how-to-print-and-assemble-a-pattern-pdf
Masha Karpushina
Thank you Pam, very kind.
Patty
Well said, Pam 🙂
cc
soooooooooooooooo cute every one has an opinion these days I don’t think they really mean any harm well most of them mean no harm you just got to ignore the bad. don’t let the few negative overrule the positive. Have a great day.
Sandi
Side boob is not sexy, this dress looks like it’s ten times too big for the person.
Never wear it in a breeze
Cynthia Fong
Thank you for your comment. We realise some of the design might not be for everyone’s taste but I hope this has inspired you to make your version of a summer dress!
Malie
It would be helpful to know which seams to increase on the pattern for size adjustments.
pam
http://www.fashion-incubator.com/archive/saran_wrap_pattern_making_method_1/
https://fr.pinterest.com/carolinanadine/creating-slopers-dress-forms/
https://fr.pinterest.com/pin/407153622534324431/
Otherwise the linens here at fabrics-store are lovely for many patterns, I remade a favourite bias cut skirt from itself with linen – the weights and drape are just lovely
Malie
Pam, thanks! I will check this stuff out. The pinterest stuff insteresting and I might have a few gal pals help with duct taping a pattern. 🙂 I think this pattern, I want to make it, but having trouble thinking it through.
Masha Karpushina
Thank you again Pam!
Malie
I am fairly new to reading patterns, and done some basic stuff with some hands on instruction. So, my question is, when you say all seams, do you mean the shoulders as well? Perhaps I am overthinking this. I interpret this to mean the width of the overall pattern, but not necessarily the shoulders. Help! I’d love to make this!
Cynthia Fong
Thank you for your comment. In fact there will be an upcoming tutorials regarding how to grade the pattern according to your size, so stay put and hopefully we can answer all your enquiries then. We hope you would still make this dress in the future!
Malie
It is my plan, I just need to know which seams to change and where to adjust the pattern.
AmyCat =^.^=
You *should* add to the shoulder seams along with the rest in enlarging the pattern, otherwise the front piece might sit too high on your chest (the under-bust seam-line sitting ON rather than UNDER).
Looking forward to the sizing tutorial!
pischi
While the premise is a good one, the one modeled is merely suitable for around the house, no?
The armholes are far to spacious to wear public without a tee. I would like to see more garments that are casual, yet a tad more fitted. I have been looking for linen suitable patterns, not too many out there.
JAB
If I cut the armhole a few inches higher and made a bra from the same fabric, I might wear it in the yard.
Cynthia Fong
Thank you for your comment. That indeed does sound like a great combination to wear.
Cynthia Fong
Thank you for your comment. We realise some of the design features might not be of everyone’s taste, but we hope this has given you some ideas for a possible summer dress.