Peter Pan Collar Linen Shirt Tutorial
Spring is in full swing (at least in London)’ and what other great ways are there to start the season than with new clothes to welcome the change of weather? This is an extremely straight forward top to make, incorporating two technical tutorials we have. An easy piece to wear and suitable for all body type. Time to get started!
Material
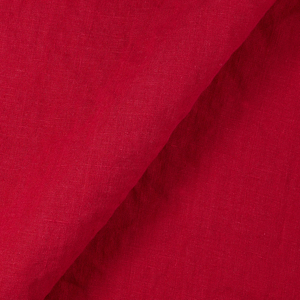
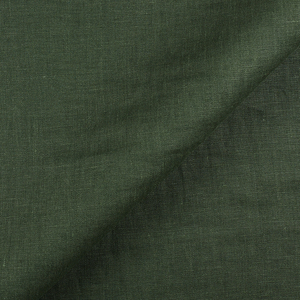
0.5 yard of IL019 Meadow Softened
0.5 yard of 4C22 Cobalt Softened
Matching sewing thread
Tools
Three buttons
Pattern paper, Pattern master
Paper and fabric scissors
Erasable fabric marker
Measuring tape, Pin
Seam Ripper
Bias tape maker
Button sewing foot
Sewing machine, Iron
Time
3-4 hours
Difficulty
Intermediate
Step
Note: Prewash your fabric and tumble dry it until it is still slightly moist, let this dry in room temperature.
1. Iron the fabric so it is easier to work with
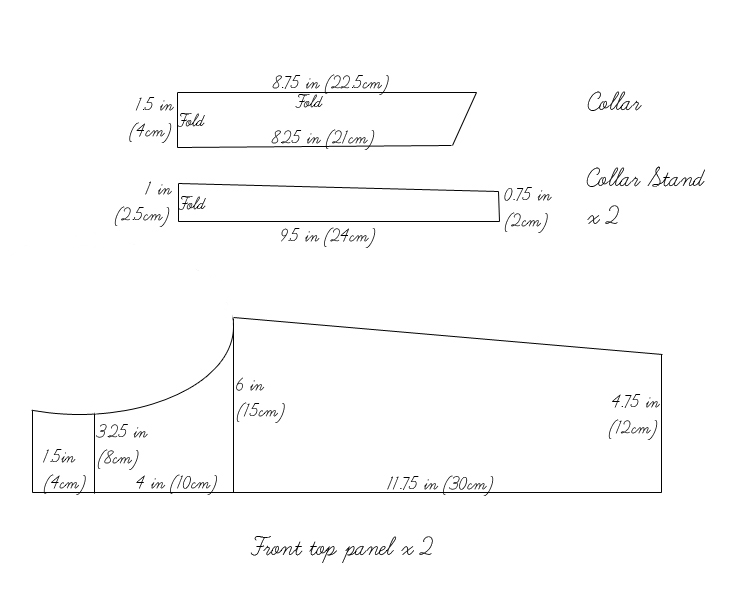
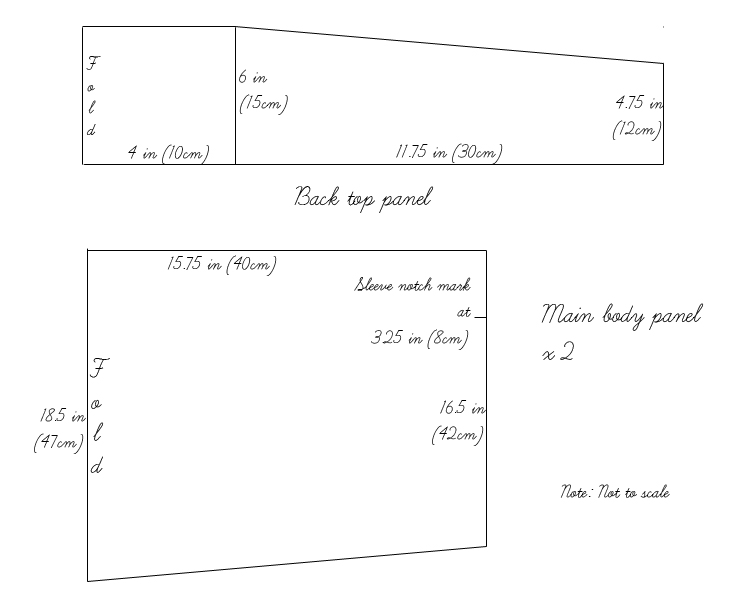
2. Follow the diagram and cut out the pieces, including seam allowance 3/8 inch (1cm) and the notch marks. Note: Marking the centre point of the collar, collar stand, top back panel and main body panel will be very useful too.
3. The diagram shows the pattern for a size 4-6 (UK size 8-10). Adjust by adding 1 inch (2.5cm) to each seams for each size up, or take away an inch (2.5cm) for each size downwards.
4. Use a serger, or choose your own method to protect the seams from fraying. Make sure the method you choose does not add weight to the fabric.
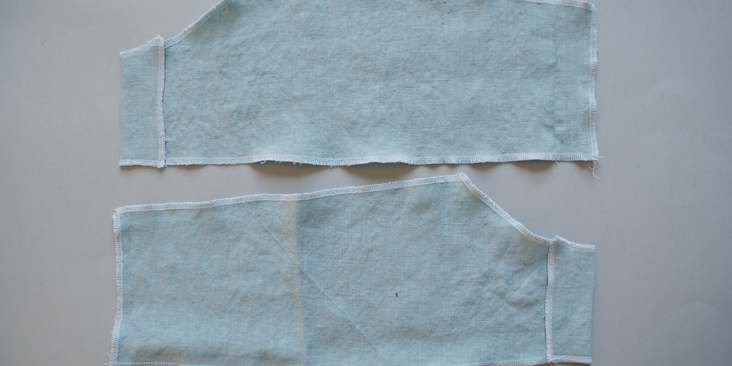
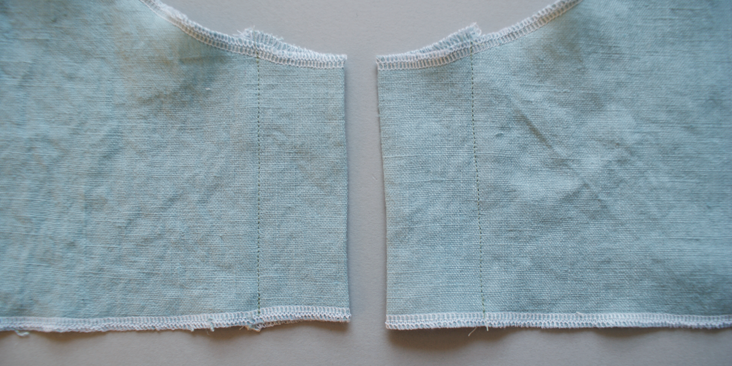
5. Press 1.5 inches (4cm) from the centre seam on the smaller panels toward its wrong side.
6. Top stitch along the seam.
7. Pin the shoulder seam of the front and back top panels together. Stitch and press open.
8. Make sure the right side panel is over the left side panel.
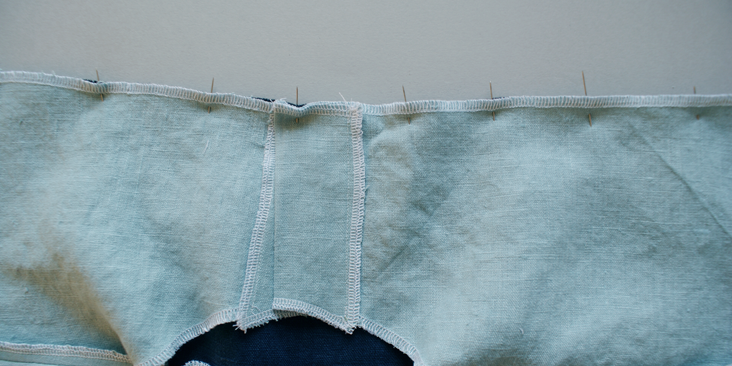
9. Pin the top panels onto the bottom panel. Stitch and press the seams open.
10. Pin along the side seam up to the notched mark where the armhole begins. Stitch and press open.
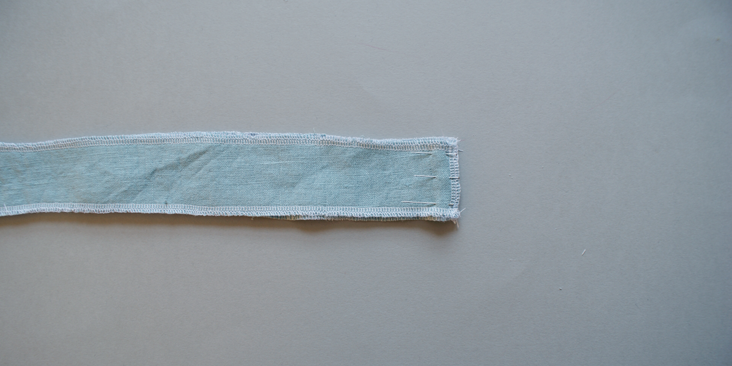
11. Pin the side seams of the collar stands together, stitch and press.
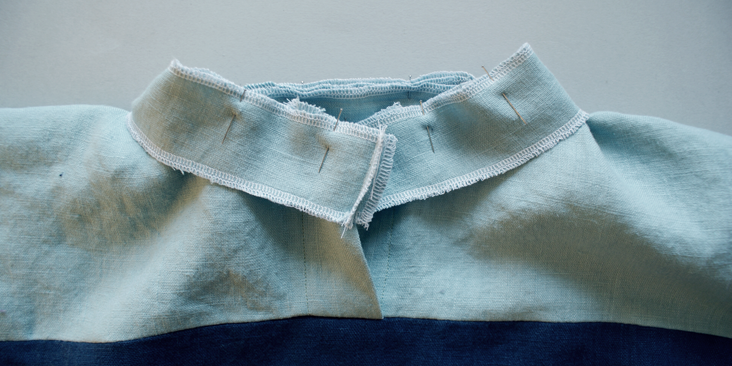
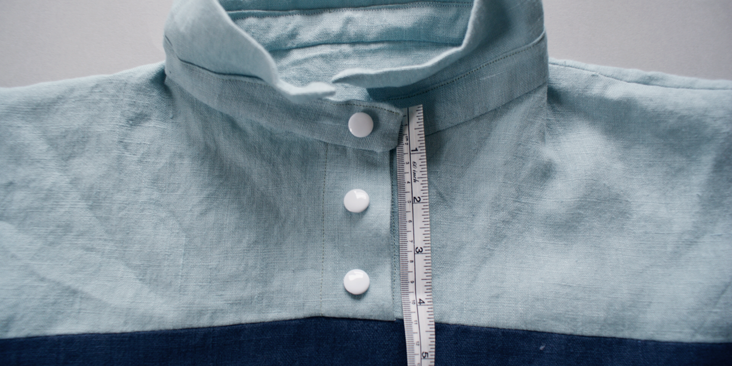
12. With the wrong sides facing out, place the collar stand over the collar seam on the bodice. Pin along the curve. Stitch and press.
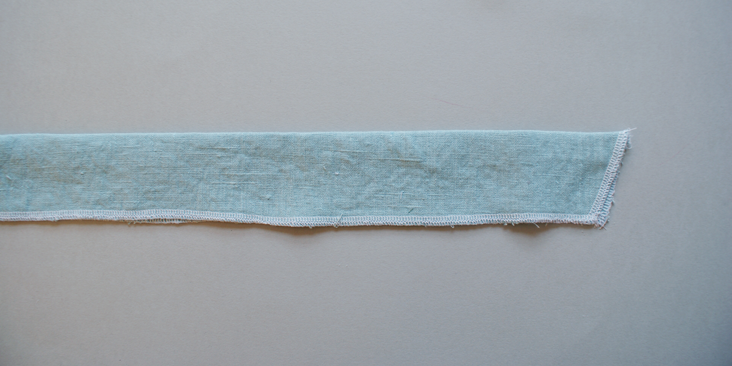
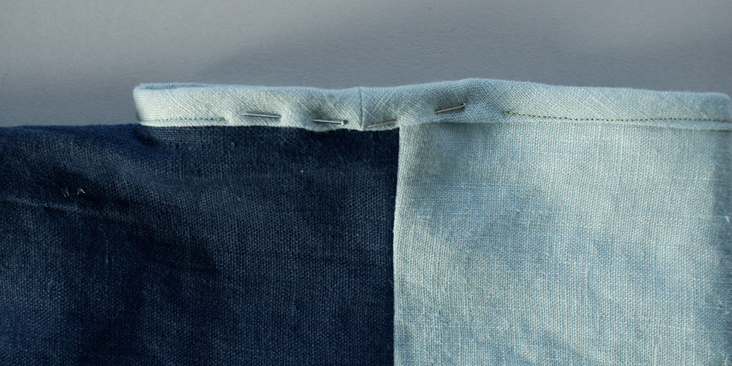
13. Press 3/8 inch (1cm) of the open seam of the collar stand towards its wrong side.
14. Fold the collar into half and press along the folded line.
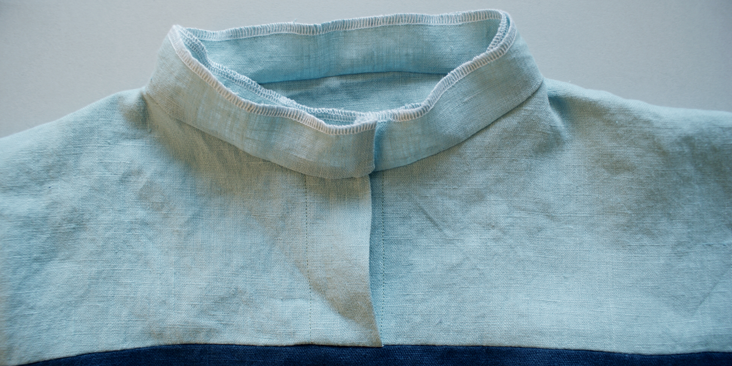
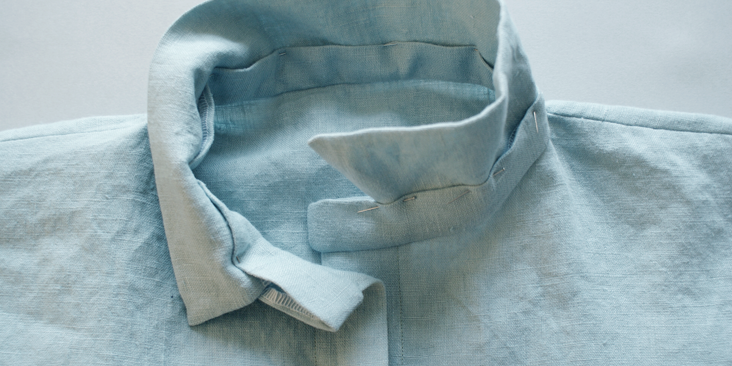
15. Matching the centre point of the collar and the collar stand and work outwards. Pin the two panels together.
16. Top stitch over the pinned seam. Press it to help it set.
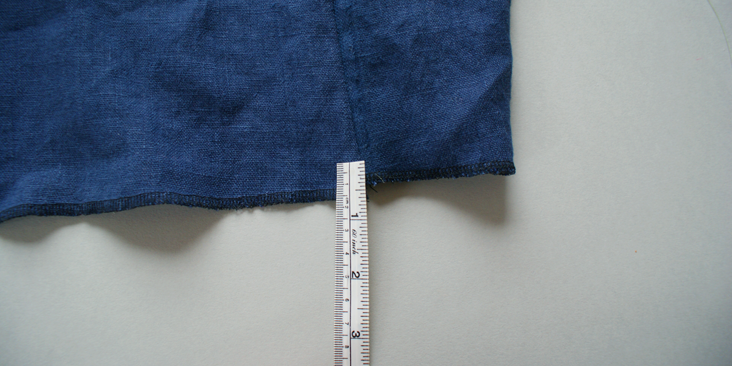
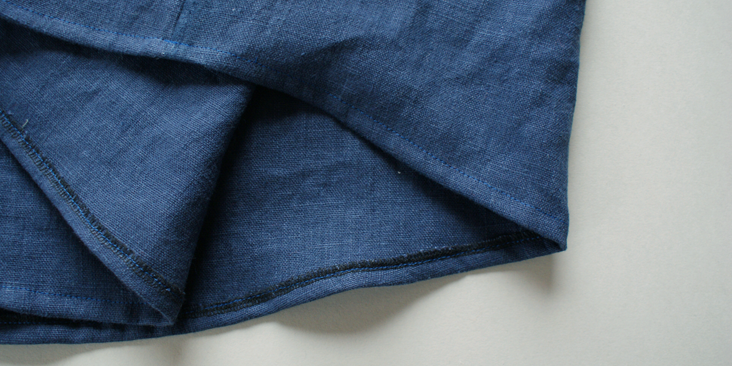
17. Measure 3/8 inch (1cm) of the hem of main body panels and fold it towards the wrong side.
18. Top stitch the hem.
19. Using this tutorial, create around 1 yard (1m) of bias binding tape.
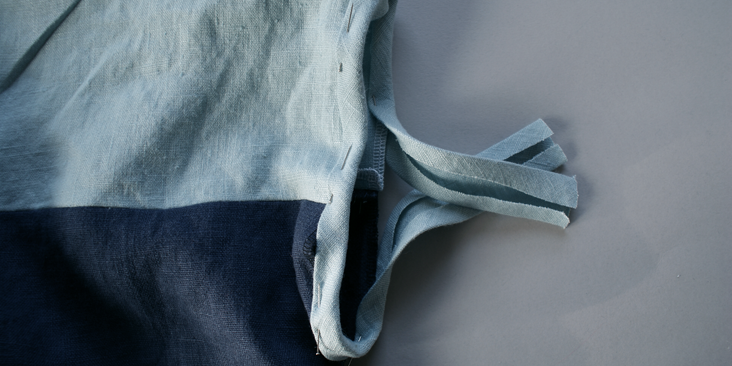
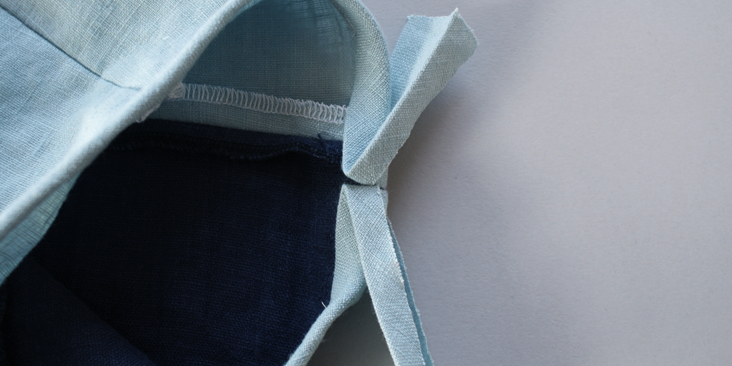
20. Pin the binding tape around the armhole, leaving 2 inches (5cm) of unused tape at the beginning and the end. Also leave around 4 inches (10cm) of the arm hole unpinned.
21. Stitch along the pinned seam.
22. Manually fold the bias tape over the un-sewn area and making sure it matches.
23. Pin the tape together and sew on its wrong side, along the manual folded line.
24. Turn the tape back onto its right side and pin the remaining tape onto the armhole.
25. Begin stitching by matching up where you had previously sewn.
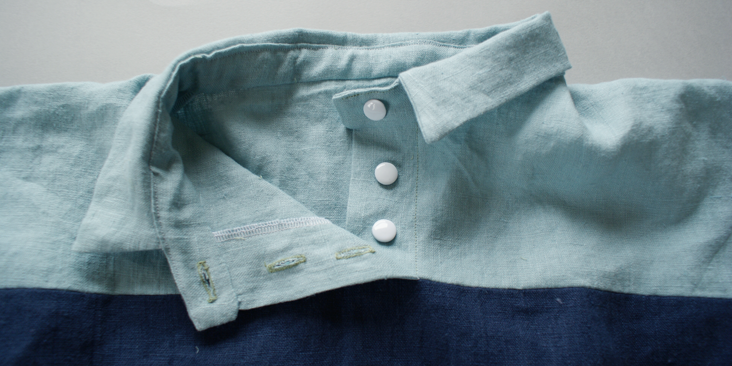
26. Using an erasable fabric marker, mark three points from the collar stand down onto the right side of the overlapping panel where the button holes are going’ to be.
27. Following this tutorial, create the buttonholes on the garment. Make the top one in the collar stand horizontal and the remaining two vertical.
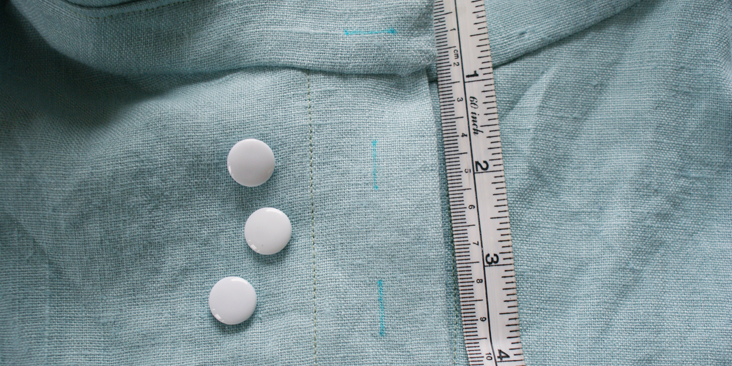
28. Mark the centre point of each buttonhole on the lower panel and place the buttons accordingly.
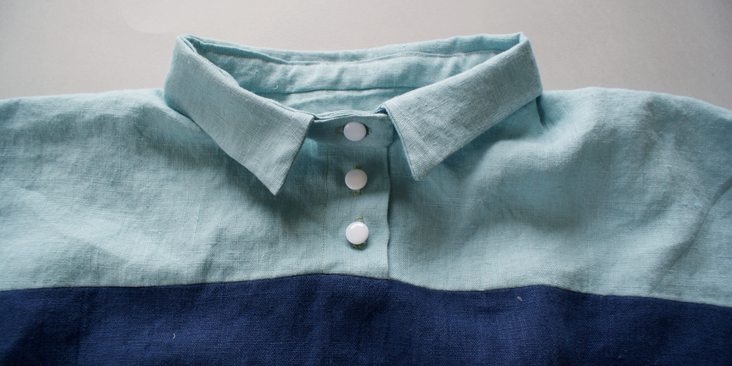
29. Sew them on and check they fit through the overlapping panel without creating bumps in between each button.
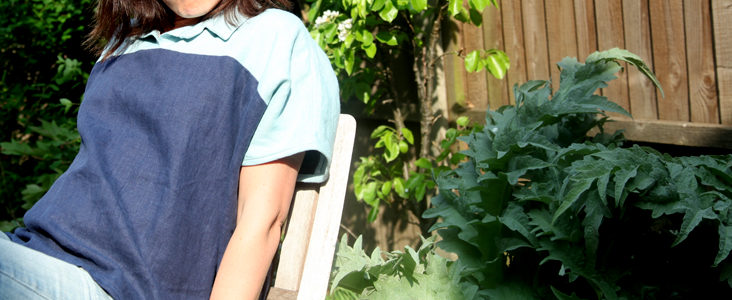
The top is a great way to add Spring into your wardrobe. You can play around with colour and weight combination of Linen. Why not check out the plethora of colours and options that we have?















23 Comments
Sewer
It’s cute, but not a Peter Pan collar, or the French version, a Col Claudine.
Diane Cormier
I particularly like the way you attach the collar! What a great way to encase the raw edges of the linen! Thankyou for a great idea! And everyone else – enough about the collar points! 🙂 This is easily fixed or stay with the points.
Masha Karpushina
Thank you Diane, we are glad this has been helpful.
Teresa Rouzer
I love this top – even if the collar name is incorrect – ha! I love the use of the two colors, thank you for that idea! Do you think the length of the sleeves could be extended by maybe 2-inches (for those of us with more mature upper arms that we’d rather conceal)?
You provide so many wonderful tutorials and I just want to say “thank you” and keep them coming! Any ideas for lightweight summer scarves? I have a vent directly over my desk at work that pours cold air down on my neck and shoulders – so I wear scarves year ’round.
Diane Cormier
Instead of the binding; why not try a short square sleeve with a smaller square gusset at the underarm? Also, move the shoulder closer in. Try it first with an inexpensive muslin or used clean sheets.
Masha Karpushina
Teresa, thank you! We will definitely do a summer scarf soon ))) Here is one scarf you may like, https://blog.fabrics-store.com/2013/12/03/make-a-fringe-scarf/ you could use a lighter fabrics (IL020) from our http://www.fabrics-store.com range. This fabric is super smooth and soft, and with certain colours almost sheer. Enjoy.
claudia
Hi, this is so nice!! Can this be lengthen to make a frock too ? Thank you for sharing.
Masha Karpushina
Thank you Claudia! Indeed you can.
Julie
I do not see the pattern for the top front. To be clear, the seam allowance for this size is included in your measurements. I do like the idea of using two colors.
Julie
No need to post…the top front appeared as I scrolled through a second time.
Susana
Looks cute and cool. In addition to noticing, as so many others did, that it’s not a rounded PP collar, I also looked at the pattern piece for the main body. None of the photos shoots the model standing, head on or full back, so I’m uncertain, but the shirt appears to have a slight point at the center front and back in that the center fold line of the shirt body pattern piece is substantially longer than the side-seam lines. The last photo on the model hints at this but isn’t clear enough to be certain.
If I were making this shirt, I’d carefully trim my bottom hem to be even all the way around and use the trimmed piece to alter my pattern for a future garment.
Also, the collar wouldn’t be too hard to make into a true rounded PP by using a smaller curve on the french curve device — or even the lip of a drinking glass, coffee mug, or the like. I’d also make the collar a little bit wider all the way around, maybe as much as 1/2″.
Finally, the question by Cornelia and response by Janet give a good reason for referring only to “french curve.” Wild Ginger does indeed make software under the name Pattern Master (I have it), but it’s a total pattern drafting program for the computer. What is needed here is simply a plastic device to give slopes and curves. There are several on the market, including one by Dritz that I very likely bought at a Joann store.
AmyCat =^.^=
As others have posted, this is NOT a “Peter Pan collar”…
Cynthia Fong
Thank you for your comment. We realised this was a mistake once it was posted. Adjustment will be made accordingly.
Jeanne
Yes, I always thought a PP collar was rounded … on the other hand, Disney’s PP has a pointed collar, and vintage pictures of the character show him dressed in a leaf suit!
Cynthia Fong
Thank you for your comment, and humour! Adjustment will be made to the title.
Victoria
Correct me if I am wrong- I have always seen a peter pan collar as being a rounded collar. The inner collar opening is rather wide, and the ‘points’ are a soft, rounded shape. I was just wondering if there were more than one style of peter pan collar. Thanks for the fun pattern, though!
Cynthia Fong
Thank you for your comment. Apologies for the careless mistake in recognising and correctly using the term. Hope you enjoy the pattern.
Cornelia
Love this! Help, please: do you know where can I get a Pattern Master in the US???
Jacqueline Keen
It is a french curve and you can find them on EBAY or Amazon., less expensive than dress shops. You can also try Nancy’s Notions.
Janet
Cornelia, Wild GingerSoftware, http://www.wildginger.com/products/pmboutique.htm, has Pattern Master Boutique for $225.
They offer other versions, as well.
Hope this helps. ☺
Eunice Hayes
While I love this addition to a linen shirt it is NOT a Peter Pan collar. This is a traditional shirt collar. It looks very becoming on this linen shirt, but I just wanted to correct the error. Here is a site with several collar styles: http://fashionsizzle.com/different-types-of-collars/
Sorry to be critical, and I daresay I will not be the only one to notice.
Cynthia Fong
Thank you for your comment and for pointing it out. We will adjust the title accordingly.
Sewer
No, you were not the only one to notice. Moreover, ignorance of basic design terms raises questions. It also wastes time. I did a search for “Peter Pan collars.”