


How to Machine Stitch a Blind Hem
Blind Stitch Hemming
With a little different sewing presser foot, this is a great way to’ finishing the hems of your sewing projects, particularly suitable for trousers and skirts.
Tools
Sewing machine
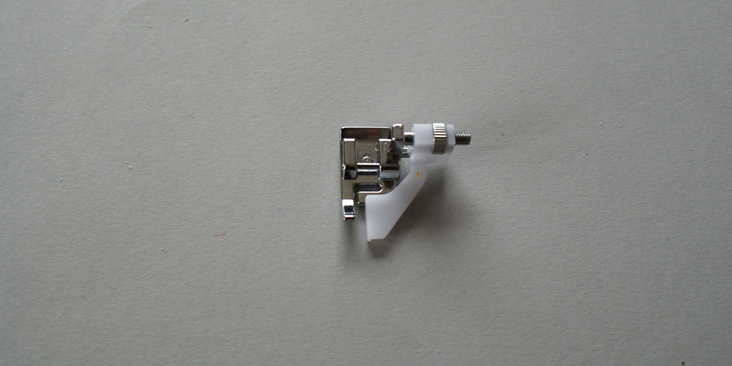
Blind hem foot
Sewing thread (For this tutorial, I used an opposing coloured sewing thread to demonstrate, for your project, you should always use matching colour thread)
Steps
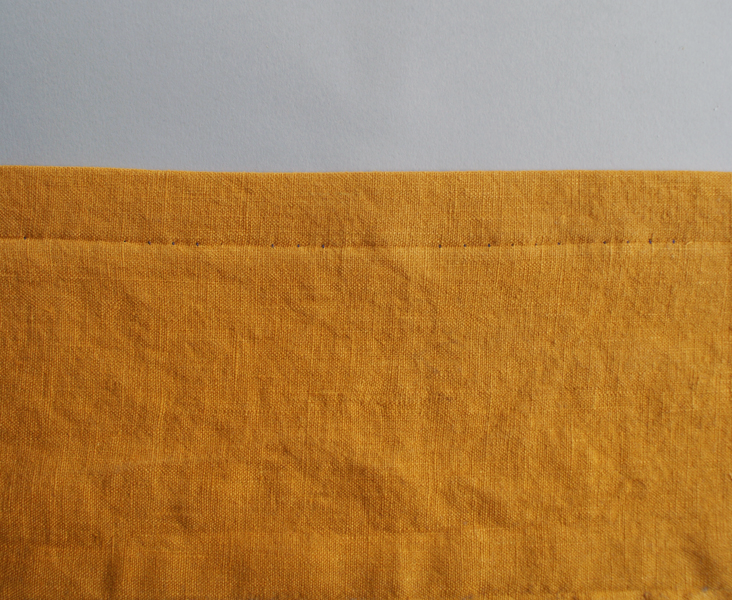
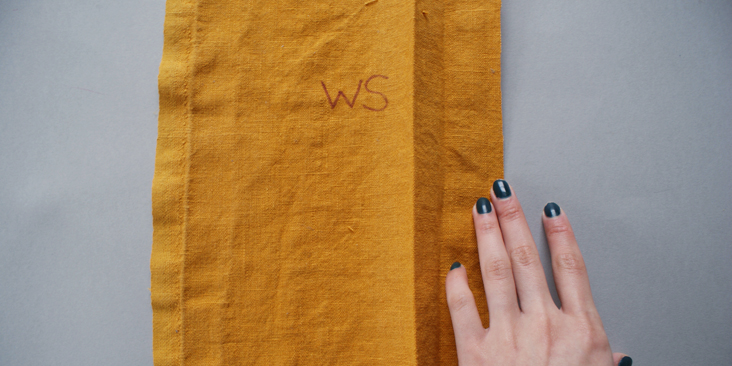
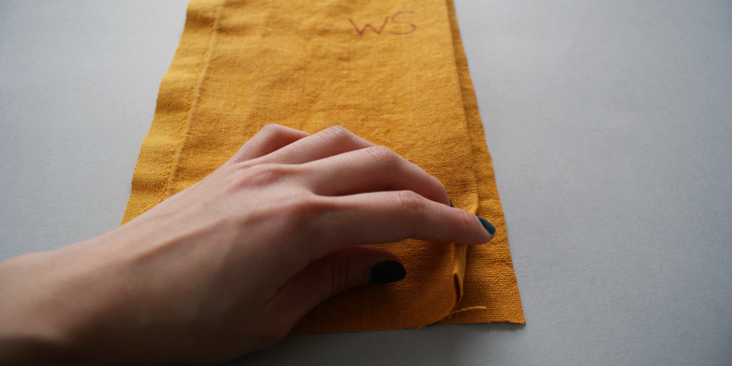
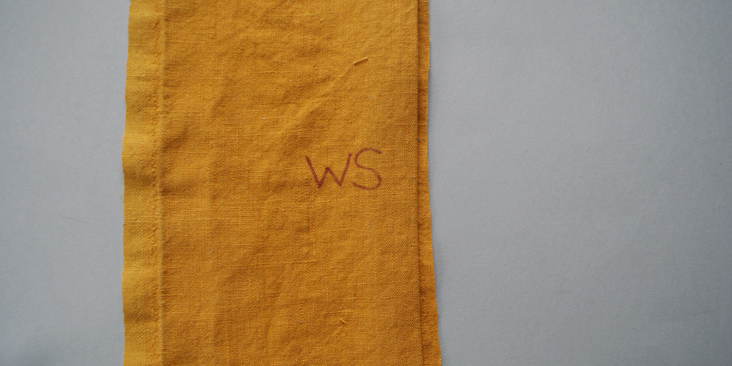
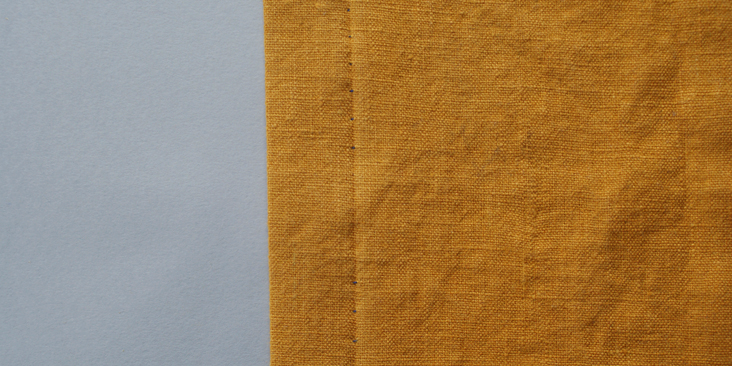
1. Fold up the hem towards its right side and fold it back to form a 1/4 inch (0.5cm) seam allowance. Make sure the wrong side of the fabric is facing you.
 ‘
‘  ‘
‘ 
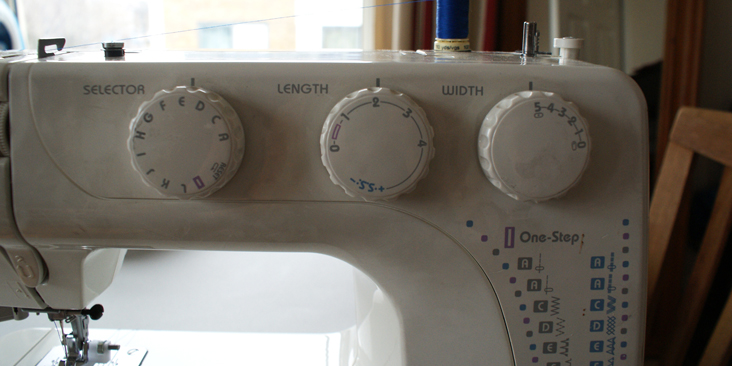
2. Change the sewing machine setting to blind hem stitch.
3. Place the fabric under the foot. Rotate the sewing needle manually slowly to check that when the needle comes to the extreme left, it just pierces the folded edge. Lower the presser foot.
4. Turn the guide screw to adjust the position of the presser foot guide to match with the folded edge.
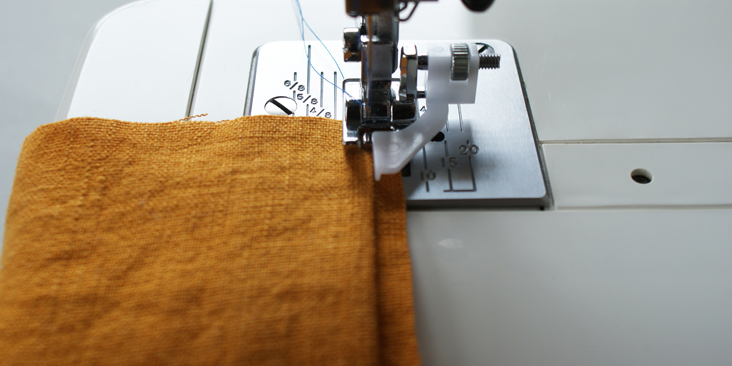
5. Sew the fabric, while guiding the folded edge along the guide.
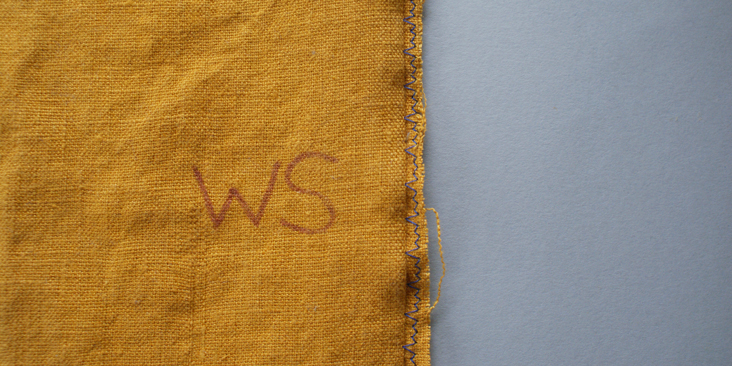
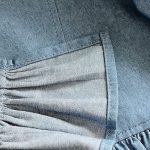
6. Open the fold flat. Press the fabric.
 ‘
‘ 
Note: If the needle drops to far left, the stitches will show on the right side of the fabric.
Learning an useful skill like this means you can take your sewing projects onto another level. Why not browse through our selections of linen, and take a pick of your favourite colour and start on a new sewing project today?
Leave a comment
Related posts

Sewing Essentials: Stitch Width, Stitch Length & Needle Position
Thinking back to my high school textiles days, I remember having to test stitch settings on every fabric we planned to use for our projects. We would cut out little squares of fabric and experiment with different stitch lengths and widths, and edge-finishing techniques. At the time, it felt unnecessary, not to mention tedious….

Sewing Essentials: A Simple Guide to Notches
I love a notch, so much so that I’ve decided to dedicate this article to these small but important markings. Here, I’ll explain why they’re so helpful, when to use them, and how to add them to your own patterns or adapt them for existing ones. What exactly are notches? Notches are small markings found…

How to Select and Use Interfacing: A Simple Guide
Iron-on or sew-in, woven or non-woven, lightweight or heavyweight. With so many different types, weaves, and weights to choose from, how do you know which interfacing is best for your project? In this article, I will explain the two main types of interfacing before diving into the differences in weave and weight. Hopefully by the…

Sewing Essentials: A Simple Method for Reversible Seams
There are so many ways to finish a seam, from good old overlocking to French seams and binding. I recently stumbled across another method that’s pretty nifty, and honestly, I kind of wish I had known about it sooner. It is a bit like binding, but topstitched in place so it doesn’t move or flap…

An Introduction to Common Crotch Adjustments
Recently, I drafted a pattern and made a toile of a pair of drop-crotch pants. When I tried them on, I straight away noticed (and felt) they weren’t quite right. The most obvious issue was that the back crotch felt tight and pulled uncomfortably, especially when bending over. Walking also felt a little restricted, with…


SEW THIS LOOK


Latest Posts

5 Comments
Karen Alexander
Lovely blind hem… except for that raw edge, which will fray out after just a few washes. Use that little machine’s running zig zag (or overcast) stitch to finish that edge first, THEN do your lovely blind hem… now the hem will be secure and washable too!
Amy Carpenter
Good point, Karen… 🙂 I usually run edges like that through my Serger before hemming, but a zig-zag’s just as good! It does look like this machine’s version of a “blind hem” is also doing a slight zig-zag on the hidden part, but many “blind hem” settings just run a straight stitch on that area.
Could probably also do a rolled edge (even neater than zig-zag/Serger!) before blind-hemming, too…
Cynthia Fong
Thank you for your comment and suggestion. You are right, treating the edge first will make the garment last a lot longer! Thank you for your tip.
Maryann's
Hello — I tried to sign up for Thread tutorials, etc . You keep telling me my e -mail is invalid. Not the case.
Masha Karpushina
hey Maryann, what is your email please: you can email it to me at maskar@gmail.com? I will forward it to our team.