How to Sew On a Zip
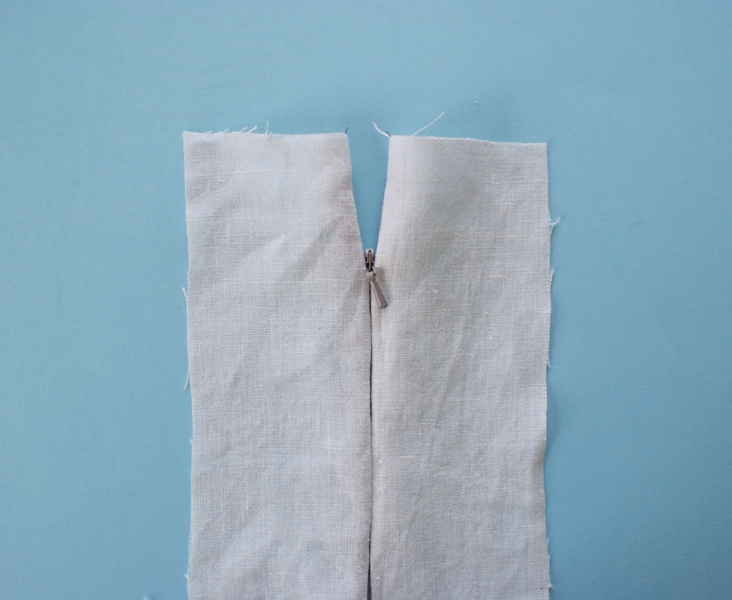
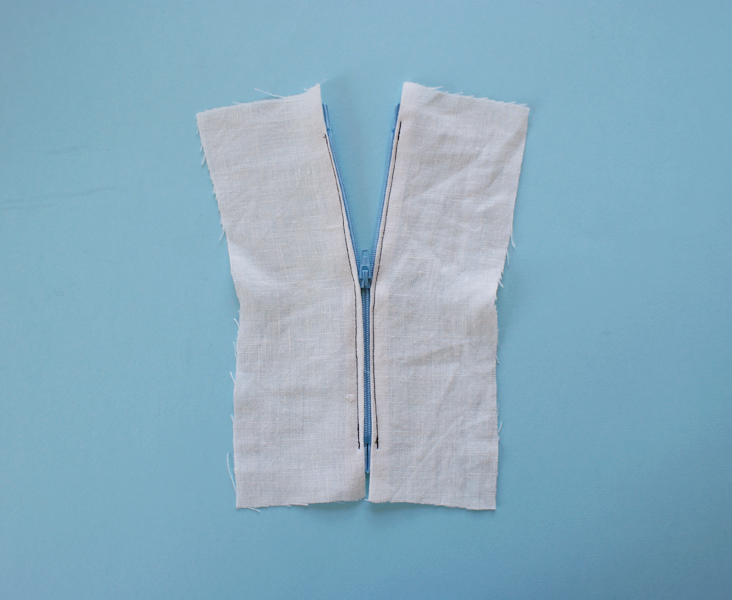
Sewing zips onto your garment or other sewing projects can be fast and easy once you know how to do it.
Visible zips are easy to do, and it’s a great way to mix and match different colours and showcase your personality through the small details of your sewing.
Invisible zips tend to be one of the more difficult closure applications to be sewn on because precision is needed. However, if you have the right tools, it is extremely straight forward. And alike every other sewing method, practice always makes perfect.
To follow are two tutorials which give you the basic understanding of how a zip can be sewn on, however we will be showing step by step on how to insert a zipper onto various projects, so you can get a better idea of the process.
Visible zip
Tools
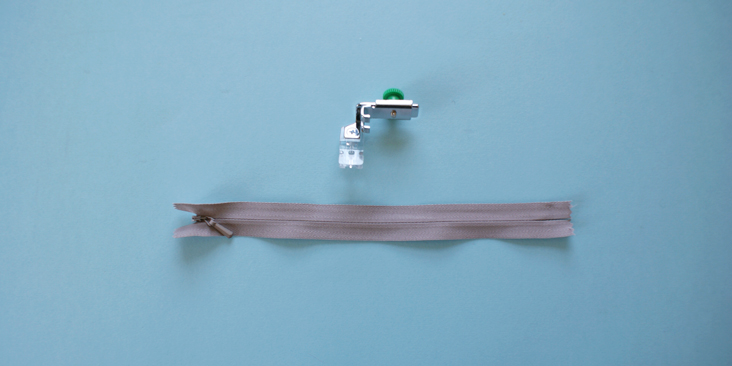
Sewing machine
Zip
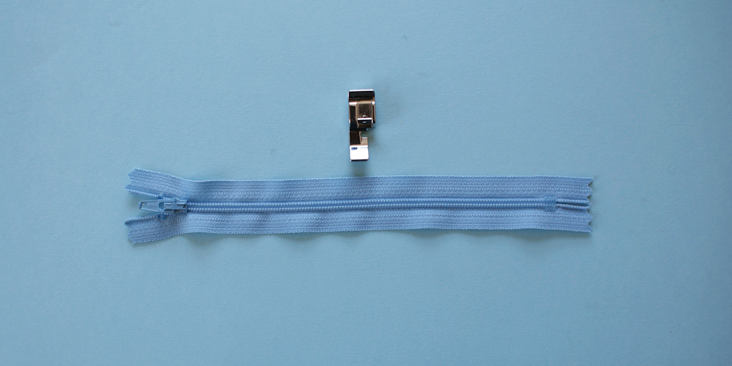
Zipper foot
Sewing thread
Steps
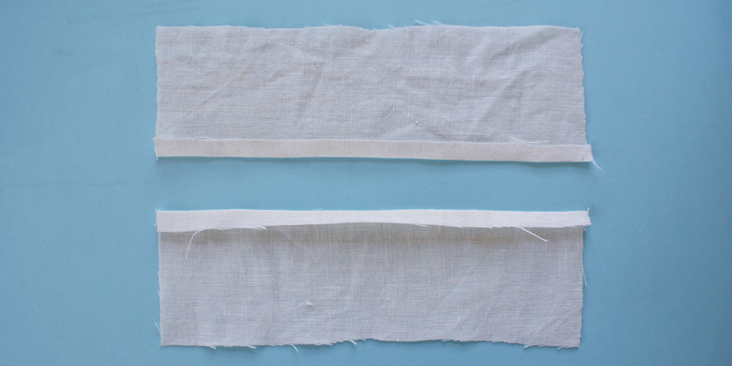
1. Fold the seam onto its wrong side and press the seam of the fabric that is to be sewn onto the zip.
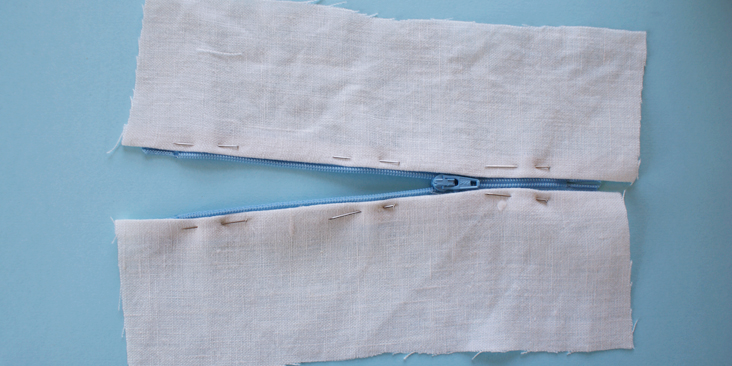
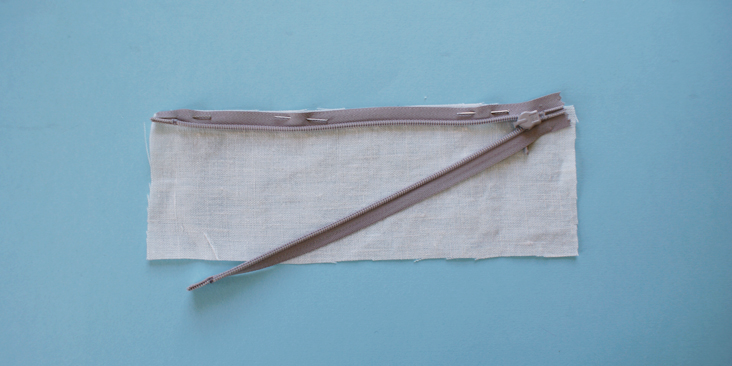
2. Pin the right side of the pressed seam onto the zipper tape. Make sure the fabric does not cover the teeth and the zipper teeth remains smooth.
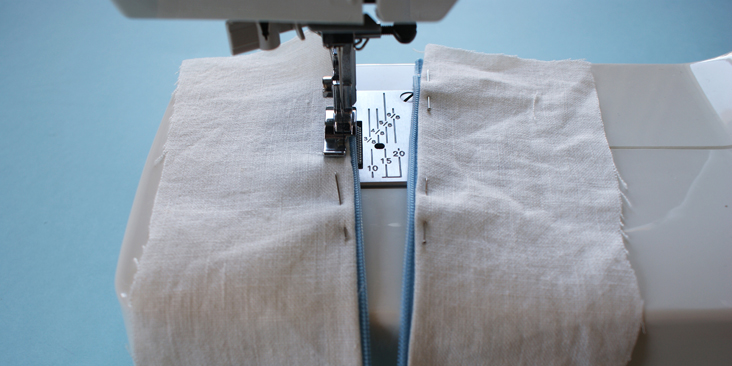
3. Place the zipper teeth alongside the zipper foot edge. Sew along the fabric through the zipper tape.
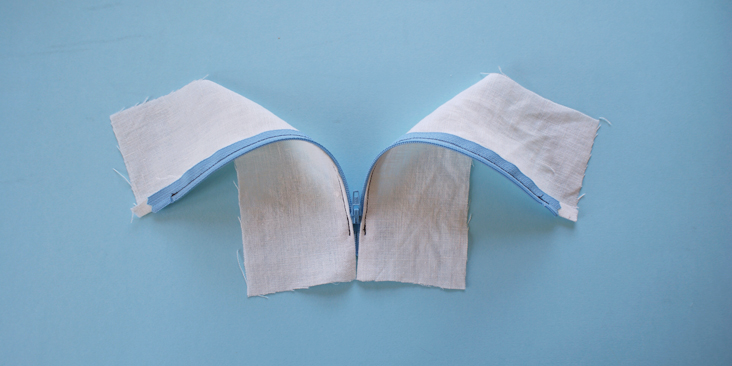
4. Repeat the same for the other side of the zipper.
Invisible (Concealed) Zip
Tools
Sewing machine
Invisible zip
Concealed zipper foot
Sewing thread
Steps
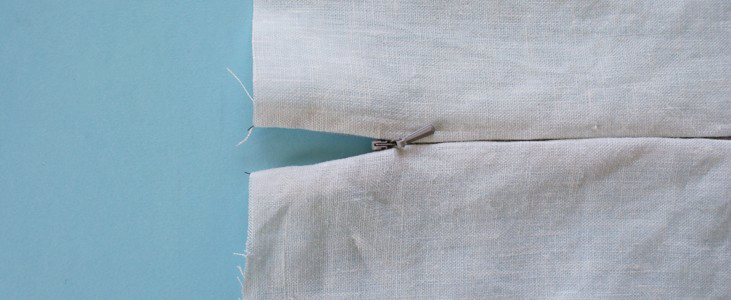
1. With the right side of the fabric facing you, pin the zipper tape (with wrong side facing up) along the seam allowance of the fabric.
2. Place the material under the zipper foot and lower it, with the sewing thread at the back of the sewing machine. You can change’ the placement of the needle in relation to the foot by adjusting the screw at the back of the foot.
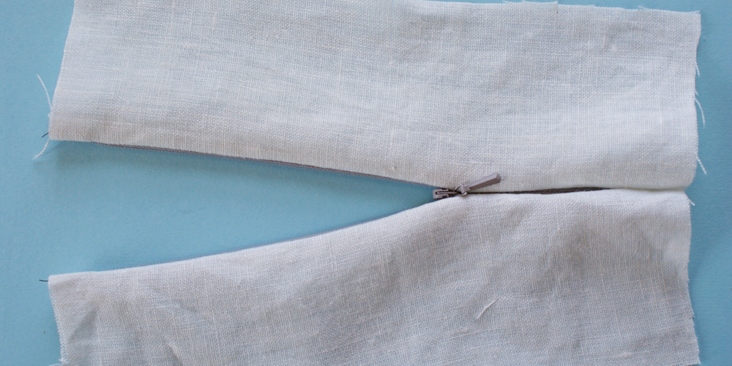
3. Slowly, guiding the zipper teeth along the zipper foot ‘tunnel’, sewing along both the zipper tape and the fabric. Make sure the needle does not get caught in the zipper teeth.
4. Repeat this on the other side.
This is something very easy to understand and to do, but always remember the more you practise, the better and accurate it will be.










23 Comments
Vee
Masha, I appreciate your tutorials, keep them coming. Please pay no attention to the knick pickers regarding spelling and exact placement of this or that. There will always be people that think they can do it better or have done it better. Well good for them. You seem to have more positive followers than negative ones. Thanks for being there for those of us who enjoy staying on our learning curve.
Masha Karpushina
Thank you Vee! Our amazing seamstress Cynthia is making these tutorials for us, and it is pretty scary to get them out knowing the amount of criticism we fall under, but your words and so many kind words from other readers keep us going. We are trying our best, we are learning. Our goal is to motivate as many people to get creative and possibly step out of their comfort zone, to be inspired and start sewing. This is the mission, to inspire. I just hope that we achieve this, even with our minor mistakes. Thank you again for taking the time to write and voice your thoughts. We really appreciate it. And as I said- I am personally grateful to Cynthia, its not an easy task to teach- even if you are incredibly capable in sewing with a background in fashion. So, please bear with us.
Fay
Well dont feel daunted in any way because you guys have definitely inspired me to sew.
Cynthia Fong
Thank you Vee for your comment. Like Masha said, we really hope to be able to inspire others creatively, but it is important to learn the basic too, which is why these tutorials would be crucial for those still in the learning process. I am still learning and improving every step of the way so all the feedbacks have been very useful.
Ramona
Some of you women are just down right mean. I was taught if you don’t have something nice to say then keep your mouth shut. I for one appreciate your tutorials.
Masha Karpushina
Thank you Ramona, we are so happy that the tutorials are enjoyed. We have a long way to go to perfection, but are very enthusiastic and hopeful that these can be of benefit to others. take care.
Jena
I thought it was a lovely tutorial for what it is – a very basic how-to for zippers. Which I certainly appreciate! 🙂
Masha Karpushina
Thank you Jena, very kind words.
Cynthia Fong
Thank you for your feedback Jena. We are so happy that this tutorial was of use. We hope to build a foundation with some of the basic tutorials, so for future projects, and general use, it will be helpful for our readers.
flora
Thank you for the tutorial. I haven’t put in a zipper in a while but your article was a great and useful reminder. Your sample looks beautiful. Keep up the good work. I love that you all are providing these interesting articles. Love your linen. Every window in my house is draped in linen from your store. Many of them are years old, washed a lot and still going strong.
Masha Karpushina
Thank you so much for such a warm comment Flora. We are learning and hoping that these will be of use. Take care.
Cynthia Fong
Thank you for your comment Flora. It means a lot to us that we are able to be providing you with information and insights for your work.
B
I hoped it would be a video.
Not much detail for a new sewer.
Also, how do you spell “practice”?
With a c, not an s.
I’m just trying to help.
Cynthia Fong
Thank you for your comment. Apologies for the mis-spelled word. Thank you for pointing it out.
J
Cynthia, no need to apologise to B for your spelling! He/ she should have learned at school that “practise’ is a verb & quite correct as you used it. ‘ Practice’ is used in the context of, for example, I am going to choir practice!
Just trying to help!
Vee
Save your help for your sewing. Pay more attention to the actual tutorial instead of knick picking about the spelling.
concerned seamstress
This is one of the worst tutorials I have ever seen. I would challenge someone to install a traditional zipper the way you have with good results. In addition to the problems expressed by Janet, you have sewn too close to the zipper teeth!
Melody
I agree, it is the worst tutorial. What is she going to do – leave the seam below the zipper open? Sewn too close to the teeth and no indication of where to lay the zipper in relation to the neckline or top edge of project. Saying that the ‘bottom treatment will be different according to different projects’ – really? It needs to be closed pretty much the same way. There are so many better tutorial than this out there.
Cynthia Fong
Thank you for your comment. As you would have read in a previous response, the top and bottom of the zip will be attached onto the fabric different according to the projects, hence we have decided to leave the beginning and end of the zip open.
B
I thought so, too.
Cynthia Fong
Thank you for your comment. These are two most used zippers and with the right sewing feet, good results can be achieved.
Janet
I can only hope your customers already know how to install a zipper. I’m sorry to be so negative, but I’ve been sewing for 50+ years and have never seen a zipper go in without basting the seam allowance in the area going over the zipper and the sewing the remainder of the seam below the zipper using a regular length and tension stitch before applying the zipper. The bottom of the zipper should be stitched across to keep the zipper pull from weakening the stitches below when it is unzipped. I suppose your method would work for a wallet or handbag application where the bottom of the zipper is not exposed. For garment sewing, you would have a hard time sewing up the seam below the zipper after the zipper is in without leaving a gap.
Cynthia Fong
Thank you for your comment. We have only included the steps for sewing the zips onto the fabric because the treatment for the bottom of the zip will be different according to different projects. We had hoped to introduce the basics of attaching a zip before including this in our other tutorials.