Three Colour Bed Linen Set For Kids Tutorial
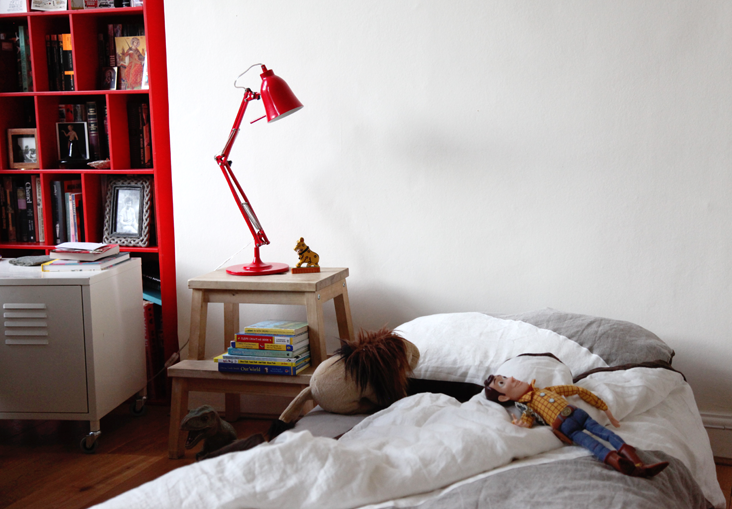
Quilting is one of my favourite types of projects to do, especially when I have all this fabric lying around, waiting to be sewn together! However these projects can be a little time consuming. Here is to creating something that is a simplified version of a quilt technique, that won’t take up weeks of your time and will make’ your kids beds look modern and fresh.
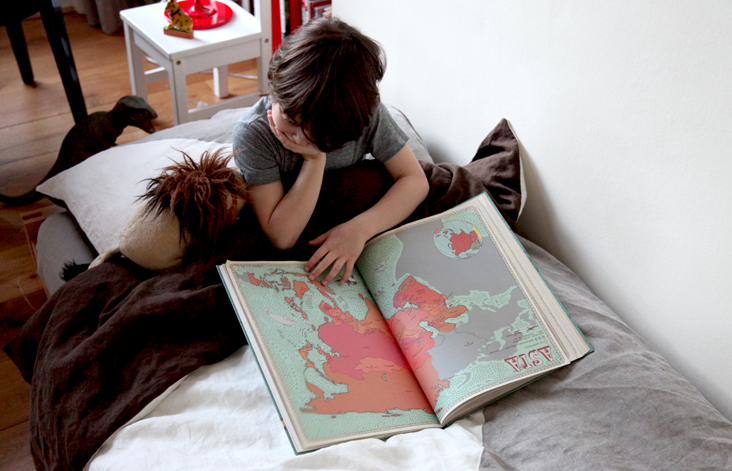
The following’ tutorial is for a single bed linen set, it is very easy to make and you will have yourself a brand new set in just a few hours! Hurrah for New Years accomplishments. With the option to play around with three colours’ it is a great way to get your kids involved by letting them choose their favourite shades. Yes to bonding.
The housewife pillow case measures to 19 3/4 inches x 29 1/2 inches (50cm x 75cm), and the duvet cover measures to 55 inches x 78 3/4 inches (140cm x 200cm). The sheet fits a 38 1/4 inches x 79 inches (97cm x 200cm) with 6 1/4 inches – 6 3/4 inches (16-17cm) deep mattress.
Materials
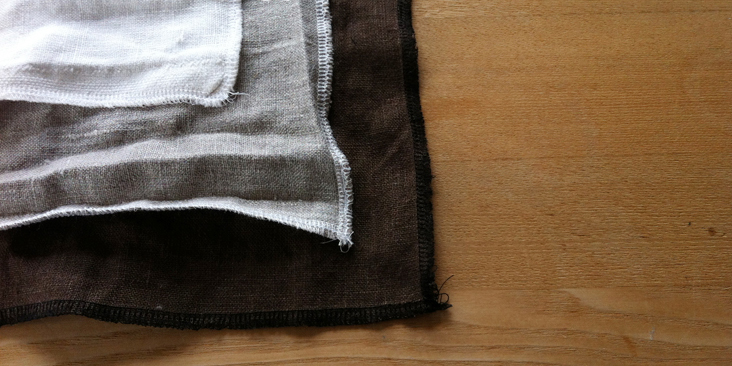
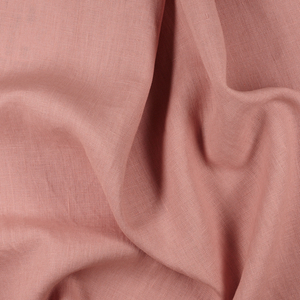
2 yards of IL019 Bleached Softened
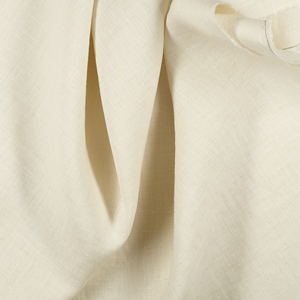
6 yards of IL019 Natural Softened
3 yards of IL019 Chocolate Softened
Matching thread (I used white, tan and black)
5 buttons (Width measures 1/2 inch -3/4 inch (1.5cm))
4 x 15 3/4 inches (40cm) elastic (Width measures 1/4 inches (1cm))
Tape Measure, Scissors, Pin, Washable Fabric marker
Iron
Sewing machine
Overlocker (Optional)
Time
4-5 hours
Difficulty
Beginner
Pattern Cut
Note: Before you start your projects make sure to’ prewash your fabric. Tumble dry so that there’s still a little bit of moisture left in the fabric. Iron for more accurate measurement.
Pillow Case
Front – Right-angled triangle, with two sides measuring 19 3/4 inches and 29 1/2 inches (50cm, 75cm) plus 1/2 inches (1cm) seam allowance in Bleached and Natural.
Back – 2 rectangles measuring 19 3/4 inches x 29 1/2 inches (50cm x 75cm) and 6 inches x 19 3/4 inches (15cm x 50cm), both with added 1/2 inches (1cm) seam allowance in Chocolate.
Duvet
Front – Right-angled triangle, with two sides measuring 55 inches and 78 3/4 inches (140cm, 200cm) plus 1/2 inches (1cm) seam allowance in Bleached and Natural.
Back – A rectangle measuring 55 inches x 78 3/4 inches (140cm x 200cm) plus 1/2 inches (1cm) seam allowance in Chocolate.
Button Stand – 2 stripes, measuring 31 1/2 inches x 1 1/4 inches (80cm x 3cm) plus 1/2 inches (1cm) seam allowance in Chocolate
Sheet
A rectangle measuring 53 3/4 inches x 94 1/2 inches (137cm x 240cm) plus 3/4 inches (2cm) seam allowance in Natural.
Sew’ Pillow Case
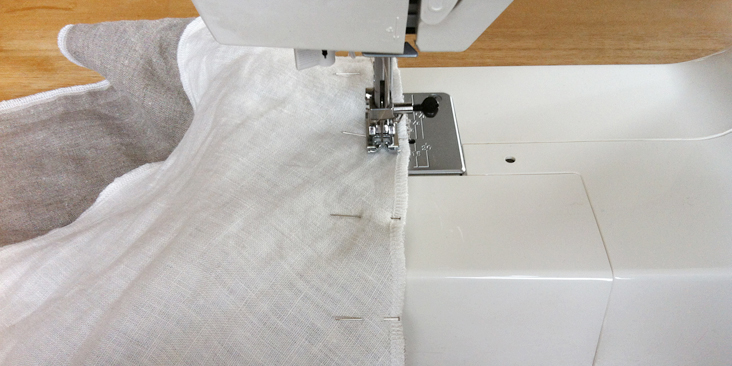
1. Overlock all edges without trimming any fabric off, this step will prevent the fabric from further fraying.
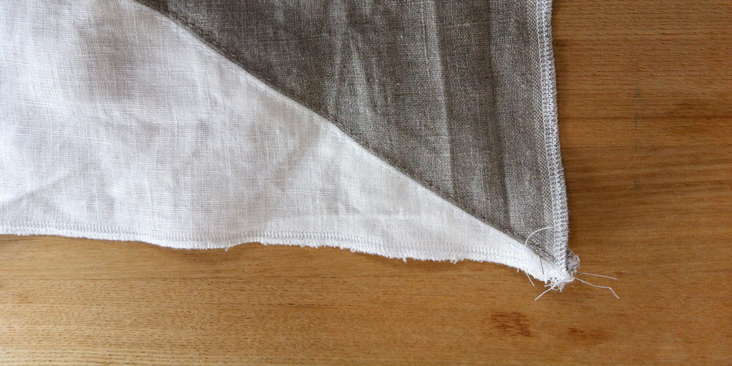
2.’ Start by matching the long diagonal line of the triangles together, making sure when you open up the panels it forms a rectangle. ‘ Stitch together the 1/2 inches (1cm) seam. Iron open.
3.’ Top stitch over the panels on the right side with the right coloured thread.
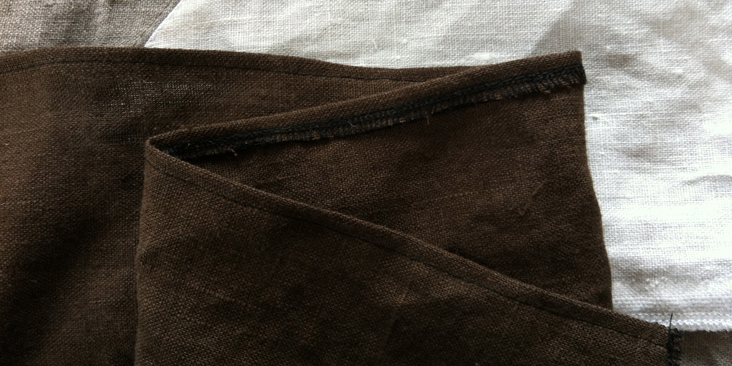
4.’ For the back of the pillow case, fold one of the 19 3/4 inches (50cm) edges towards the wrong side of the panels, and top stitch over. Do this for both the longer and the shorter panels. The stitched edges’ will be the openings to the pillow case.
5.’ Pin together the raw 19 3/4 inches (50cm) edges of front panel and the shorter back panel. Sew on the wrong side at the 1/2 inches (1cm) seam allowance, and then iron the seam open.
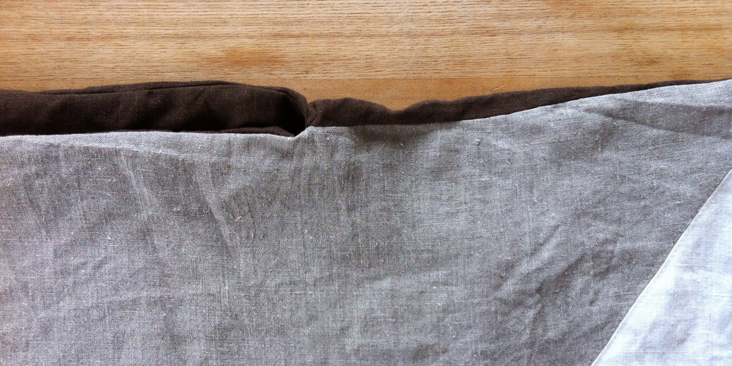
6. Pin the remaining three raw edges of the front panel, together with the raw edges of the larger back panel. The edge that is already hemmed on the longer panel will meet the seam where the front panel is sewn together with the shorter panel.
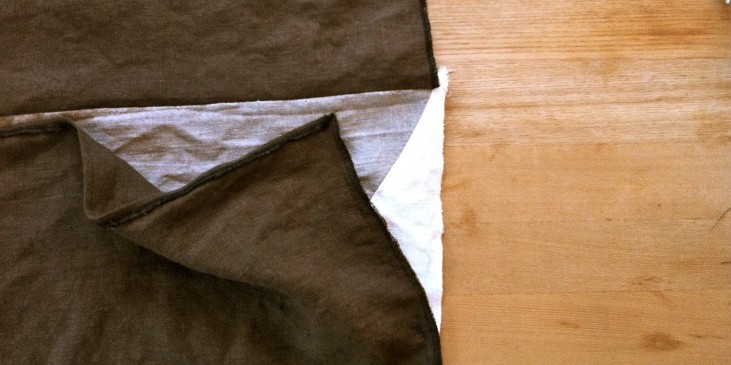
7. With the wrong side of the large back panel facing you, bring over the shorter back panel. Pin its 6 inches (15cm) raw side seams on top of’ the other two panels. The wrong side of the shorter panel, is now stacked on top of the wrong side of the longer panel, facing you.
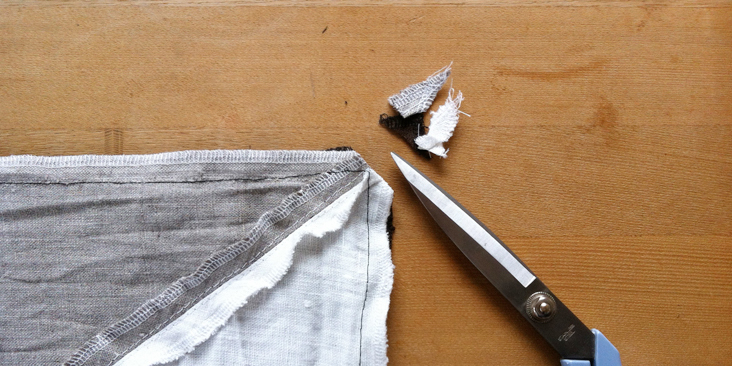
8. Sew all three edges at the 1/2 inches (1cm) seam allowance. Iron the seams. Cutting the corners can reduce excess fabric on the corner of the pillow case.
Sew Duvet Cover
1. Overlock all seams without trimming.
2. Pin together the triangle at the diagonal line the same as the pillow. This is the step you can play around with the arrangement of the triangles and colours. Sew at seam allowance and iron the seam open.
3. Top stitch over the triangle panels on the right side with the matching colour thread.
4. Pin together all the edges of the front panels and back panels, apart from the bottom edge. Sew at 3/4 inches (1cm) seam allowance and iron the seams open.
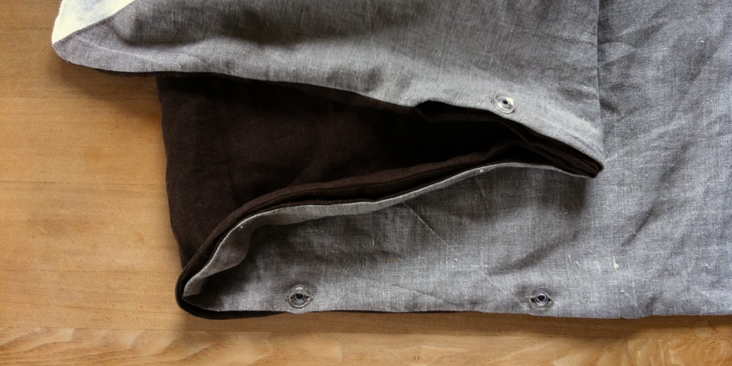
5. At the bottom edge, make a notch with your scissors at 11 3/4 inches (30cm) from the side seams. Make sure the notch does not exceed the 1/2 inches (1cm) seam allowance. Sew from the side seam to this point on the wrong side. This will create a 31 1/2 inches (80cm) opening in the middle.
6. Join the long stripes by sewing their 1 1/4 inches (3cm) seams together. Iron the seams. The stripe is now in a circle and measures 63 inches (160cm).
7. Fold 1/2 inches (1cm) of one side of the button stand towards the wrong side. Iron it to set it in place and top stitch over the folds.
8. Pin the raw 31 1/2 inches (80cm) side of the stripes onto the opening of the duvet cover. Make sure the side seam matches.
9. Sew it together at the seam allowance. Iron the seams open and then iron the seam flat with the button stand folded over the duvet cover.
10. Place the 5 buttons equally over the 31 1/2 inches (80cm) opening of the cover. Mark with washable fabric marker or pin, the width of the button on the front of the cover.I started with 2 1/4 inches (6cm) space between the side seam and the first button, and placed the next button 6 3/4 inches (17cm) apart. This mark will help you make the horizontal button holes.
11. Change the sewing foot to an automatic button foot and fit one of the button into the foot. This will determine the length for the stitching.
12. Remember to change your setting to an automatic button hole, reduce the stitch length to 0-1, and turn the width of the stitch up to 5 (or the highest).
13. Pull down the lever just above your foot and you have successfully set up your machine for the button hole.
14. It is best to test on a piece of scrap fabric first. Remember to press reset button and you are ready to stitch on your 5 horizontal button holes.
15. Sew the buttons on the inside of the bottom panels of the button stands accordingly.’ Only stitch your button onto the fabric of the button stand, and not through onto the bottom panel of the duvet cover.
Sew Sheet
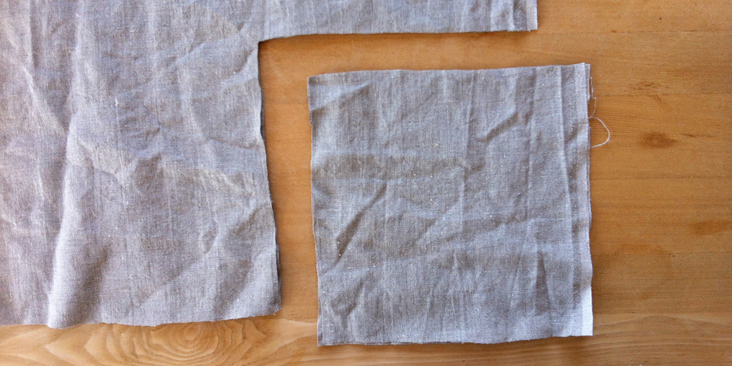
1. Before you overlock the fabric, you need to cut out a square that measures 7 3/4 inches x 7 3/4 inches (20cm x 20cm) on all four corners.
2. Overlock all edges of the sheet without trimming.
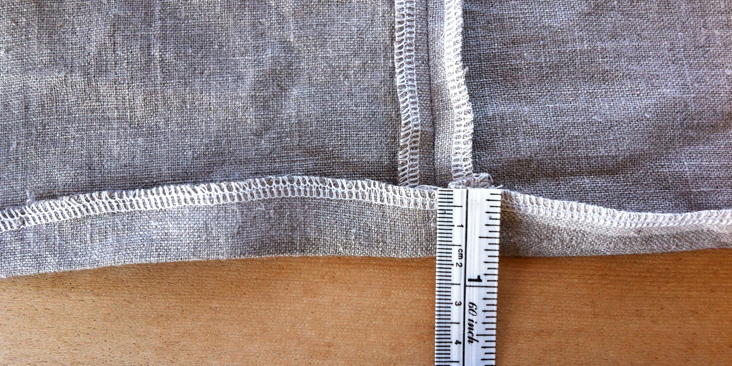
3. Join together the corner by pinning from the outside point towards the inner point, and sew at 3/4 inches (2cm) seam allowance, this will create the’ require length to cover the depth of your mattress as well as the overlap to be tucked under the mattress. Iron open the seam.
4. Fold 3/4 inches (2cm) seam allowance along the entire edge of the sheet towards the wrong side of the fabric. Iron the seam.
5. Slightly unfold the edge. This is for the sewing of the elastic along the wrong side of the edges.
6.’ Measure from the corner seams outward, and notch at 11 3/4 inches (30cm) on both sides, of all four corners.
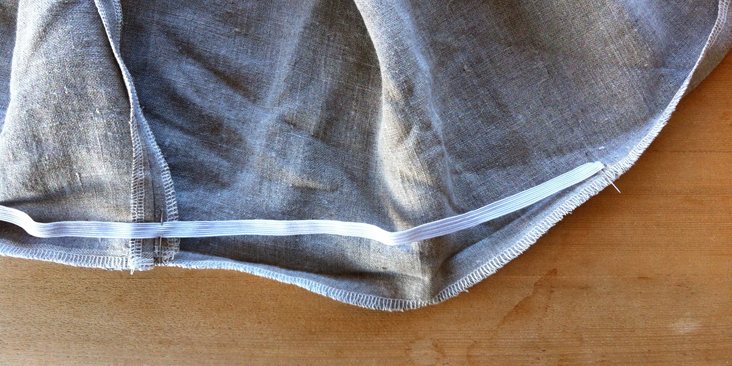
7. Fold the elastic pieces in half and pin the middle point on the wrong side at’ the corner seam. Stretch out the elastic and pin its ends at the notched point.
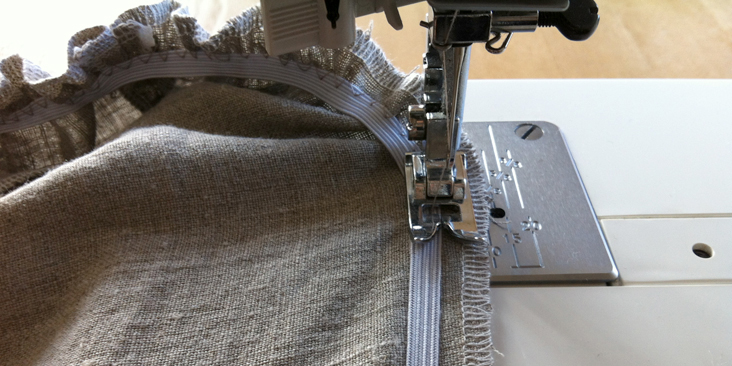
8. Set your machine to zig-zag stitch, with a higher stitch length as this will help maintain the elasticity as you stretch out the elastic. Also, reduce the width of the stitch as you only need to sew along the top edge of the elastic.
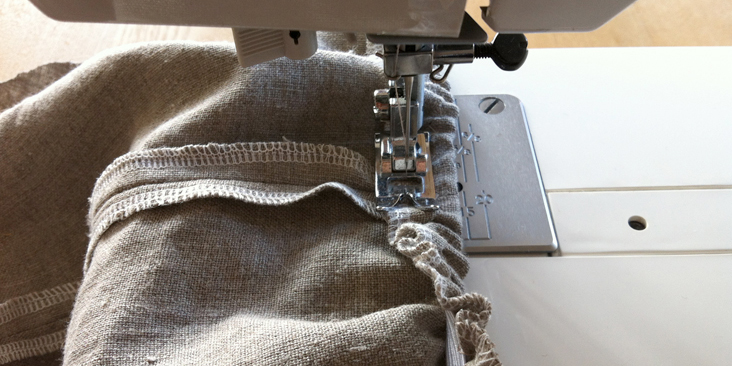
9. Making sure the elastic is aligned with the folded crease of the sheet from the ironing and is pinned on the wrong side of the fabric. Only stitch on from the beginning to the end of the elastic. As you are stitching the elastic onto the fabric, hold both side of the fabric and elastic as you sew, this will help the material to ‘travel’.
10. After sewing all four elastics onto the four corners, reset the sewing machine to normal setting.
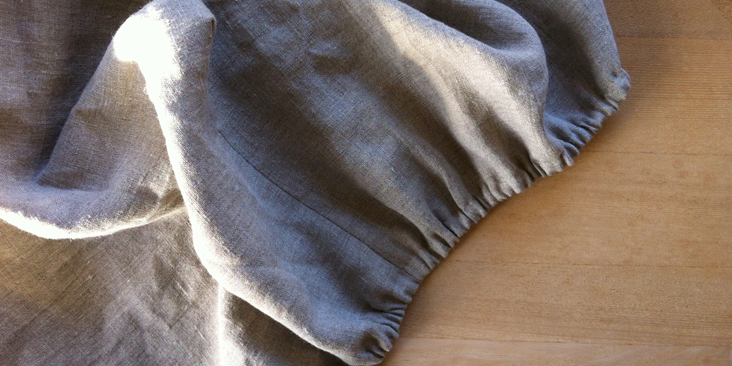
11. Fold along the already ironed crease towards the wrong side of the fabric and top stitch over the edge along the whole way around the sheet. Make sure you do not stitch onto the elastic. Around the corner where the material will be creased, remember to stretch out the fabric.
12. Once you have stitched along the whole edge, you have just made your first linen fitted sheet.
















5 Comments
Pam
Super cute! Love the diagonal pillowcase
Karen
I just made a crib sheet out of an old queen size sheet that was still in decent shape. I had no instructions, just sort of winged it. I made a casing all the way around the edges of the sheet and fed thru1/4″elastic
I found the instructions for the sheet construction here helpful; especially how the elastic was applied to the corners. So I may try this again.
Cynthia Fong
Thank you very much for your comment, and we are glad to be of help. Please post a photo and show us your new project.
Susana
I am about to move and am considering making my own bed linens in the new place—even tho they won’t be twin sized. I’ve only been sewing for 70 years, and this is about the most confusing set of instructions I’ve seen. It would be nice to have an orderly photo of the finished items—not obscured by the cute kid and the large book in a rumpled bed—so we can see what each piece is supposed to look like. It would also be nice to have some verbs in the part of the instructions, such as “CUT TWO Right-angled triangleS, with two sides measuring 19 3/4 inches and ONE MEASURING 29 1/2 inches (50cm, 75cm) plus 1/2 inches (1cm) seam allowance; ONE TRIANGLE EACH in Bleached and Natural (OR YOUR CHOSEN COLORS)”
Maybe when I have more time to sit and cogitate over what the sewist does that is in her head but not written down, but I don’t have time now to decipher this.
Cynthia Fong
Thank you so much, we really appreciate you taking your time to comment and give us feedback. We will make sure to write the instructions much clearer in the future.