TEA COZY TUTORIAL
Difficulty: Easy
Time to complete: Approx. 30 minutes – 1 hour
Materials:
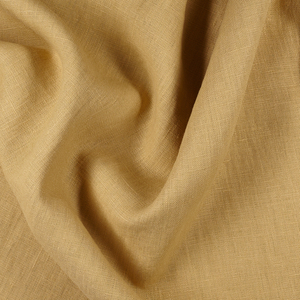
IL019 Fog Green
IL019 Bleached
Cotton or Linen Batting
Tea Pot
Measuring Tape
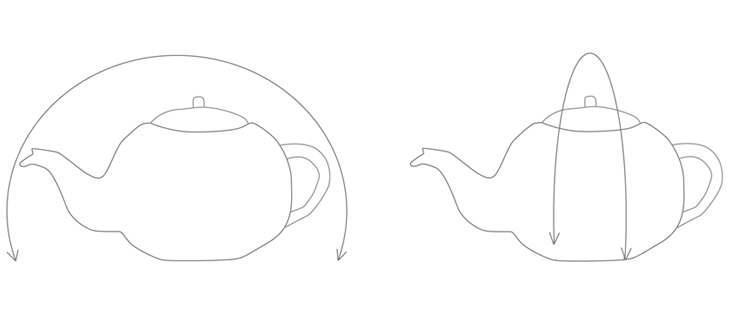
You can make this tea cozy for any size tea pot! Since most teapots aren’t the same size, here’s how to design a pattern that will work with your teapot. First, measure the teapot’s width by measuring around the teapot, including the spout and handle in the measurements. Divide by half, then add 2 inches – this will be the width measurement for the pattern. Then measure over the top of the teapot, starting from the table on one side and ending at the table on the other side, measuring over the lid. Divide this measurement in half, then add 3 inches – this is going to be the height measurement for the pattern. Here are a couple pictures to show how to get the measurements:
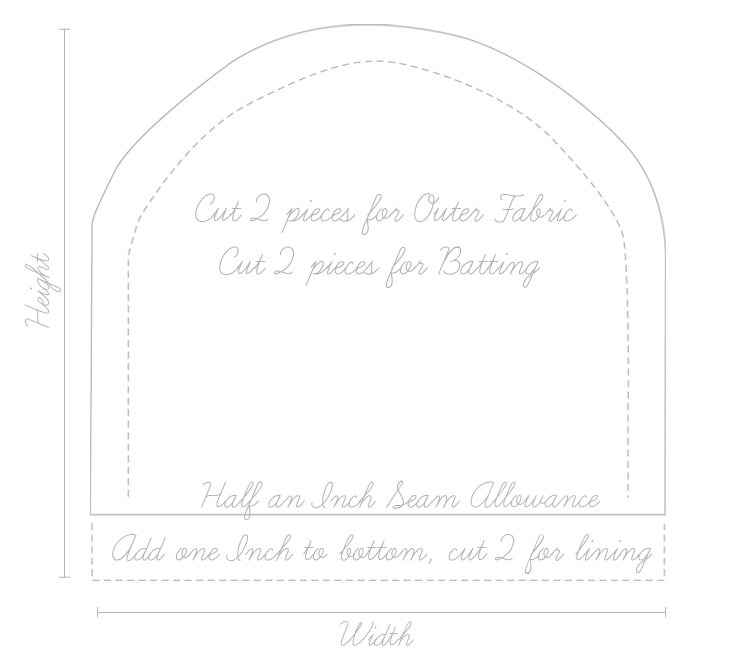
To create your pattern, make a rectangle using the width and height measurements above. Now round the corners. You can line up a plate with your pattern, letting the top of the plate line up with the height measurement, and trace it to create a perfectly round edge, or simply draw a curve on the two top corners.
This pattern piece will be used to cut out your outer fabric and the batting. To create the pattern piece for the lining, add one inch to the bottom. To make the finger pull, cut out a rectangle of fabric from your lining fabric that is 2″ x 4″.
Here’s a guideline showing the pattern pieces:
(Tip: When testing out new patterns, it’s a good idea to make a quick mock-up in an inexpensive fabric before starting on your project. Sew just the outer layer together and put it over your teapot to make sure it’ll fit the way you want it to.)
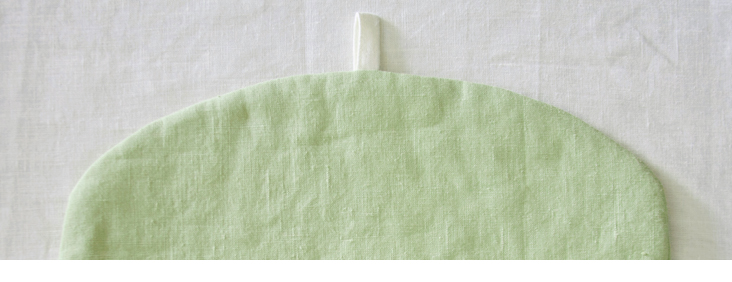
Once you have your fabric cut out, start by creating the finger pull. Fold the long edges of the rectangle in, so that the edges meet in the middle. Iron, then fold the rectangle in half again so that they create a tube, then iron. Stitch across the open end on the long edge.
You now have a finger pull. Mark the center of the top of the tea cozy, and pin the finger pull to the right side of one side of the outer fabric piece.
Match the right-sides of the outer fabric pieces together, with batting on either side (against the wrong-sides of the outer fabric).
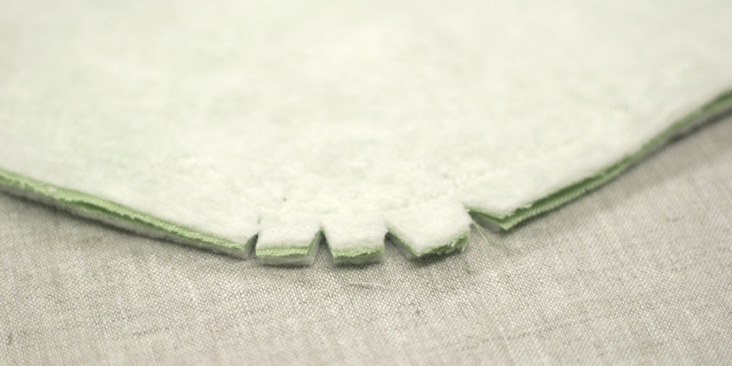
Then sew the two lining pieces together (excluding the outer/batting piece). Clip the curves on the outer/batting piece and the lining piece.
Turn the outer/batting piece right-side out. Now the batting should be on the inside, with the outer fabric on the outside. If the batting can be ironed, smooth out the seams and iron them to keep them smooth.
Keeping the lining with wrong-side out, put it into the tea cozy, and pin the outer piece to the lining so that the lining is sticking out of the outer piece by 1″.
Fold up the bottom edge of the lining fabric by 1/2″ and iron. Then fold that edge up by another 1/2″, iron, and pin in place. Sew across this open edge, and you’ve completed your tea cozy! Please share with us in the comments below your tea cozies! We’d love to see them.














3 Comments
Jennifer C
I just made 1 of these, and I’m pretty sure the width should be add 3″ and the height should be add 2″ not the reverse as in the direction. The 1 I made was an inch too narrow and an inch too tall. Otherwise, LOVE IT!
MERCEDES
Tanks
for share this tip
Evie Perkins
Very pretty