


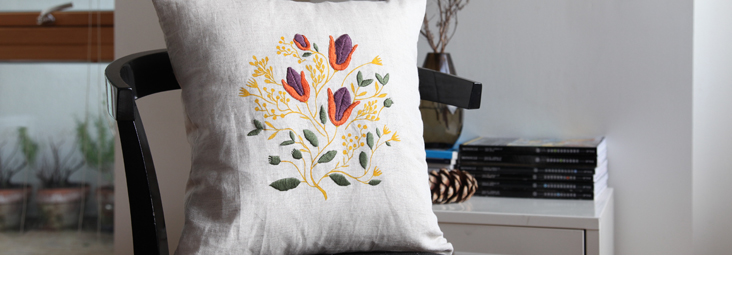
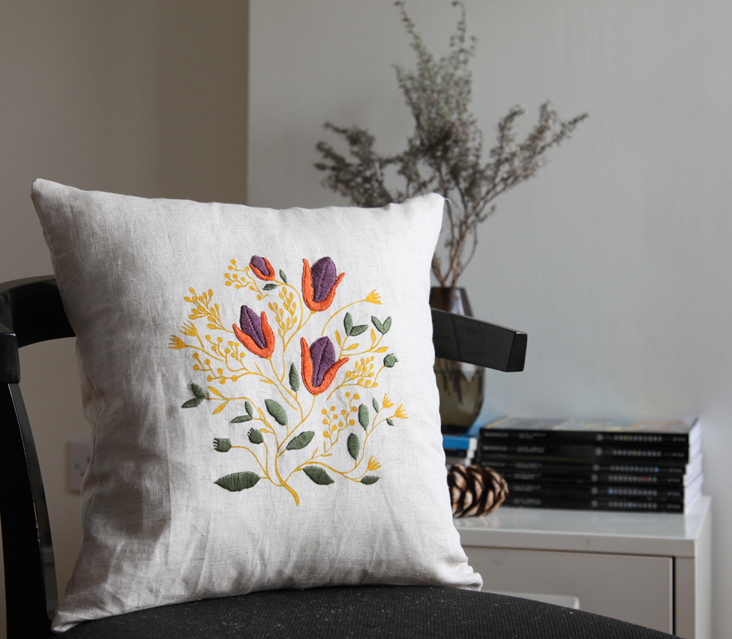
Embroidery and Textile Paint DIY Tutorial
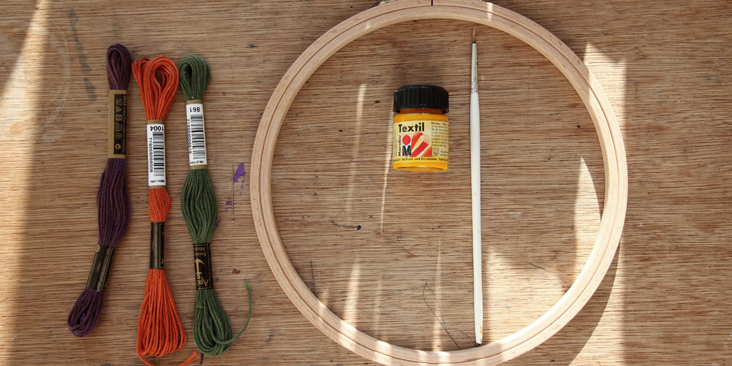
Materials:
A pillow 18″ by 18″ (make your own following this tutorial)
A needle
Embroidery Thread of your choice ( I used three different colours by Anchor)
Embroidery ring
Textile paint ( I used Marabu)
A thin paintbrush
Time: about 2 days (embroidery takes time, so this is a good one to make in the evenings instead)
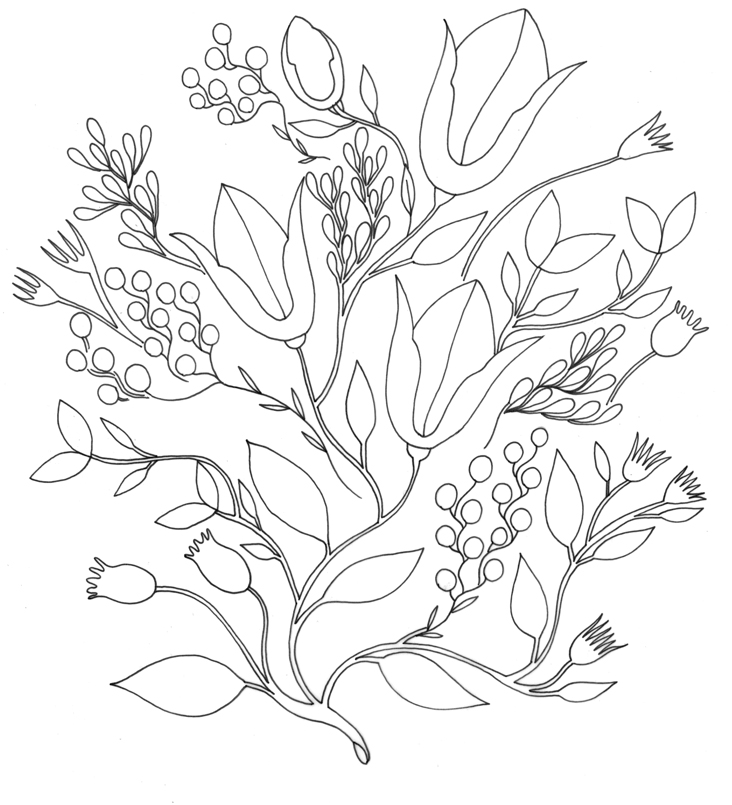
1. Print out your stencil (at the bottom of this page)
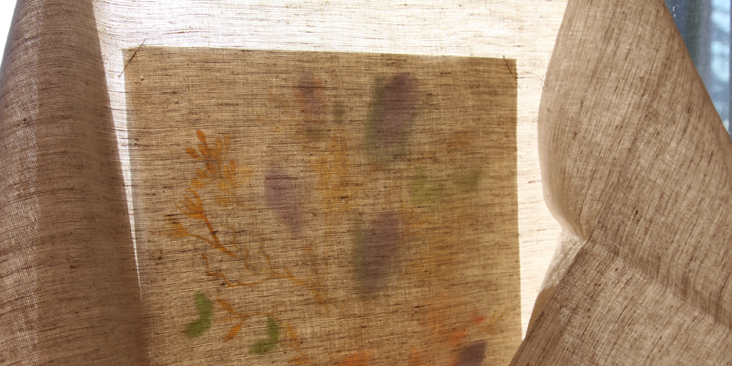
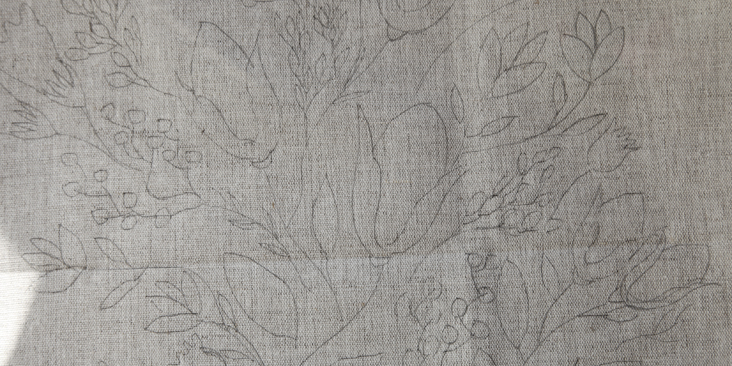
2. Pre cut your fabric and decide where you want your image to be. I was making an envelope pillow so I had alot of fabric to work with. If you are making a pillow just like in the tutorial, you will be drawing on one of your 19″ squares. You can either use a lightbox, or make use of the sun. Stick your stencil onto your window, faceside looking at you. Place your fabric over the stencil making sure it is right in the middle and secure with some cellotape. Draw over all the lines with pencil carefully.
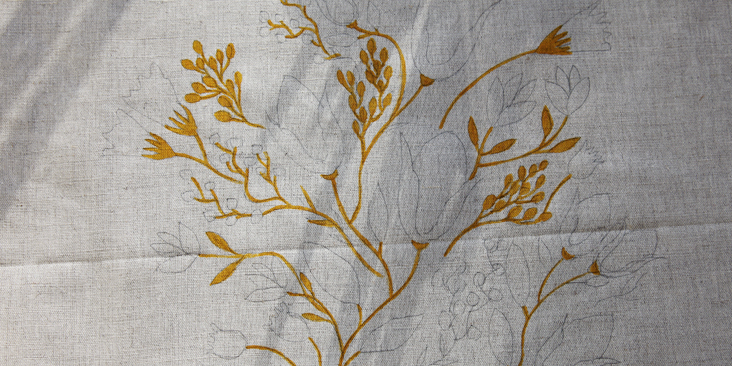
3. Now that you have a rough idea where your lines are, you can start painting the stems and smaller details of your design. Feel free to fill as much with paint as you want, you could go for more than one colour. Once the paint is dry, follow instructions on the manufacturers label. With Marabu you secure the paint with a 3 minute ironing job.
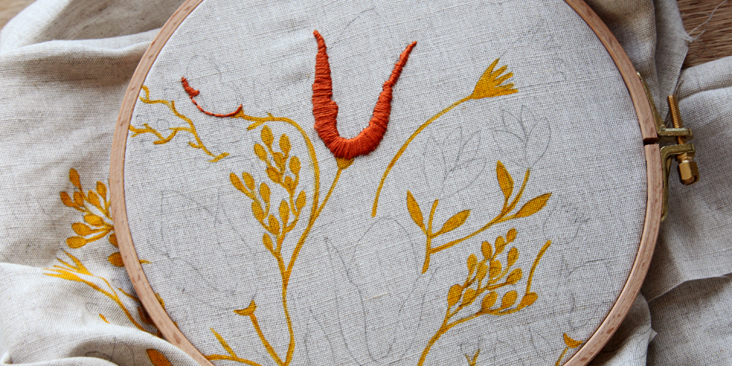
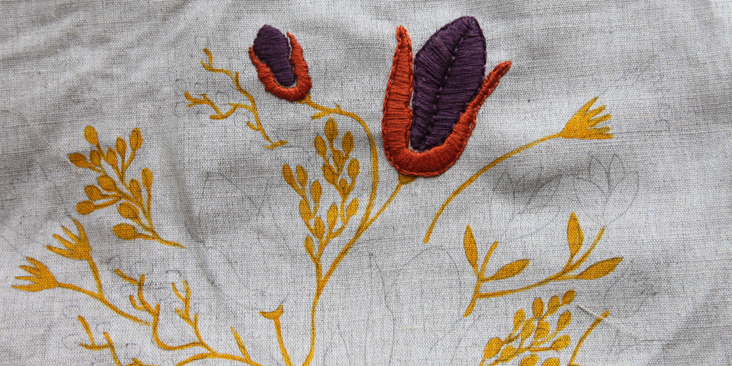
4. You are left with the rest of your design which you can start to embroider. I used the satin stitch to fill in my flowers and leaves. You could use a fishbone stitch on the flowers instead. I outlined the flowers with a split stitch to give them a more defined form. Go over all the elements you have left, it might take some time, but the result will be brilliant.
5. Now sew your pillow and enjoy the view.
Related posts

Sewing Essentials: Stitch Width, Stitch Length & Needle Position
Thinking back to my high school textiles days, I remember having to test stitch settings on every fabric we planned to use for our projects. We would cut out little squares of fabric and experiment with different stitch lengths and widths, and edge-finishing techniques. At the time, it felt unnecessary, not to mention tedious….

Sewing Essentials: A Simple Guide to Notches
I love a notch, so much so that I’ve decided to dedicate this article to these small but important markings. Here, I’ll explain why they’re so helpful, when to use them, and how to add them to your own patterns or adapt them for existing ones. What exactly are notches? Notches are small markings found…

How to Select and Use Interfacing: A Simple Guide
Iron-on or sew-in, woven or non-woven, lightweight or heavyweight. With so many different types, weaves, and weights to choose from, how do you know which interfacing is best for your project? In this article, I will explain the two main types of interfacing before diving into the differences in weave and weight. Hopefully by the…

Sewing Essentials: A Simple Method for Reversible Seams
There are so many ways to finish a seam, from good old overlocking to French seams and binding. I recently stumbled across another method that’s pretty nifty, and honestly, I kind of wish I had known about it sooner. It is a bit like binding, but topstitched in place so it doesn’t move or flap…

An Introduction to Common Crotch Adjustments
Recently, I drafted a pattern and made a toile of a pair of drop-crotch pants. When I tried them on, I straight away noticed (and felt) they weren’t quite right. The most obvious issue was that the back crotch felt tight and pulled uncomfortably, especially when bending over. Walking also felt a little restricted, with…


SEW THIS LOOK


Latest Posts


Leave a comment