Linen Belt With Vintage Lace Trim
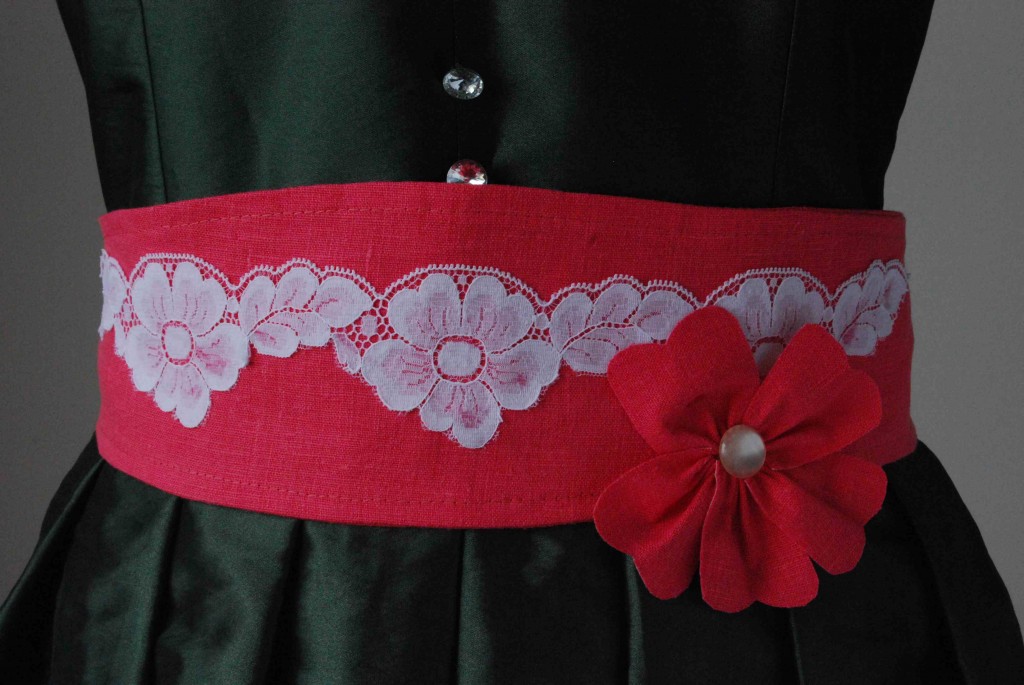
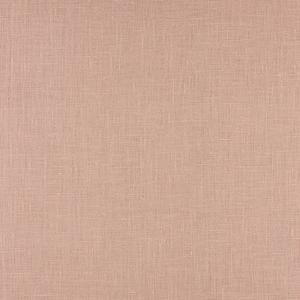
Floral shapes and patterns are one of the big trends for 2012 so here is a beautiful belt that echoes that look. We’ve used a vibrant honeysuckle linen and finished the belt with an over-sized linen flower and lace trim, and it is secured at the back with a button finish.
Materials
20″ x 59″ of IL019 linen in Honeysuckle
Small strip of vintage lace
Single button
Firm iron-on interfacing
To Make Your Pattern
Use squared dressmaker’s paper for your pattern. Draw a horizontal line 18″ long. At one end draw a vertical line 5″ high (centralizing it over the horizontal line), mark the top point as A and the bottom point as B. At the other end of the horizontal line draw a vertical line 3″ high (centralizing it again), marking the top point as A and the bottom point as B. Now join points A together and points B together, using a gently curved line. You now have your belt pattern.
Please note that this belt will fit an approximate 31″ waist. If you want to size up or down simply add or detract inches to the narrow ends.
Cutting Out
Fold your linen fabric in half. Place the 5″ vertical line against the folded edge and cut out.
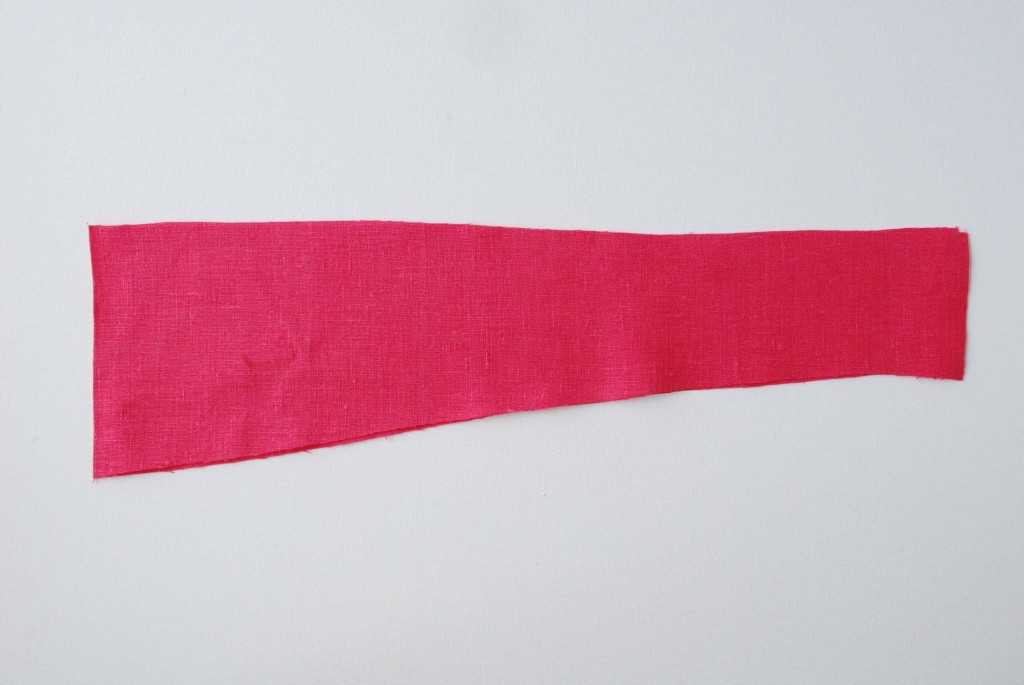
Open out your fabric and you have your first belt piece. Now cut out a second belt piece.
Steps To Sew
1. With right sides facing pin the two belt pieces together. Stitch all the way round leaving an opening for turning. Clip the curved edges.
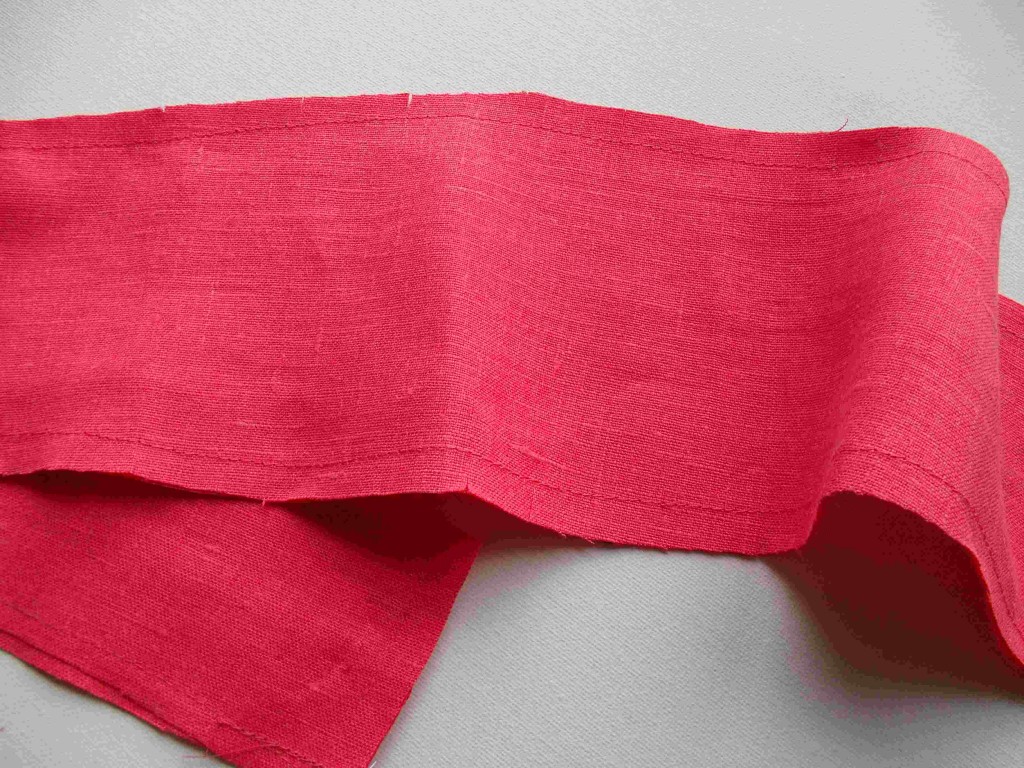
2. Turn the belt to the right side and close the opening with hand stitching. Then topstitch around the entire belt.
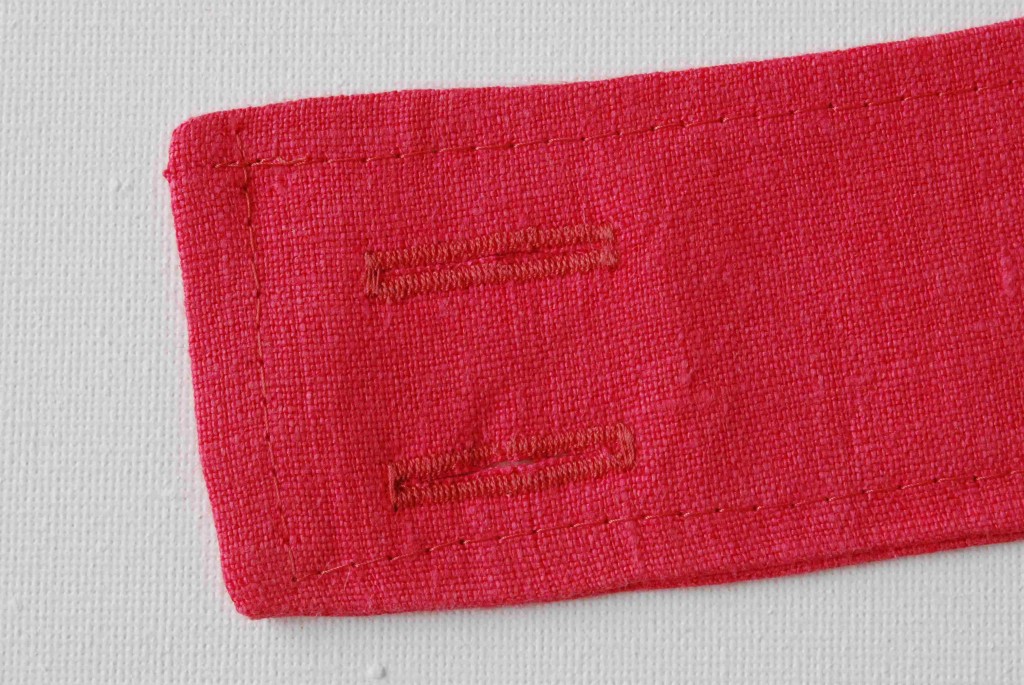
3. Work two buttonholes at one end of the belt.
4. To make your flower first cut a piece of paper 1 ‘½” square. Then curve the top edge make a V in the middle. Iron firm interfacing to some leftover linen and using your paper pattern cut out five petals.
5. Using hand sewing gather the bottom edge of your first petal.
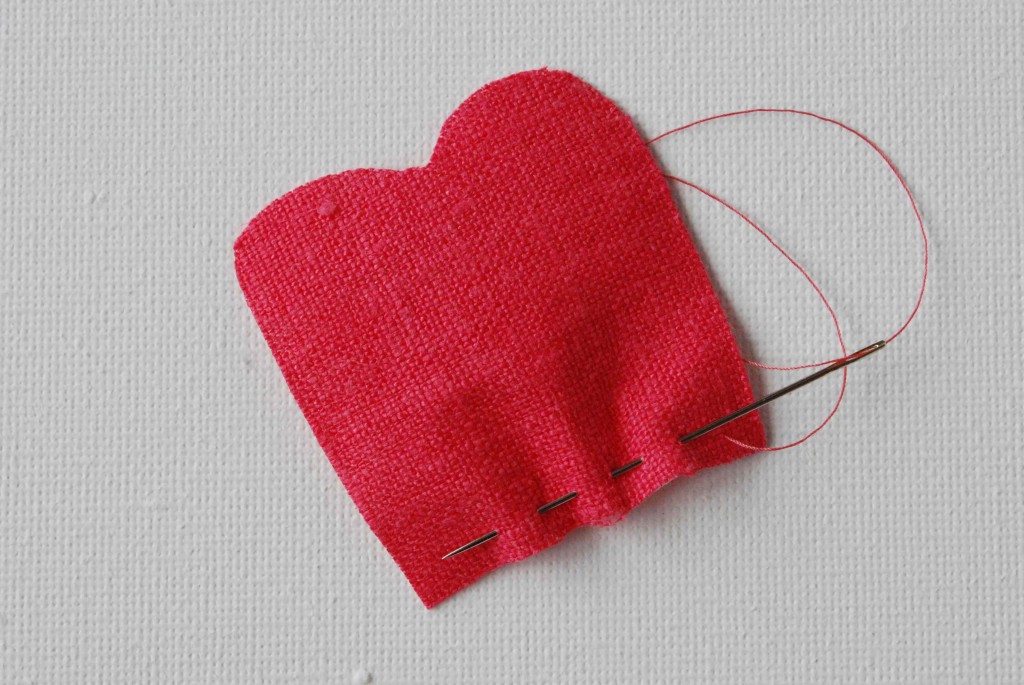
6. Continue with the remaining 4 petals making sure they are all kept on the same piece of thread. Then pull up the thread very tightly and stitch the first and last petal together.
7. Hand stitch or fabric glue your strip of lace to the front of your belt and then add on your flower, again hand sewing or using fabric glue to hold it in place. Add a button to the centre.
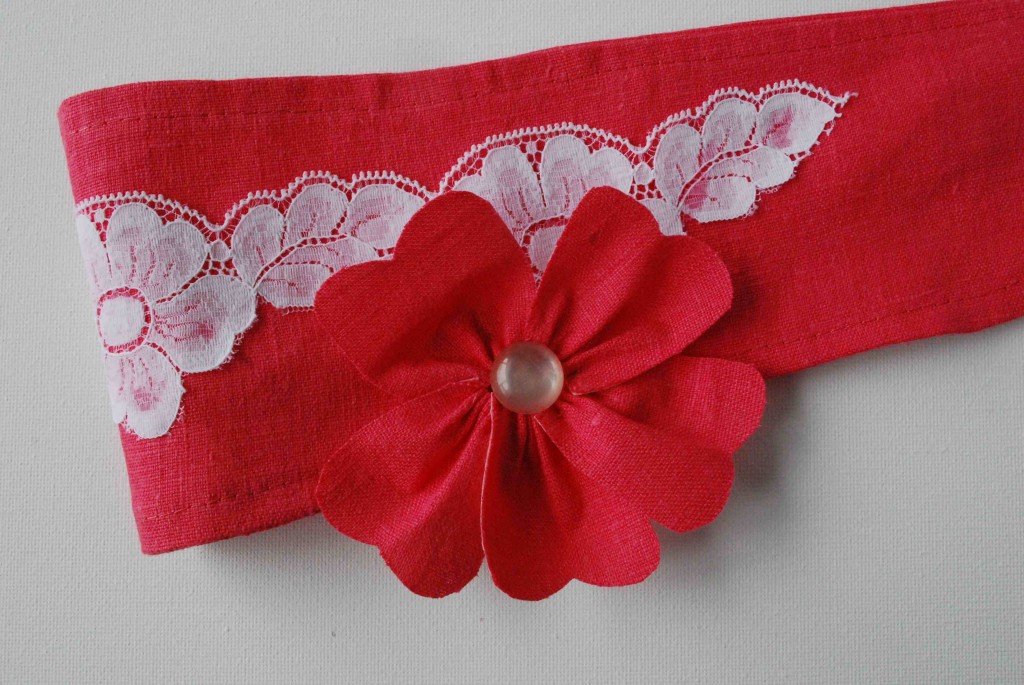
8. Sew buttons to correspond with buttonholes on the other end of the belt to finish.
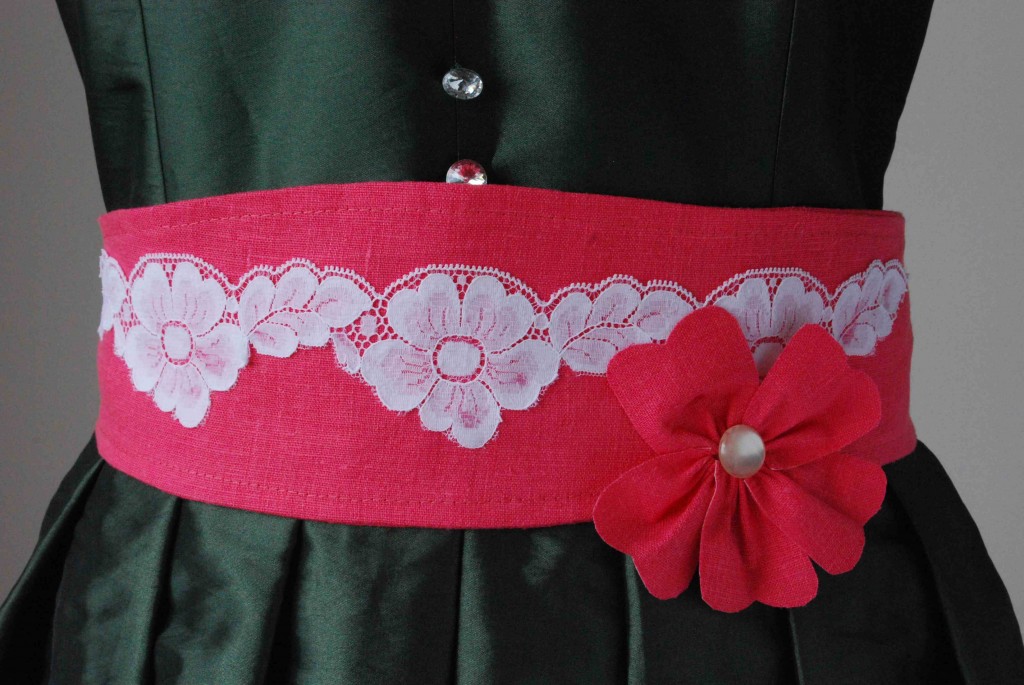
Our sale on 100% linen IL019 is going on now – if you’d like to save 10% on our best selling linen, then follow the link below:
[maxbutton id=”1″]
*Let us know what you thought of our latest post by leaving us a comment or visit Fabrics-store.com for bargain prices on the fabrics shown in this tutorial. Happy sewing!








4 Comments
AmyCat =^.^=
I think Sue meant that the BELT needs interfacing too, not just the flower! …and I agree: this belt won’t hold its shape without something to keep it stiff. Unless you plan to stitch it in place onto the dress, and/or only wear it while standing (say, on a bridesmaid’s dress), as soon as the wearer sits down or bends over, the linen will crease and fold and wrinkle at the waist!
You should use heavy interfacing inside one of the two belt pieces: cut it the same size as a belt piece MINUS seam allowance, iron it on, and then sew the two pieces together, stitching around the edge of the interfacing.
I’d also use a heavier-weight linen (even canvas-weight, as I’d use for a Renaissance Faire bodice, if the wearer is as full-figured as I am), and probably extra-sturdy flat waistband hook-and-eye closures instead of buttons… Which reminds me: you don’t list the buttons to FASTEN the belt as part of what you need to make this, just the decorative button in the center of the flower. However, flat waistband hooks will be more comfortable as well as more secure, especially when sitting (no button-bumps digging into the small of your back!).
This belt could also be combined with a circle-skirt pattern to make a very flattering waistband, with a hidden zipper on the skirt seam below the waistband hooks or buttons. If used this way, though, I’d suggest sewing the flower to a safety-pin (so it’s removable for laundering), and definitely sewing rather than fabric-glueing the lace, so the whole thing’s washable! If you pre-shrink your fabric before sewing (machine-wash and tumble dry on normal settings), the whole thing will be washable rather than dry-clean only, too.
(Pre-washing is good practice with just about ALL the fabrics sold here: linen will shrink the first time it’s washed, but then gets softer and more comfortable. Spending $$$ on dry-cleaning, not to mention the toxic chemicals involved, just doesn’t make sense if you can wash, dry, and then iron it yourself!)
Chris
That is incredibly cute!
Sue
Oops! You forgot to tell us what to do with the interfacing. I am an experienced dressmaker, so I know what to do, but a less knowledgeable sewist might not. I’ll be making this today to dress up a very basic LBD that will be my only dress-up outfit for a long trip.
Janet Evans
What a lovely gift this will make for my granddaughters! Thank you for helping me continue to be “the best grandma ever”.