Hand Embroidery II Tutorial
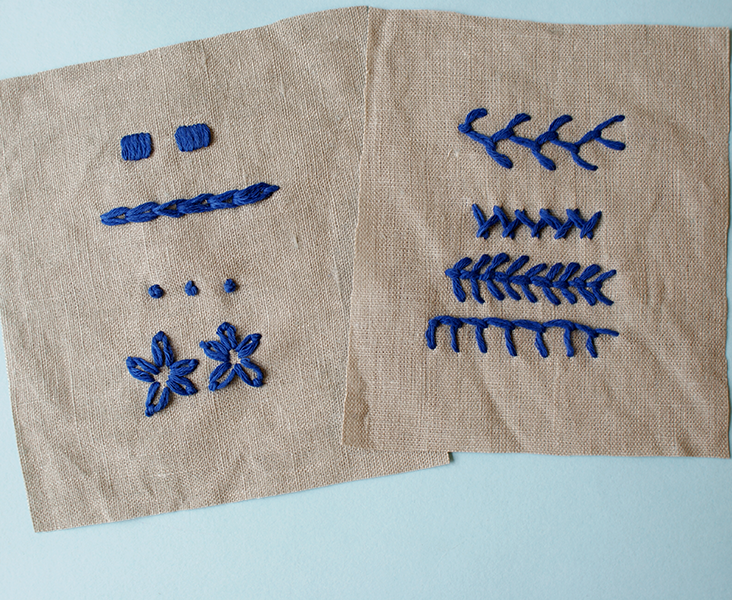
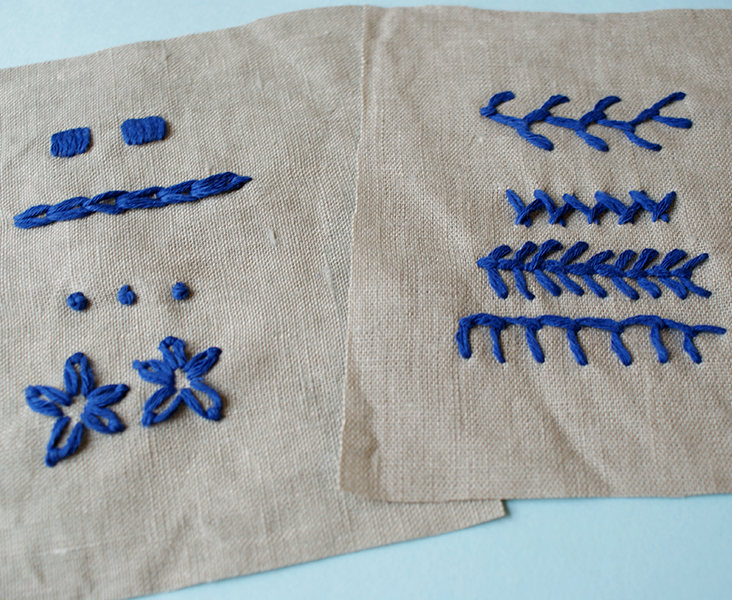
Following on from last week’s embroidery techniques, we have a selection of 8 more embroidery stitches for you to explore and touch upon. Some are more intricate outline stitches, some are delicate decorative stitches you can try’ in your pattern motives.
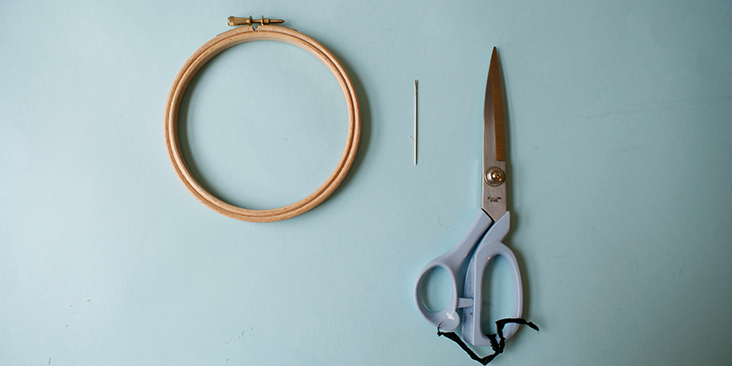
Tools
Fabric
Darning/embroidery needle
Embroidery thread
Embroidery hoop
Scissors
Soluble fabric marker
Step
1. Iron the fabric.
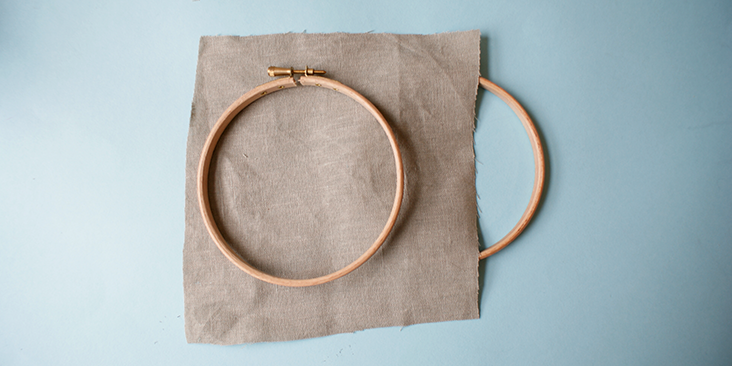
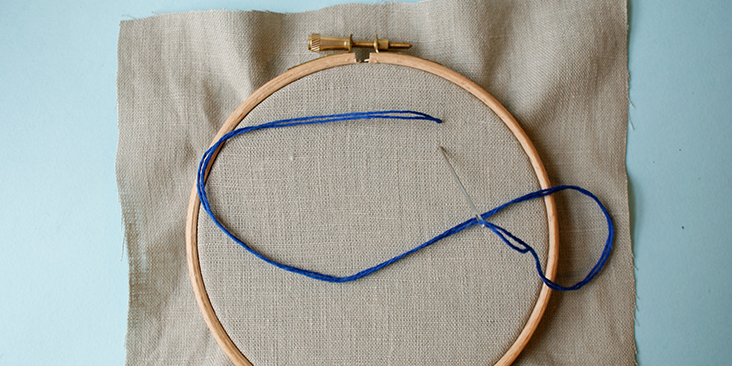
2. Separate the hoop into two parts. Place the fabric on top of the smaller hoop, then fit the’ outer hoop over both fabric and the smaller hoop’ and tighten the screw.
Satin Stitch
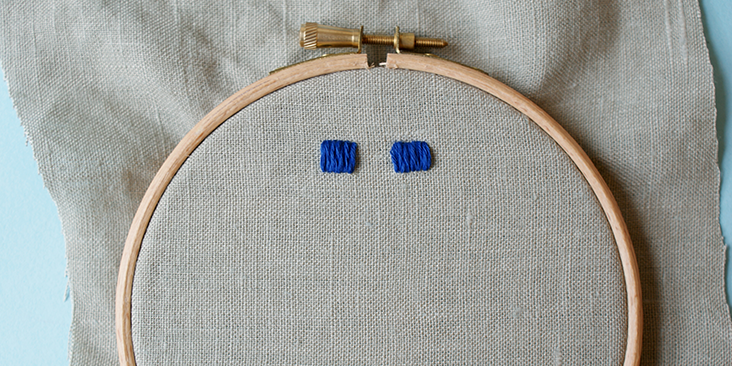
Satin stitch is a great filler stitch which gives a smooth appearance. A’ lining stitch (back stitch, split stitch, outline stitch) will often used to outline the satin stitch to keep the form of your shape neat.
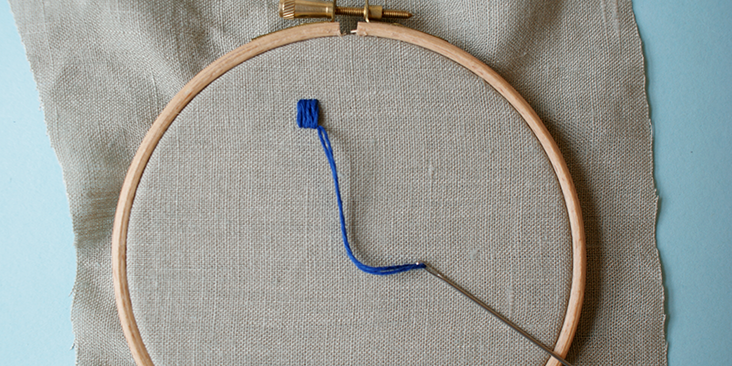
1.’ Create a straight stitch, from point A to point B.
2. Bring the threaded needle back up to point A and make a new stitch as close to the first one as possible. Keep the stitches close together and follow the shape you are filling in.
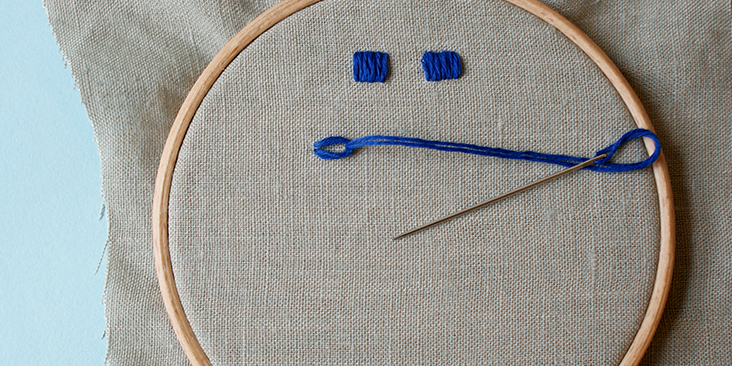
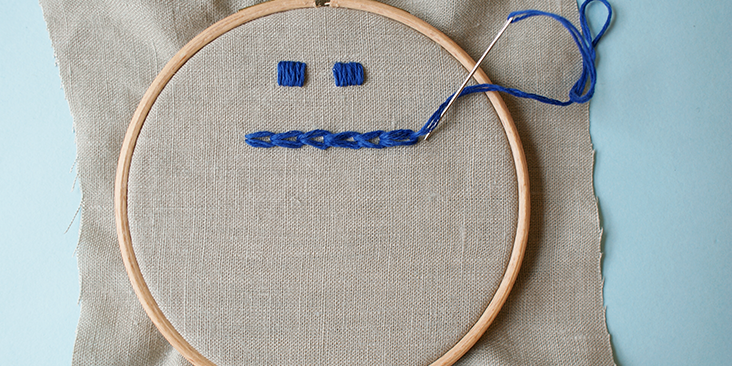
Chain Stitch
Chain stitch is another great outline stitch to master.
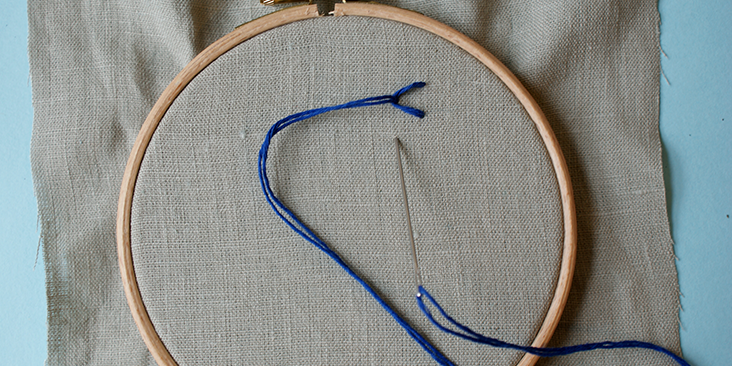
1.’ Bring the needle out at point A.
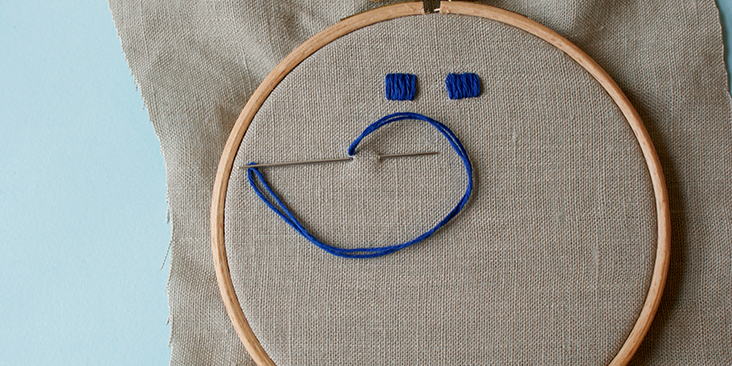
2. Insert the needle back through point A without pulling the thread through completely.
3. Bring the needle out at point B, which is slightly ahead of point A. Don’t pull the thread through completely either, at this point.
4. Make sure the thread is situated behind the needle.
5. Pull the needle and thread through completely and’ you have created the first chain in the stitching.
6. To continue with the chain, repeat from step 2, and this time, you want to insert the needle where your point B is.
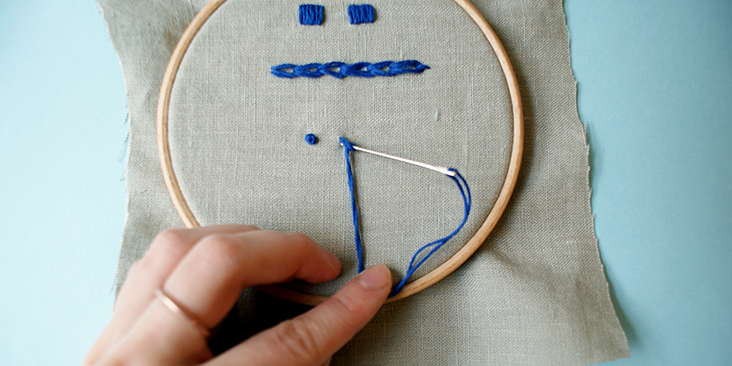
French Knot
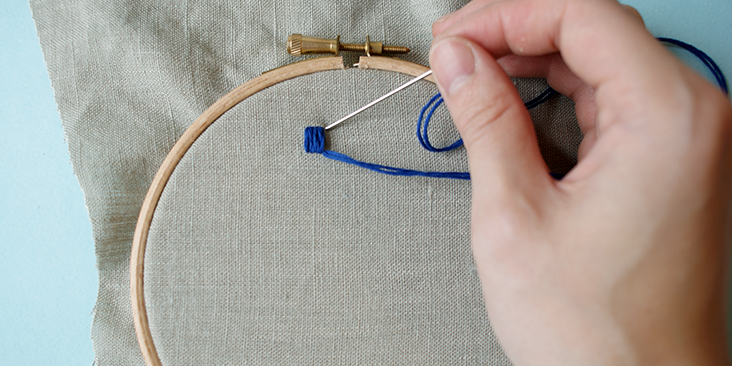
This stitch’ can be used’ to maske little flowers, or as a filler stitch to cover’ small areas. You need to use both hands to do this stitch.
1. Bring the needle out through point A.
2. Now, placing the needle closely to the fabric, wrap the thread around the needle twice.
3.’ Keep the longer end of the thread pulled with your fingers while putting the needle back in a point just close to A or even’ through A.
4. If you are holding the needle with your right hand, you will need to pull the thread with your left hand, and vice versa.
5.’ Pull down the needle through the fabric. You will see your first french knot.
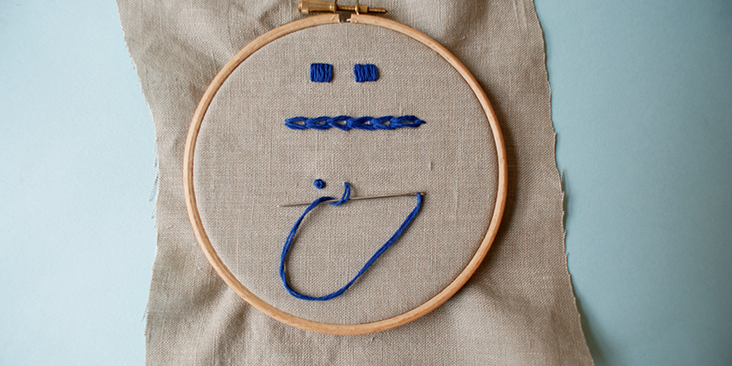
Lazy Daisy
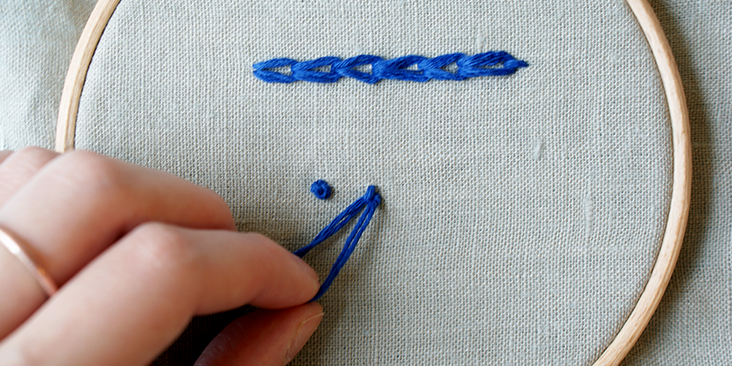
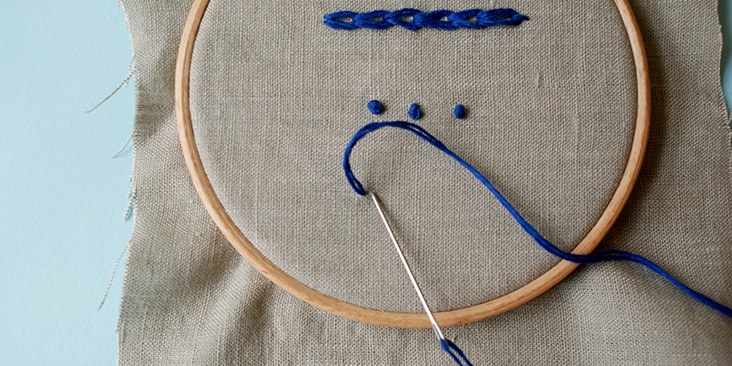
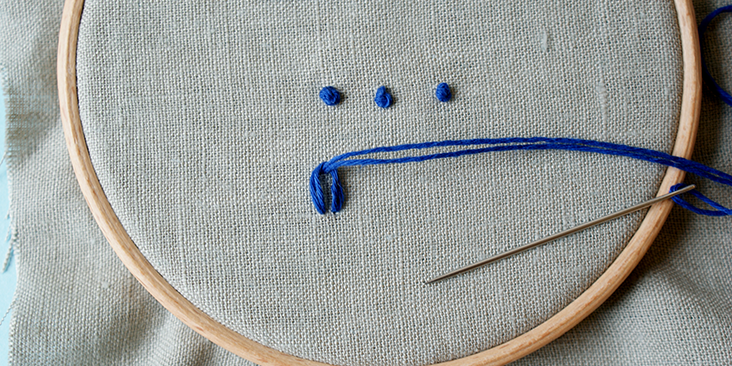
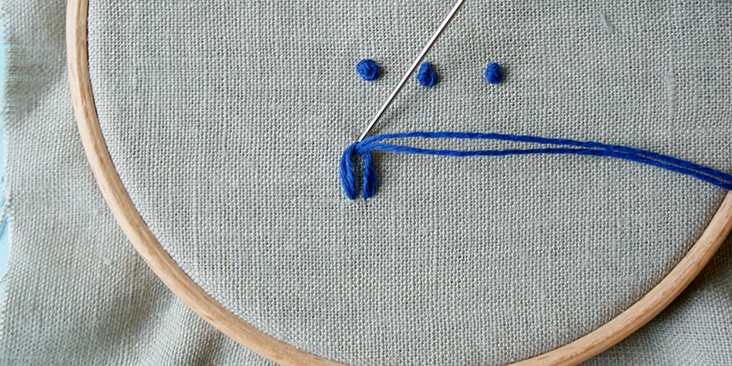
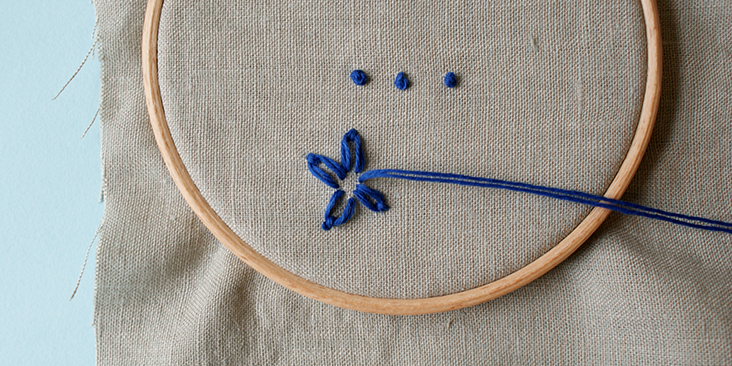
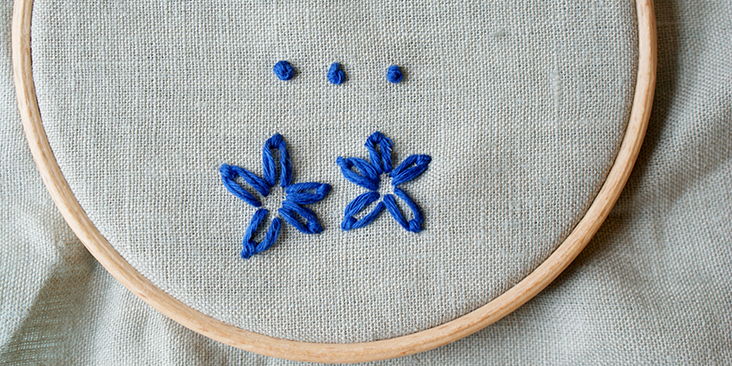
Lazy daisy, also known as detached chain stitch, is very similar to chain stitch but is not embroidered in a continuous line. This stitch is normally used for a floral design.
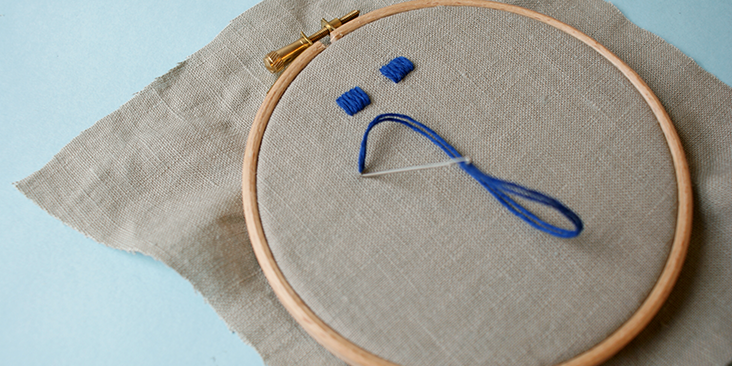
1.’ Bring the needle out from point A and insert it back, either very close to or through point A. Without pulling the thread through completely.
2. Bring the needle back out at point B, which is directly ahead of point A.
3. Pull the thread through completely, making sure it’s sitting behind the needle and a loop is formed.
4. Insert the needle through the fabric just directly above point B and over the loop and secure this petal like stitch.
5. Repeat as many times as needed to create your design.
Feather Stitch
Feather stitch is a decorative stitch, and’ can be used liberally to make beautiful borders, horizontal or vertical fillings. It looks like a series of interconnected “˜V’s. To help with the accuracy, lines should be drawn on the fabric to avoid any asymmetry.
1.’ Bring the needle through the fabric through point A.
2. Insert through point B which is directly next to point A. Do not pull the thread through completely.
3. Next, bring the needle through point C, which is in between point A and B, but also lower than both points. (So it looks like a V shape)
4. Once you’ve made sure the thread is resting behind the needle at point C, ‘ pull the thread all the way through.
5. Next, insert the needle through point D, which is directly next to point C, but with point B above in between the two points.
6. Then, bring the needle back through to the top of the fabric at a lower point E in between point C and D, aligned with’ point A. (Point E is now the lower point of V in relation to point C and D).
7. Repeat until the desired length is created.
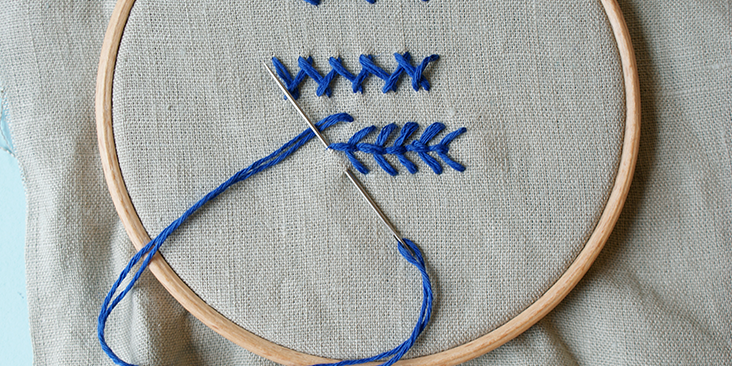
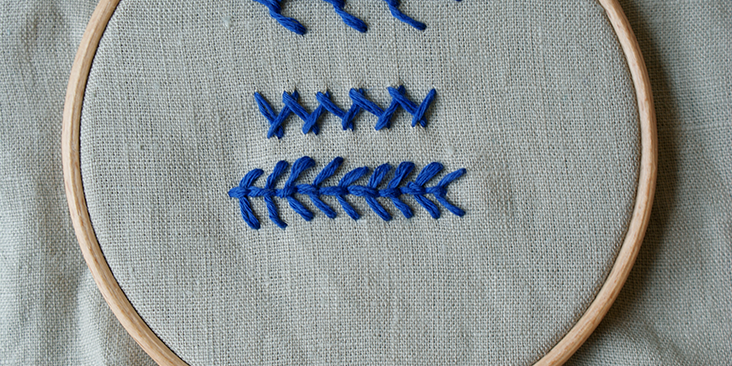
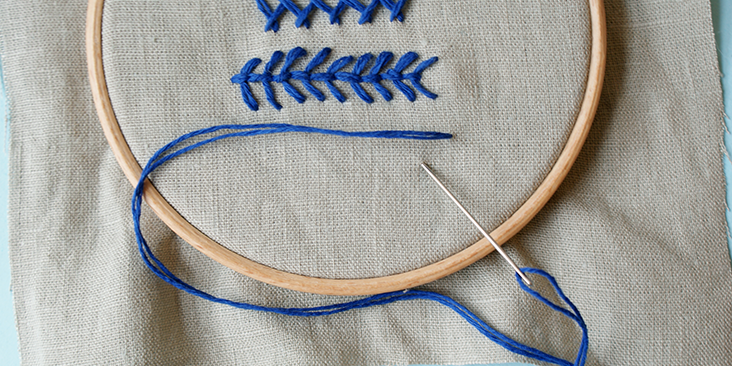
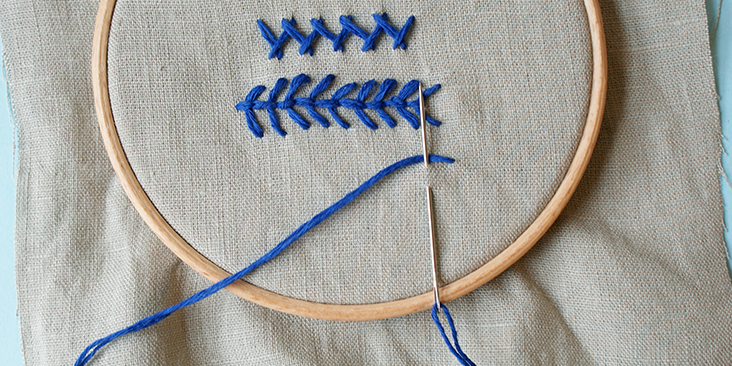
Herringbone Stitch
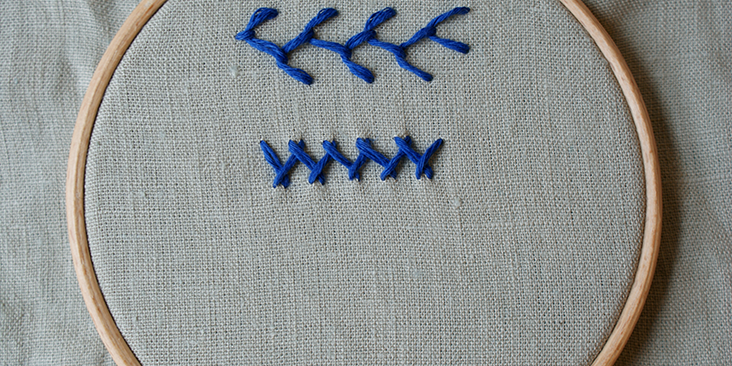
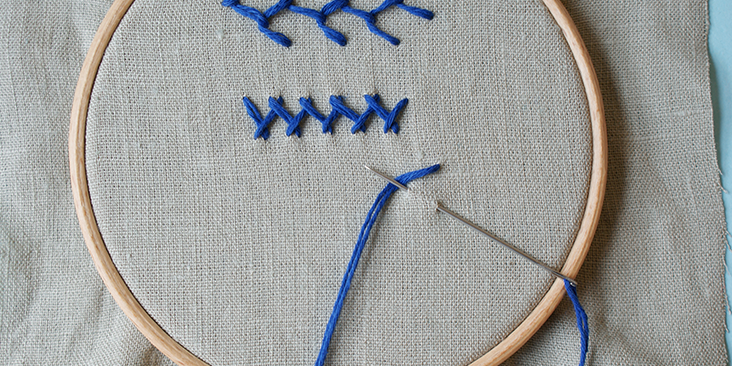
This is the basic herringbone stitch made of crosses that are not divided’ exactly in the middle, but in quarters. It can make for a nice boarder or decorative motive.
1.’ Bring the needle out through point A.
2. Now, take the needle in through point B, which lies diagonally below point A.
3. Then,’ take the needle backwards’ out through point C, which is very close to point B.
4. To repeat, take the needle diagonally on top to point’ D which is aligned with point A.
5. And bring the needle backwards out through point E.
6. Repeat the above.
Fly Stitch
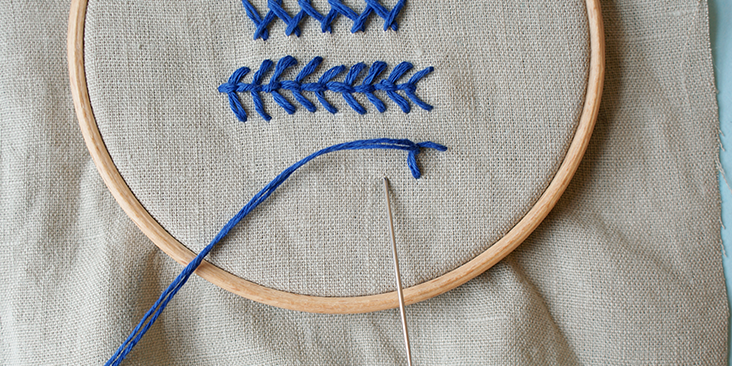
Also known as Y stitch or the open loop stitch, its appearance looks like a Y. This can be stitched both horizontally and vertically to create different effects.
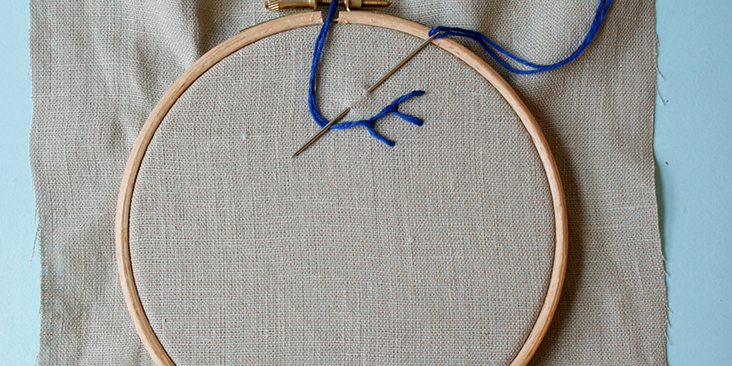
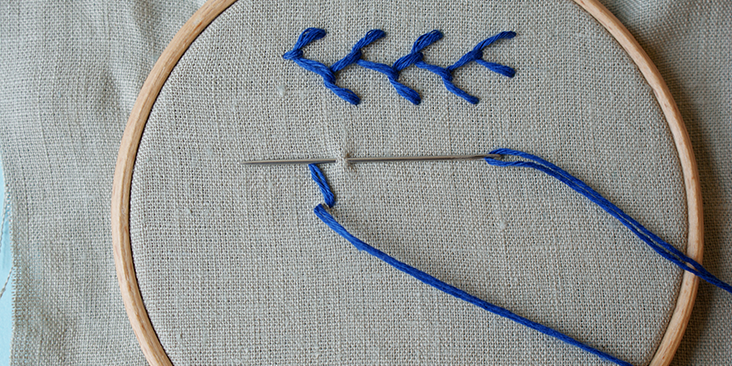
1. Bring the needle out from A and put it in through B. Then, bring it out through C, which lies between and below A and B. Pull the needle out from over the working thread, as shown in the picture. this creates a “˜V’ shape.
2.’ Now, to create the “˜Y’ shape, you need to make a tail. So, put in the needle a little space right below C.
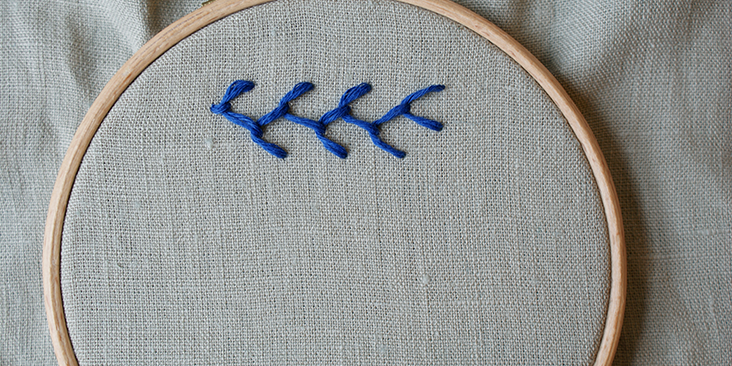
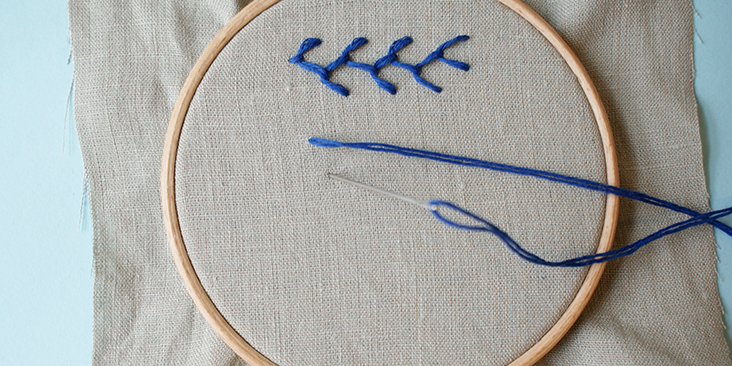
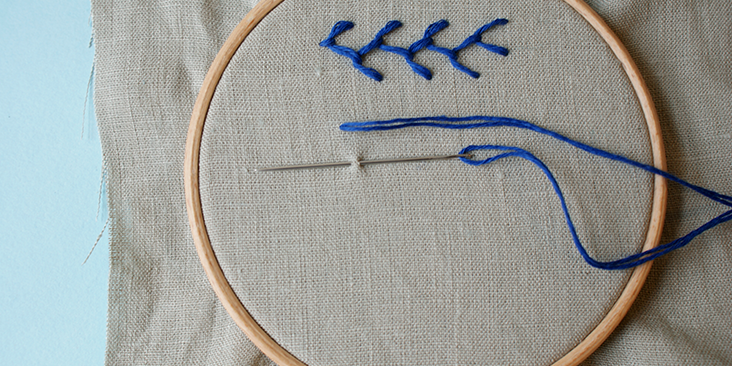
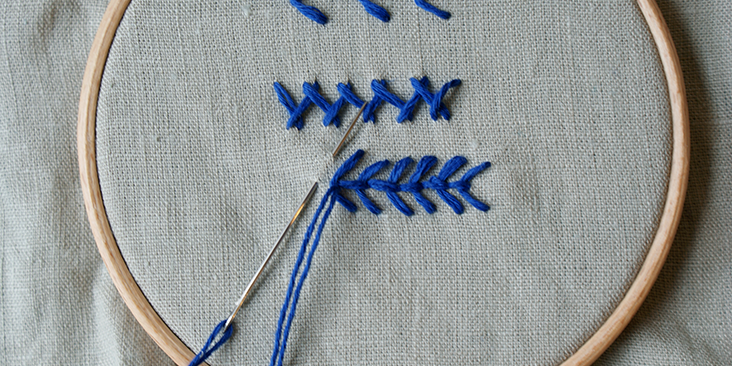
3.’ Continue for the second fly stitch in such a way that when you bring out the needle ‘ for the tail, it is brought out from the end tip of the previous tail.
4. As you can see in the photo below, a vertical row of fly stitch will look like a fern.
Blanket Stitch
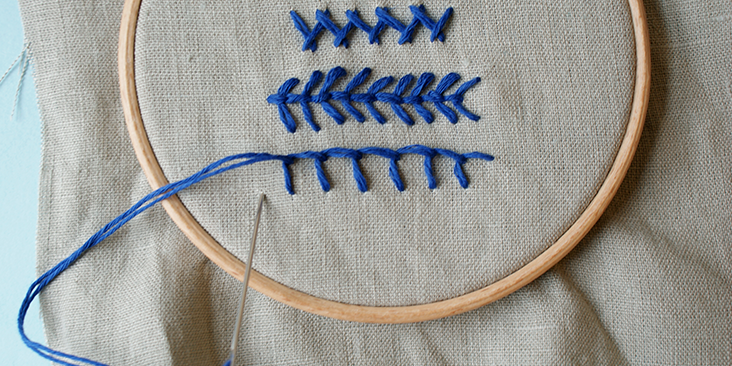
Blanket stitch is a beautiful stitch and as the name suggests, would normally used to stitch along the edge of blankets to secure it.
1.’ Bring the needle out through point A.
2. Insert the needle back through point B, which is diagonally on the bottom left from point A.
3. Bring the needle back through point C, which is just in front of the thread, and aligned with point A, directly above point B.
4. Repeat by going from step 2 again until the desired length has been created.

















Leave a comment