How To Draft a Pattern Tutorial
In the tutorials we offer you,’ there have often been enquiries on how to work with the’ pattern diagram we publish. Primarily, how to draft and grade the pattern according to your size. So we are going to have two blog posts consecutively, demonstrating to you the basic steps of making your pattern.
This tutorial is going to be especially useful if you are new to sewing.
This week, we will show you how to follow our pattern diagram and draft your own.
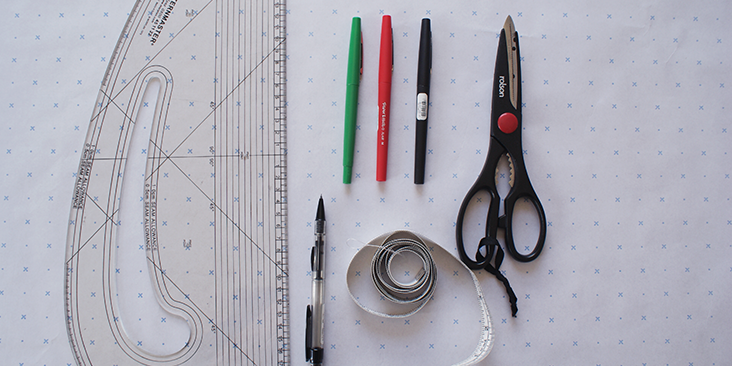
Tools
Pattern Paper
Pens (in various colours if it helps)
Tape measure
Pattern master/French curve
Paper scissors
For the pattern paper, it is always better to have a long continuous roll, or a big piece of paper. However if you do not have access to it, you can always attach smaller pieces of paper together with sellotape. Also having markings on your pattern paper will help a great deal with you are drawing straight lines.
In this tutorial, we are going to use part of a pattern from a tutorial that will be published in the near future. This is so that we can prepare our readers for the next project. We will be making a simple dress. And here we will show you how to draft the bodice pattern of the dress.
Below is the pattern diagram depicting the front panel of a bodice pattern.
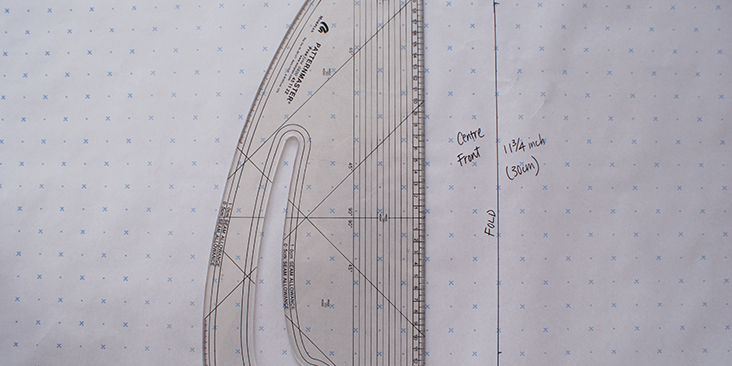
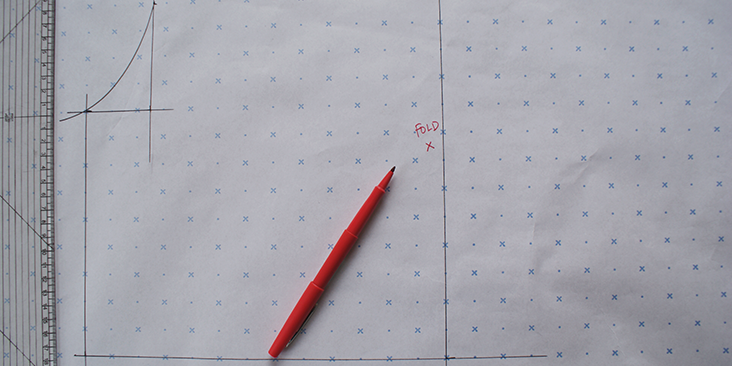
1. When starting with a pattern, always draw the centre seam first.
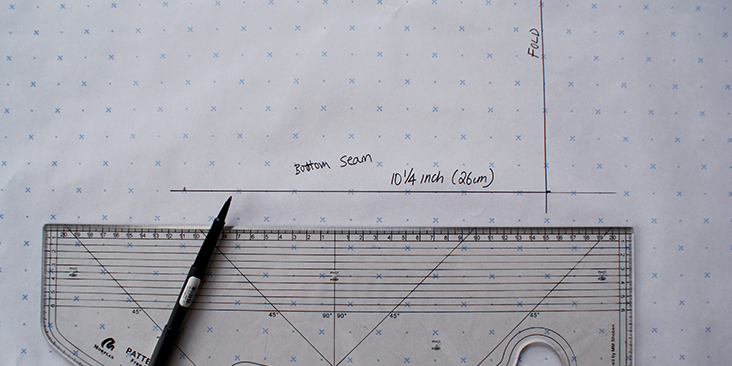
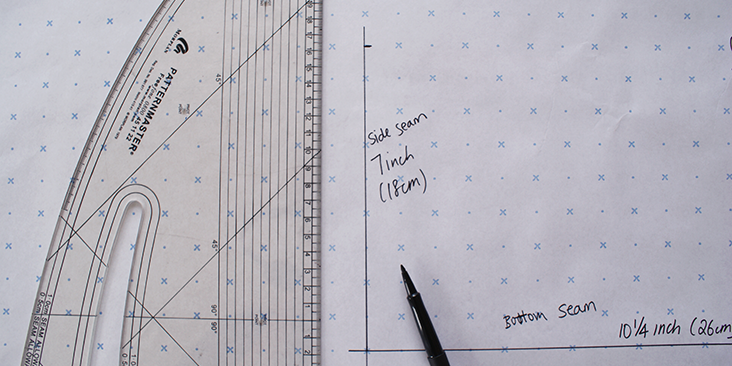
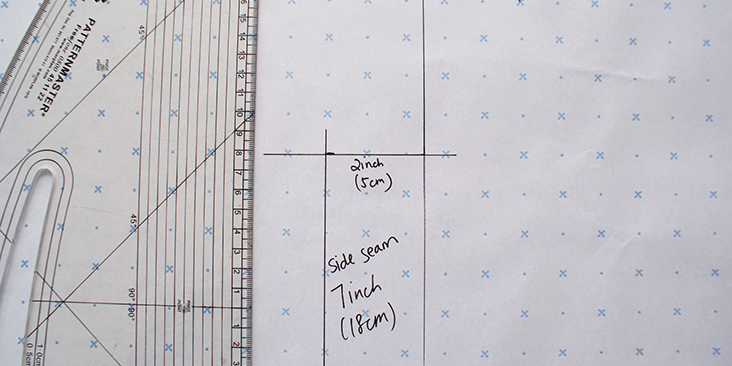
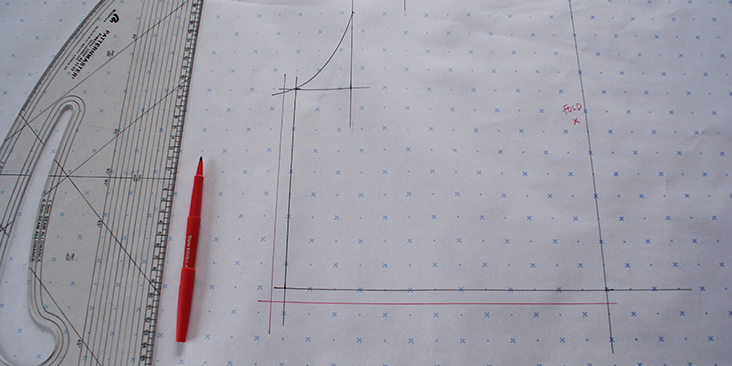
2. As it is at a right angle, you can proceed to draft the bottom seam, as well as the side seam. Both in relation to each other.
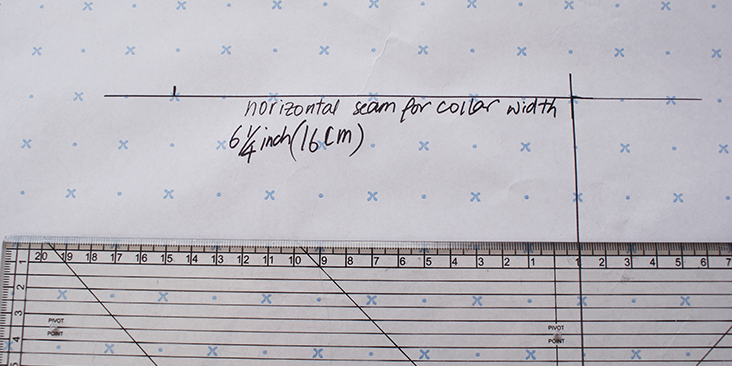
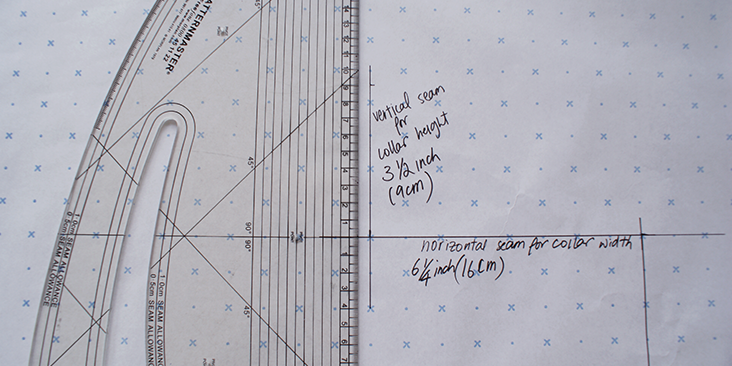
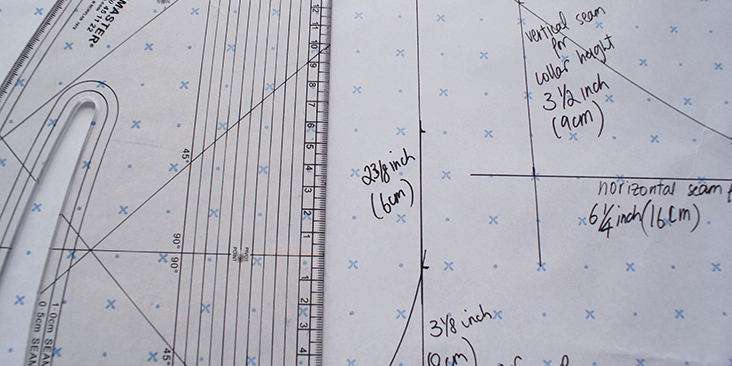
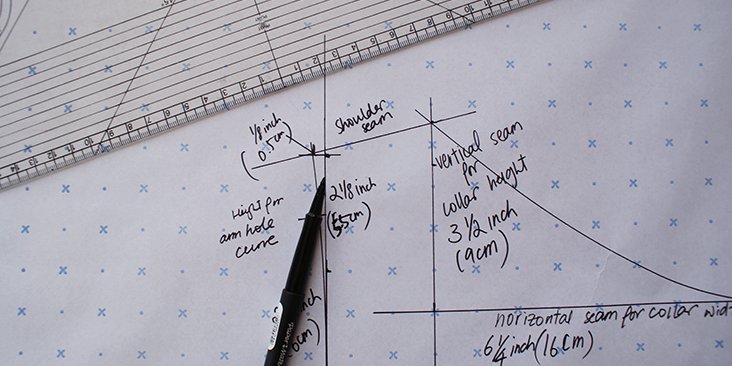
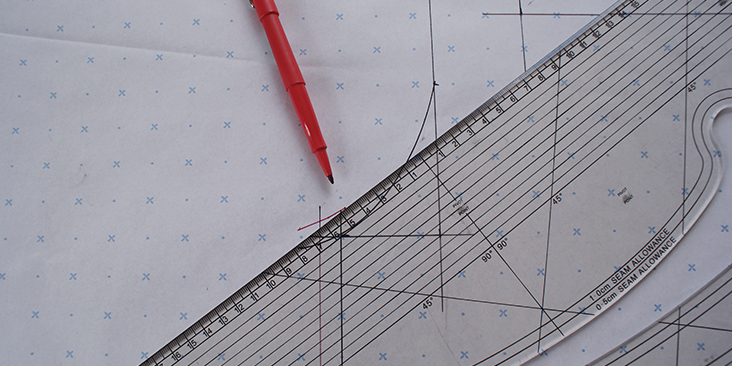
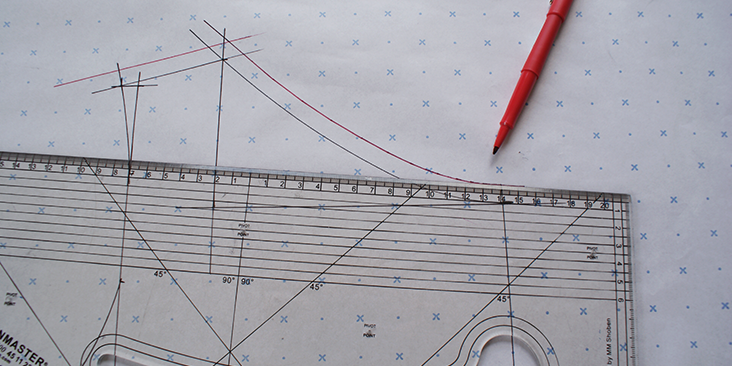
3. Next, we will work on the collar. In the diagram you can see the measurement for the collar are shown by a horizontal line for its width, and a vertical line for its height. Draft these two accordingly. With a pattern master, you can easily use the right angle line to do the measurement to ensure accuracy.
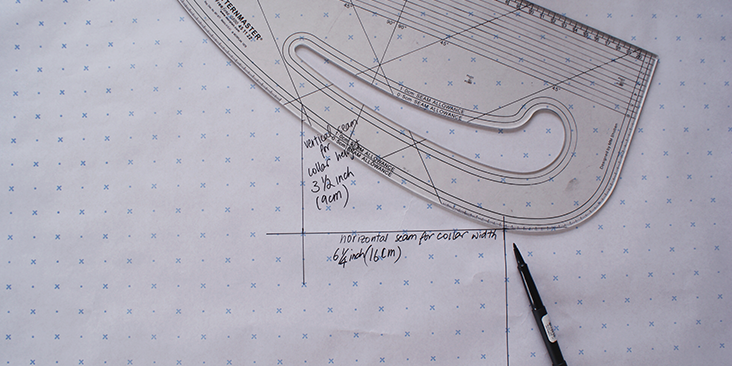
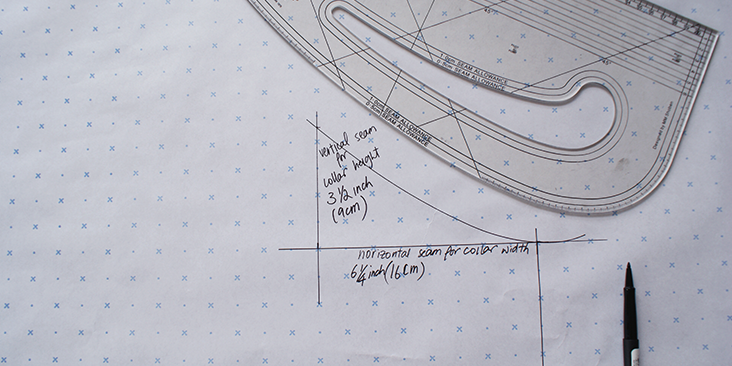
4. For a smooth curve for a collar, use the curve edge of the pattern master or a french curve to help you. Make sure the start point from the centre front seam is flat, and the curve gradually goes up towards the top point, with a smooth curved seam.
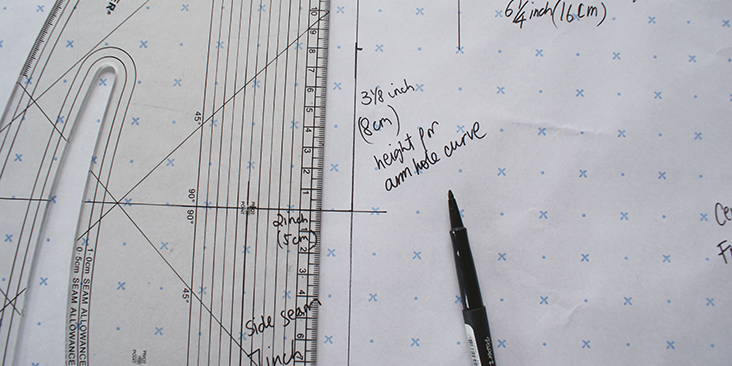
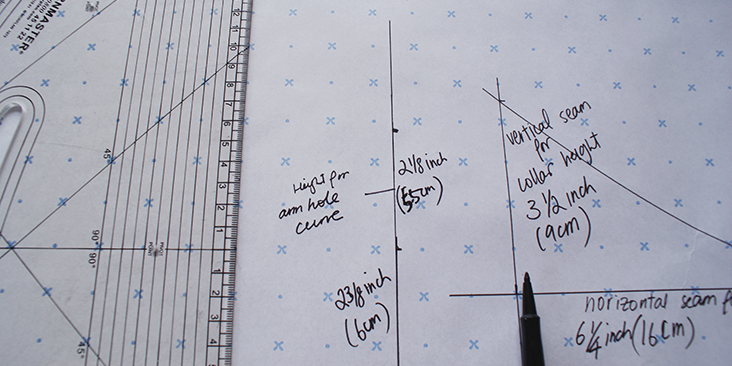
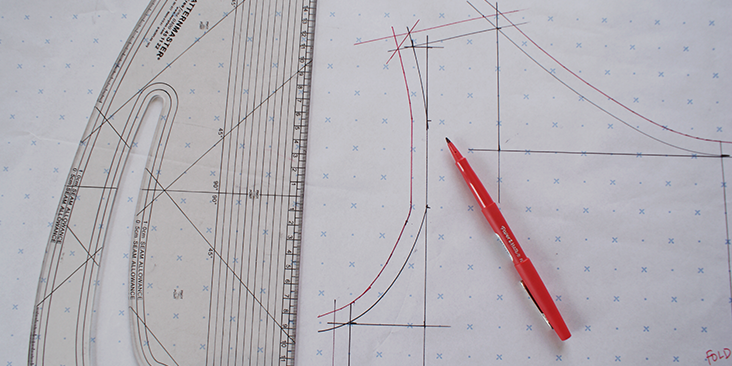
5. Now we move onto the armhole. As the pattern diagram stated, there are three sections of measurement in terms of the height of the arm hole. So first you measure out the width of the armhole, and using the right angle line on your pattern master, measure and list out the three sections to make it clear for yourself.
6. Now we need to measurement out the outward curve at the top of the arm hole as indicated by the diagram. After which this point will be joined to the top point of the collar seam, creating a diagonal shoulder seam.
7. And following the diagram, draw in the outward curve at the top of the arm hole, as well as the inward curve at the start of the arm hole. Make sure you draw as much of a curve as possible as this is one area of the pattern that needs the flexibility of a curve/bias cut of the fabric to allow movement.
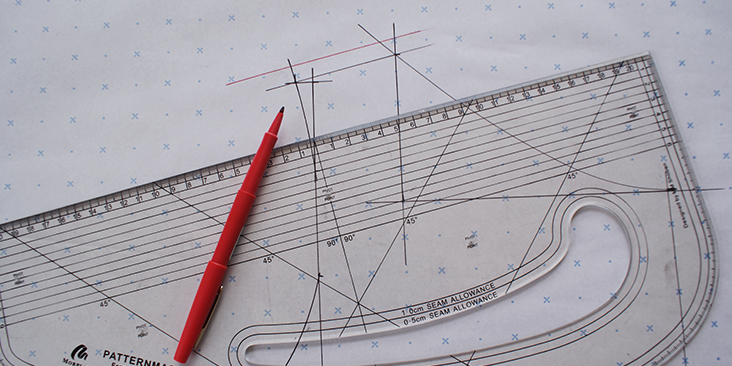
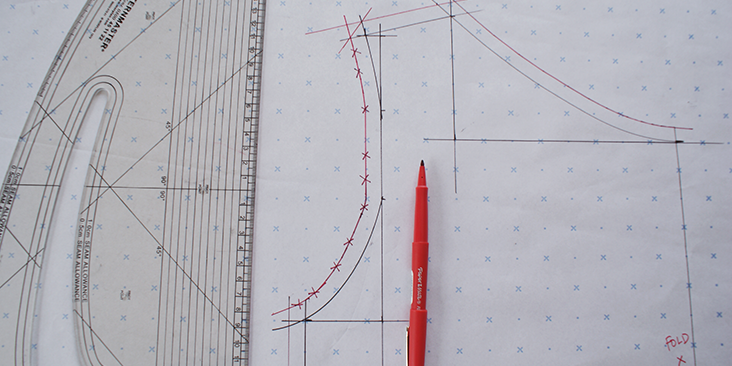
8. After drafting the pattern, we will add on the seam allowance. In all of our tutorials we advise you to add on 3/8 inch (1cm) of seam allowance on all seams. This step will show you how to, especially those curved seams. It is easier to draw the seam allowance on all the straight seams first.
9. For the curves, instead of using the already curved edge of the pattern master, use the straight edge and do the line little by little, constantly shifting the ruler to get a smooth curve.
10. One thing to remember, if the seam is going to be binding with binding, there is no need to add on a seam allowance, as the binding will not be taking this extra allowance away, only adding to it. So in this future tutorial, we will actually be using binding tape to bind off the arm hole, so no need for a seam allowance to be there.
Next week we will continue this tutorial with the grading of a pattern.
With’ this knowledge, you can easily go back to previous tutorials‘ together with checking out our great selections of linen to decide on your next project.















23 Comments
Elaine Rutledge
Wow! It is so interesting to see the progress FS has made since 2015. Good on you!
Pingback:
What is Pattern Making? | The Superprof Blog - UKAlex
Hi, I am happy to find this grading tute, but I am having a hard time understanding the measurements on your diagram and how you chose them. For example, in the very first diagram depicting the front panel there is a vertical measurement of 3.5″ dropping from the shoulder at the collar which meets a horizontal line dropping to the bottom of the collar marked 6.25″, but the lengths of those lines look identical. There is no width length given for the top of the shoulder at the seam ( from collar to shoulder ), and how do you arrive at the slope? I don’t understand where your numbers and measurements are coming from. Did you first trace the original pattern piece and then add the vertical/horizontal lines at the neck and sleeve to square it off and use those lines as guides from which to make your adjustments? And in the sleeve hole, how did you arrive at your markers labeled 2.15, 2.3, and 3.15? Is that derived from a drafting formula (I don’t know if there is such a thing)? I guess what I’m saying is that I was hoping to learn how to grade patterns from this tute, ( the whole purpose of it) but without knowing where you got the measurements on your diagram and subsequent adjustments I have no idea how to use this information without relying entirely on this tutorial. I have seen part 2 but it doesn’t explain where these measurements came from.
kay maraschin
I love your designs and would love it if I could just purchase the pattern on your website. Any chance of this?
Cheryl
I love your tutorial but wanted to know where can I purchase the Pattern Master Ruler?
Anitra
I so appreciate the tutorials you offer, most especially the ones dealing with pattern drafting. I used to draft using an entirely different method taught to me by a woman who studied in France.
Cynthia Fong
Thank you for your comment. We are glad this has proven to be helpful. We look forward to see more of your future projects now that you know how to draft the patterns.
Diane
I agree with Mariella; without knowing what measurements are taken where and what the pattern will look like at the end, this tutorial is not terribly useful to the beginning patternmaker. Such a shame. I was really excited about it, too…
Cynthia Fong
Thank you for your comment. This tutorial actually will be linked to a tutorial we will publish a week later, this is just a first step to prepare those that might be very new to sewing and not necessarily know the order and ways to read our pattern. Photos of the final outcome will also be presented in the new tutorial.
Athena PN
I am not an accomplished draftswoman but found these details regarding tools demo’d in this Tutorial, U.S. pricing current as of 31-May-2015:
– the ‘Patternmaster Hand Marking Ruler’ available via Amazon.com from WellMadeTools for $21.96/free shipping (note there are two listings for this tool & one links to a higher cost of $33).
– the material used to draft the pattern in photos is called ‘Sewable Pattern’ fabric in 1″ grids available by the yard for $3.99 at Joanns’ Fabrics / local fabric stores (in the interfacing section of the store); also available in 29″x 30′ rolls in blank or 1″-spaced dot formats from Amazon & other online vendors (also known as ‘Swedish Pattern’ paper or fabric).
Hope this helps other newbie drafters. I’m ordering my Patternmaster right now; going with the tools I see demonstrated in the tutorial, LOL!
Cynthia Fong
Thank you very much for your comment and suggestions!
Tiki
Where can I fine French Curve?
Tiki
So sorry. I didn’t see your reply.
Mariella
As a Fashion Designer and a previous Fashion instructor, I suggest you present a technical sketch before preparing the draft.
1.The collar depth is not depicting a basic neckline curve , but instead a scoop
2. The body measurements should be stated so that the drafter can adjust to their measurements and understand the division
3. Since this pattern is for a woven fabric, the design or technical sketch should be presented as well, so that the drafter understands that this pattern will not be fitted to a 3 dimensional body as it has no darts or seams to contour it.
*(I’m referring to a woman with a bust, not a child)
It’s a good start to understand the principles of drafting, but visuals are always crucial for better learning. Happy Drating
Cynthia Fong
Thank you for your comment. For this tutorial, we are specifically teaching this for an upcoming tutorial, which will feature photos of the outcome. A lot of the time in previous tutorials we have received enquiries as to how to draft these patterns, because in older posts, the patterns have often been published ready to be printed, but without the measurement for alteration. So our aim at this moment, is to help those new to sewing, to understand how to read our patterns and able to try our tutorials. We appreciate our suggestion though, and will look to incorporate it into future projects.
Deborah Newman
I am a professional apparel patternmaker and have taught drafting at the college level so I have a few suggestions: Use a pencil that erases well; buy a 2″ by 18″ clear plastic ruler with 1/8″ grid; butcher paper is a great substitute for pattern paper, it is a good weight but it does not have markings.
This is a wonderful tutorial. Basic pattern making skills really help when fitting and altering.
I ALWAYS sew a sample of the block out of throw away fabric to check the fit.
Good luck and Happy Drafting.
Cynthia Fong
Thank you very much for your comment. It is always quite daunting for new sewers to embark on new projects, so hopefully with simple guides and tutorials such as this one, can help boost their confidence and allow them to let their creativity flow more fluidly.
Eileen
I am so happy to see this tutorial series. I have to admit I am one of the sewers that has never learned drafting and or grading a pattern. Now in my later years, the standard sewing patterns just do not fit my body. I fell in love with the OLIVE DRESS and I could not figure out adding an inch for each size up, to every seam, I could imagine a tent sized OLIVE, because I am not even close to a size 4-6. So I pouted for a few days and then decided to do what I always do when I have a question of any kind for FABRIC-STORE, I emailed customer service. I love…love …love their customer service ! So I hope everyone that felt as helpless and sad as I did will now join me in doing a HAPPY DANCE. I’m going to make an OLIVE DRESS !
Thank you so much for coming up with a solution and in such a timely manner.
Bonnie Brannon
Wonderful! – I love all of your tutes and this one helps understanding the others.
Thank you. Also, I LOVE your excellent linen fabrics!
Cynthia Fong
Thank you so much for your comment. We are glad you like our linen fabric and is now able to try out some of the tutorials. We look forward to seeing your projects!
Kathleen
Tiki, virtually any fabric store will have pattern-making paper, usually in the section with the interfacing. The French curve will be in the sewing tools/notions section. Personally, for pattern making, I like Tru-Grid because it has a grid of one inch squares printed on it, which makes getting a straight line and a right angle easy.
Tiki
Thank you.
Tiki
Where can I get drafting paper and French curve. Thanks.