Easy no- pattern gathered skirt with pockets Tutorial
Tutorial by Dina Kluchareva
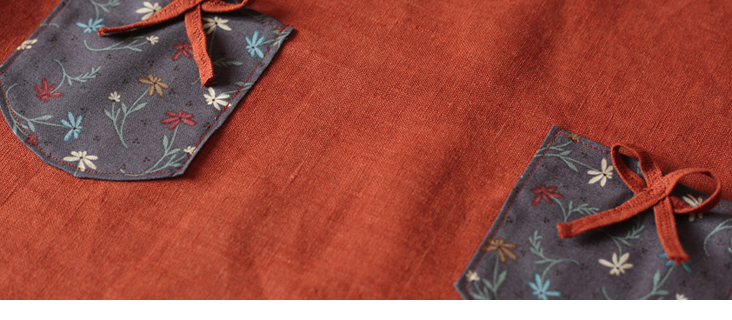
This tutorial will show you how to quickly make a cute toddler skirt with bow-decorated contrasting patch pockets. As no pattern is needed, the tutorial is a great option for beginners. Also, it’s transformable’if you’d like to make a nice linen skirt for a bigger girl. Gathered skirt is very simple to make and is the easiest way to make first steps into sewing with a positive experience. Due to its rich color, you can match Ñ‚Ñ‡Ð¸Ñ skirt with pretty much anything’fair-colored, navy and grey blouses and tees, opaque tights and sneakers’or even summer-tanned scratched tiny legs and sandals.
Difficulty: Beginner
Time: 2 hours
Materials:
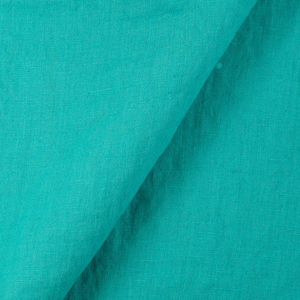
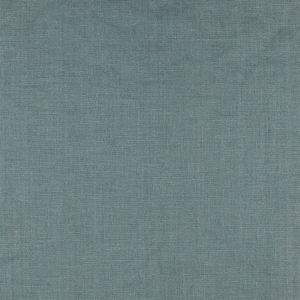
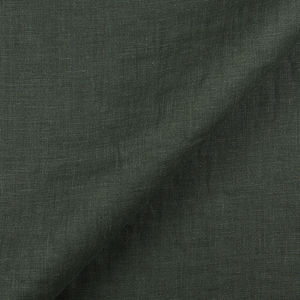
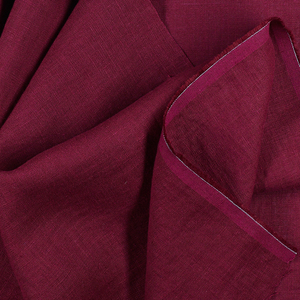
1/2 yd of Linen similar to IL019 Kenya Softened
20″x10″ (25 cm x 50 cm) piece of printed cotton or linen (quilting fat quarters work pretty well)
Notions: scissors, pins, needle, threads: one of matching color, one of contrasting, measuring tape or ruler, chalk, safety pin, pencil, paper
Sewing machine
Measures provided are for a slender 4T-5T child of an average height of 3’7″, with 22″ hips. If you want to make this skirt for another sized person, note this: the skirt body and the waistband detail must be 1,5 times wider than your hips circumference, skirt length and the pockets size may vary.
Cutting your Fabric:
Linen:
Cut 1 main skirt body 33″ width x 14″ length / Cut 2 decorative bow pieces 1″ width x 9″ length each
Cotton:
Cut 2 skirt waistband pieces 2″ width x 17″ length each /’ Cut 2 skirt patch pockets (see instructions below)
Making Pockets:
1. Draw a rectangle: 4″ wide x 4,5″ high. Round its bottom corners using a saucer and cut the pocket pattern, then cut 2 pockets from the cotton fabric.
2. Hem the edges of your pockets. Do this by folding up the edge of the fabric 1/4″. To make the curvy edge fold easier- hand sew a line along it, leaving the threads long, then pull them slightly to gather the edge. Pin the edges, press flat, then stitch the upper hem of pocket.

3. Put the skirt body facing down and fold its shorter edges to the center, turn over and mark the future position of pockets: 2,5″ from the side edge, 5,5″ from the bottom edge. Pin the pockets and sew them onto the skirt body.
Attaching Waistband
1. Put the 2 waistband pieces one atop the other, right sides together. Stitch the 2 short ends of the waistband together with 1/2″³ seam allowance. Press the seams open.
2. Put the waistband onto the skirt body, right sides together, edge to edge, fix with pins, then stitch the pieces together, leaving a 1/2″ seam allowance.
3. Fold the skirt twice, right sides together, pin the back seam, then stitch it from the bottom to the waistband, leaving the upper 1/2″ of the waistband unstitched.
4. Hem the upper side of waistband by folding the edge of the fabric 1/4″³, press flat. Fold the waistband in half length-wise and pin the recently folded hem to the inner side of skirt. Make sure the hemmed inner edge of the waistband is slightly lower than the front. Baste by hand, remove pins, then sew from the right side as close as possible to the edge of the waistband but not touching it.
5. Cut a length of ‘¼ inch wide elastic to fit your child’s waist. It should feel rather tight and be slightly stretched. Fix one end of the elastic below the opening, then secure a safety pin onto other end of the elastic and work its way around the entire waist. Sew the ends of the elastic together. Slightly pull the waistband with the elastic inside here and there so everything is scrunched up evenly.
Finishing
1. Hem the bottom edge of the skirt.
2. Make spaghetti straps. Do this by triple folding the future bows’ pieces lengthwise, then stitching each one lengthwise with a zigzag seam. Cut of the sticking threads.
3. Form bows from the straps, fix them by hand on the upper center of each pocket.
That’s it! Go make your little princess happy.













Leave a comment