


Sewing Essentials: Understanding Different Types of Sewing Elastic
Elastic is a really common notion used in sewing. You’ll find it on everything from waistbands to cuffs and necklines. It plays a crucial role in giving garments both support and shape.
Have you ever had the waistband of your pants twist and never sit quite right? Or maybe you’ve noticed the leg opening of swimmers or a pair of underwear sag and gape? In many cases, the wrong type of elastic could be to blame.
Choosing the right elastic is essential for achieving the right fit, look, comfort, and durability in a garment. In fact, the right elastic can make all the difference to both the function and aesthetic of a garment.
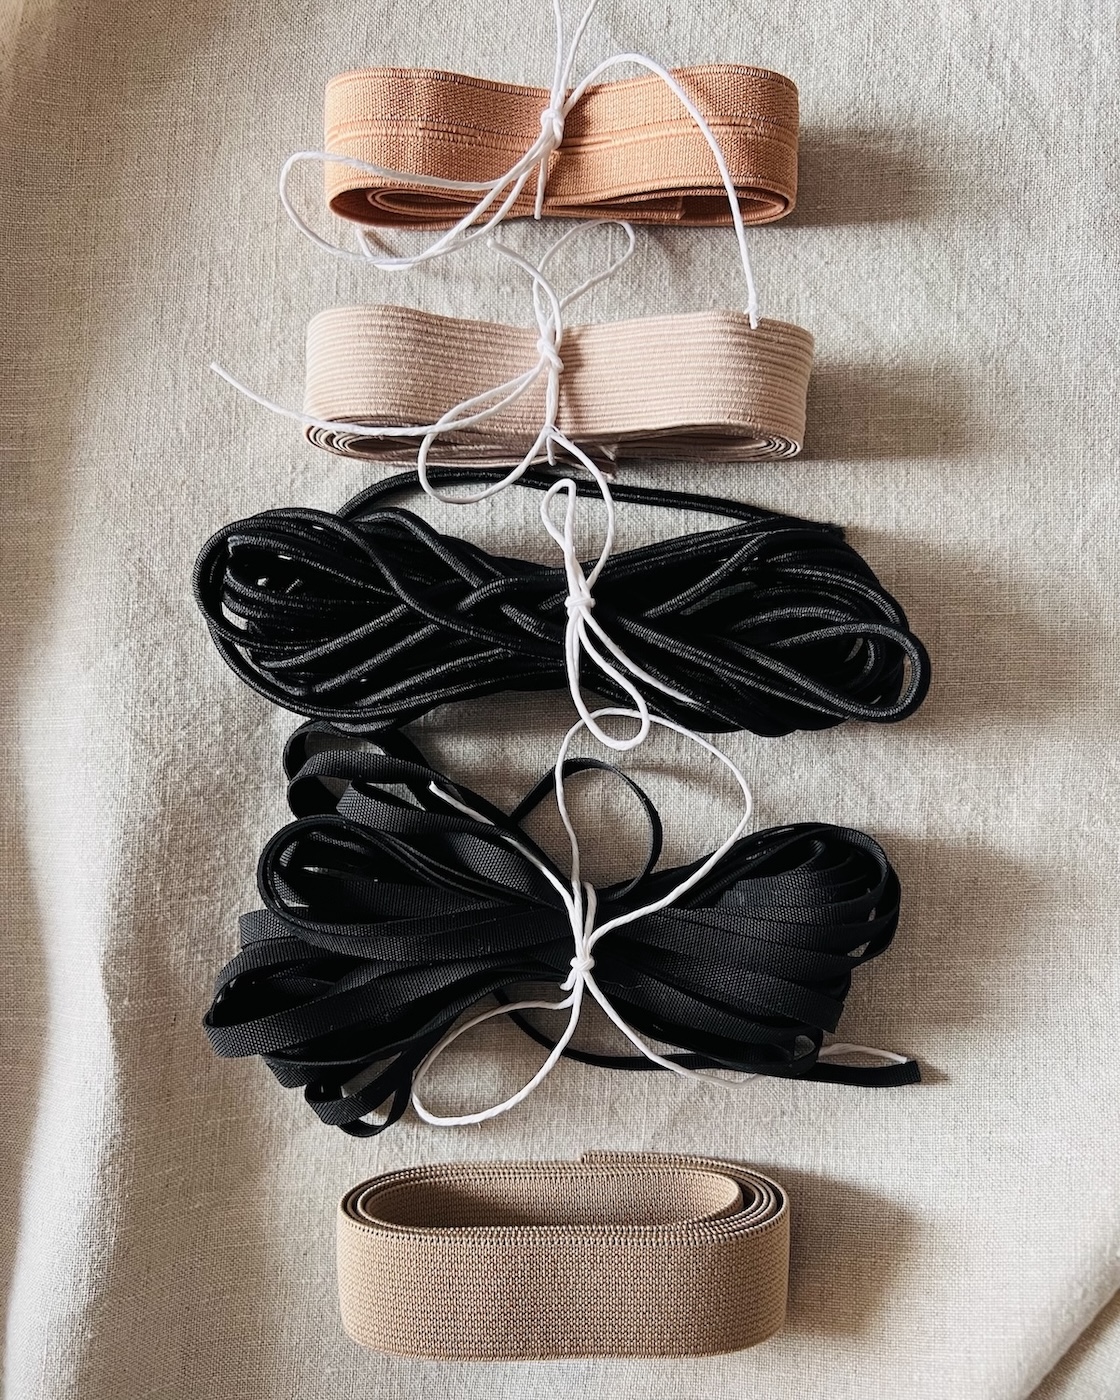
There are so many different types available, from knit, woven, braided, and specialty (just to name a few). That’s not to mention varying widths, colours, and compositions. So how do you know which one to choose?
Sure, if you are working with a sewing pattern, it will most likely specify the width and length of the elastic you need, but it doesn’t always tell you which type to choose. That’s why it’s useful to understand how different elastics behave.
My goal with this article is to introduce you to some of the most commonly used types of elastic in everyday sewing, show you how to identify them, explain their properties, and give you guidance on when to use each type.
3 Types of Elastic
Elastic can generally be classified into three categories: woven, knitted, and braided (with the exception of some specialty elastics, which I’ll get to later).
1. Woven (aka non-roll) Elastic
Woven elastic, like woven fabric, involves the interlacing of warp and weft threads. Fibres such as polyester or cotton are typically woven together with elastic fibres like spandex to create a firm, stable elastic with easily distinguishable horizontal and vertical ribs. It can feel a little stiffer and may have slightly less stretch than knitted elastic.
Some key advantages of woven elastic:
- It maintains its full width when stretched, offering good stretch and recovery.
- It comes in a variety of widths.
- It doesn’t roll, twist, or collapse inside a casing or channel.
- It can be sewn through without losing structure (just use a slightly stronger needle, as it can be quite thick and dense).
Woven elastic is great for waistbands, mid to heavier weight fabrics, and garments requiring more support and structure. I often reach for this elastic and have quite a lot in my stash, as I love the comfort of an elasticised pant (great for going out to eat, right?!).
2. Knitted Elastic
Knitted elastic is created by inter-looping yarns, similar to the structure of a knitted garment. It is soft, lightweight, and has a smoother feel, making it a good choice for garments that sit close to the skin.
Like woven elastic, knitted elastic maintains its width when stretched, providing good strength and resilience. It can also be sewn through without compromising durability, making it suitable for use in both casings and when sewn directly to fabric.
While available in a variety of widths, wider knitted elastic can sometimes roll inside a casing. It is best suited for light- to mid-weight fabrics, and works particularly well in garments that require comfort and softness, such as pyjamas or lingerie.
Tip: I recently sorted my elastic drawer, and to be honest, I often couldn’t tell the difference between some woven and knitted elastics on first glance. To help sort them, I gently stretched the elastic and looked for either horizontal and vertical yarns (woven) or visible loops (knitted).
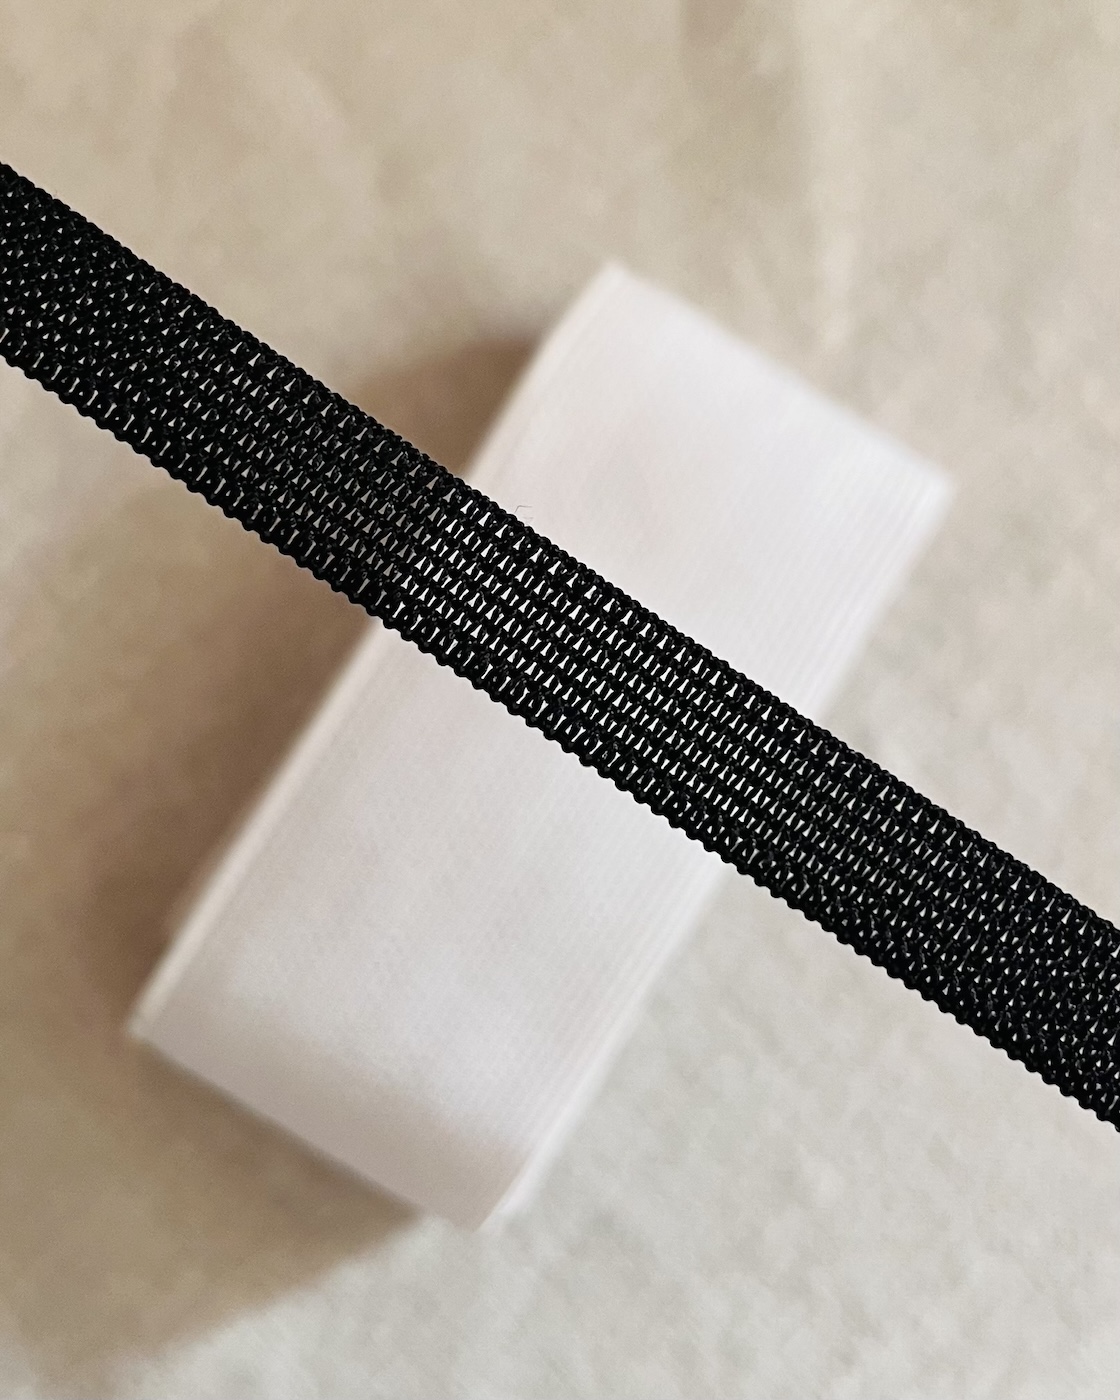
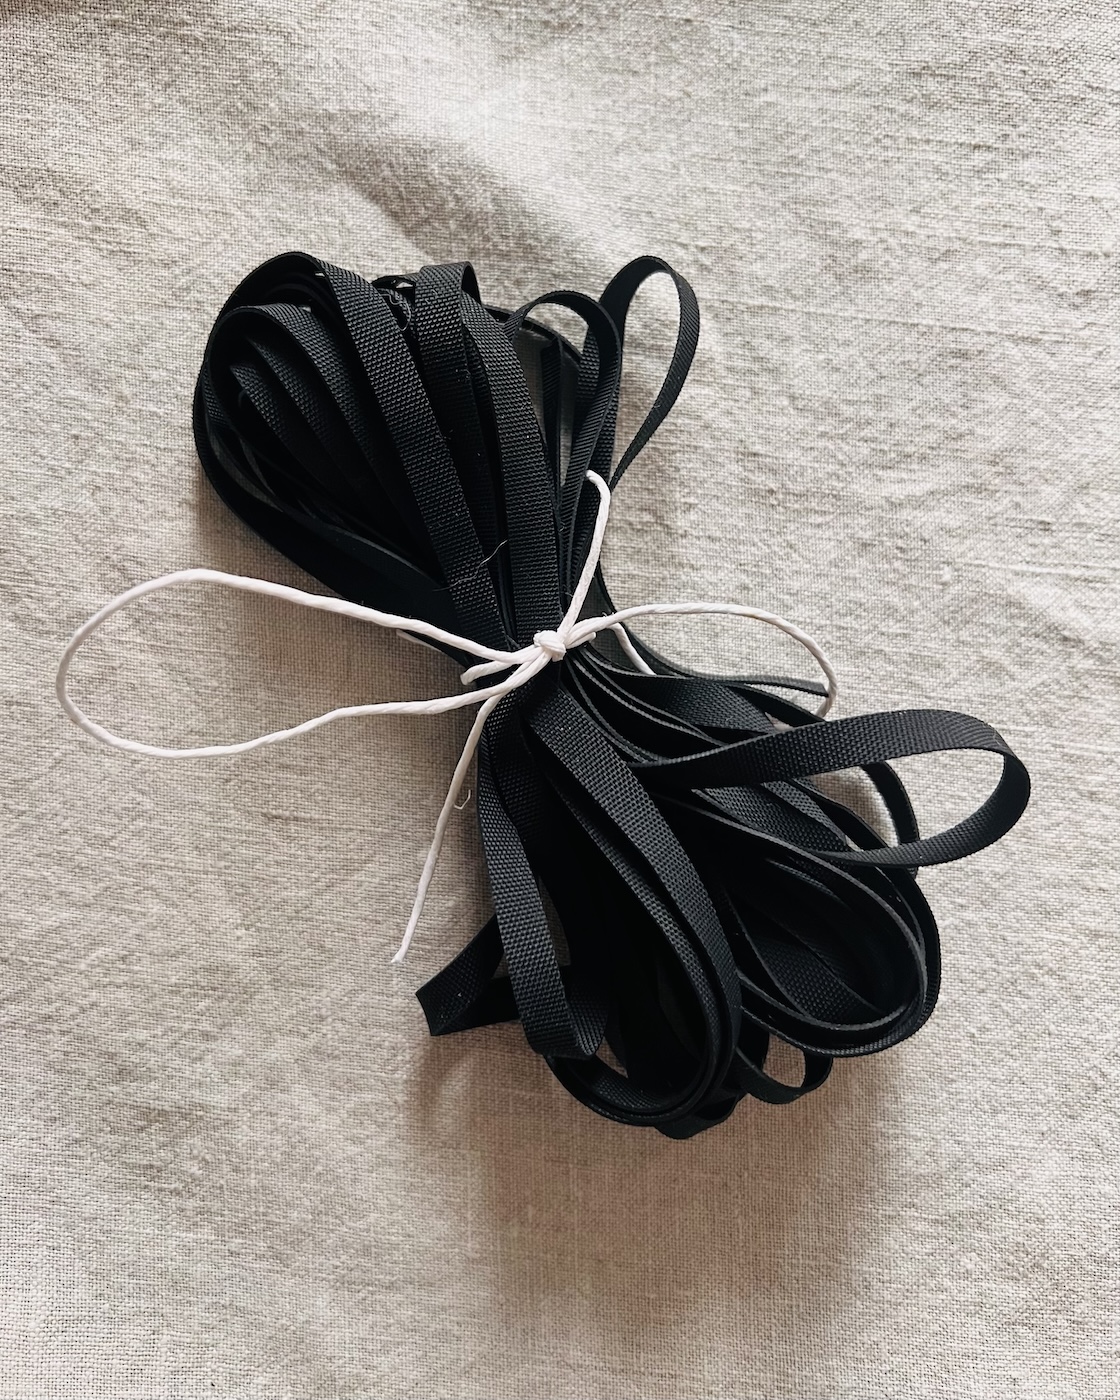
3. Braided Elastic
Braided elastic is easily identified by the horizontal ribs running along its length. It comes in a variety of widths but behaves a little differently to woven and knitted elastic.
When stretched, braided elastic narrows (loses width) and is more prone to rolling. Sewing directly through it can also reduce its strength and elasticity. Therefore, is best suited to projects where it will be threaded through a casing or channel.
Braided elastic works particularly well for lighter-weight garments and areas such as sleeve cuffs or delicate waistbands.
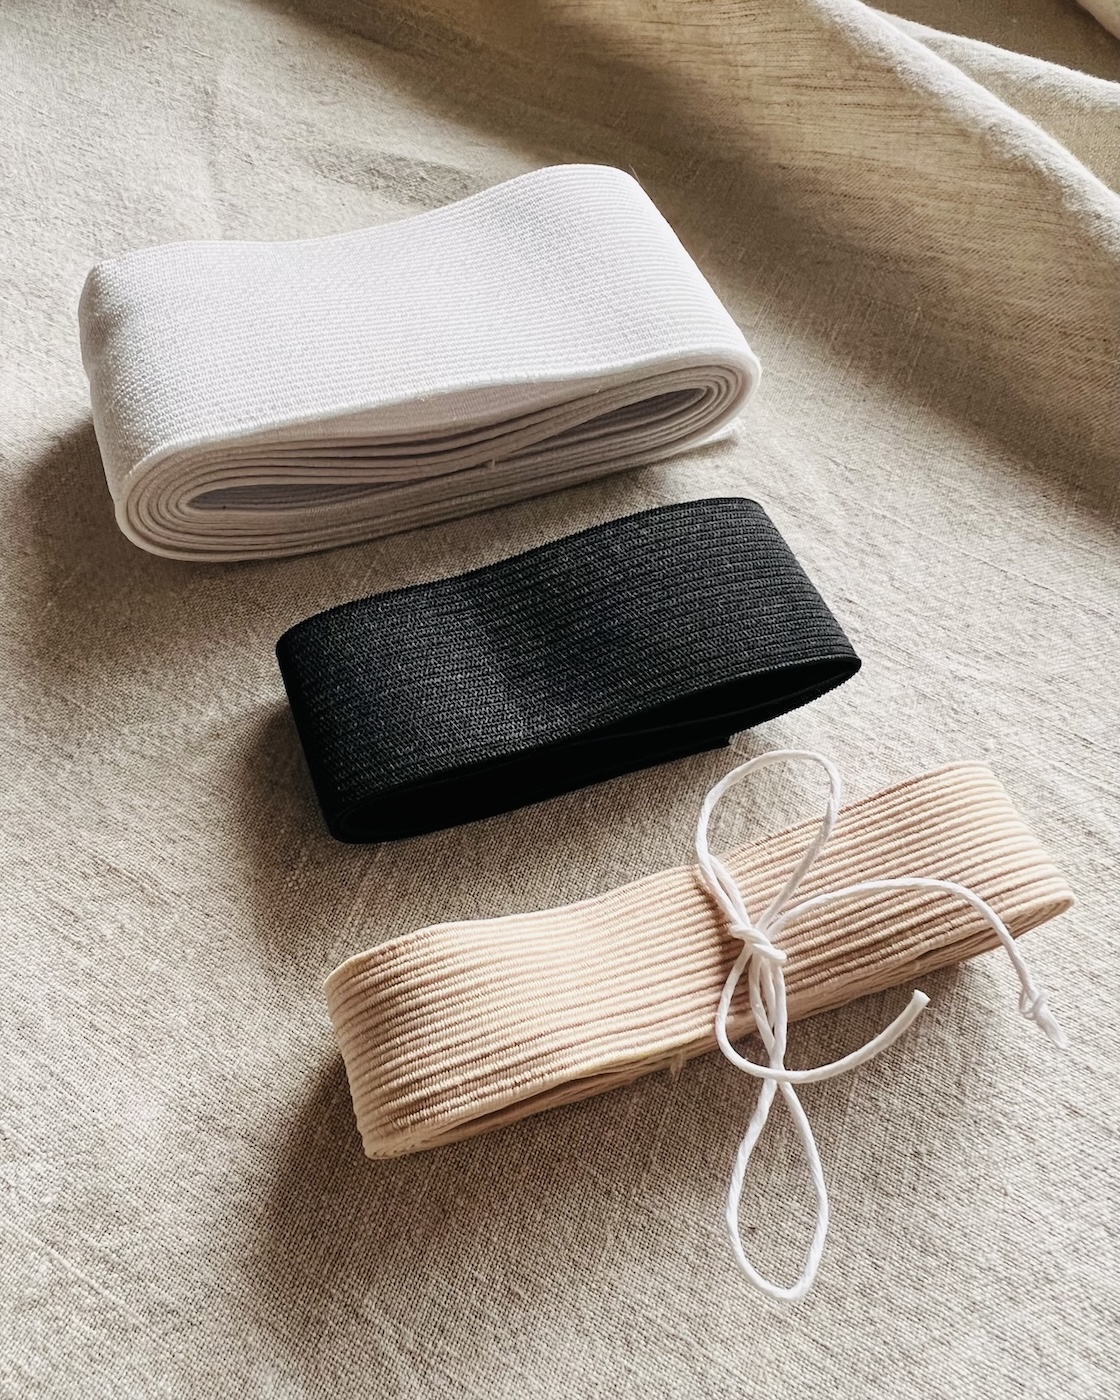
Note: Most general sewing elastics are available in standard black and white. This is usually fine for most garments since elastics are typically hidden within casings or on the inside of the garment. When choosing between black or white elastic, a good rule of thumb (similar to choosing interfacing) is to pair light fabrics with white elastic and dark fabrics with black elastic. On the other hand, some specialty elastics, which I’ll get to next, are available in a wide range of colours and finishes. These elastics often serve a decorative function and are intended to be visible. Ultimately, it’s up to you as the designer whether you want the elastic to match or complement the garment.
Specialty Elastic
Swim Elastic:
As the name suggests, swim elastic is specially designed for swimwear and aquatic environments. It is UV-, chlorine-, and saltwater-resistant, meaning it won’t deteriorate like regular elastic would under these conditions. Typically made from rubber or latex, swim elastic is durable and offers excellent stretch and recovery, even after repeated wear.
Some types of swim elastic may narrow when stretched, while others maintain their full width. Swim elastic is usually narrow and can be inserted into a casing or sewn directly onto the fabric. When sewing, it’s typically stitched with a zigzag, double, or triple stitch to maintain its strength and flexibility.
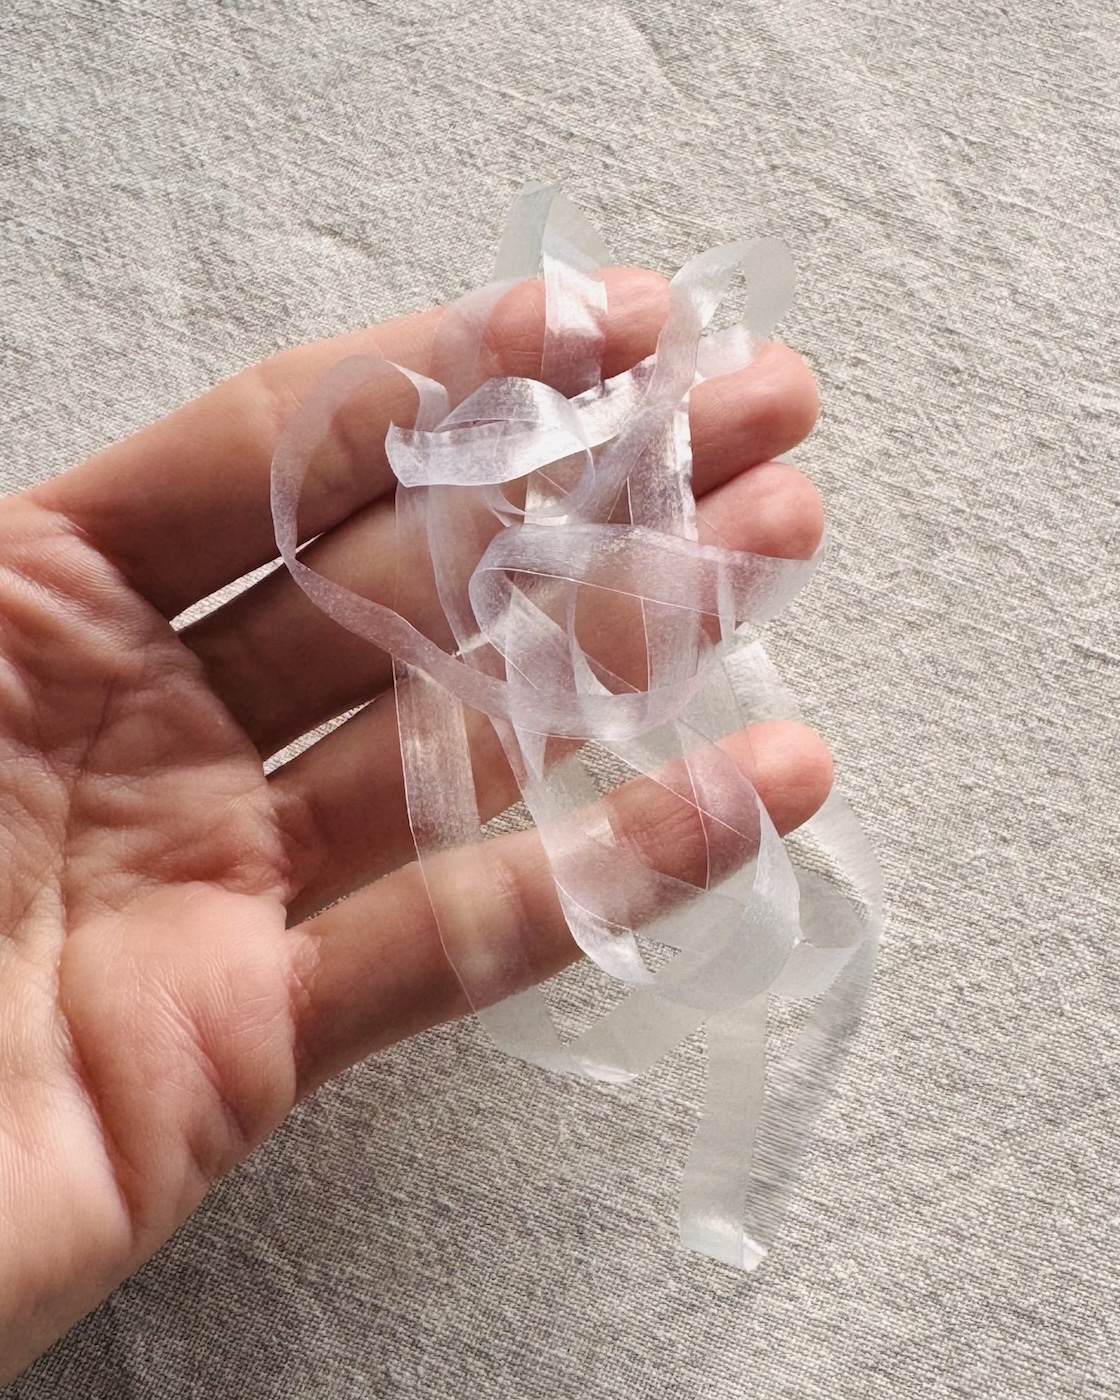
Clear Elastic:
Clear elastic, again just as the name suggests, is transparent and designed to be nearly invisible within a garment.
Typically made from polyurethane, clear elastic has a rubbery feel, is smooth, highly stretchy, and often quite narrow. It becomes even narrower when stretched, but maintains its strength and resilience when sewn through.
Clear elastic is commonly used to reinforce areas in lightweight or knit fabrics (such as shoulder seams) or to create gathers. It can be a little tricky to sew, so a bit of patience is needed. Clear elastic is also not heat-resistant, so take care when ironing.
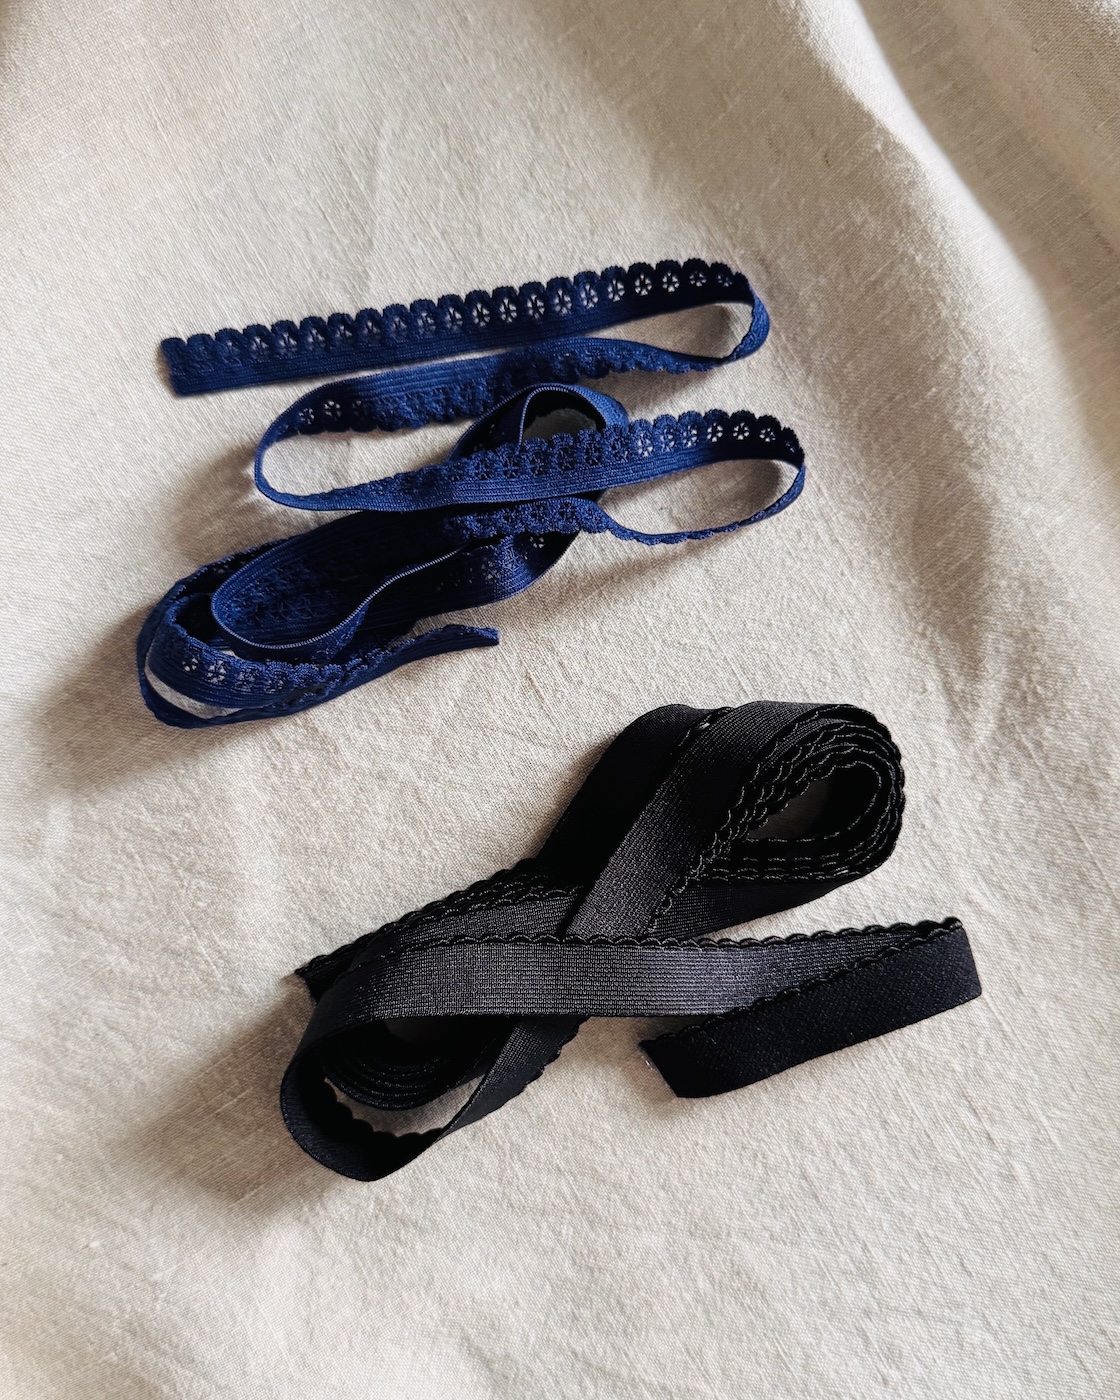
Lingerie Elastic:
Surprise surprise, lingerie elastic is primarily used for lingerie and delicate garments.
Lingerie elastic often has a soft, plush underside designed to sit comfortably against the skin. It is commonly added to the waist and leg openings of underwear or bodysuits, as well as to the under-bust and straps of bras or bralettes.
It is available in a huge range of colours, decorative edges, and finishes, which makes matching it to your project easy and fun.
Lingerie elastic typically doesn’t narrow when stretched. It is usually sewn directly onto the fabric and is intended to be visible, offering both support and a decorative touch.
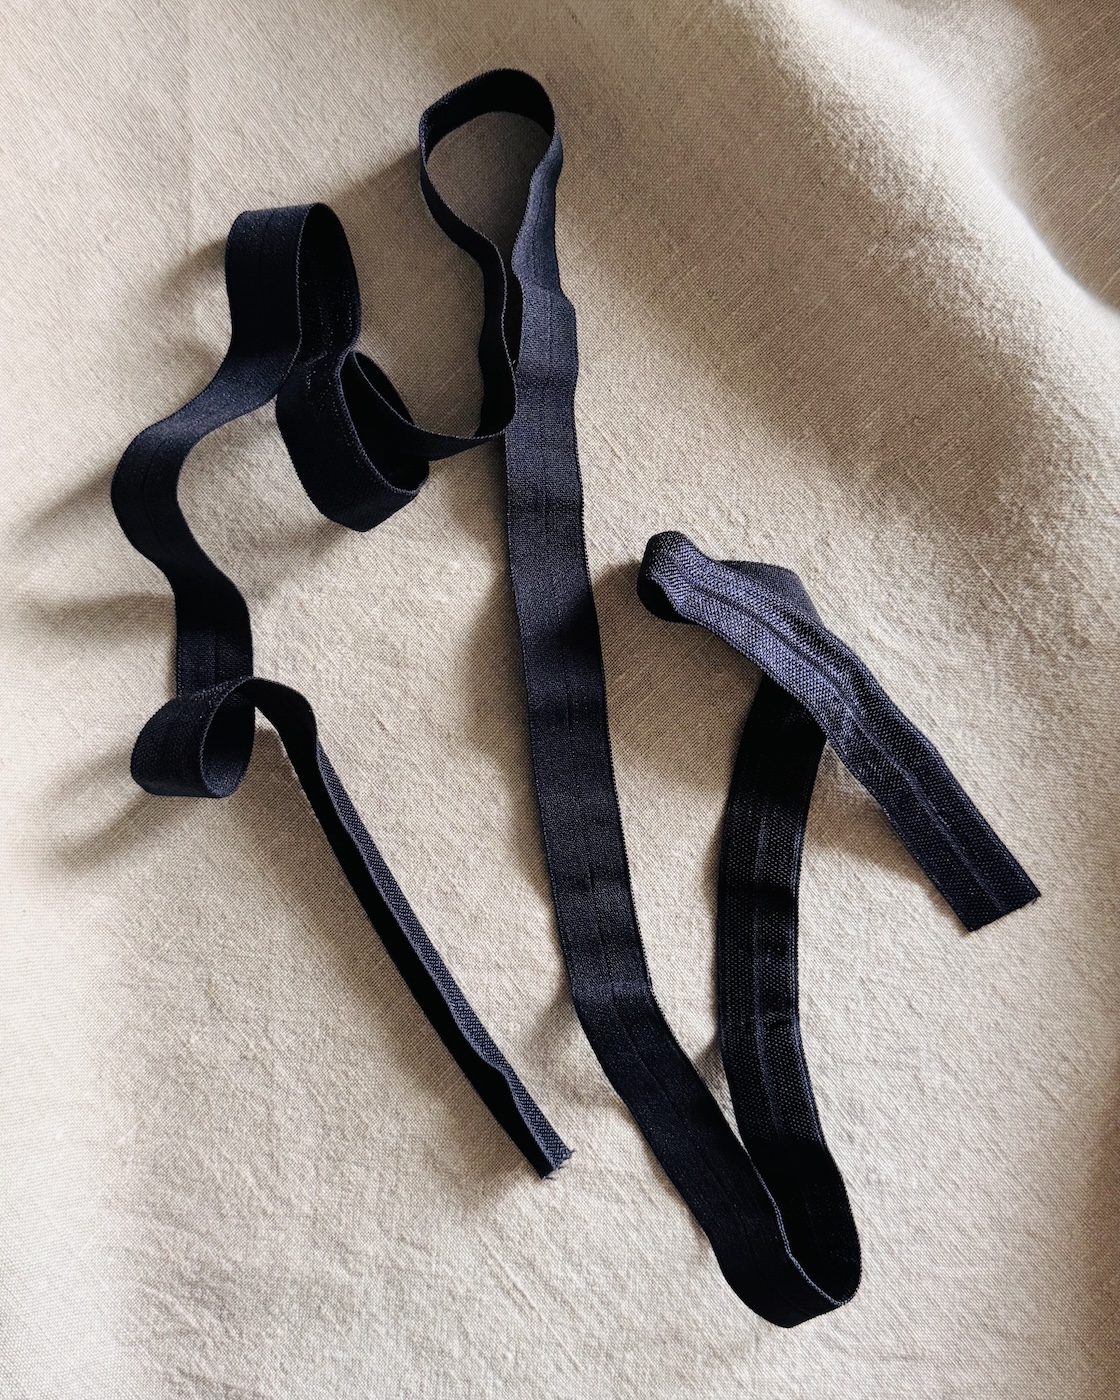
Fold-over Elastic (aka FOE):
Fold-over elastic, also simply referred to as “FOE,” does exactly what the name suggests: it folds over. It kind of reminds me of binding, encasing a raw edge within its fold. It is easily identified by a centre ridge (the fold line).
FOE is considered a decorative elastic, designed to be visible. Therefore, it is available in many colours and finishes. It is used to finish areas like necklines, armholes, and leg openings, and is often found in lingerie and activewear (even hair ties).
FOE does not become narrower when stretched and can be sewn over without losing its strength.
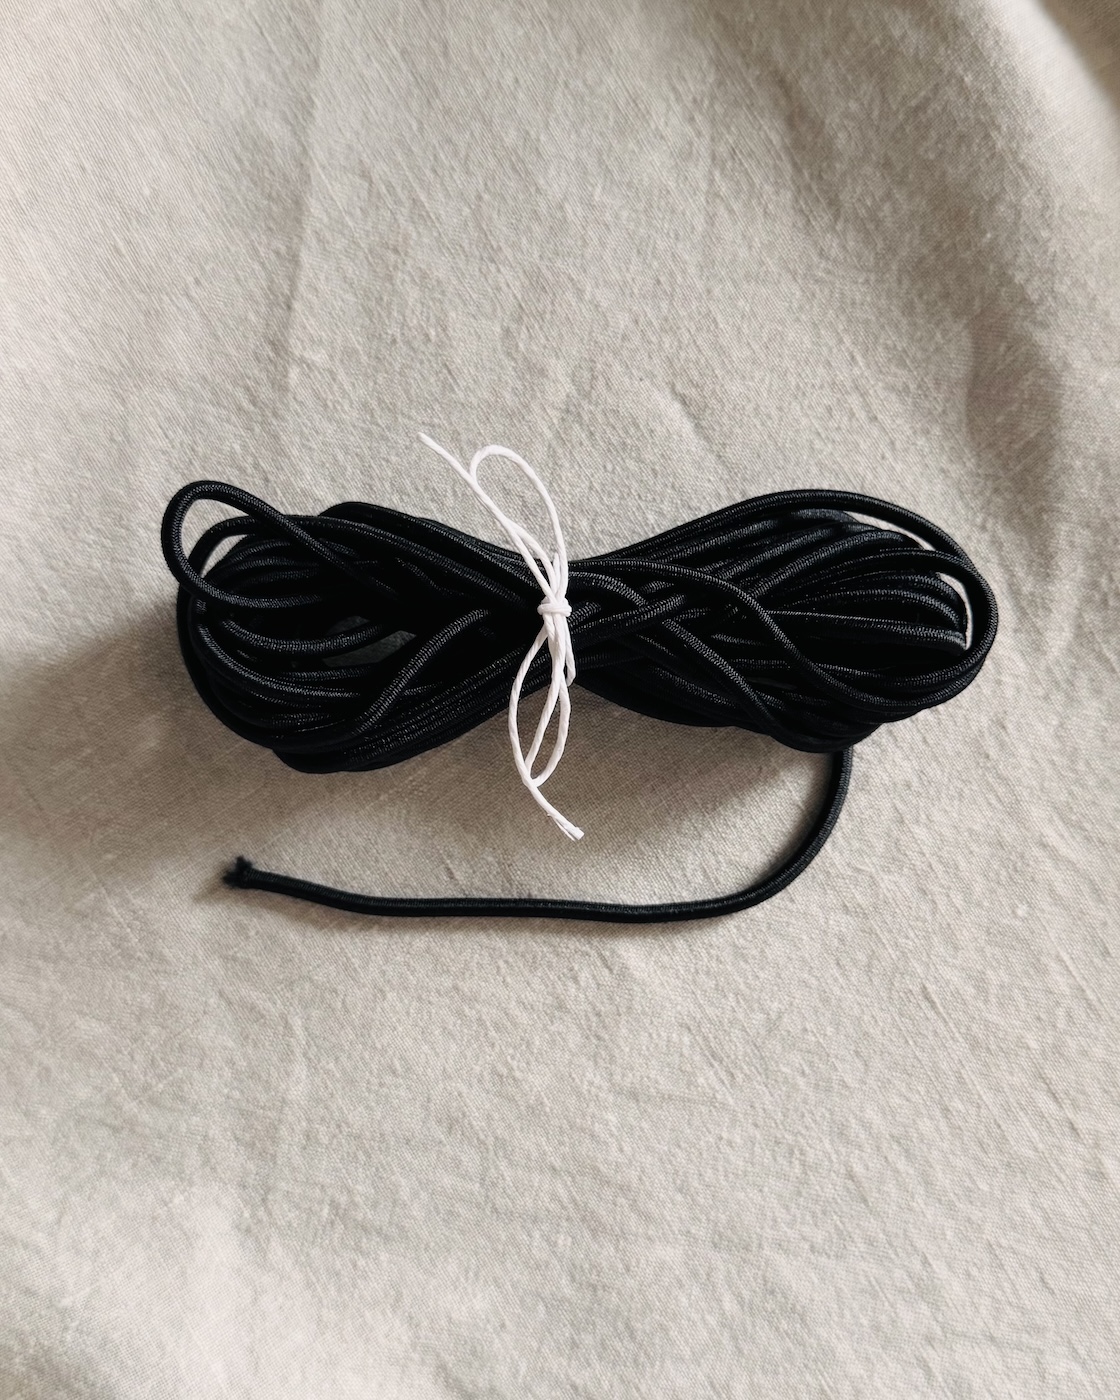
Cord Elastic
Cord elastic is a round, flexible elastic available in a range of thicknesses, from fine “hat elastic” (which resembles a thick thread) to thicker, drawstring-style cords.
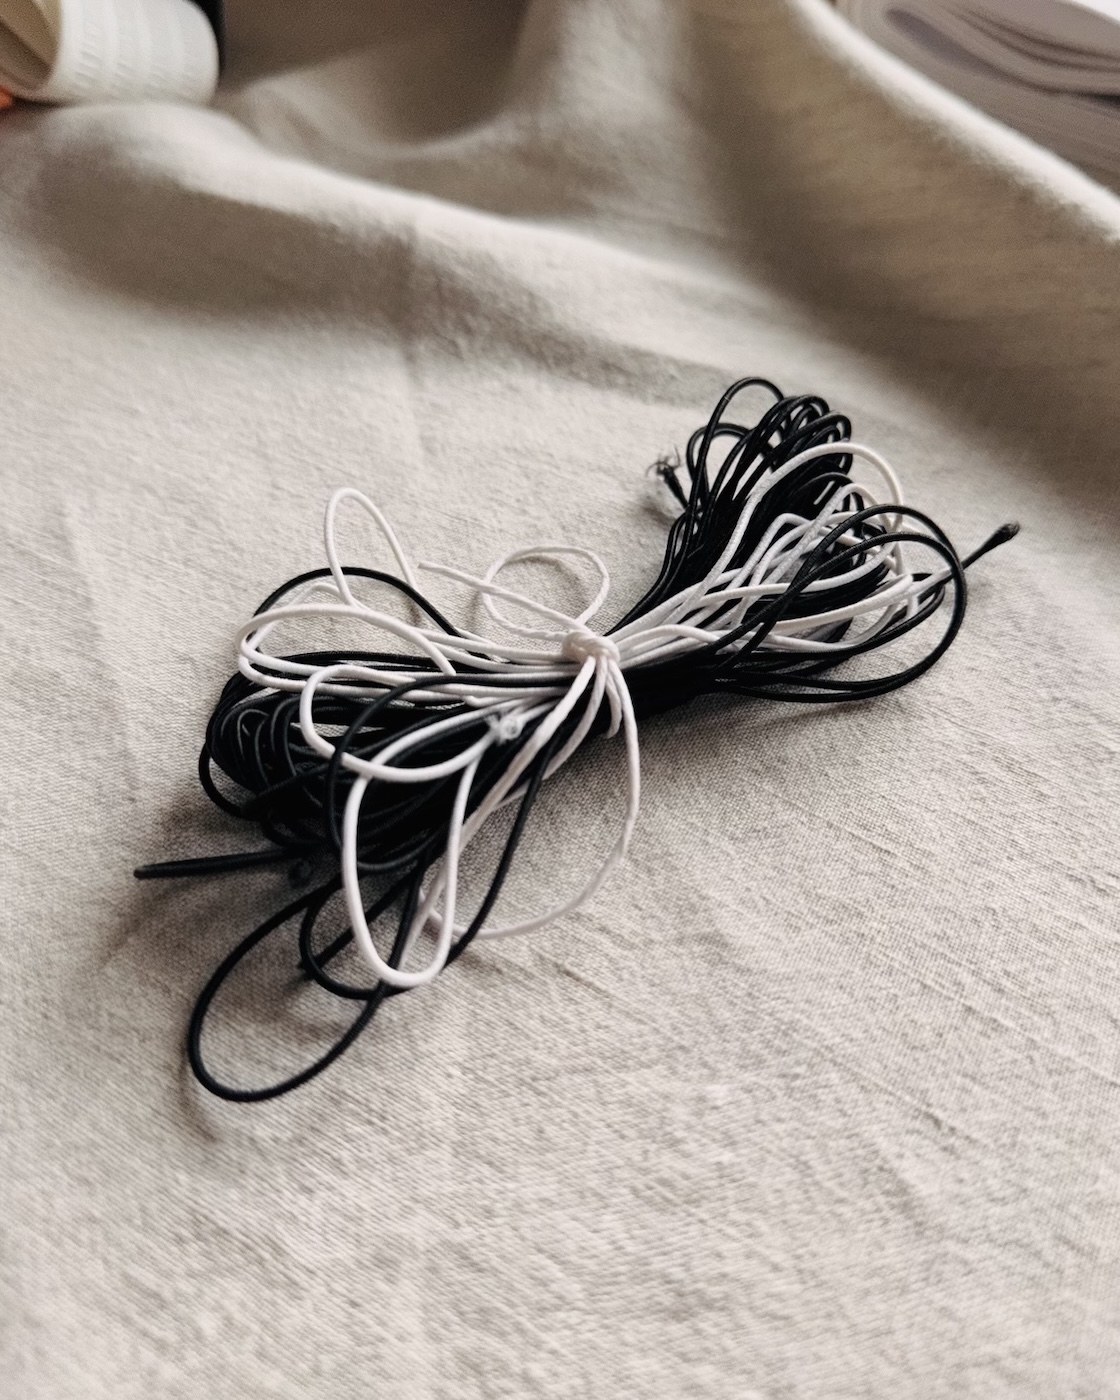
It’s commonly used for drawcords on hats, face mask straps, button loops, gathering, and even beading projects.
Although versatile, cord elastic isn’t ideal for applications requiring significant strength or support, as it isn’t very strong.
Cord elastic is often secured in place with a zigzag stitch to allow the elastic to stretch. For fine cord elastics, hand sewing or machine sewing to anchor it within a seam is often used.
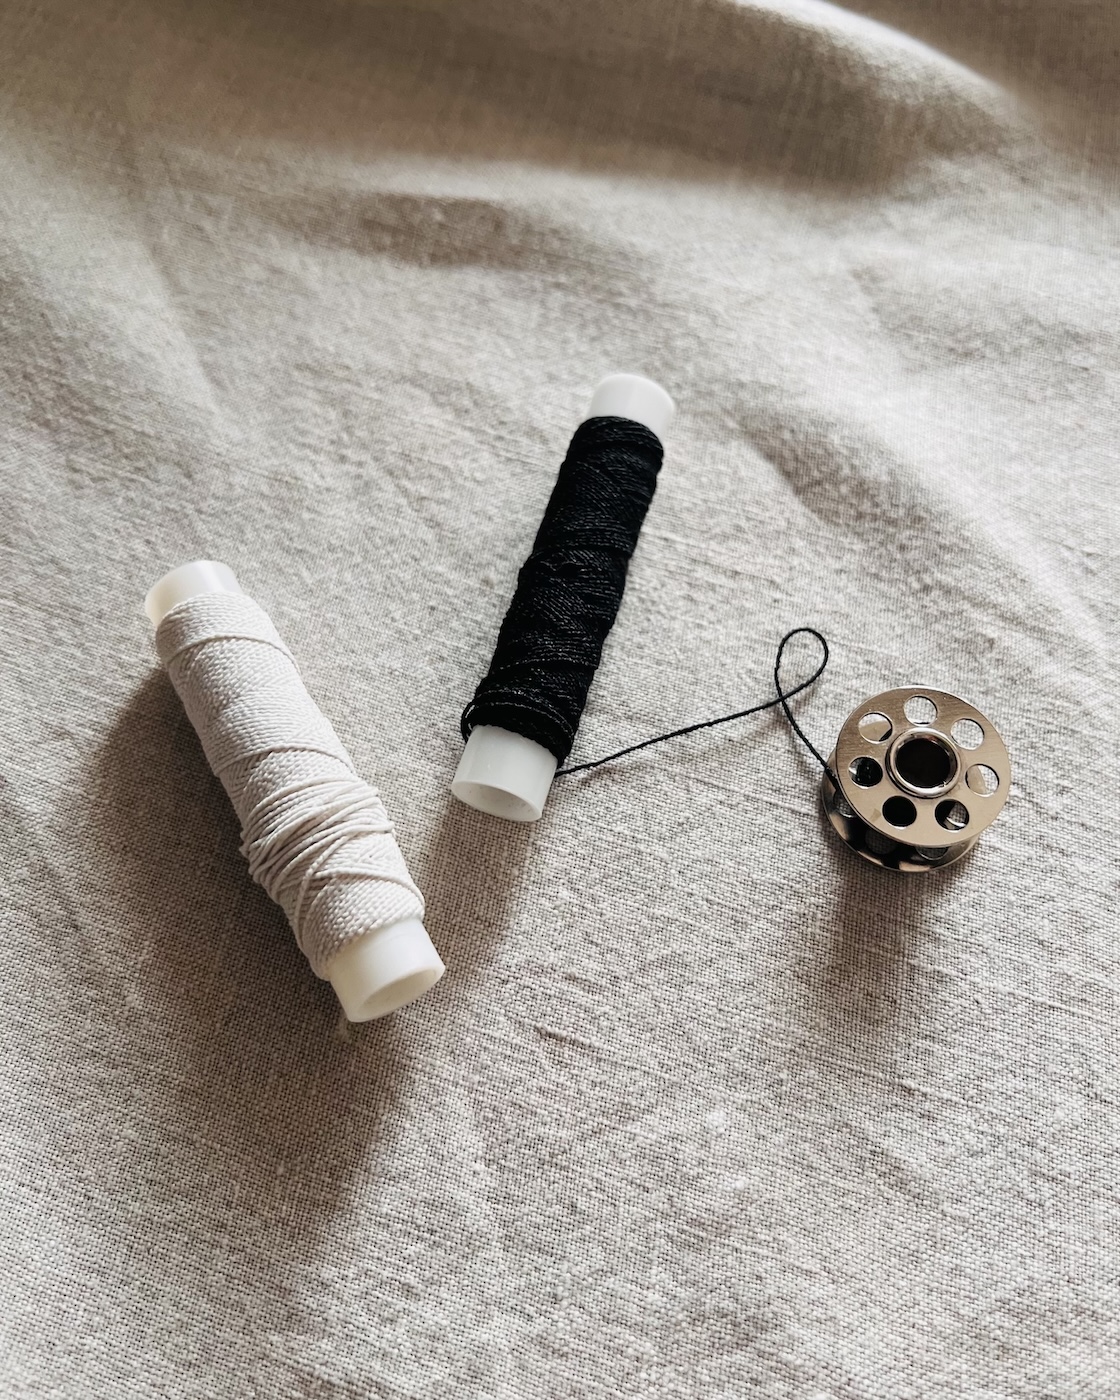
Elastic Thread
Elastic thread is a fine, highly stretchy thread most commonly used for shirring. It is often made from polyester, polyurethane, and/or rubber, with a cotton wrapping for added durability and smoothness.
When sewing with elastic thread, it is hand-wound onto the bobbin, while regular thread is used in the needle. This technique creates rows of gathered, stretchy stitching (it’s actually quite satisfying to sew with).
I won’t go into too much detail here, as the article ‘Sewing Glossary: Shirring With Elastic Thread’ already covers the process in depth.
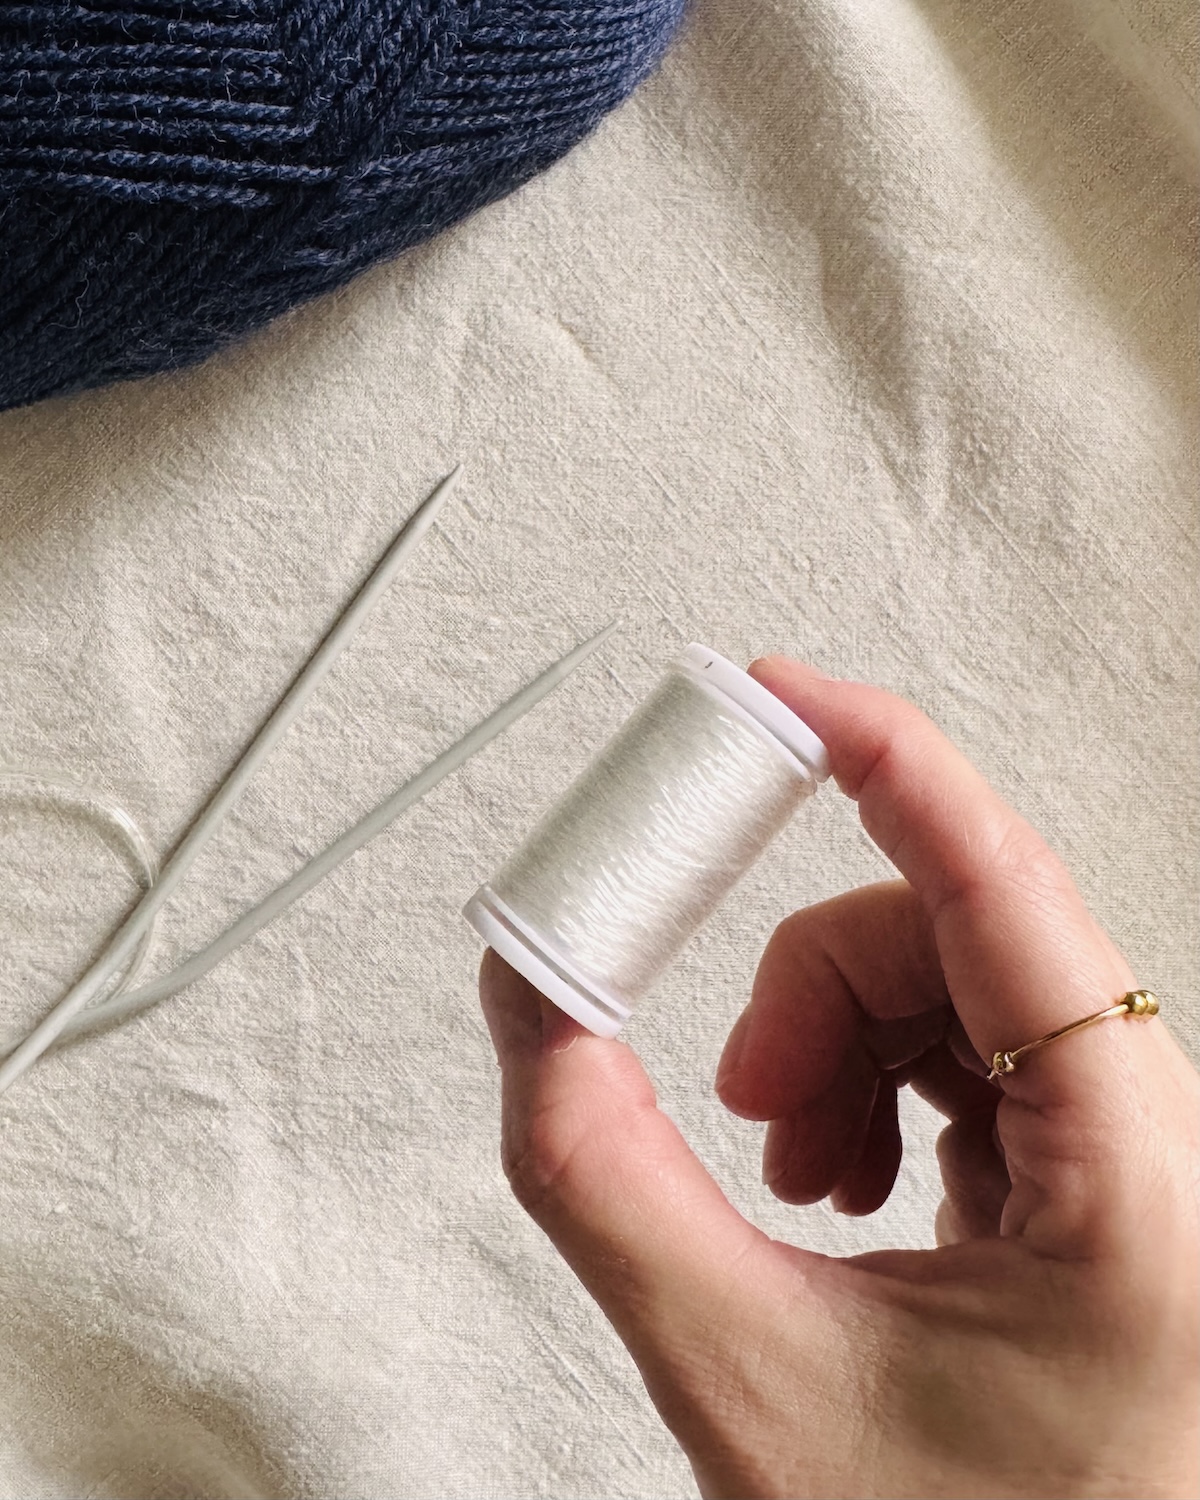
Knit-in Elastic
I would consider knit-in elastic a sub-category of elastic thread. It is a very fine, highly stretchy type of elastic, often made from synthetic fibres such as rubber or spandex.
Specifically designed for knitting and crocheting, knit-in elastic helps reinforce projects, providing shape and stability in areas like cuffs, necklines, and in socks.
It can be knitted or crocheted together with the main yarn, or threaded through the finished piece. Knit-in elastic is really only available in two colours: clear (transparent), and a smoky grey. The goal is for it to be virtually invisible, so the clear version is best suited for lighter-coloured garments, while smoky grey works better with darker ones.
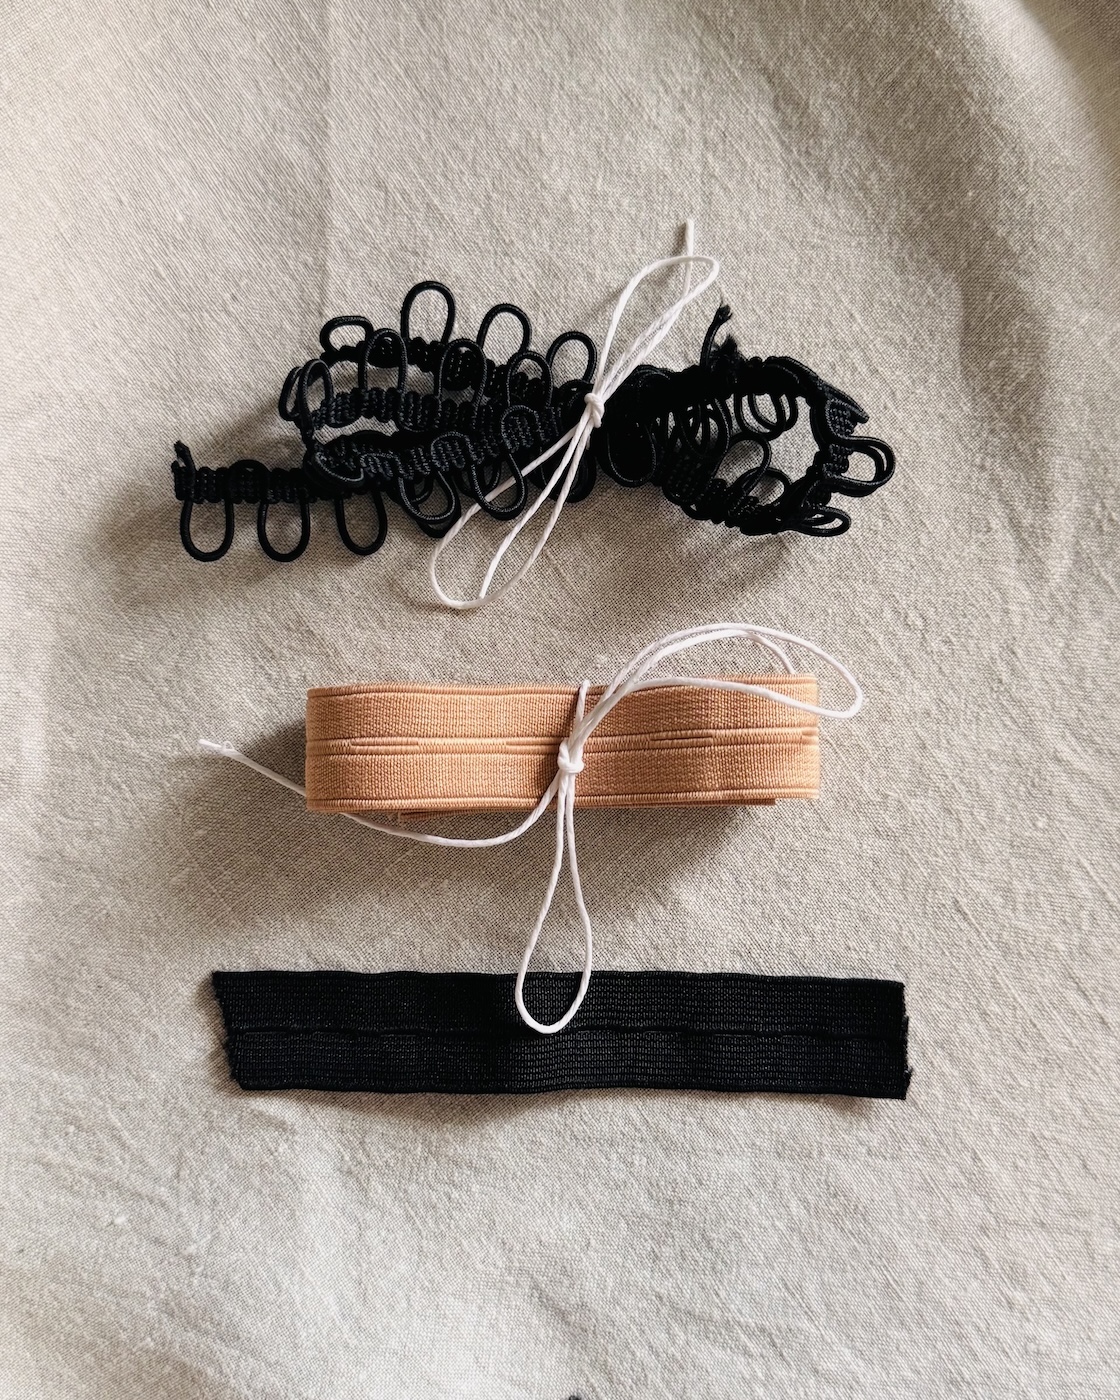
Buttonhole Elastic
There are two common types of buttonhole elastic.
- The first is a more traditional-looking elastic, easily distinguished by its evenly spaced buttonholes along the length. It is typically a knitted elastic, and usually comes in a standard width of around 2cm, and is available in a wide range of colours. This elastic is ideal when the fit of a garment may need adjusting, such as in children’s wear, maternity wear, or sportswear. I have sewn buttonhole elastic into the sides of a pair of pants that were too big. Inserting it into the waistband at each side allowed me to pull in the fit, making them more comfortable and secure.
- The second type is more of a button loop elastic, consisting of a series of loops along its length. While the loops are elastic, which stretch around a button, the tape itself generally isn’t. This elastic can be used for either a single loop, like on a keyhole opening, or a series of loops, such as along the opening of a dress. It is typically inserted into a seam or along the seam allowance. It is typically inserted into a seam or along the seam allowance.
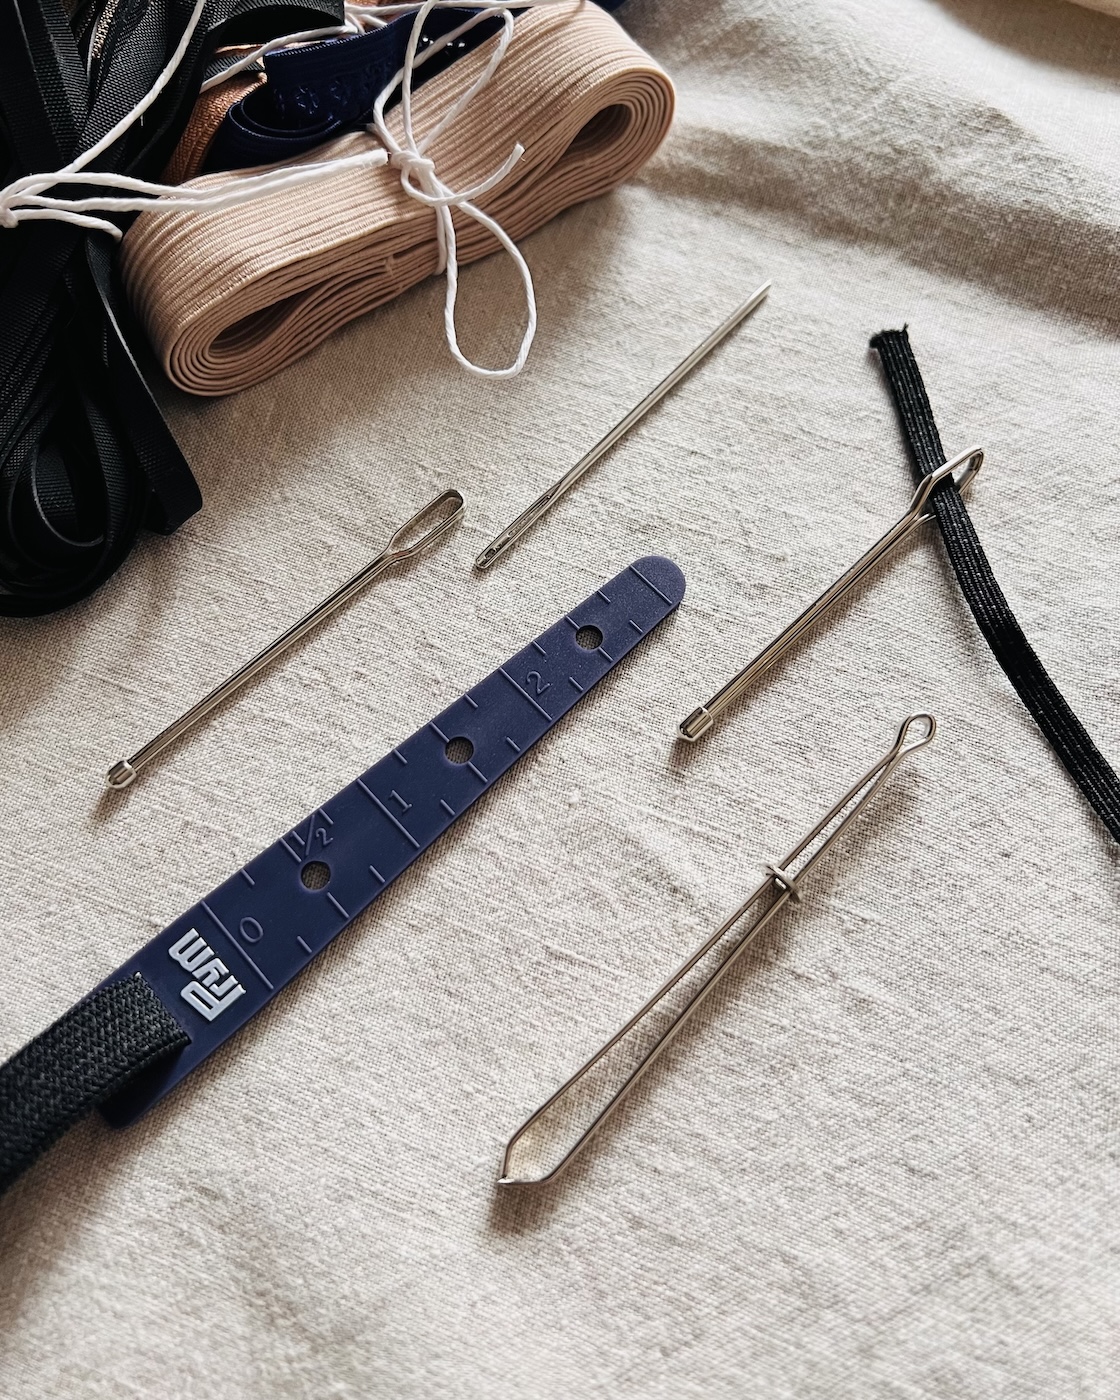
Tools for Inserting Elastic
Inserting elastic into a casing or channel can be a little fiddly at times but there are a few different tools that can make the process a little easier. These tools are not only great for elastic but can also be used for a variety of other materials, such as ribbon and drawcord.
Safety Pin
The humble safety pin is my go-to tool for inserting elastic. While it may not be the most efficient method, I always have a few different sizes on hand in my pin dish. The key is to match the size of the safety pin to the width of the elastic: use a smaller pin for narrow elastic and a larger pin for wider elastic.
To thread elastic with a safety pin, start by attaching the safety pin to one end of the elastic. Insert the safety pin into the opening of the casing or channel, then slide the fabric over the elastic while guiding the pin through. Continue sliding the safety pin through until the elastic is fully threaded.
Tip: Be gentle when threading the safety pin through the fabric. I’ve had pins open up within the casing, and removing an open pin without snagging the fabric can be tricky.
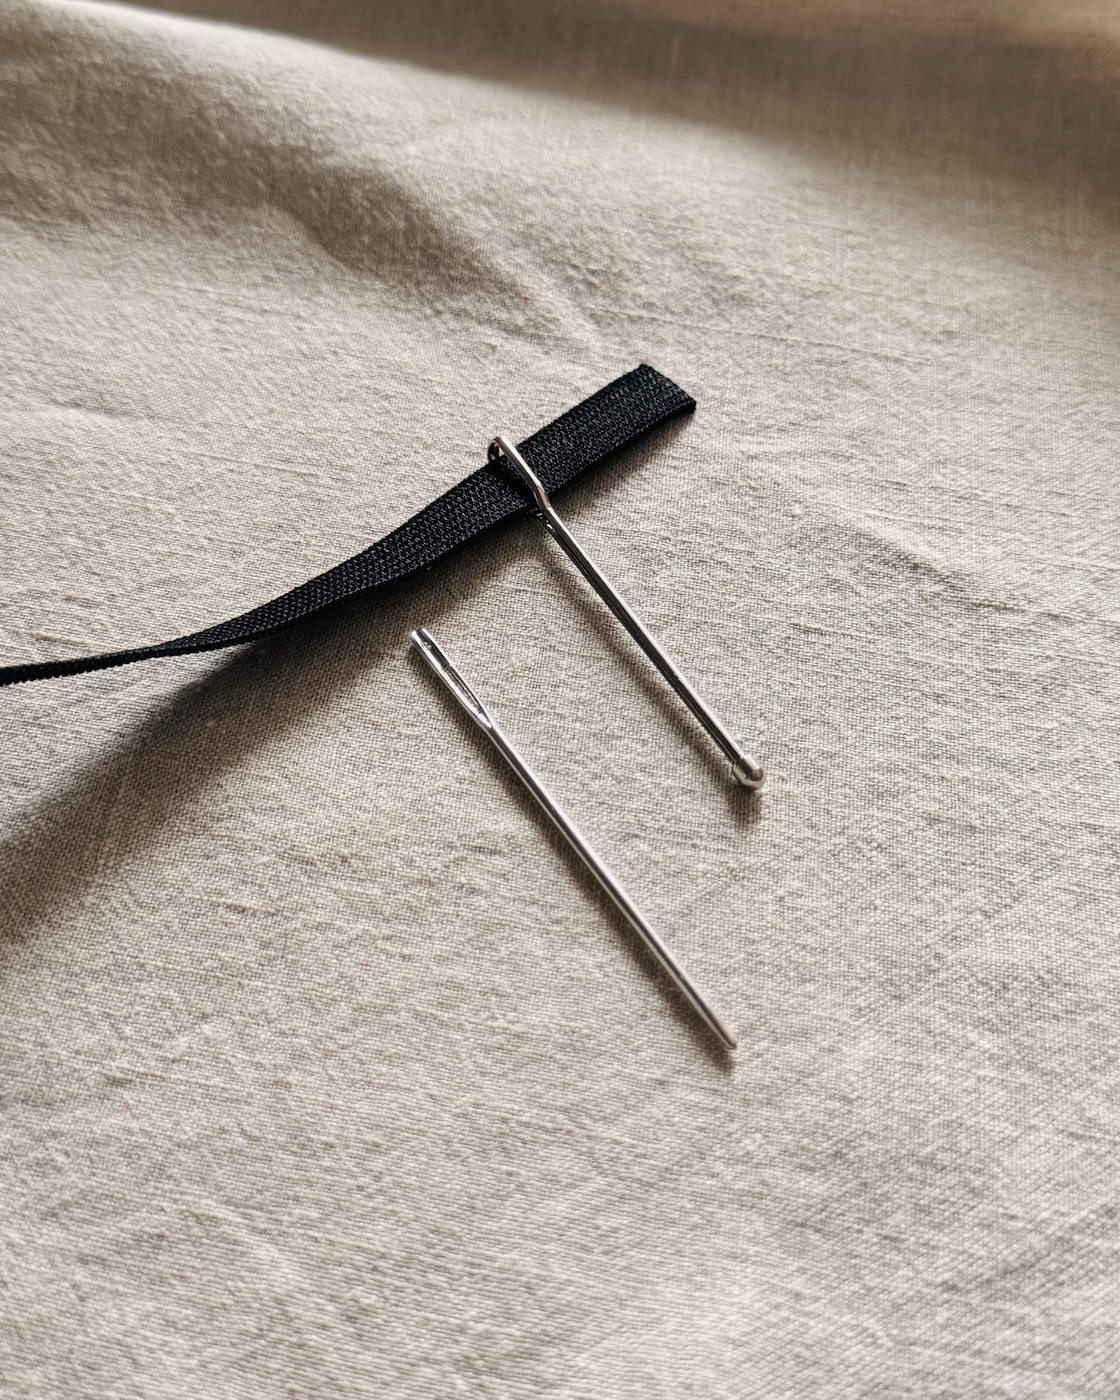
Threading Needle
A pull-through needle (also referred to as a bodkin) is a simple but useful tool for inserting elastic. It is just like a large needle, with a long smooth shaft, and a blunt, rounded tip.
To use, simply thread the elastic through the eye of the needle, just as you would with a regular sewing needle. Then, as with a safety pin, guide the needle through the casing or channel.
Pull-through needles are especially handy for narrow elastic and tight openings, making them ideal for small or narrow casings where other methods might be a bit fiddly.
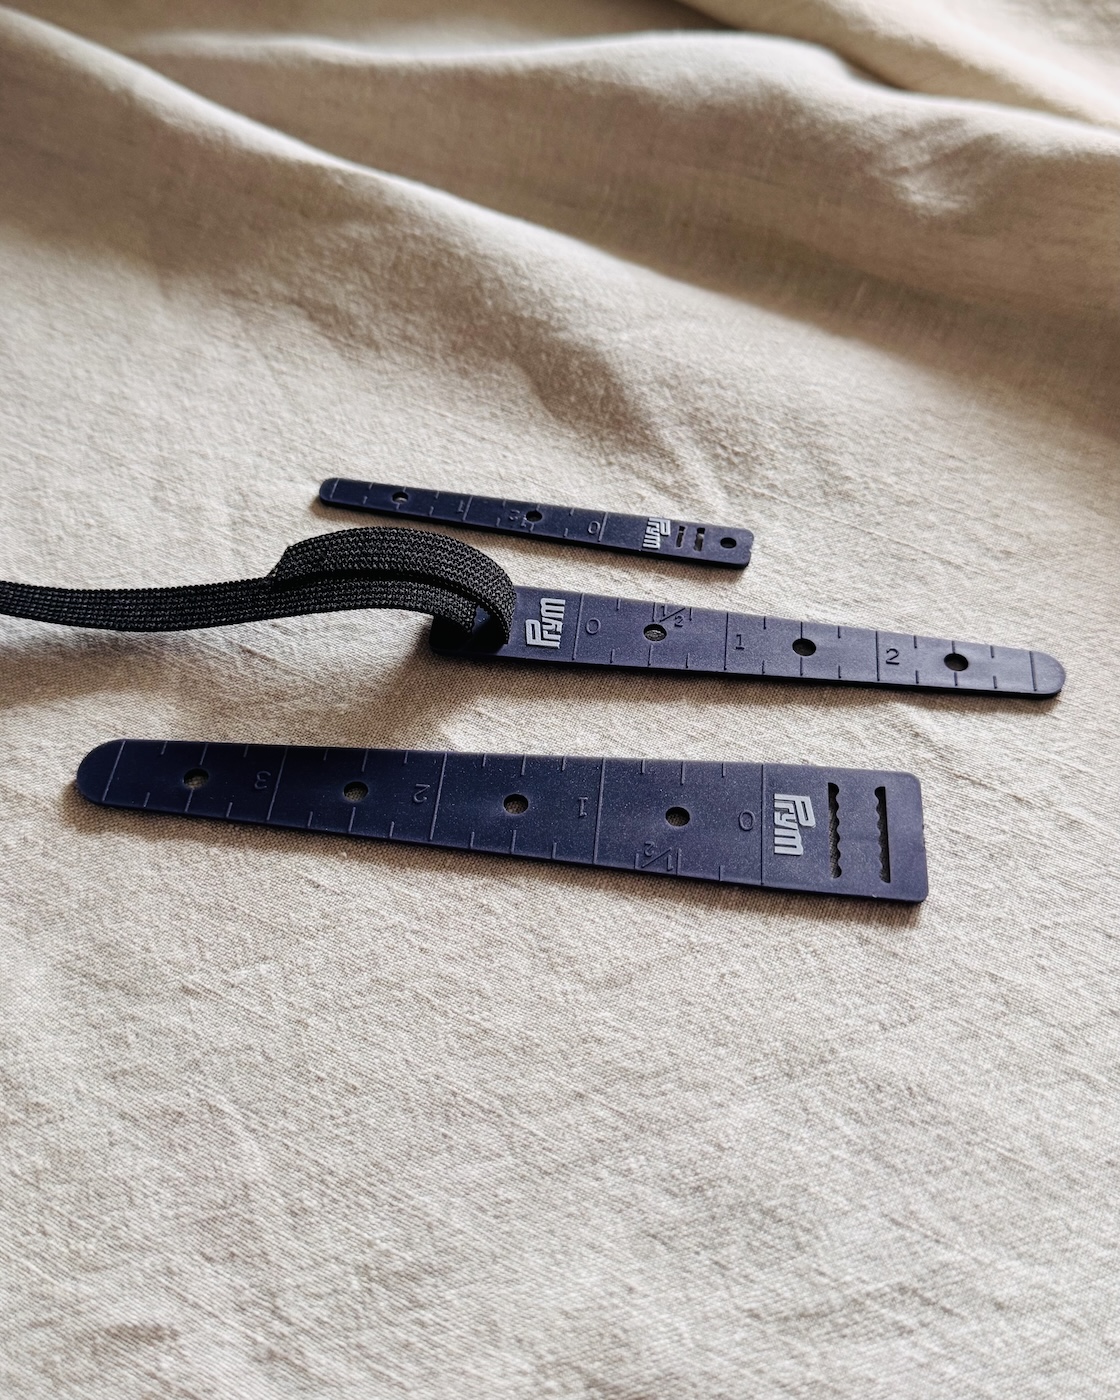
Threader
A threader is a handy tool for inserting elastic into narrow channels or casings such as waistbands or sleeve cuffs. Threaders usually come in assorted packs with different sizes to accommodate various widths of elastic.
To use, select the appropriate threader size and insert the end of the elastic into the small slits at the end of the threader, securing it with a gentle tug. Then guide the threader through the casing or channel, gently pushing it while easing the fabric along.
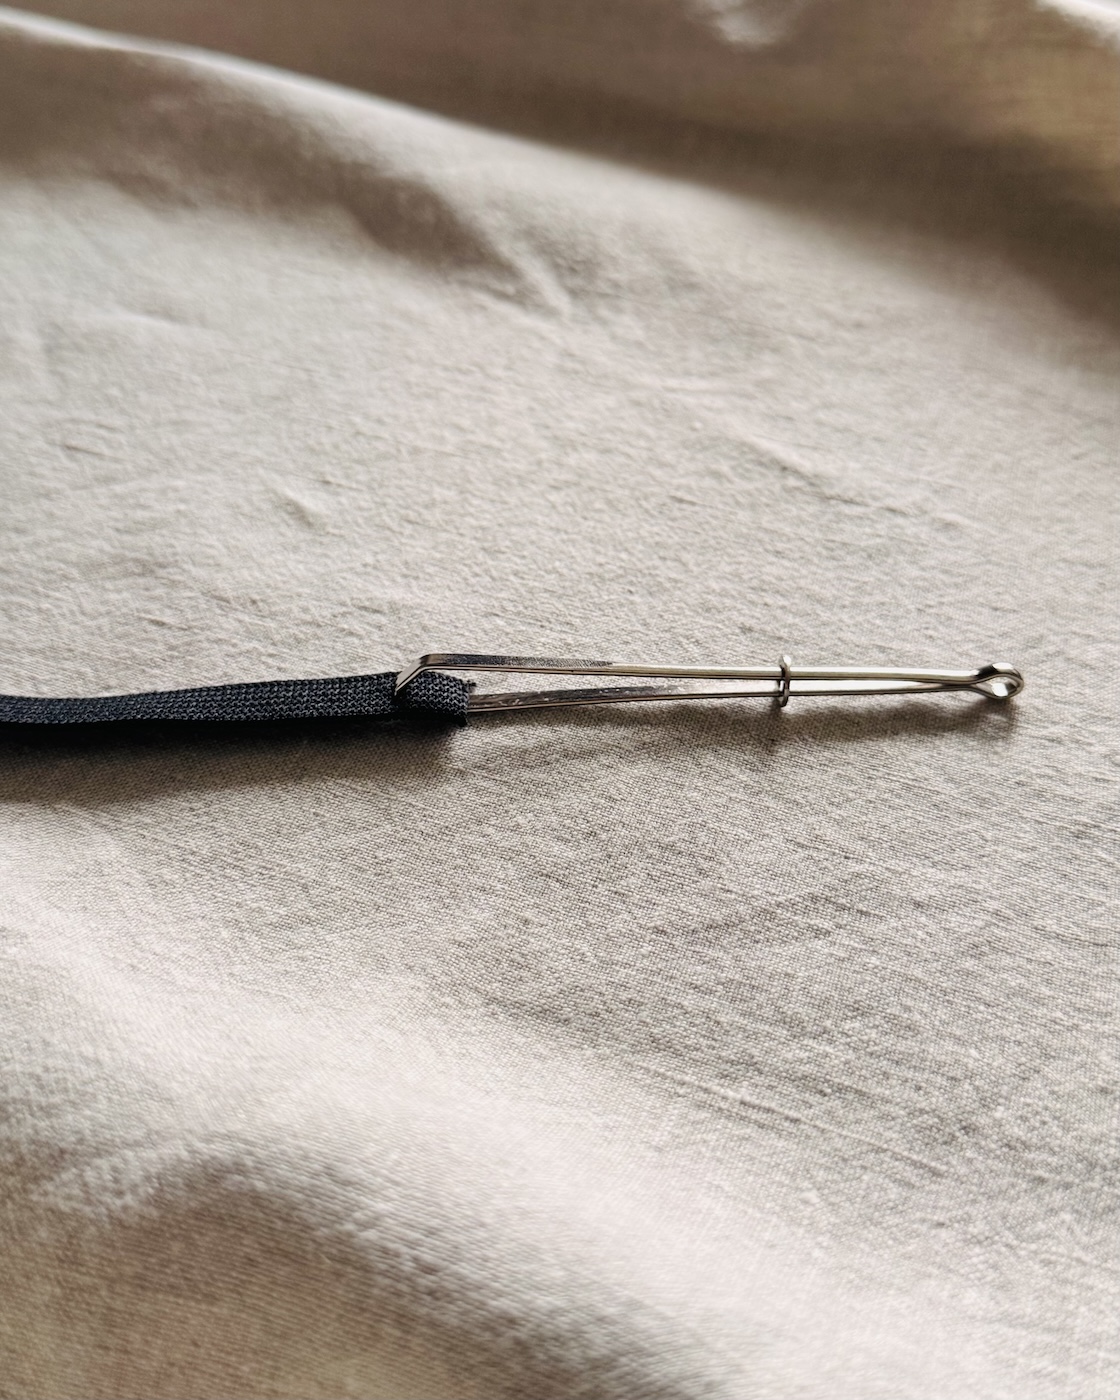
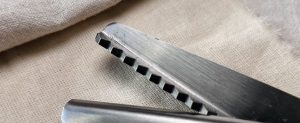
Threader Tweezers
Threader tweezers work much like any other pair of tweezers. They have two smooth metal prongs with a typical tweezer-style opening, but with small teeth at the ends. These teeth are designed to grip onto the elastic. A slider ring, similar to those on kitchen tongs, slides down to lock the prongs (and elastic), into place and slides up to release.
The smooth, rounded head of the tweezers makes it easy to thread through casings or channels, helping prevent the fabric from snagging or catching.
Due to the size and thickness of these tweezers, they are best suited for wider casings or channels.
To use simply pinch the elastic between the two prongs and slide the ring down to secure it in place. Give the elastic a gentle tug to ensure it’s held firmly. Next, insert the rounded, closed end of the prongs into the casing or channel. Next, insert the rounded, closed end of the prongs into the casing or channel. As with the previous tools, slide the fabric over the elastic while guiding the tweezers through.
This little tool is relatively new to my sewing kit. To be honest, I didn’t think it would be able to grip the elastic as well as it does, but I was pleasantly surprised. It has become a useful addition and really makes light work of inserting elastic.
Tip: When threading elastic, secure the other end to the fabric with a safety pin or regular sewing pin. This will prevent the elastic from slipping all the way through.
Common Methods of Joining Elastic
Overlapping (Most Common)
This method is ideal for waistbands, cuffs, or when working with thicker, stiffer elastic or heavier fabrics.
Simply overlap the two ends of the elastic by a few centimetres. Your choice of stitching really depends on personal preference. A few back-and-forth rows of straight stitching will hold the elastic securely. A wide zigzag stitch also works well, as it maintains stretch. For added strength, you can stitch a square or rectangle, with an optional X in the middle.
Fabric-Wrapped Join (Reduces Bulk)
This method involves encasing the ends of the elastic within a small patch of fabric, creating a clean, finished look. This method is particularly useful if the elastic will be in contact with the skin, as it provides a softer, more comfortable finish. It’s also a good option for thicker elastic.
To achieve this, align the elastic ends neatly side by side. I like to secure them with a large zigzag stitch that catches each edge of the elastic. Cut a small piece of fabric, a couple of centimetres wide and a little over double the width of the elastic. Wrap the fabric around the elastic ends and sew it in place using the square or rectangle with an optional X method.
Open Seam (For Thin Elastic)
A simple open seam creates a neat finish and works best for thinner, softer elastic. Thicker elastic can become bulky when folded back on itself.
To begin, align the ends of the elastic on top of each other as you would for a regular seam, ensuring the edges are even. Sew the seam like you would a regular seam with a seam allowance of a few centimetres, backstitching at the start and finish. Open the seam and finger-press it flat. Topstitch the elastic ends on either side of the seam to prevent them from folding or catching. A simple straight stitch or zigzag works well here.

Elastic is a staple in sewing. It not only provides shape and support but can also be decorative. Choosing the right elastic is key for comfort, fit, and durability, and is determined by factors such as fabric type and weight, whether it will be in a casing or sewn directly onto the fabric, if it will touch the skin, its exposure to the elements, and its visibility.
Hopefully, this article has given you a good overview of the most common types of elastic, how to spot them, and when to use each one.
About Author
Emma Cartmel
Heya! I’m Emma, and I'm an Aussie living in beautiful Munich with my husband Ben, and our pug Harley. I am a designer, pattern maker, and sewist, and I share my expertise and experience through my ‘cartem.sewing’ page. You can follow me on Instagram @cartem.sewingLeave a comment
Related posts

Sewing Essentials: A Simple Guide to Notches
I love a notch, so much so that I’ve decided to dedicate this article to these small but important markings. Here, I’ll explain why they’re so helpful, when to use them, and how to add them to your own patterns or adapt them for existing ones. What exactly are notches? Notches are small markings found…

How to Select and Use Interfacing: A Simple Guide
Iron-on or sew-in, woven or non-woven, lightweight or heavyweight. With so many different types, weaves, and weights to choose from, how do you know which interfacing is best for your project? In this article, I will explain the two main types of interfacing before diving into the differences in weave and weight. Hopefully by the…

Sewing Essentials: A Simple Method for Reversible Seams
There are so many ways to finish a seam, from good old overlocking to French seams and binding. I recently stumbled across another method that’s pretty nifty, and honestly, I kind of wish I had known about it sooner. It is a bit like binding, but topstitched in place so it doesn’t move or flap…
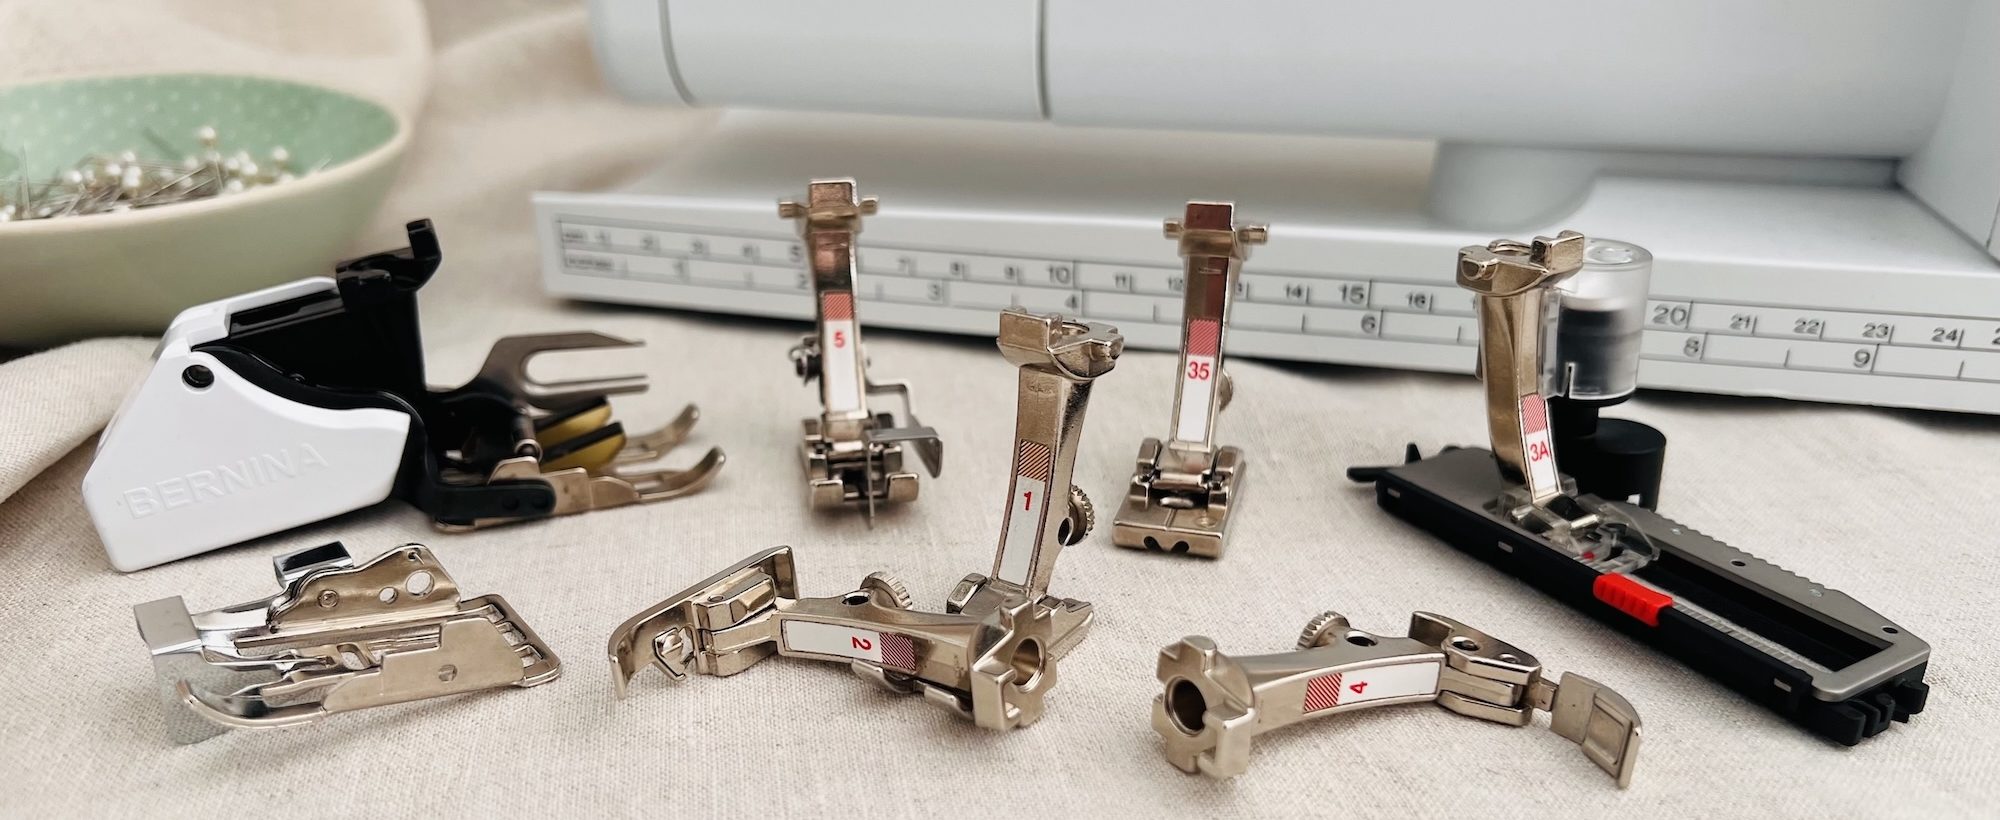
Sewing Essentials: A Simple Guide to Common Presser Feet
There are so many different presser feet available for sewing machines, each designed with a specific purpose, whether that be creating particular stitches or working with certain fabrics. Even after almost 20 years of sewing, I still haven’t used them all. In this article, my goal is to give you a helpful introduction to what…
Sewing Essentials: A Guide to Sewing Scissors
Just like you’d use a bread knife for bread or a pizza cutter for pizza, sewing scissors are designed for different materials and tasks. From dressmaking shears and embroidery scissors to snips, pinking shears, and thread clippers, each one has its place in your sewing toolkit. There are plenty of brands to choose from too—Prym,…


SEW THIS LOOK


Latest Posts


4 Comments
charlotte COOK
Great article. I use quite a bit of elastic, but never knew what any of it was called, other than elastic! LOL. I knew what I liked, but I would usually buy it from a roll and never looked at the name, if there was one there. Thank you for enabling me to order it online now that I understand different names for each use.
Emma Cartmel
Hi Charlotte,
Thank you! That’s exactly why I wrote the article, to help make sense of all the different elastics and make shopping for them easier. So glad it was helpful!
Vicki Lang
Thank you for the wonderful article on elastic. I never knew there was so many types.
Emma Cartmel
Thank you, Vicki! I’m glad you enjoyed it.
Hopefully it becomes a helpful reference to refer back to. There really are so many types out there, and it can be overwhelming to know which type to use.
Thank you for reading, and happy sewing!