How to Sew a Blind Hem Using Your Machine
 Most people who sew are familiar with a simple hem but what is the blind hem? This hem is meant to be almost hidden. If you’d like to make your hem less noticeable or have wondered how clothing manufacturers achieve that hem that looks like a couple dash marks that seem to be farther apart around the hemline, here’s what you need to know. An additional note is that blind hems can be achieved with hand sewing or by using your machine. The technique is the same but the there is time saved by using the machine.
Some digital machines have settings for the blind hem and some, like mine, just have images that you will need to find the proper setting. Some machines also offer a special presser foot for this hem but you do not require anything special. I am using my basic pressure foot today.
1. To adjust to the right setting on a non digital machine, look for the stitch that looks like it continues straight and then suddenly jolts to the right and then back again. On my machine this is stitch 10. For the first example shown with a contrast color of thread, I set the stitch width at 4.5 and the stitch length at 2. For the white thread on white fabric, I kept the width at 4.5 and increased the length to 4 to make the stitches further apart.
 2. For the sake of this demonstration I used a couple pieces of scrap fabric to emulate the bottom of a pant leg but this could be achieved on a variety of hems for clothing or curtains. To start, simply create a hem with your fabric and iron. I prefer a double fold hem so I am folding and ironing ½” and then folding and ironing another 1.25”.
 3. You will put your fabric in the machine positioned so that the fold is under the main body of the fabric. Pin this in place if it will help you as it is slightly awkward to keep that smaller folded portion under the main body of fabric.
 4. You will begin sewing and the line will be on the left and then it will jump to the right.

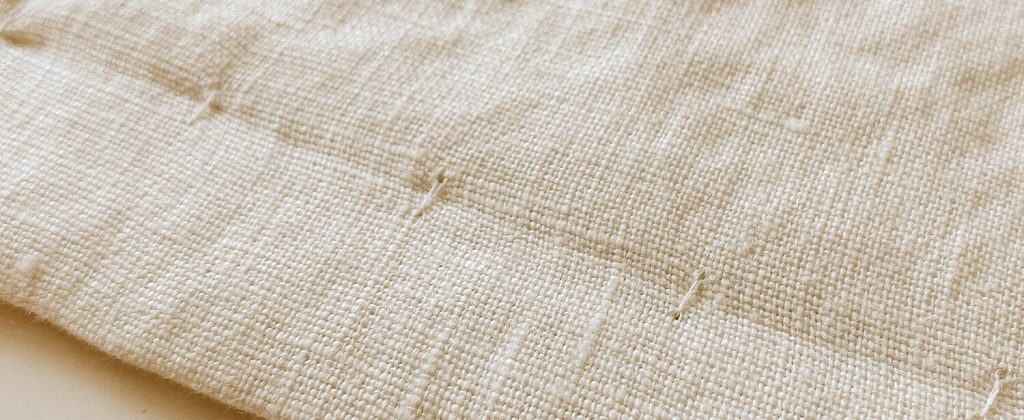
When completed and unfolded the correct side or outer side of the garment will look like this with little dash marks.
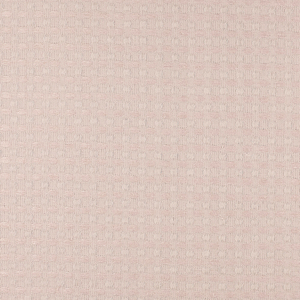
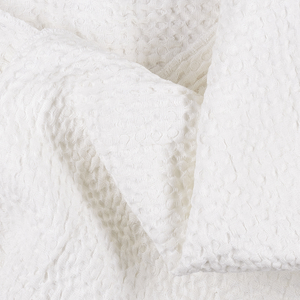
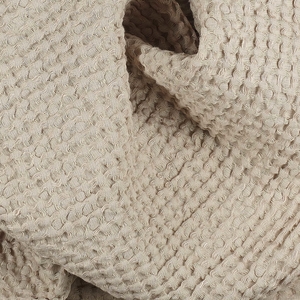
 I wanted to share some examples with the proper color thread so that you could see how the hem sort of disappears for this stitch. As mentioned briefly above, I changed the length for the white stitches. So these photos in white are the longer stitch which is more desired in my opinion and you can see how they beautifully blend into the hem.










Leave a comment