Tutorial: How to Install the Invisible Zipper in the Charlie Pants
This tutorial is to support the instructions for installing the zipper found in the Charlie Pattern booklet on pages 69-71.
This tutorial uses dark blue thread to clearly show stitching. Be sure to use matching thread when sewing your Charlie Pants.
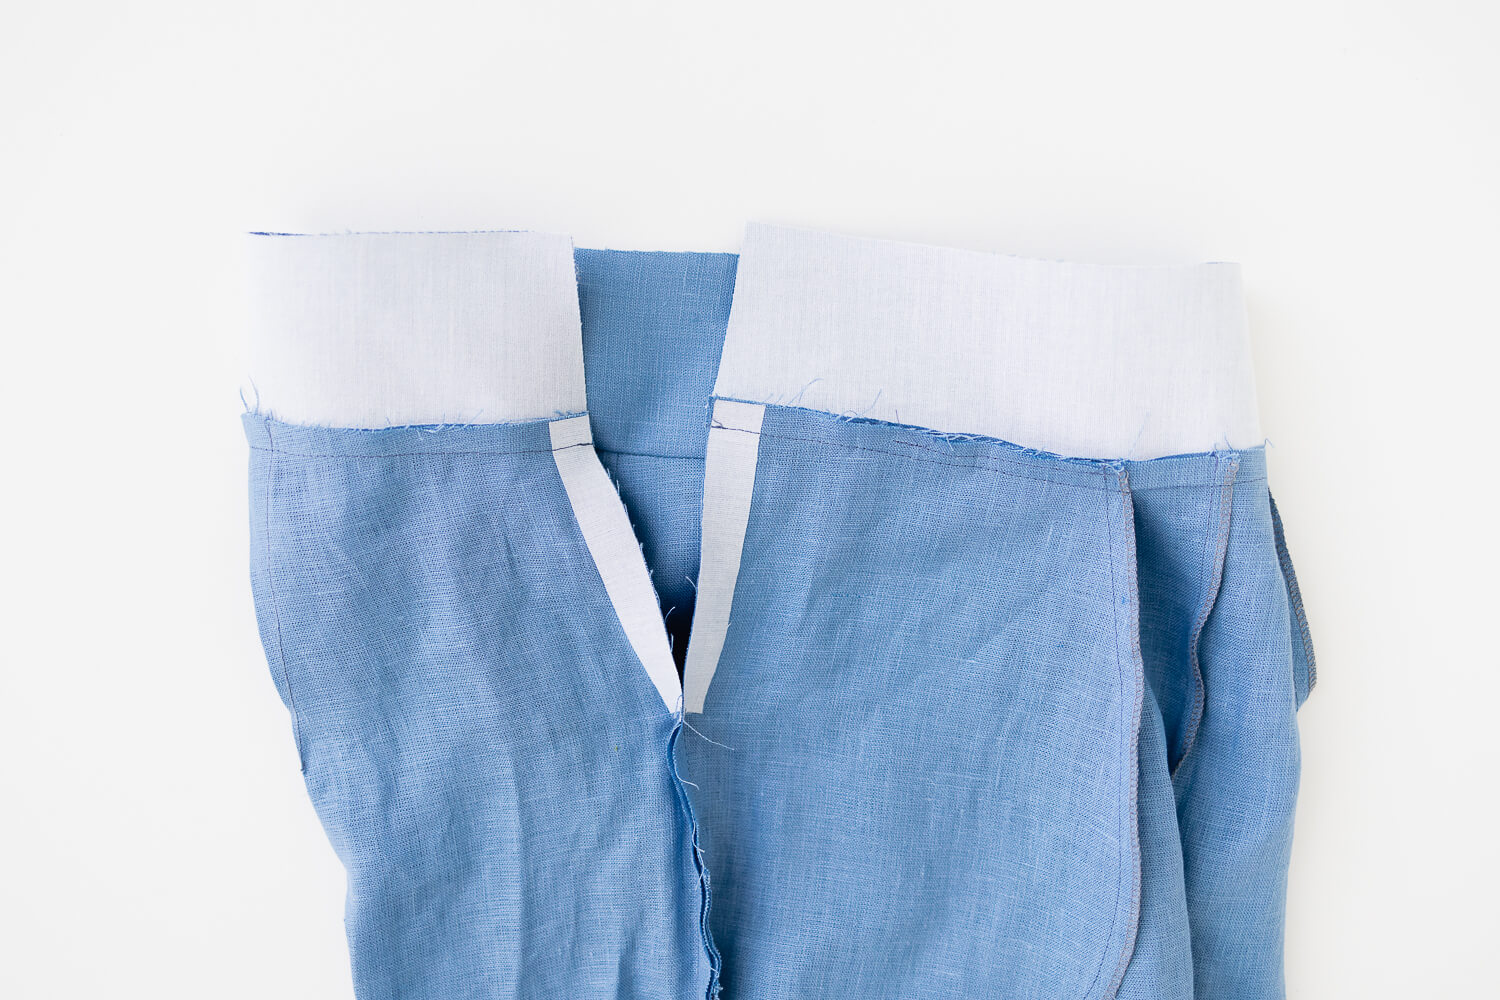
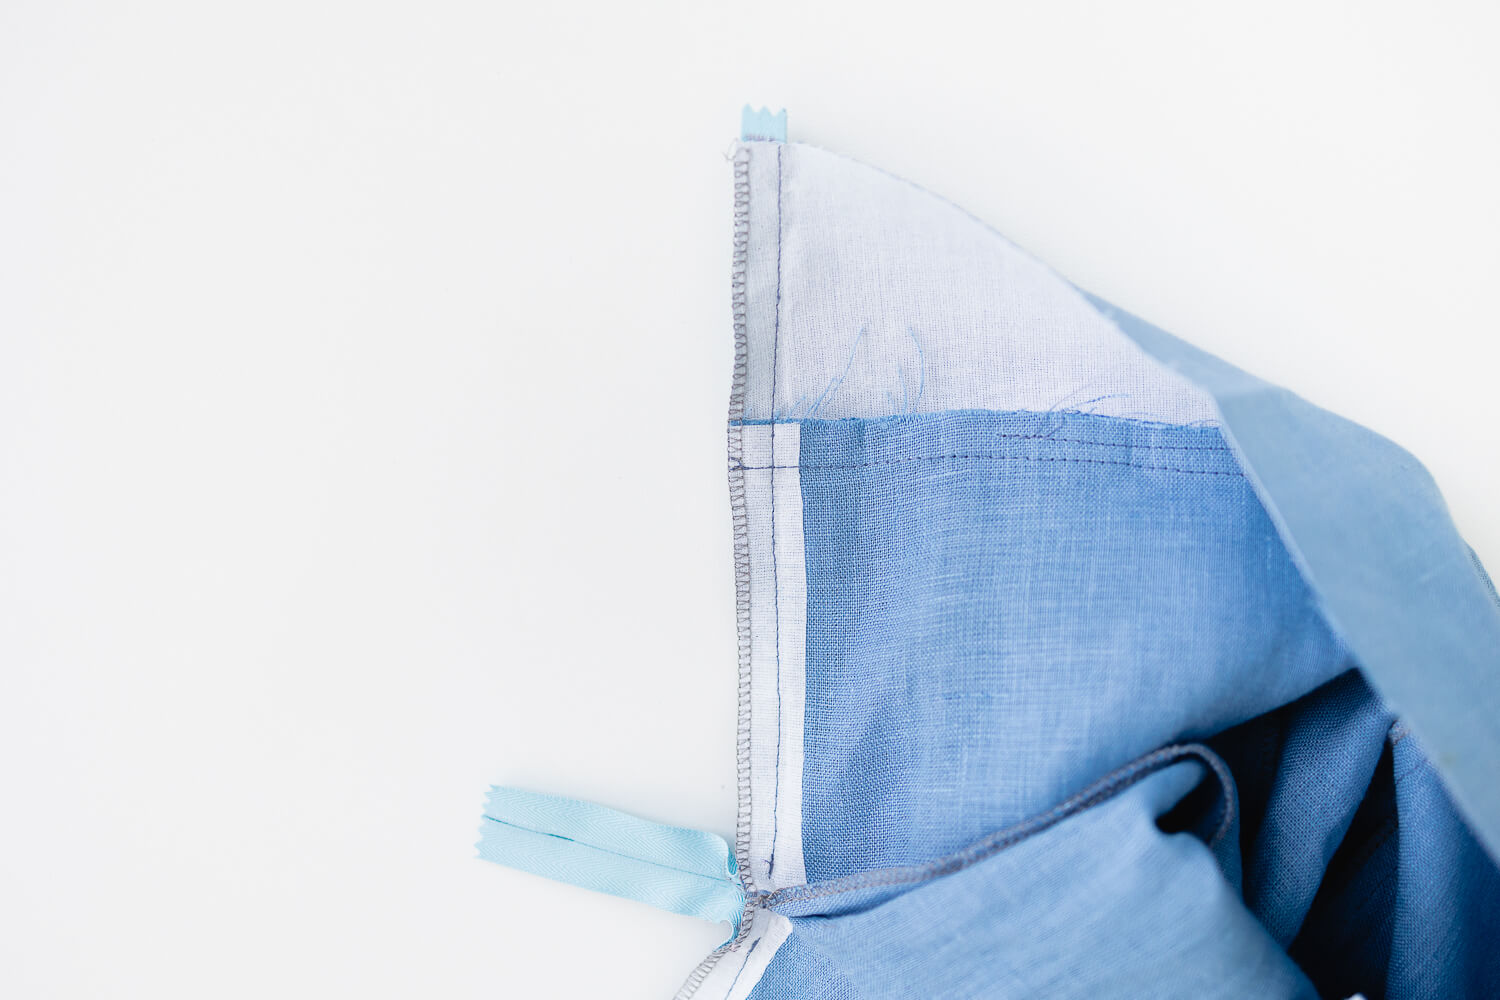
At this point, the pants should look similar to this — waistband sewn on and the seam pressed toward waistband, and interfacing or tape applied along zipper opening.
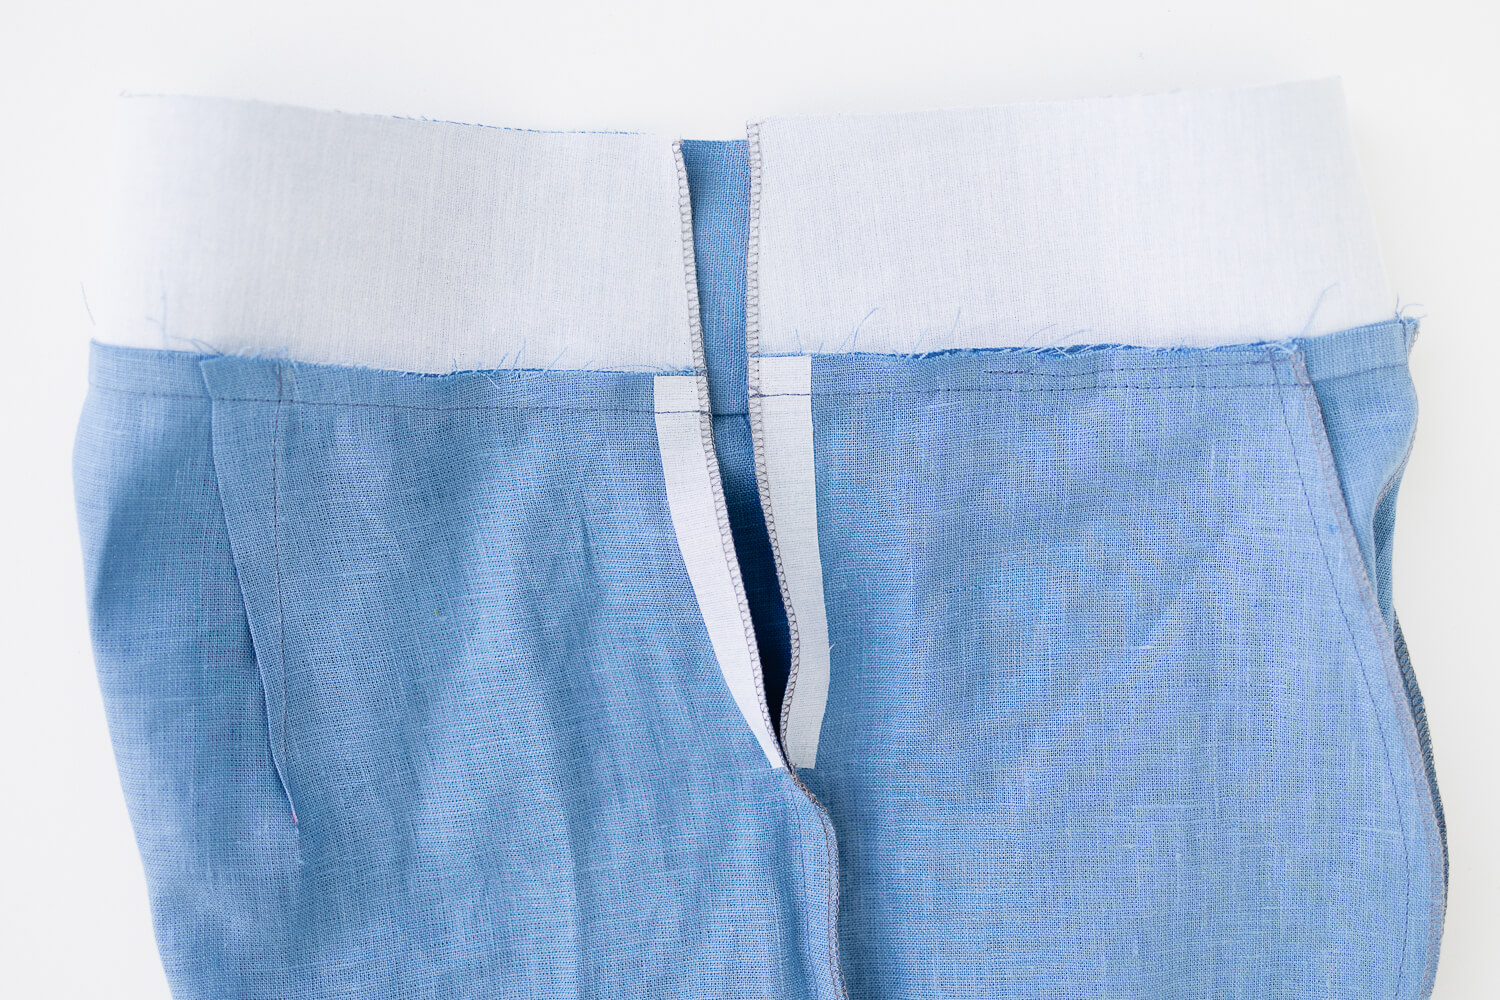
Serge each side of the zipper opening down to notch, then serge seams together down the rest of the pant leg.
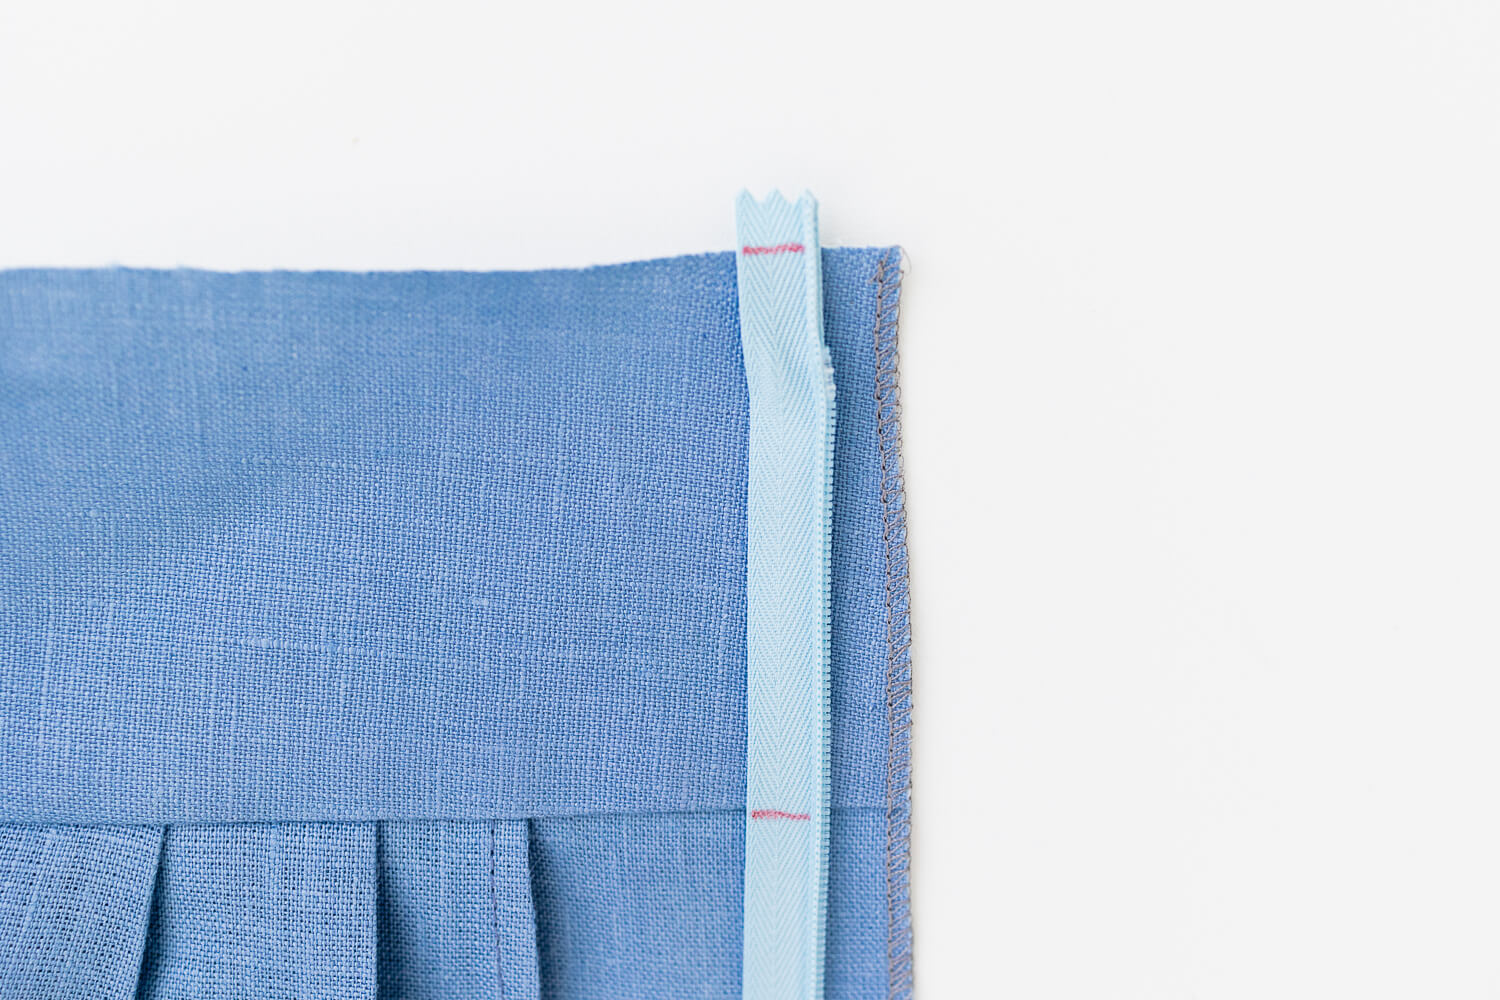
On the wrong side of the zipper, mark the top of the waistband, the waistband seam, and the place to stop sewing at the zipper notch. Note: Position the zipper so the teeth start about 5/8” below the top of the pants because the waistband facing will be sewn on with 1/2” seam allowance after the zipper is installed.
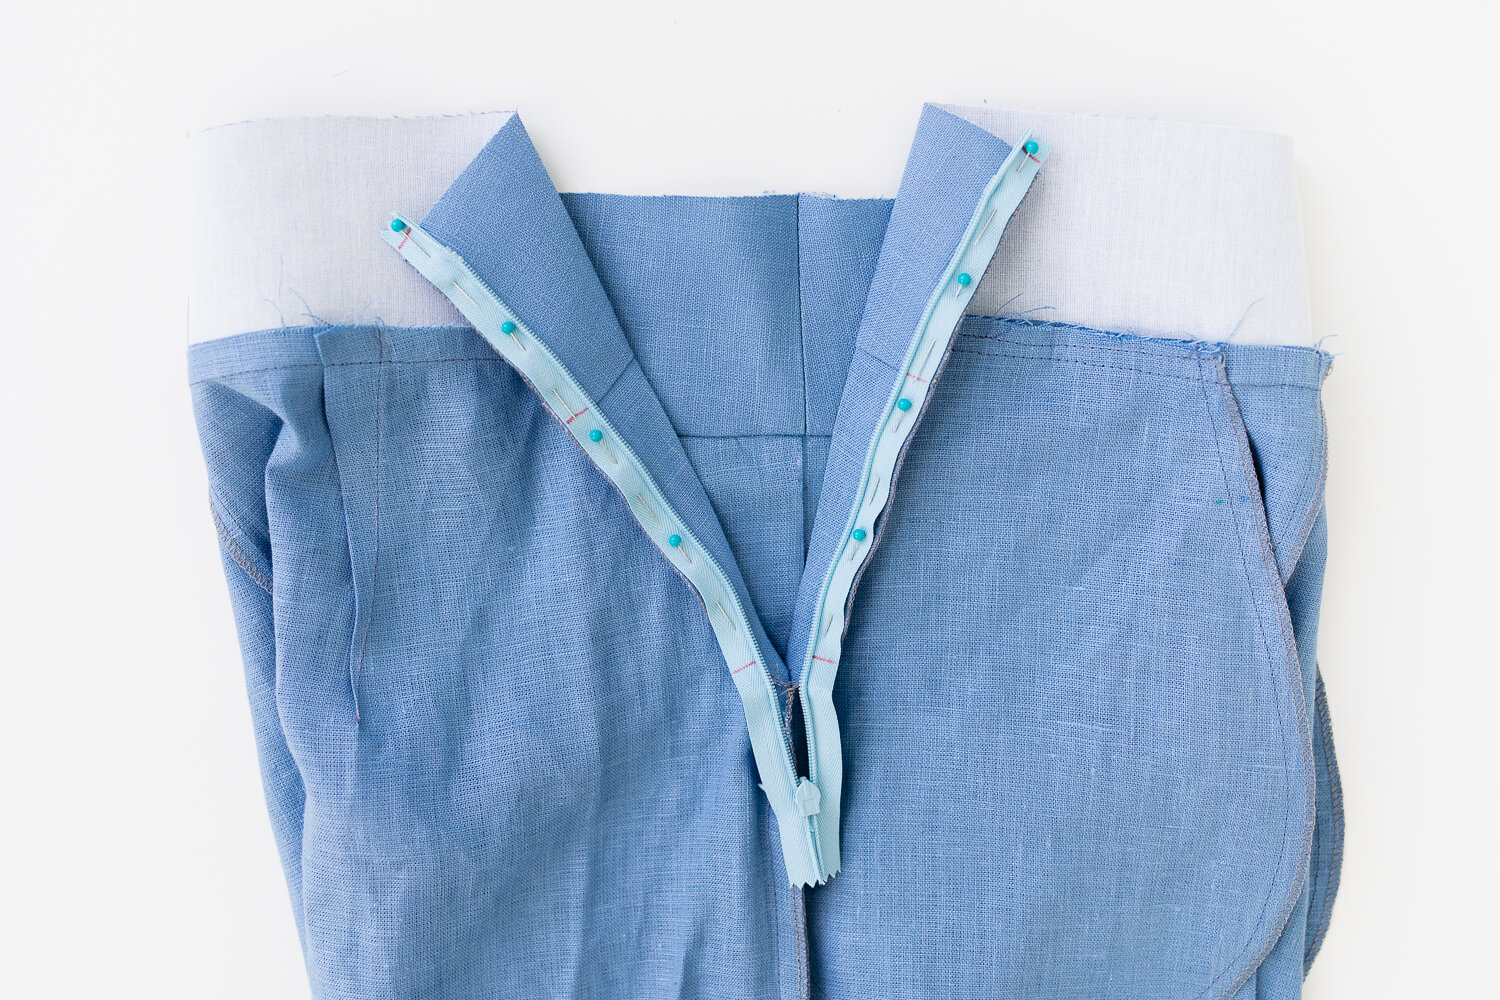
Line up the tape of the zipper with the serged edge. Pin the zipper to the pants with right sides together. Be sure to use the markings to match up both sides of the zipper markings evenly with the top of the waistband and the waistband seam.
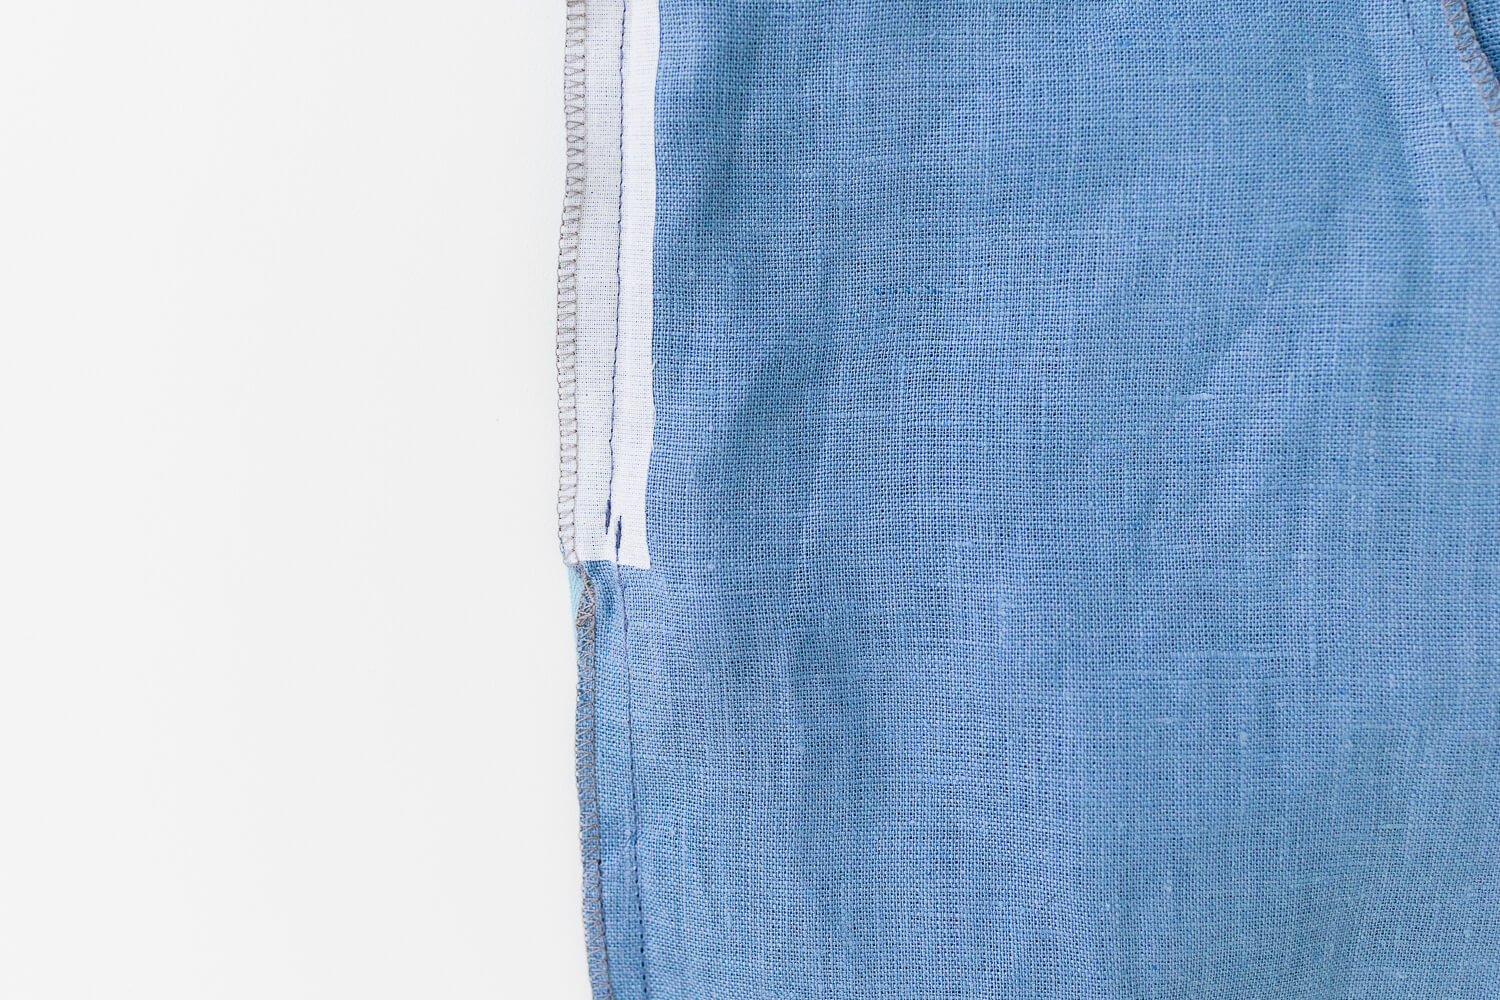
With a zipper foot, sew as closely to the teeth of the zipper as possible all the way down to slightly above the zipper notch. It should look similar to this on the wrong side. Stop sewing slightly before the notch so there is room to move the zipper slider through the opening.
After pulling the zipper slider through, stitch from below the notch up slightly past the line of zipper stitching.
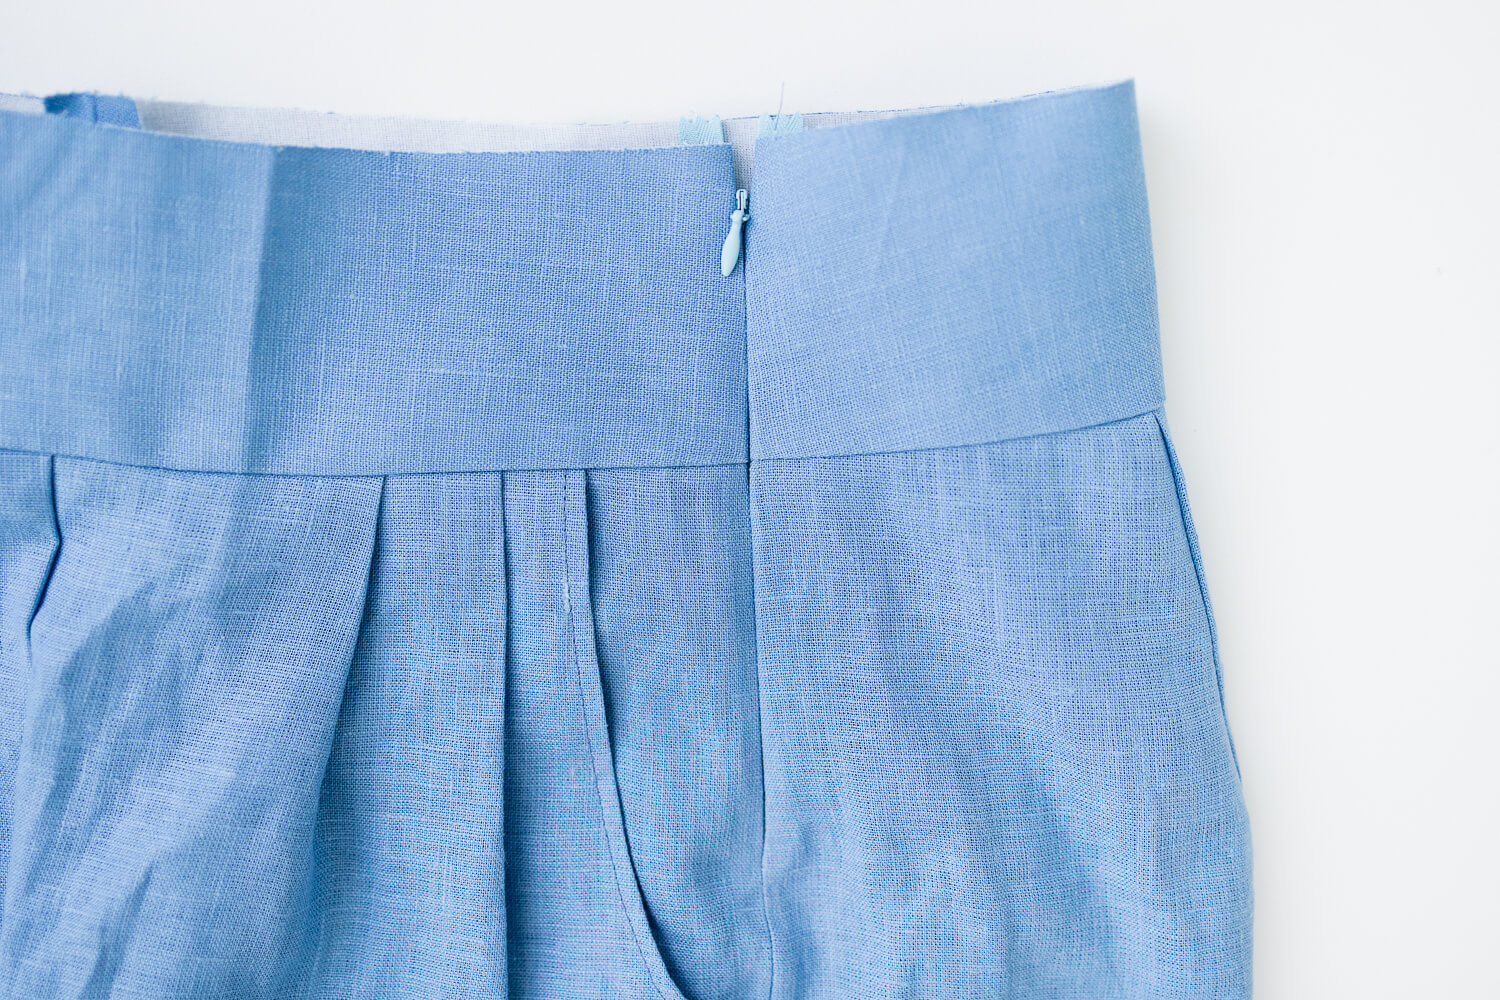
That’s it! The zipper is installed! Give it a good press, (but not too good — you don’t want to melt the zipper teeth) and make sure the zipper can slide open and closed easily without getting caught.







2 Comments
Pauline Peplow
Interesting! I was always taught to install an invisible zipper before the seam was stitched not afterward. Just a comment’
Sarah Kirsten
Thanks for writing in, Pauline. That’s also a good option!