


Tutorial: How to Sew the Collar on the Capucine Robe
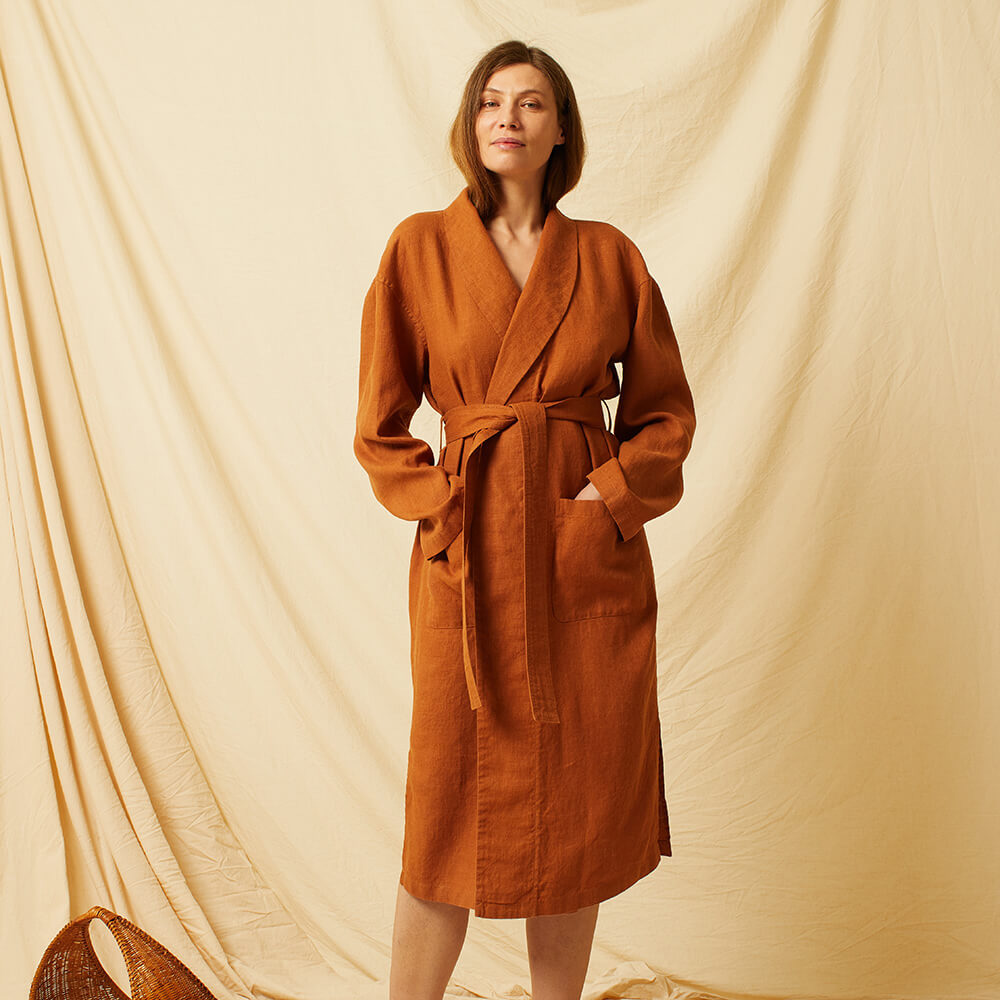
This tutorial is to support the collar instructions in the Capucine Pattern booklet starting on page 27.
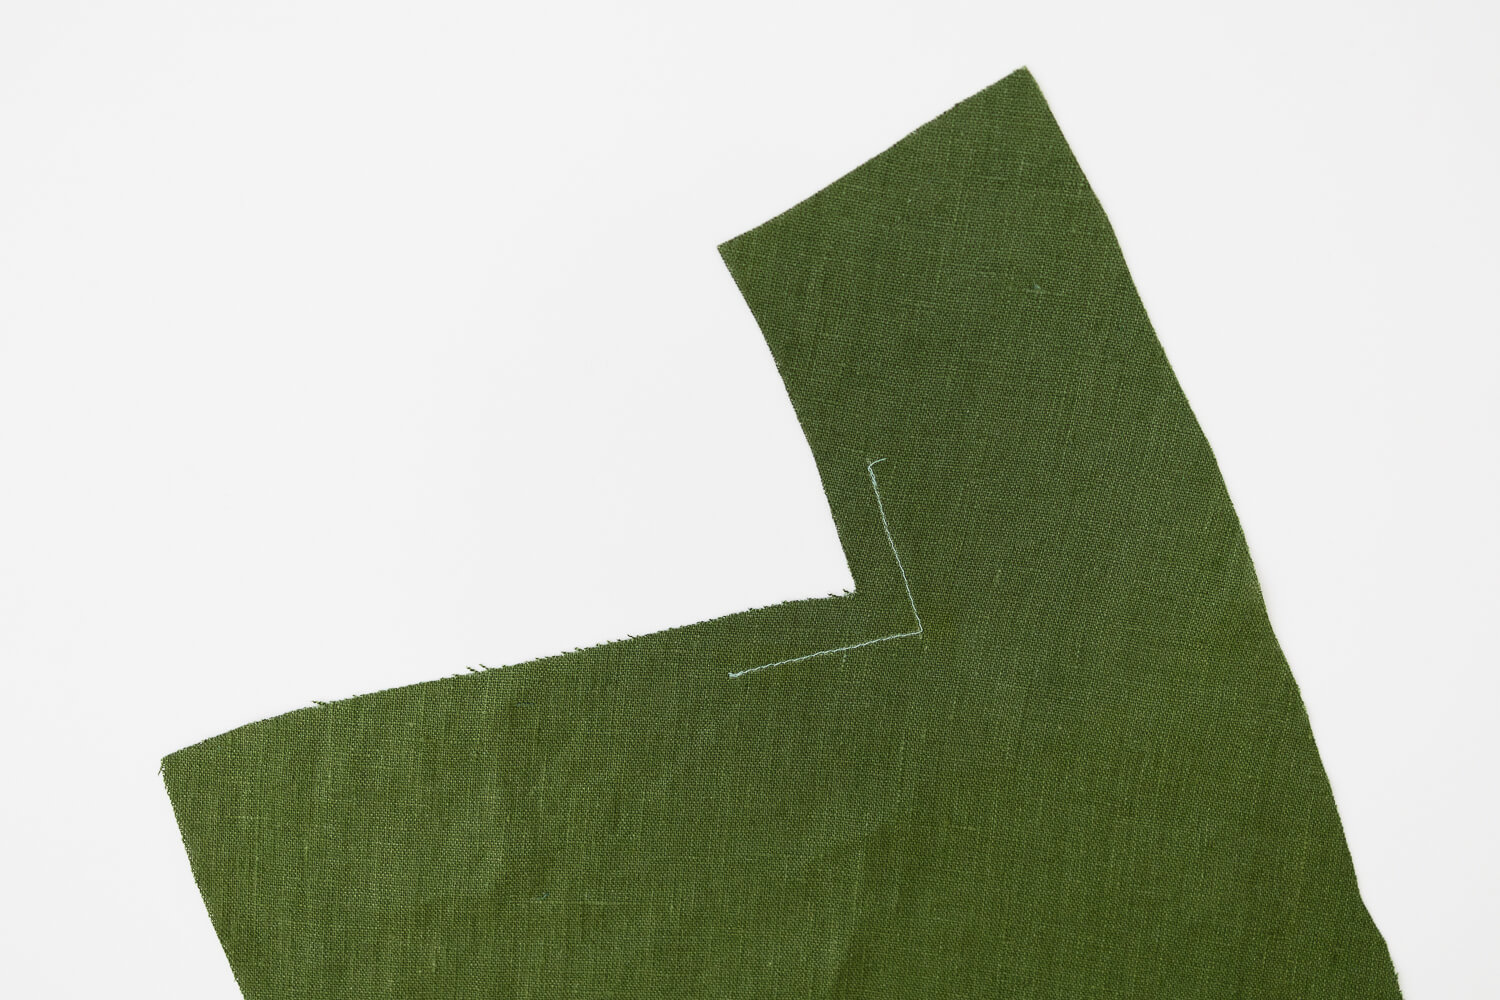
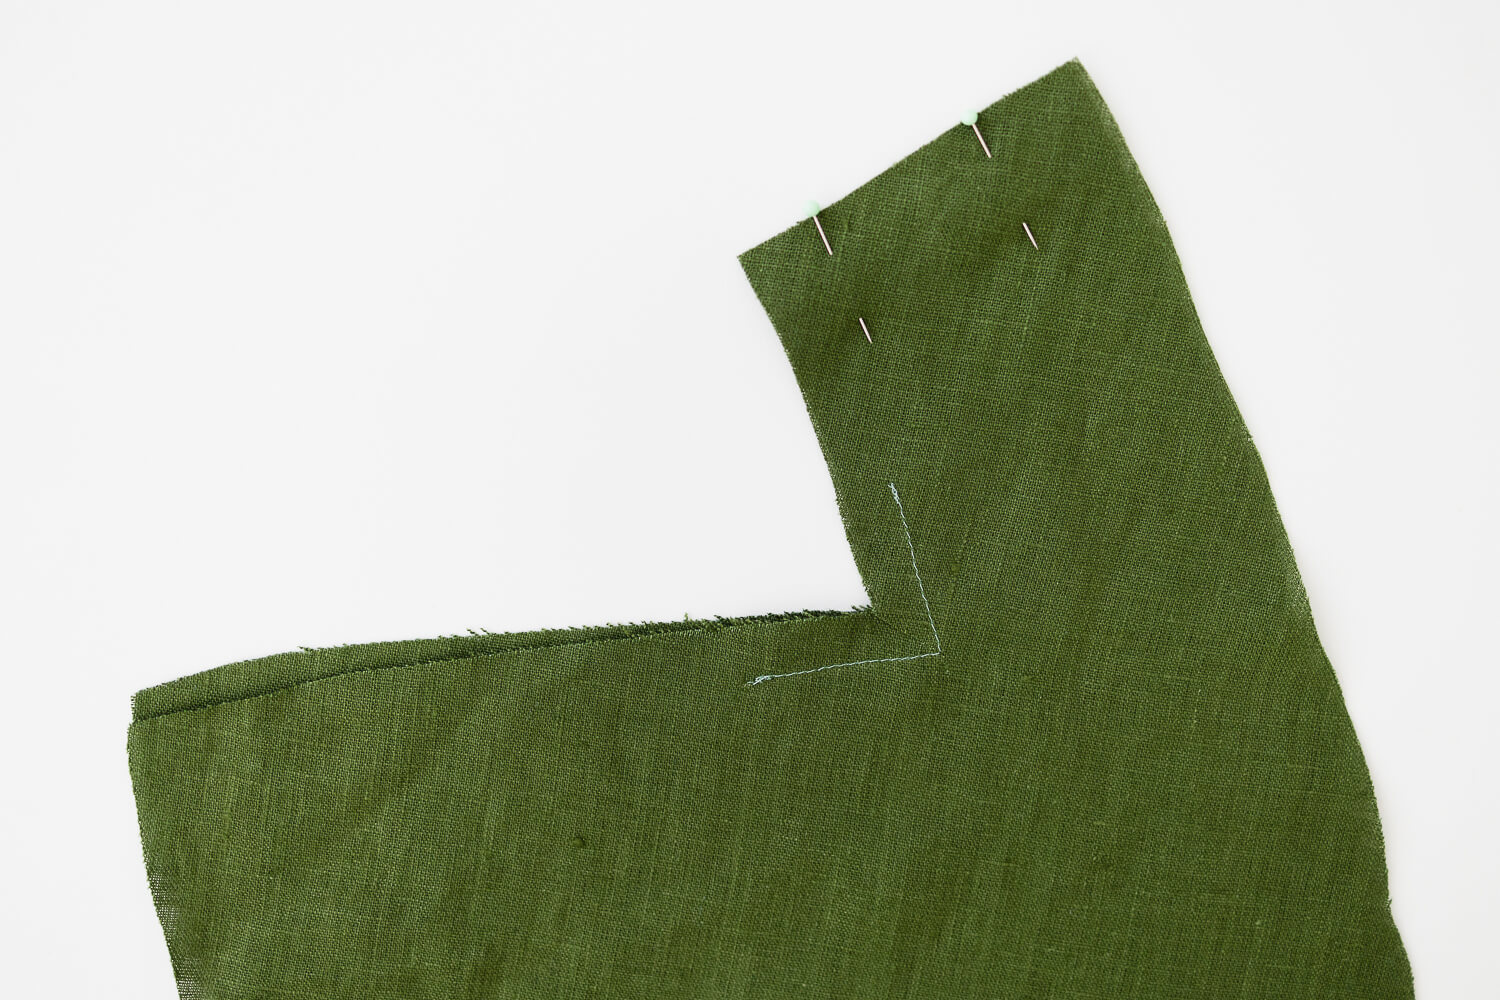
Transfer the collar pattern marking to the fabric. Then mark a stitch guide line 2” up and 2” over from the dot marking with a fabric chalk or pen. Note: The line along the collar is 1/2” from the edge. The line along the shoulder is 5/8” from the edge.

Stay stitch along the stitch guide marking made in the previous step.
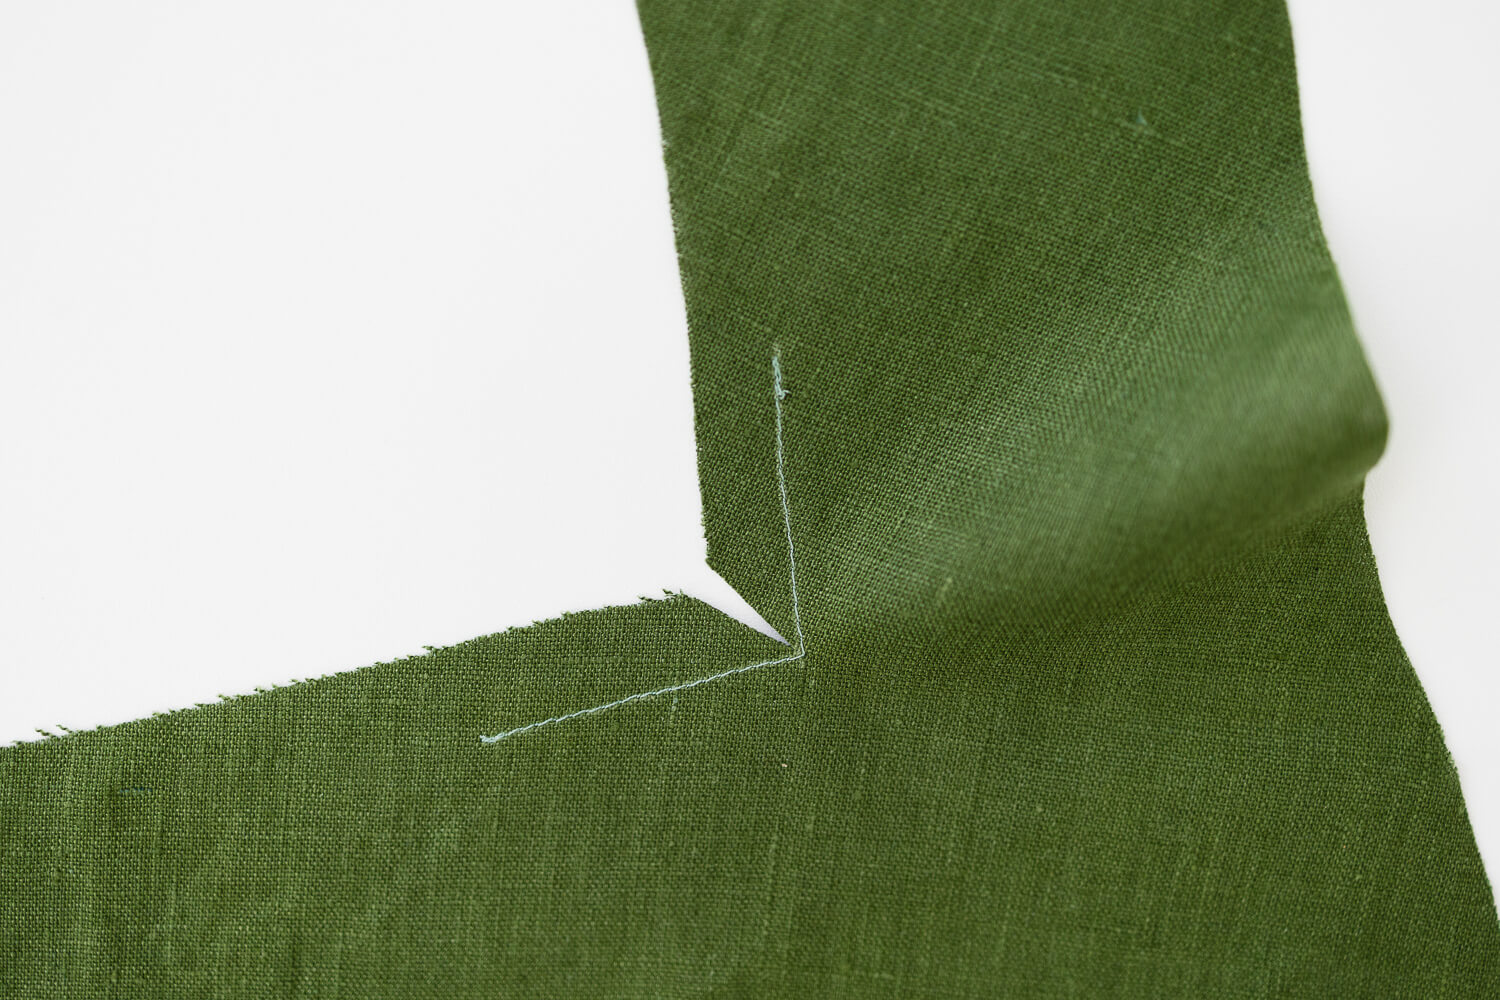
Clip the corner to the stay stitching.
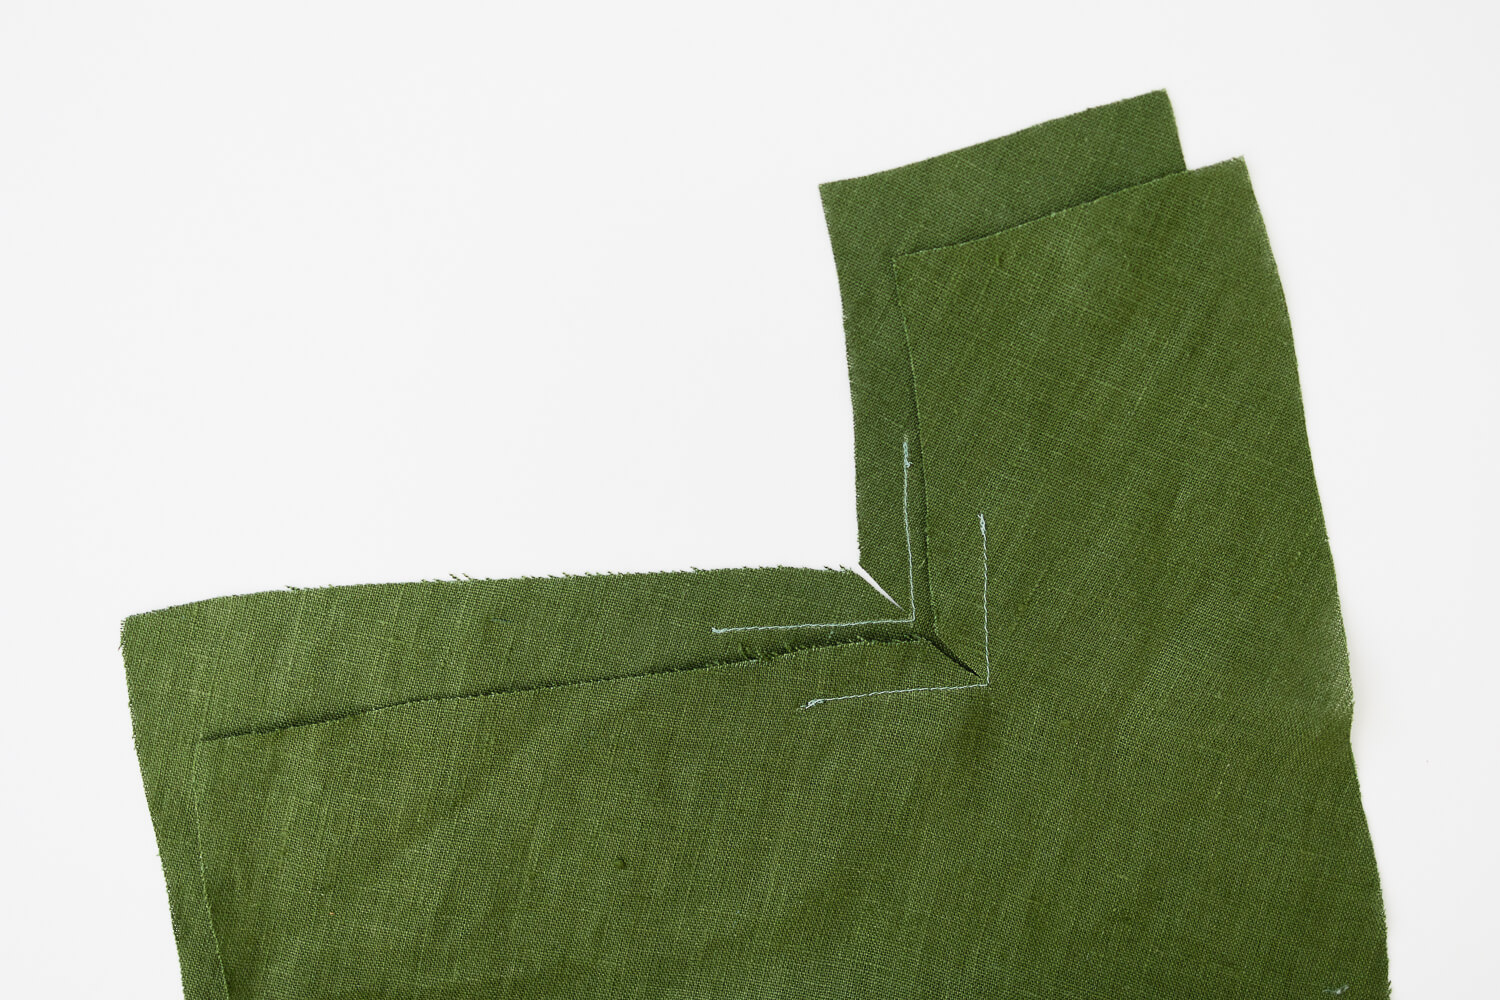
Repeat for the other Robe Front.
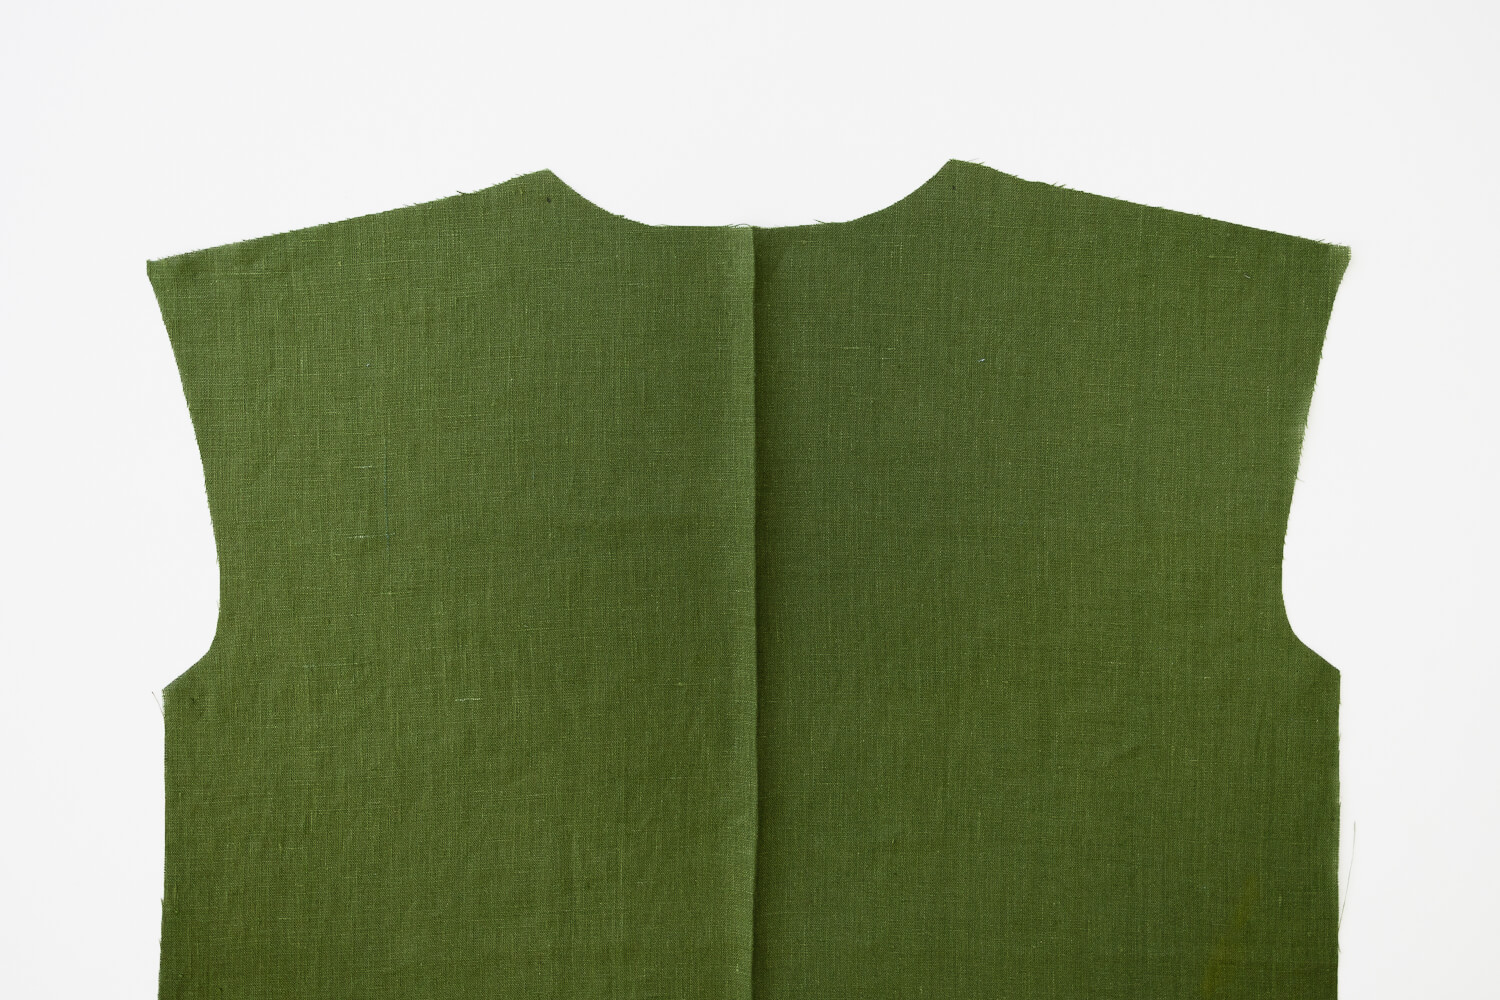
Place Robe Fronts right sides together. Sew with 1/2” seam allowance. Press seams open.

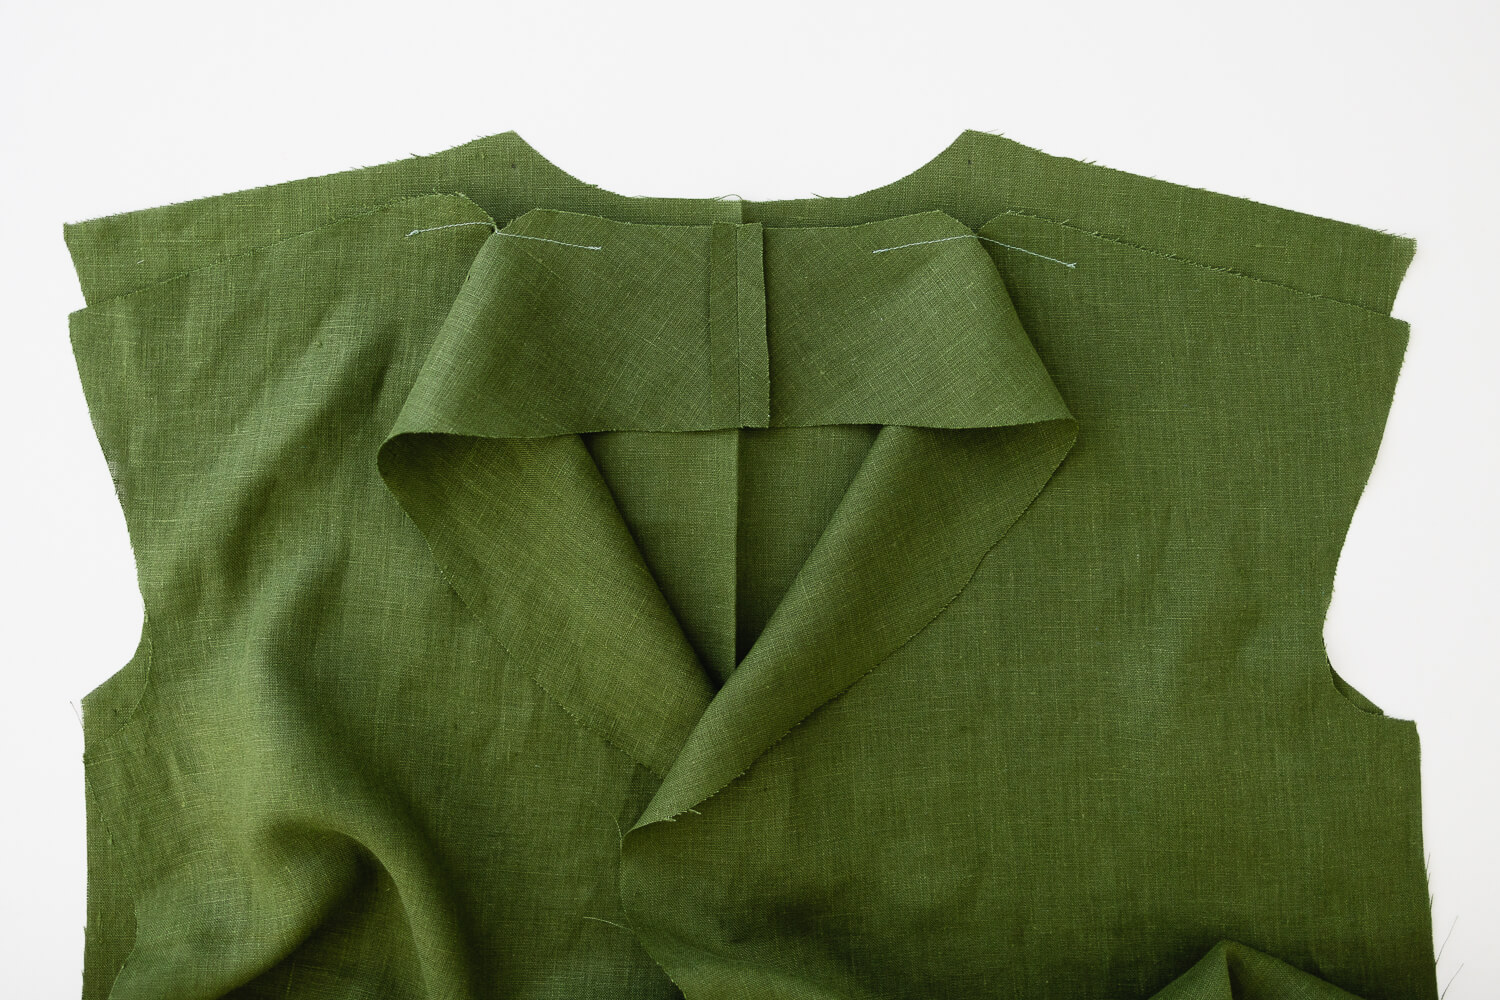
Place the Robe Back and Robe Fronts right sides together. Line up the center back with the center seam in the collar. Leave the fold in the Robe Back to determine the center back.
Note: Make sure the pattern markings by the shoulder/neck corner are transferred to the Robe Back for the next step.
Line up the shoulders and neckline/collar and pin in place. The clipped corners should line up with the pattern markings on the Robe Back.
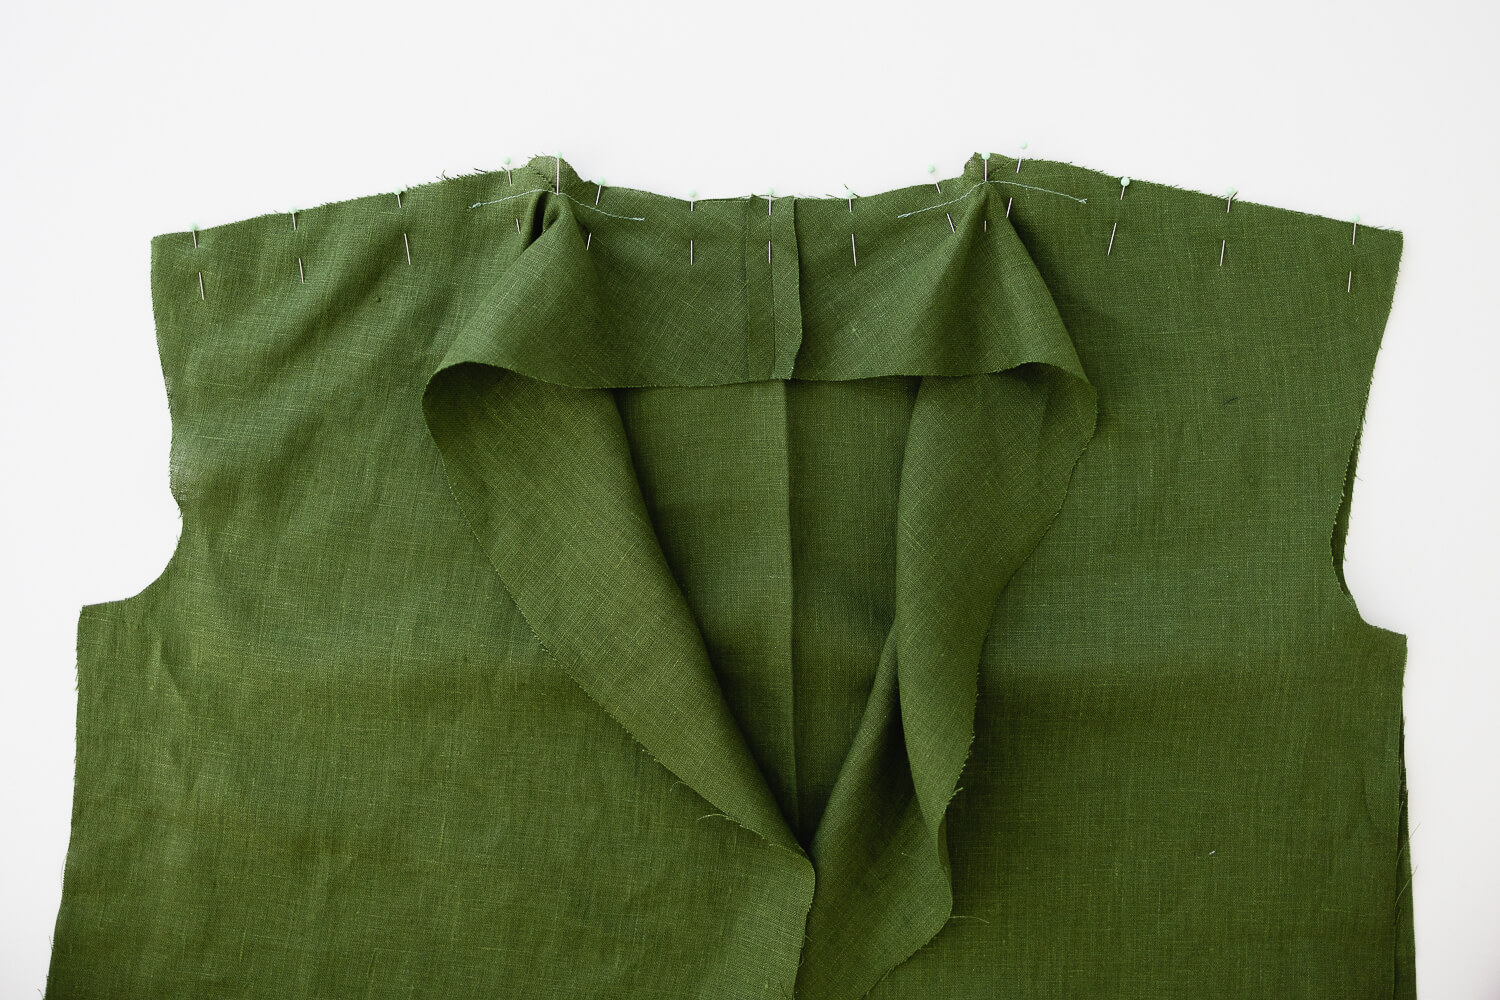
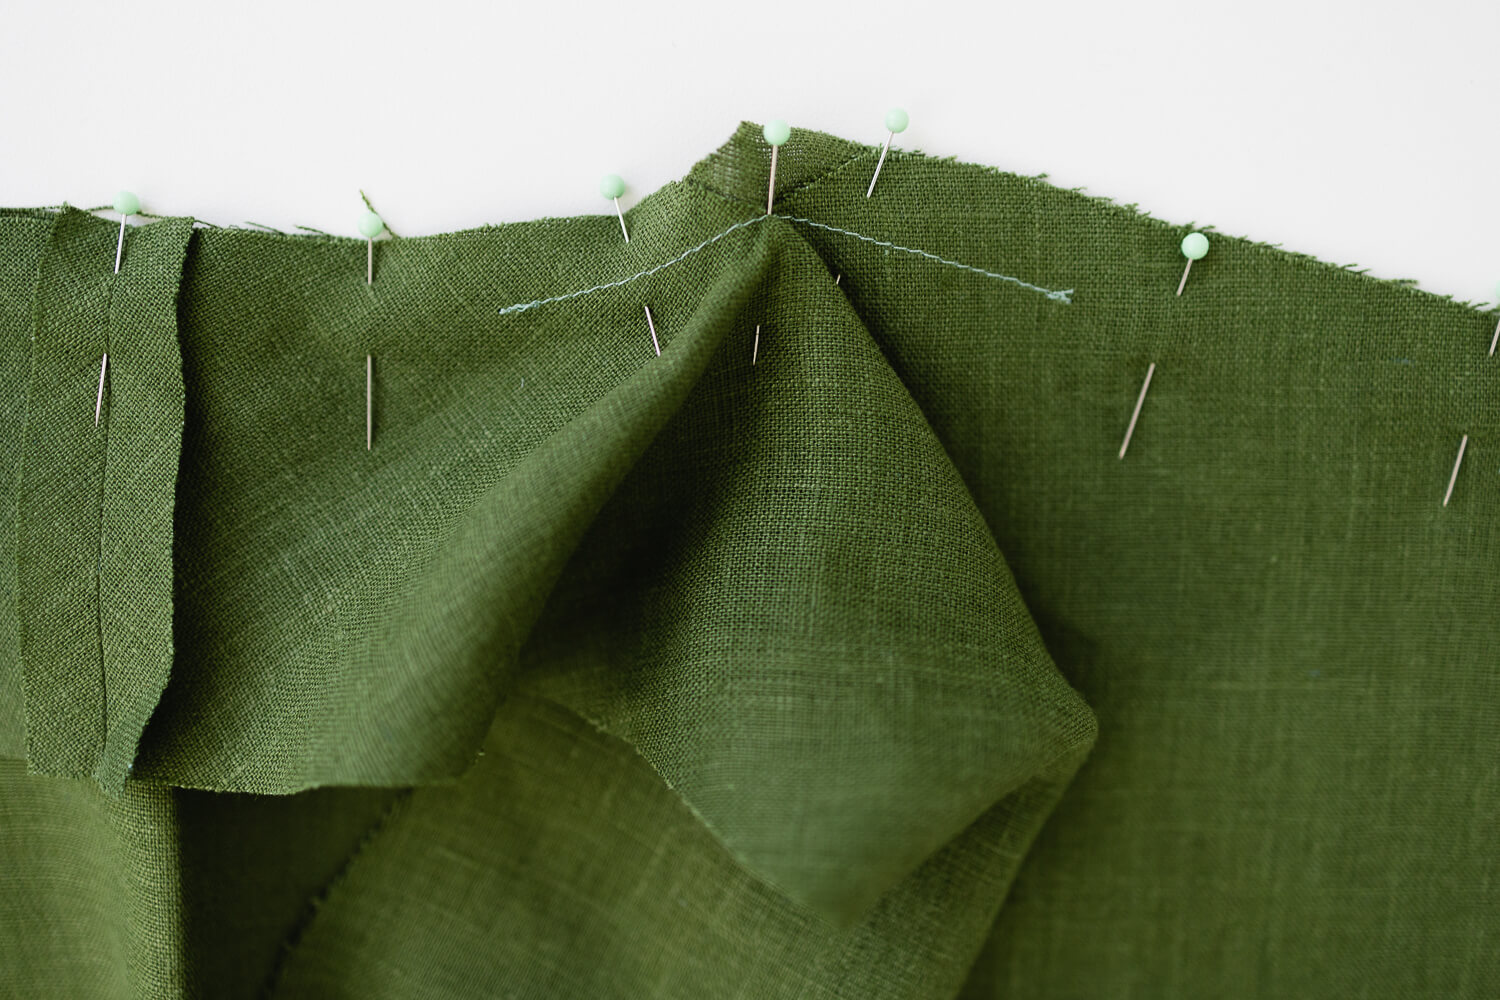
Sew the shoulder seam together with 1/2” seam allowance. When you come to the clipped corner, leave the needle down right in the corner of the clip. Lift the presser foot and pivot to the neckline. Sew neckline with 5/8” seam allowance. Then pivot again at the next clipped corner and sew down the other shoulder with 1/2” seam allowance.
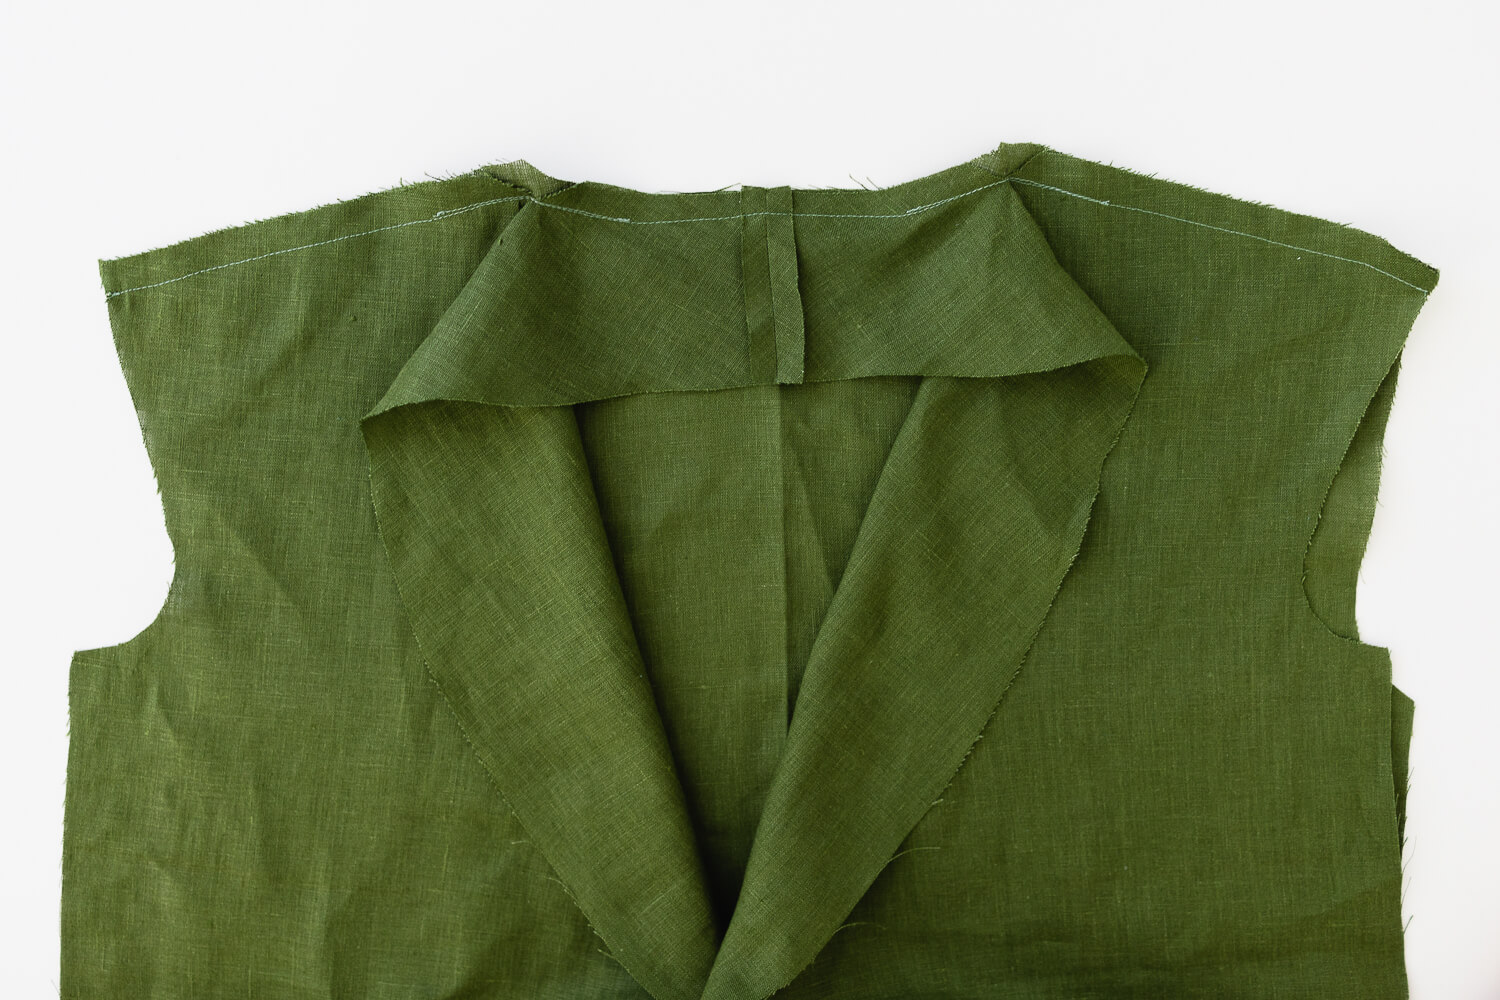
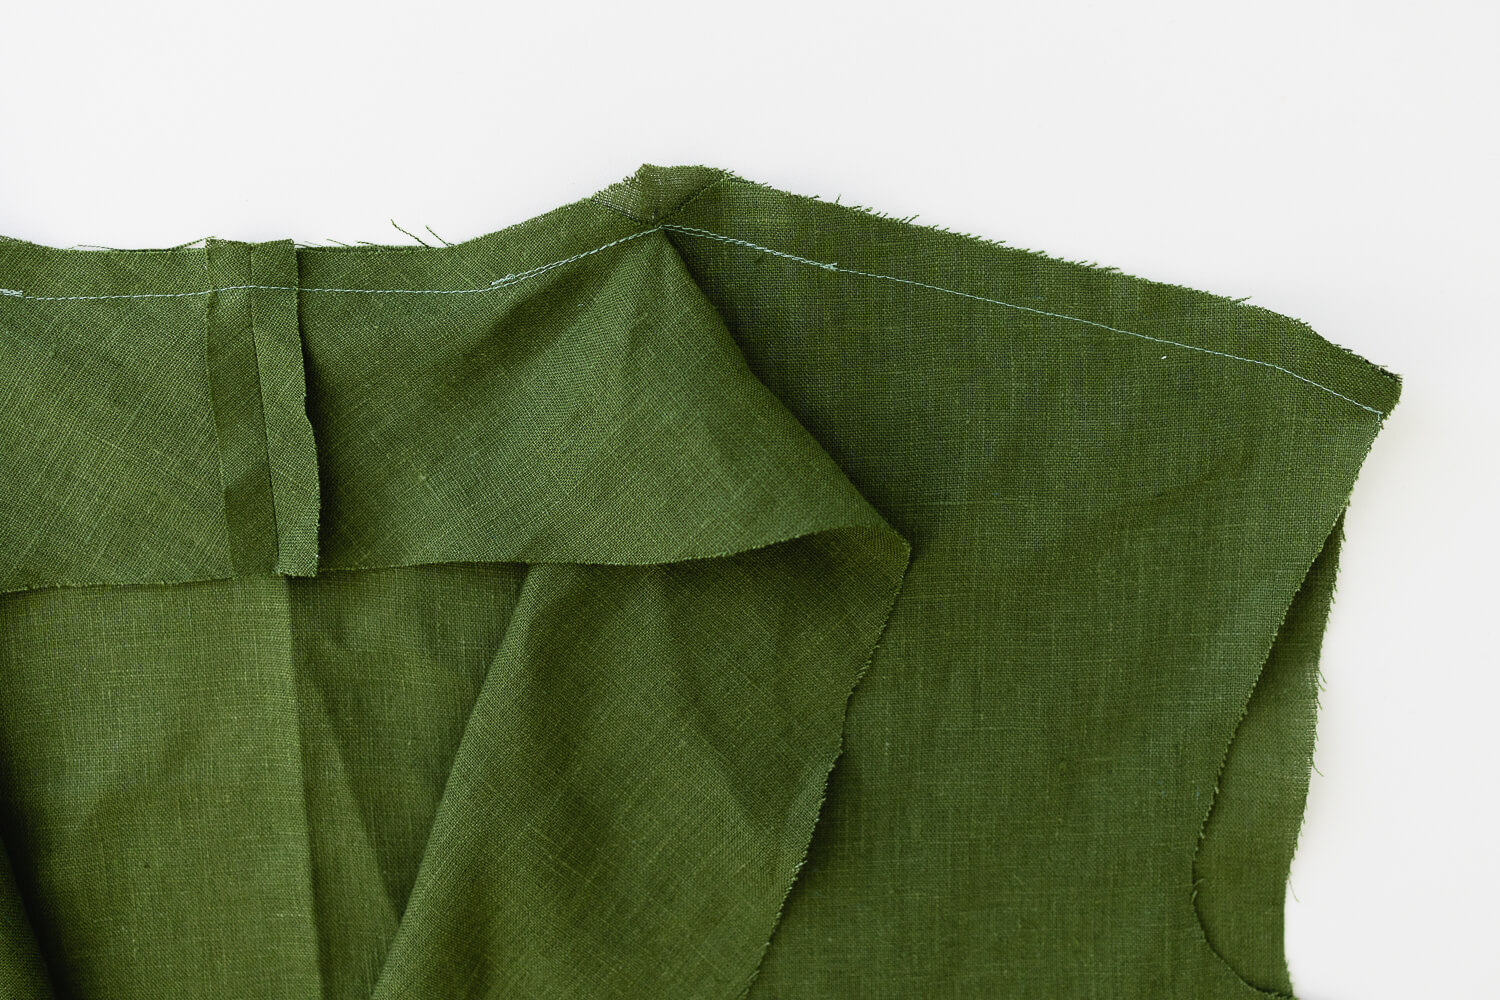
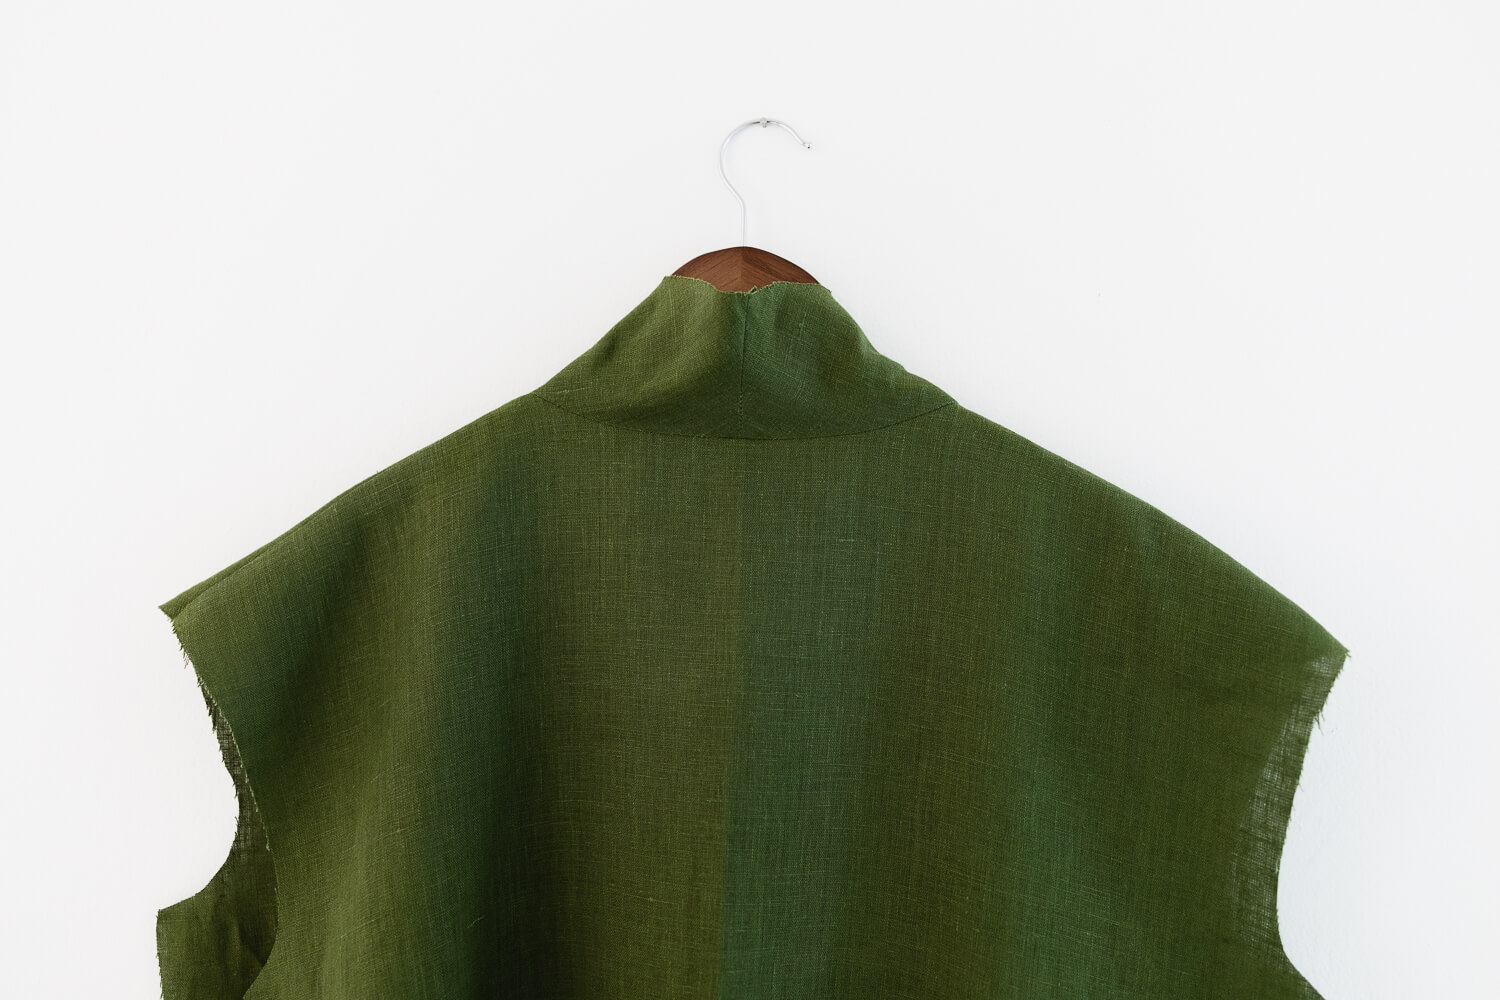
That’s it! Your Capucine collar is assembled!

Leave a comment
Related posts

How to Select and Use Interfacing: A Simple Guide
Iron-on or sew-in, woven or non-woven, lightweight or heavyweight. With so many different types, weaves, and weights to choose from, how do you know which interfacing is best for your project? In this article, I will explain the two main types of interfacing before diving into the differences in weave and weight. Hopefully by the…

Sewing Essentials: A Simple Method for Reversible Seams
There are so many ways to finish a seam, from good old overlocking to French seams and binding. I recently stumbled across another method that’s pretty nifty, and honestly, I kind of wish I had known about it sooner. It is a bit like binding, but topstitched in place so it doesn’t move or flap…

An Introduction to Common Crotch Adjustments
Recently, I drafted a pattern and made a toile of a pair of drop-crotch pants. When I tried them on, I straight away noticed (and felt) they weren’t quite right. The most obvious issue was that the back crotch felt tight and pulled uncomfortably, especially when bending over. Walking also felt a little restricted, with…
How to Thread a Sewing Machine: A Beginners Guide – Part 2
Now that we’ve covered the basics of threading a sewing machine in Part 1, let’s move on to some additional functions. In Part 2, I’ll show you how to change both the needle and the presser foot. I’ll also introduce the twin needle, and share some helpful troubleshooting tips for common issues that can happen when…

How to Make Halloween Linen Butterfly Wings
This project was an absolute blast! As a costume designer, I usually work with a lot of colorful materials. But this one was different. I wanted to showcase the beauty of a plain white fabric, which was a bit of a challenge. I rarely get to make a Halloween costume for myself, even though I…


SEW THIS LOOK


Latest Posts


2 Comments
Vicki Lang
Thank you for the sewing tutorials you have been posting lately. You make everything so simple.
Sarah Kirsten
A fellow lover of simplicity! Thank you, Vicki.