FS Cameron Top Pattern Sewalong Part 2: Sew The Neck Placket
In our previous post you learned how to attach the yoke of your Cameron top pattern using the “burrito method” technique. Today, we will be showing you how to sew the neck placket. Cameron has a tabbed neck placket with double topstitching and a pointed V-shaped tab.
Constructing a placket is never easy as it requires accurate marking and precision. This is the most involved part of the entire sewing process, but with the help of this tutorial you’ll sail through it as a pro! Let’s dive in!
Difficulty
Intermediate
Sewing Time
1-2 hours
Pattern
If you don’t have your copy of the Cameron pattern yet, you can order it from our shop.
Steps
Note: Prewash and dry your linen fabric in the same manner you would your finished garment. This will soften your fabric and eliminate further shrinkage.
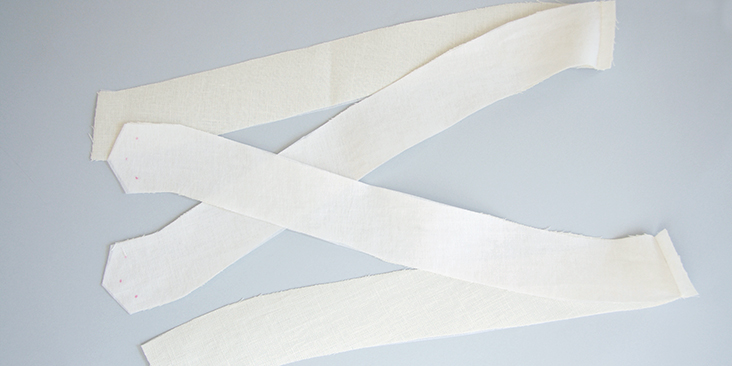
For this step, you’ll need the following pieces: Right Neck Placket (F) and Left Neck Placket (G), two each both in fabric and fusible interfacing.
1. Apply fusible interfacing to the wrong side of your neck placket pieces. Follow the instructions on the best iron settings and methods for your specific fusing product.
Please note that these pieces are asymmetrical and the fusing should be ironed to the wrong side of the fabric. Take care that you have two mirrored pieces.
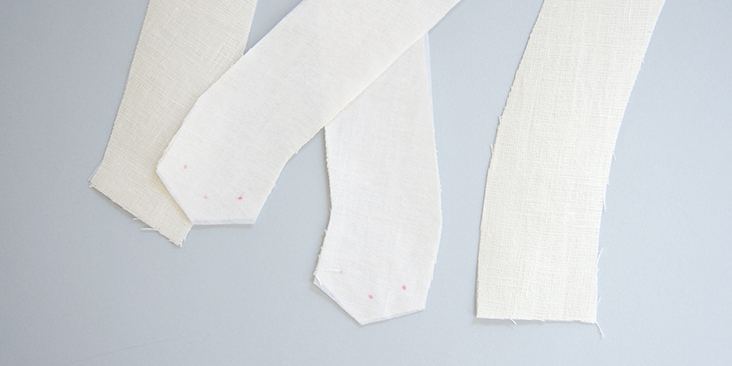
2. Pin and sew (1/2” seam) each pair of neck placket pieces right sides together along the center back seam.
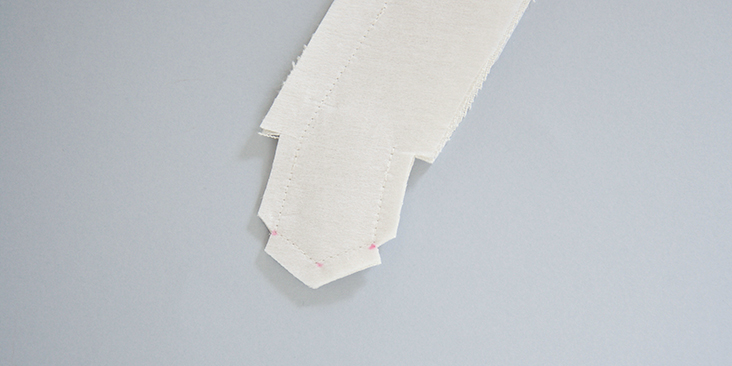
Make sure that you have transferred the three dot markings from your pattern to the bottom of the placket tab area. These dots indicate where you should pivot the stitch line in order to get a nice placket shape. Alternatively, you may use the placket template (N) as your sewing guide.
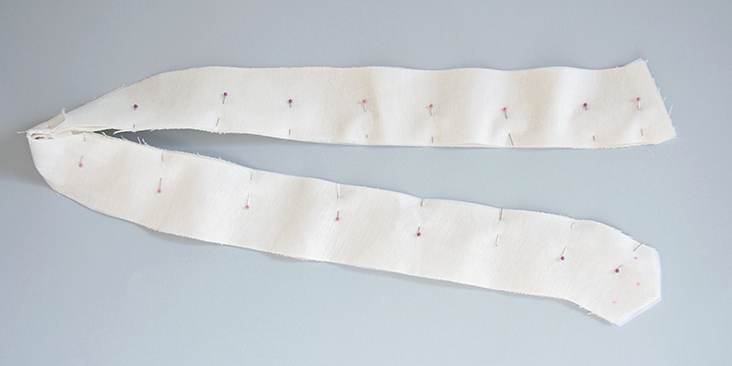
3. Matching the center back seams and notches, stack the two sets of sewn plackets right sides together and pin along the inner curve. Be sure to match the center back seam and notches.
4. Sew along the pinned inner curve and tab area together with a ½” seam. Stop at the outer notch of the tab and remember to backstitch.
5. Clip along the inner curve to release tension. Clip small wedges from the corners of the tab area to reduce bulk. Clip the notch on the inner curve, stopping just before the stitch line. Then trim the seam allowance down to ¼”.
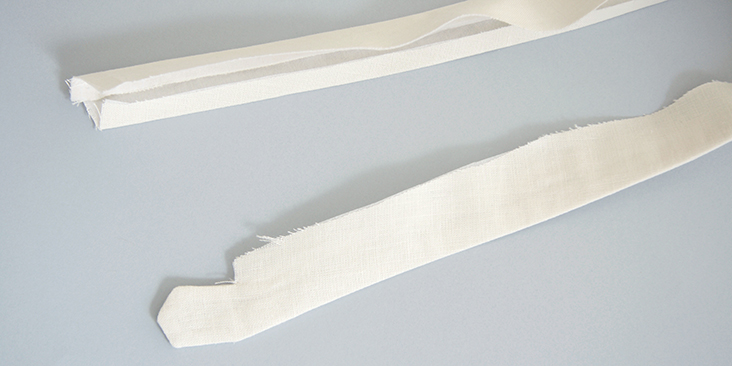
6. Press open one side of the seam allowance in the tab area. This will help create a nice tab shape when the placket is turned right side out.
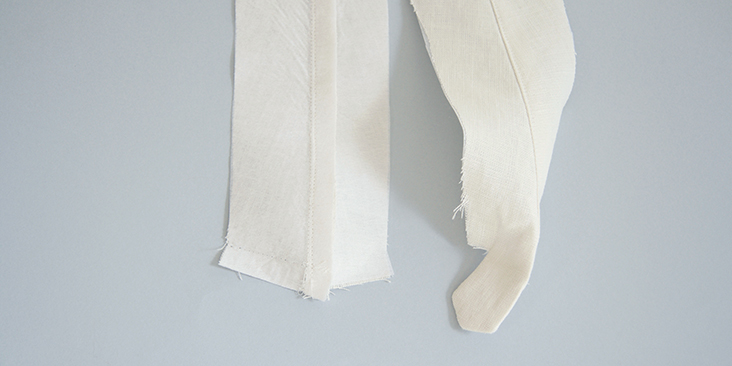
7. Turn just the tab area right side out and press around the edges.
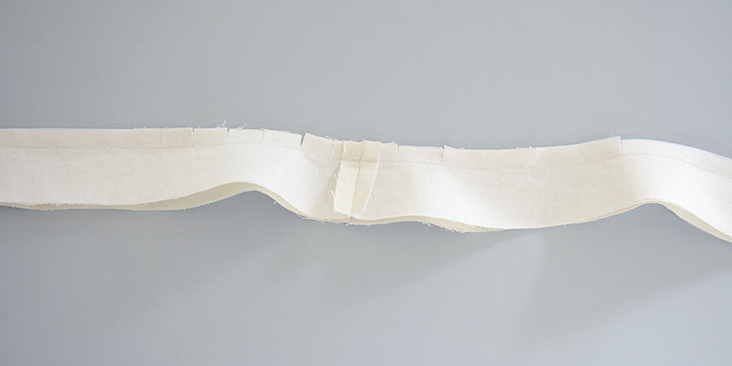
8. With right side facing up, open the facing and finger press the seam allowance towards the inside placket facing. Topstitch 1/16” along the facing edge catching the seam allowance underneath, stopping at the tab area. This will ensure a neatly turned edge and prevent the facing from rolling outward.
9. Press the placket facing seam allowance a scant ½” towards the inside of the placket.
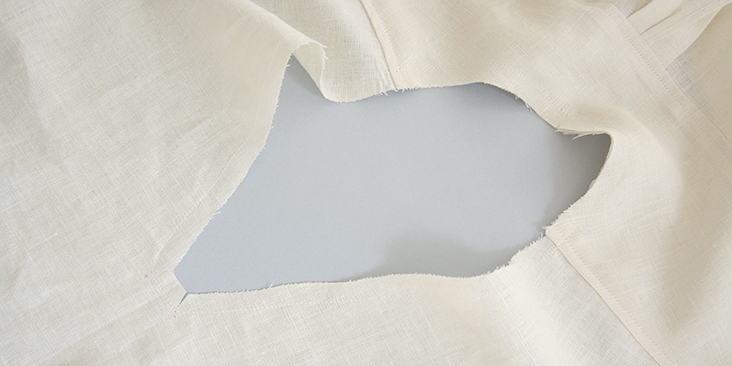
10. Sew a row of staystitching a scant ½” around the neckline. Use the three dot markings indicated on the pattern as your guide for pivoting the needle. Clip the inner corners, stopping just before the stitch line.
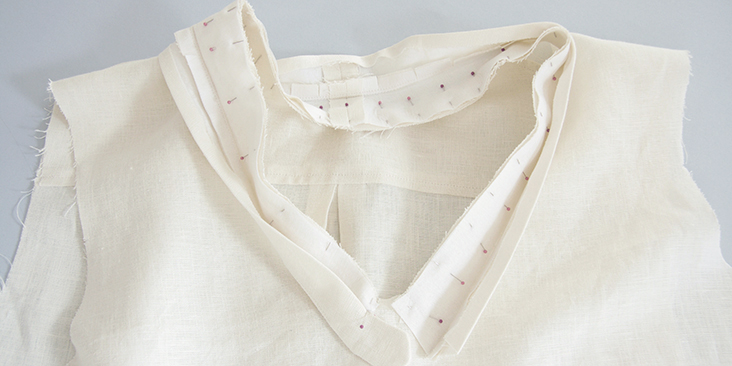
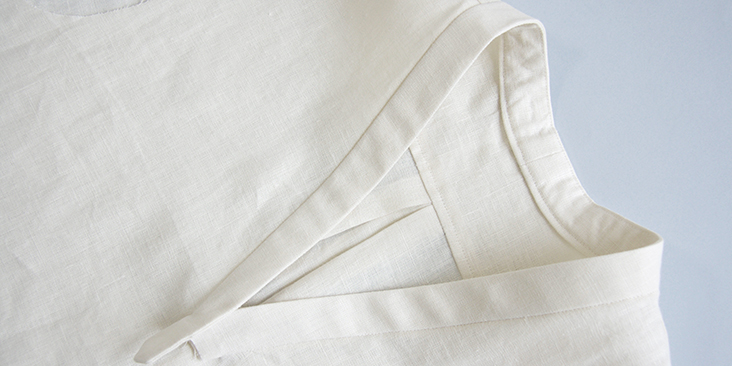
11. Pin the outside placket edge to the neckline right sides together and matching the center backs and the shoulder notches. The tabbed placket’s seam allowance will end at the neckline dot marking. The left placket’s seam allowance will end ½” past the neckline dot marking as shown:
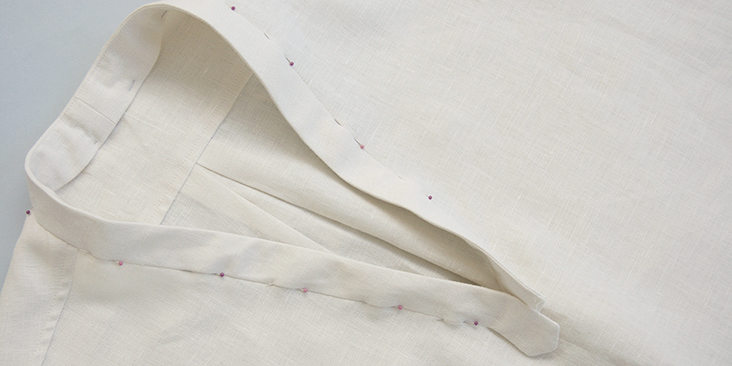
12. Sew the neck placket to the neckline with a ½” seam, starting and stopping at the center front neckline. For the right tabbed placket, you will stop at the seam allowance jog on the dot marking. For the left placket, stop the stitching at the dot marking, ½” from the raw edge as shown:
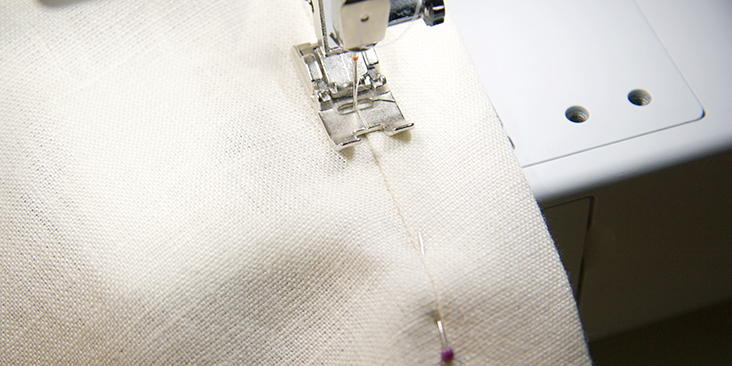
13. Press the seam allowances towards the inside of the placket. Flip the placket over towards the center neckline and into its natural position. The inner placket facing will extend approximately 1/8” beyond the seam line. With right side facing up, place pins in the ditch of the seam, catching the extended lip of the placket facing underneath.
14. Sew a row of topstitching in the ditch of the seam. Press the outer layer of the placket towards the stitchline. This will cover the stitching, making it invisible and creating a clean finish for your placket.
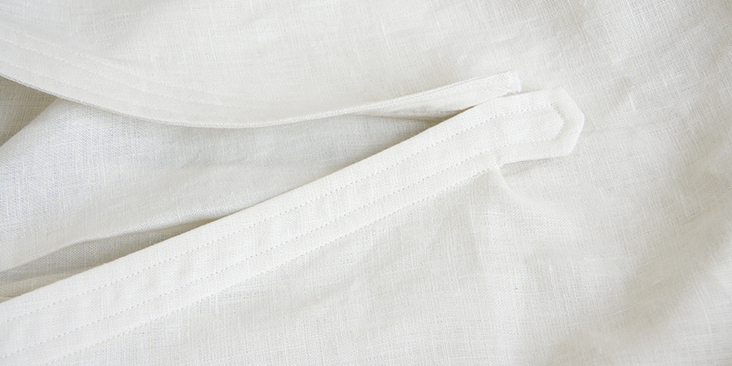
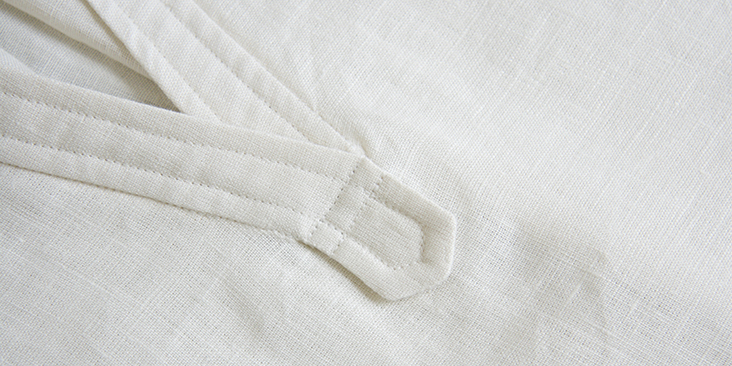
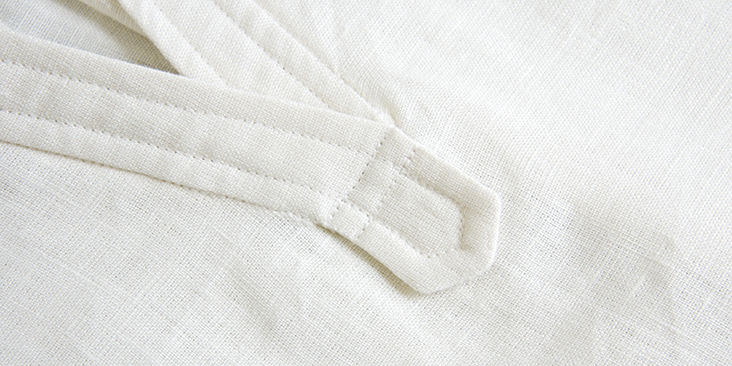
15. Sew a ¼” topstitch all around the placket edges, including the seam joined to the neckline. Start and stop at the bottom loose edge of the under placket and take care to pivot neatly at the tab corners.
Note that the lower tab should float freely; it is not topstitched through the body of the garment.
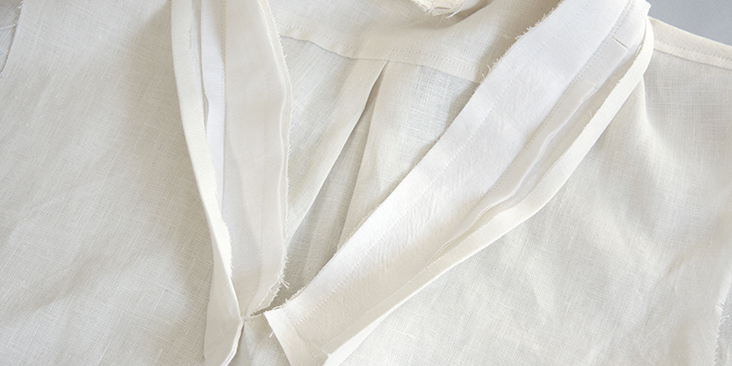
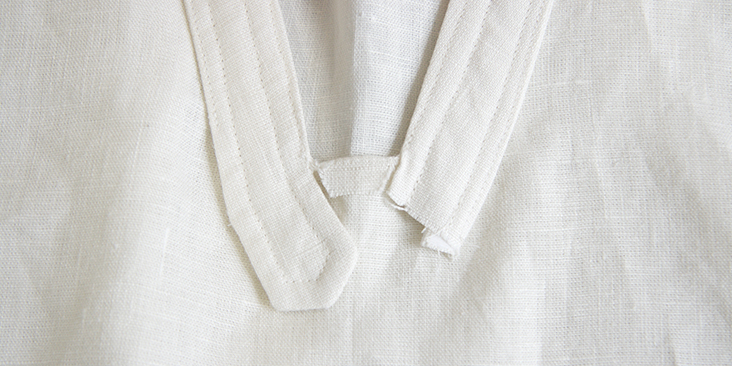
16. Unfold the bottom portion of the placket. Fold the raw seam allowance of the lower center neckline downward to the outside.
17. Fold the left under placket over the raw seam allowance of the neckline. Place the right tabbed placket on top the under placket. Pin the tab and all seam allowance together from underneath. Sew a stitchline through the seam allowances.
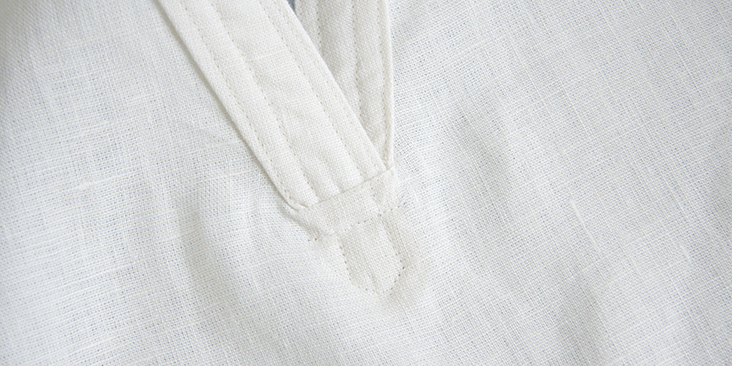
18. Trim the top layer seam allowance to about 1/8” and the second layer to about ¼”. Trim the outer corners to reduce bulk. When you look at the right side of your garment, you can now see one row of horizontal stitching for tabbed area.
19. Sew the second row of topstitching ¼” below this first line going through all the layers including the body of the garment.
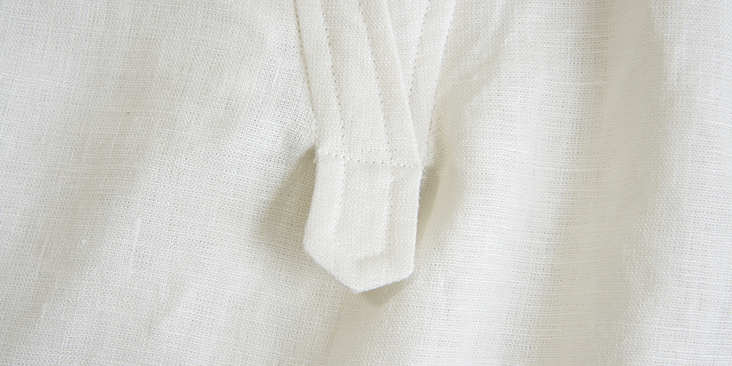
20. The last step is to tack the loose tabbed area to the body of the garment. To do so, sew a few back-and-forth stitches in the lower V of the tab, following the existing seam line.
Congratulations on your beautifully sewn neck placket!
21. Attach the belt loop to the back of your Cameron top. Fold the upper edge of the loop 1/8” under and tack through all layers at the top of the neck placket, matching the upper topstitch line of the placket. Sew another tack through the loop at the lower edge of the placket, again matching the placket’s topstitch line.
Congratulations! Your neck placket is now complete! Next time we will be showing you how to sew the side seams, attach the gusset and finish the hem. Tune in next week for more sewing tips!








9 Comments
Sarah burt
This is the second time I’ve made this pattern, and both times the placket it is too short. Has anyone else had this problem with this pattern? I am going to alter the pattern piece and re-cut. Otherwise I love the pattern. I made a muslin first out of flannel, it makes a lovely sleep shirt! Looking forward to making several linen
versions!
Lauren Gates
I’ve sent you an email Sarah 🙂
Mariann Fessenden
I am sewing my first one and have the same experience. I assumed I was inaccurate in my cut out procedure and pattern transfer. Sigh–not too hard to just cut out another placket assembly and make a note for next time. Loving the pattern, thorough instructions and material (working in the mid weight signature finish). Frustrated because it just delays when I can wear it!
Cindy Pipes
For the life of me I don’t see “three dots” on the pattern piece F.
Help. ?
Lauren Gates
Hello Cindy, I am sending you an email to help out. Please look out for it 🙂
Susan Hildreth
I have the same problem….
Lauren Gates
Sending you an email Susan 🙂
Portia Hirschman
There seems to be a lot of ease in this pattern. Does it make sense to go down a couple of sizes?
Sylvia Snell
Thank you for this tutorial! The pattern book explains the process well but the visual makes things even easier! Thank you for this!