Shaped Tote With Feature Pocket
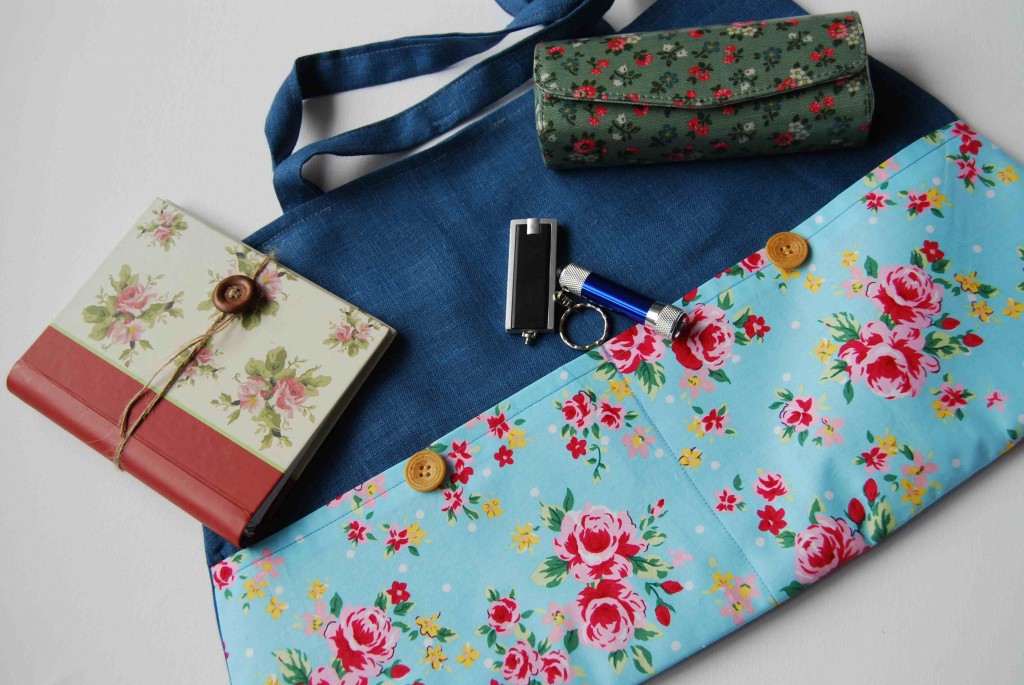
If you are looking for a roomy tote that slips easily onto your shoulder then this is the perfect design. Our version has a cotton print front pocket and is fully lined. We chose to use Blue Bonnet in IL019 linen and you can co-ordinate it with our cross-body bag that has already been shown on this site.
Materials
40″ x 59″ IL019 linen in Blue Bonnet
Small piece of cotton print
Medium weight iron-on interfacing
To Make Your Pattern
Use squared dressmaker’s paper to make your pattern. Draw a vertical line 13″ high. Then draw a 20″ horizontal line at the base of your vertical line, centralising it. Draw a second horizontal line at the top of your vertical line that is 15″ long, again centralising it. Now join all the outer points rounding the bottom two corners very slightly. This is your bag pattern..
Cutting Out
Place your pattern on your linen and cut out four times, (two of the pieces will be the lining). To make the pocket you will need to measure up 6 ‘½” from the bottom of your pattern. Then, draw a horizontal line at this point. Slash your pattern along this line. Place the lower part of your pattern on the cotton print and cut out once. Then place it on your interfacing and cut out again.
Steps To Sew
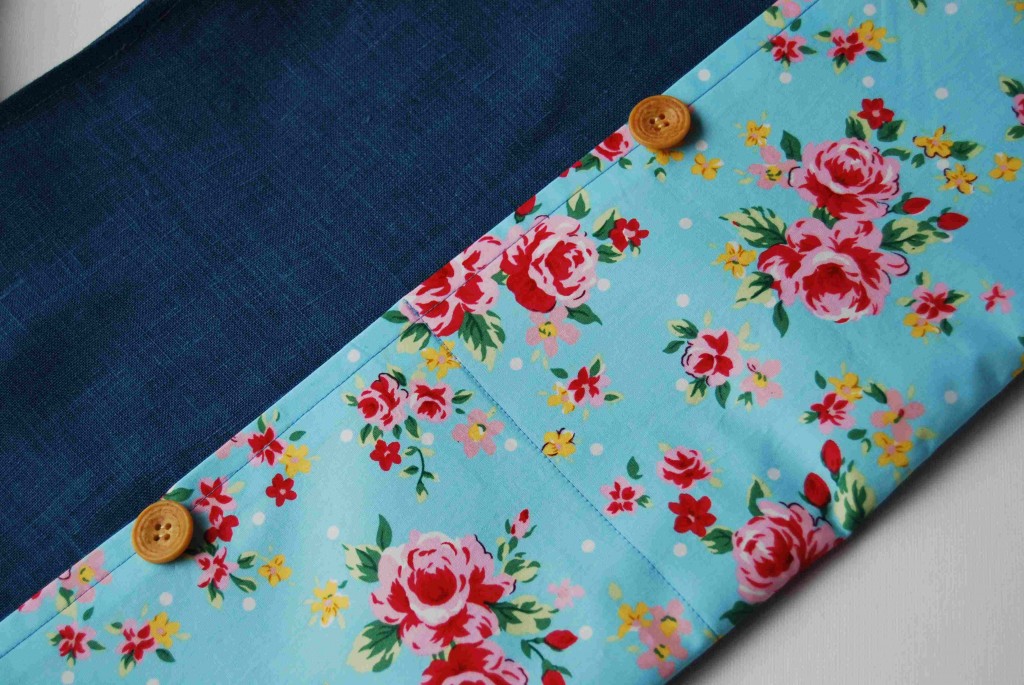
1. Iron the interfacing to the wrong side of your pocket piece. Make a ‘½” turning to the wrong side, along the top straight edge, and machine in place. Lay the pocket on the right side of one of your tote pieces matching the bottom and side edges. Then machine a vertical line at the centre point of your pocket and add two buttons an equal distance apart.
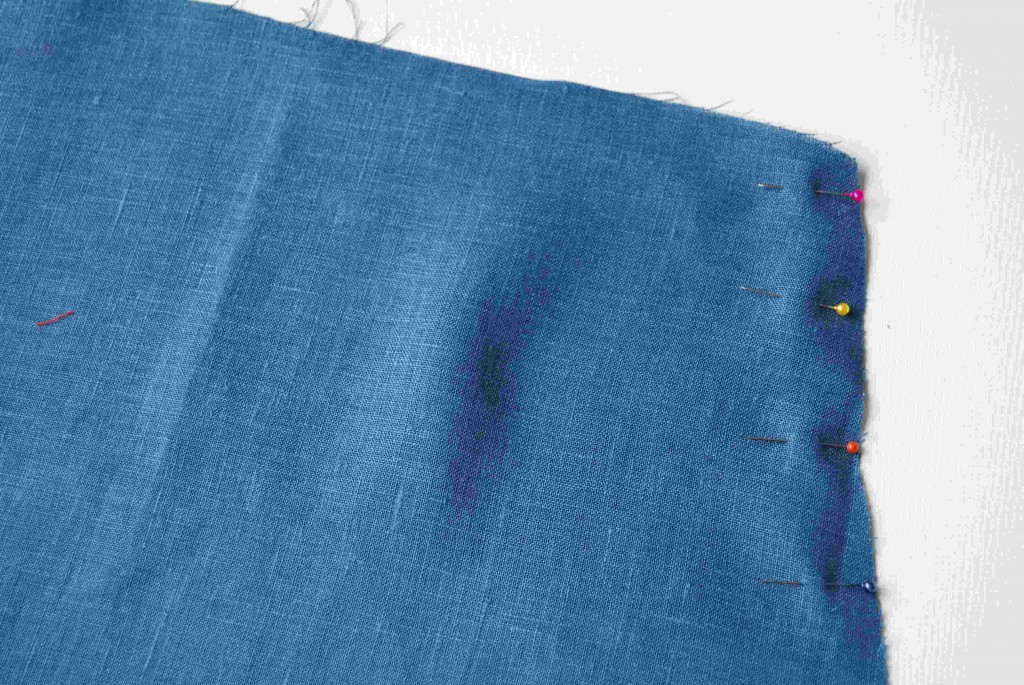
2. With right sides facing pin then machine the front and back tote pieces together at the side and lower edges leaving the top edge open.
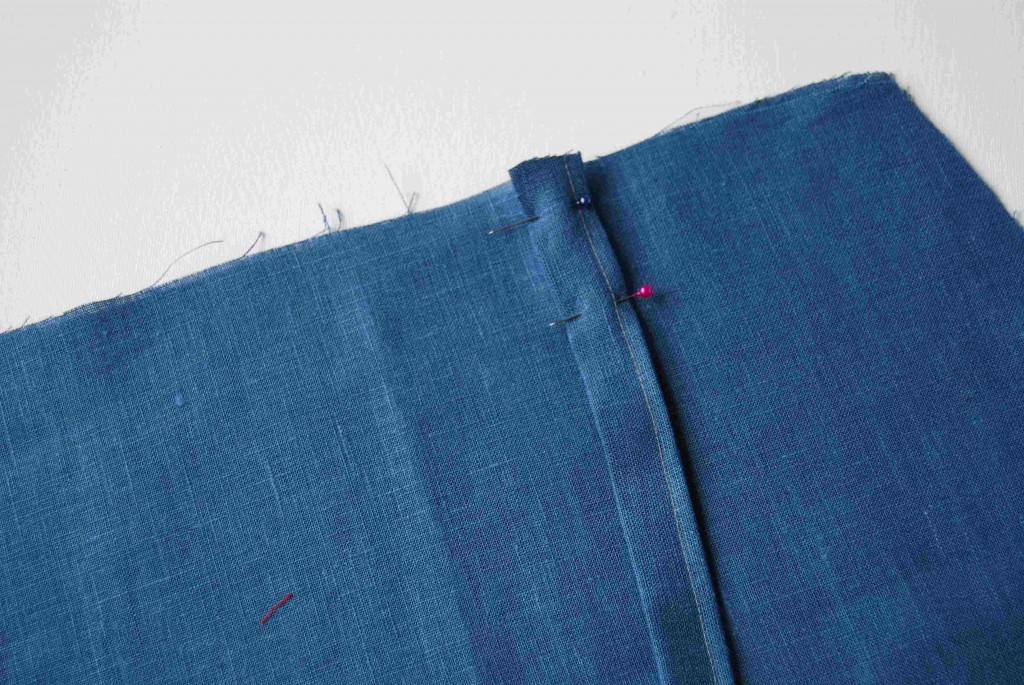
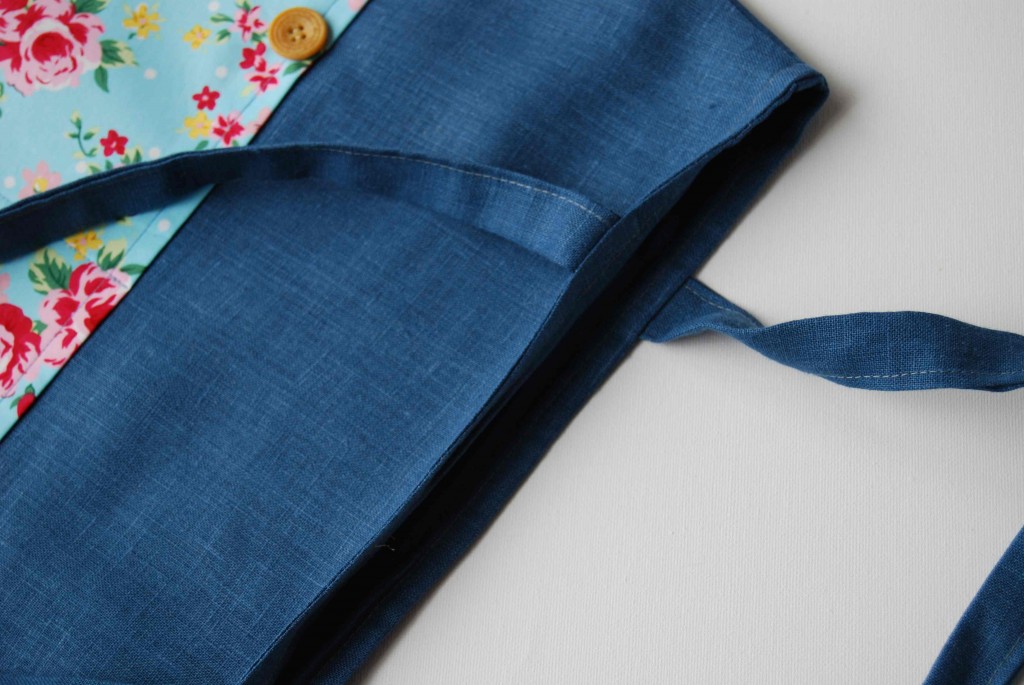
3. To make the handles cut two strips of linen each 3″ x 22″ long. Take one strip and press in half lengthways. Open out strip and press each raw edge along the length to this crease line. Fold strip in half lengthways with wrong sides together, and machine. Repeat with second strip.
4. Take one handle and pin then baste the raw ends to one side of the tote along the top edge. Position each handle 3 ‘¼” from side seams. Repeat with second handle pining it to the other side of the tote again 3 ‘¼” from the side seams.
5. With right sides facing machine the lining pieces together leaving the top edge open and leaving a 7 ‘½” opening along the bottom edge.
6. With right sides facing machine lining to tote around the top edge. Turn tote to the right side and close opening in lining. Push lining into bag then topstitch around top edge.
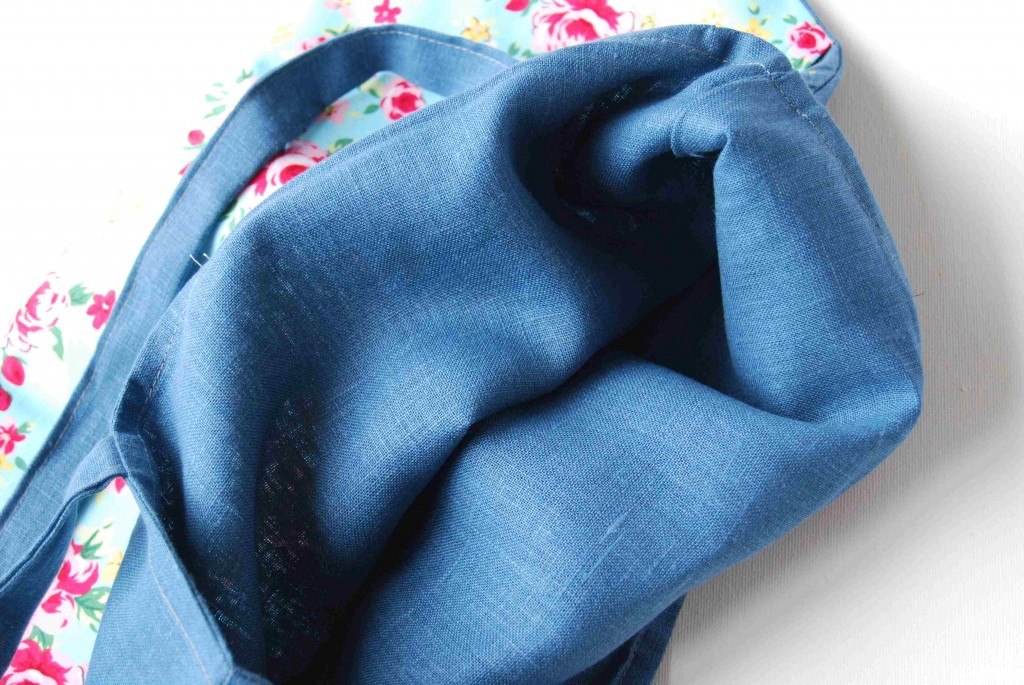
7. Press bag firmly to finish.
[maxbutton id=”1″]
Designed exclusively for Fabric Store by Sue Locke
*Let us know what you thought of our latest post by leaving us a comment or visit Fabrics-store.com for bargain prices on the fabrics shown in this tutorial. Happy sewing!






Leave a comment