Sewing Machine Cover
Attention: Check out the sale on our best selling 100% linen IL019 here before it ends Sunday, June 24th.
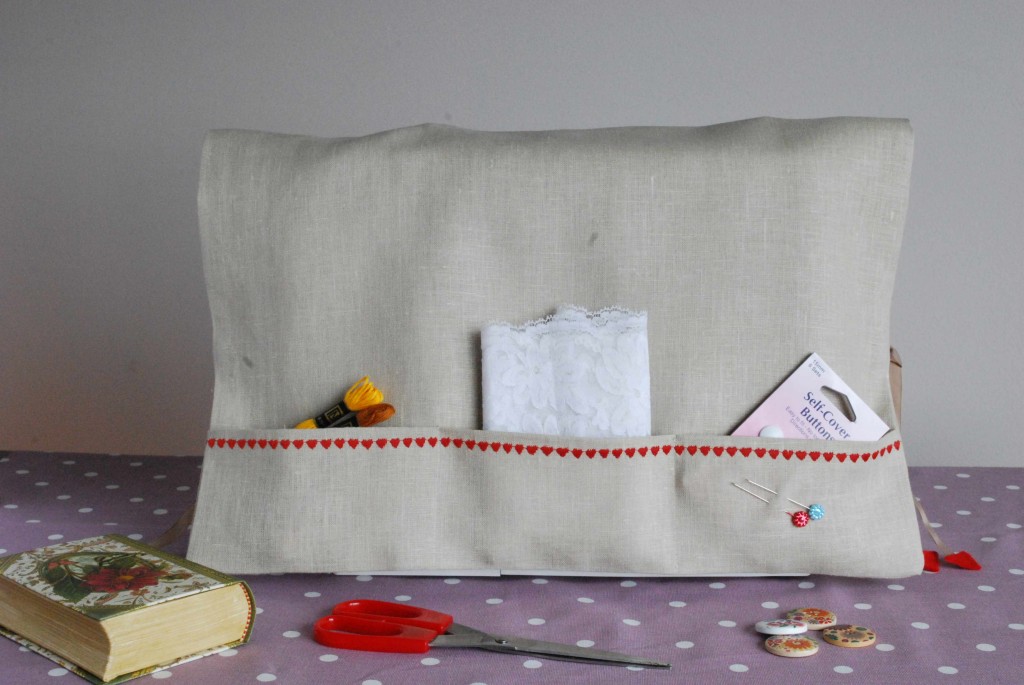
If you are an avid sewer your machine is probably sitting out on a table or work bench, rather than packed away. So, we have designed this easy-to-make machine cover as a perfect accessory for your sewing corner. It’s so much nicer than a plastic one! We made it in one of our IL109 linens and trimmed it with machine embroidery and ribbon ties.
Materials
25″ x 59″ of IL109 in Natural
Matching thread
Contrasting thread
Scraps of felt and 1m of ribbon.
To Make Your Pattern
Use squared dressmaker’s paper for your pattern. For the cover cut 1 pattern piece 25″ (length) x 18″ (width), then for the pocket, cut 1 pattern piece 5″ length) x 18″ (width). Please note that sewing machines can vary in size so double check that these proportions will fit your model before cutting into your material. Also our measurements include a seam allowance.
Cutting Out
Cut out 2 cover pieces and 1 pocket in linen.
Steps To Sew.
1. Select a decorative embroidery stitch on your machine and using contrasting thread practice on a scrap of leftover linen.
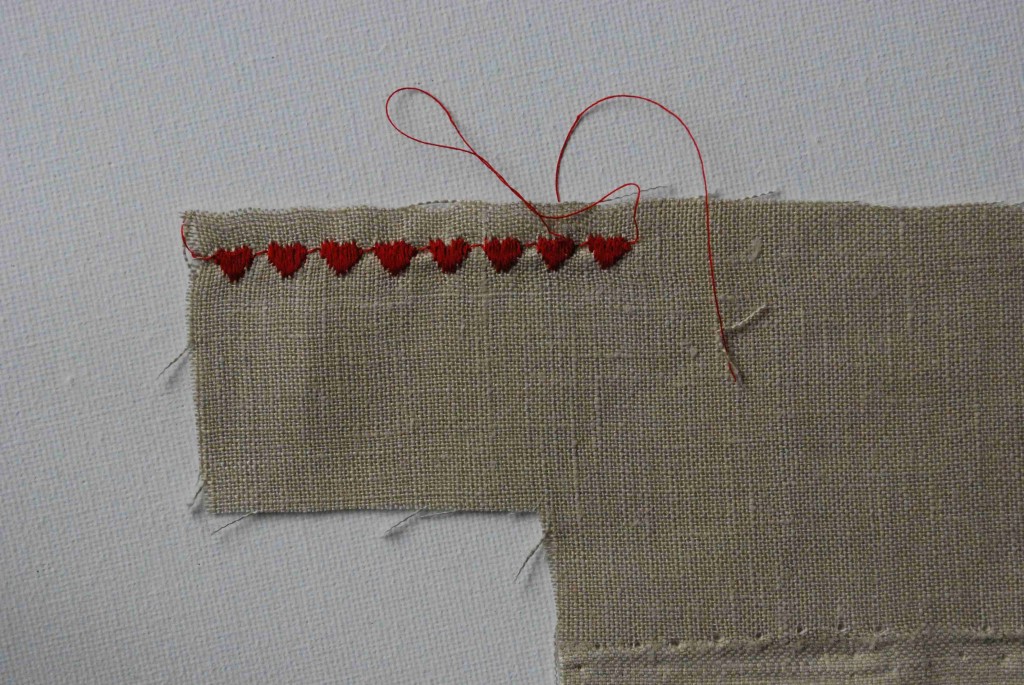
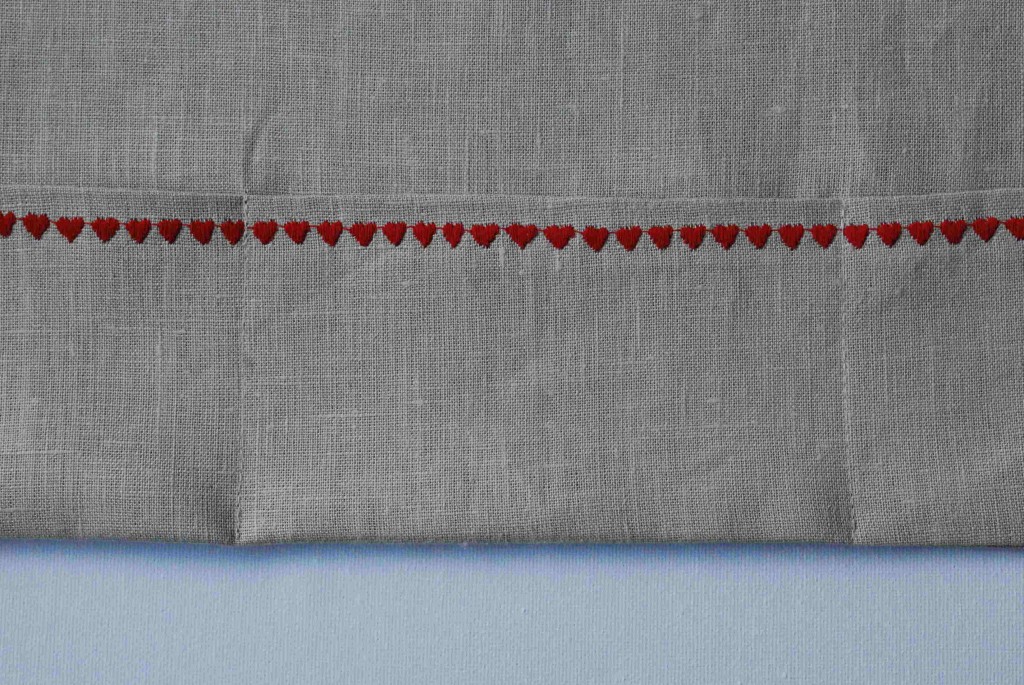
2. Take your pocket strip and press a ‘½” turning to the wrong side on one longer edge. Now work your embroidery on the right side of your cloth close to the pressed edge.
3. Cut your ribbon into 4, 10″ pieces. Cut out 8 small triangles in felt. Sandwich one end of each ribbon piece between 2 felt triangles and hold in place with fabric glue or hand stitching.
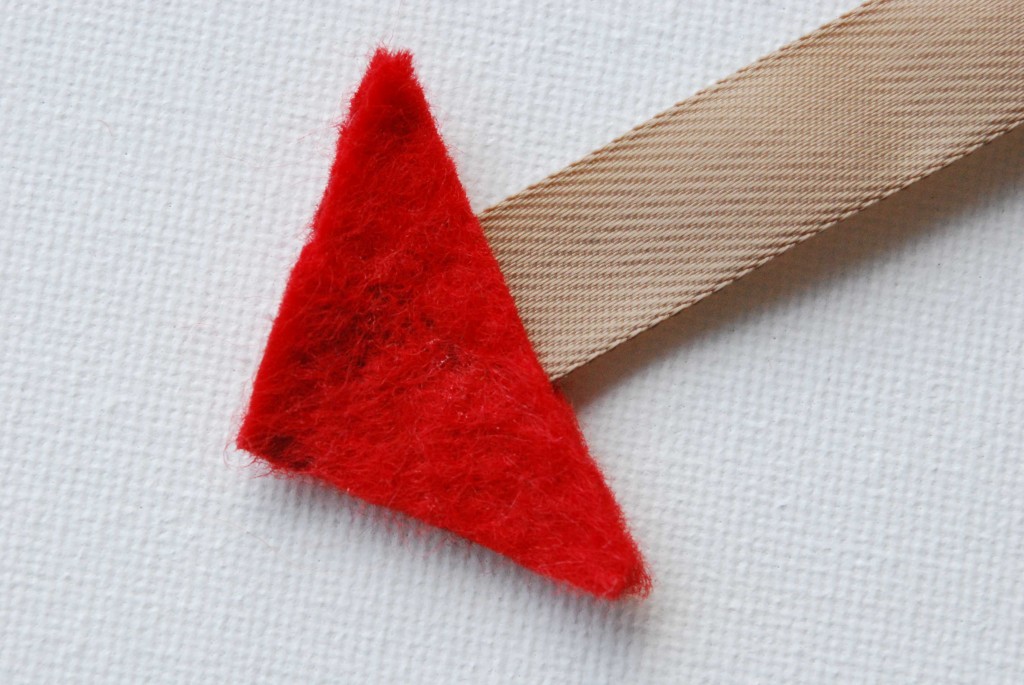
4. Working on the right side of one cover piece lay your pocket (right side up), at one end matching all raw edges and stitch in position along the bottom edge to hold it in place. Then, 6″ up from each end, and on both sides pin then stitch the raw edge of each ribbon piece in place.
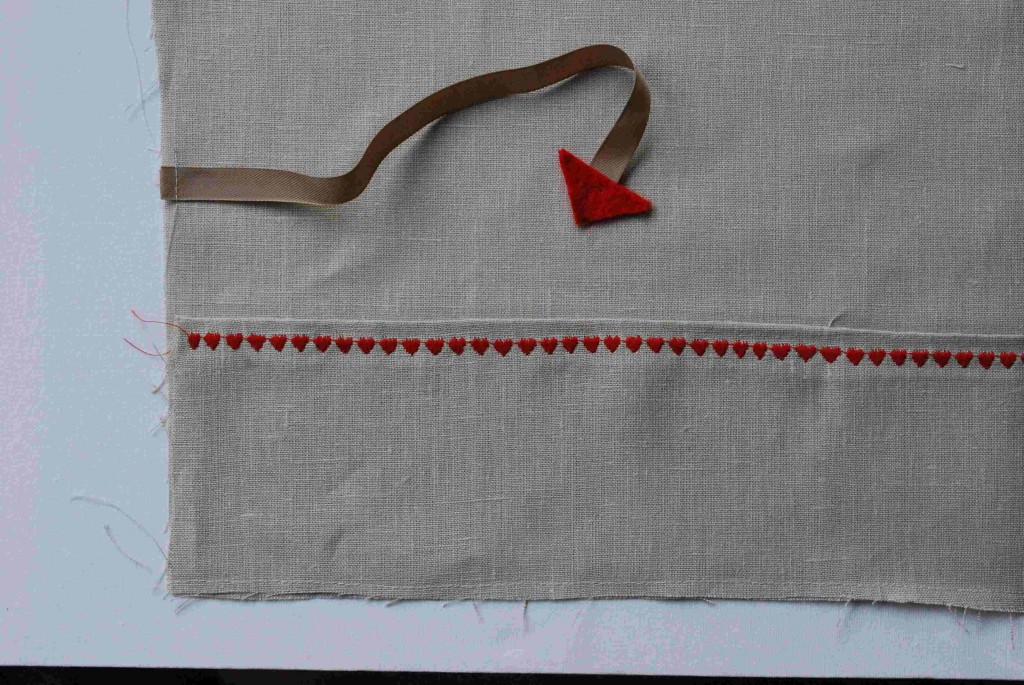
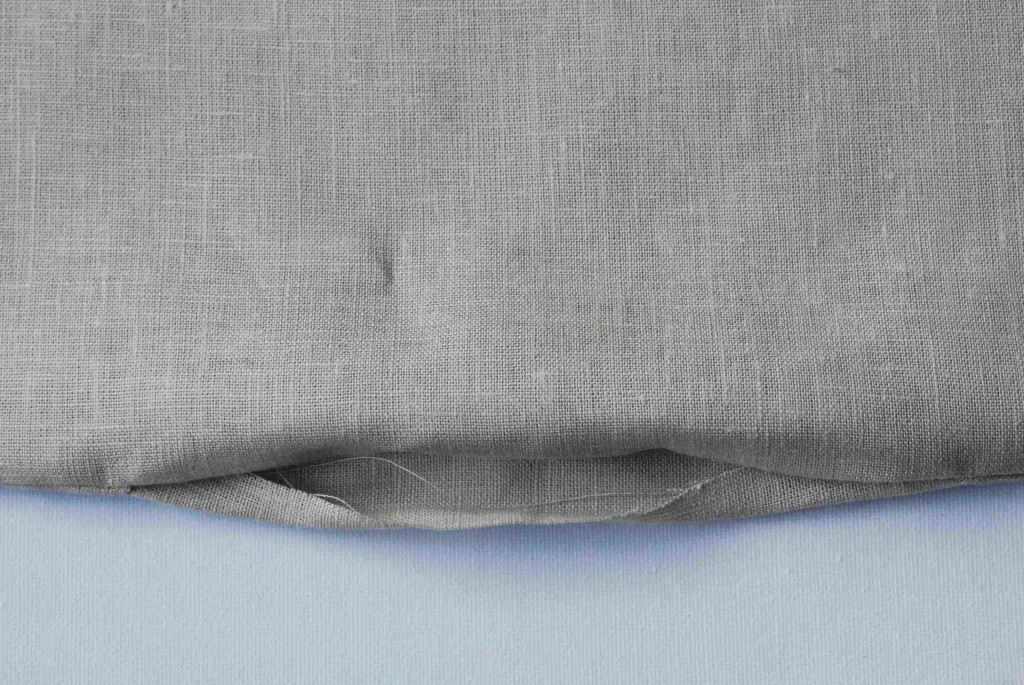
5. With right sides facing pin then stitch the two cover pieces together. Leave an opening then turn to right side. Close opening with hand stitching. Press firmly.
6. Measuring 6″ in from each side edge work a line of stitching down the pocket to create three sections in total.
7. Slip cover on your machine and hold in place with side ties.
[maxbutton id=”1″]
*Let us know what you thought of our latest post by leaving us a comment or visit Fabrics-store.com for bargain prices on the fabrics shown in this tutorial. Happy sewing!















2 Comments
susan T
I love the cover it looks so easy I am going to give it a shot .Thank you.
Karen Alexander
A strip of tear away stabilizer under the decorative stitching will prevent the pucker shown in the close up! Glad to see a nice pattern for sewing machine covers! They are sooo easy to make and allow you to “make neat” quickly when necessary!