Tea Time Coasters Tutorial
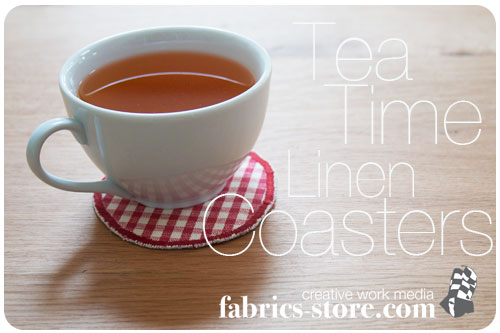
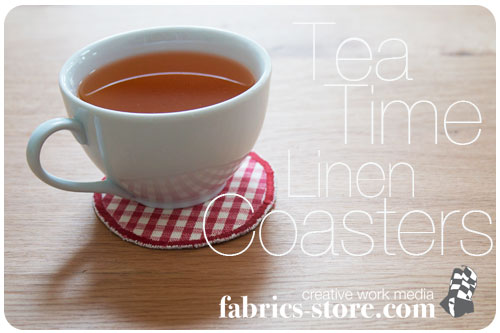
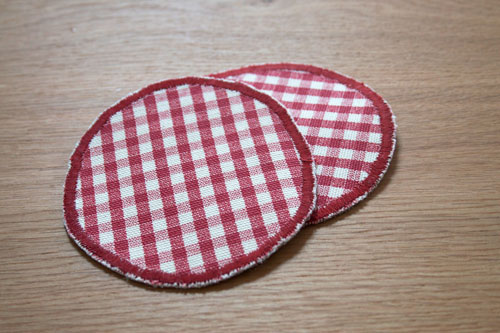
Using remnants from previous projects, I cut out circles from checkered and natural linen. Then I stitched both fabrics together using a machine stitch.
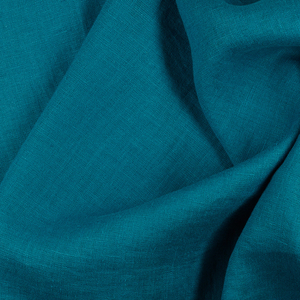
The heavier linen weights, such as 4C22 or anything above 7.1 ounces per square yard, works well for these coasters.
Linen is a great fabric to use for coasters because it absorbs liquid and dries quickly!
Materials:
- two different prints or shades of linen measuring 1/4 yard each.
- 1/4 yard of fusible webbing or linen
- coordinating thread
- scissors
- sewing machine
Fusible webbing is the iron on insulating material that you can use in between the two pieces of linen. Insul-bright can be found at any craft or sewing store. I just ran out of this material, so I used another piece of linen to use for insulation. The extra linen will work just fine in this case in protecting your table and soaking up any liquid. It is a fairly thin coaster either way but it does the job and looks great. You’ll have something functional and beautiful!
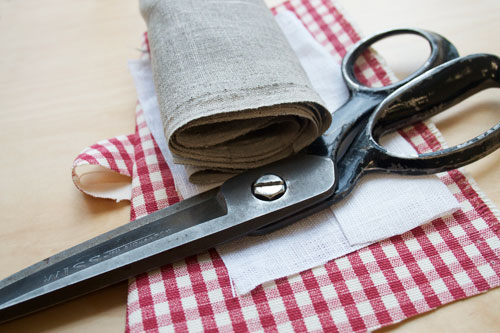
Start by cutting the topside of your coaster. I chose a red checkered print linen I found in our Doggie Bag section a while back. This is why it is always good to check what we have in this section! The Doggie Bag fabrics are the remaining end pieces from our bolts that are offered at a discounted price. They come pre-cut at different lengths and are a great deal. Although this color isn’t available at the moment, there are many Yarn Dye linens that are perfect for this coaster. I would check those out too!
You can even choose a solid color for your coaster and add some nice embroidery! I recommend picking the heavier weight 4C22 linenfor this project.
Back to the cutting! Just cut one 5 inch square from your linen for the top, one for the back, and one out of the fusible webbing. I picked out 4C22 linen in Natural for my coaster because of its heavier weight. If you are making your coaster without fusible webbing, like me, follow this same step.
Using a circular object, such as the bottom of a jar, trace the round coaster shape onto the Tight side of your top fabric with a light pencil or fabric chalk.
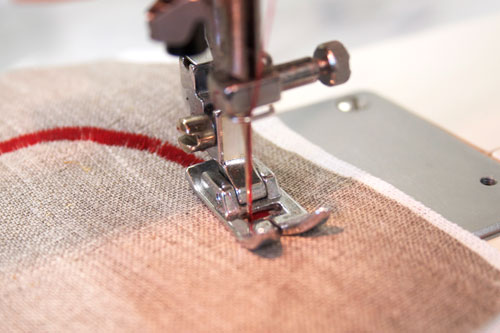
Set your sewing machine to a zigzag stitch with very tight tension. All modern sewing machines have a zigzag setting with adjustable widths and styles. Zigzag stitching is perfect for sewing stretchy fabrics when your seams need to have some give to them, and zigzagging is often used to finish the raw edges of a project in place of pinking or overcasting.
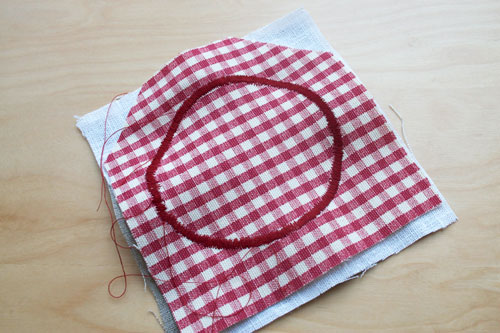
Test the zigzag on a scrap of fabric and adjust the machine’s settings until you achieve a zigzag that is about 1/4 inch wide and produces a very tight, satin stitch effect.Zigzag around the coaster shape on the pencil line. Go slowly, making sure to maintain an even satin stitch. If your coaster ripples around the edges, press the entire coaster again before trimming.
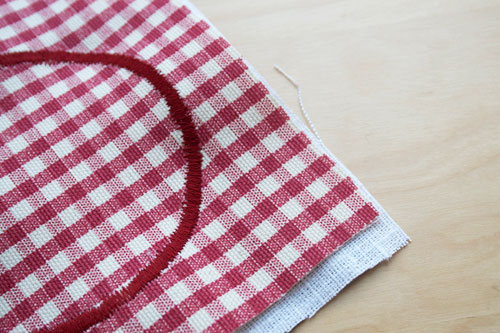
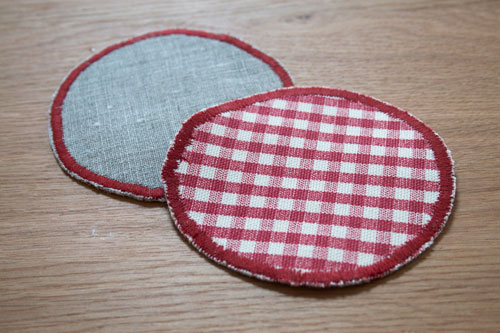
Here is the stitch from the top.
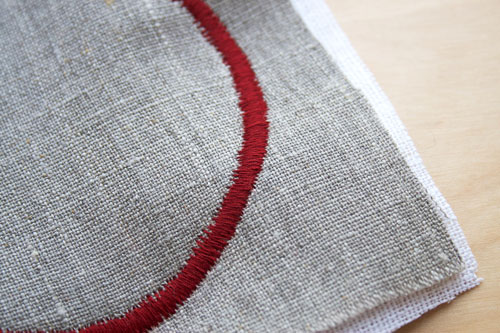
and from the bottom…
Now it is time to trim off all the fabric on the outside of the circle.
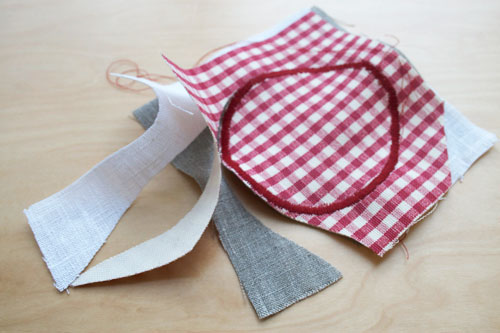
Trim the fabric away and try to get as close as possible to the stitching as possible.
Your coaster is made!
I love how the bottom of the coaster is done is a natural shade!
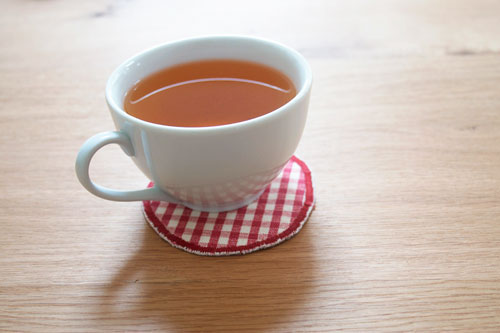
There you have it! An adorable coaster is now ready to use with your next cup of tea, or perhaps some lemonade!
Check out the Doggie Bags for new specials that come up every two weeks. This is a great way to get linen at a really low price. I’d take a look at some of the floral and striped prints we offer!
The Yarn Dye and 4C22 linens are just the thing for this craft. Check them out and pick out coaster colors to match your style!
If you have ideas for linen crafts and sewing projects, let me know! Leave a comment here or on our Facebook page. You can always just say "Hello!" too. Thanks, everyone! Have a fun sewing day!









4 Comments
AmyCat =^.^=
If you get a sturdy embroidery hoop the size you want your coasters, use it to clamp your fabric pieces together, then put the whole thing on your sewing machine (you may have to unscrew the presser-foot to fit the hoop under). Then sew the circle with the machine-foot running right against the inside of the hoop. It sews a perfect circle and you almost don’t even have to hold it in place! Go around and around your circle until it’s a nice thick decorative edge, and I guarantee, Alina, that it will NOT fray when you cut it out. (Just be careful not to cut through any of the zig-zag stitches.)
I learned this as a trick for machine-embroidering decorative patches (e.g.: team logos), which can then be sewn to your shirt-sleeves or caps, or onto a tote bag or backpack.
Leta
I love this simple and fast project. Thanks so much for sharing!
alina
this is great, but i would have cut out the circle out and then zig zag the edge, so it wont fray.
Shola O
Thank you for this. Summer is coming, I would like to see simple drawstring pants tutorial please. Looking forward to it.