Sewing Glossary: How To Sew A Button Fly Tutorial
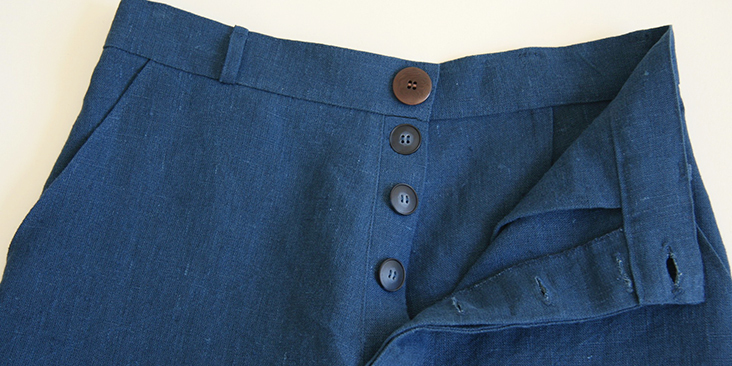
Have you ever been intimidated by a pattern because of a button fly? It does seem pretty complicated but turns out, it’s not hard to sew at all! Today we are going to show you how to construct and install a button fly for that classic, vintage look.
The instructions provided in this tutorial are based on the method developed by Anna Allen for the construction of her awesome Persephone Pants, the hottest sewing pattern of 2018!
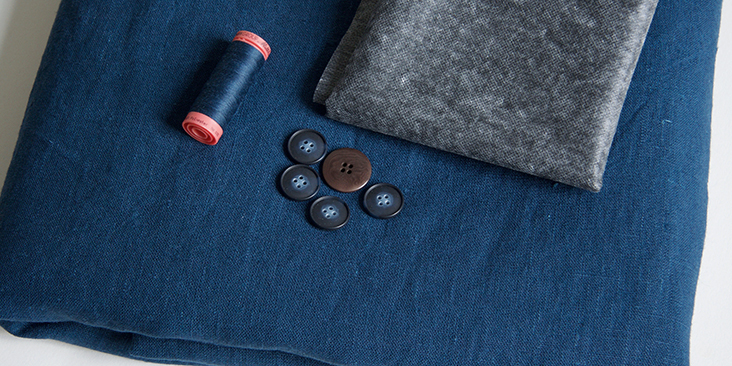
Materials
Fabric of your choice. In this tutorial we are using our 4C22 INSIGNIA BLUE Softened Heavy Weight Linen
Matching sewing thread, 4 large buttons (32L), 1 extra large button (38-40L), fusible interfacing
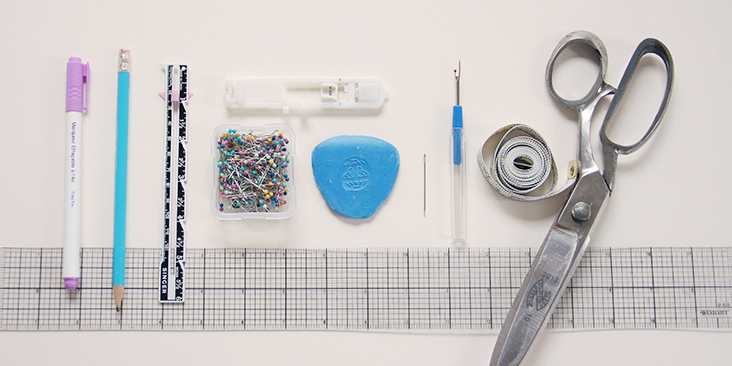
Tools
Scissors, pins, ruler, chalk, measuring tape, fabric marker, buttonhole foot, seam ripper, needle, sewing machine
Difficulty
Intermediate
Sewing Time
1 hour
Pattern
Persephone Pants by Anna Allen or any pattern of your choice that features a button fly.
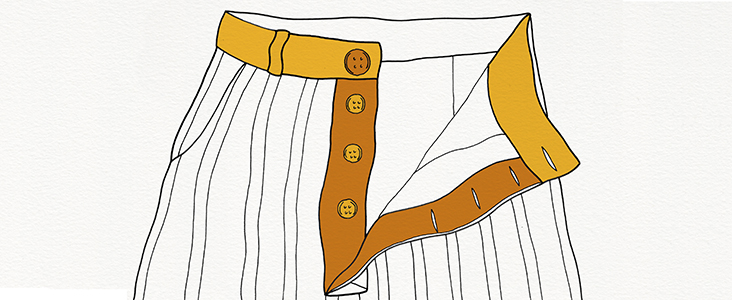
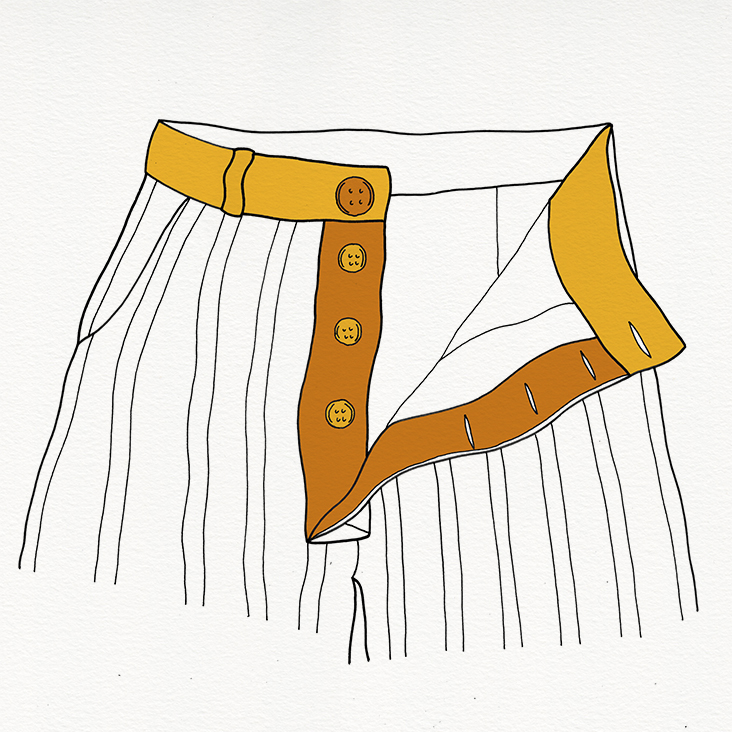
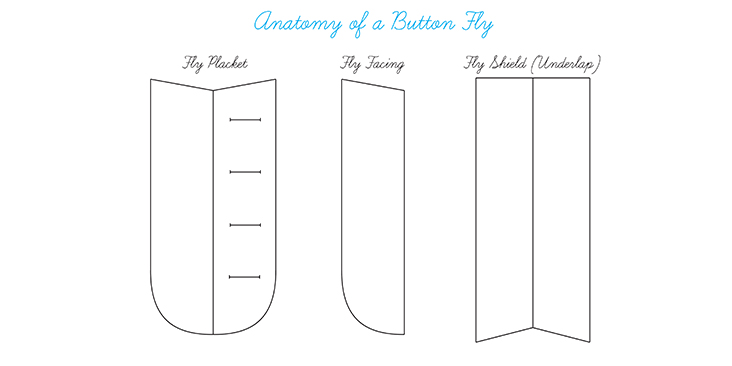
Anatomy of a Button Fly
A button fly is a front opening on pants, jeans, shorts or skirts that fastens with buttons. It consists of:
- fly facing
- fly shield (also known as underlap)
- fly placket
Fly facing conceals the buttons from the right side of your garment, fly shield is used to attach buttons and fly placket – buttonholes. When closed, buttons are completely invisible.
Steps
Note: To avoid shrinkage, prewash your fabric and tumble dry it until it is still slightly moist. Iron the fabric so it is easier to work with.
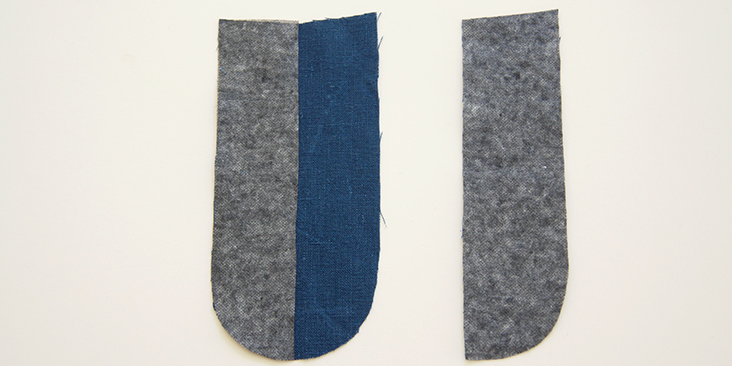
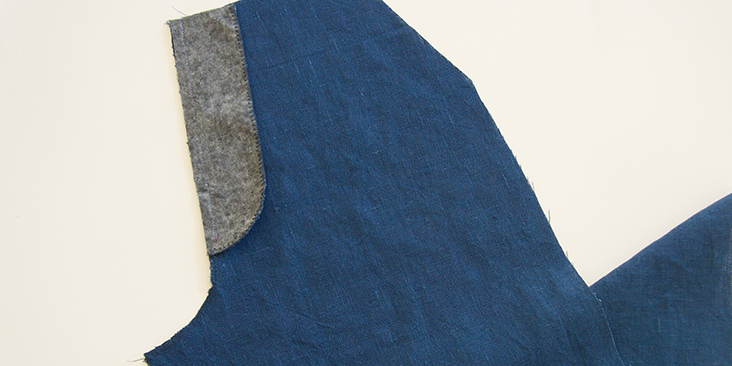
1. To start, interface the wrong side of your fly facing and the buttonhole half of the placket.
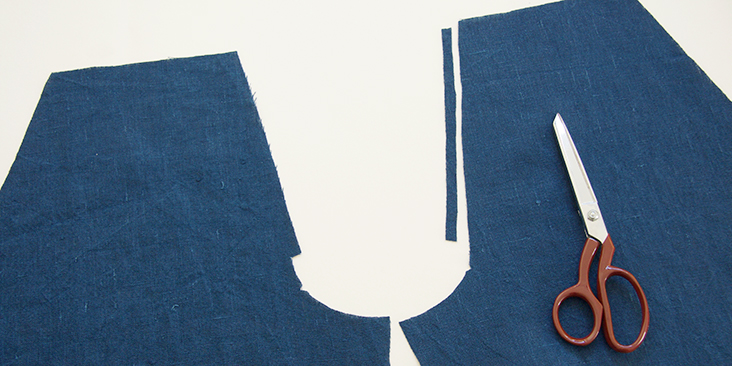
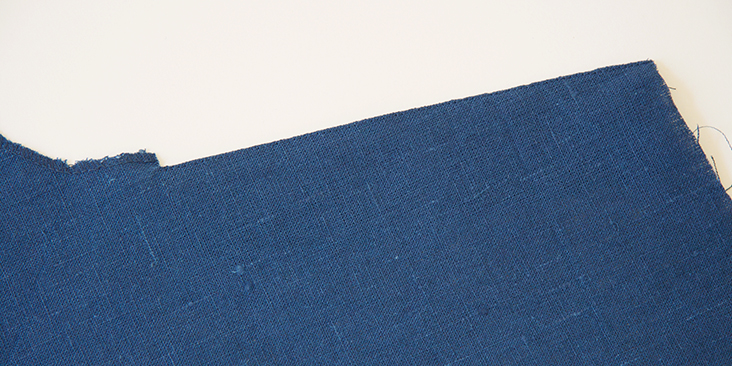
2. Place your two front legs right side facing you and cut out the seam allowance from left front piece.
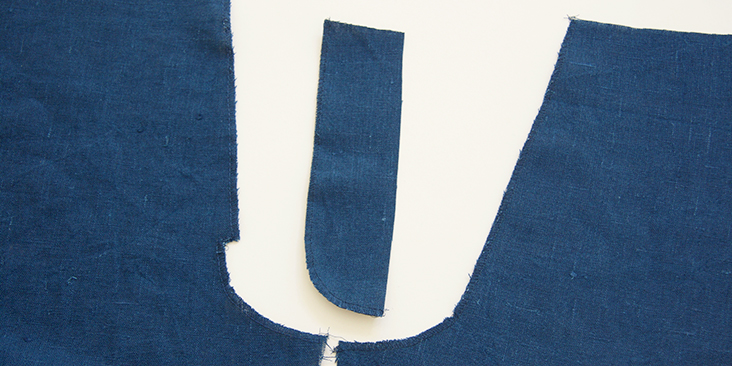
3. Serge/zigzag the crotch raw edges on two front legs and the outer edge of fly facing to prevent the fabric from fraying in the future.
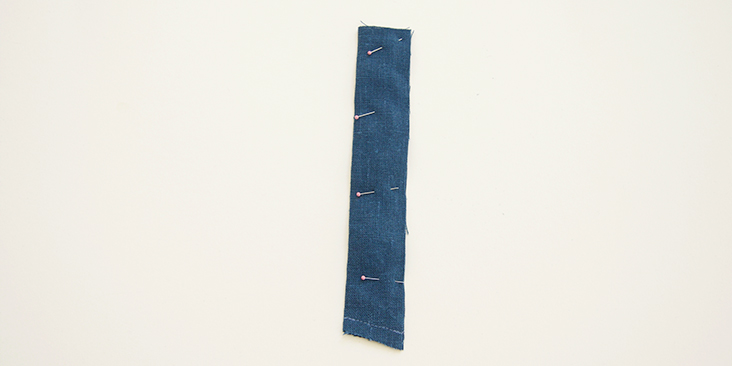
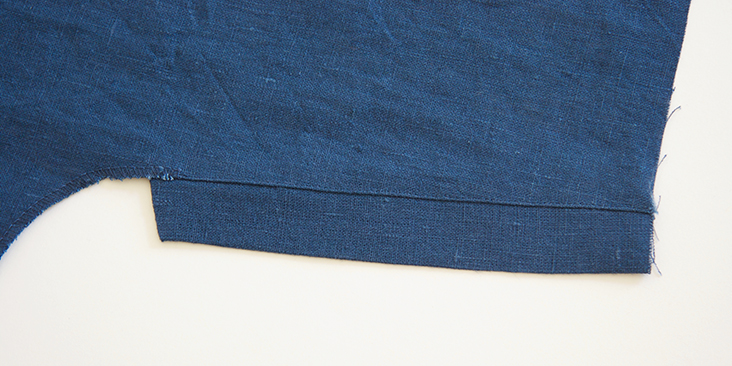
4. Fold fly shield in half lengthwise with right sides together and stitch along the diagonal bottom edge at the indicated seam allowance (in this tutorial we are using our standard 3/8” (1 cm) seam allowance).
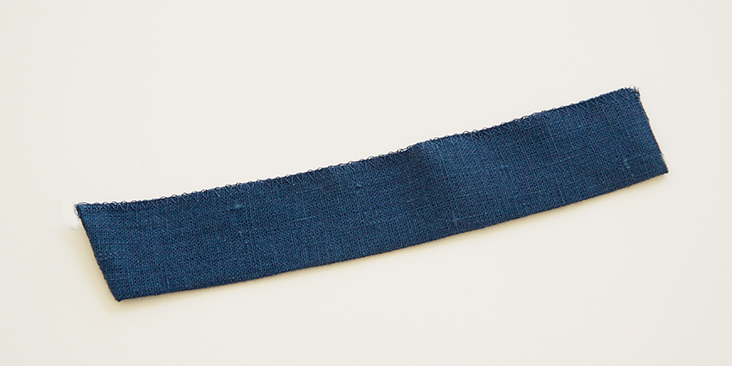
5. Trim the seam allowance, clip the inner corner and turn the shield right sides out. Press and serge/zigzag raw edges together.
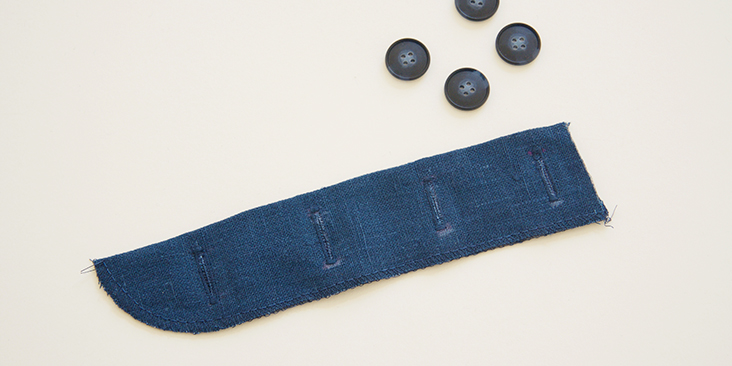
6. Fold fly placket in half wrong sides together and sew your buttonholes as indicated on the pattern piece (we have a great step-by-step tutorial about sewing buttonholes HERE). Be mindful of the seam allowances and don’t place your buttonholes too close. Cut the buttonholes open using a seam ripper and serge/zigzag the long raw edges together.
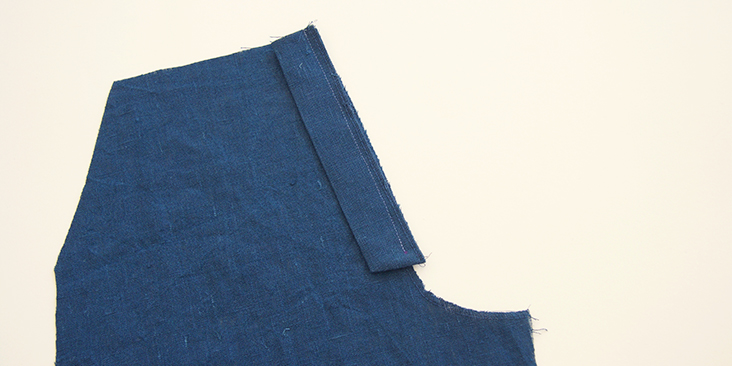
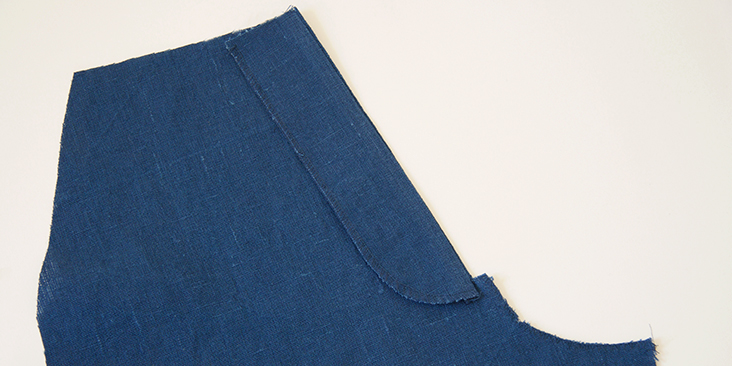
7. Pin fly shield to right front leg (the one that has seam allowance) right sides together. Stitch at a 3/8” seam allowance, stopping 3/8” from the bottom edge.
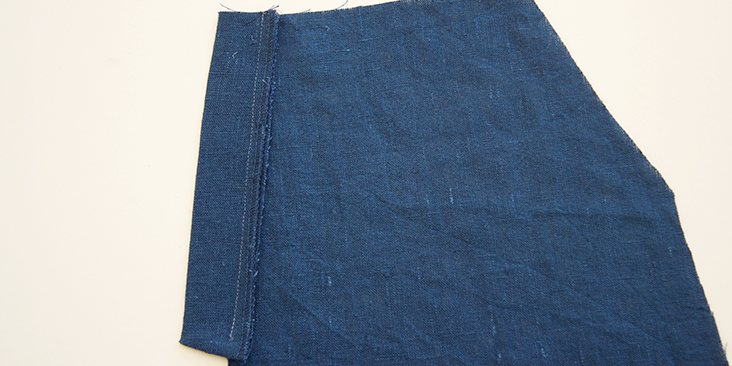
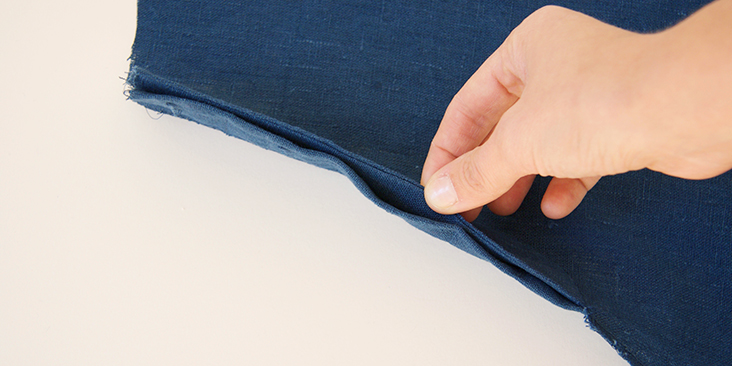
8. Press fly shield away from main fabric and the seam allowance towards the main fabric.
Edgestitch 1/16” away from the fold.
9. Now take your left leg (without the crotch seam allowance) and your fly facing and pin the two right sides together. Stitch at a 3/8” seam allowance, stopping 3/8” from the bottom edge.
Press the facing and the seam allowance away from main fabric.
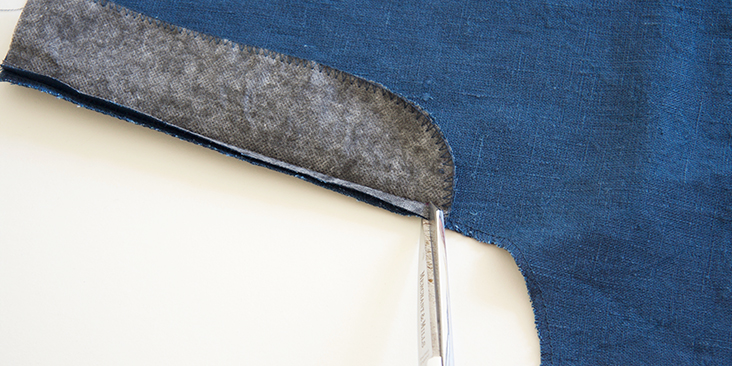
10. Clip to the point where your seam ends (the meeting point of the two seam allowances). Cut to, but not through the seam line.
11. Turn facing to the inside and press. Edgestitch 1/16” away from the fold.
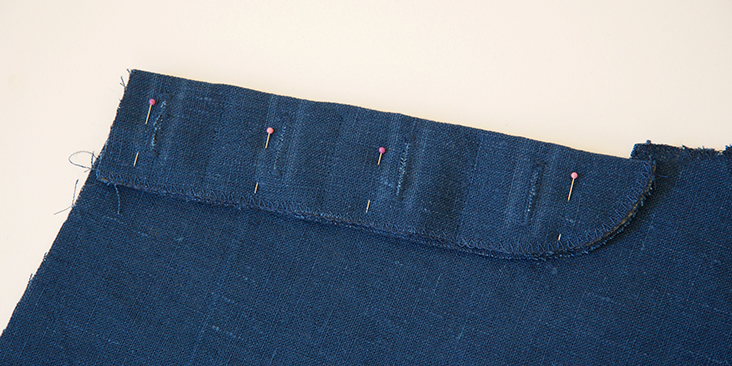
12. Working from the wrong side of your fabric, line up the placket with the left fly facing. It should line up with the top/waist edge and sit about 1/16″ away from the center front seam as you want it to sit just slightly in and not peaking out from the right side.
Great tip suggested by Tessuti: Sew a line of stitching in between each buttonhole to make your button fly sit nice and flat.
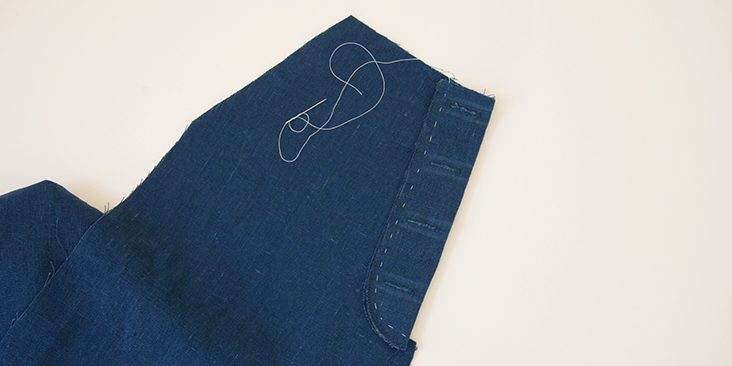
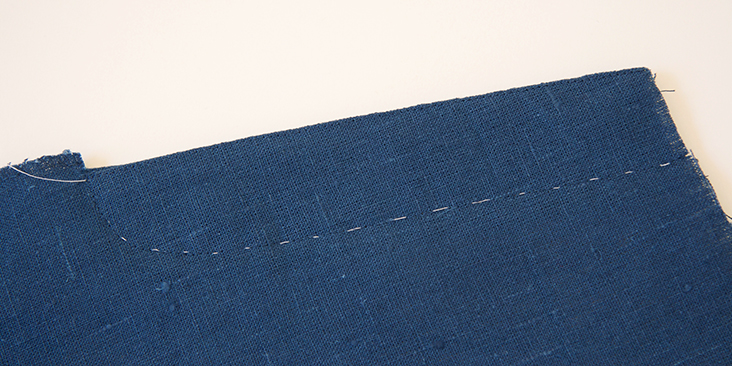
13. Baste the two together (using a contrasting thread) along the stitching line (your seam allowance).
14. Working from the right side, topstitch along basting stitches. Remove basting stitches.
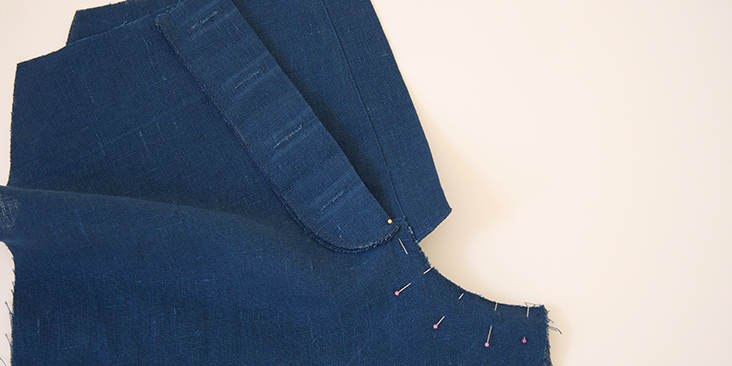
15. Pin the two legs along the crotch right sides together.
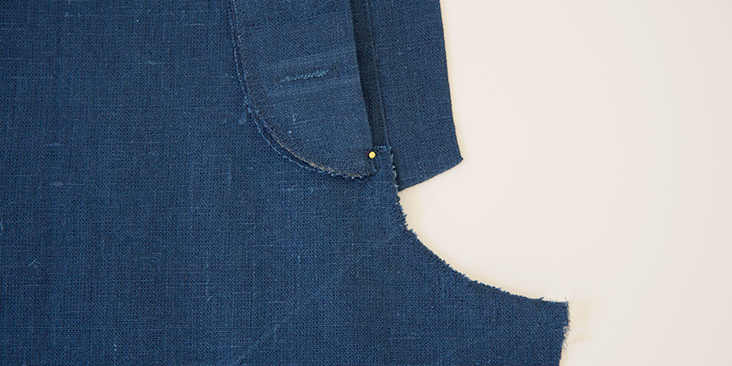
16. Stitch the two legs together along the curve stopping at the dot where the button fly seam ends (marked here with a yellow pin).
17. Press the seam allowances towards left leg and topstitch along crotch seam 1/4” away from the seam. Stitch a small horizontal bar tack 3/8” past front fly stitching to secure the button fly. This really locks the placket, shield and pants together nicely.
18. Follow your pattern instructions to attach the waistband to complete your project.
19. Once you’ve sewn your waistband buttonhole, you can mark the locations of all your buttons. Close the fly and use a pencil to mark the buttons location through the buttonholes.
20. Attach your buttons and you are all done!
There is no need to be deterred by that button fly – now you can do it!








One Comment
Pam Fisher
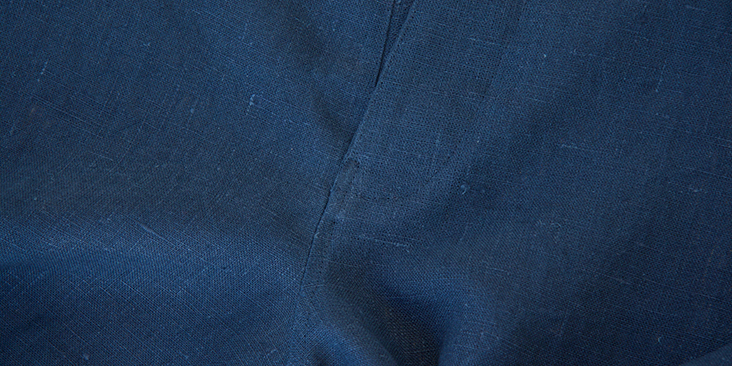
Nice tutorial. Would have been FANTASTIC if it had been done with lighter colored fabric. Ugh. It is really tough to see the details of how this is put together.