Peter Pan Collar Dress Tutorial and Pattern
Today we are kicking off our fall/winter collection of sewing projects perfect for the season and it starts with this beautiful Peter Pan Collar Dress.
With its simple design, straight fit, long sleeves and a cute little collar, this dress is a loose, comfortable and entirely effortless piece of clothing that will very likely become your wardrobe bestie all year long. Plus, it is made of our uber soft linen in a stunning yarn-dyed pale gray that gives the dress a weightless drape and beautiful movement.
Follow this basic tutorial to create a new and versatile addition to your wardrobe in as little as a few hours.
Materials
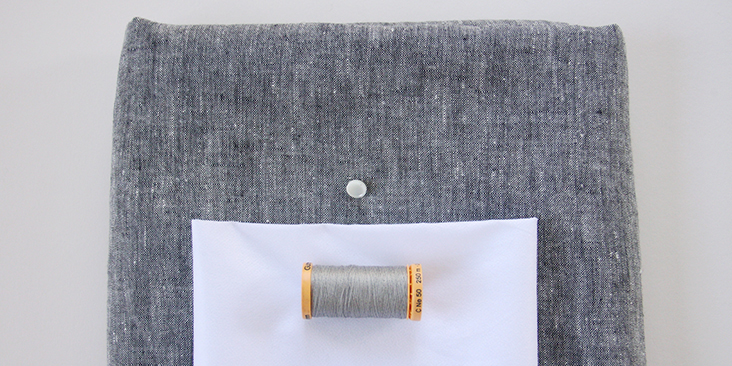
2 yards of IL042 900 – FS Premier Finish – 100% Medium Weight Linen
Matching sewing thread, fusible interfacing, one button
Tools
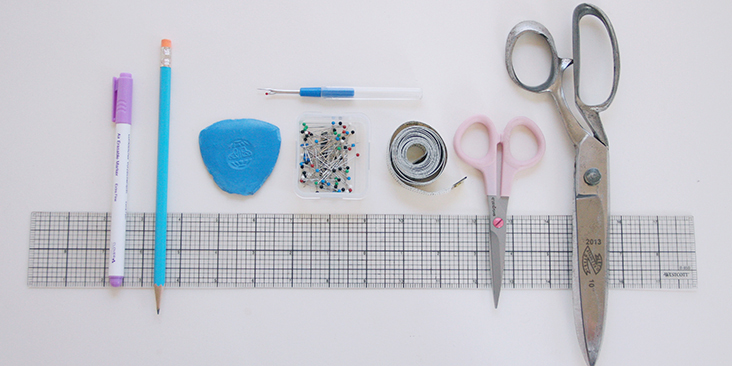
Pattern paper, pen, chalk, scissors, measuring tape, ruler, pins, seam ripper, fabric marker, sewing machine
Difficulty
Beginner
Time
3-4 hours
Pattern
You can access the dress pattern by following this link HERE and the printable Peter Pan collar template can be found HERE. Remember to add seam allowances as indicated in the pattern.
Note that you’ll also need to cut a strip of fabric on bias (1,5″ wide and to the length of your entire neckline and 30″ large) for the neckline binding. For detailed instructions on how to cut and make your bias tape please follow this tutorial.
The diagram shows the pattern for US size 6-8 (UK size 10-12). If you need help grading your pattern, please follow this tutorial. If you need help adjusting the pattern for a fuller bust, we have a great Full Bust Adjustment tutorial HERE.
Steps
Note: Prewash your fabric and tumble dry it until it is still slightly moist, dry in room temperature. Iron the fabric so it is easier to work with.
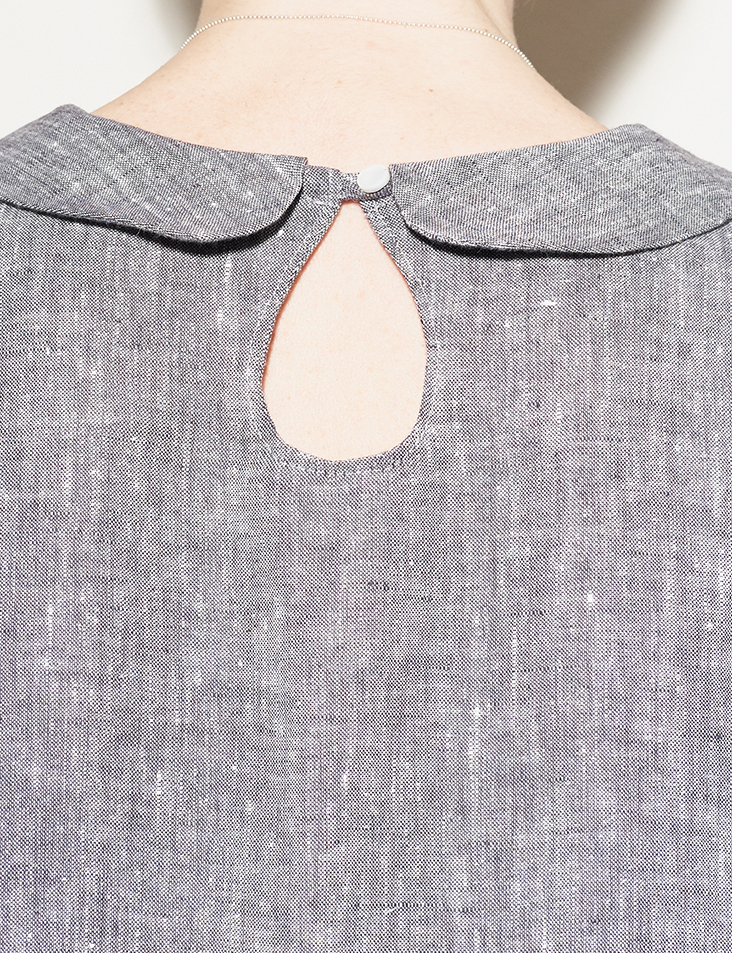
1. Before assembling the front and the back together, you need to sew the back keyhole opening and the button loop closure. The process is very similar to sewing a back slit, which we explained in one of our previous tutorials. The only difference is in shaping. With the keyhole opening, you stitch a rounded shape (we recommend to transfer it to the interfacing first with a fabric marker) and clip around the curve to release the tension. The rest of the steps are the same.
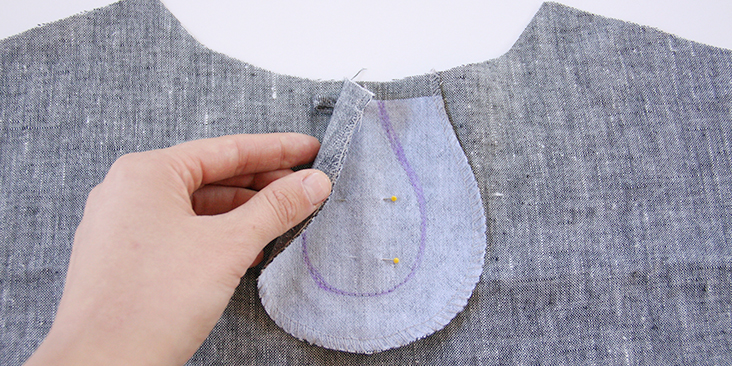
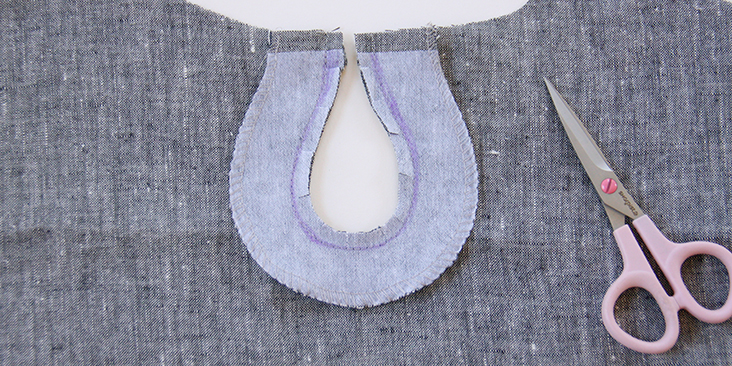
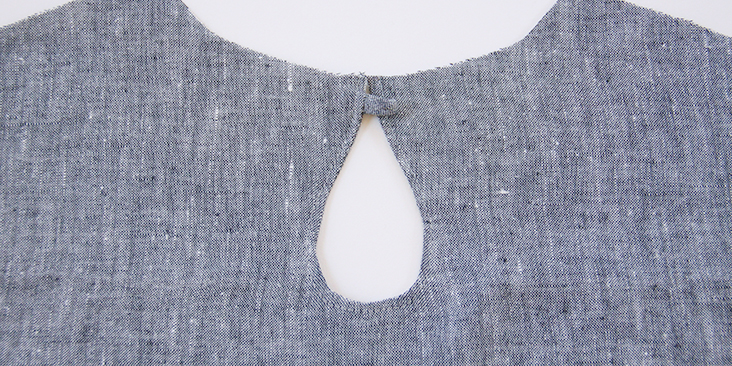
2. Once you’ve finished sewing the keyhole opening and attached a button loop (do not attach the button yet), you can assemble the front and the back of the dress right sides together by pinning the two pieces at the shoulders.
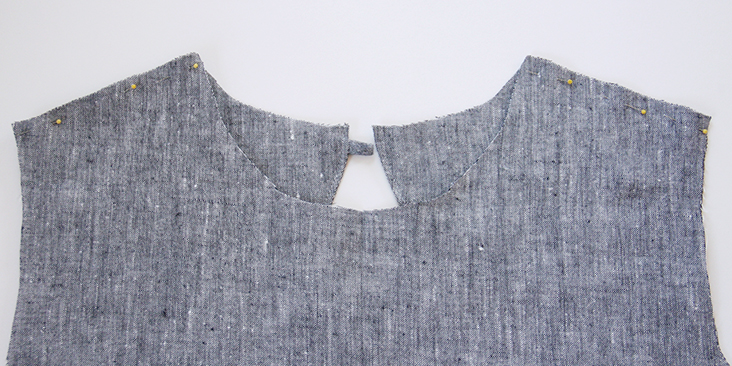
3. Sew the shoulder seams right sides together at 3/8″ (1 cm) seam allowance, remember to backstitch.
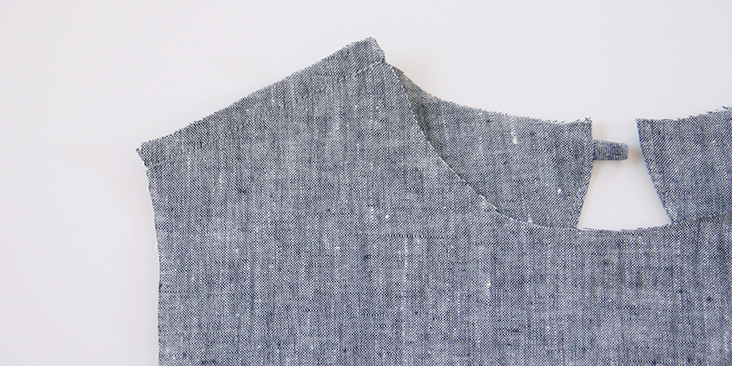
4. Trim the seam allowance down to 1/4″ (6 mm) and serge or zigzag the raw edges together to prevent the fabric from fraying. Press the seams flat folding the serged/zigzagged edges towards the back of your dress.
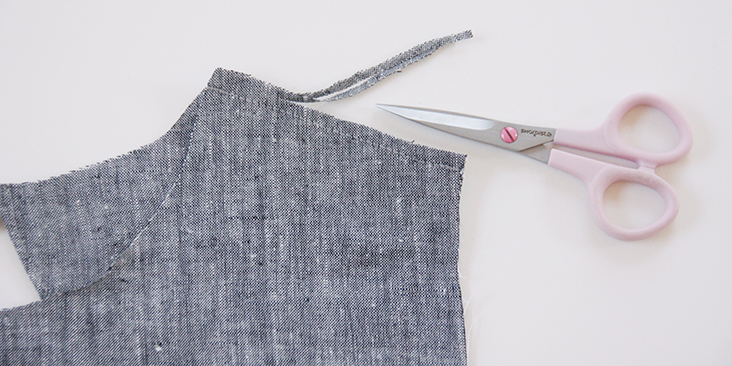
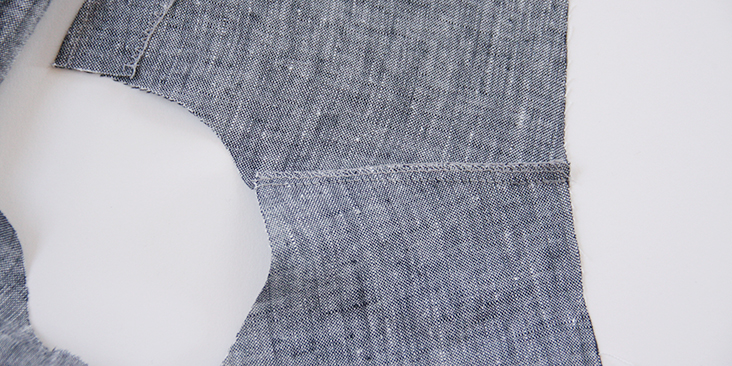
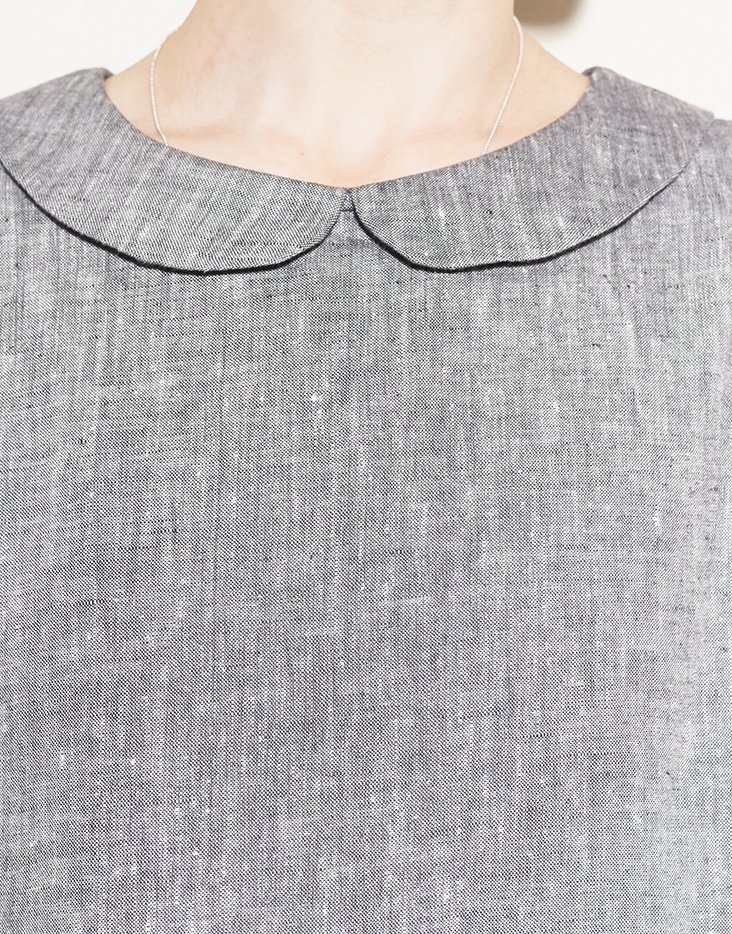
5. Attach the Peter Pan collar to your neckline following this step-by-step tutorial.
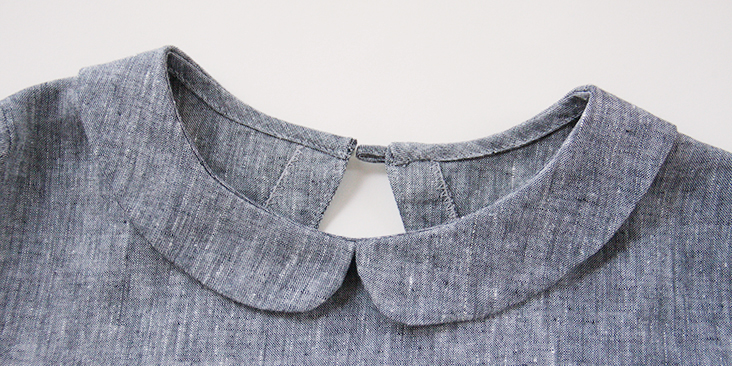
6. Now is a good time to sew the button on using your needle.
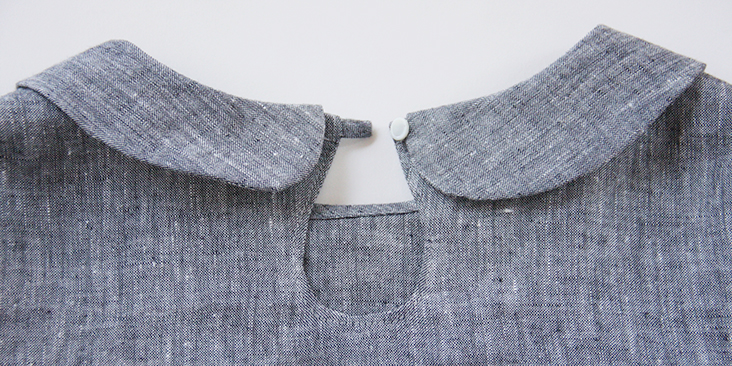
Now that we’ve finished with the neckline, we can attach the sleeves.
7. Pin the sleeves to the armholes right sides together.
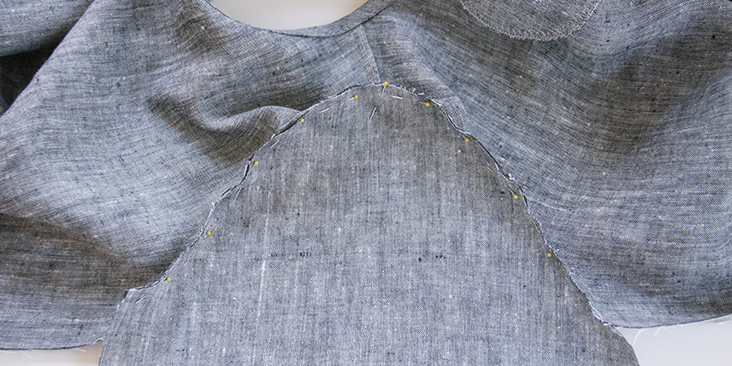
8. Sew at a 3/8” (1 cm) seam allowance.
9. Serge or zigzag the raw edges together to prevent the fabric from fraying. Press the serged/zigzagged seam allowances up towards the sleeves.
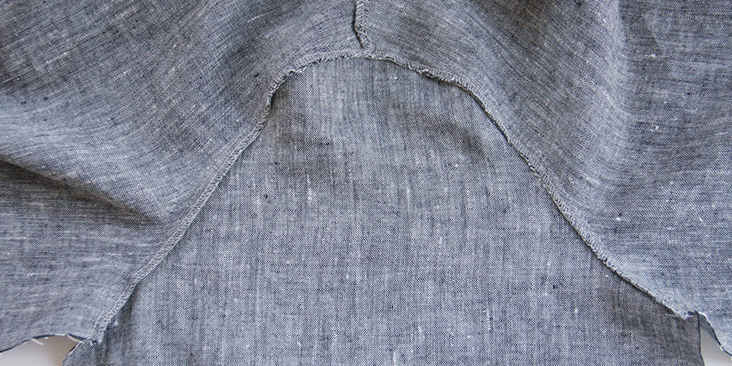
10. Sew the sleeves and the side seams right sides together at a 3/8” (1 cm) seam allowance. Finish the raw edges with a serger or a zigzag stitch and press the seams flat folding the serged/zigzagged edges towards the back of your dress.
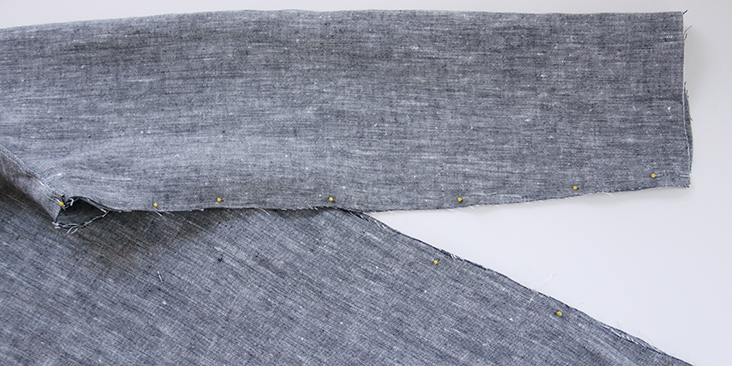
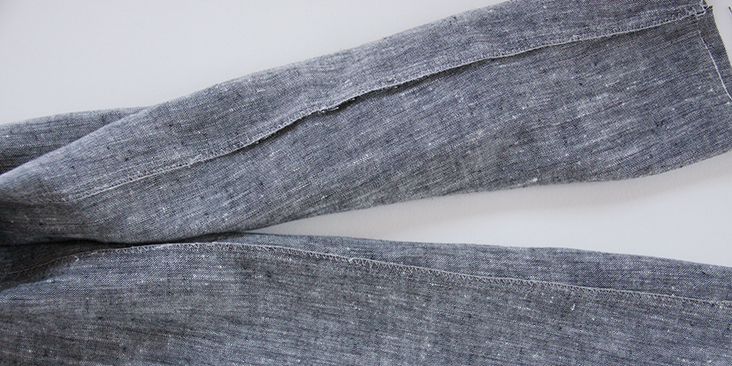
11. Finish the sleeve openings with a rolled hem. Fold the fabric twice towards the wrong side, 3/8″ to 1/2 inch, press, pin, and stitch.
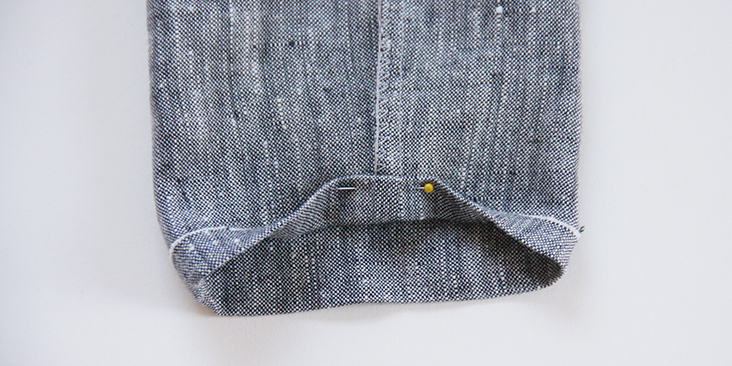
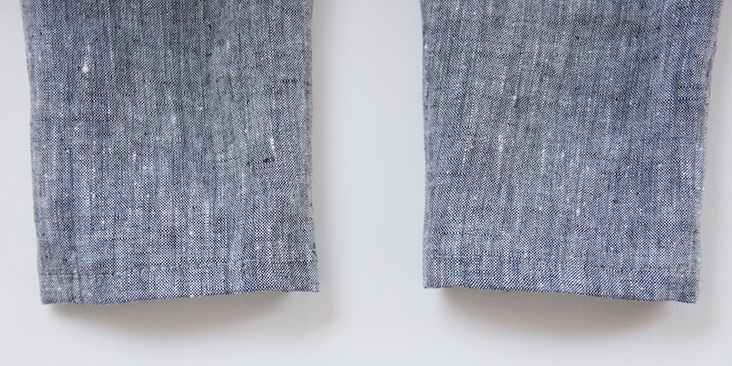
12. Finish the bottom hem the same way you finished the sleeves: fold the fabric twice towards the wrong side, 3/8″ to 1/2 inch. Press, pin, and stitch.
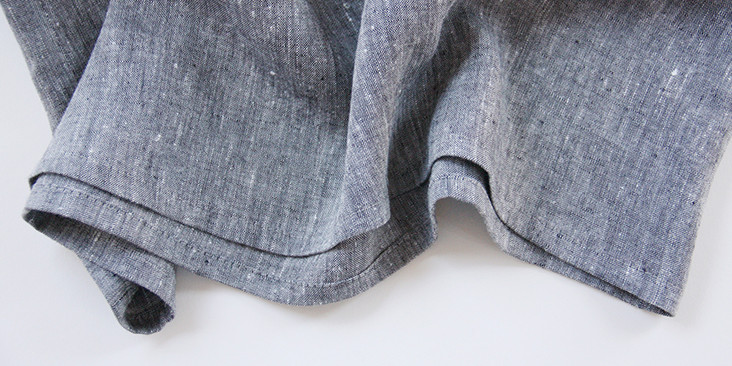
Give it a good press and your new dress-up-or-down, chic, versatile dress is finally done!













19 Comments
Alexa Tawadrous
I love the style of this dress, and think it makes for a very classy cocktail and fun dress. Thank you!
Emilia Robescu
Hello! This is the dress I was looking for so long, and I am so glad I found it. As for the pattern, I don`t quite understand how to print it. I am used to patterns where you stick together the pages and I am confused now. Can you help me, please? Thank you!
Jieun Lee
The patterns for this dress and the peter pan collar don’t seem to be working. 🙁 Possible to fix it, as I would like to see the patterns before I purchase fabric for it. 🙂
Lilianne Iskander
I cant download the pattern peter pan collar . i do like it very much and i cant wait to sew it with nice linen fabric
Suzy Roques
Bonjour Rima. Vos modèles pour femmes sont très élégants, épurés et stylés. Les tutoriels sont très précis même pour une française comme moi. Est-il possible d’avoir des patrons de robe et de vêtements pour petite fille s’il vous plait ? Mille mercis pour votre réponse. Suzy
millimarg
Is the model in the photos wearing a dress made with the size 6-8 pattern provided in the link? I’m hoping to sew the dress (it’s lovely!) but am nervous about grading down a pattern since I’ve never done this before. I’m generally a size 4 in dresses.
Rima Khusainova
Hello and yes, the model is wearing US size 6-8. This dress is straight and slightly loose, so for your size 4 I’d just grade the shoulders, armholes and sleeves.
Louise
I think this dress looks great!
Rima Khusainova
Thank you so much, Louise! x
Vicki H
i love the dress – it has a “young vibe” and I am looking forward to making it! thank you!!!
Rima Khusainova
Thank you so much Vicki! It warms my heart to hear that 🙂
Vicki H
The Peter Pan collar is showing up in the retail stores this fall – so this is spot on for updating my wardrobe! XO
Rima Khusainova
Exactly! This collar is definitively very trendy this season 🙂
Susan
Classic- yes.
Another color in the collar, maybe? would suggest that people experiment with the pattern, IMO.
If this is to be used as a cocktail dress, it would be a welcome change from the “slutty” styles usually shown.
I’d add glitz/glitter in a scarf or something other item to glam it up.
Thanks for the nice tutorial.
Rima Khusainova
Thanks for your comment Susan and for the great idea about experimenting with the collar. A contrasting collar would definitively add some pop of color to the monochrome look. I totally agree – there are so many possibilities for embellishment!
Alice Elliot
Nice tutorial but I think this dress looks more like women’s prison garb than a cocktail dress.
Ms. T
I was thinking along similar lines! Even on a super skinny, waif like model….that is one unflattering dress! Maybe in a more vibrant color….maybe on a model with some breasts….
Denise
I was thinking the same thing. Besides the drab gray, it needs a shaplier silhouette. The stark lighting doesn’t help.
Rima Khusainova
Thank you all for your input! We have plenty of other colors to choose from at our store so I’m sure that you will find something more to your liking. As for the fit – it’s the most classic straight fit midi dress that is supposed to suit most people. We like to keep our tutorials simple but you can always do the bust adjustment and add some darts for a more fitted look. What we wanted to do here is to give some ideas and maybe some inspiration for your own personal projects.