


Pattern Review: How to Customise Your Charlie Pattern Set
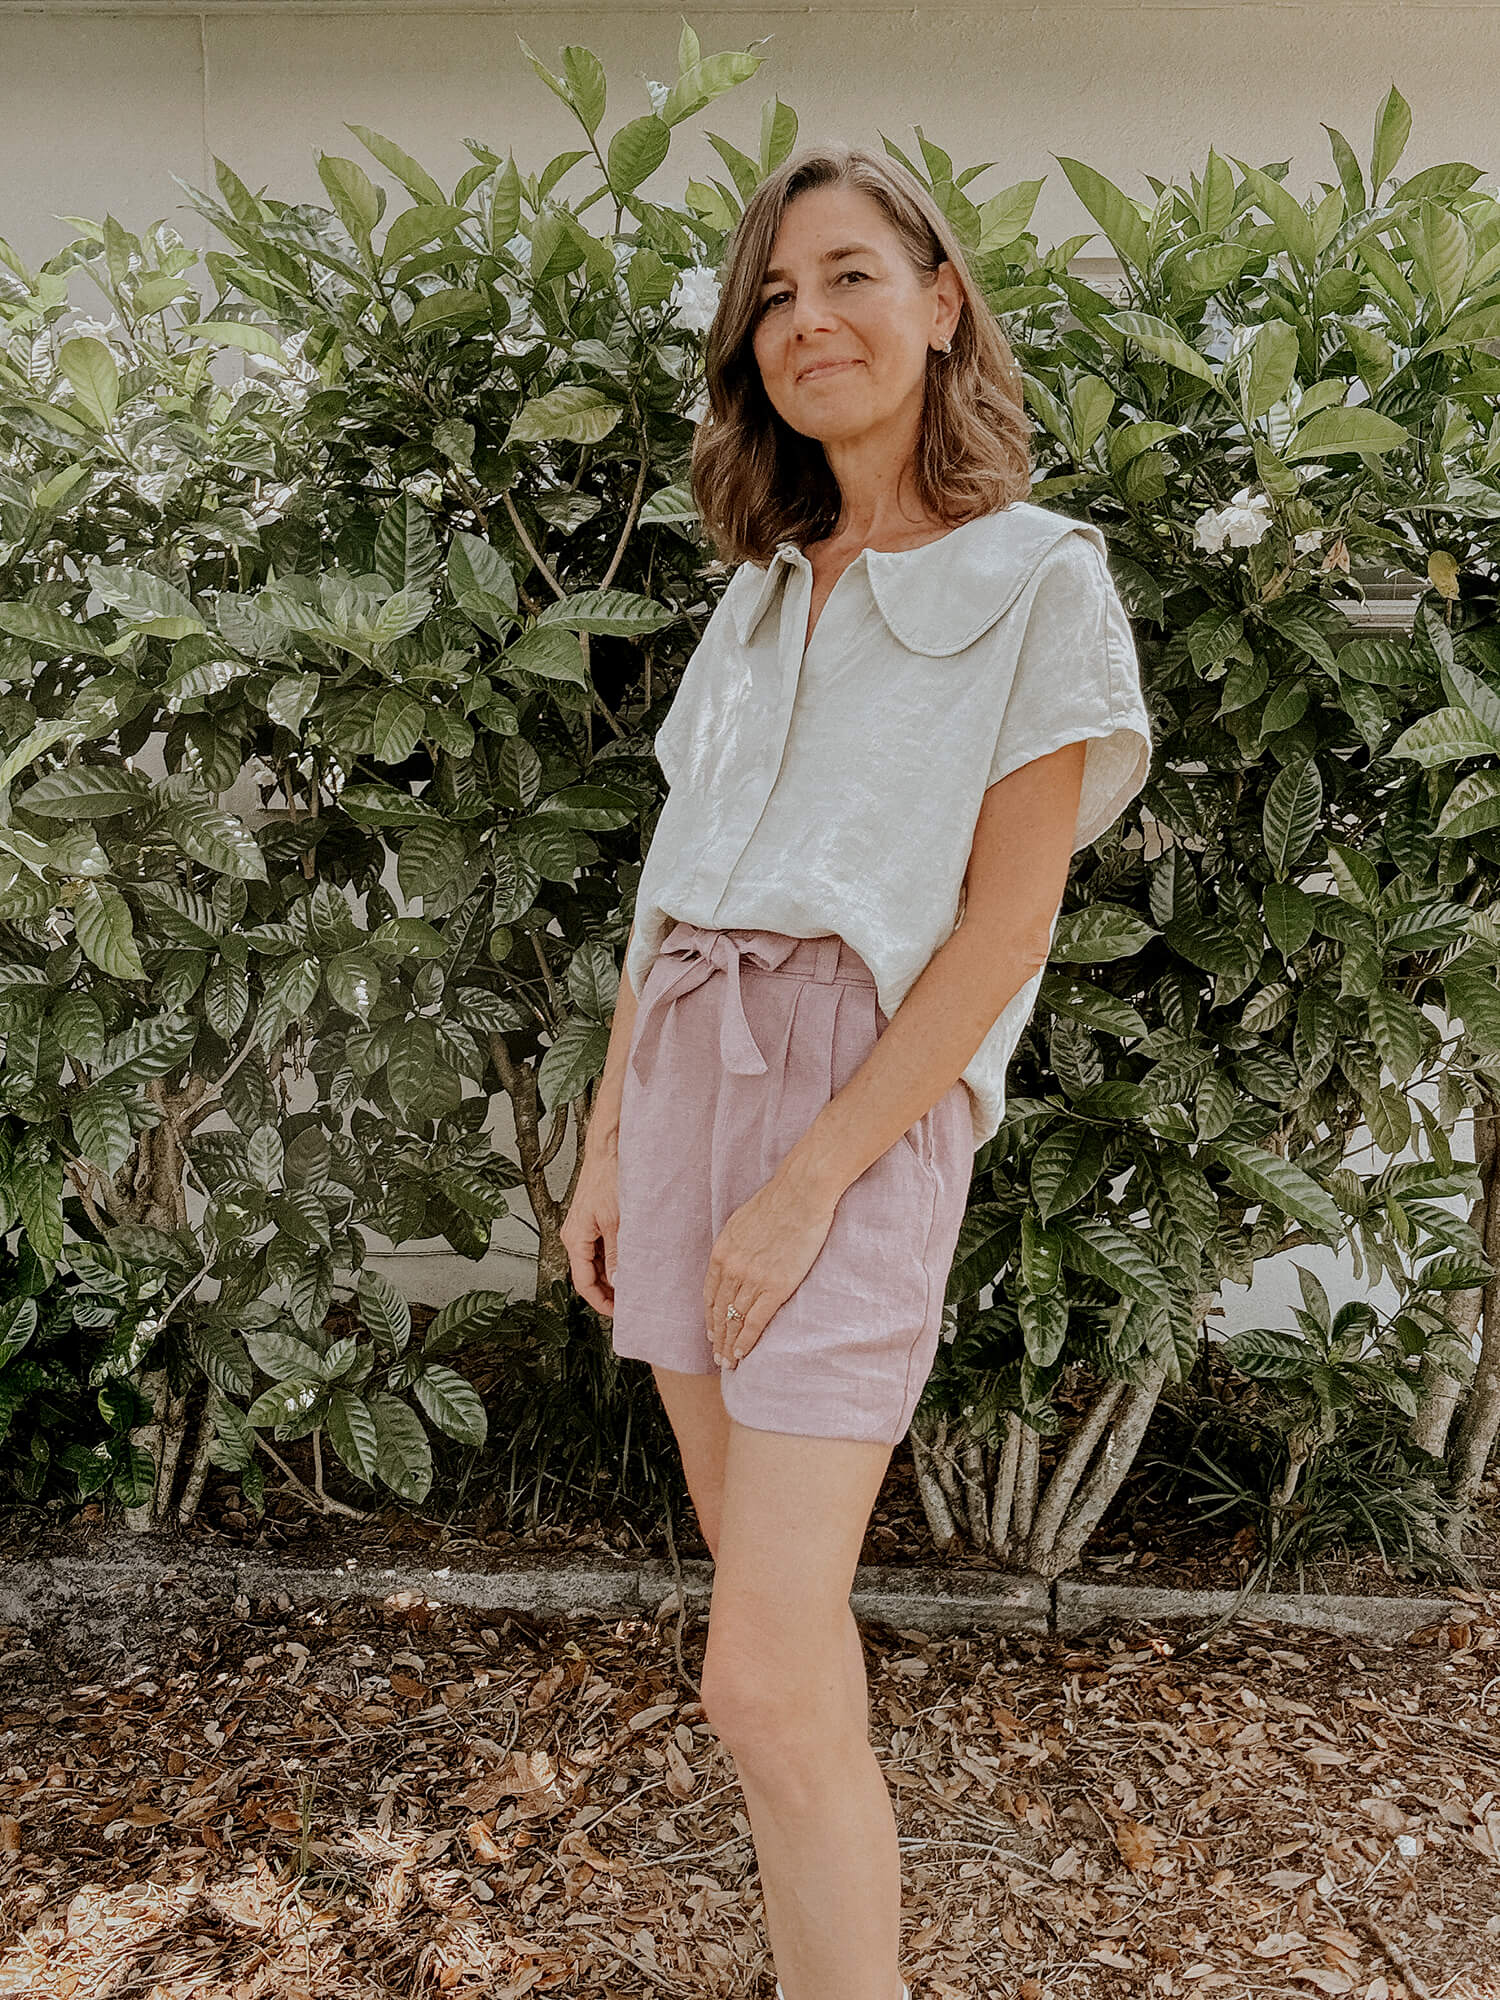
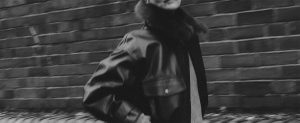
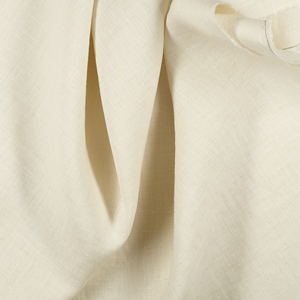
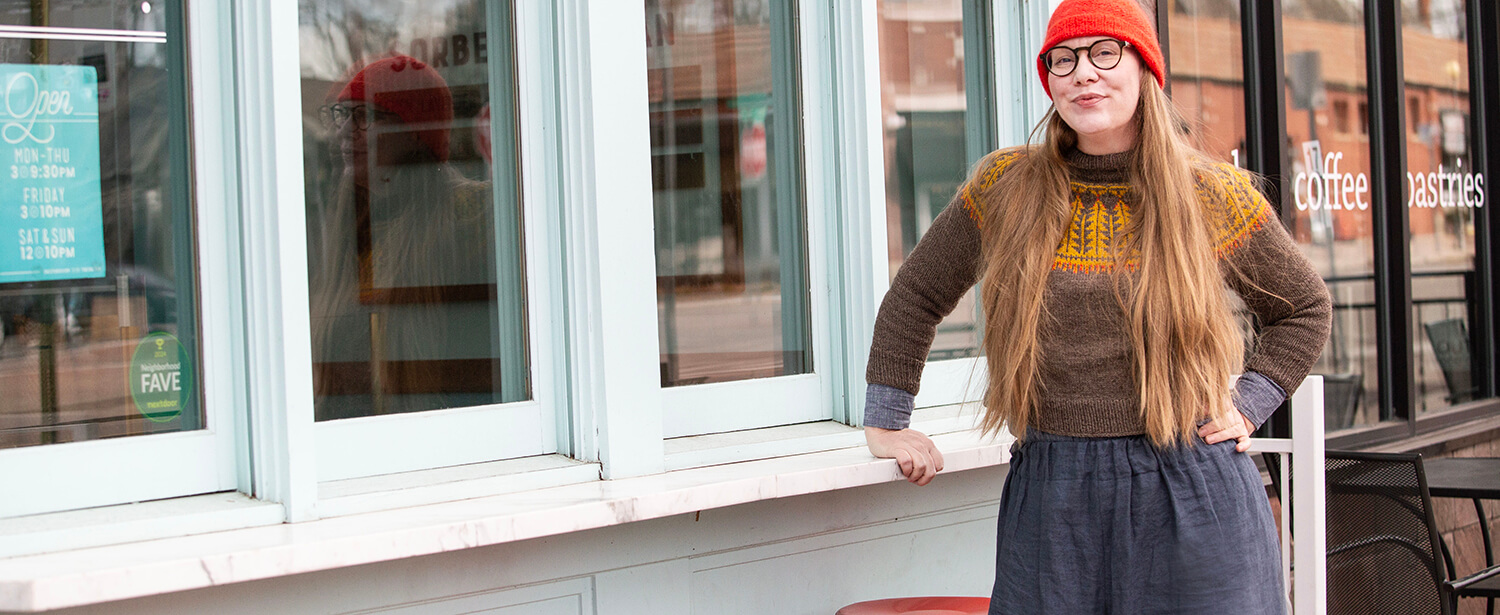
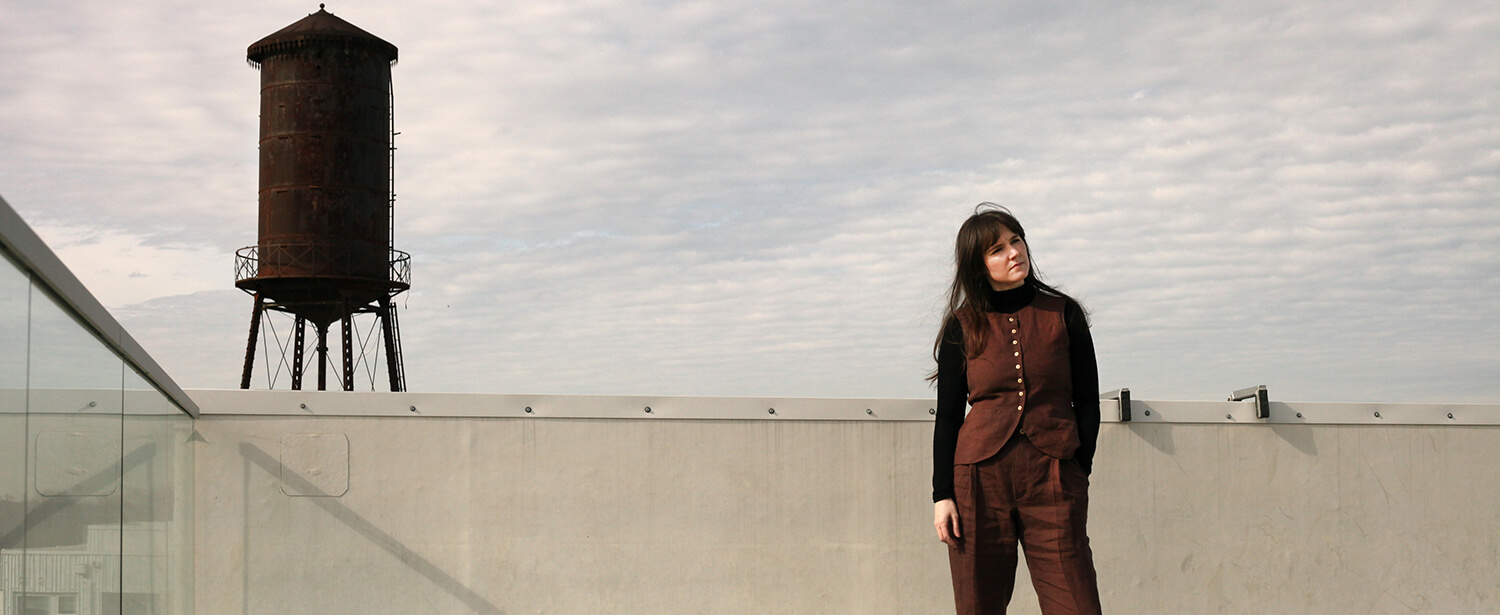
Wearing customised FS Charlie shorts and shirt made with FS Lilas and Angora midweight signature finish linen
As always, the FS premium Printed Pattern arrived at my house neatly in a tube with a separate box of fresh folded linen full of potential. No matter if you’re a beginner or a pro, this delivery is a super exciting moment for any sewist. The Charlie Pattern comes with 6 items 2 top styles, 1 dress, 2 short lengths and a full length pant. I chose this pattern because I thought the shape was perfect for the custom changes I would want to make. So here we go, let’s customize an already lovely and classic pattern.
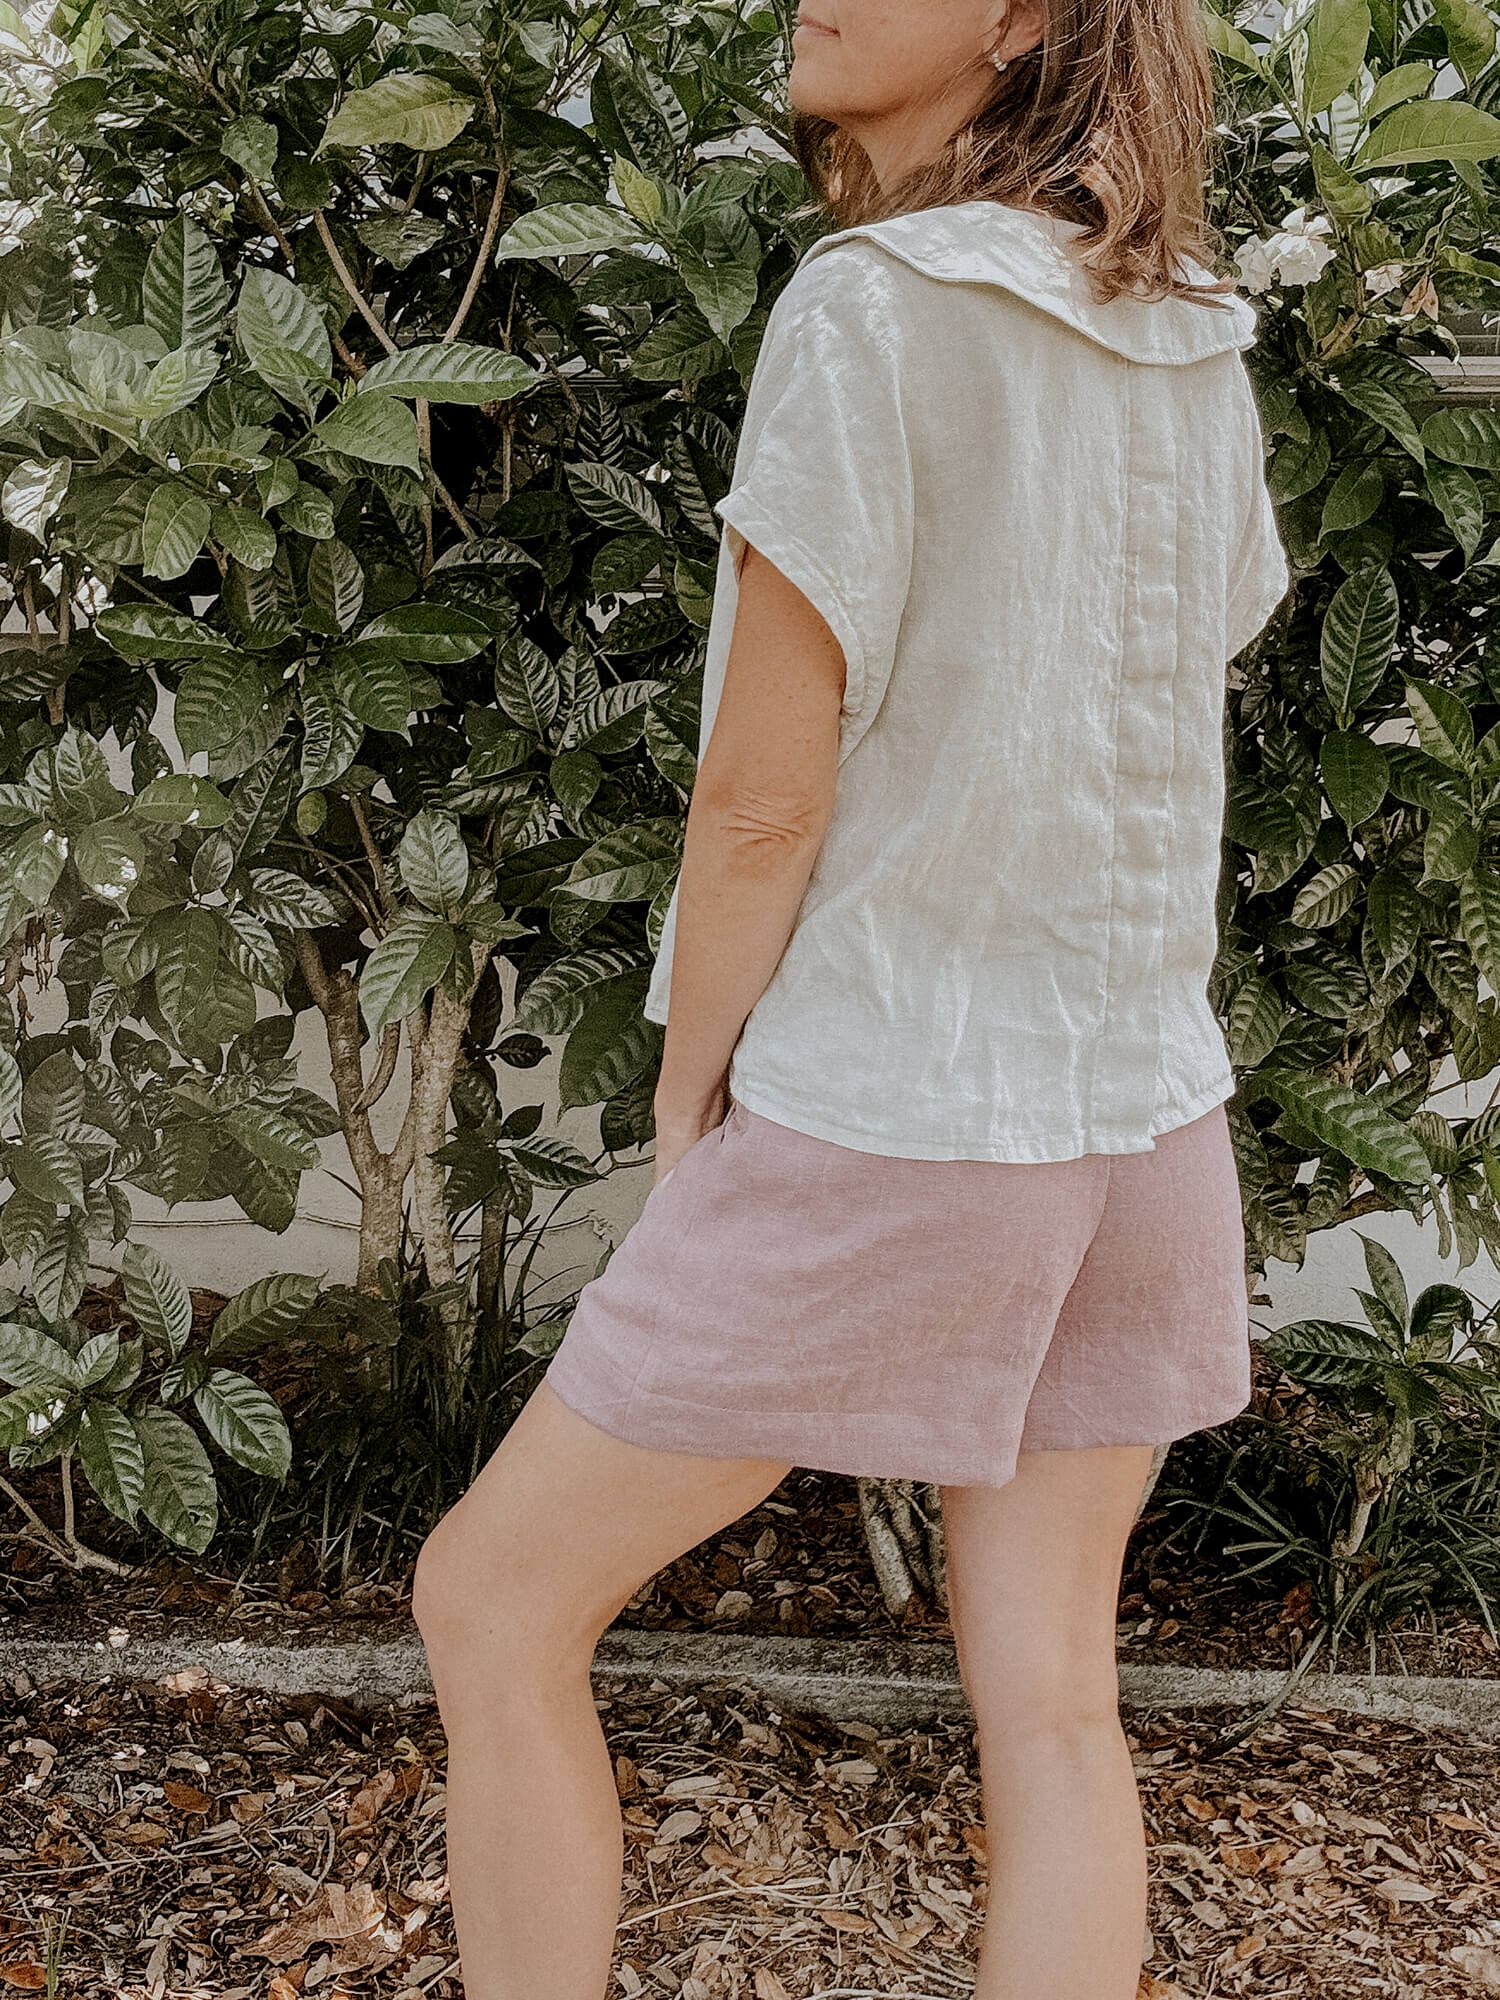
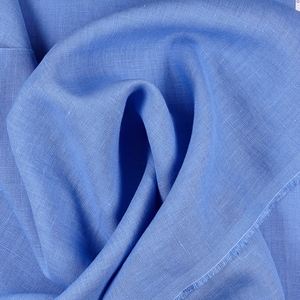
Wearing customised FS Charlie shorts and shirt made with FS Lilas and Angora midweight signature finish linen
I started with the shorts. Well, to be fair, I started with laundering my fabric. For me, that is the absolute rule – wash, dry, iron before anything I make. Now back to the shorts. I live in Florida and I’m comfortable in shorter shorts so I picked the shorts style not the bermudas. I cut out all the pieces except the belt. The pattern is very clear and easy to follow with the accompanying drawings. If you’re a beginner, you may need to slow down for the pleat portion of the directions but you’ve got this. Once I finished step 6, I stopped to try on the shorts.
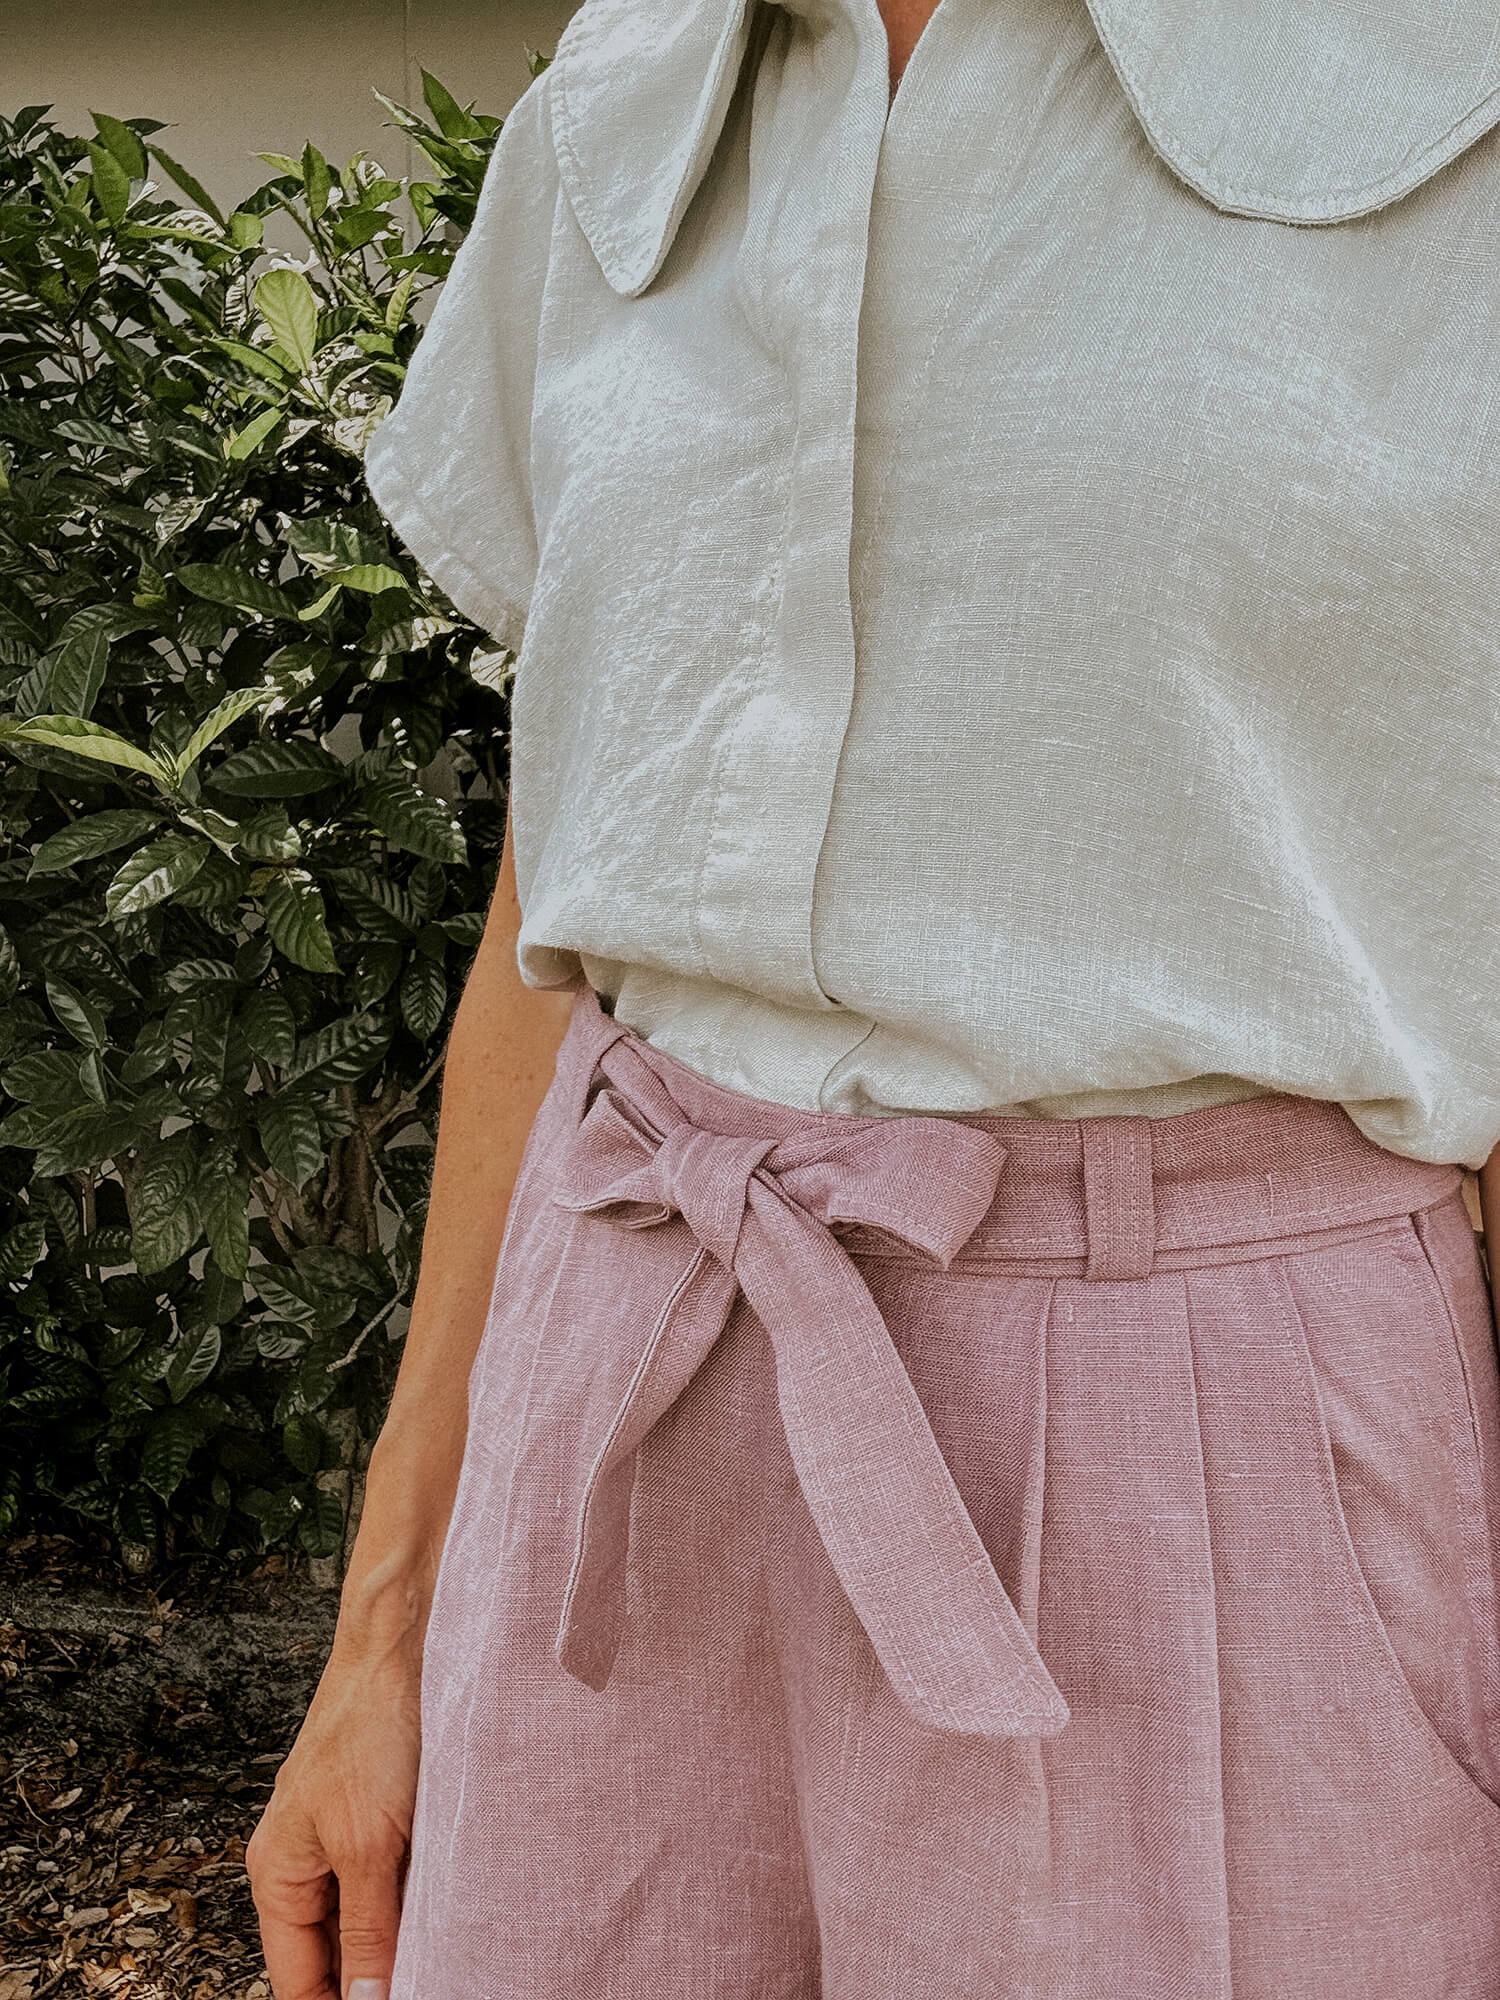
Wearing customised FS Charlie shorts and shirt made with FS Lilas and Angora midweight signature finish linen
The design was still a little long for my taste so I cut 2 inches off. While working on the waist band (in the middle of step 8) I decided this would be a very high waist style and carefully trimmed 1” off the top of pieces M/O and P/N. This is the beauty of making your own clothes, customizing the garment to your exact tastes. At this point I was able to finish the shorts exactly as the instructions lead. Thankfully I saved the belt for last because the belt now needed to be more narrow.

Moving on to the top, I picked view A, also known as the Charlie Sleeveless Blouse. In my usual fashion I wanted something a bit different. So I cut out the two main pieces A & B and I waited on the rest. The Blouse is quite long so I cut 5” off the length. I must not have looked closely at the center detail on the photos when I picked the pattern so the fact that this didn’t have buttons took me by surprise. It’s two plackets that are sewn together or overlapping and then are not top stitched fully at the top and bottom for ease over your head and a comfort fit at the bottom.
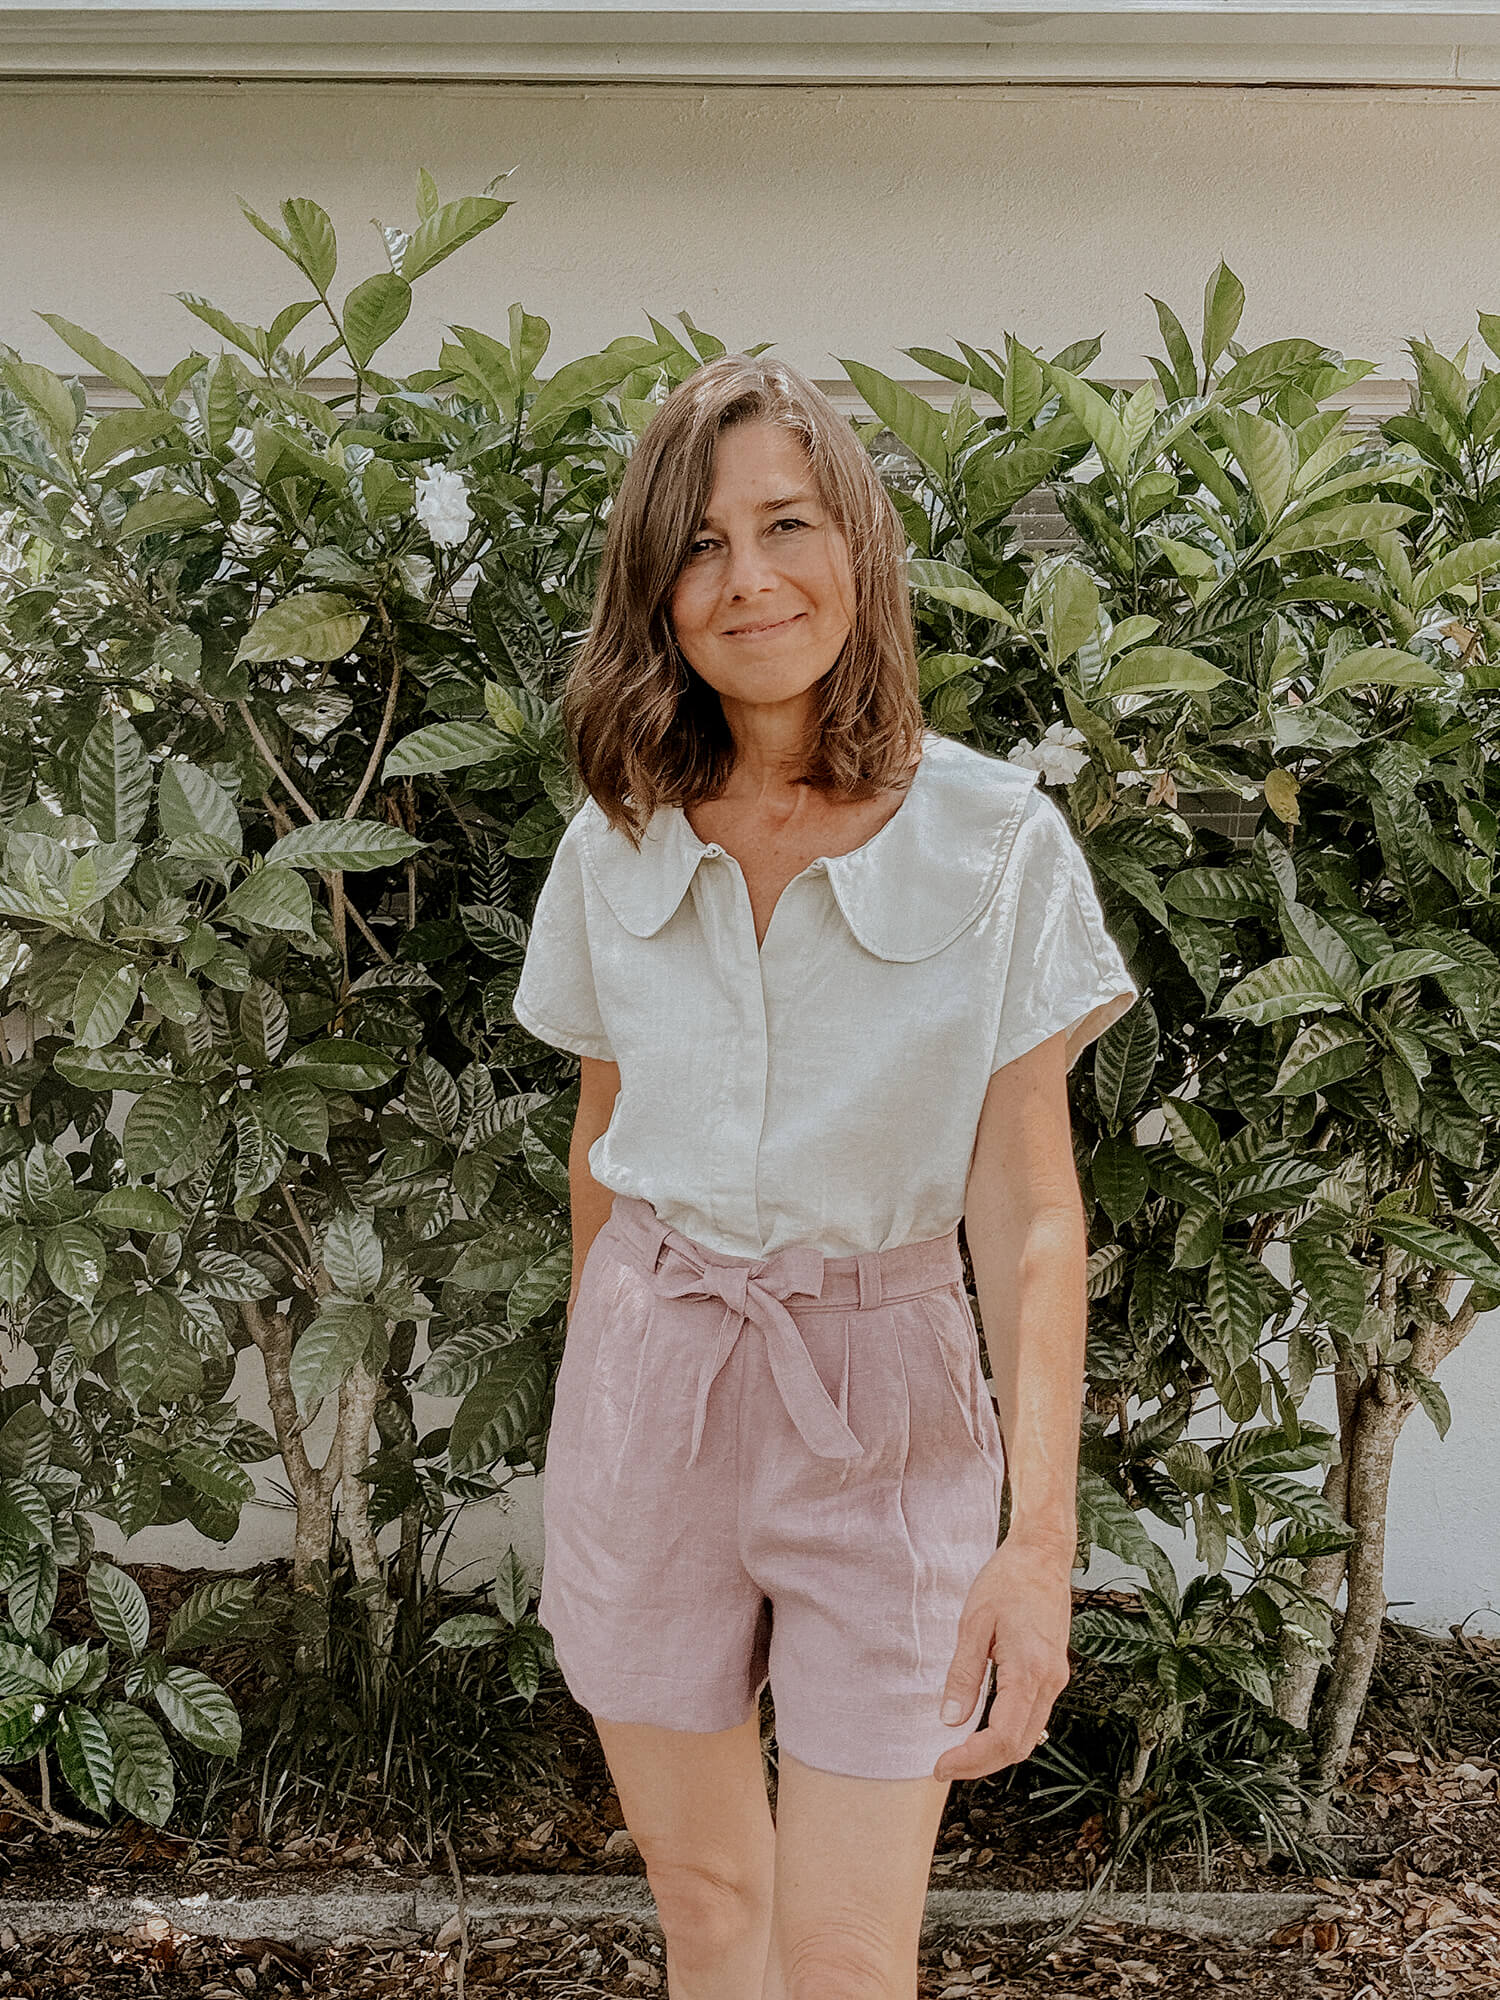
Wearing customised FS Charlie shorts and shirt made with FS Lilas and Angora midweight signature finish linen
Pretty straightforward and simple construction but it’s the collar that I planned to get crazy with. I wanted a Peter Pan oversized collar so I went to Pinterest to gain some inspiration for the shape. If you have some experience with patterns, especially collars, you can construct your own like I did OR use parts from other patterns in your collection. I think this turned out to be a fun twist on the Charlie Blouse. I hope you enjoy the encouragement to make these garments your own. Happy sewing!
About Author
Alisha Cooke
Ma Ma Osa is a handmade clothing brand that offers heirloom quality garments and patterns, hand-made by a mother. We celebrate the cherished craft of sewing and seek to honor the art of slow fashion in all our practices as a brand.Related posts

Curated By You: Jennifer Coombes Pairs a Zero Waste Pattern With FS Linen
Could you tell us a bit about yourself and how you got into sewing? I feel like it’s almost impossible to think of a time when I wasn’t doing some form of sewing or crafting. One of my earliest memories is riffling through my grandmother’s wicker sewing basket with the shell covered lid and believing…

Embracing Imperfection: Lessons from a Perfectionist Sewist
I’m what you would call a classic perfectionist. I’m detail-oriented and I can set ridiculously high standards for myself. I often obsess over the tiniest of details and naturally notice even the smallest of mistakes. Because of this, I can interpret mistakes as signs of imperfection or even failure. I can also have a pretty…

Vibrancy and Fun: The Playful Pattern Design of Ottoline
There is a spirited and playful quality to the textile and wallpaper designs of Dutch maker Ottoline de Vries, who established her eponymous company, simply called ‘Ottoline’, in 2011; since then her work has become an international success, gracing magazine spreads and interiors throughout the world. Ottoline, now based in London, is widely recognised for…

Curated By You: Madison Best Pairs Arlo Vest with Georgia Trousers
Could you tell us a bit about yourself and how you got into sewing? Hello, I’m Madison! I have been creative since I was really little, from drawing dress designs, to ballet, to film photography. The very first time I used a sewing machine, I was a Counselor-in-Training at an arts camp. They assigned me…
Behind the Scenes With: Natasha Kelly, Founder of Studio Wylder
What is Studio Wylder? Tell us a little about how it all started. Studio Wylder is a women’s clothing brand built on strong ethical and sustainable foundations. We create small-batch collections of thoughtfully curated, effortless pieces designed to blend beautifully into your existing wardrobe. I started Studio Wylder at my kitchen table in 2020, after…


SEW THIS LOOK


Latest Posts


Leave a comment