


Tutorial: How to Make Puff Sleeves


If you’d like a little extra puff in your sleeve, it just takes a few extra minutes and steps to make it happen.
This tutorial uses the lovely free Eva pattern from Fabrics-Store with the 3/4 sleeve option with an extended hem.
Let’s jump in!
Steps
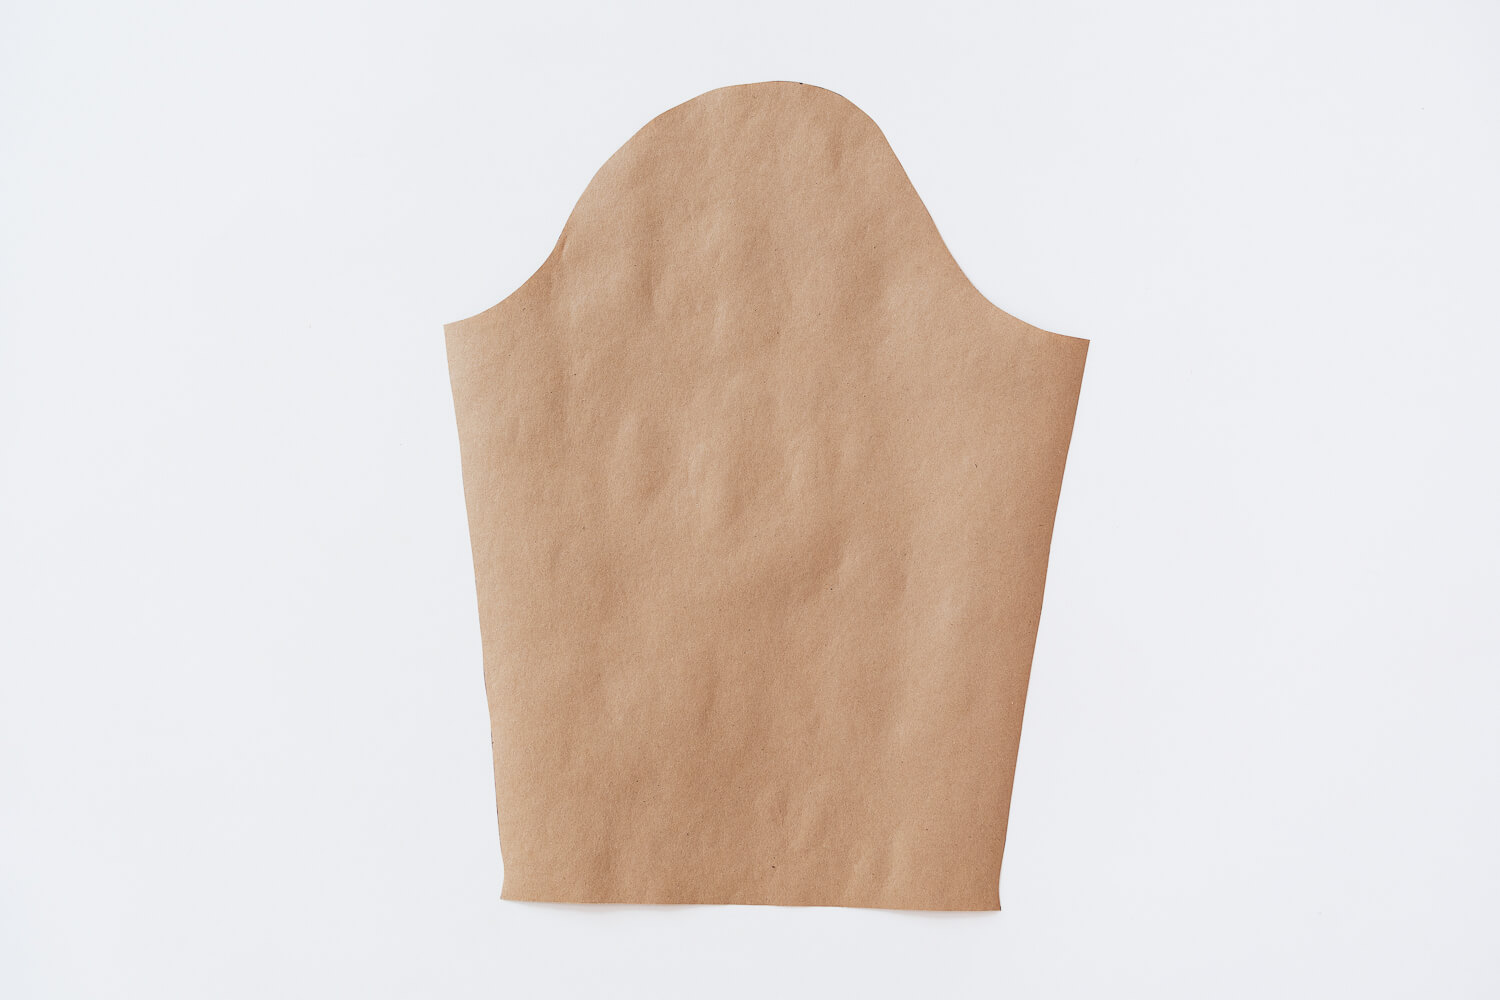
1. Make a copy of the sleeve pattern out of paper or fabric. Gift wrap tissue paper or package paper works great for this if you have some on hand.
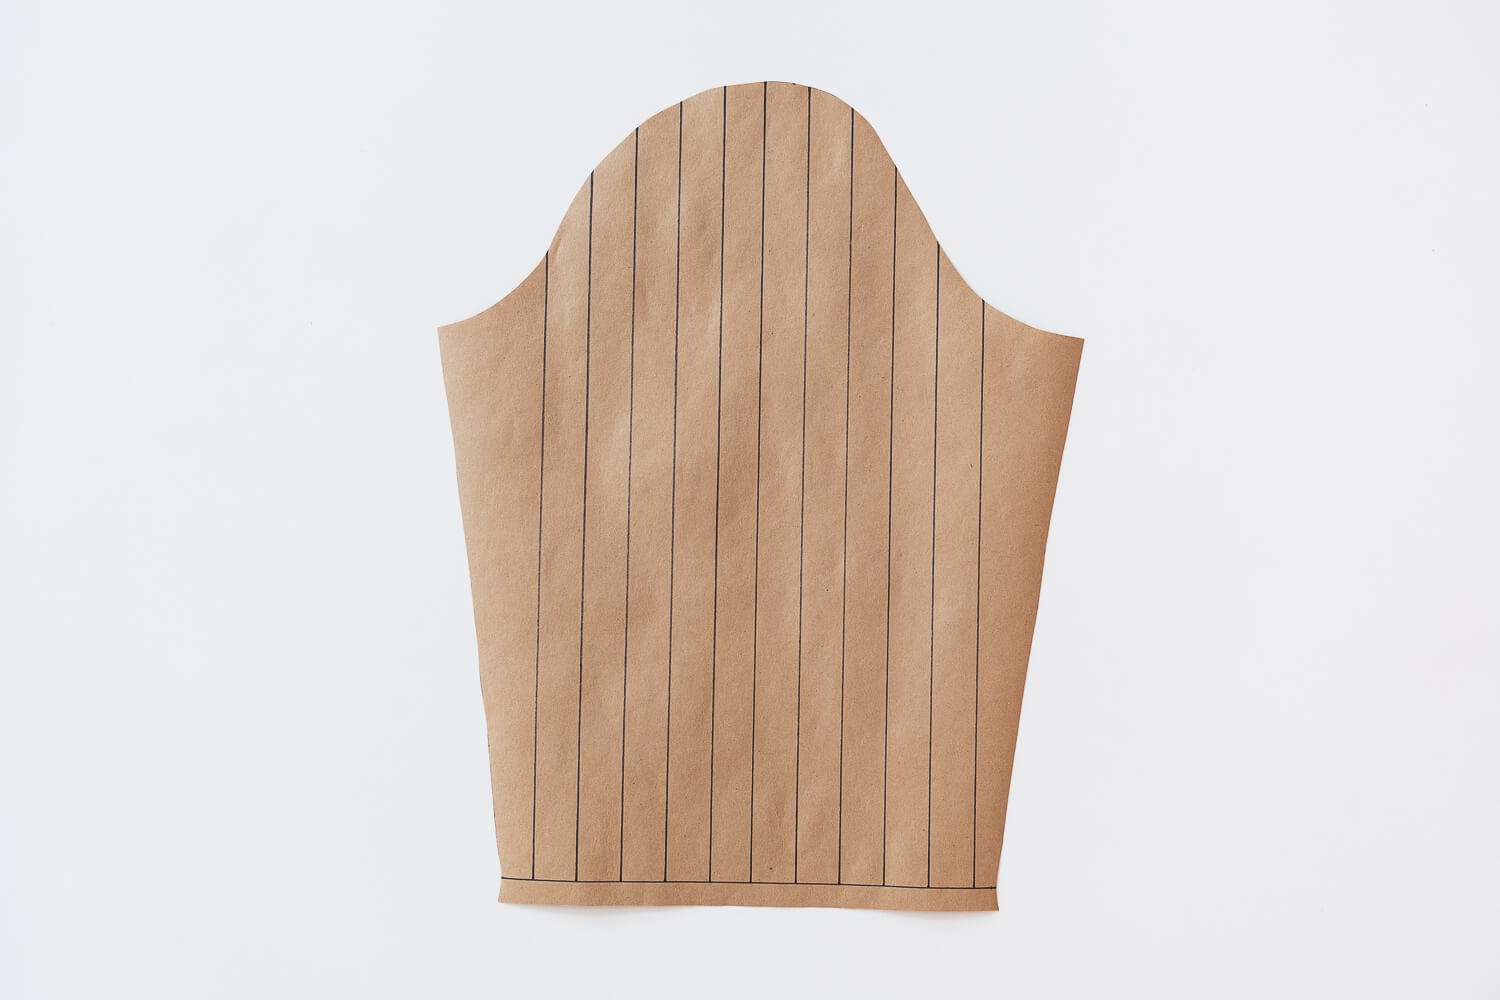
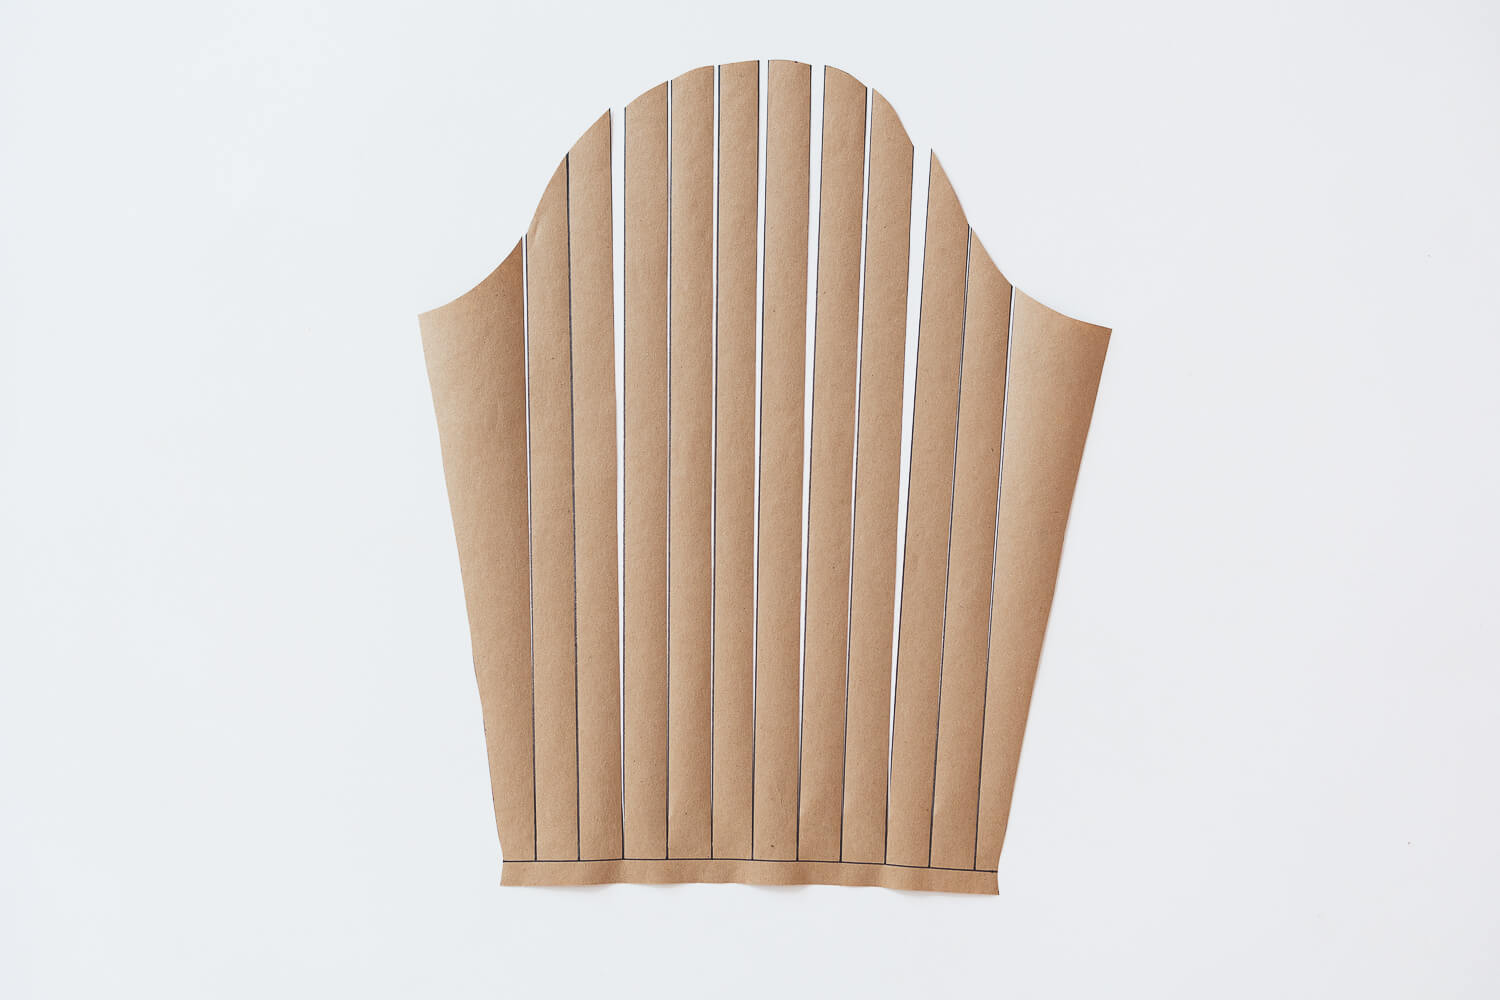
2. Make a series of cuts every 1” (2.5 cm) along the pattern copy. Instead of cutting all the way through, leave a short space intact at the bottom to hold the pattern together.
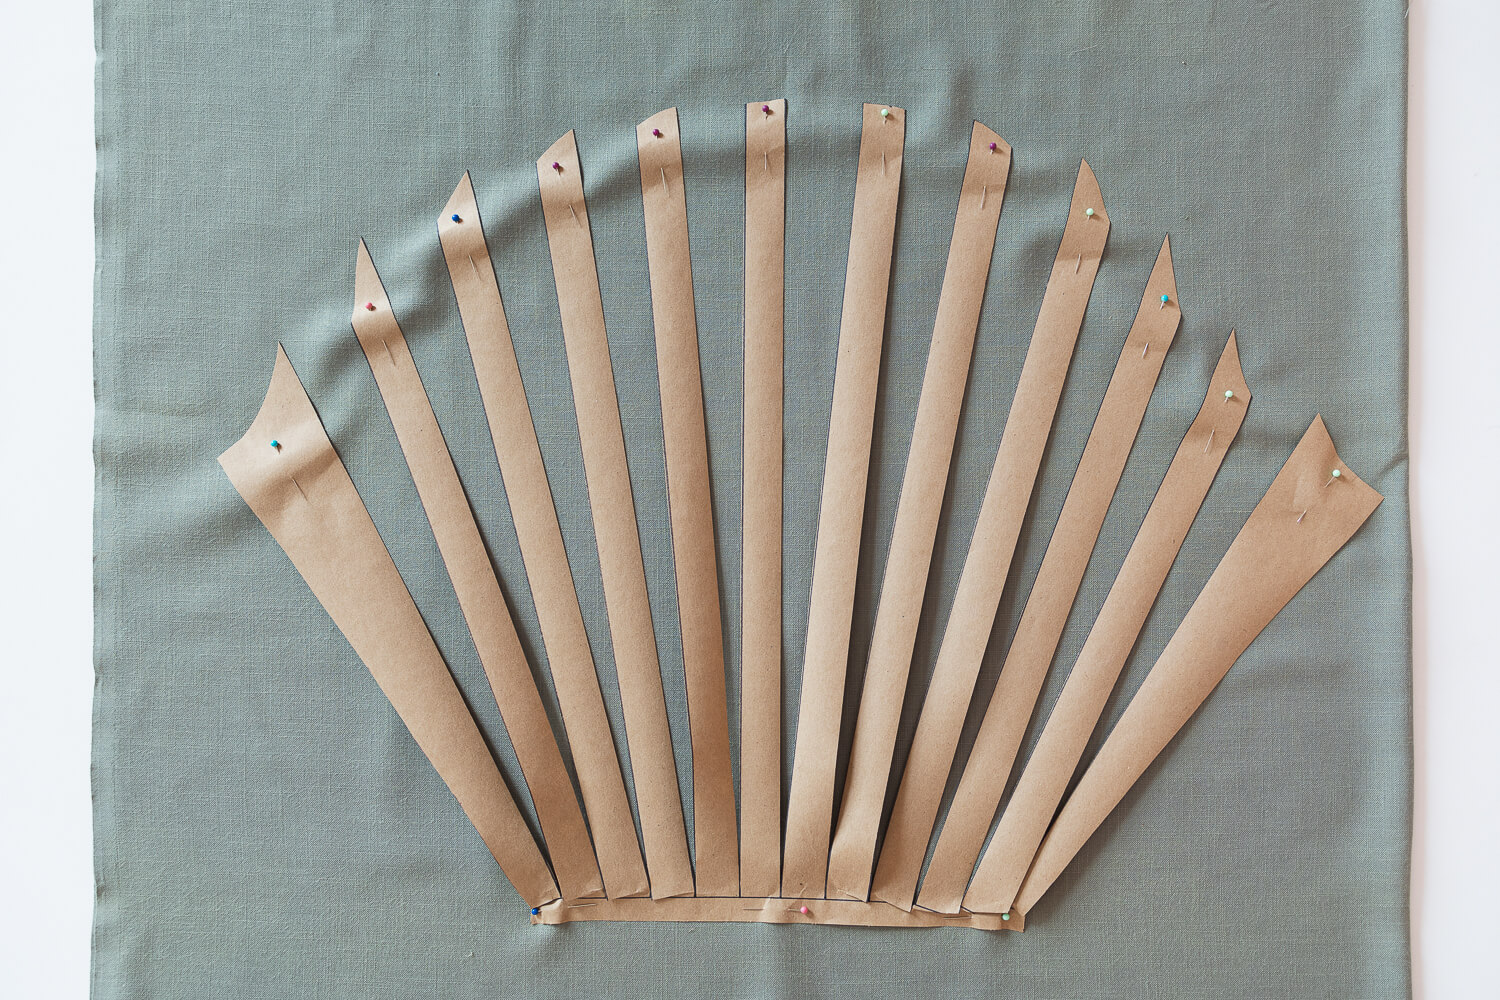
3. Lay the sliced pattern on the fabric. Pin the bottom of the sleeve in place to keep it level. Then pin each slice in place. The more you space out each section, the more puff you’ll get in the sleeve.
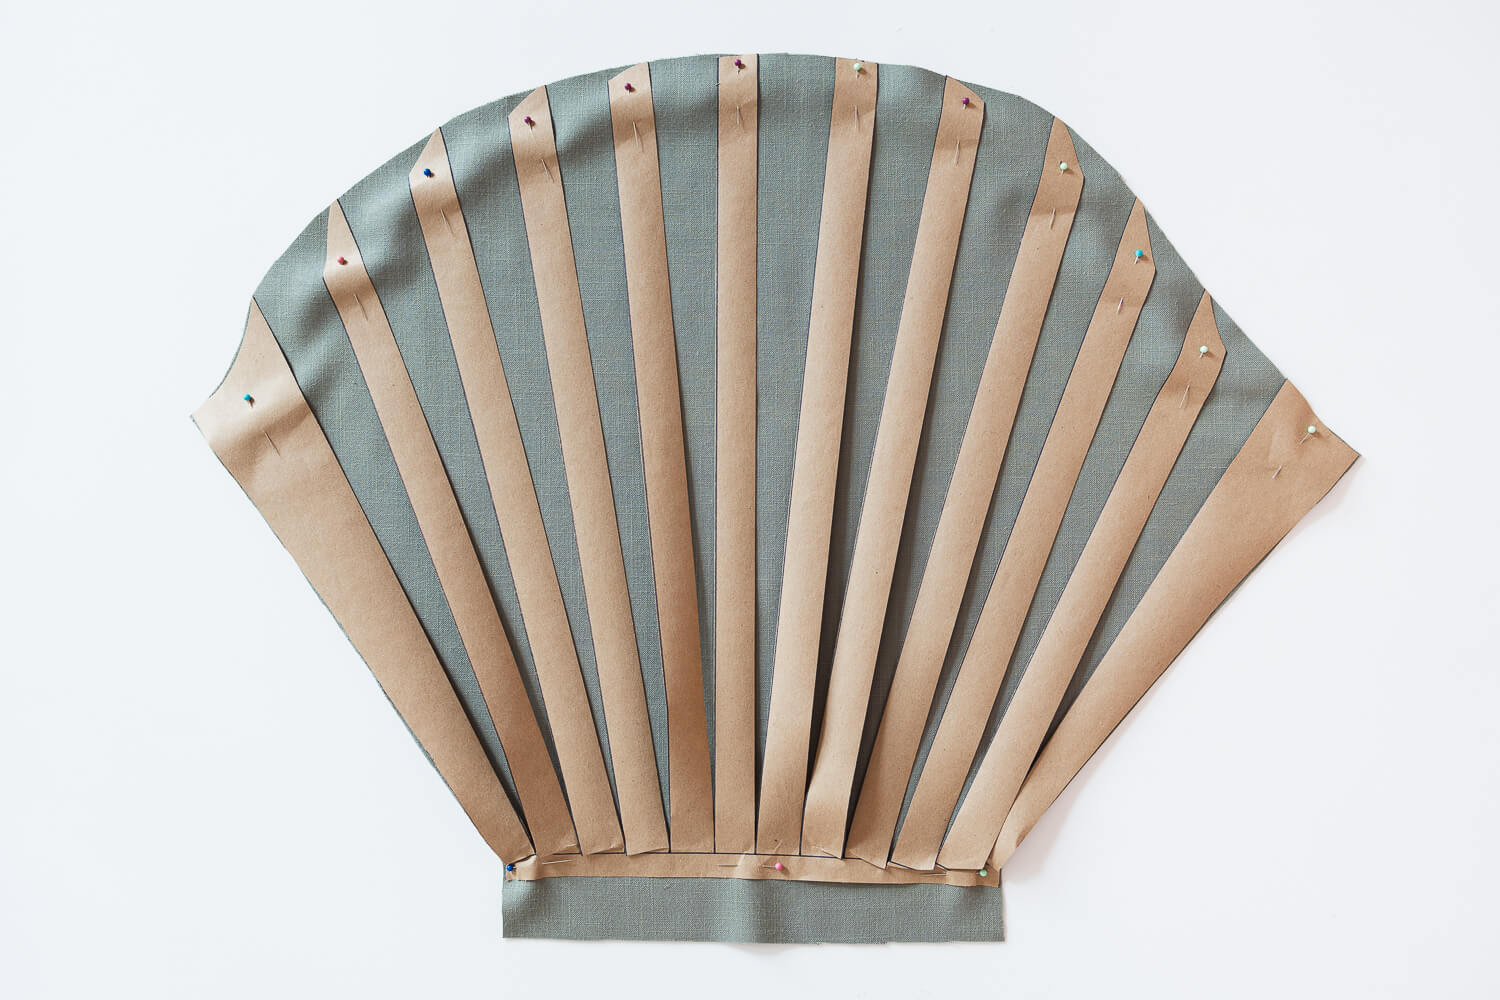
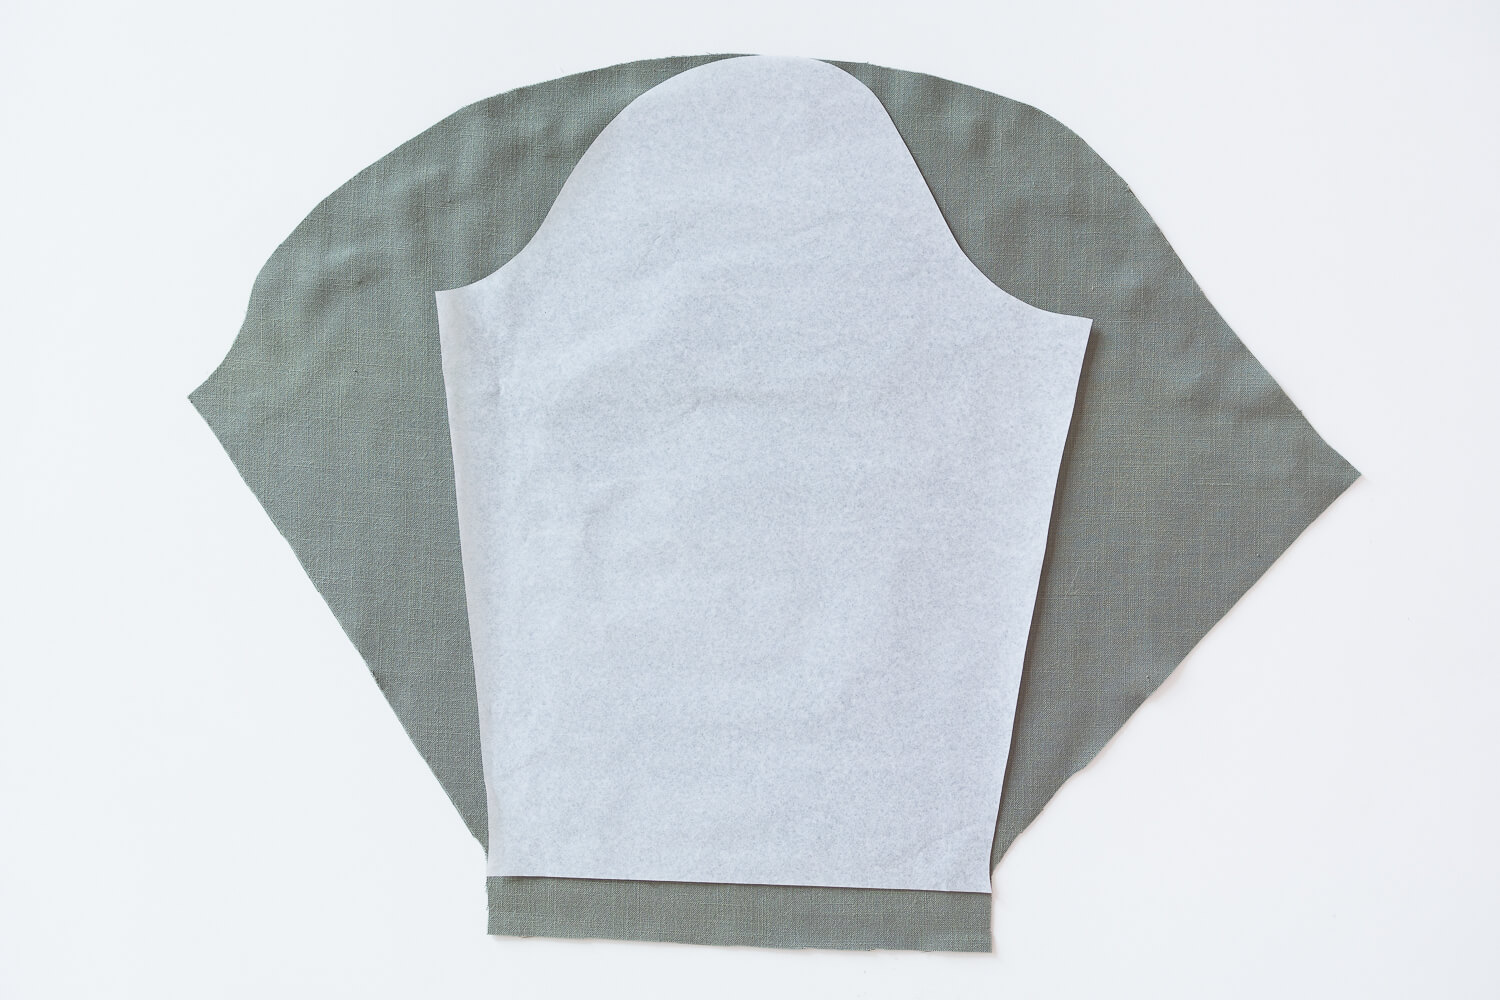
4. Cut out the new sleeve shape. For this shirt I also extended the bottom of the sleeve for a wider hem.
It can be a bit tricky to decide where the new cut line should be along the top. Don’t stress it. Just do your best guess. It doesn’t have to be perfect.
Don’t be afraid of adding too much width to the sleeve. You can see how much larger the new sleeve is than the original pattern, but it doesn’t add too much puff.
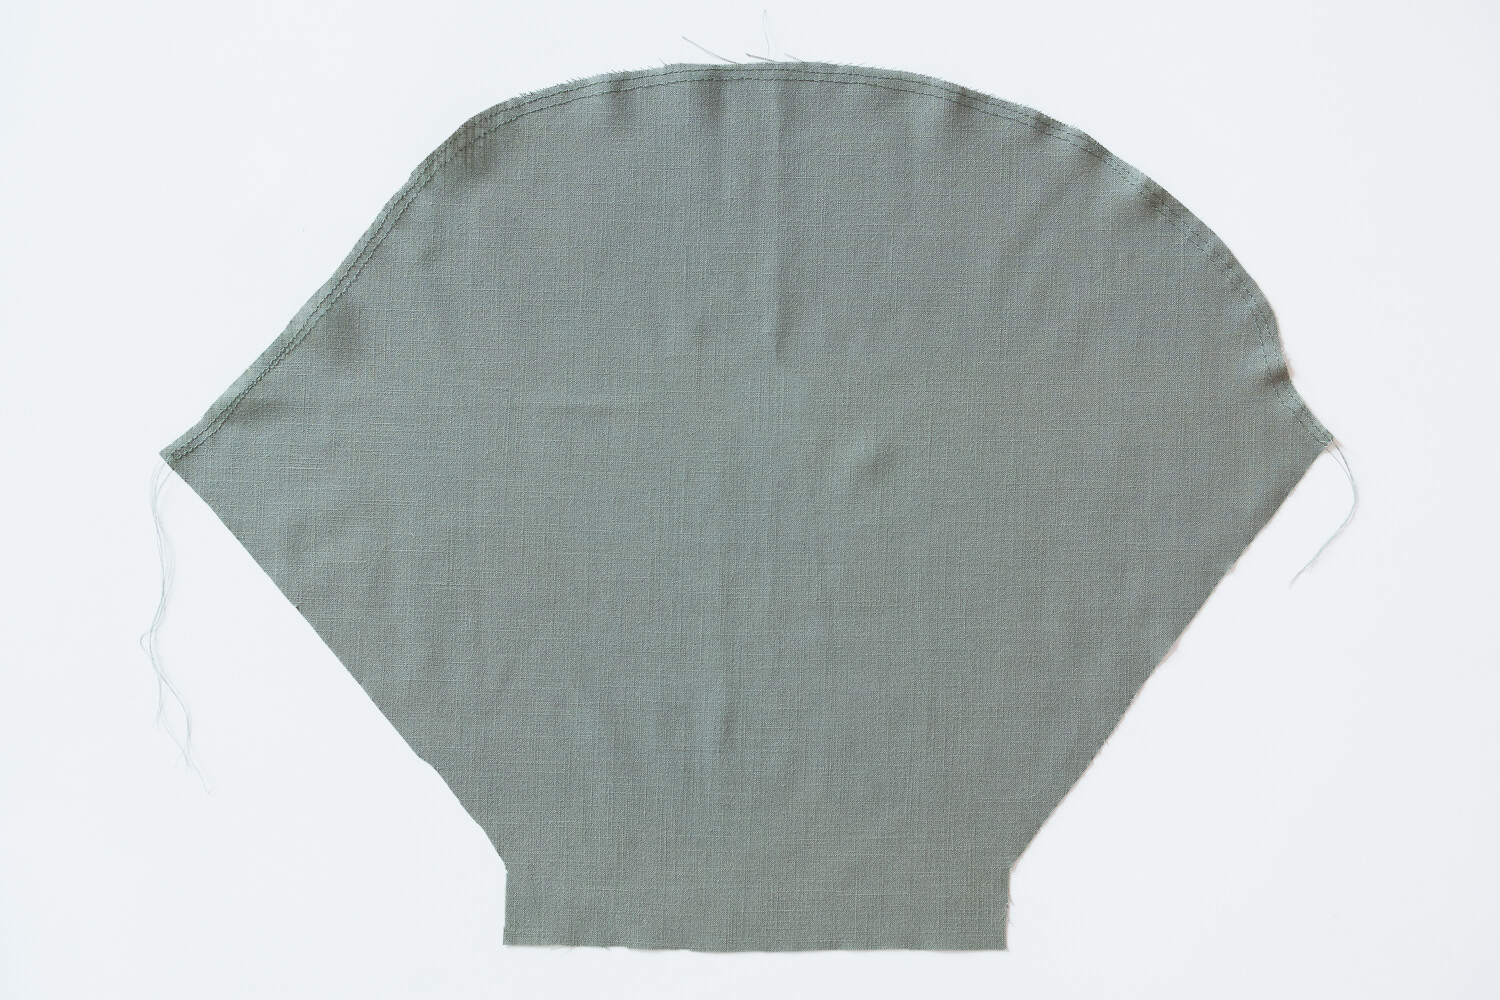
5. To gather the sleeve into the puff, sew two lines of loose stitching within the recommended pattern seam allowance.
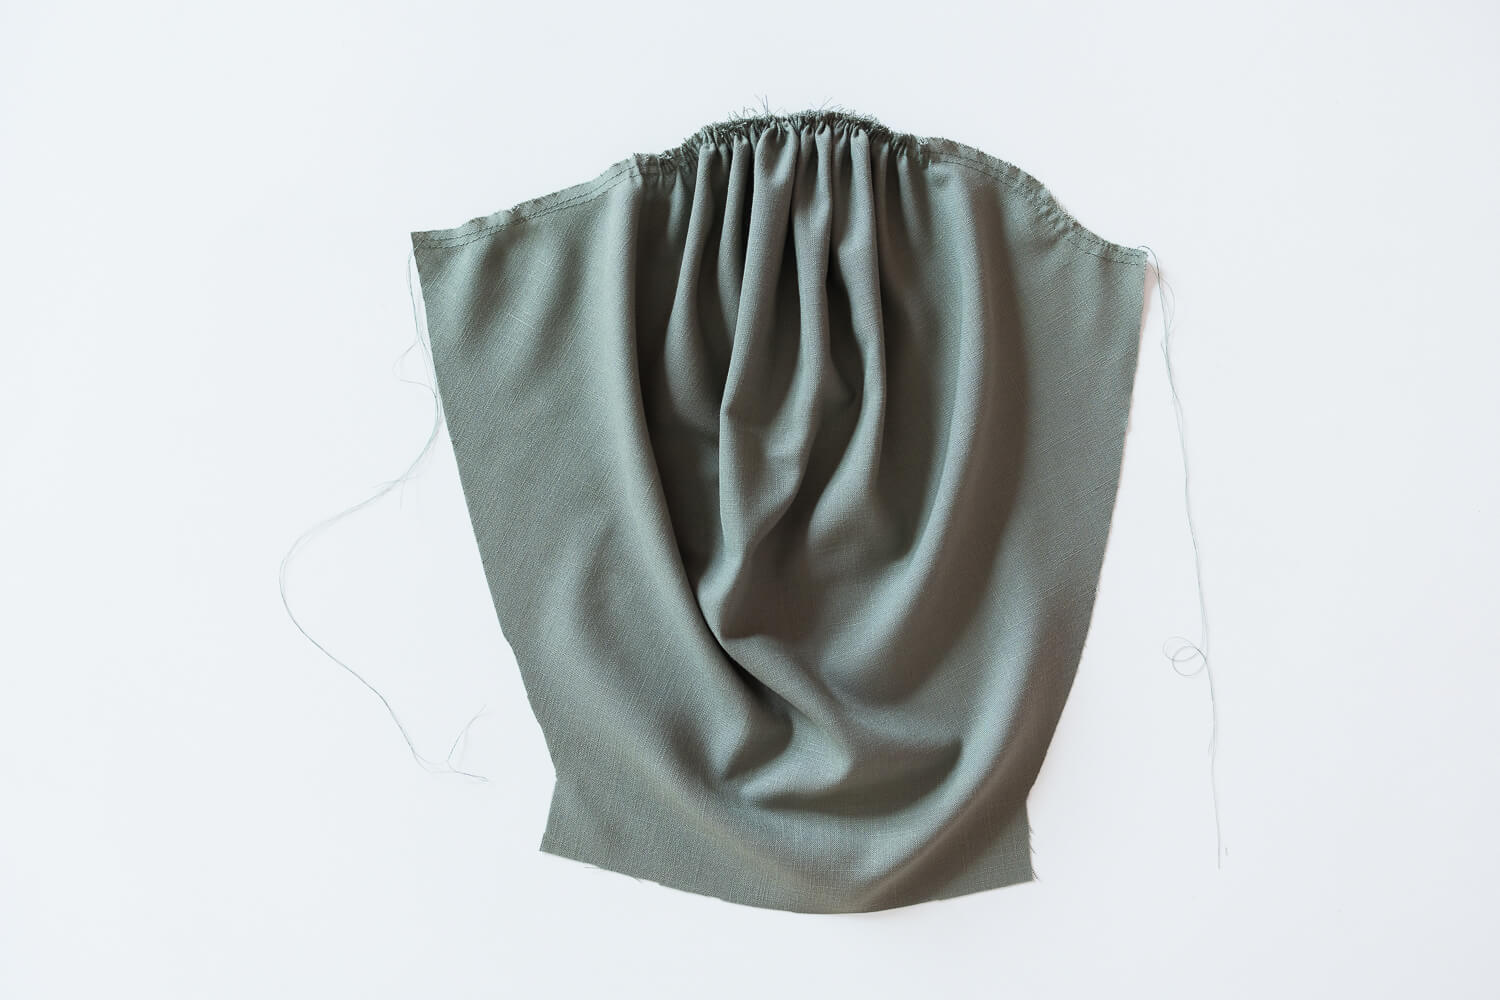
6. Pull the bobbin threads to gather the sleeve until the length is the same as the original pattern piece. Distribute the gathers evenly along the cap of the sleeve.
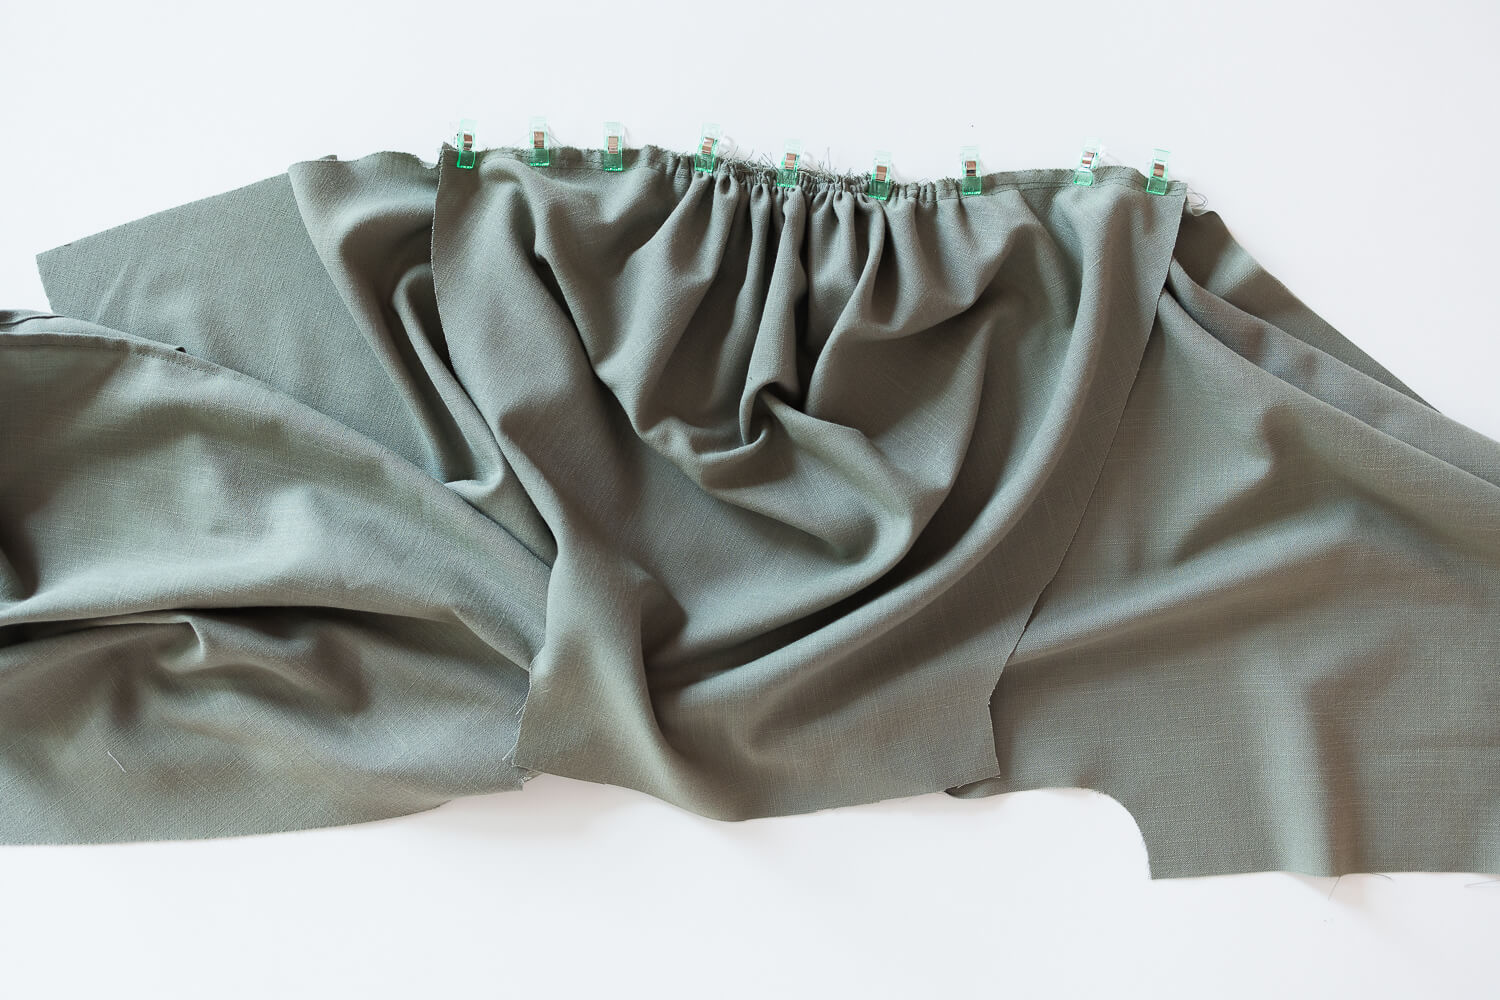
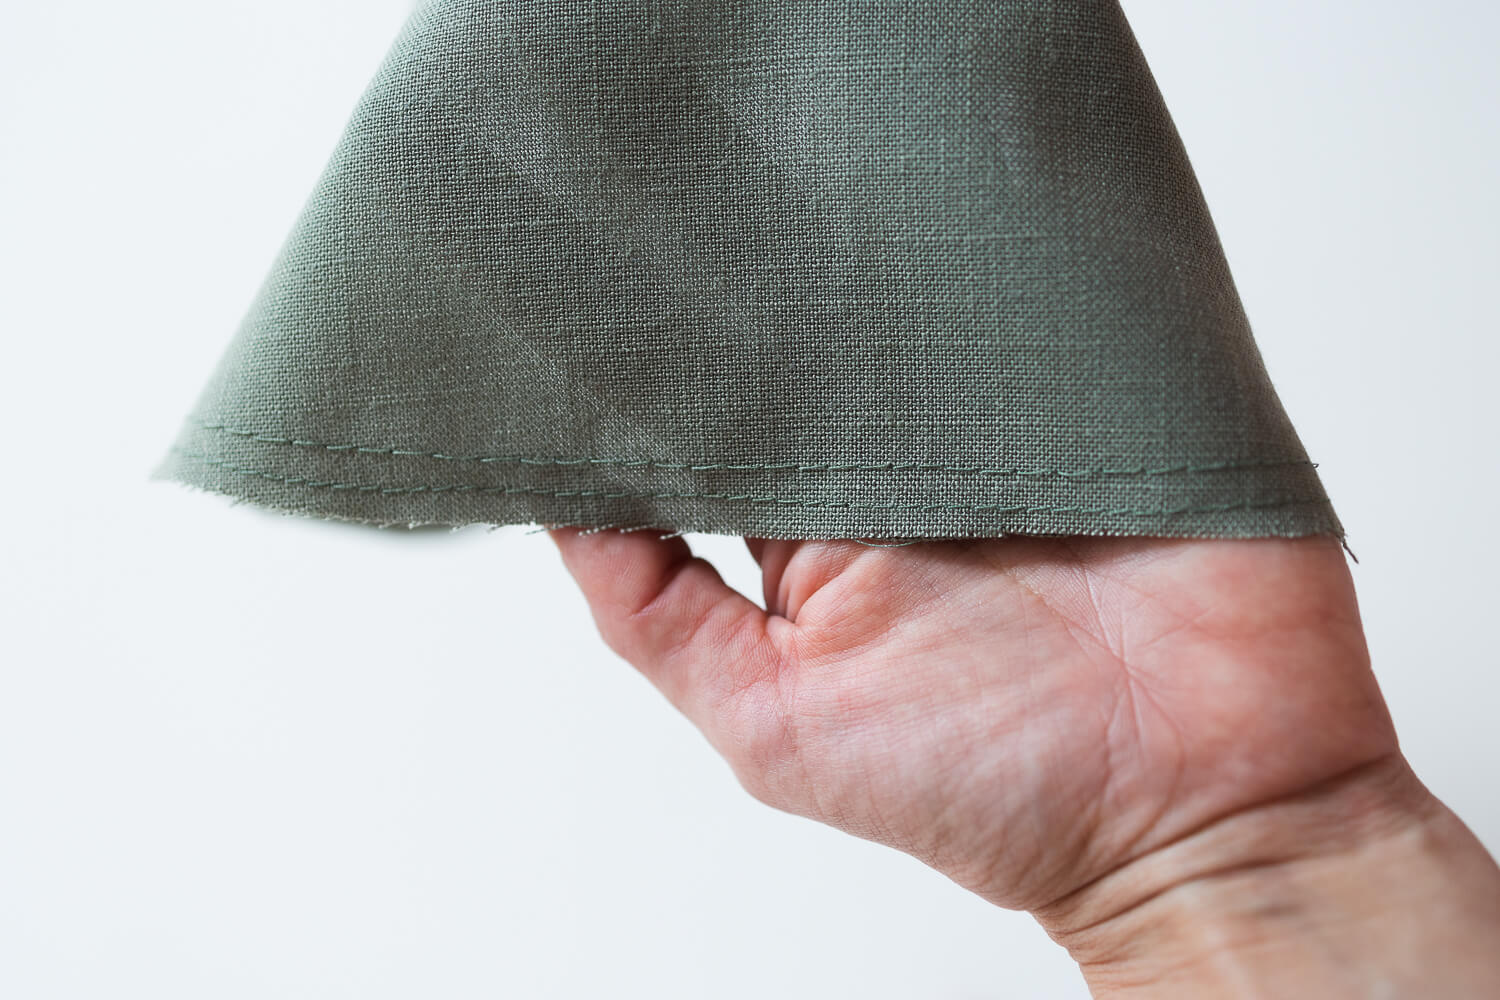
7. Carefully clip the sleeve to the armscye of the shirt and continue with regular pattern instructions.
That’s it!
Related posts
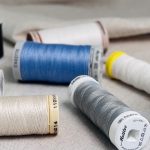
Sewing Essentials: A Guide to Sewing Threads
You might be thinking “Thread is thread… right?” Well, not always. Sewing thread is a key part of any sewing project. But just like fabric, the thread you choose matters, affecting things like the strength, appearance, and durability of your stitching. But if you have ever shopped for sewing thread, you probably know that it…

Sewing Essentials: Stitch Width, Stitch Length & Needle Position
Thinking back to my high school textiles days, I remember having to test stitch settings on every fabric we planned to use for our projects. We would cut out little squares of fabric and experiment with different stitch lengths and widths, and edge-finishing techniques. At the time, it felt unnecessary, not to mention tedious….

Sewing Essentials: A Simple Guide to Notches
I love a notch, so much so that I’ve decided to dedicate this article to these small but important markings. Here, I’ll explain why they’re so helpful, when to use them, and how to add them to your own patterns or adapt them for existing ones. What exactly are notches? Notches are small markings found…

How to Select and Use Interfacing: A Simple Guide
Iron-on or sew-in, woven or non-woven, lightweight or heavyweight. With so many different types, weaves, and weights to choose from, how do you know which interfacing is best for your project? In this article, I will explain the two main types of interfacing before diving into the differences in weave and weight. Hopefully by the…

Sewing Essentials: A Simple Method for Reversible Seams
There are so many ways to finish a seam, from good old overlocking to French seams and binding. I recently stumbled across another method that’s pretty nifty, and honestly, I kind of wish I had known about it sooner. It is a bit like binding, but topstitched in place so it doesn’t move or flap…


SEW THIS LOOK


Latest Posts

Leave a comment