Tutorial: How to Bleach Print Clouds on Linen
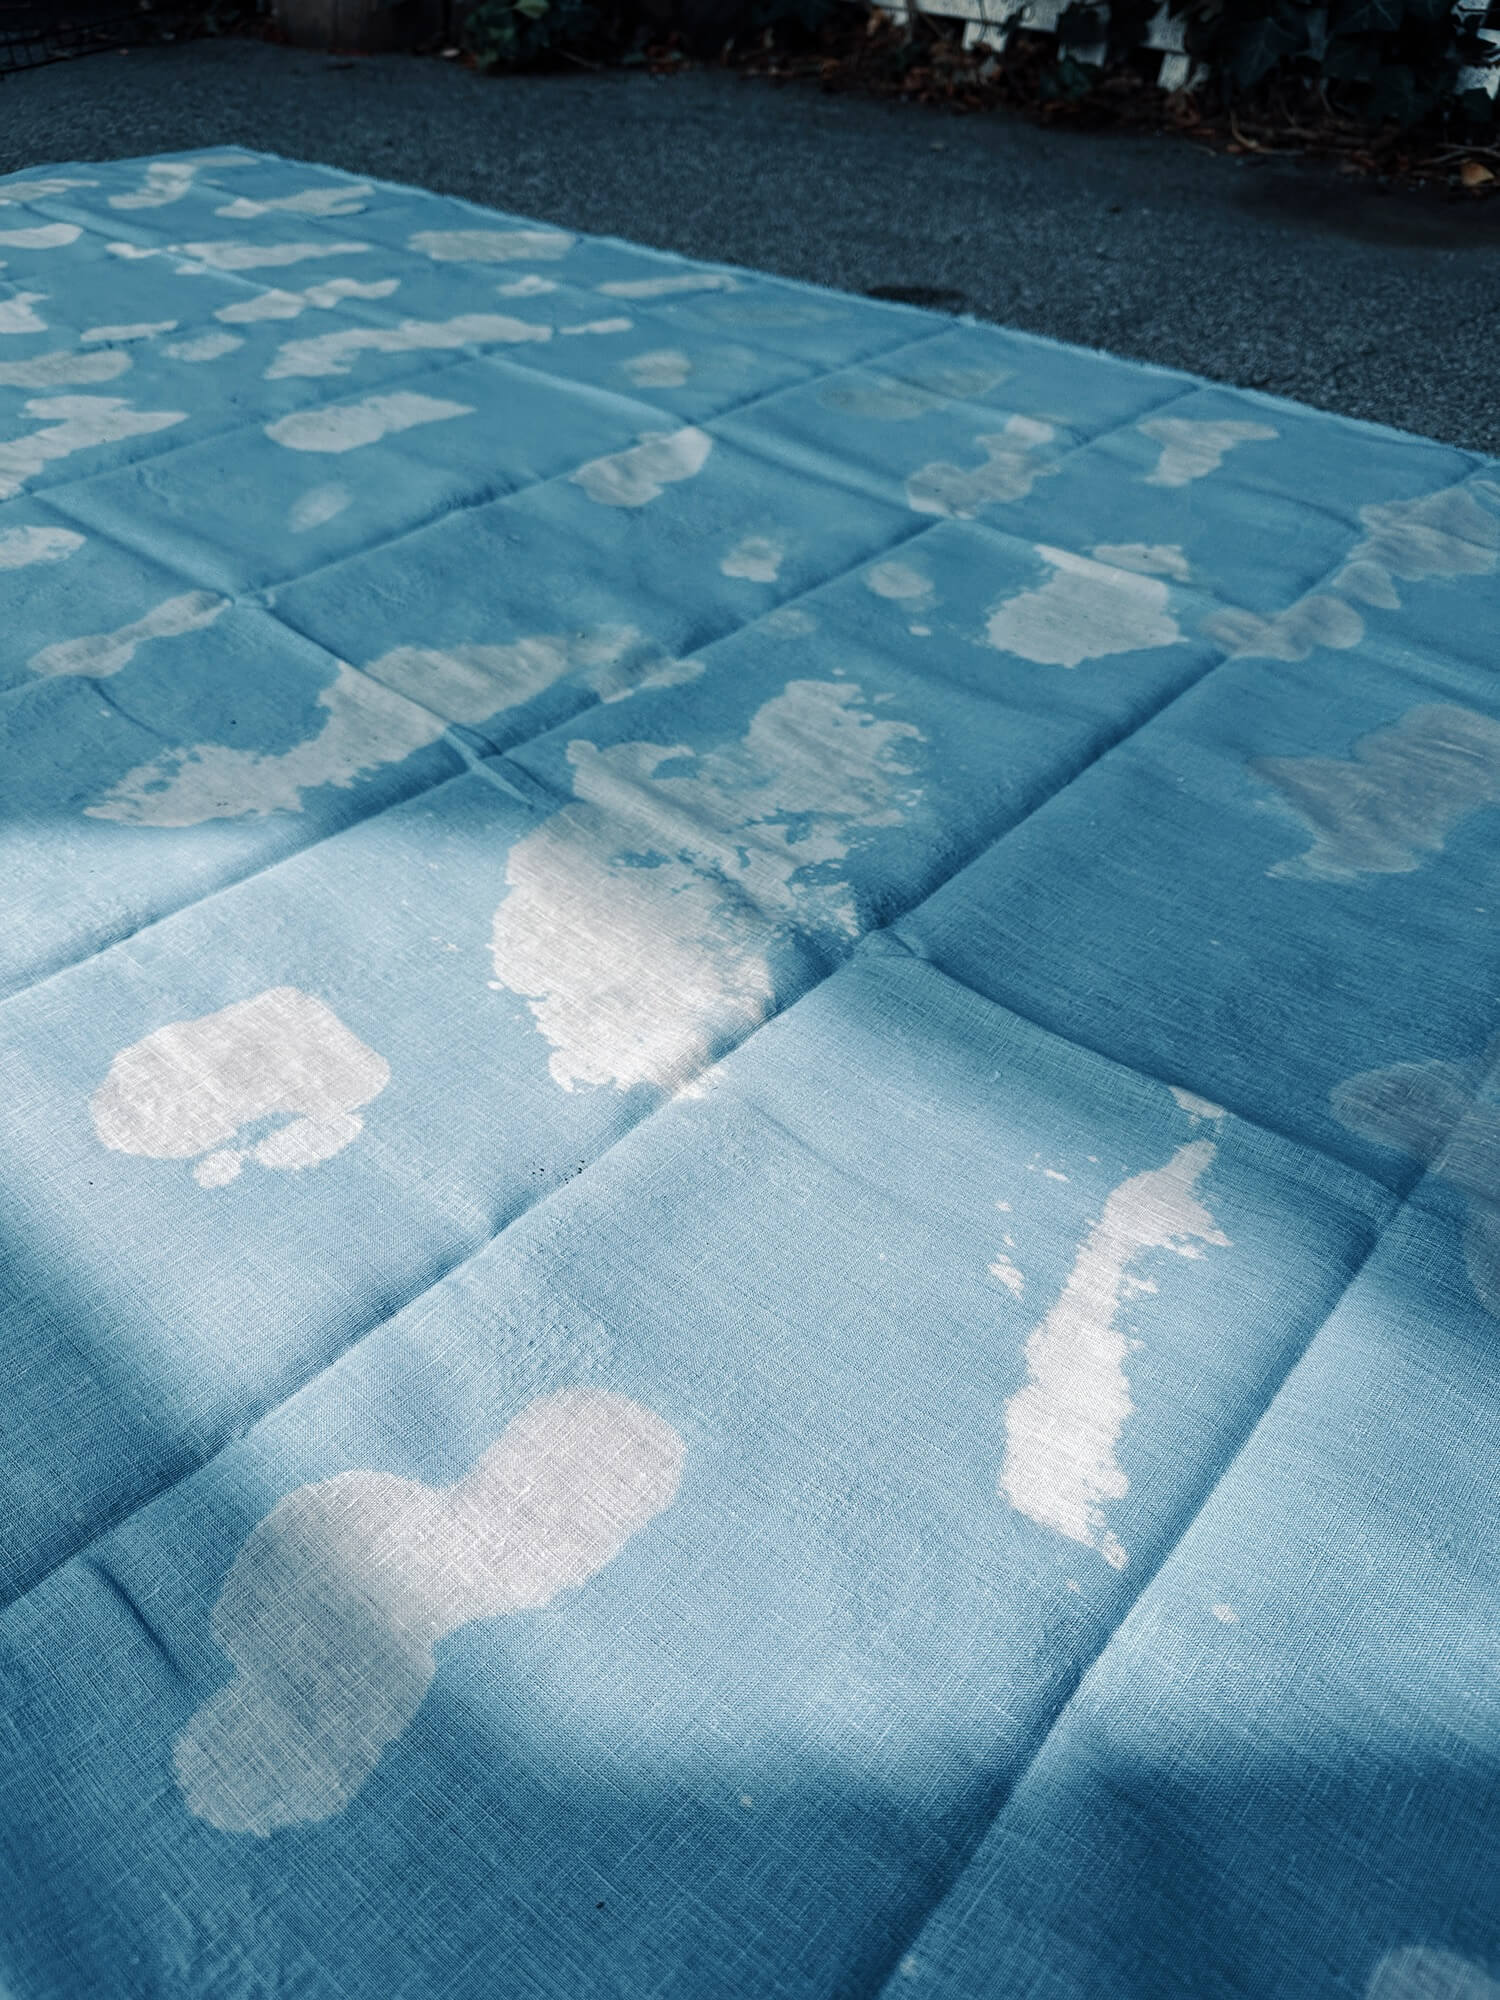
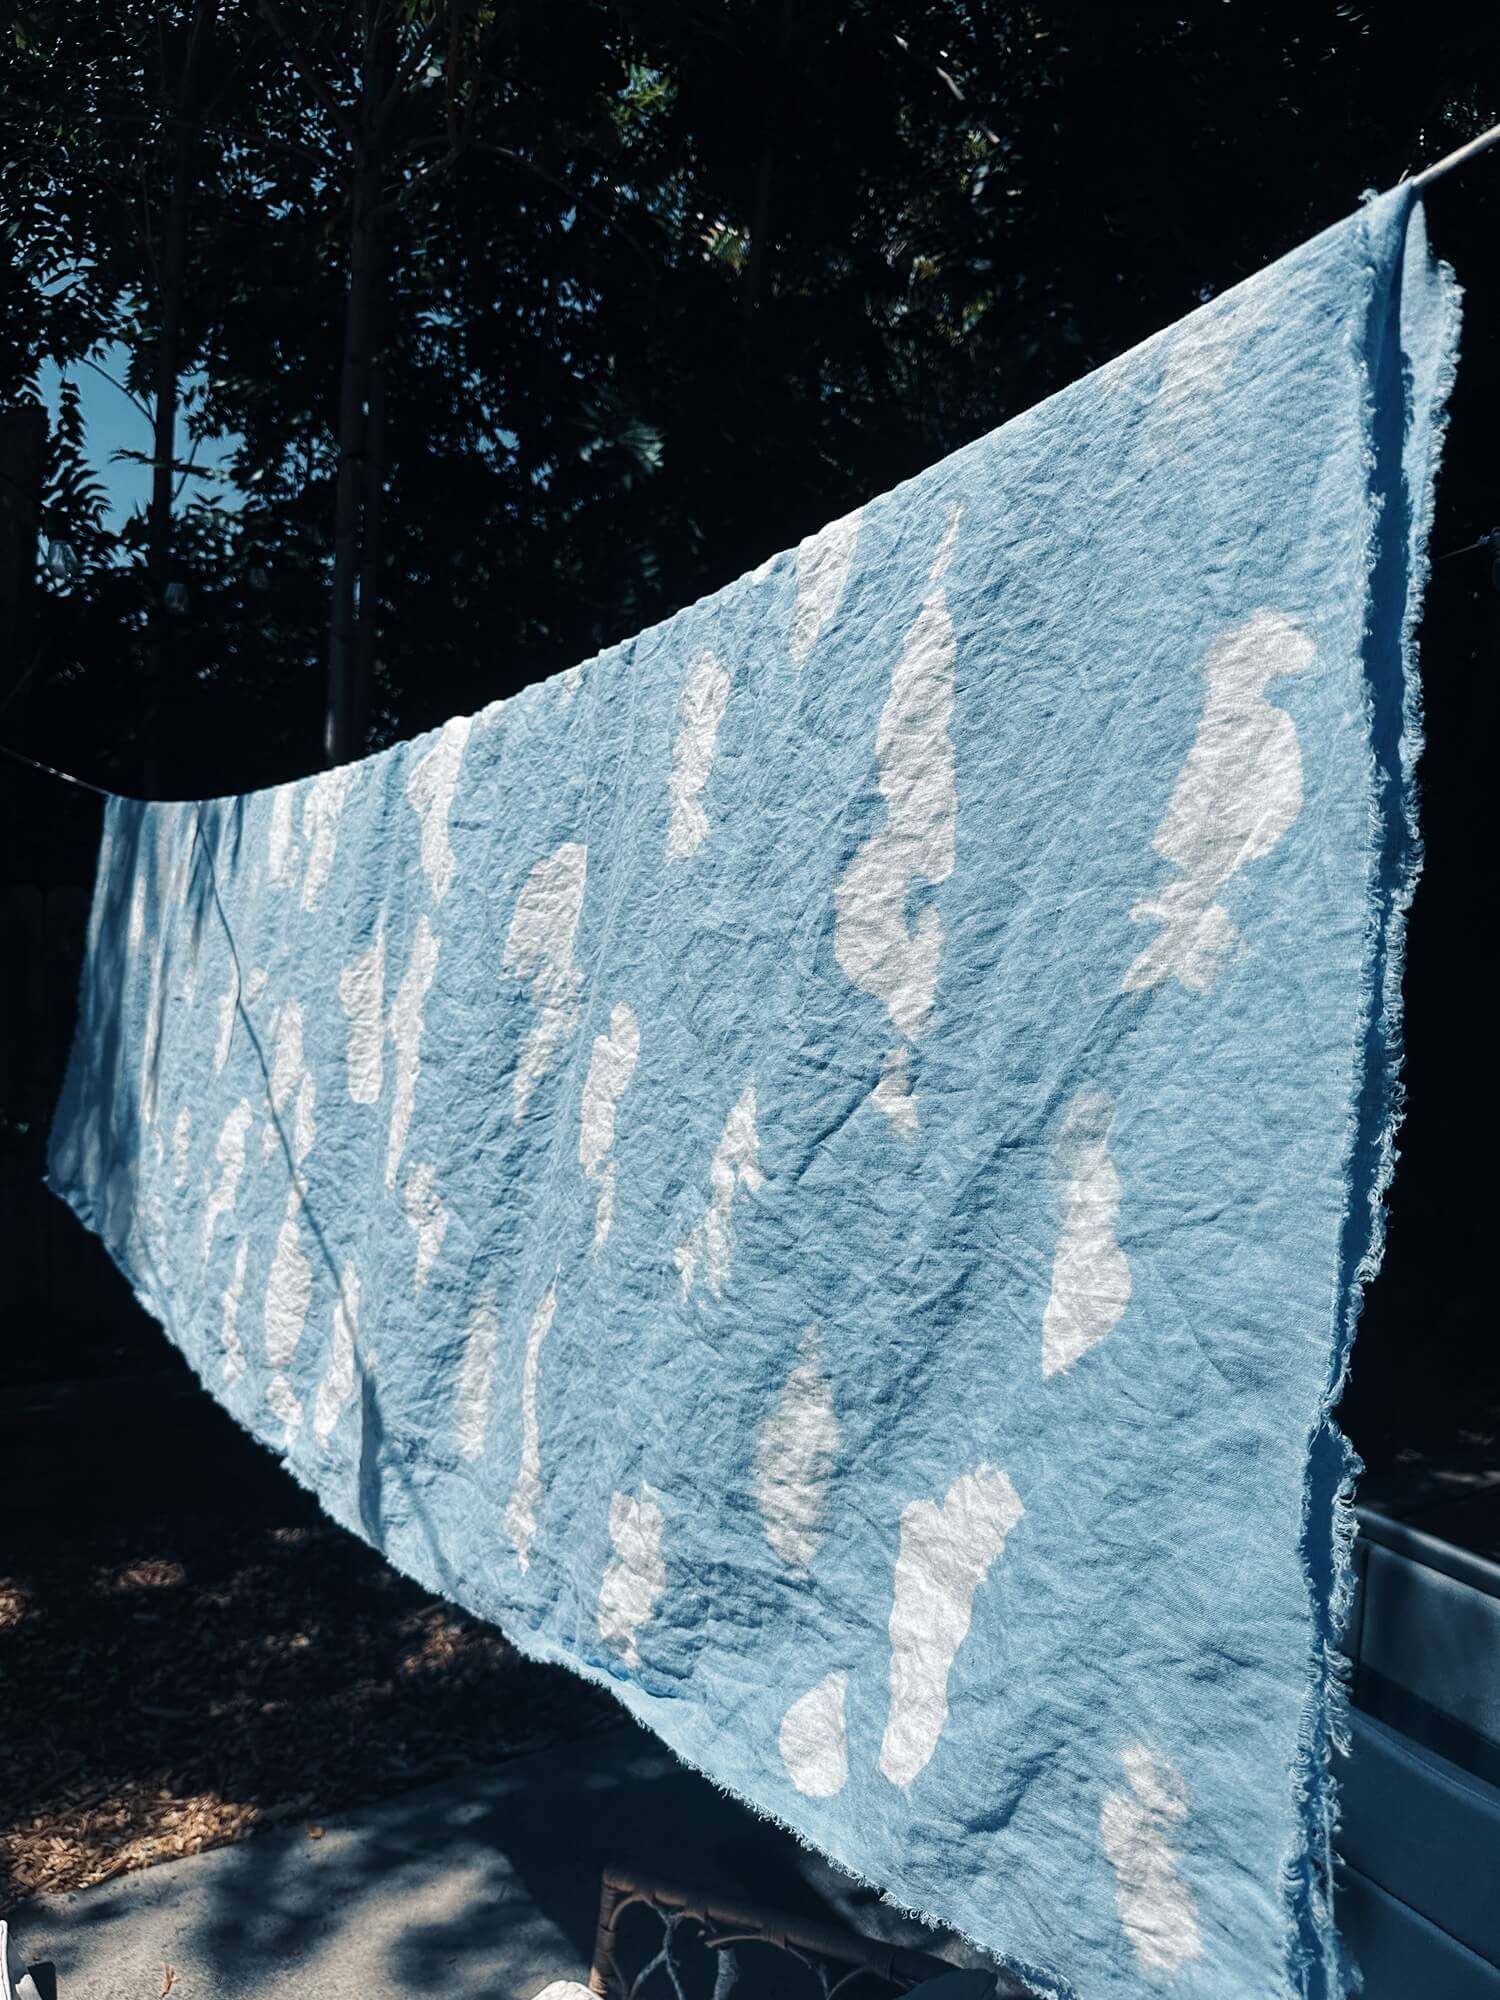
I love sewing with linen, but it often comes in solid colors and every once in a while, I want a fun print to shake things up. Enter: BLEACH! I love playing with bleach, printing on fabrics that I might not otherwise reach for and when I saw this gorgeous IL020 Gouache Linen, I knew it would be the perfect backdrop from a cloud print idea I’ve had rattling around in my mind.
Materials
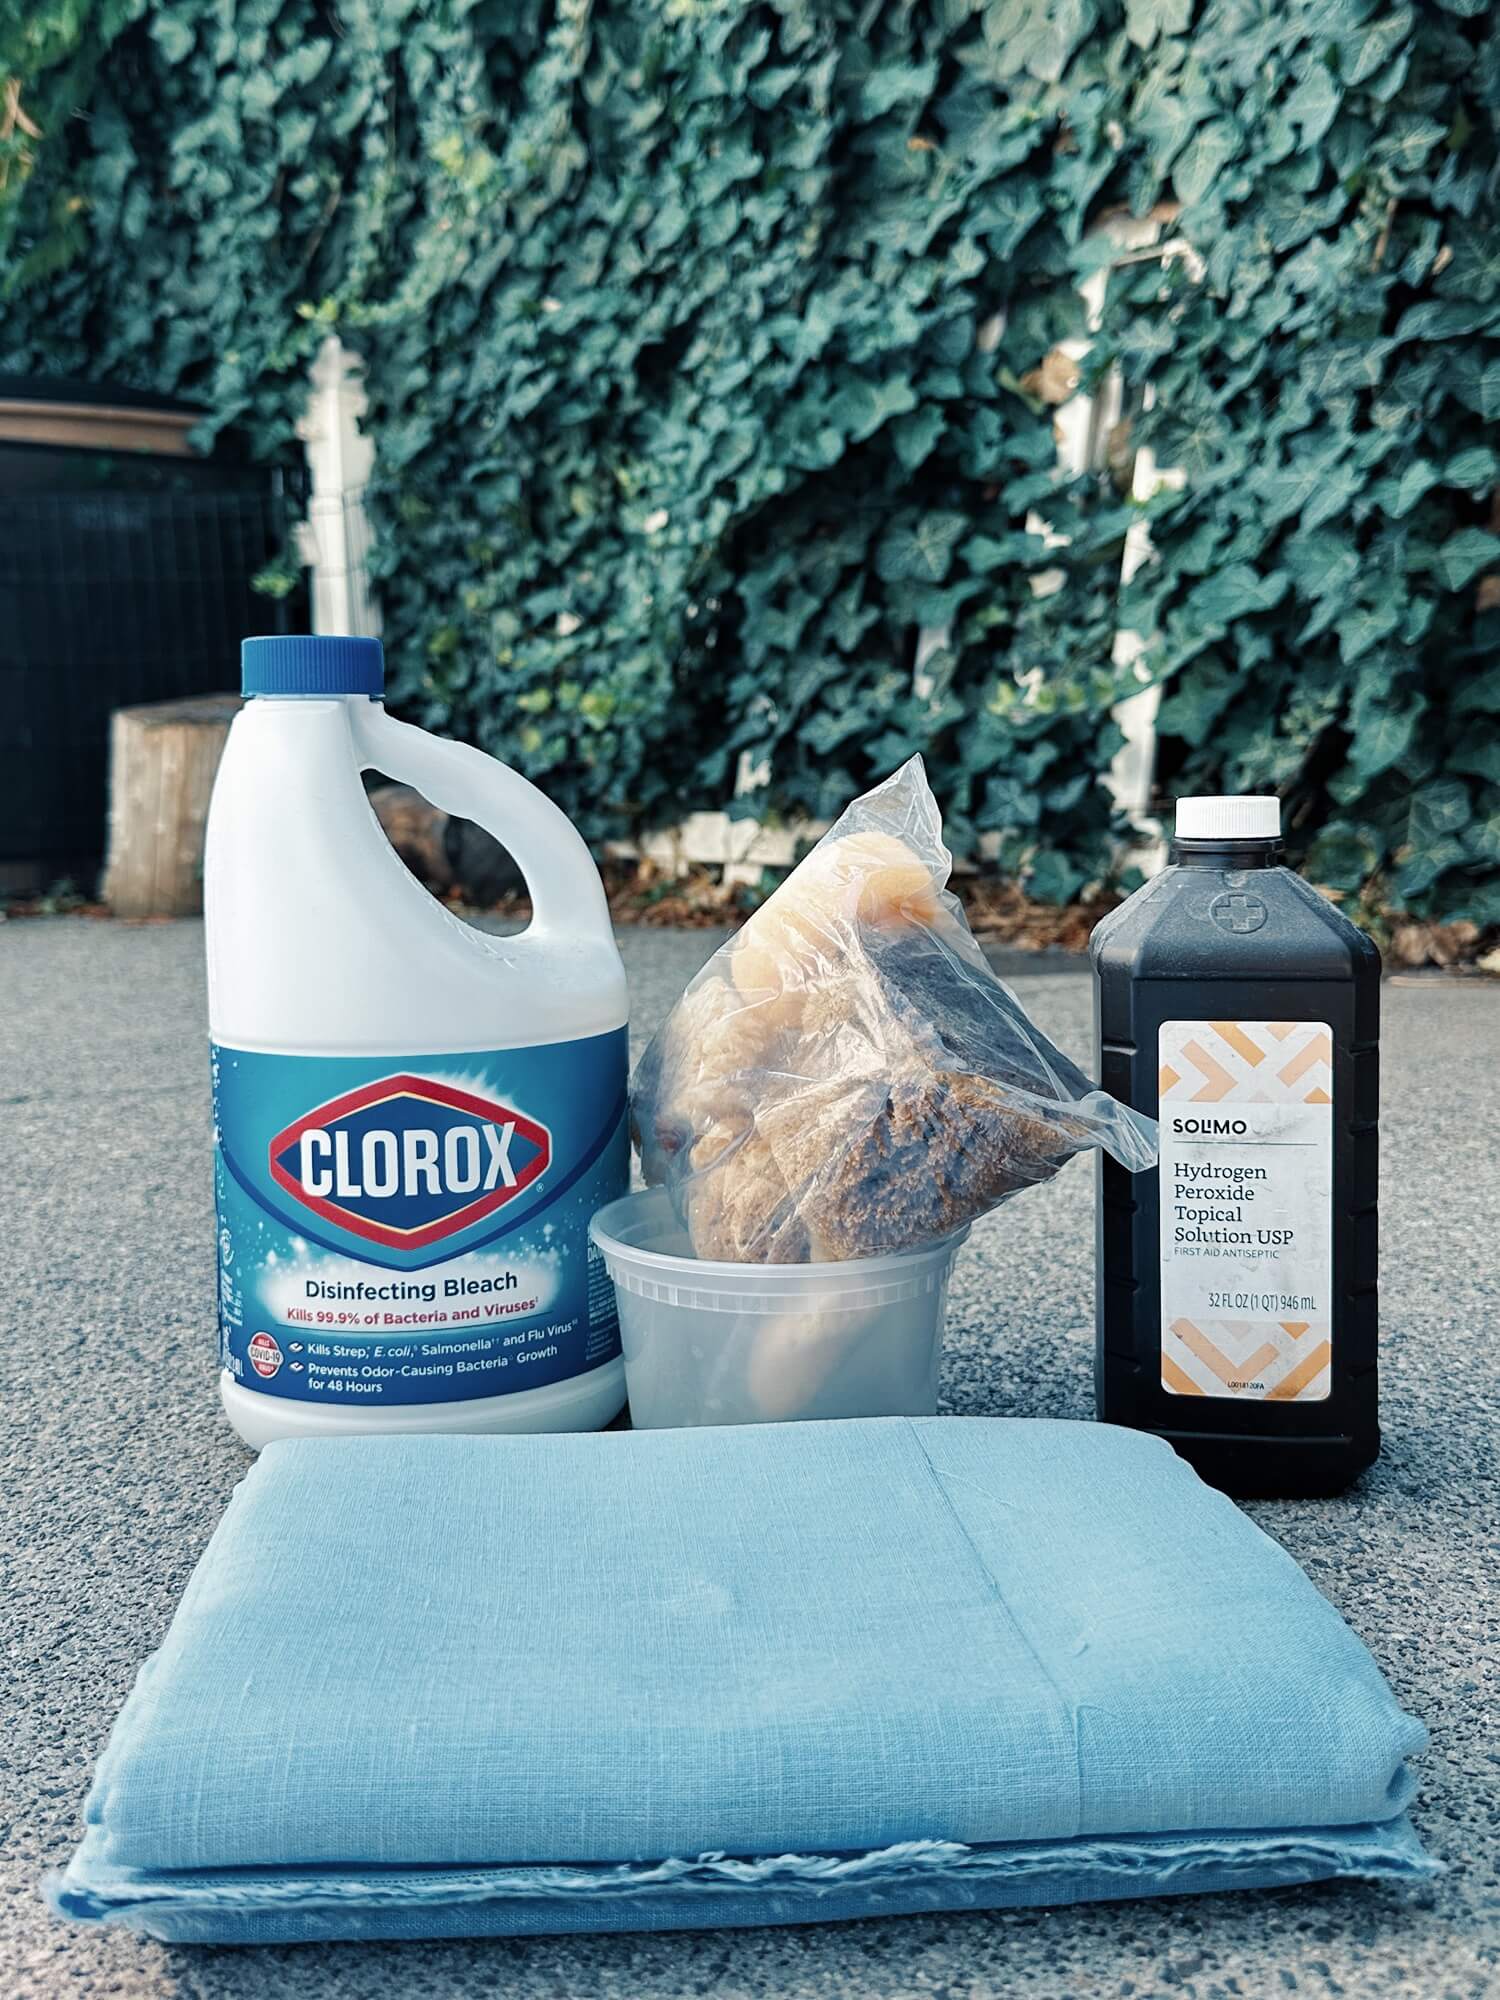
Linen
Bleach
Water
Hydrogen Peroxide
Gloves
Sponge
Steps
1. Prepare your fabric: As most fabrics are not prepared for dye right off the bat, it’s a good idea to pre-wash your fabric to wash off any chemical residue from the production process and/or to work with the true size of your fabric if it undergoes any shrinkage after a wash (most natural fibers will undergo shrinkage!).
2. Set up your workspace: I recommend working in a well-ventilated space indoors with a cardboard or trash bags to protect your working surface from bleach OR simply bring your project outside – I used my driveway to lay out my fabric and print.
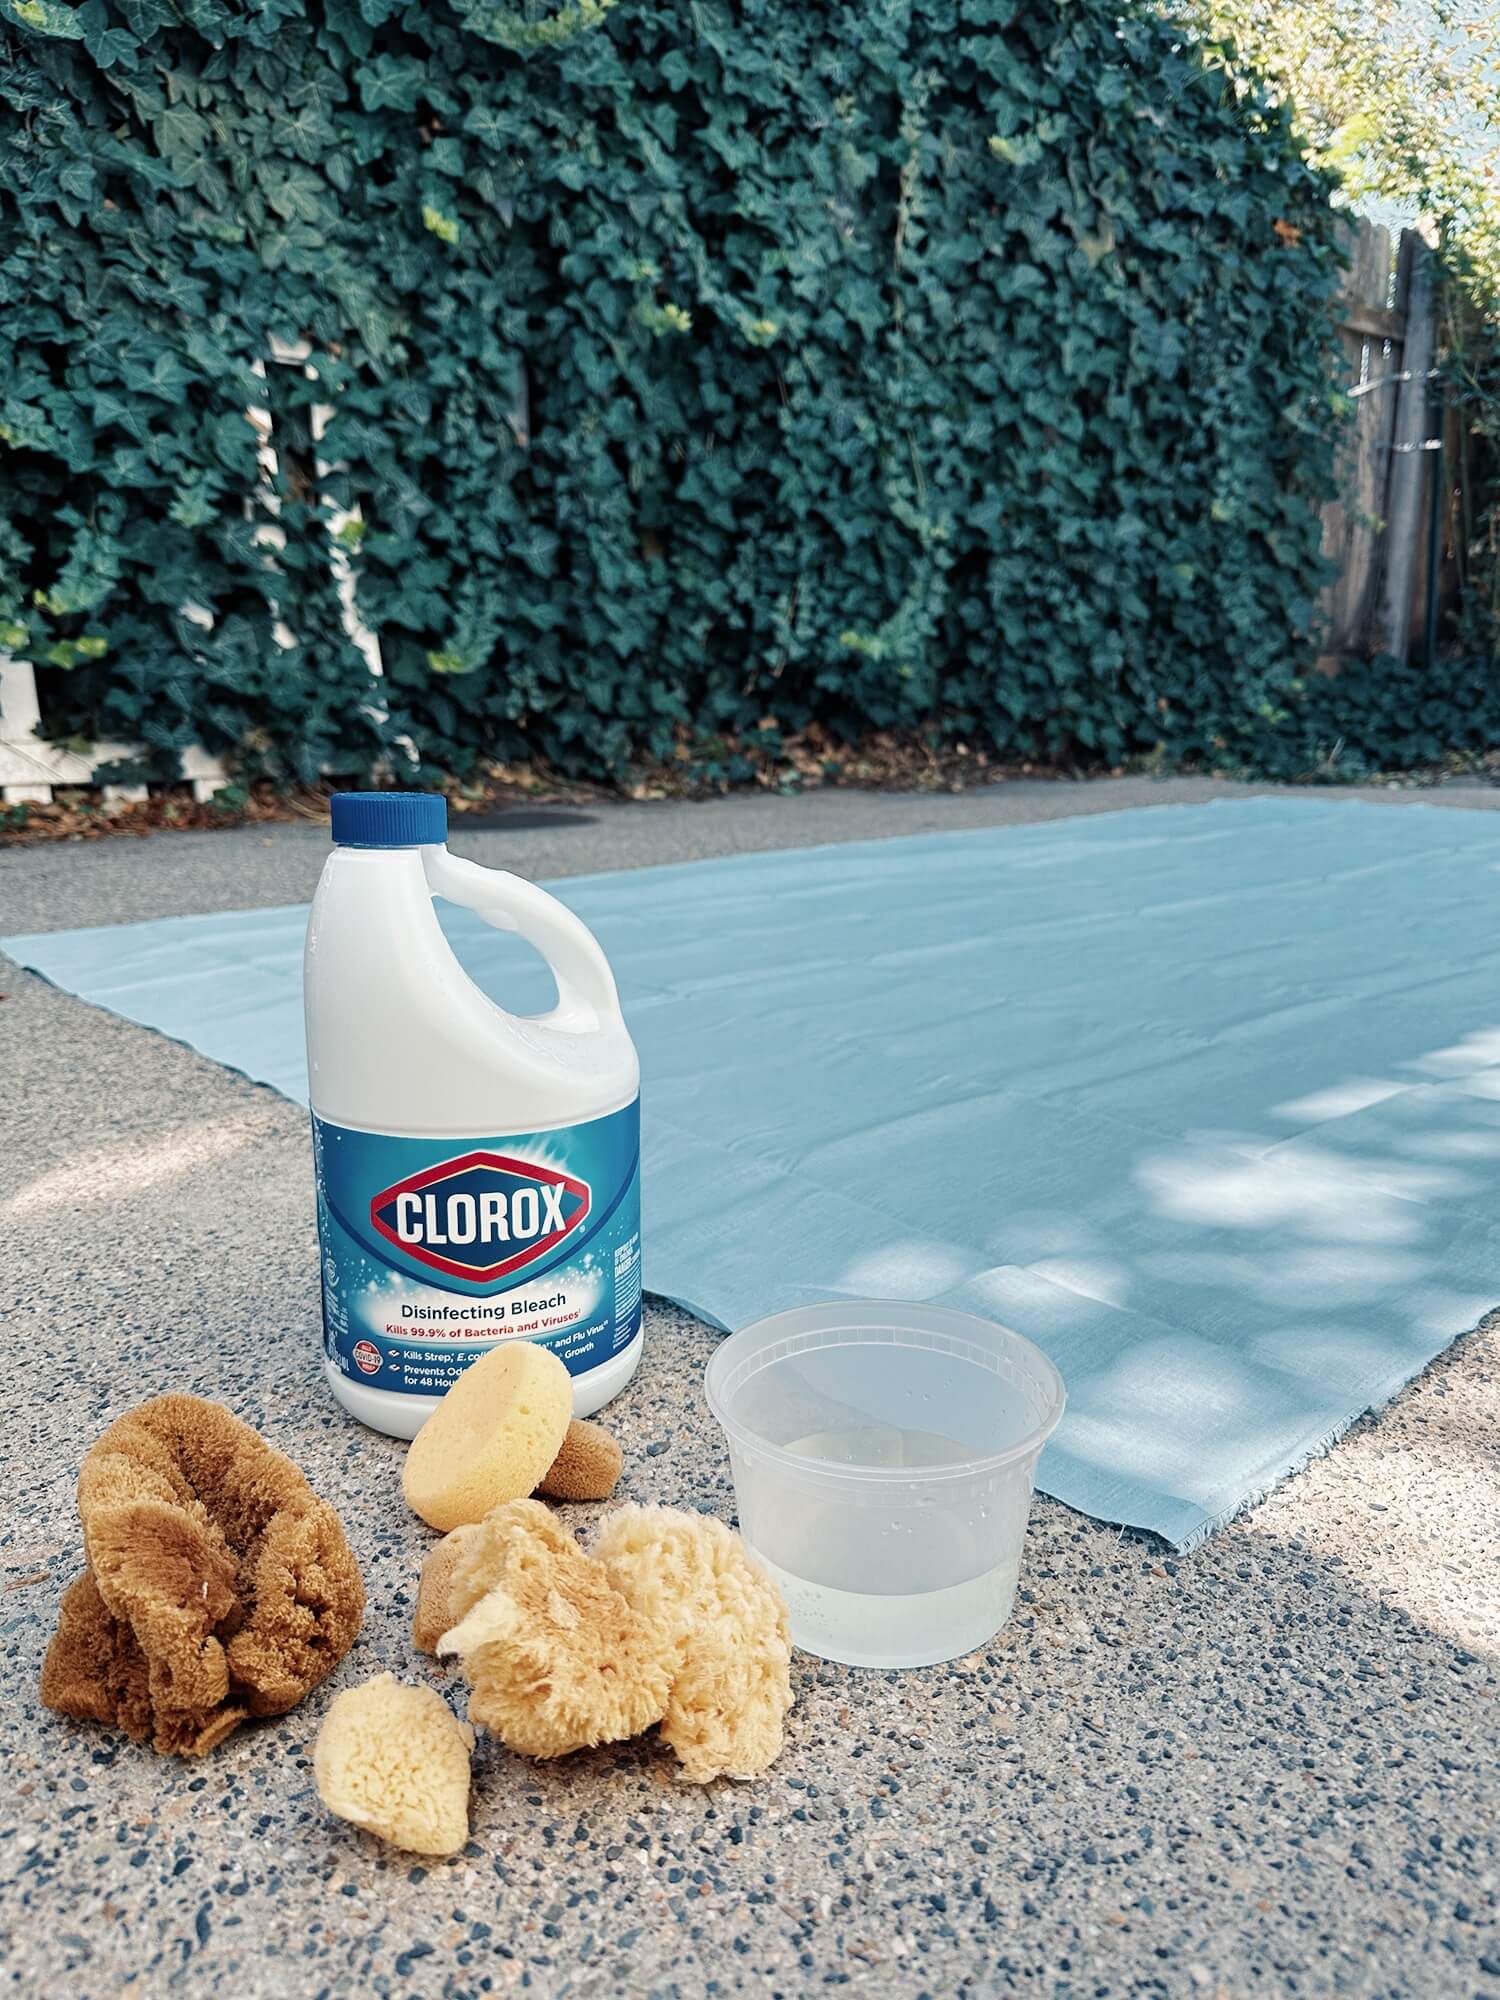
3. Create your bleach solution: Try out different dilutions of bleach:water and pick your preferred bleach dilution on a test piece of fabric. Some people prefer to use only bleach (undiluted), but it is worth noting that bleach can and will eat away at your fabric if too much is applied or the fabric is very delicate! So it’s important to test out whether 100% undiluted bleach will be suitable to print on your fabric or if diluting it to a “weaker” solution is the way to go. For this lightweight linen, I used 1 part bleach to 2 parts water. Note: it is a good idea to wear gloves so that you don’t experience any skin irritation from direct contact with the bleach solution.
4. Print: I’m using various sponge textures to create wispy cloud images on my fabric. But you can use just about anything to use as your printing tool – whether that’s a brush, stencil, stamp, etc. I have found that certain tools don’t take up liquid bleach well, in these scenarios, using bleach gel might be a better route to go.
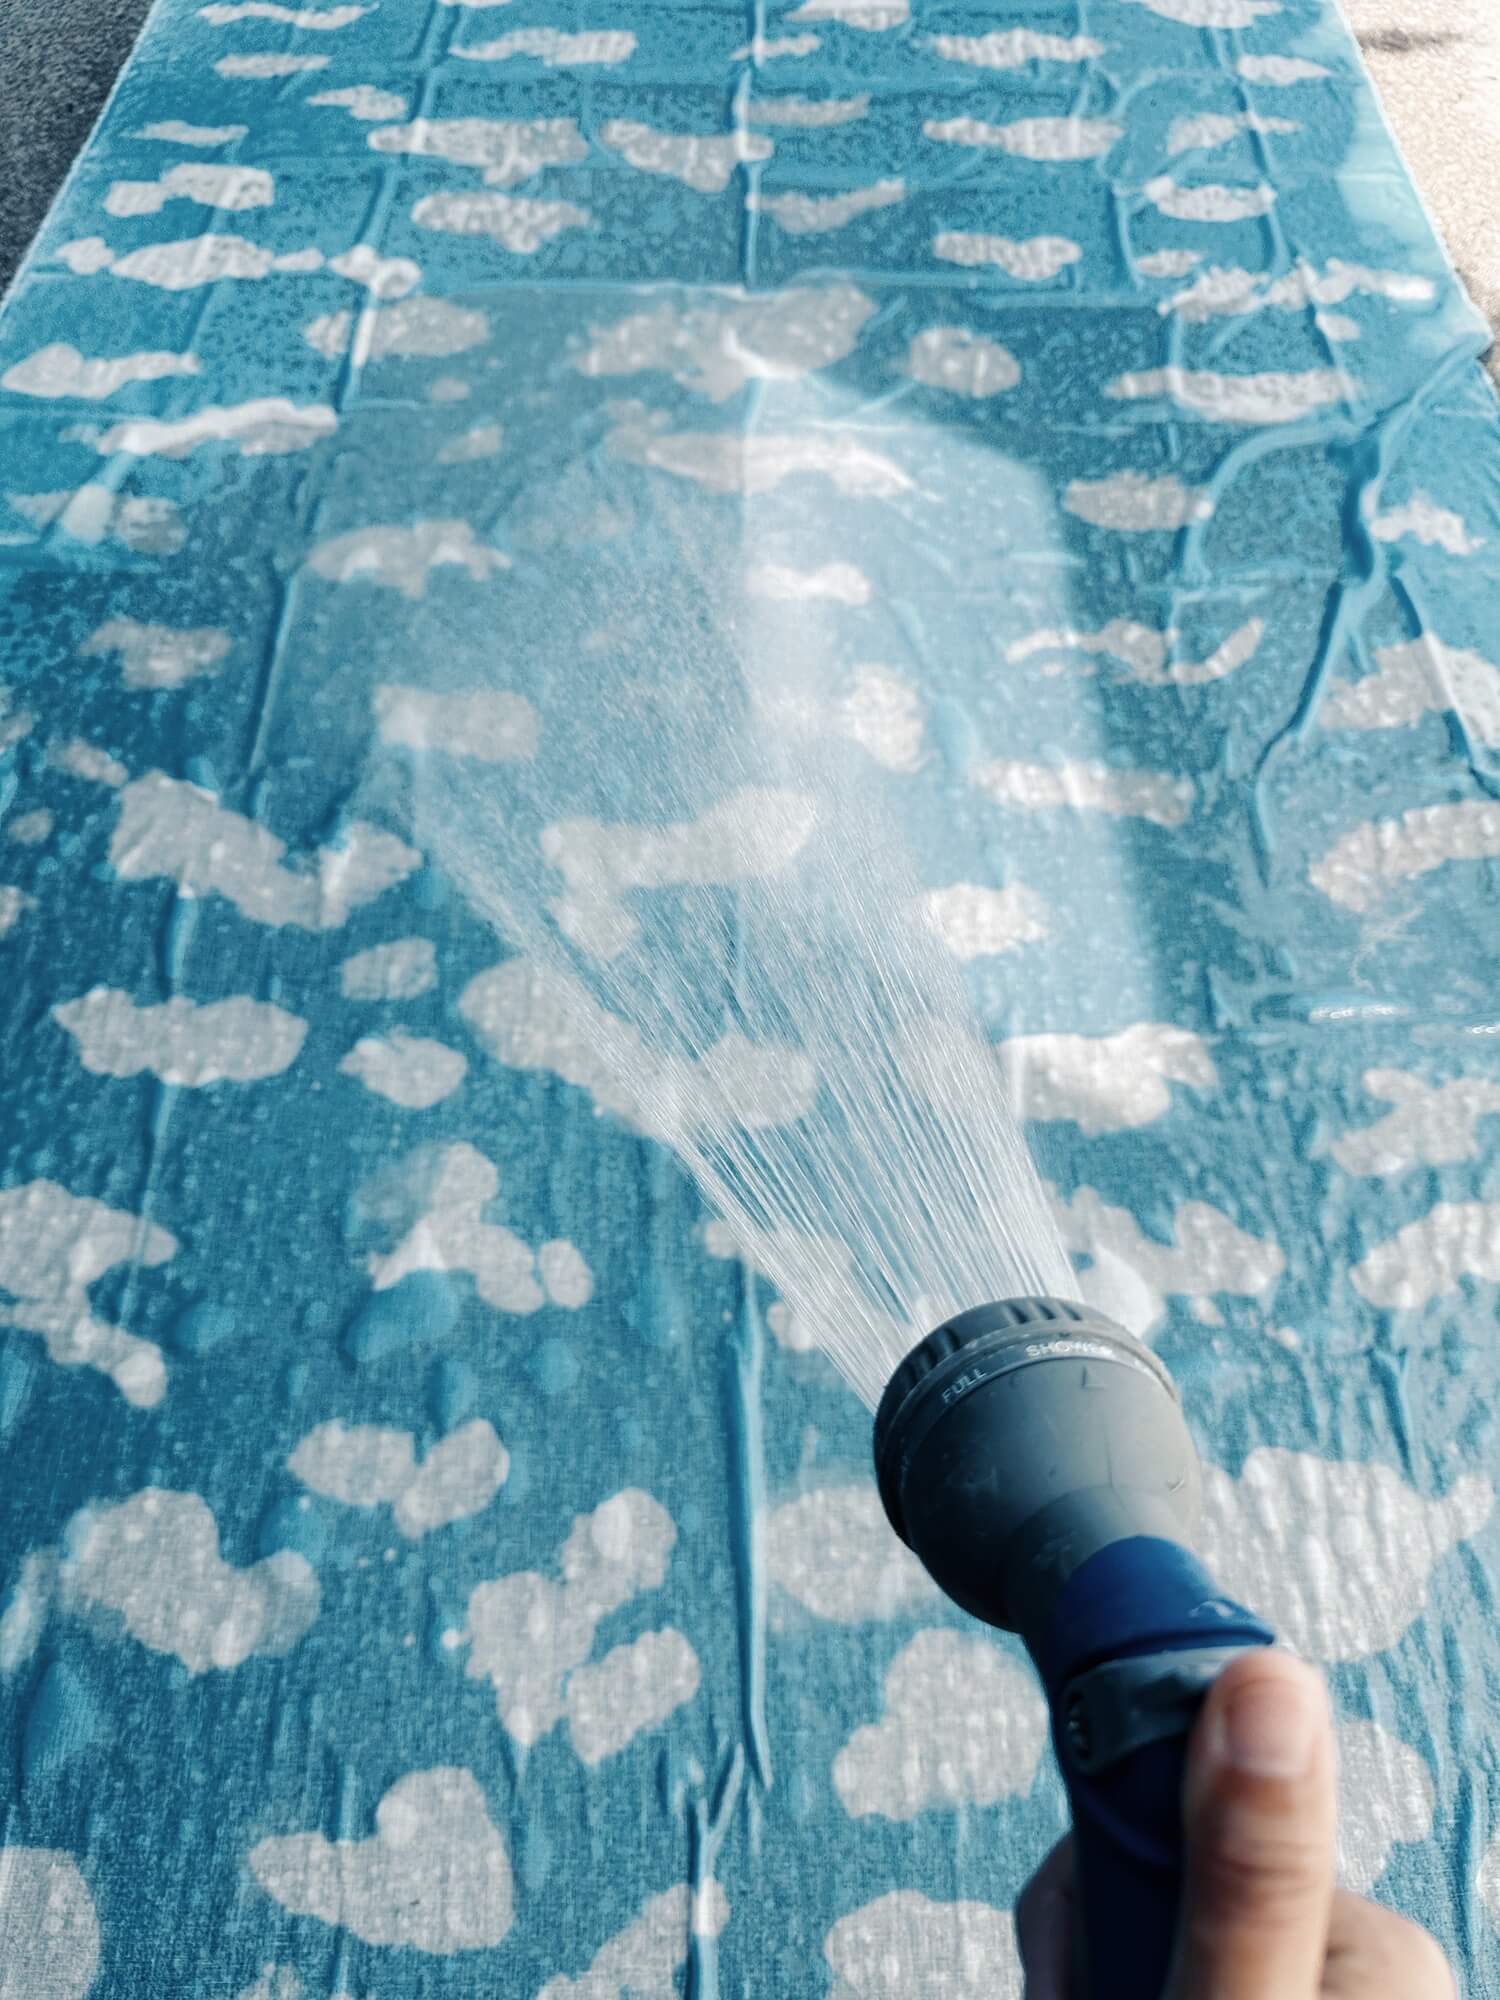 5. Wash: Let your bleach print sit on the fabric and watch it transform. Once the print has reached your desired level of brightness, rinse off the fabric with water.
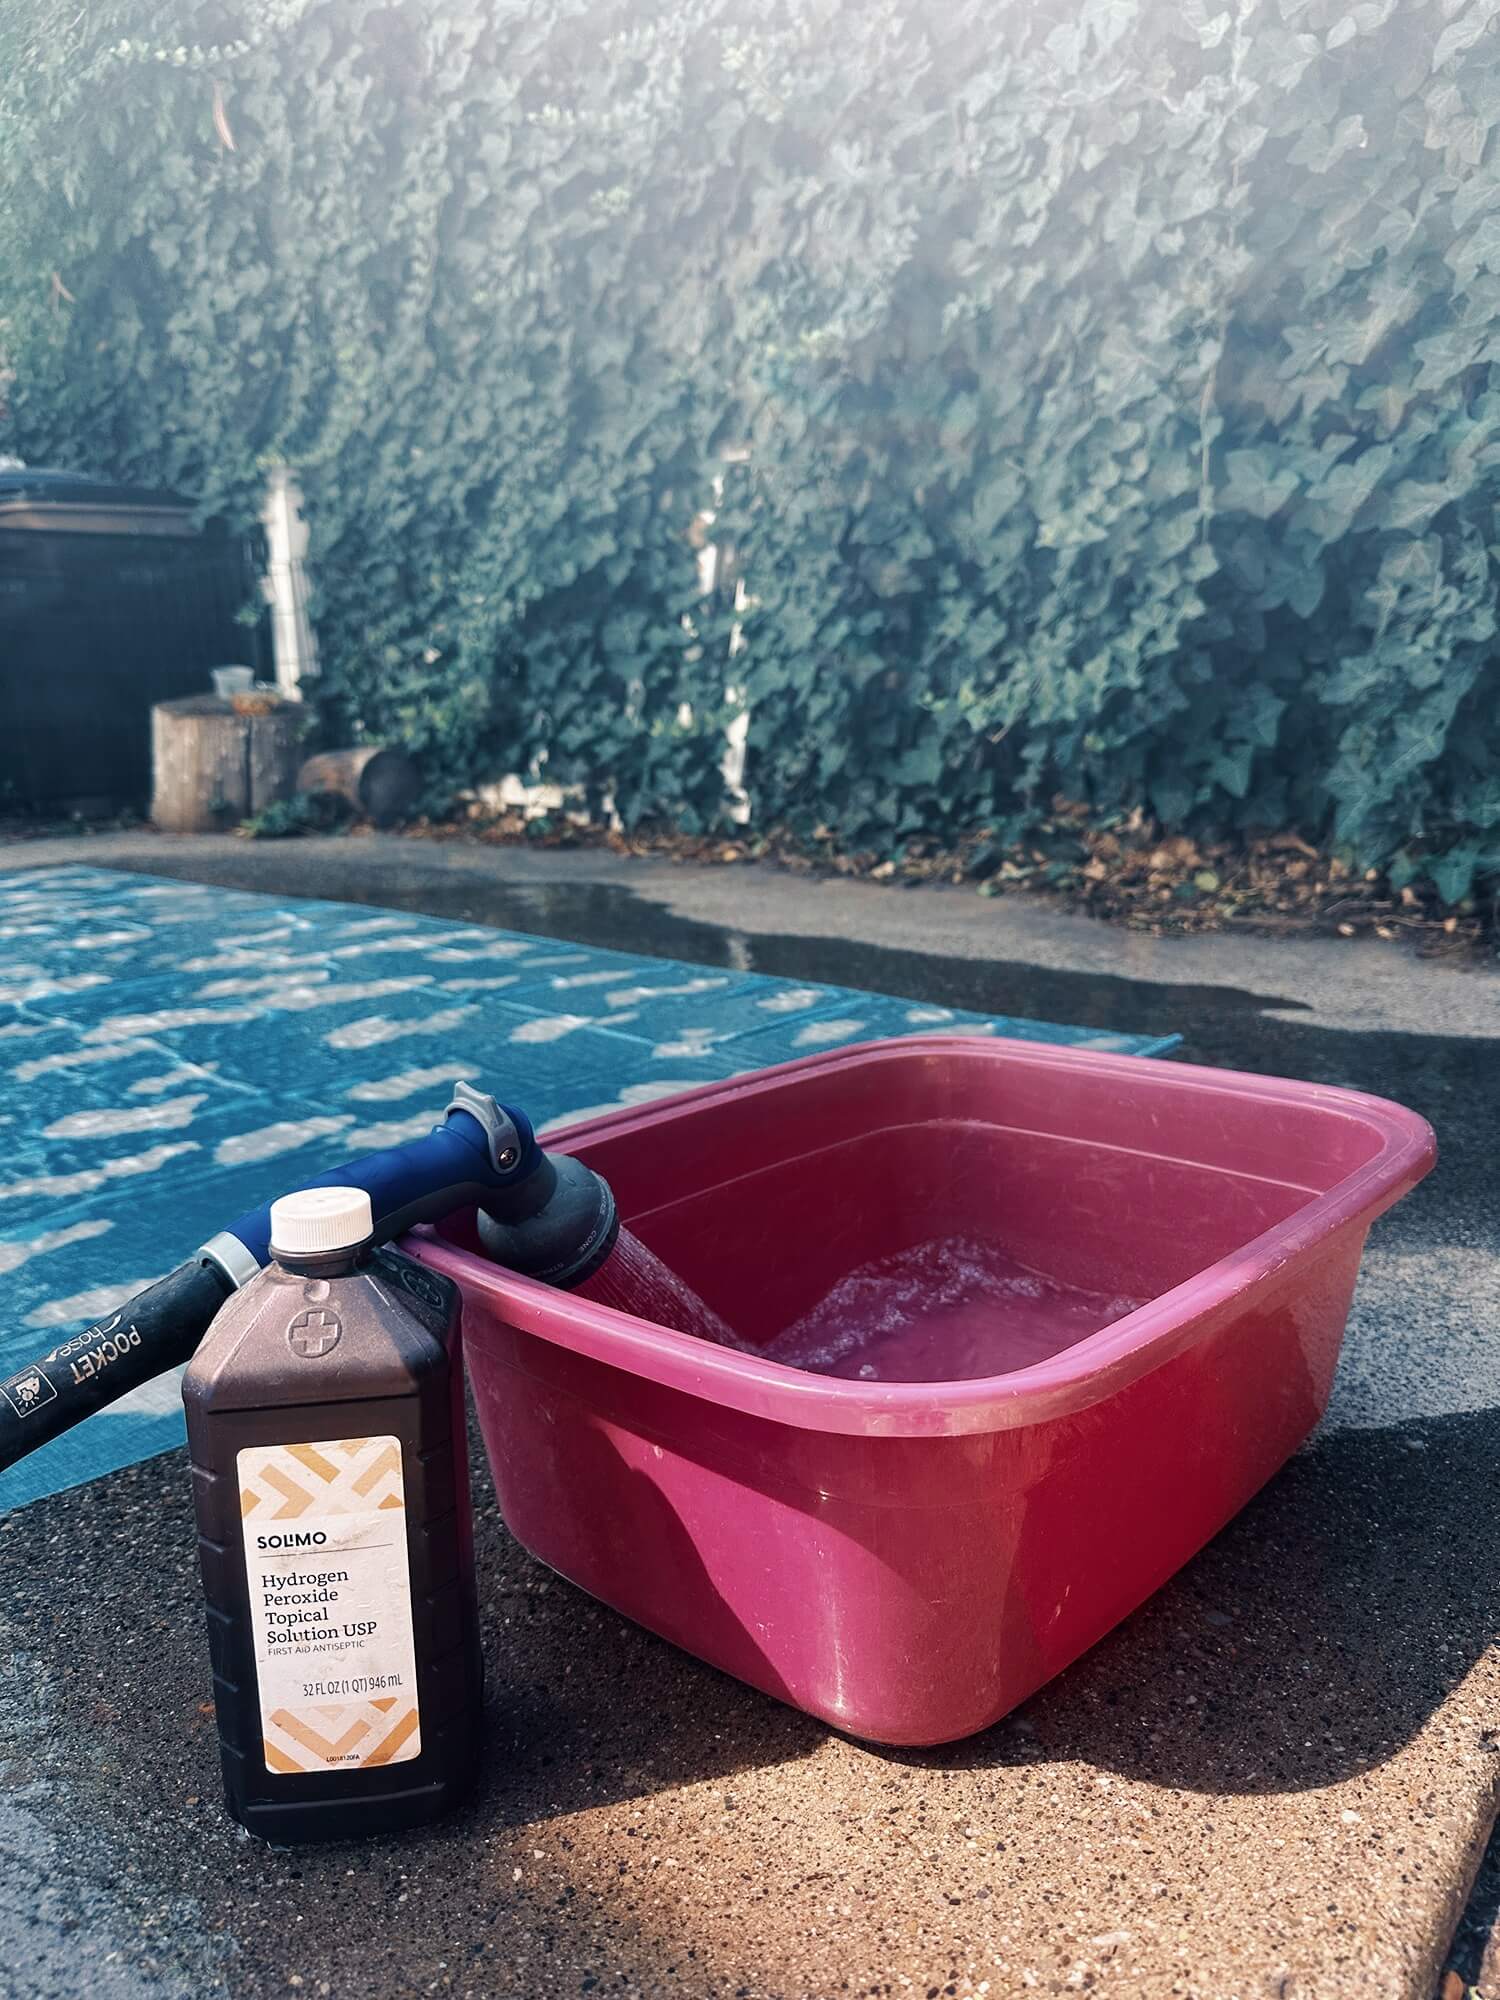 6. Neutralize: To stop the bleach from continuing it’s bleaching activity, it’s important to neutralize it with hydrogen peroxide. To do this, make a hydrogen peroxide bath by combing 1 part hydrogen peroxide to 10 parts water and let the fabric soak for 10 minutes, moving the fabric around every few minutes to ensure all parts of the fabric soak in this bath.
7. Wash: Throw your printed fabric in the wash to seal the deal.
8. Sew!: Your fabric is ready to work with! Whether that is a garment, home decor items, or whatever you have your heart set on. I decided to use my cloud print linen to make a late summer dress and I feel that this lightweight linen was MADE for a fun pin tuck project.












10 Comments
Diane Hatton
How delightful, and a wonderful idea! The pattern you’ve made for your dress and your innovative use of bleach just fires up my imagination, it’s beautiful!!!
Kate Renwick
That’s the prettiest dress I’ve seen all summer. Well done on everything.
Laura Bonack
Thank you for sharing your inspirational project! I love it!
Jerilyn Vogelsang
You are a gifted fabric artist with you innovative “bleach printing” and also a gifted pattern maker. Your article was easy to understand with beautiful photo’s to go along. Thank you!
Sheila Finney
Pattern please
Sheila Moon
What pattern is being used fot this dress?
Leila Knoll
I drafted it myself 🙂
Leila d'Angelo
This is so beautiful! And love the scalloped edge to keep that romantic cloudy vibe in the pattern too. Did you self draft the pattern?
Leila Knoll
i did! 🙂 Thank you Leila! <3
Linda Voelker
Your dress turned out beautiful! Thanks for the wonderful tutorial. I have been pondering stenciling fall leaves on a linen background but was nervous about it, you have inspired me to try!