Understanding Sewing Patterns: A Simple Guide to Symbols and Markings
When you open a sewing pattern for the first time, the different lines, symbols, and shapes can seem a little overwhelming, especially if you’re new to sewing. However, they typically follow a similar format no matter which pattern company you’re using. As you become familiar with them, understanding these markings will eventually become second nature, allowing you to read and interpret patterns with ease.
These markings are essential guides that help you navigate the sewing process, ensuring that you cut, align, and assemble your fabric pieces accurately. From notches and grainlines to darts and fold lines, each symbol serves a different purpose. This article will walk you through the most common sewing pattern markings.
Pattern labels
A good place to start is by familiarising yourself with the key details labeled on each pattern piece. These labels provide essential information, helping ensure you have all the pieces you need and a clear understanding of how they fit together.
The pattern brand: The brand name is prominently displayed on each pattern piece, indicating who designed and created the pattern. Pretty self explanatory!
The style number or name: This acts as a unique identifier not only for the designer but also for you as the sewist. I’ve noticed more designers have been using names, just like the ‘Alejandra Jumpsuit’, instead of numbers. I think this is a nice touch that makes the pattern that bit more personal.
View: If your pattern includes different versions—such as short sleeve (View A) and long sleeve (View B)—each pattern piece will indicate the view it corresponds to. This ensures you’re working with the correct pieces for your chosen design.
The name of each pattern piece: Patterns are composed of various pieces for different parts, like the front, back, and sleeves. Each piece is labeled accordingly, so you know which part of the garment it corresponds to and how it fits together.
Cutting instructions: These provide detailed instructions on how to cut each pattern piece. Some pieces are cut once (like a waistband), others in pairs (like pant legs), or multiple times (like pocket bags). Additionally, certain pieces may require interfacing or lining. The pattern piece will specify exactly what is needed (e.g., ‘Cut 1 on Fold and Cut 1 Interfacing’).
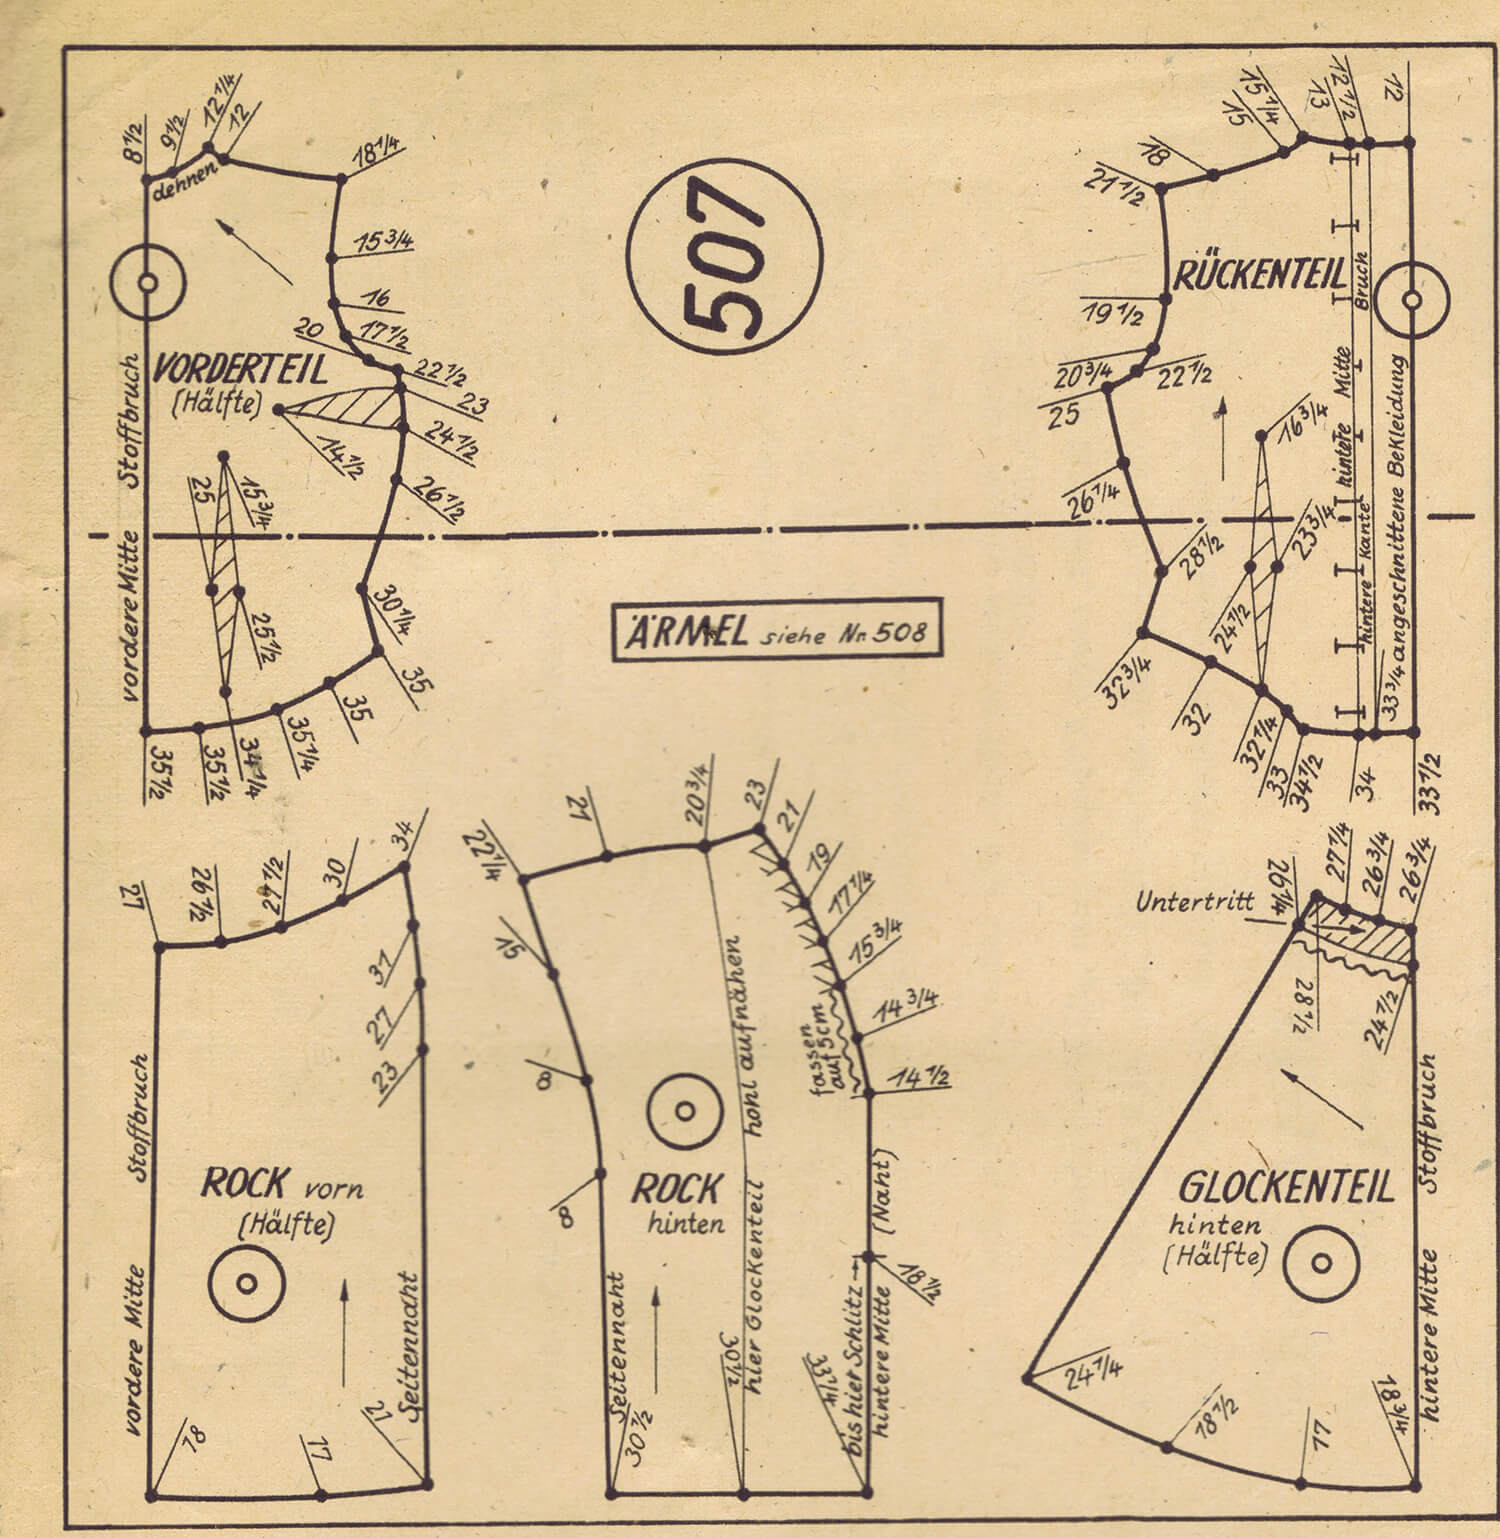
The various lines on pattern pieces serve as visual guides that help to determine the correct size, placement, and opportunities for adjustment. From cutting lines to grain lines, each play a key role in ensuring that your garment fits well and maintains its intended shape.
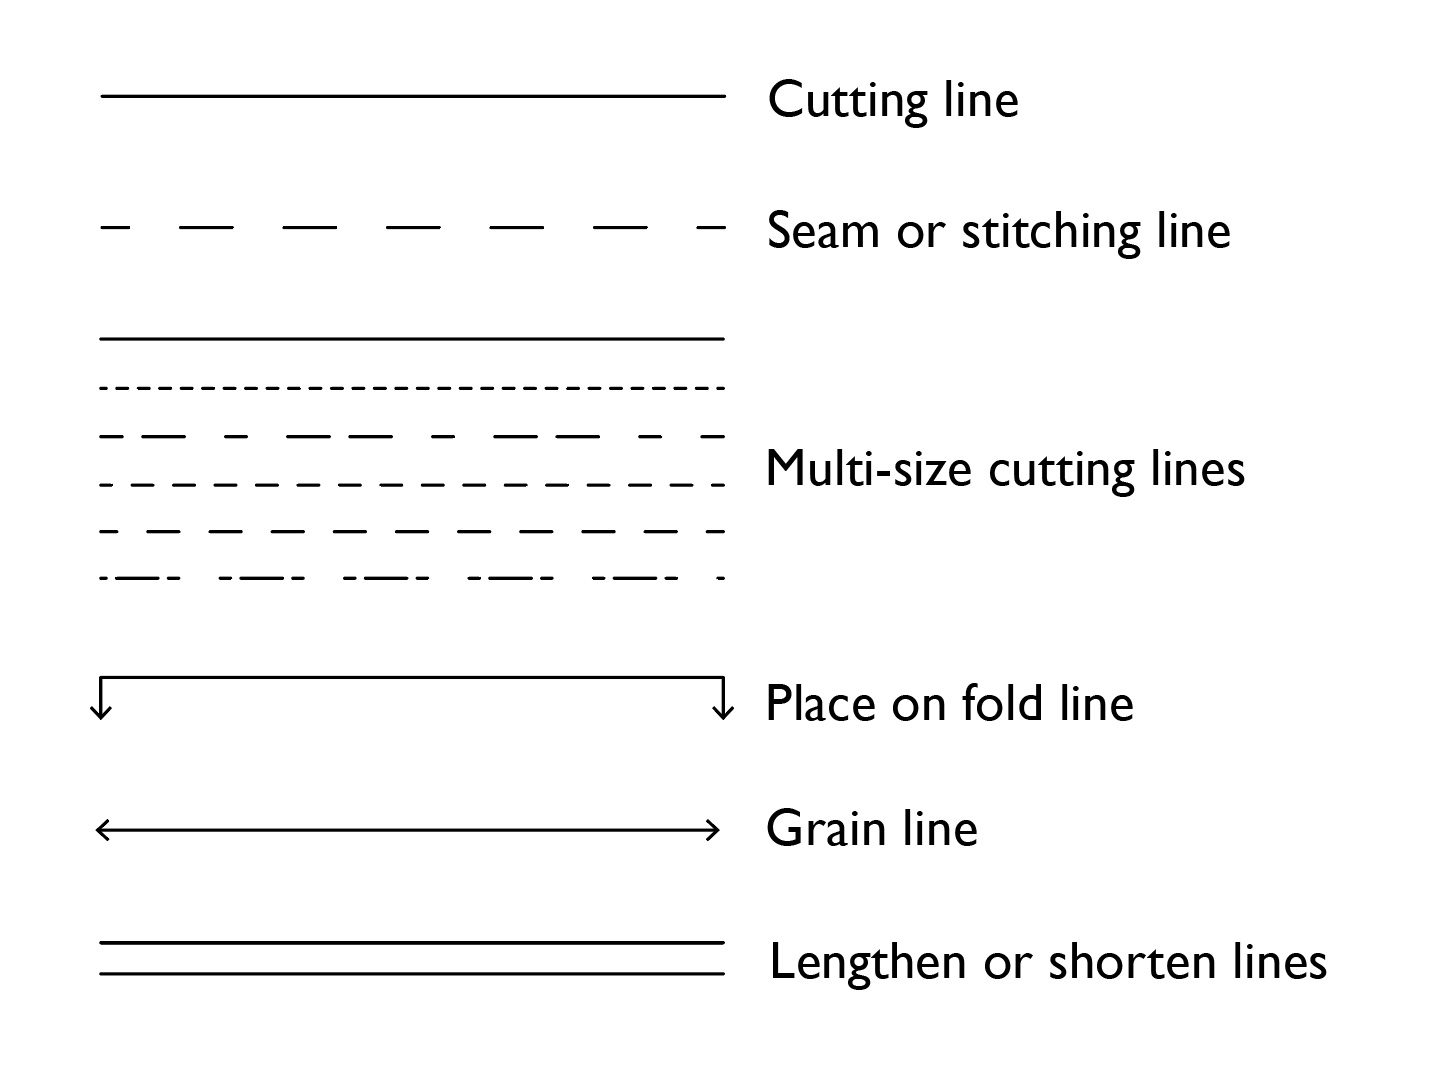
Cutting line: This is exactly what it sounds like—the line along which the fabric is cut.
Seam or stitching line: Not all patterns include a seam allowance line; instead, they will simply specify the seam allowance in the instructions. However, if the pattern does include a seam line, it is usually depicted by a dashed line and is the line along which you will sew.
Multi-size cutting lines: These are the dashed, dotted, and solid lines bordering the pattern piece, each representing a different size. These lines can sometimes be tricky to follow as they may converge on each other. Therefore, it can be helpful to trace or highlight the relevant size before cutting or tracing.
Place on fold line: A boxed arrow indicating when you need to cut a symmetrical pattern piece. To achieve this, you simply position the arrow against the folded edge of the fabric. Be mindful that this edge of the pattern piece will not have seam allowance, therefore if you make any adjustments, such as incorporating a seam, you will need to add seam allowance along this line.
Grain line (straight or bias): A line with arrows that help to position the pattern piece parallel to the fabrics selvedge (or straight grain). In some instances the pattern piece will will be placed at a 45 degree angle to the selvedge (the bias grain). The grainline should be marked on every pattern piece.
To ensure the pattern piece is parallel to the selvedge, begin by measuring from one end of the grainline to the selvedge and then pin the pattern piece in place. Repeat this process at the other end of the grainline and ensure that it is the same distance from the selvedge before pinning in place.
Centre front (CF) and centre back (CB): The CF and CB position on the pattern indicate the middle of the front or back of the body. These markings become particularly important to mark if you garment extends beyond the centre, for example for a double breasted garment, or a button placket.
Lengthen or shorten (adjustment) lines: A single or double line that indicates where is best to cut and add (move apart) or remove (overlap) length from a garment.
Pattern markings are essential for achieving precise alignment and accurate placement of design features, such as pockets and zippers.
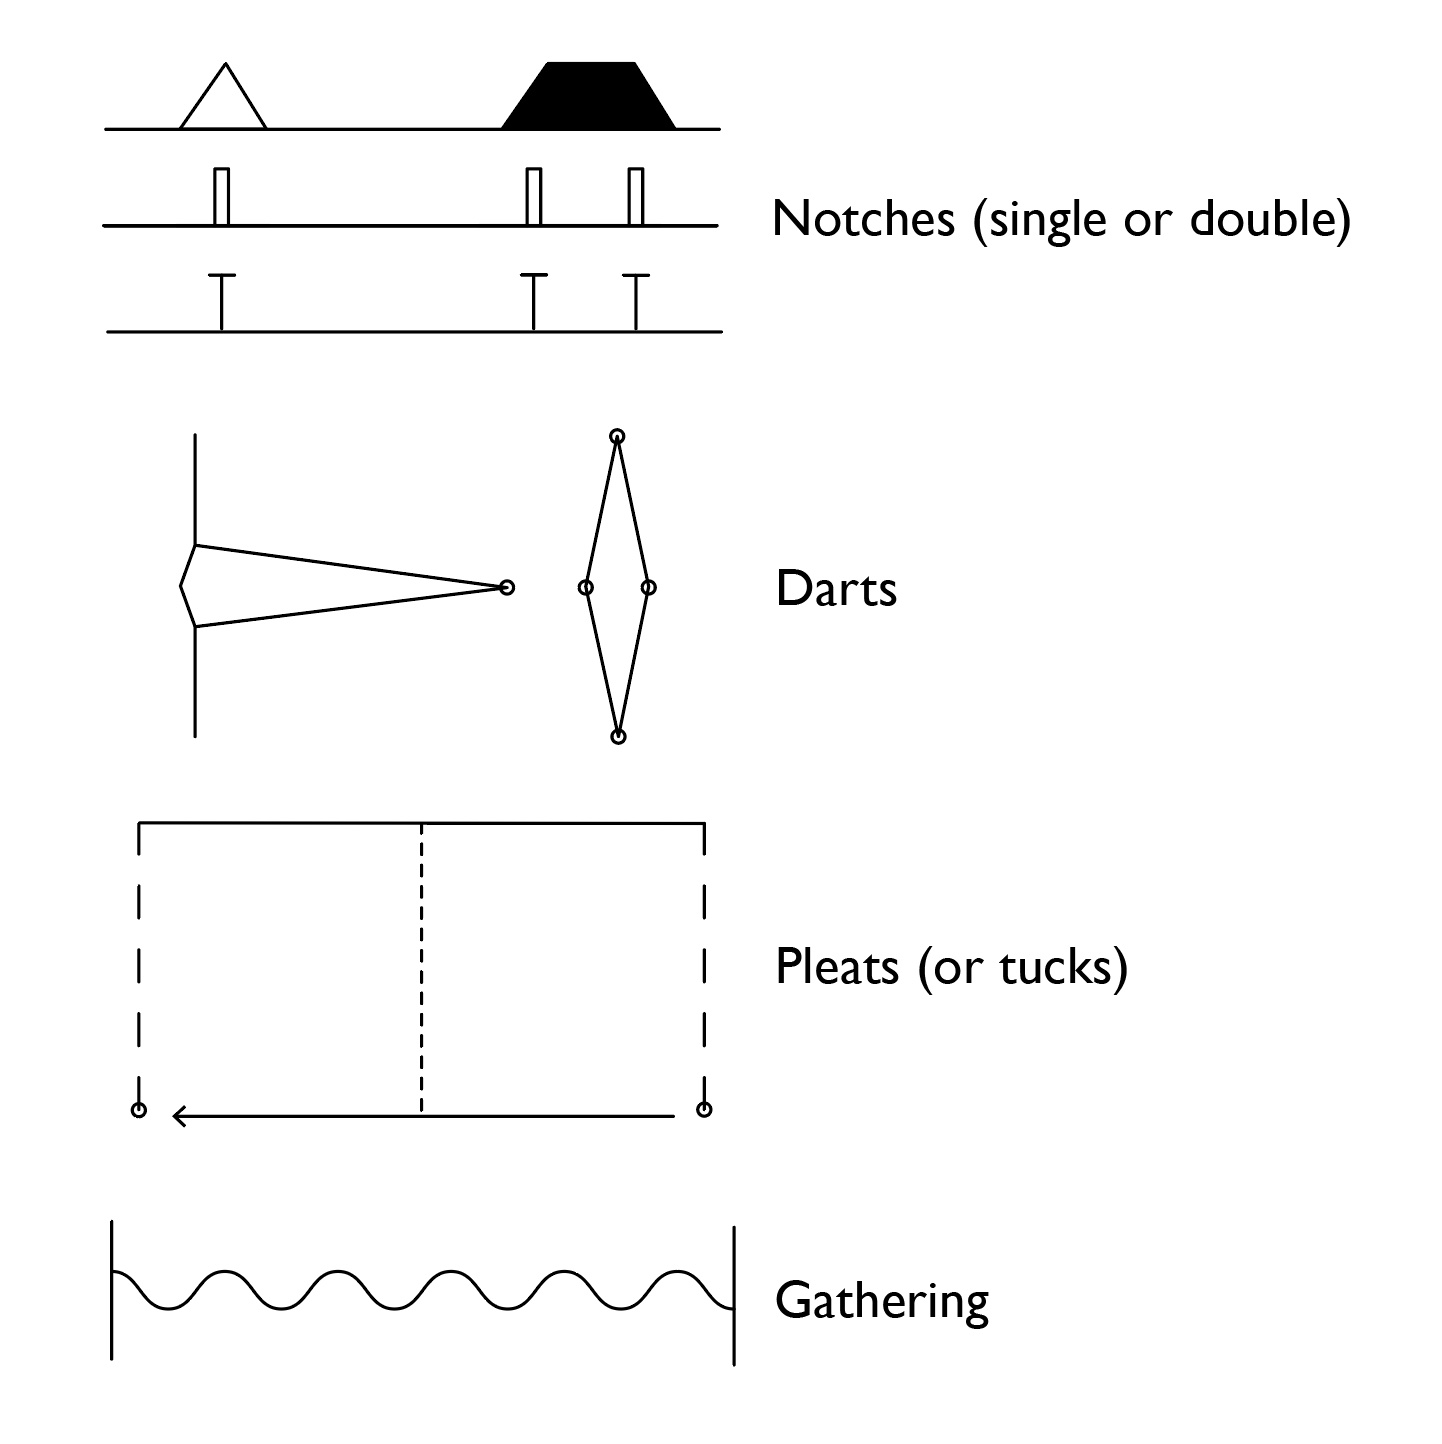
Notches (single or double): These will vary from pattern to pattern, but are most commonly either triangular in shape or simple lines. They are positioned around the edges of the pattern pieces and help ensure correct positioning and alignment (eg. the head of a sleeve with the shoulder point).
Darts: A triangular section of fabric that is folded and stitched to remove excess fabric. They are usually positioned in areas where shaping and fitting is required, such as the bust, shoulders, waist, hips, even the elbows.
Pleats (or tucks): Marked by dotted lines to show where the fabric is folded, with an arrow to indicate the direction of the fold. The only real difference between a pleat and tuck is that a tuck is usually stitched in place along its length.
Gathering: Usually marked by dots or lines that indicate the start and end points of the gathering. A wavy line is often drawn between these marks showing the area to be gathered. These markings ensure not only the correct positioning of the gathering but also the appropriate amount of fullness.
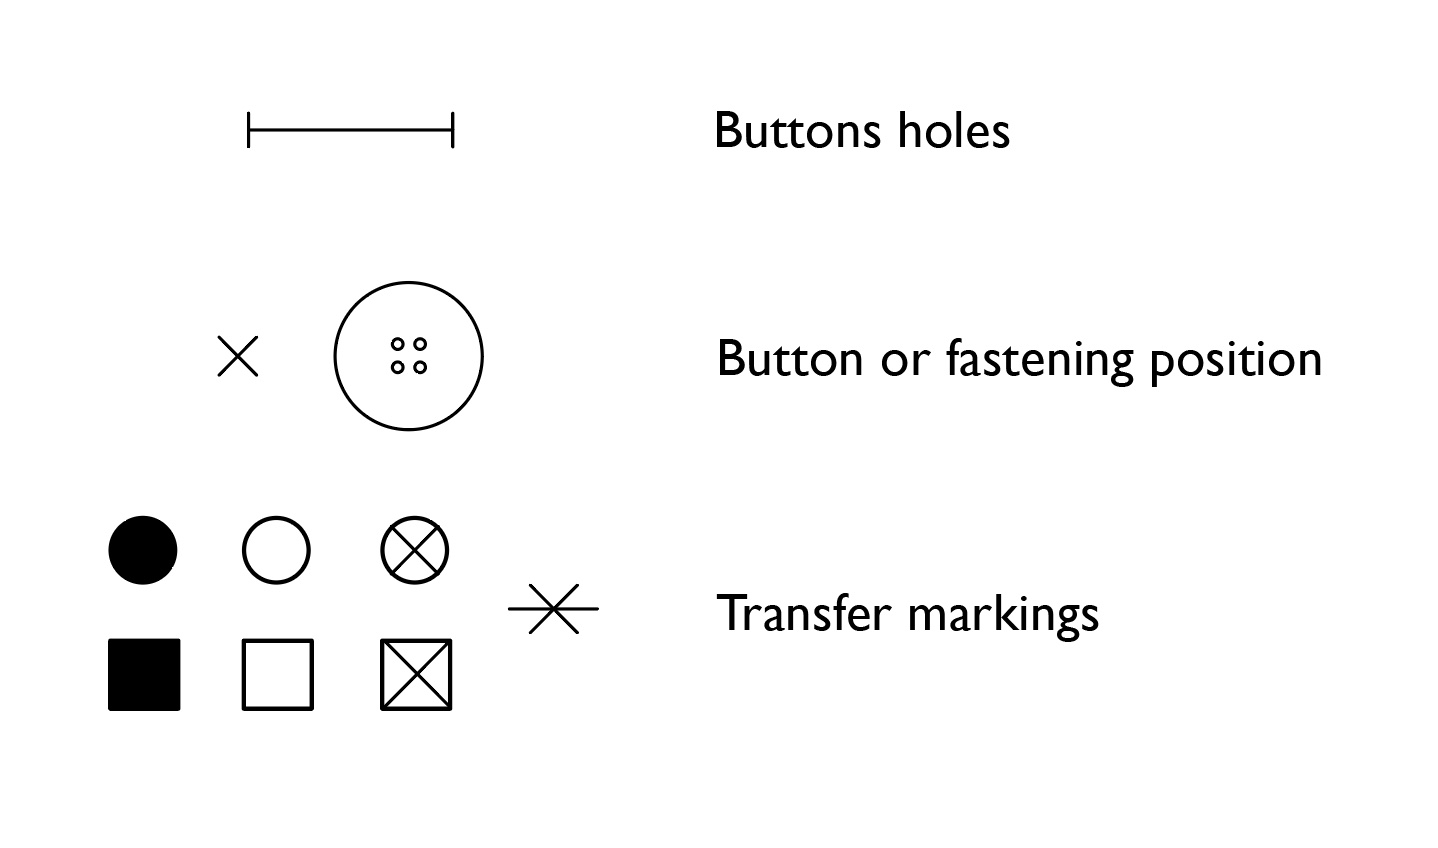 Buttonholes: Indicated by a barred line to show both the placement and length.
Buttons or fastenings: Usually marked by a cross or simple drawing to indicate the placement.
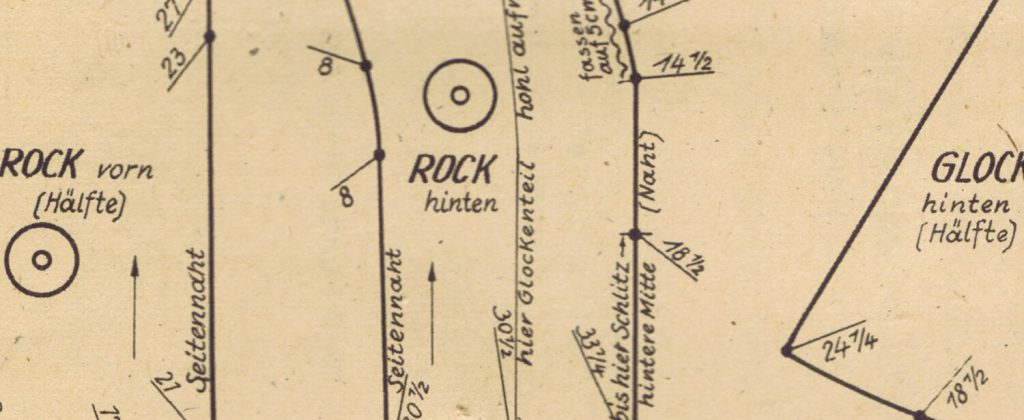
Pockets: There are several different styles of pockets, including patch, in-seam, and welt. Pockets can be marked on a pattern using a mix of notches, lines, and transfer markings. For instance, patch pockets might be marked with small circles or squares, while in-seam pockets might use notches for placement.
Zippers: Similar to pockets, there are several different methods for sewing zippers into garments, including invisible, lapped, and fly-front. As a result, zippers can be marked on the pattern using a combination of notches, lines, and transfer markings. For example, an invisible zipper might be marked with a notch to indicate the stop point.
Each marking on a sewing pattern plays a crucial role in helping you cut, align, and assemble your fabric with accuracy.As you become familiar with these symbols, reading and interpreting patterns will become automatic.








Leave a comment