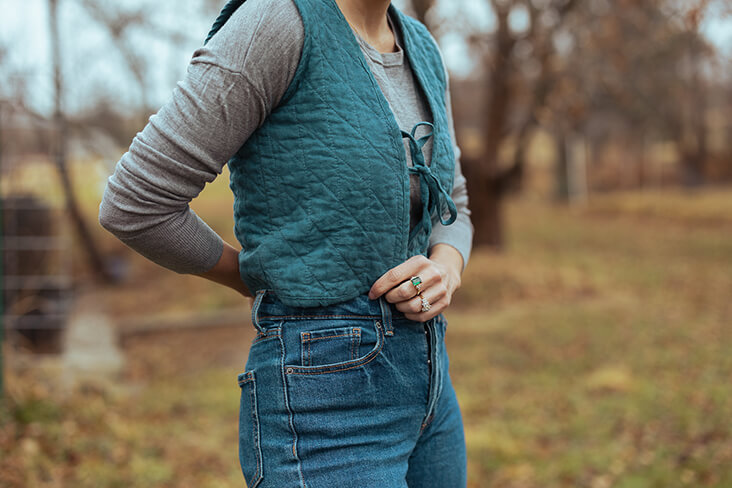
Tutorial: How To Make A Quilted Linen Vest
A few years ago, I started to play with quilting clothes. The first few pieces turned out less than ideal. I didn’t know the paths to avoid the foibles of quilting. But after a few playful experiments and failed garments, things started to fall into place. I’ve put together this tutorial to share the things I have learned in hopes that your quilted clothes can turn out better than mine.
To get started, here are some fun things:
– Don’t wash your fabric before starting. You’ll get extra amounts of those cozy quilted wrinkles if you leave it unwashed. It’s very fun!
– Size up one size. Depending on your fabric and batting, it may shrink up to one size after washing.
– If you don’t have a vest pattern in mind for this project, try the bodice of a shirt pattern you have on hand. Crop the bottom and trim an inch or two off of the front center.
Materials
Fabric in this tutorial is FS Evergreen Softened Midweight Linen
Let’s jump in!
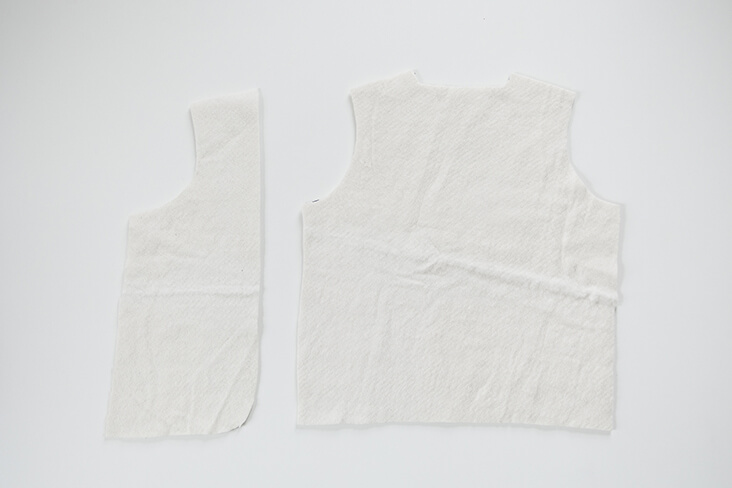
1. Using a shirt or vest pattern of your choice, cut out two back pieces and four front pieces.
2. Cut one back and two front pieces out of cotton batting.
3. Sandwich the batting in between the fabric.
4. Find the center of the back and draw a stitch guide line with chalk or an erasable pen.
For this tutorial, I’m using vertical lines spaced 1 1/2” (~4 cm) apart and diagonal lines spaced 1 1/2” (~4 cm) inches apart.
5. From the center line, mark 1 1/2” (~4 cm) spaces extending out on each side across the whole width of the back.
Using your 1 1/2” (~4 cm) marks as guides, draw vertical stitch guide lines across the whole width of the back.
TIP: You don’t have to make a stitch guide line close to where the side seam will be. Just skip those outside lines close to the side seam edges.
6. Draw a center diagonal stitch guide line across the back. You can use an exact 45 degree angle, or to make it easy, you can draw the line from corner to corner.
7. From the center diagonal line, mark 1 1/2” (~4 cm) spaces extending out on each side.
Again, using your 1 1/2” (~4 cm) marks as guides, draw diagonal stitch guide lines across the whole width of the back.
8. Repeat above steps to draw vertical stitch guide lines on the front pieces. To draw the diagonal lines, place the front pieces next to the back piece and use a long ruler to extend the diagonal lines onto the front pieces.
Time to sew!
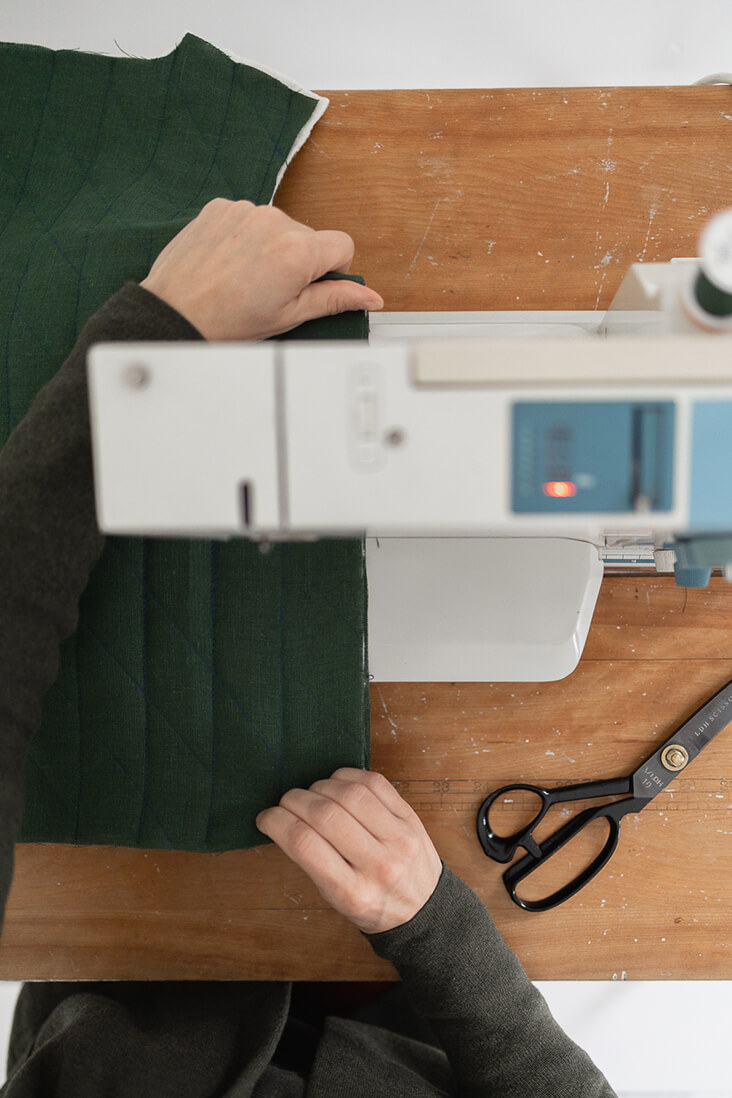
9. Sew the center vertical stitch guide line first. Then sew the line next to the center. Always start in the center and work your way out to the sides. If you work your way in instead of out, you’ll likely end up with excess fabric trapped in the center that will cause puckering.
TIP: With all these lines of stitching it’s easy for some of the layers of fabric to shift around, sometimes dramatically. To minimize shift, pull the top and bottom of the pieces tight with your hands and let the sewing machine do the work of pulling the fabric through at its own pace. This is effective at keeping all the layers in unison.
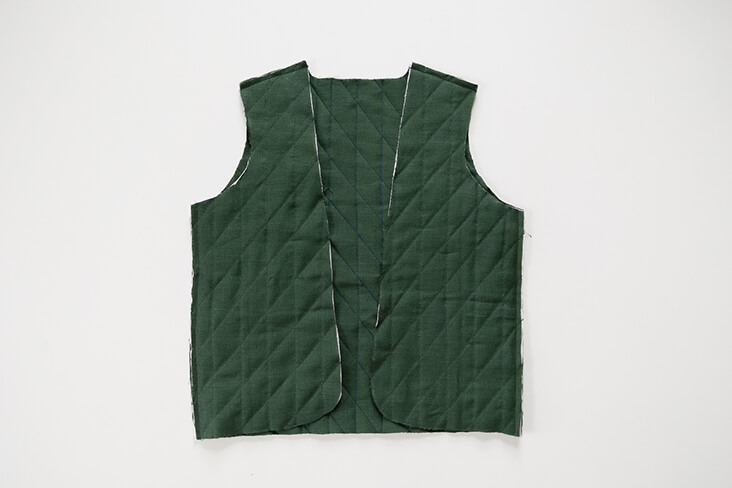
10. When all the vertical lines are stitched, sew the diagonal lines. Start from one corner and work your way to the opposite corner.
11. After quilting all three pieces, trim up any uneven places where the three layers aren’t aligned. If things shifted while sewing, no problem! Scissors to the rescue!
12. Place the front pieces on the back piece with right sides together. Pin or clip in place.
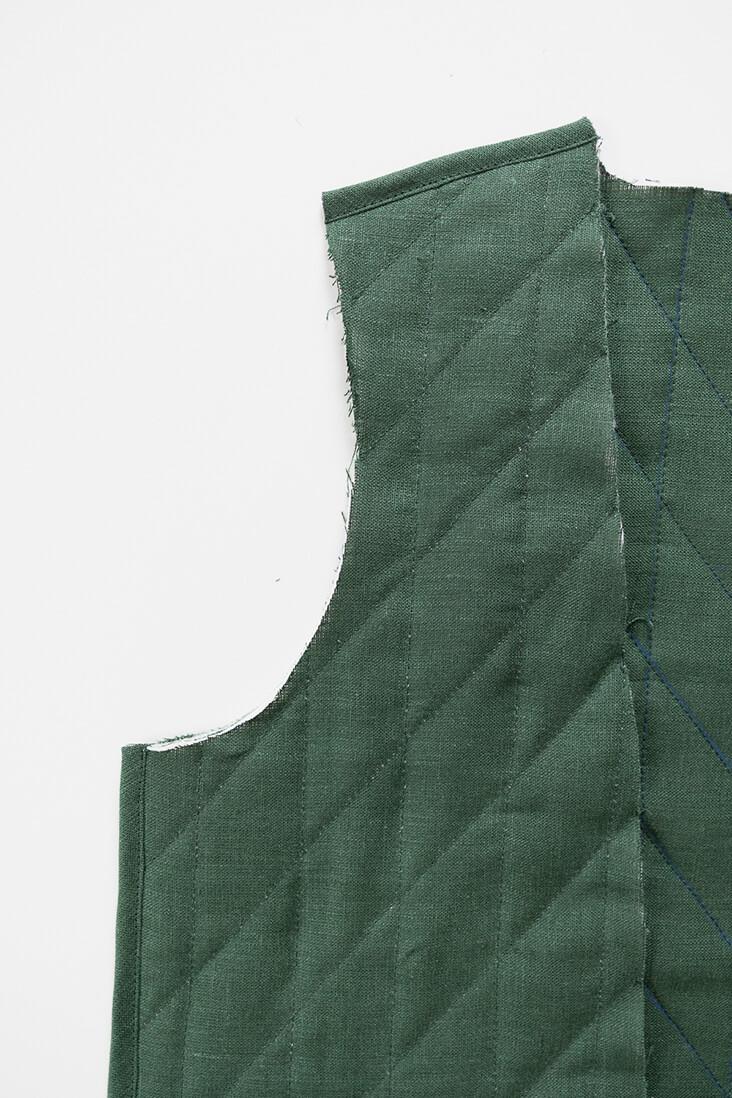
13. Sew shoulders and side seams together using desired seam allowance.
TIP: At this point, it’s a fun idea to try on the vest to see if you want to make any last minute adjustments — maybe crop it a bit shorter, deepen the armholes, etc. Just remember it will shrink a little with the cotton batting after it’s washed.
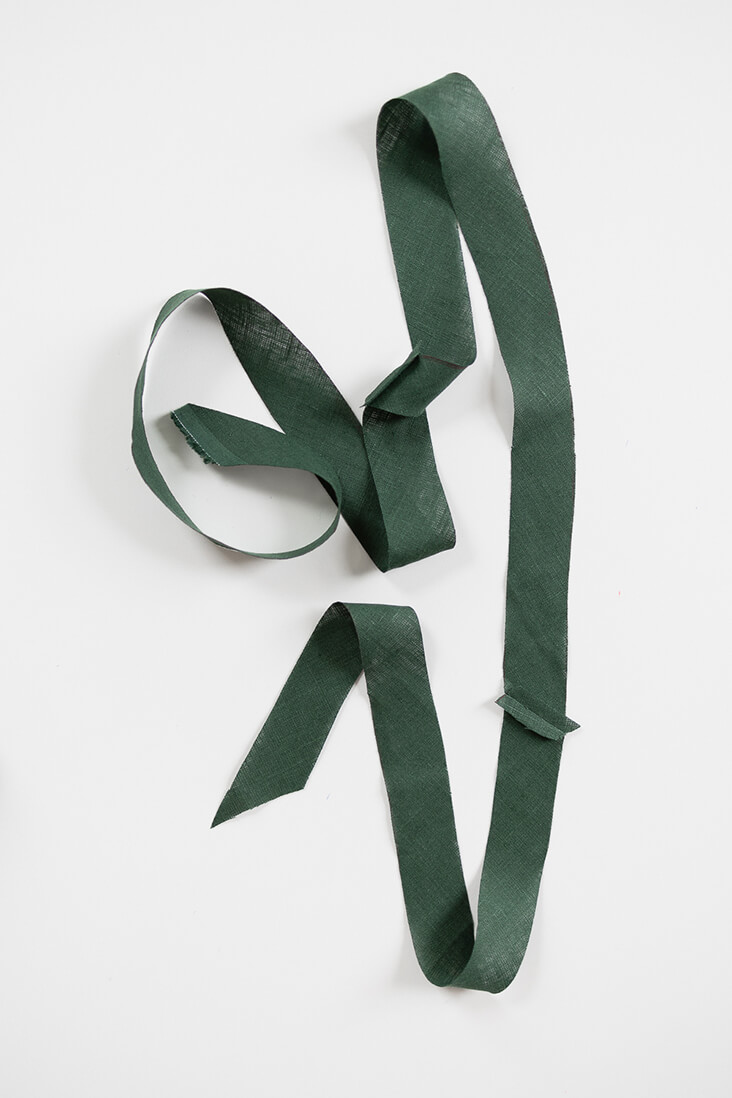
14. Cut some bias tape from your lovely linen. For this tutorial, I used 1 1/4” (~3 cm) wide bias tape. You may want to use wider if your batting is more lofty.
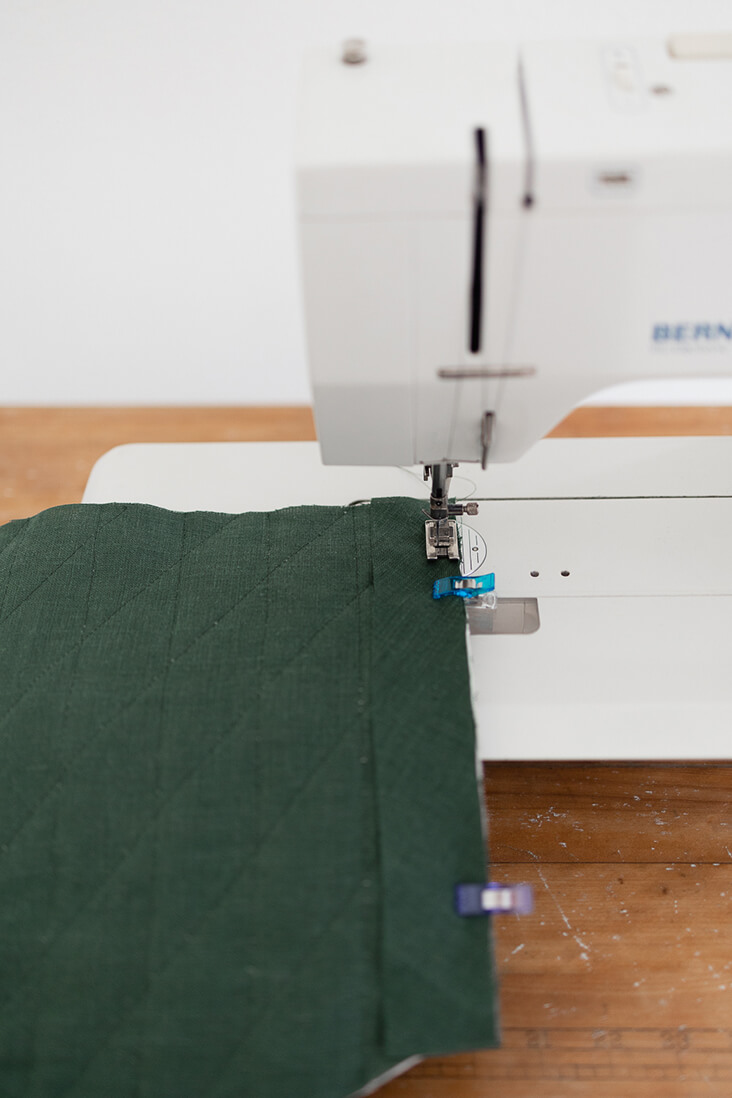
15. Place the bias tape right side down along the shoulders and side seams.
16. Sew bias tape onto shoulders and side seams using the same seam allowance or slightly greater than was used to sew the seam.
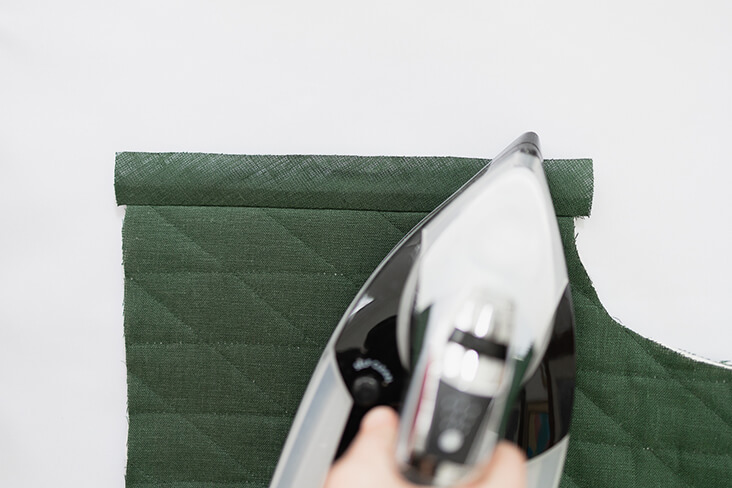
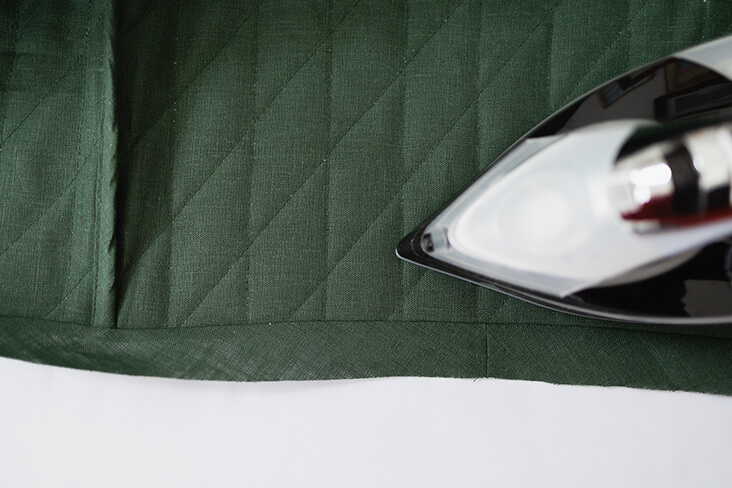
17. Fold out the bias tape and press. Then fold the edge of the bias tape in halfway toward the exposed seam and press
18. If the seam feels cramped for space, trim off a bit of the seam allowance. Be careful not to accidentally cut into the freshly pressed bias tape!
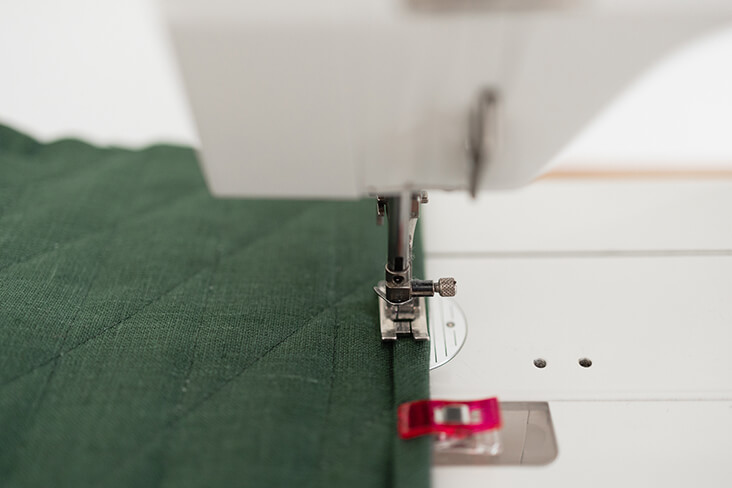
19. Fold the bias tape over the exposed seam and pin or clip in place.
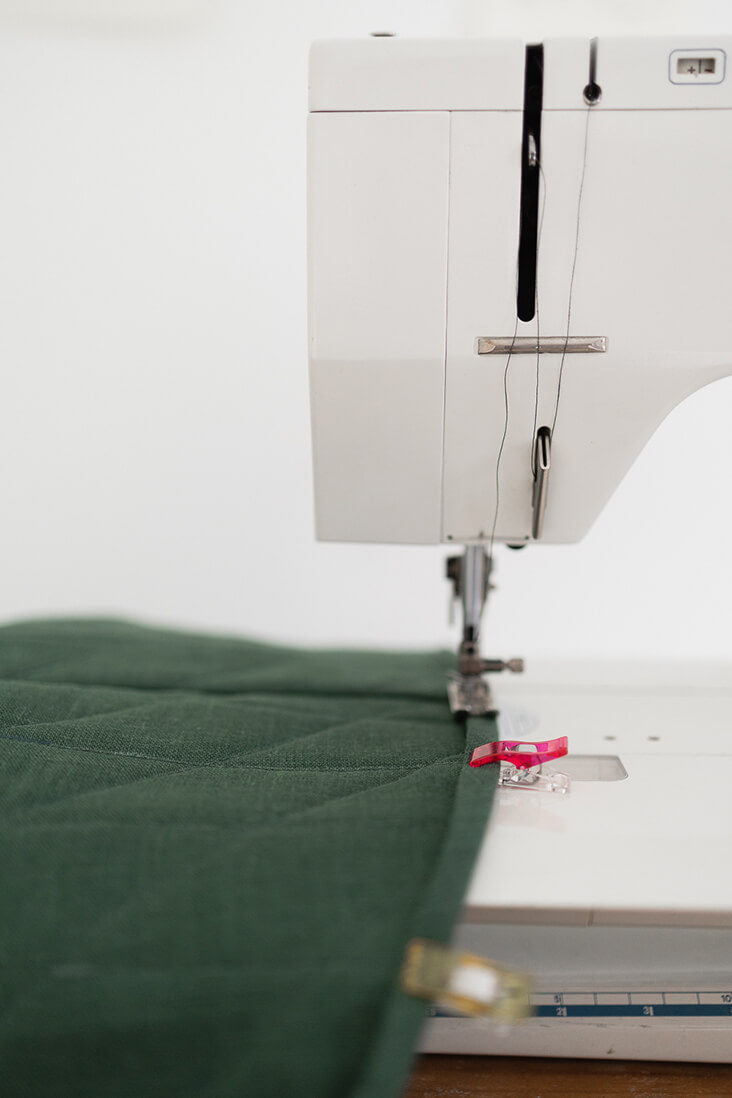
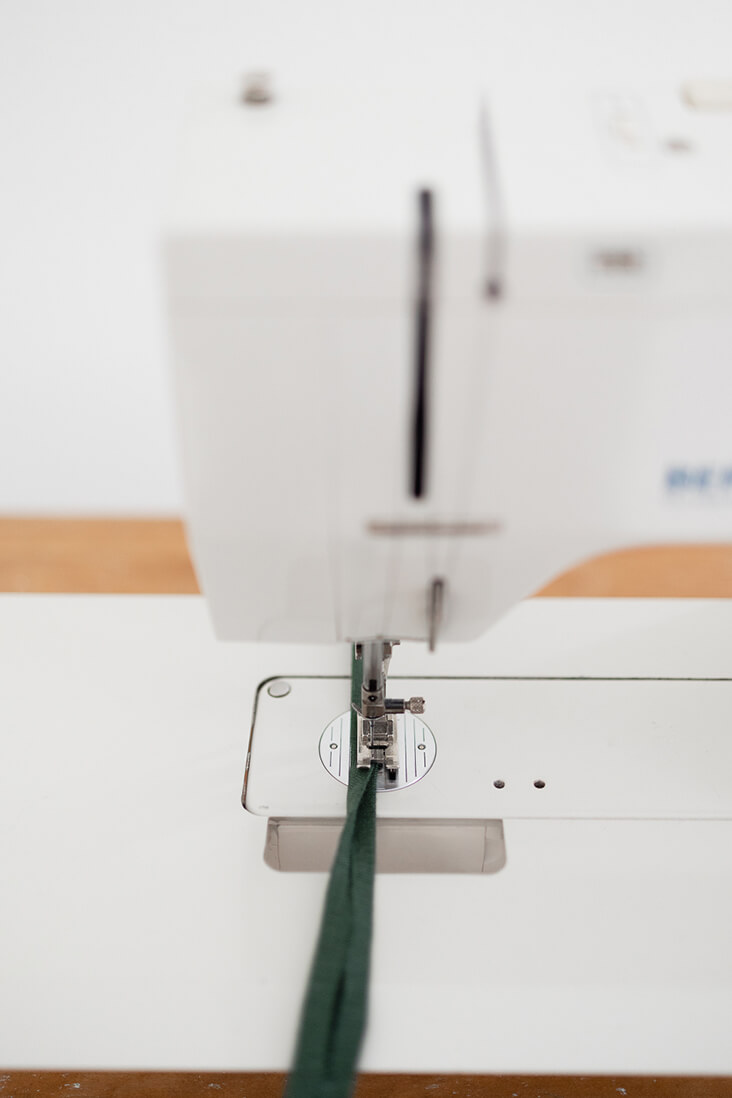
20. Sew along the edge of the bias tape.
21. Sew a long length of bias tape strips together.
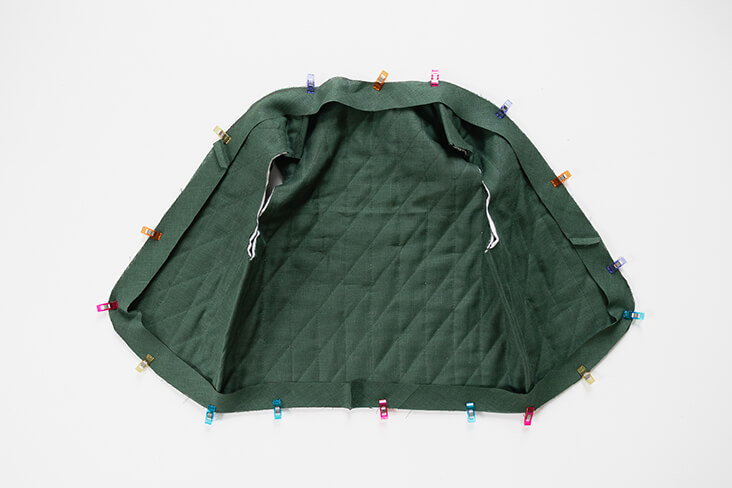
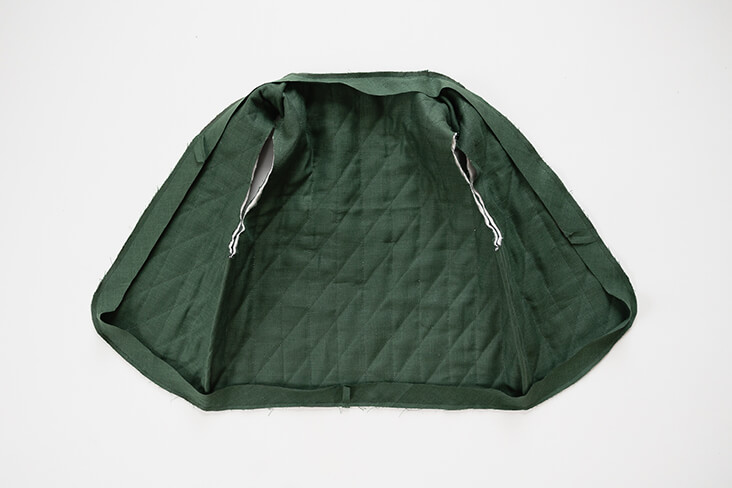
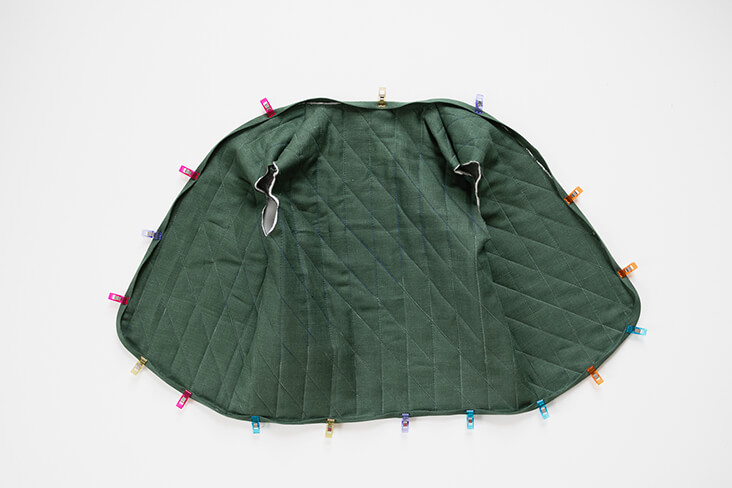
22. Place the right side of the bias tape on the wrong side of the vest. In other words, both the wrong side of the vest and the bias tape should be facing up toward you. Start at the bottom in the back and pin or clip the bias tape all the way around the perimeter.
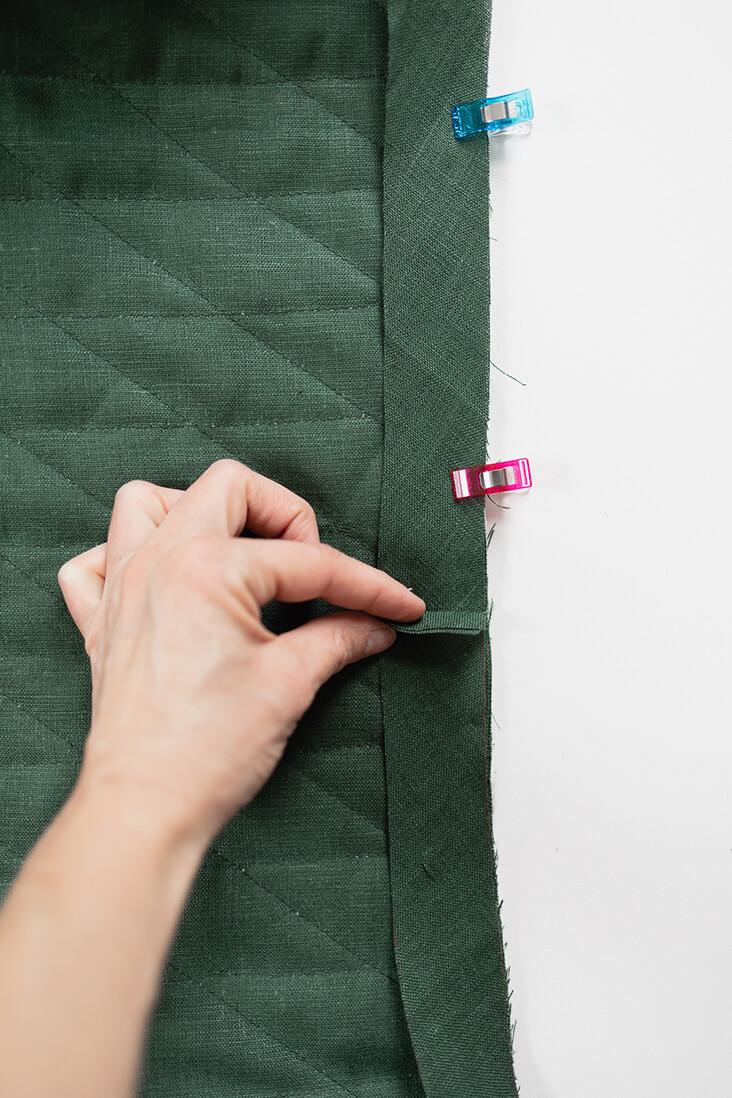
When you make it all the way around, trim the bias tape with just enough left over to sew the two ends together.
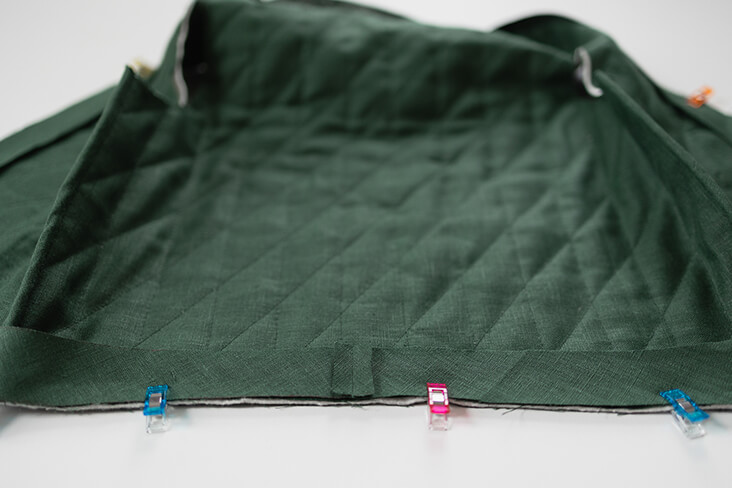
23. Sew the ends of the bias tape together. Press seam open.
24. Sew all the way around the perimeter of the vest.
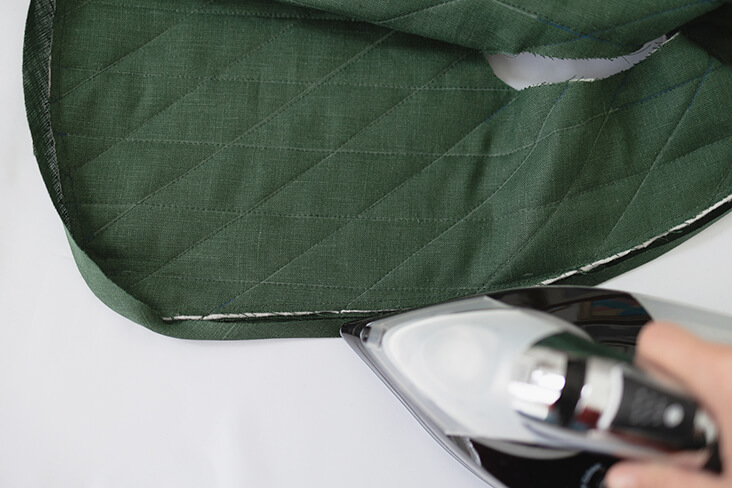
25. Fold out the bias tape and press. Then fold the edge of the bias tape in halfway toward the right side of the vest and press.
26. Fold the bias tape over the exposed seam toward the right side of the vest and pin or clip in place.
27. Sew along the edge of the bias tape all the way around the vest perimeter.
28. Repeat steps 22-27 for sewing bias tape onto armholes.
29. Cut two strips 12” (~30 cm) long and 1 1/4” (~3 cm) wide.
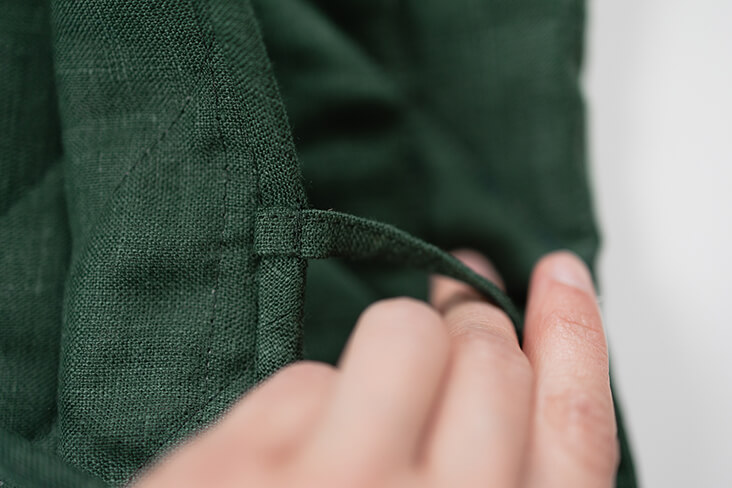
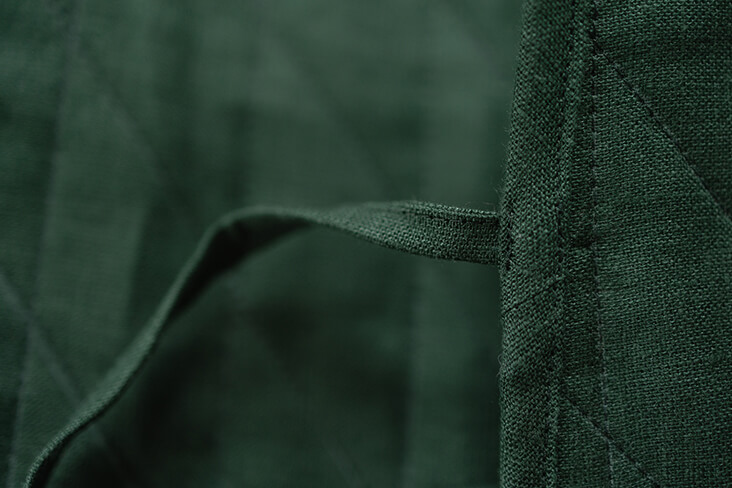
30. Fold the two strips in fourths and sew along the edge. At one end, fold in the end for a clean finish. These will be the ties for the vest.
31. Try on the vest. Pin the unfinished ends of the ties right along your bust line. Pin them on the wrong side of the vest.
32. Stitch the ties in place in the seam of the bias tape.
33. Fold the ties toward the center and stitch in place along the outside edge of the bias tape.
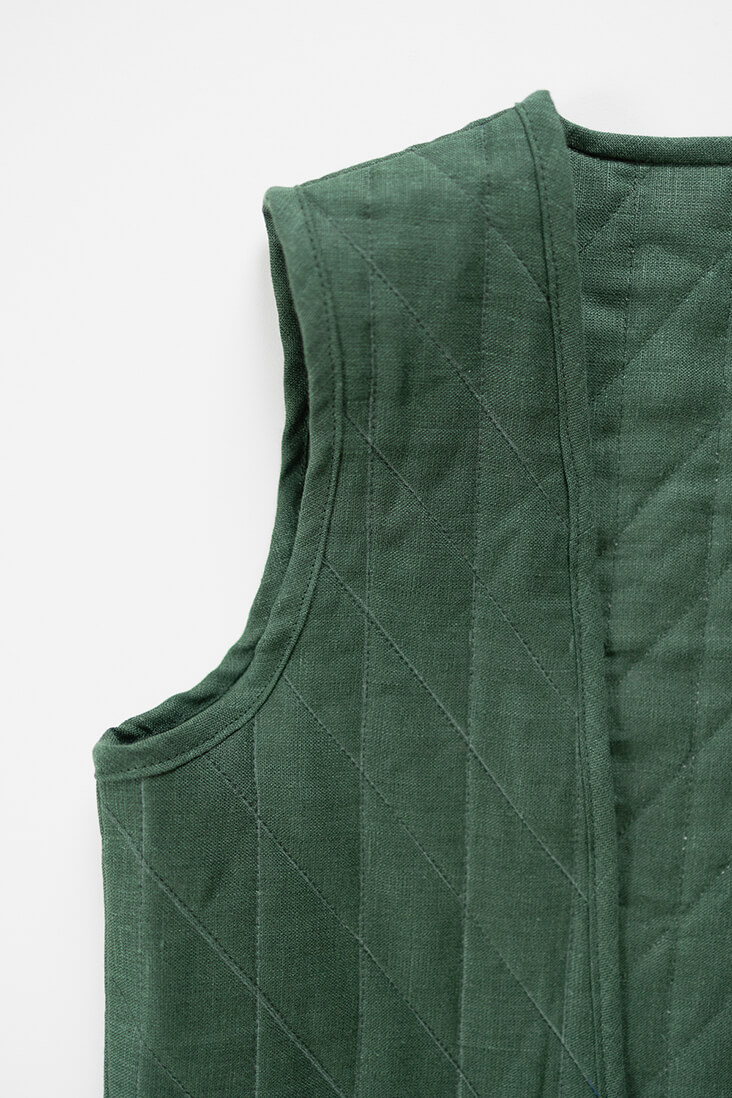
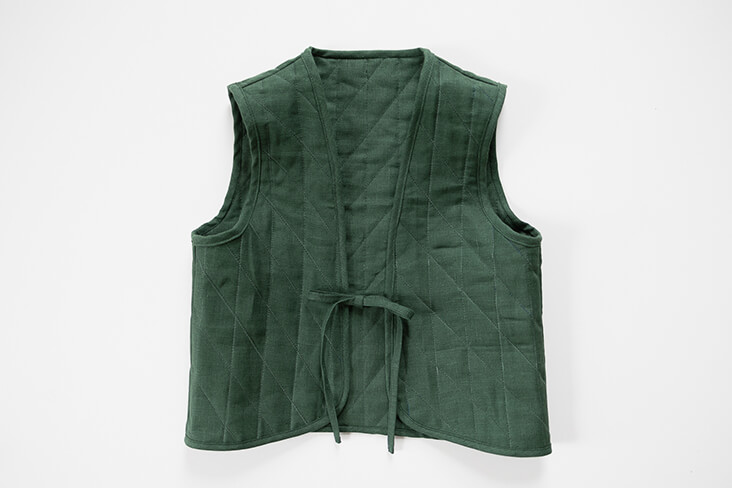
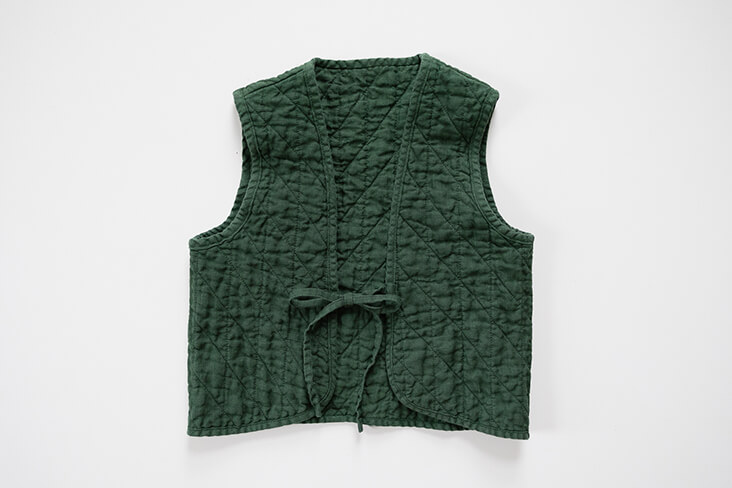
34. Wash and dry your vest. Those lovely wrinkle lines! It’s the joy of leaving your fabric unwashed before sewing. If you want even more wrinkle lines, you can move the stitched lines closer together.






















22 Comments
Marie Weber
I love the way you did the quilting right on the cut pieces.
I’ve recently been experimenting with quilting things… now that I’ve finally unlocked the mysteries of bias binding. The post-construction wash definitely gives the most beautiful texturing.
Thanks for sharing your technique! I love the finished product – super cute
Marian Spadone
Thanks for this sweet tutorial from the archives. Years ago (decades!), when I showed my friend my first attempts at quilting on my machine, she asked how I did it…did I have a ‘walking foot’? I asked her what’s that? She was shocked that I’d done it without one. So I bought one and saw how it made the process easier. I think it was a foot that created a ‘differential feed’. I like that you didn’t use a fancy foot for your quilting on this vest. I like the freedom to play and just do it.
Now I have a machine with a free-motion quilting foot. But that one has its own learning curve. When I was learning, I made several practice pieces–using flowers, bamboo, curlicues and designs I made up just to gain skill with this new foot. I still have them. This article makes me want to dig them out and make myself a couple of vests with them! Thanks for the inspiration.
Henya Rachmiel
Nicely photographed.
As others have said, quilt some yardage and then cut out the pattern pieces.
Rachel Serpico
Could you share what pattern you used to create your vest?
Thanks!!
Sarah Kirsten
Hi Rachel! I actually self drafted the vest. I’m sorry I don’t have a pattern to share!
Linda Hamilton
You might try quilting yardage, then washing it, then cutting out the pieces in the correct size. As long as you do your quilting lined up with the grain to start with, any additional quilting should be easy to add. I’ve never cut oversized then quilted before & I’m pretty sure I would end up with clothing that doesn’t fit if I did try it that way. I always wonder if the issue is that someone who is not curvy doesn’t have the same problems with patterns so they can get away with your technique.
Sarah Kirsten
Great idea! Alisha commented below she uses a similar method to what you described.
Share Smithwick
Thank you for pointing this out ….I had the same issue with a toaster oven cover I made for my sister to cover her ugly old toaster and OMG what a nightmare….. I had to use more fabric to make another one because the fabric was all over the place and I struggled to keep it in place by the time I got through trimming it was too small for the toaster. Not sure if my batting was appropriate for the cotton fabric I was using, which could have been an issue as well. I am going to attempt this again with linen.
Janet Hopkins
Thanks for the great looking vest tutorial. I have all the materials looking for a use.
Would you happen to know the pattern for the knitted hat in the photo?
Sarah Kirsten
Hi Janet, I’m sorry I don’t know the pattern name!
Diane Kenny
Thanks, Sarah! This looks like a winner for making vests, coats, purses and bags. It’ll be a lot of fun to try.
Sarah Kirsten
Yes, so many fun projects! I made myself a few quilted coats two years ago and they have been used widely in my wardrobe. My go-to coats.
Laura Raymond
Marvelous tutorial! Thanks so much! You’re giving me ideas on what to do with my scraps from apron making!
Sarah Kirsten
Oh yes wonderful project for scraps! Would be fun to see what you come up with!
Gwendolyn Loehr
Thank you so very much, Sarah for these thorough instructions.
Sarah Kirsten
Glad they were helpful, Gwendolyn! Thanks for reading.
Peggi Laubenheim
Nice tutorial. Reminds me of the quilted vests we made when making quilts. I think the drape of linen would be very nice. Will give it a try.
Sarah Kirsten
Would love to see what you create, Peggi!
Alisha Cooke
Love this article. I just started designing coats and vests for children. I quilt my fabric and cotton batting “sandwich” in square or rectangle sections the size of the pattern pieces and then cut out the actual pattern shape after I quilt. This vest turned out great!
Sarah Kirsten
Oh little mini coats and vests! So cute! That’s a good idea to quilt squares and then cut. Saves you from making those hard calls about where to place the first and last stitch lines!
Celeste Yanisch
You did an absolutely lovely job constructing and photographing this project. Linen ravels so easily that I often wonder how people photograph it so well; mine ends up raveling after minutes.
Sarah Kirsten
Thank you, Celeste. I know what you mean! This fabric held together amazingly well through all the marking and quilting.