Tutorial: The Lovebirds
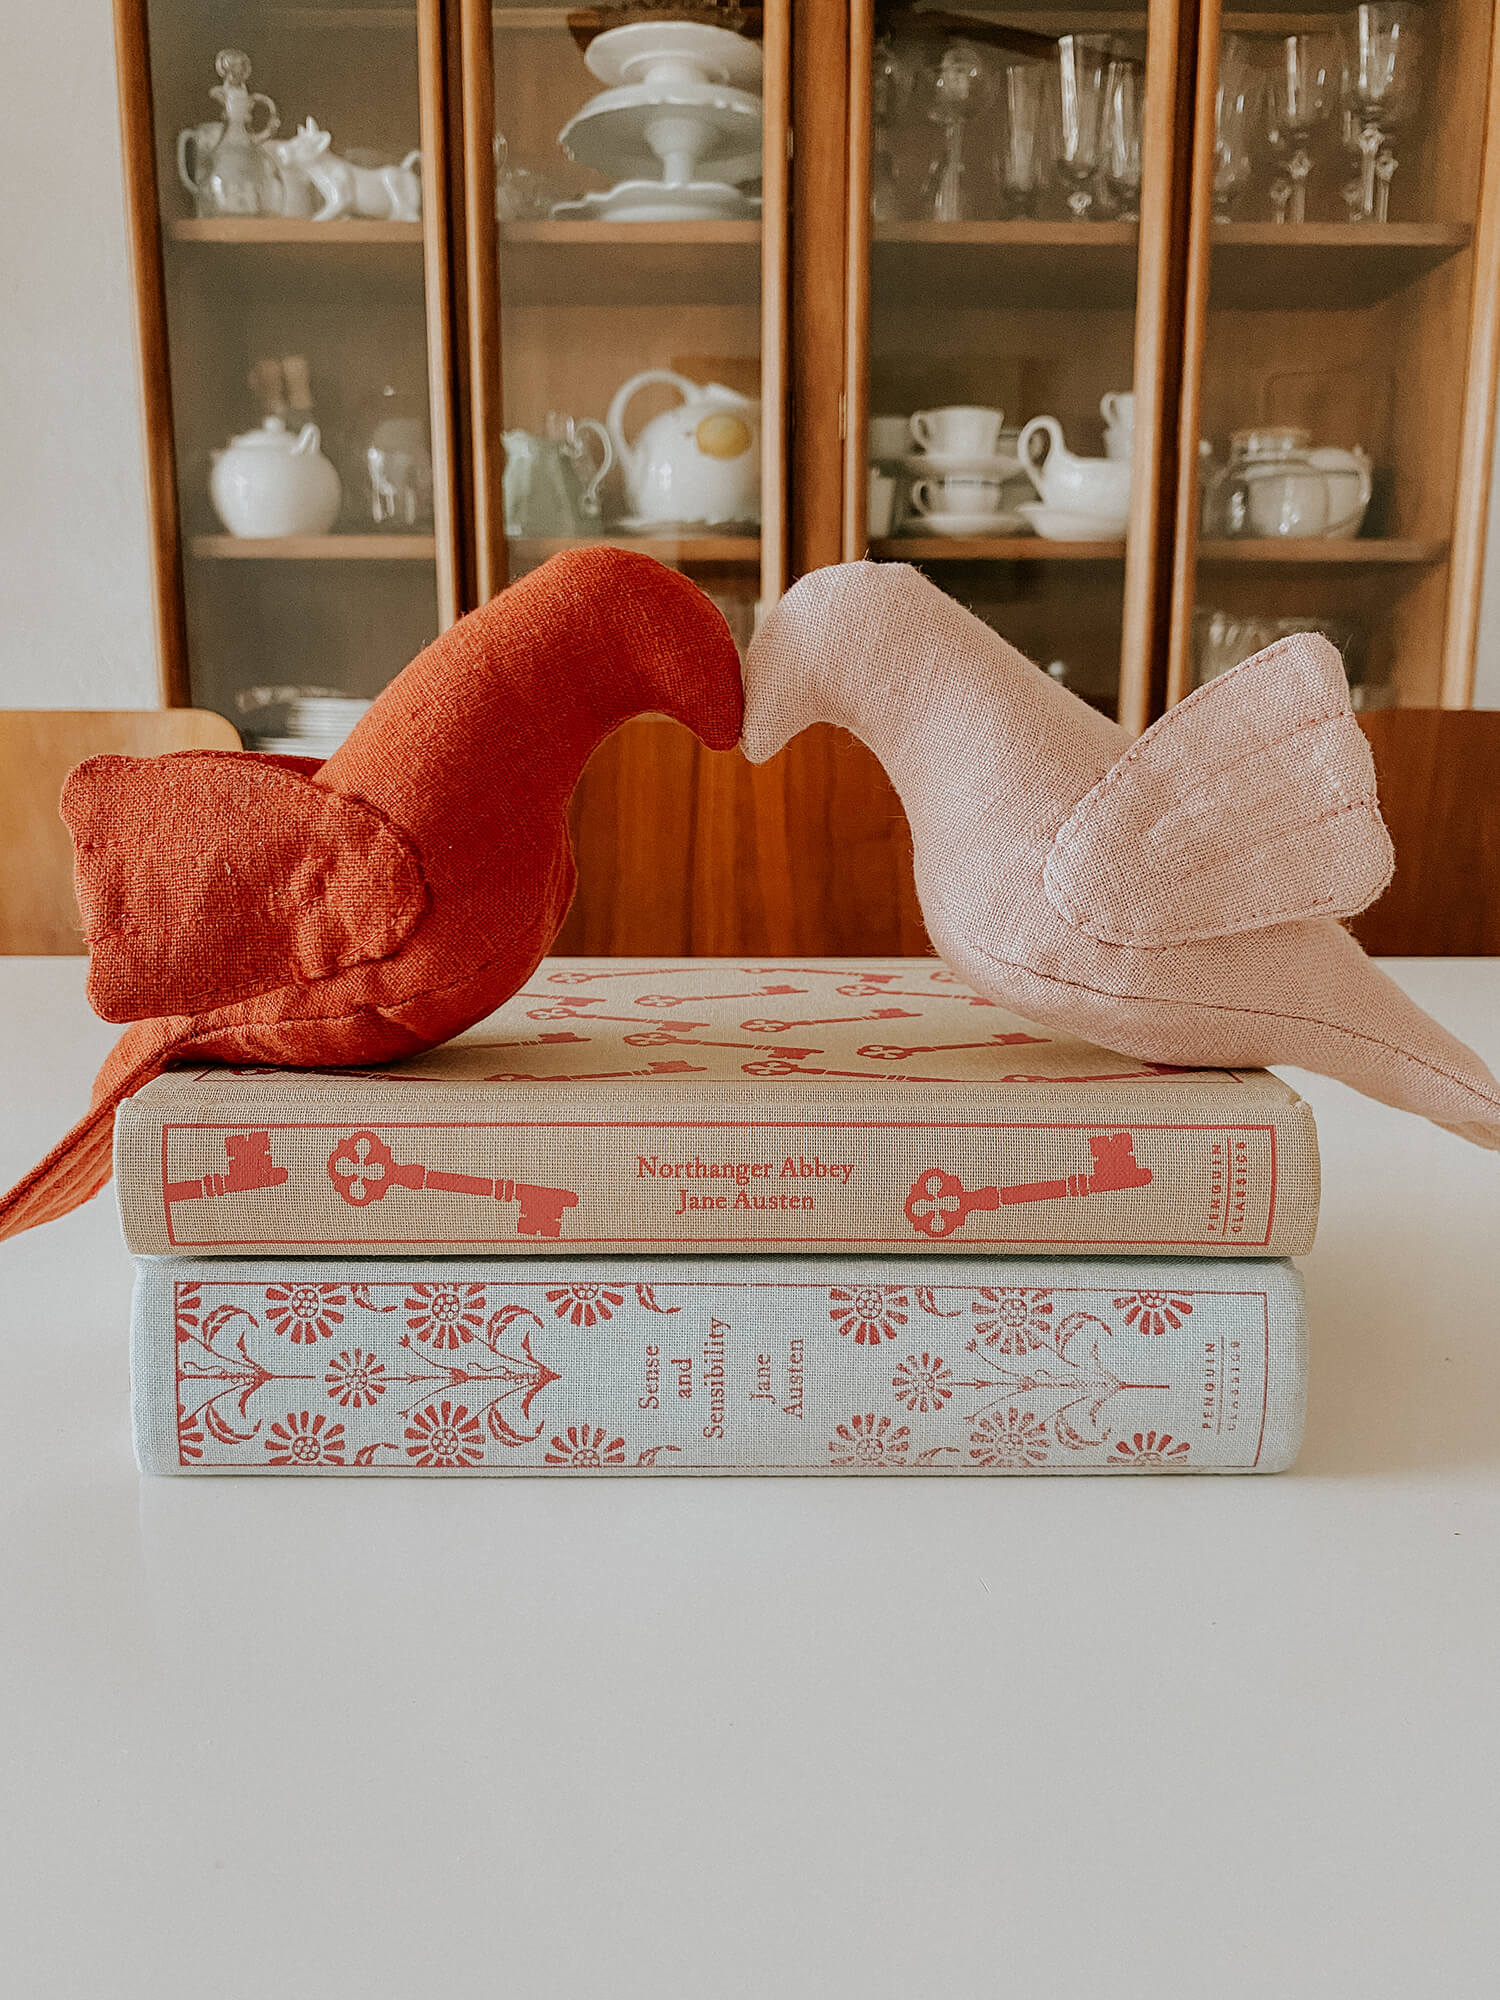
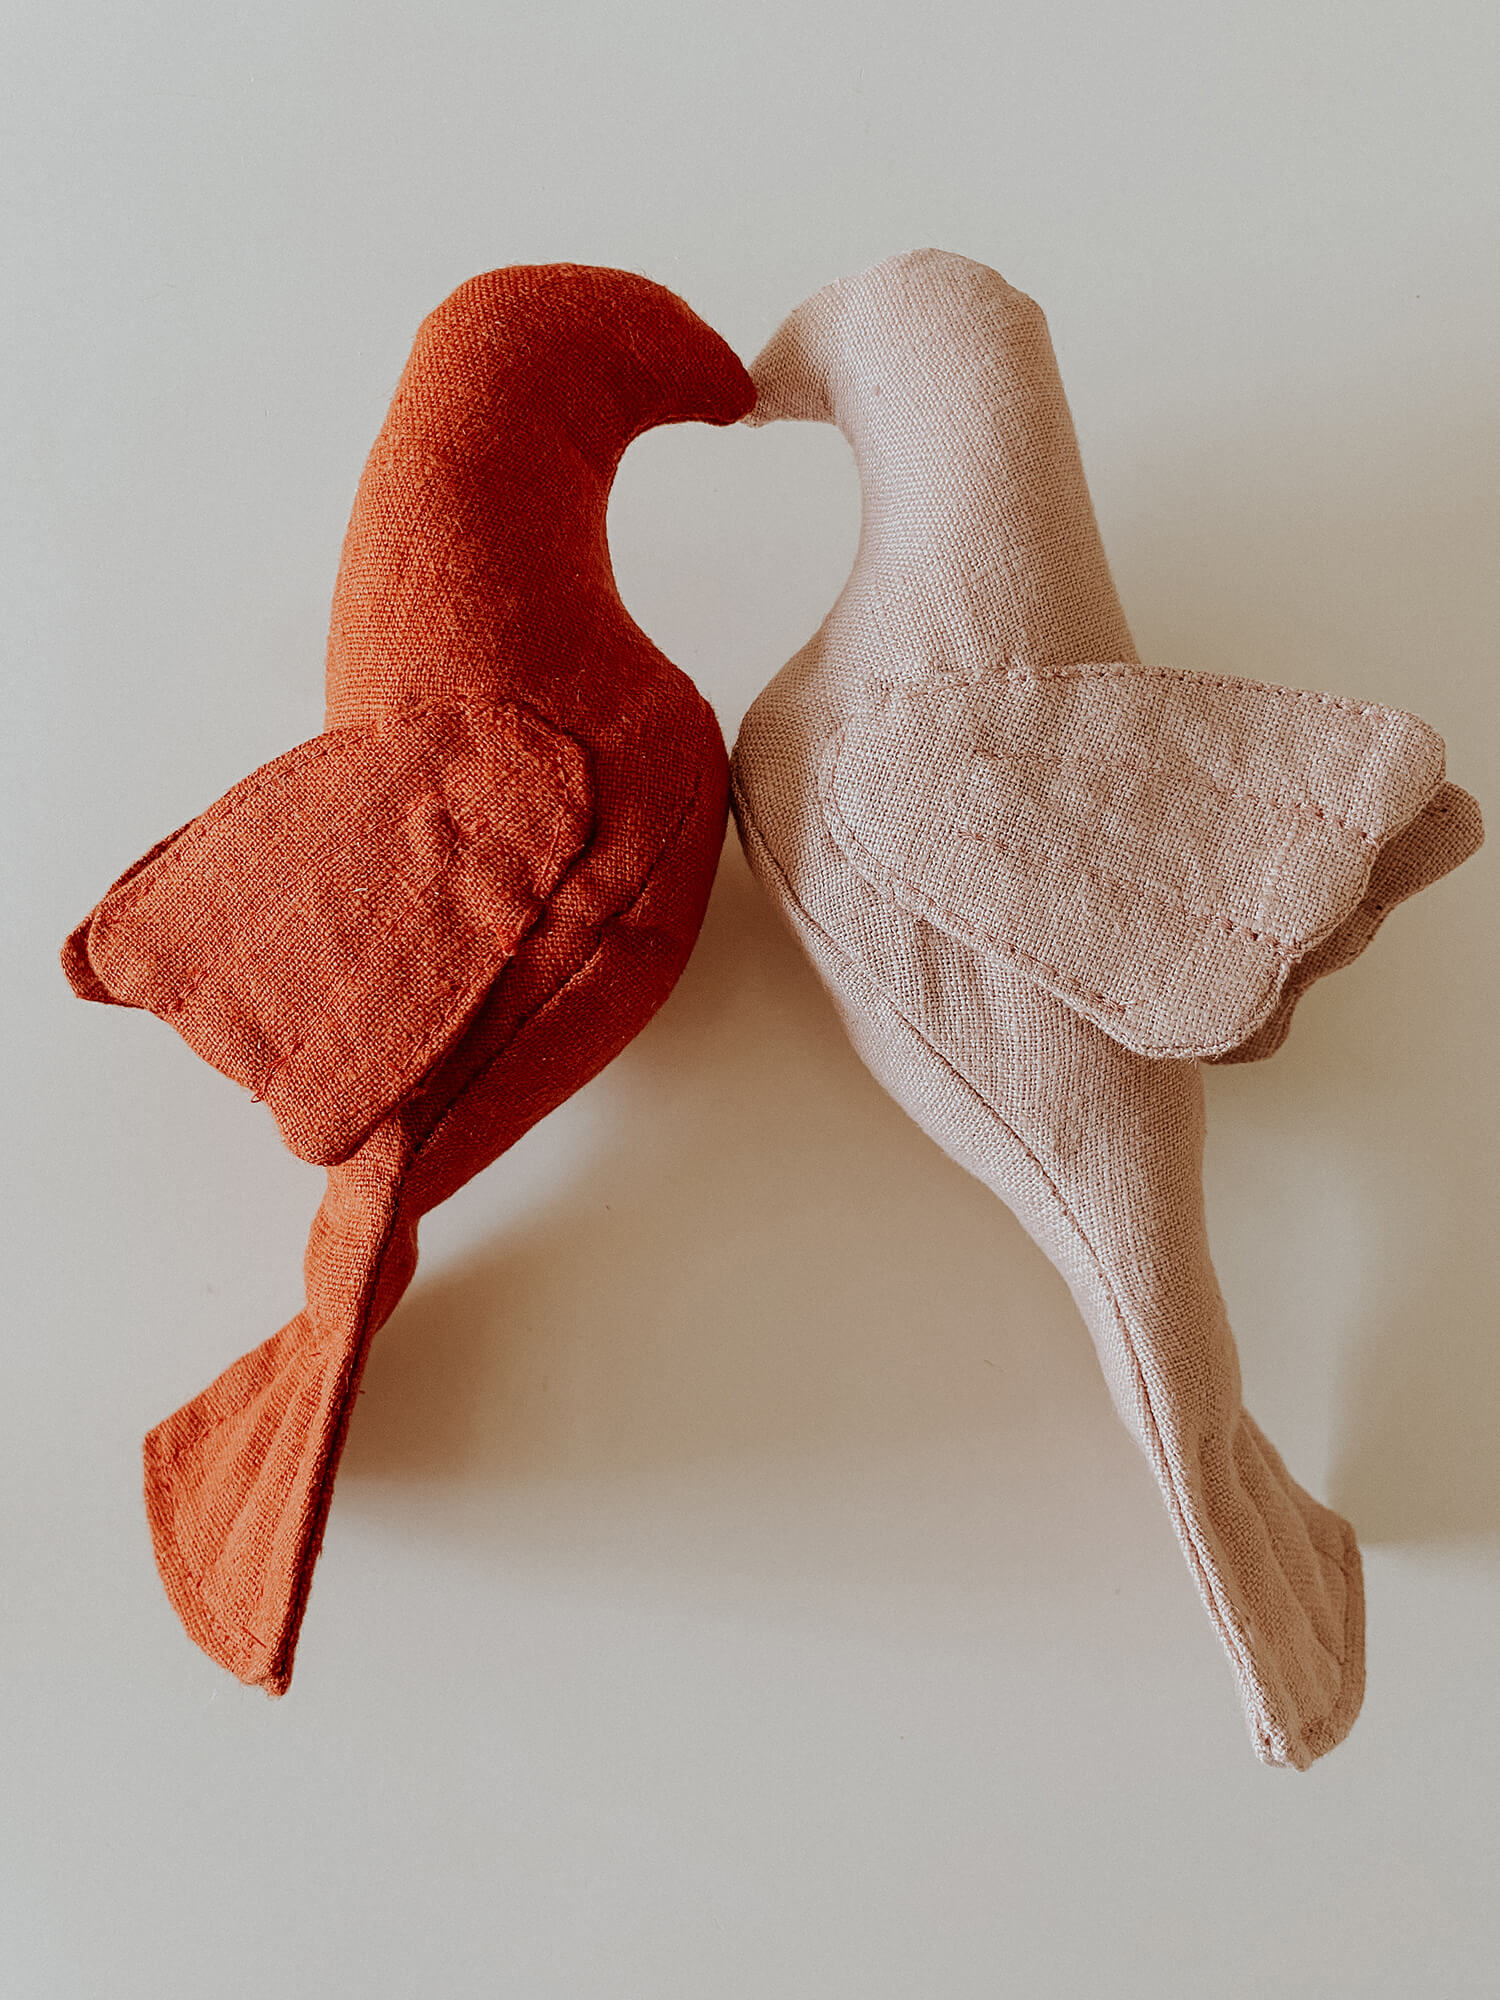
The lovebirds – a most addictive little sewing project. They require just a few simple supplies and a quiet afternoon or evening. This tiny project can be used for a variety of purposes, the first being a Valentine’s gift for any age, especially when given as a pair. As a pretty gift topper tied under a bow for any occasion, and as a soft, natural, safe baby or toddler toy. I’ve also used them as Christmas decorations; think two turtle doves. Countless little birds have been used all over Etsy as mobiles as well.
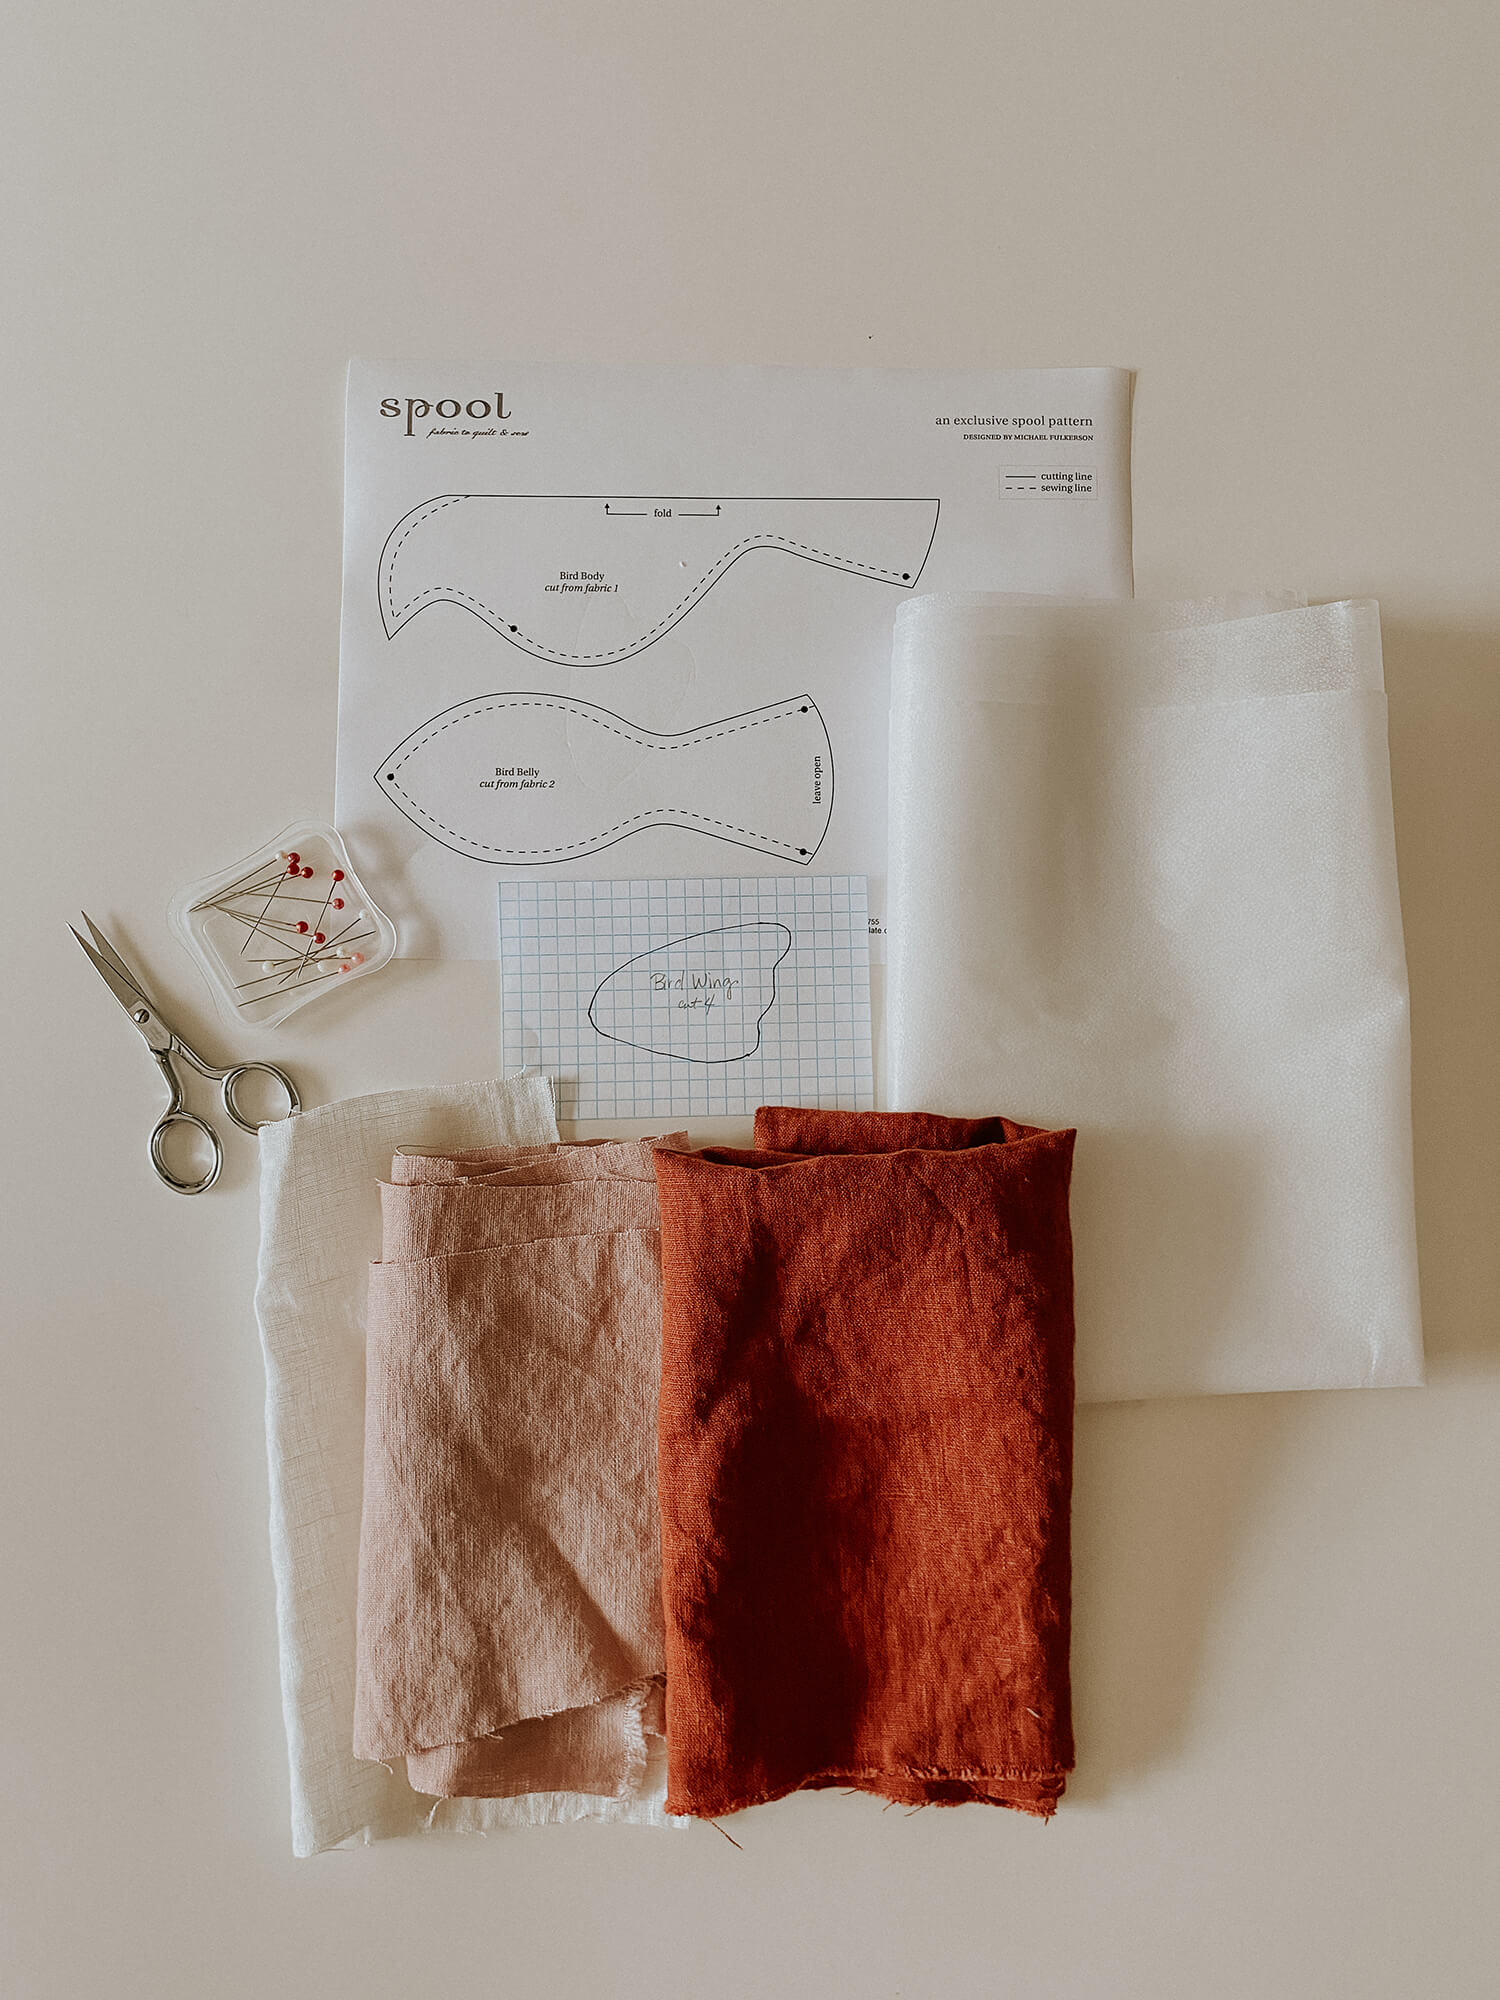
This cute bird pattern went viral when it was designed and released by Michael Fulkerson in 2008 while he was working as a sewing teacher at Spool Sewing, a fabric store in Philadelphia. Originally created to encourage people to learn to sew by hand, Spool has since closed, so you’ll need to find another place online to download the file – like this.
Oh! The wings. As you might have noticed, the wings are my adaptation. Once I made my first little Fulkerson bird, I decided mine needed wings and thus designed this tiny pattern. I have shown it on ¼” graph paper so that you can recreate the wing or design your own.
Materials
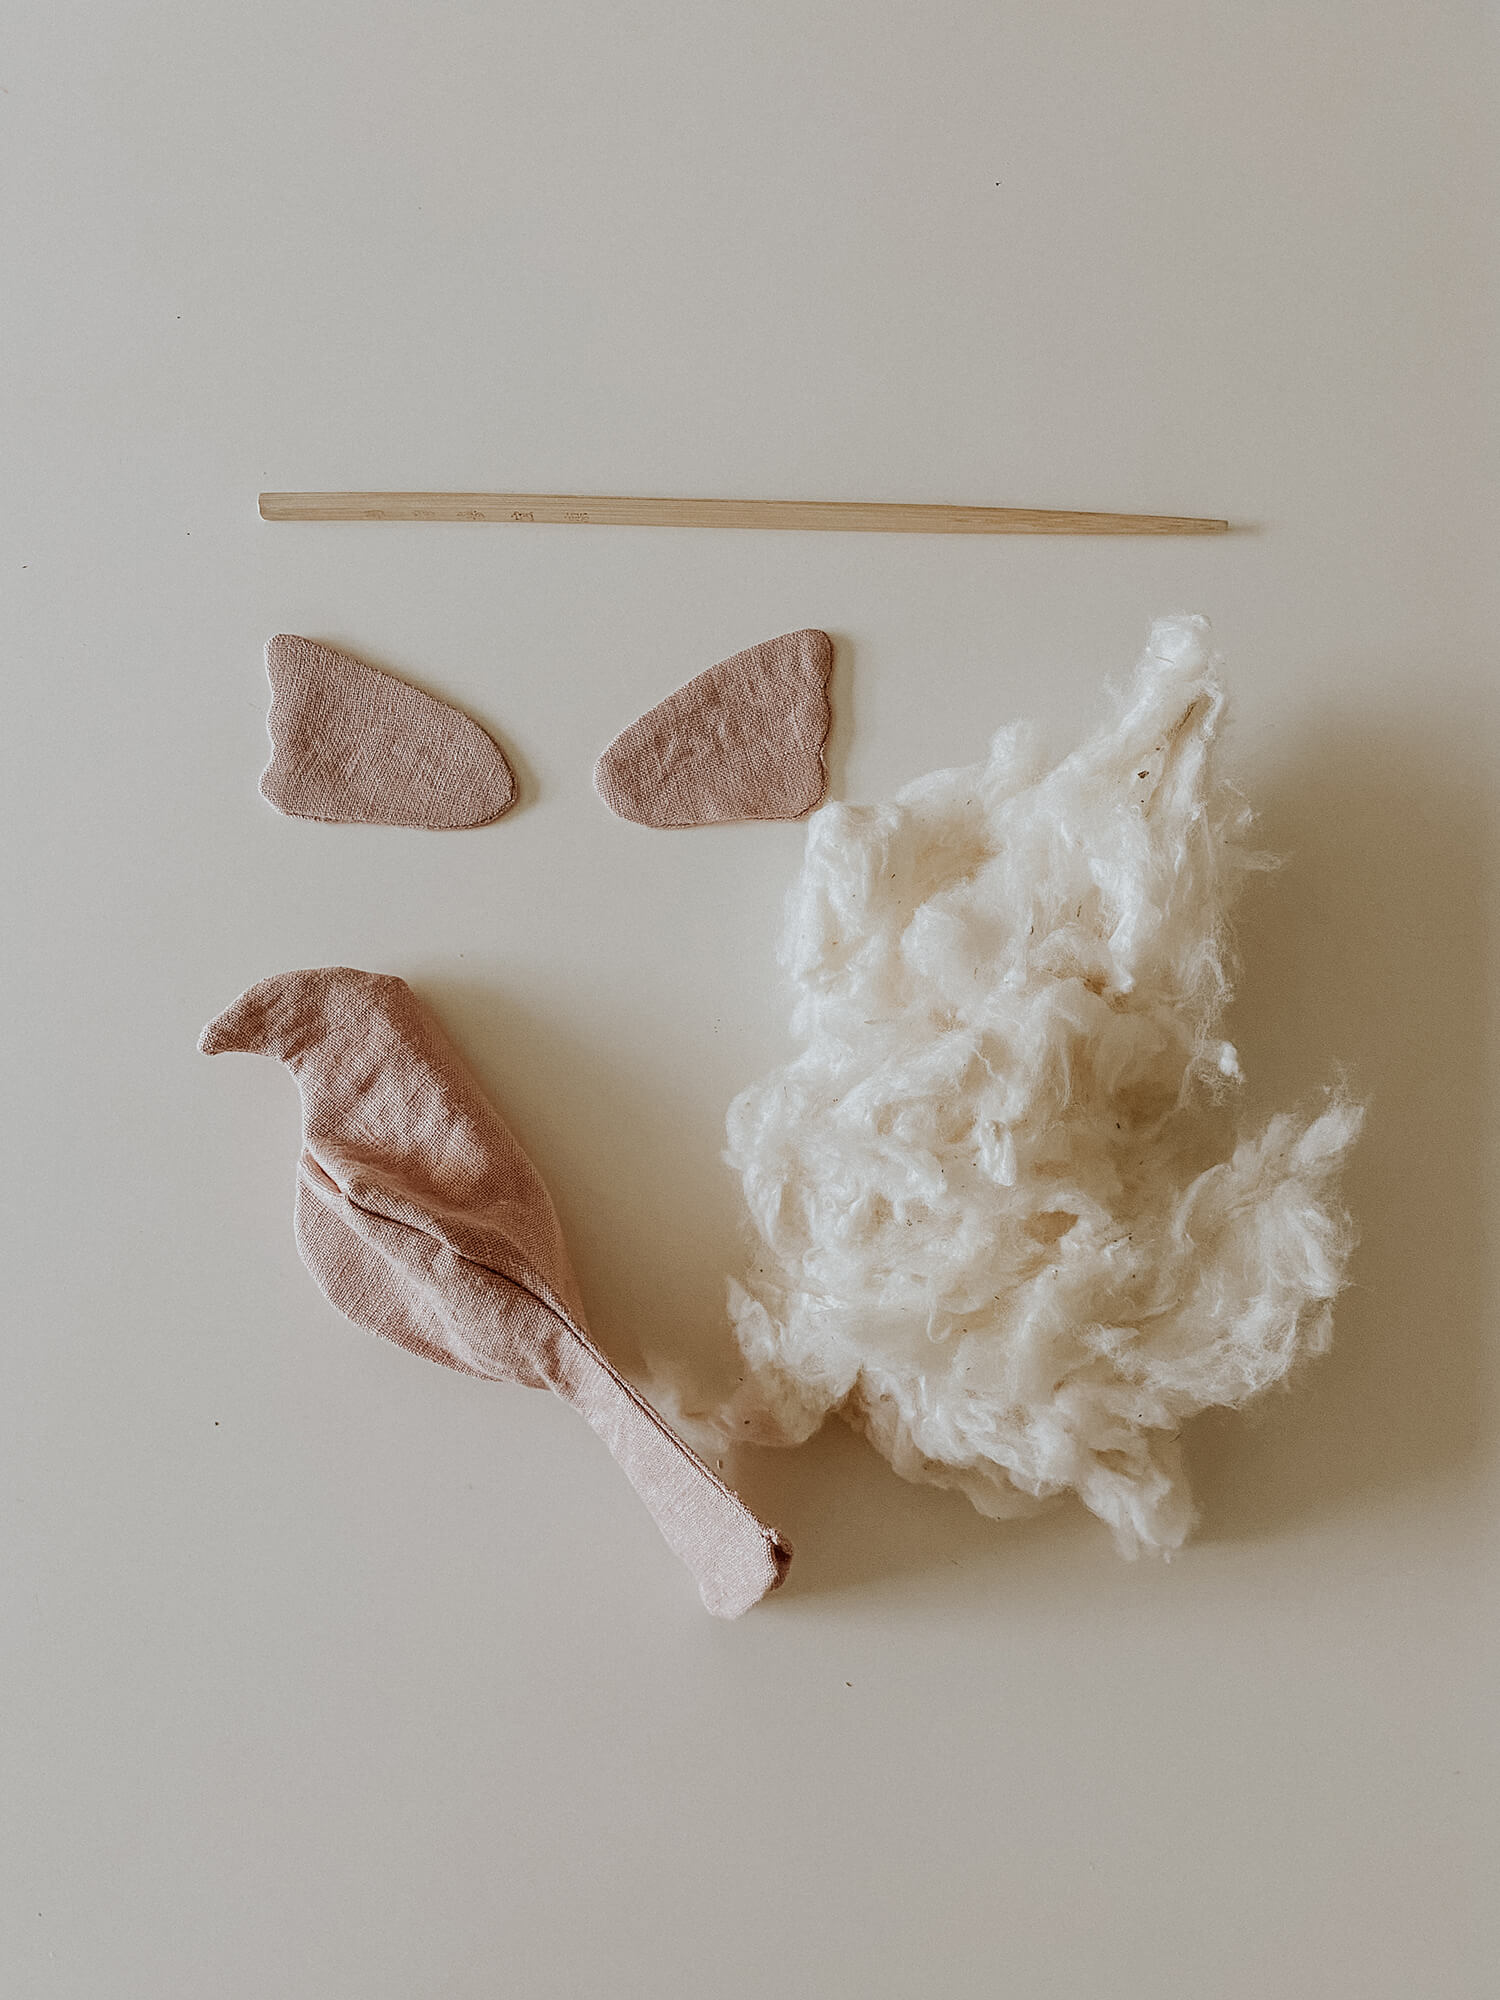
Lovely linen or cotton scraps, we used:
Barn Red signature finish 5.3oz
Sahara Rose signature finish 5.3oz
Light weight iron on interfacing
Fiberfill, I prefer natural cotton – source: https://www.amazon.com/gp/product/B00L98JK4O/ref=ppx_yo_dt_b_search_asin_title?ie=UTF8&psc=1
Coordinating Thread
Sewing machine or hand stitch
Chopstick
Here are the steps
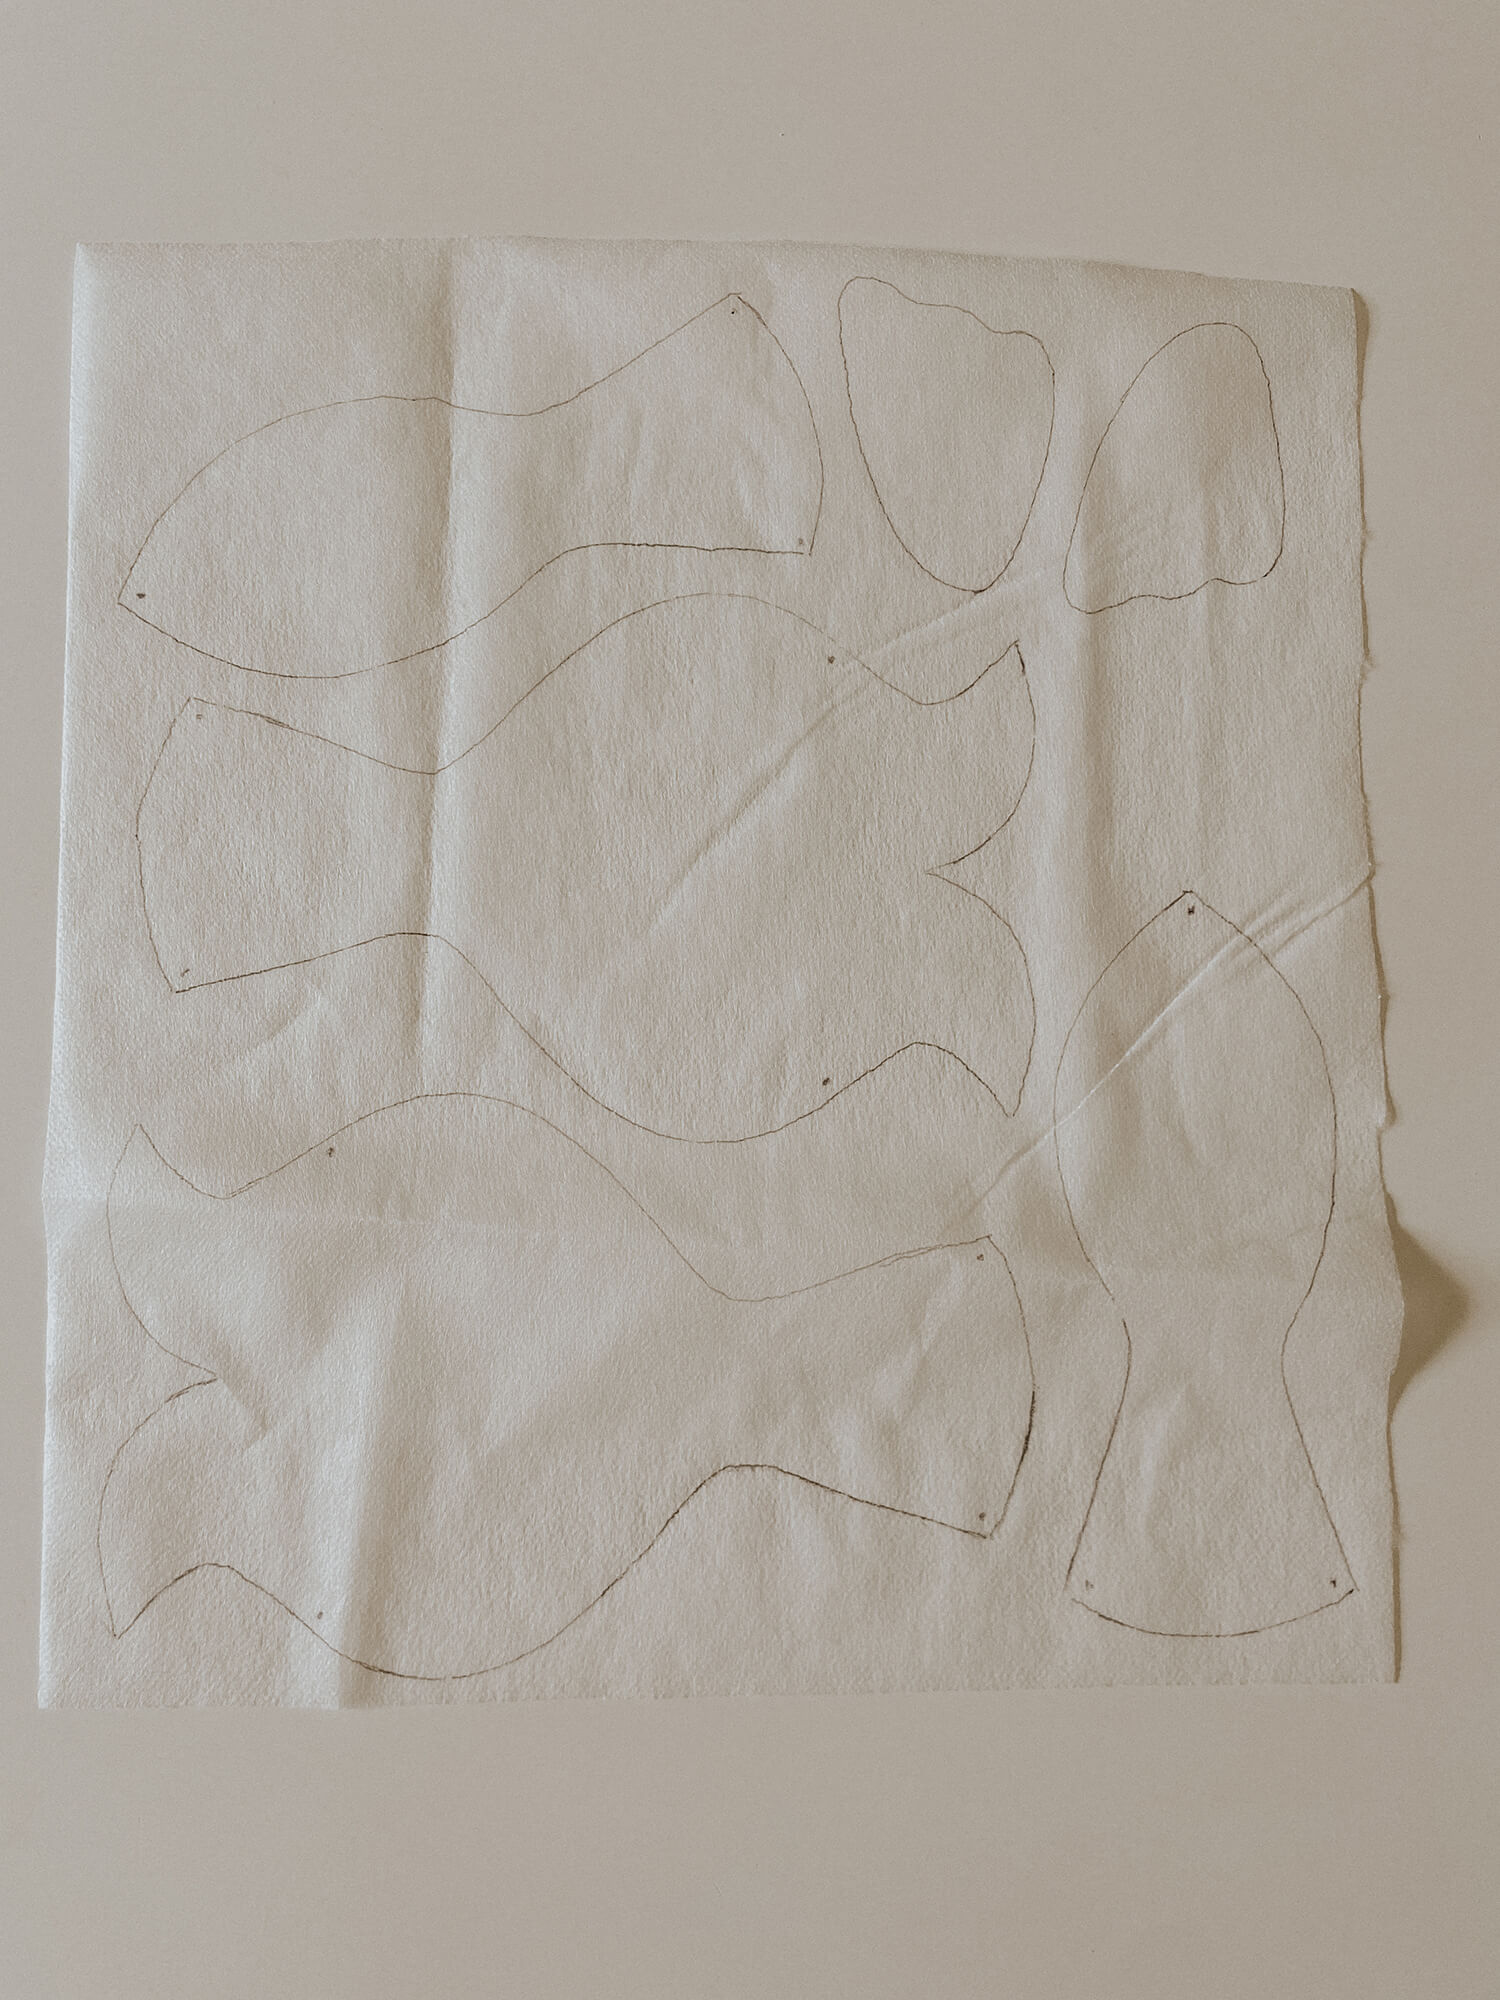
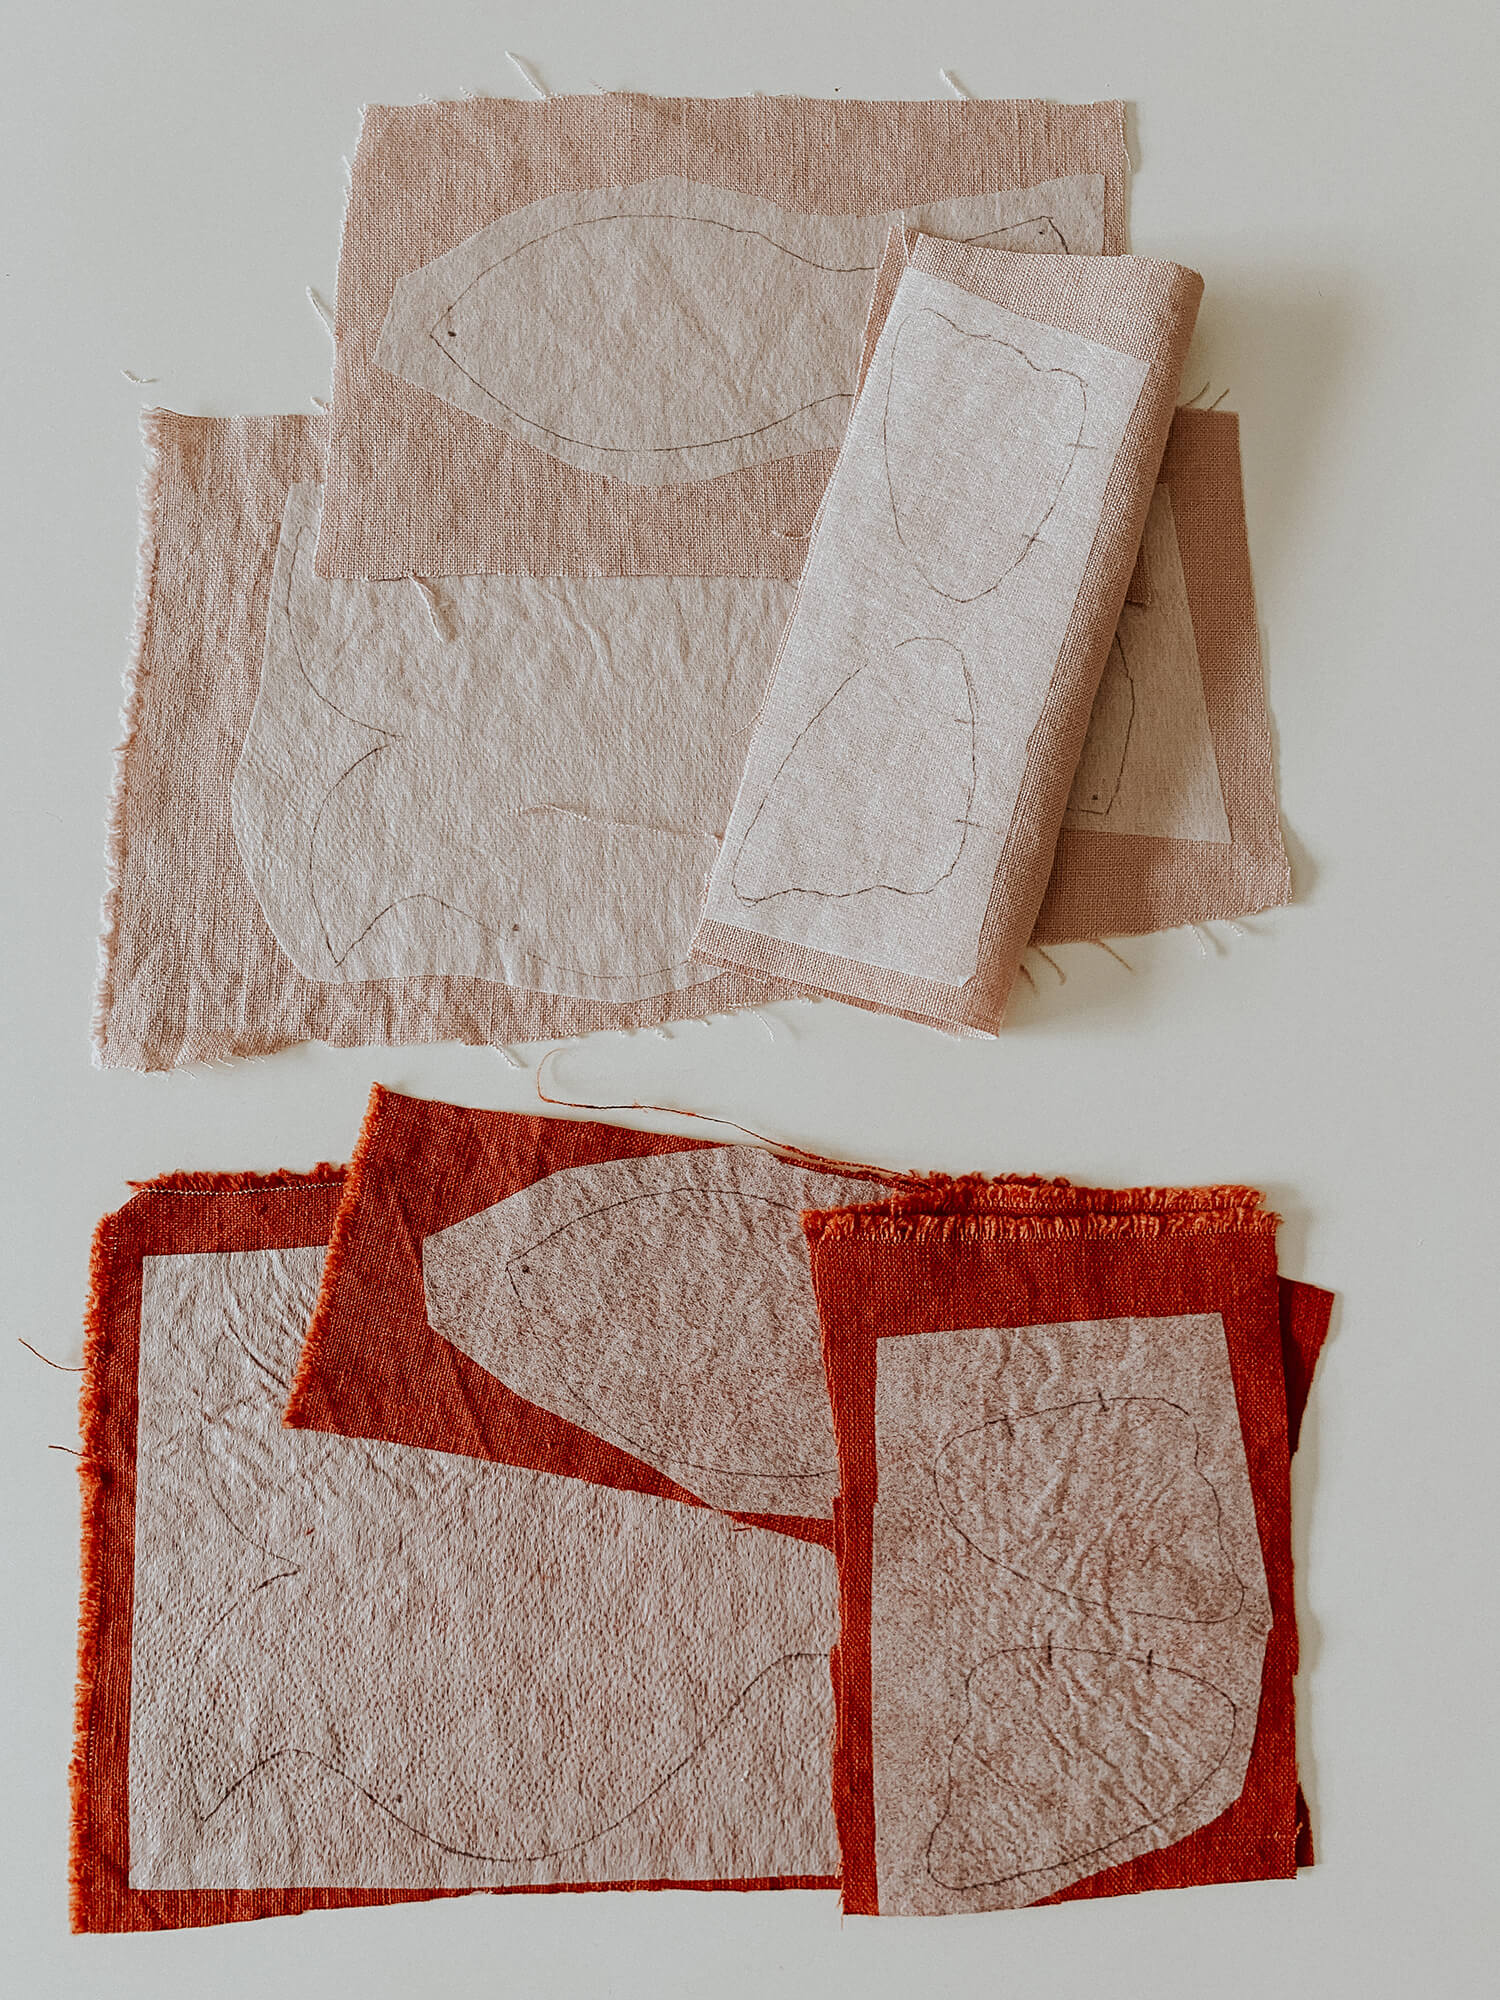
1. I like to start by tracing the pattern on the interfacing. Ironing this to the fabric both helps keep the project sewing simple but also helps keep the linen from fraying. I think it gives a little extra structure to your seams, making the birds more sturdy. Feel free to skip this step if you don’t feel your bird needs the extra strength.
2. Cut out your bird pieces ¼” from the lines.
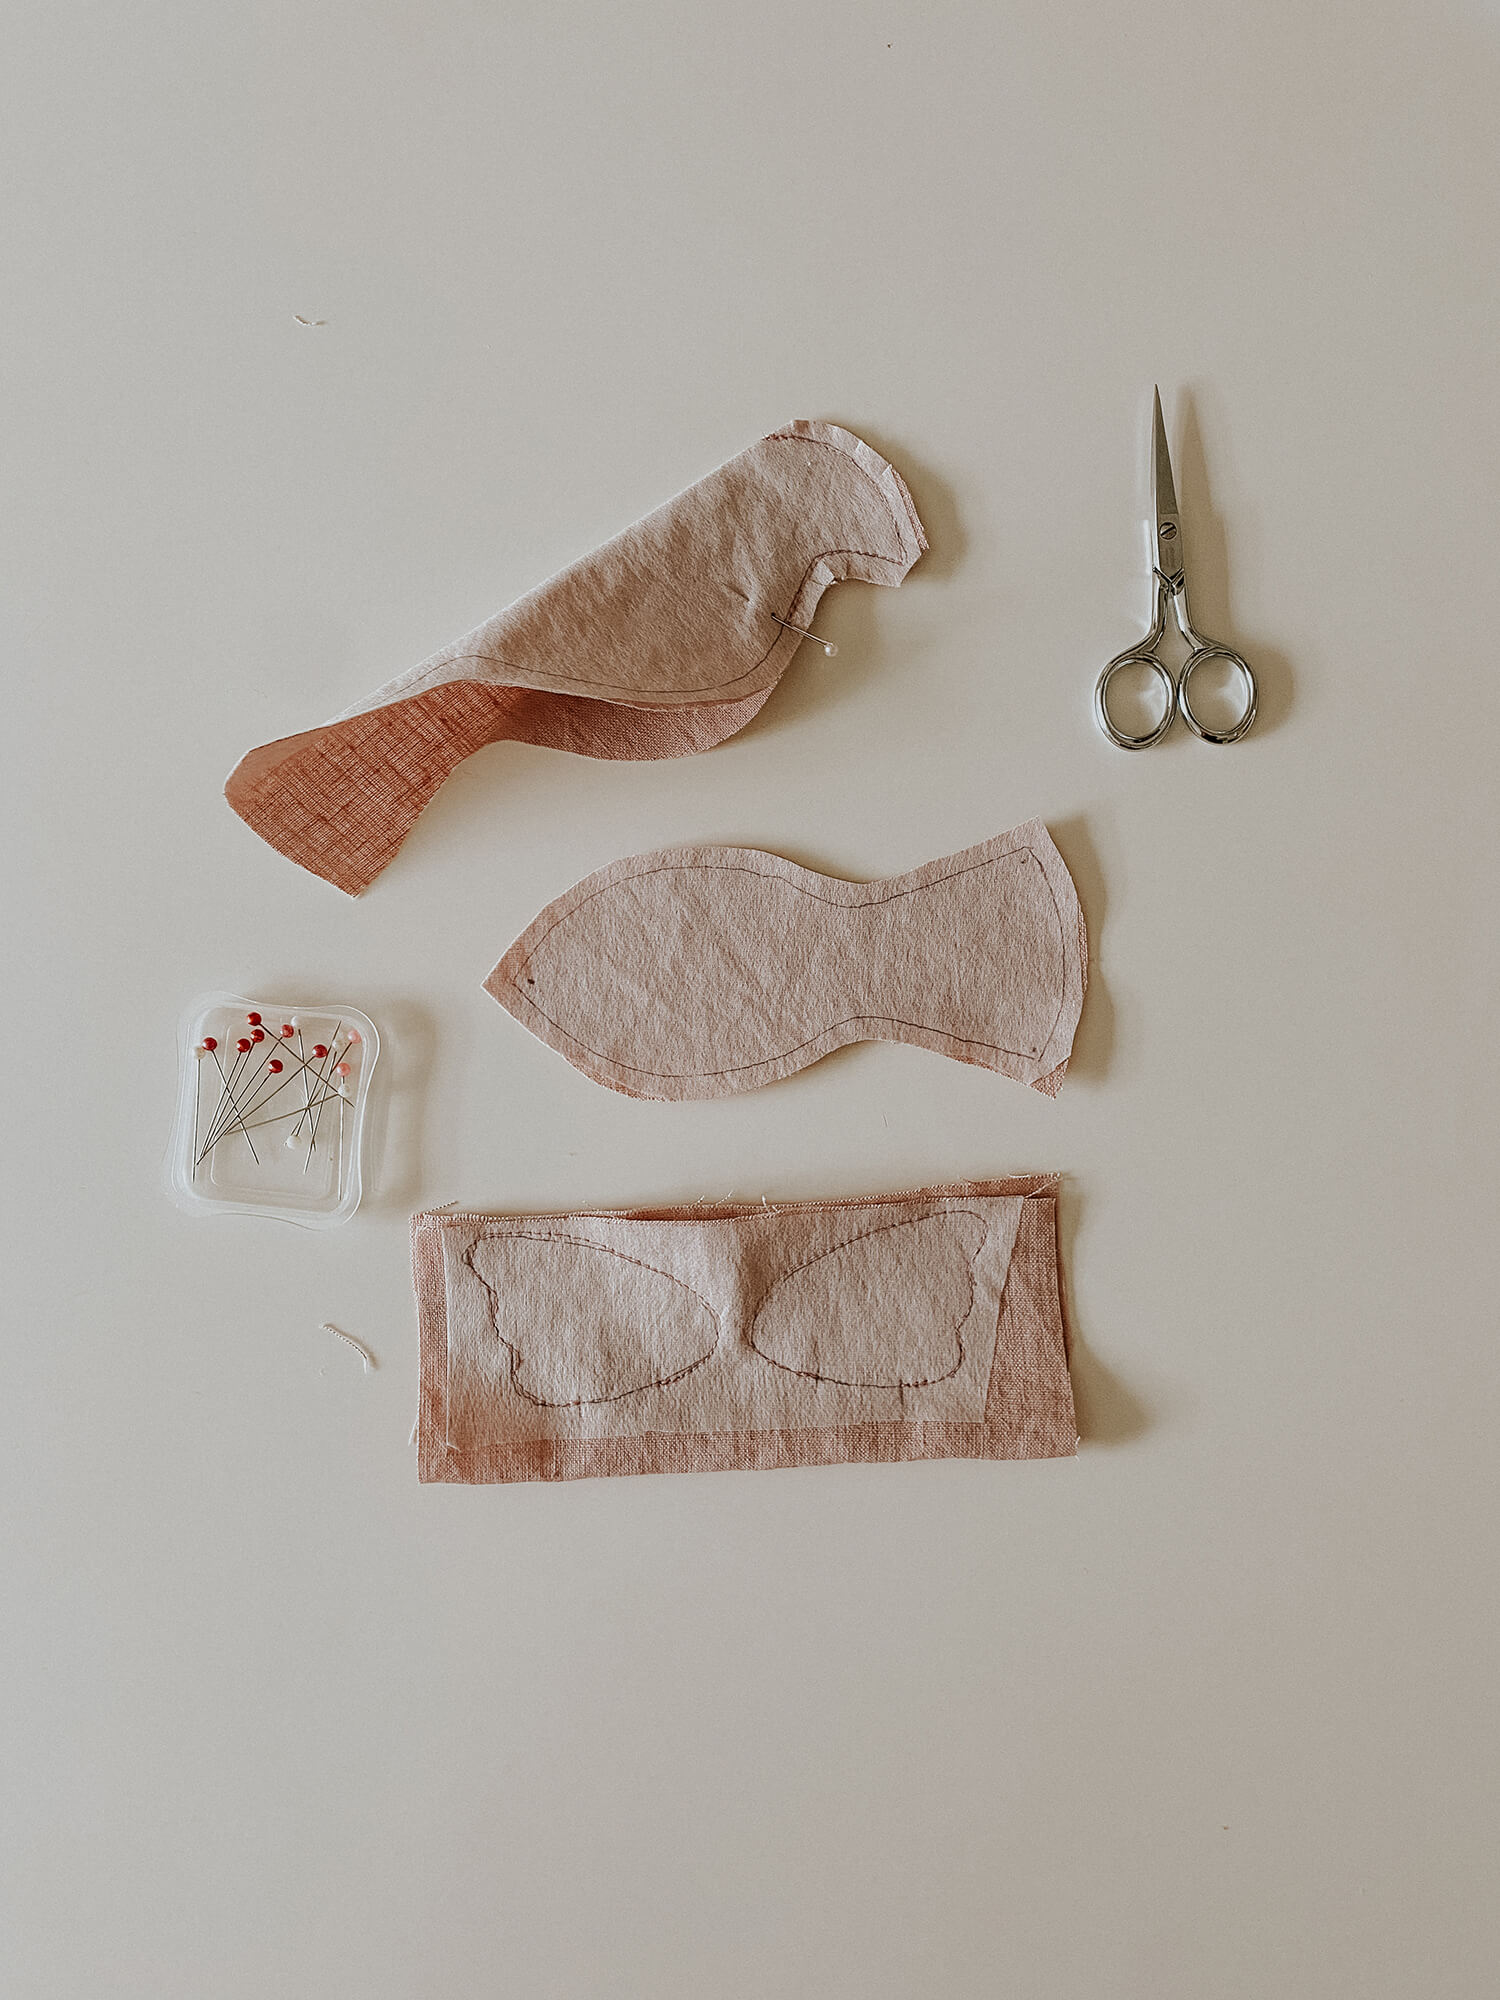
3. Fold the main body of the bird and sew the head of the bird to the dot on the breast. Clip the curves just a little to help when you turn it right side out.
4. Pin and stitch the belly of the bird to the main body, starting at the center dot and moving towards the tail. The seam stitches will stop at the dots on the tail to add the fiberfill at the tail opening later. You can also stitch the wings at this time, leaving an opening for turning them right side out as well. Clip the curves of the belly before turning.
5. Chopstick! The superior tool for turning tiny projects right side out AND for stuffing fiberfill into tiny places. Turn your bird and your wings. Fill your bird with fiberfill – I prefer to use all-natural organic cotton since I am usually creating things for babies and want optimum safety. Still, if you have poly fiberfill in your stash or even leftover cuttings of quilt batting, you could choose those options as well.
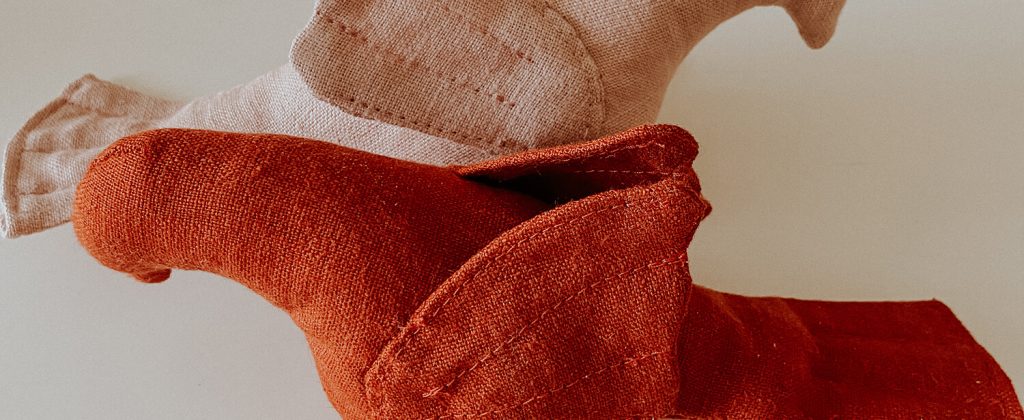
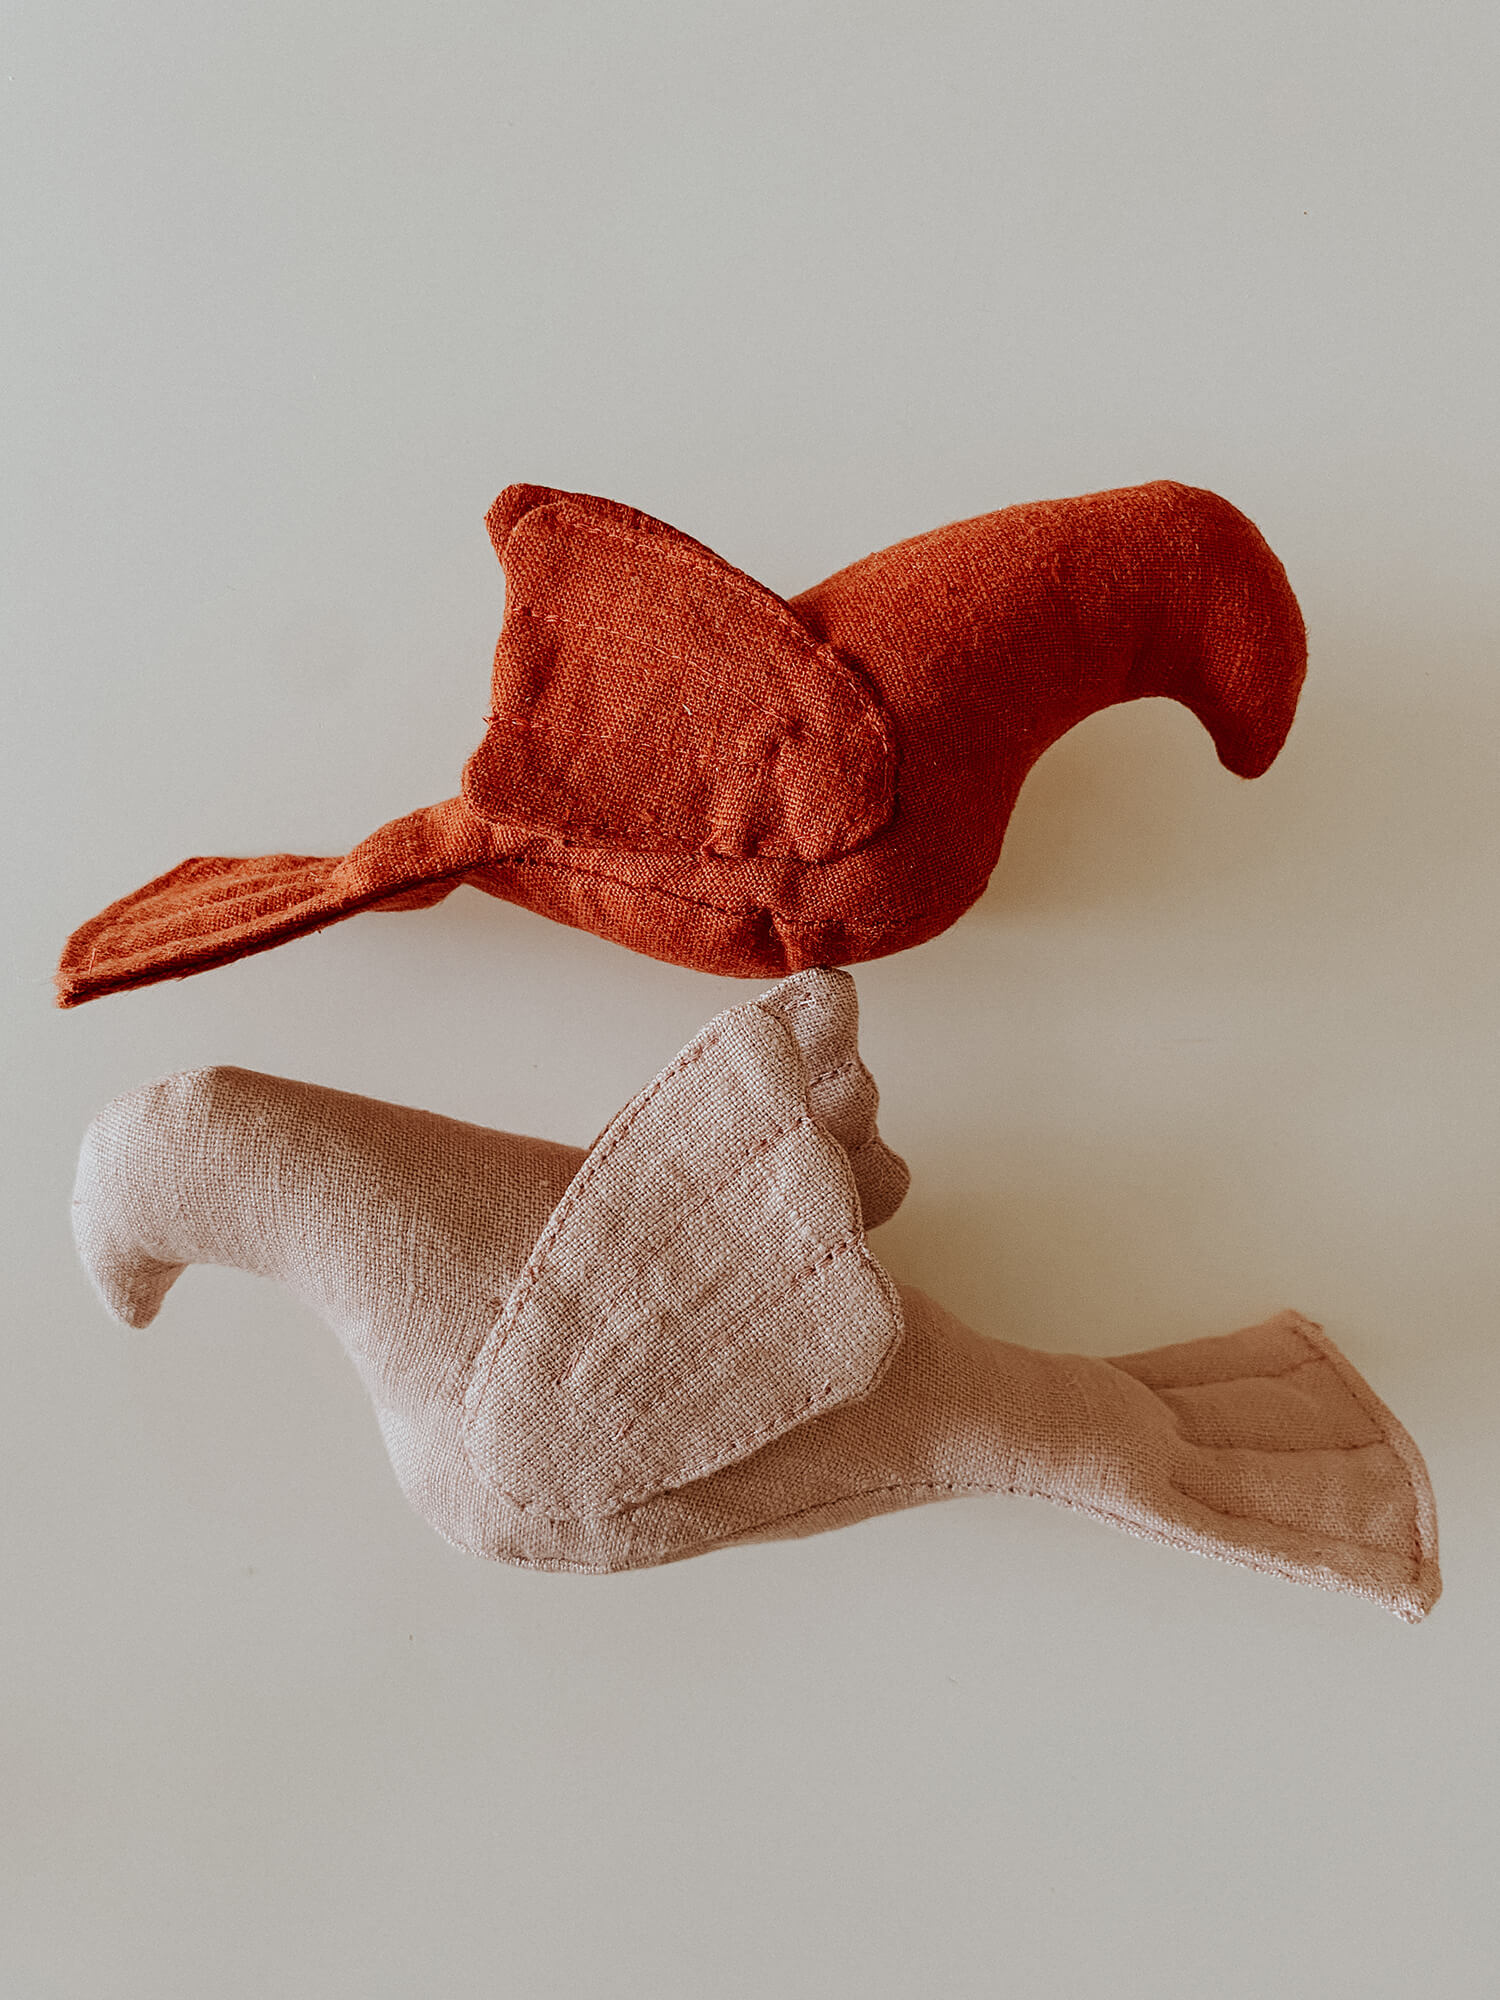
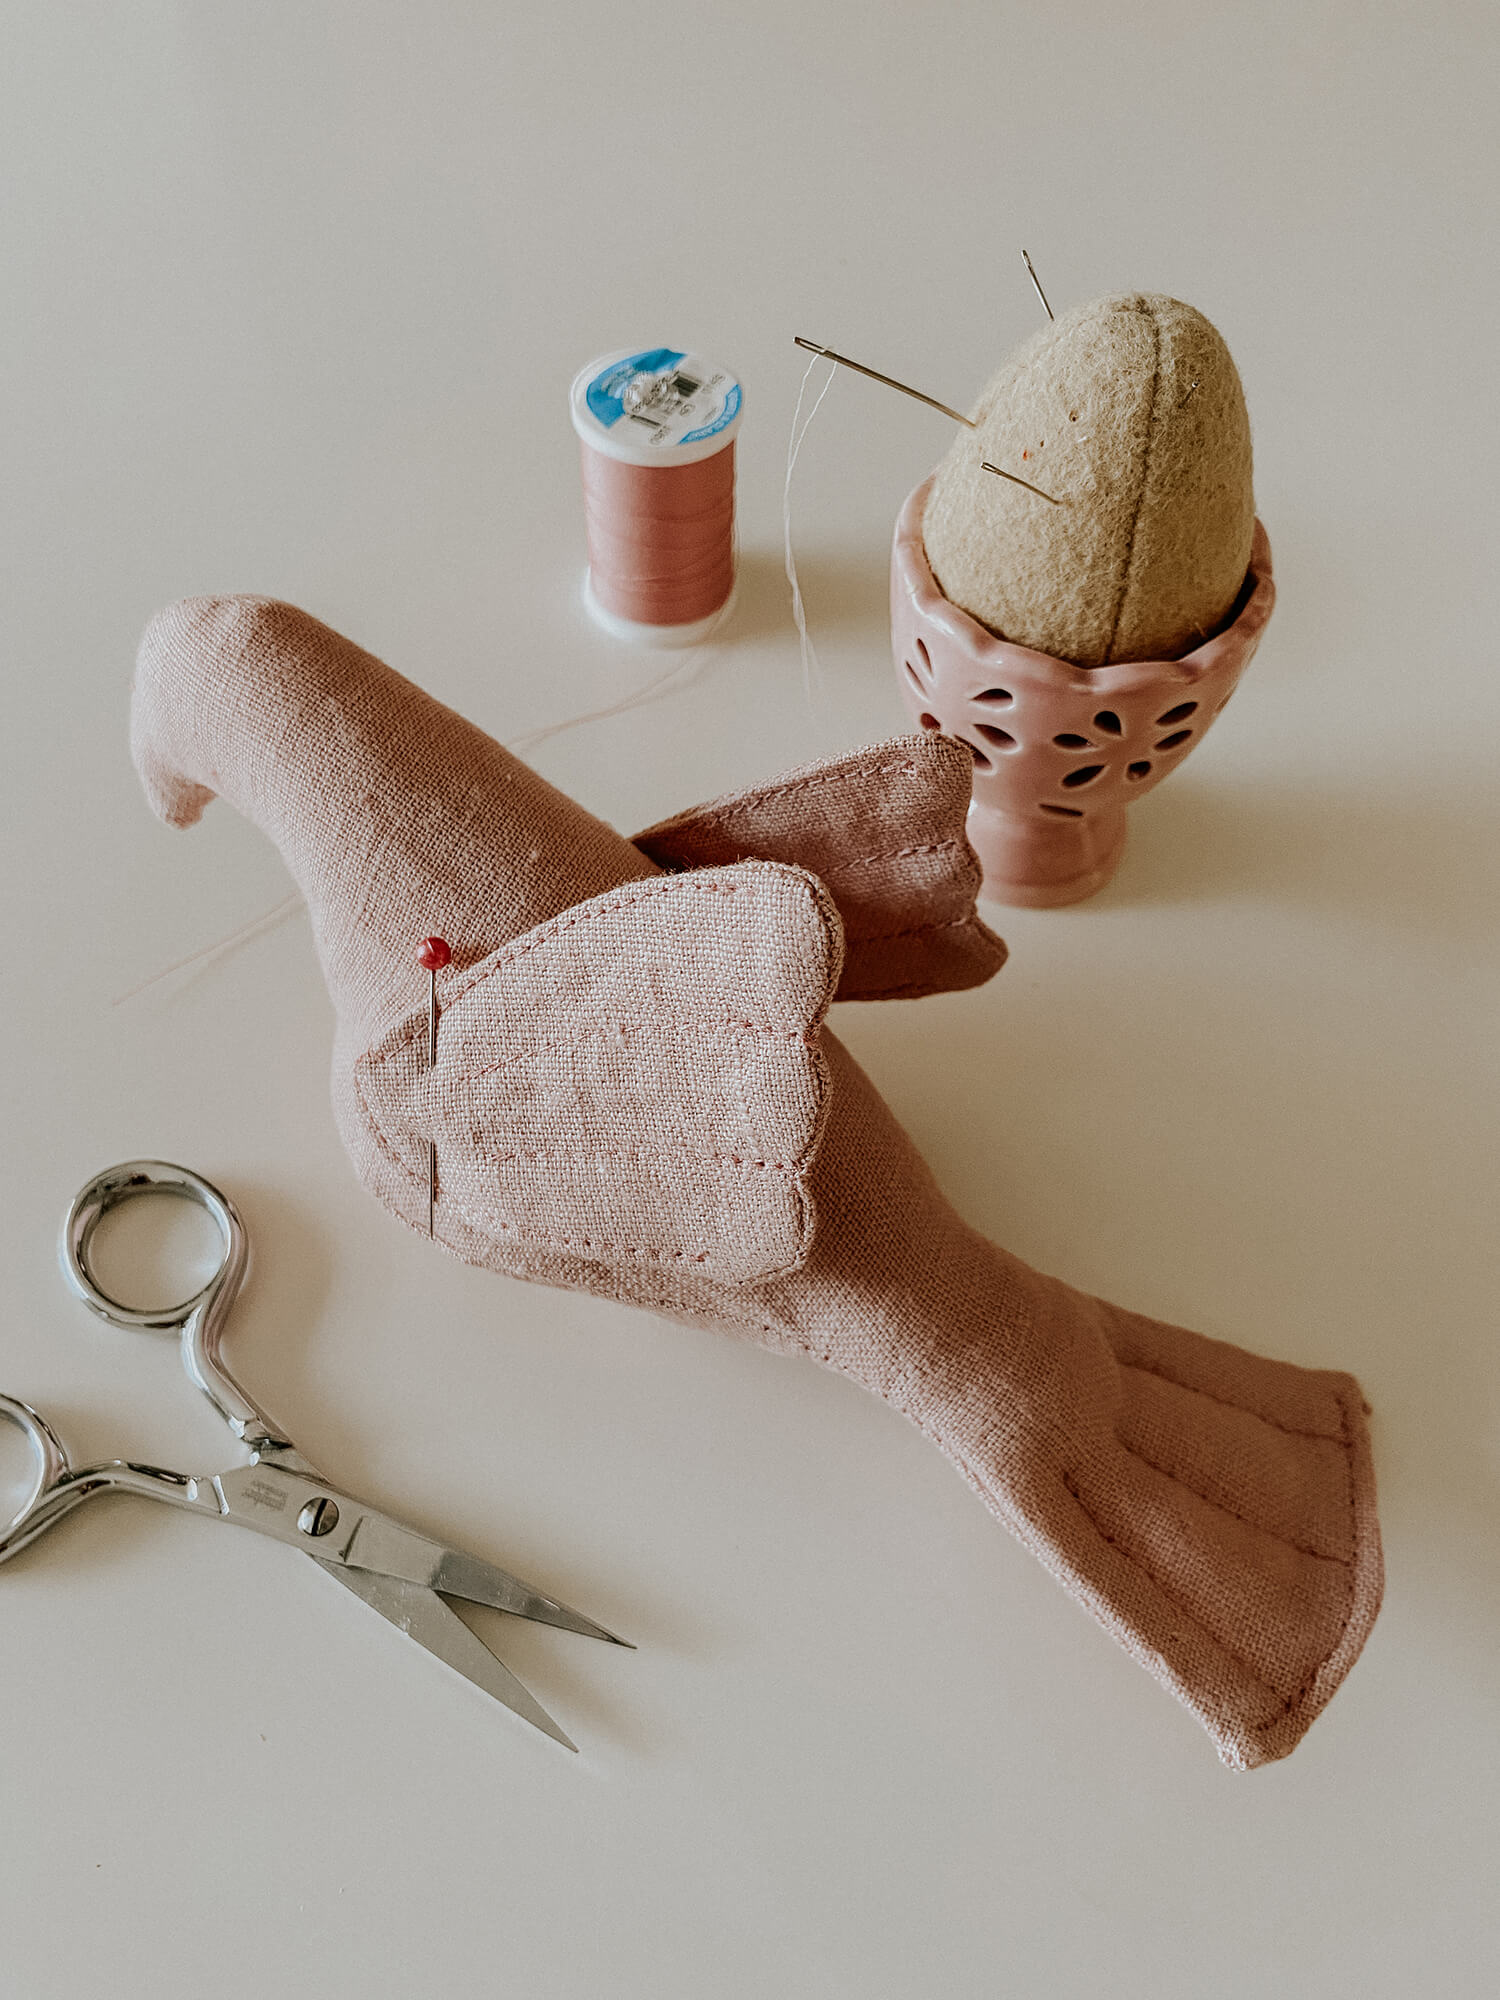
6. Top stitch the wings and tail with a little feather design. I don’t fill the wings with fiberfill, but you could with just a little. I also top stitch the edge of the tail and stitch a little up the tail for “feathers” as well.
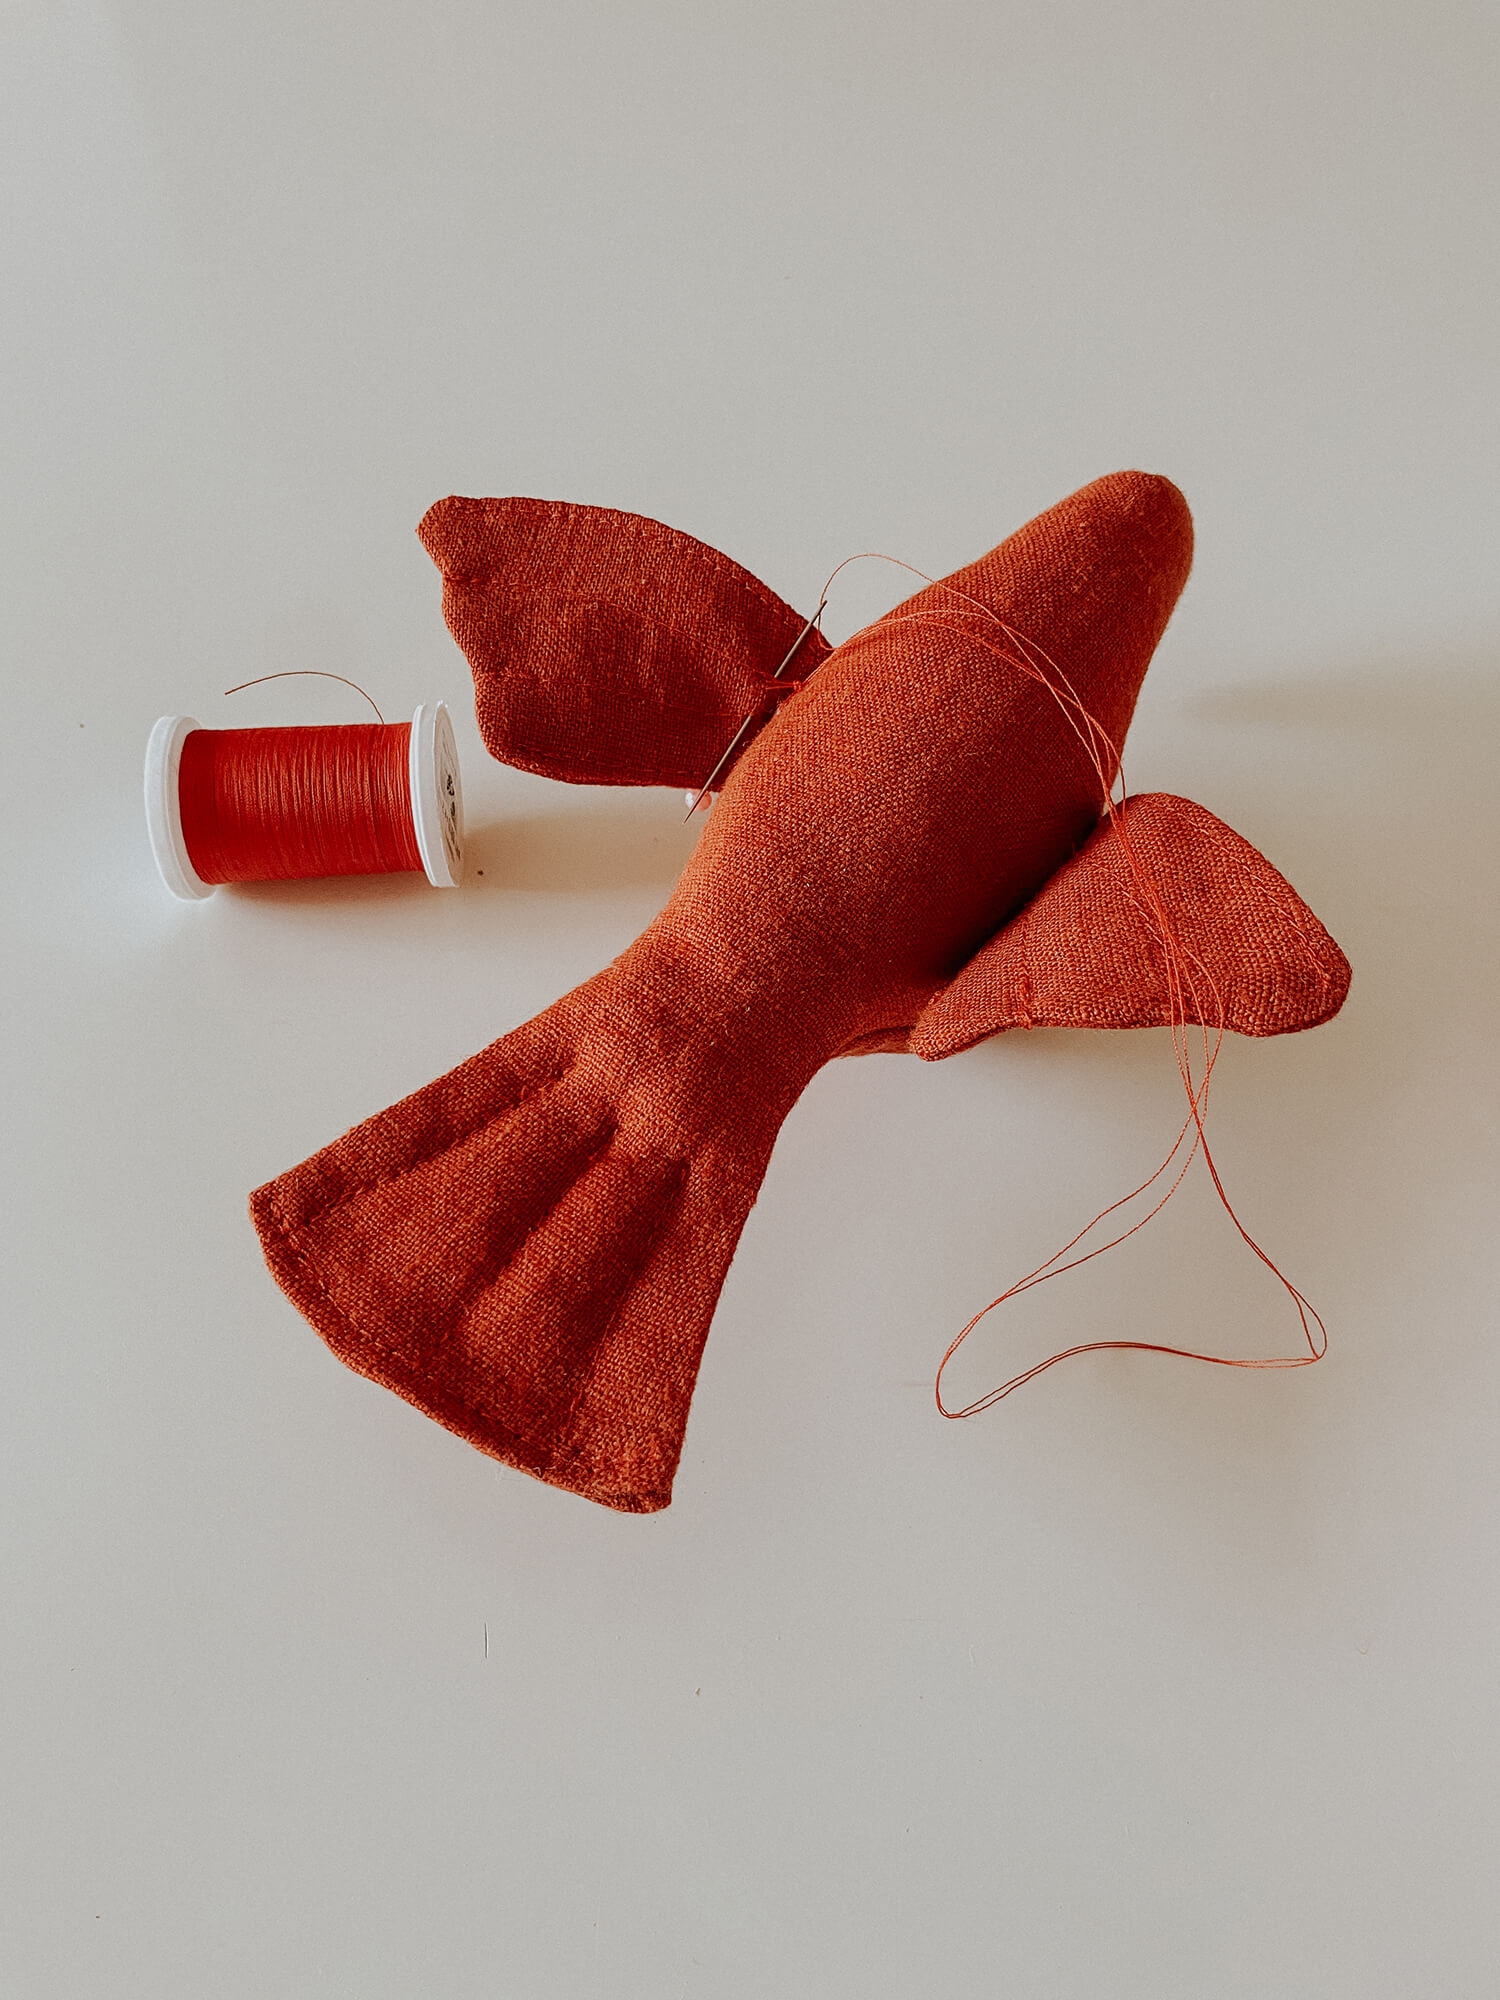
7. Hand-stitch the little wings to the body, and you’ve done it! Yay – You’ve made the sweetest little birds and will most likely want to make many more.
As always, I’d love to see what you’re inspired to make – tag your project with ma.ma.osa on Instagram or join my email list at mamaosa.co so I can keep sharing what’s being made in the Ma Ma Osa studio. Happy Valentine’s Day. ox






6 Comments
Kathleen Mueller
Thanks so much for this tutorial. I can’t wait to make them! It looks like the spool pattern already allows for a 1/4” seam allowance. Did you add on just to your wing pattern or to both?
Michelle Thane
Hi Alisha. Those are so sweet! Can you tell me how many inches from tip of beak to end of tail the birds are on your pattern please? Thank you for sharing.
Michelle Thane
Alisha Cooke
Thank you Michelle. The finished bird is almost 8 inches total. Happy sewing!
Phyllis Craine
Delightful! And a great way to use up remnants. I have blue FS linen that would look great with shashiko embroidery.
Lynn Sullivan
great idea about using shashiko!
Alisha Cooke
What a wonderful idea Phyllis! Do share a photo on instagram and tag ma.ma.osa and Fabrics-store or you could share under comments on the Blue Linen you are using here on FS! We would all love to see your work when it’s done. 🙂