Tutorial: How to Sew the Mykonos Zipper Fly
This tutorial is to support the fly zipper instructions in the Mykonos Pattern booklet found on pages 66-69.
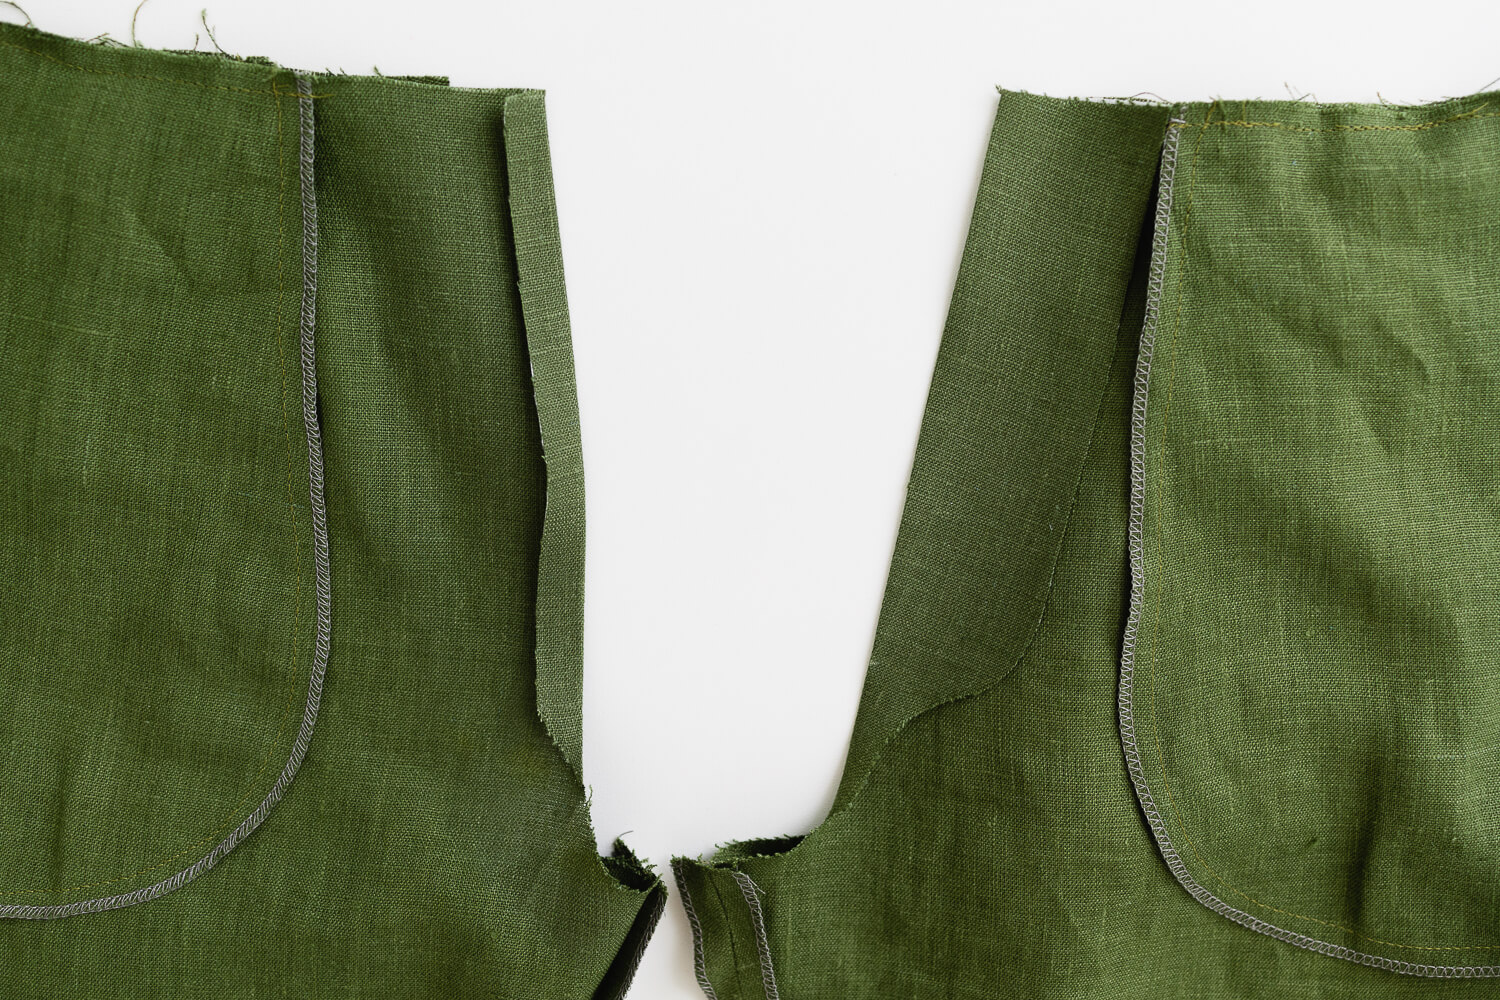
Apply a 5/8” strip of fusing to the wrong side of the Left Front Pant (Q). Apply the Front Fly Fusing (AD) to the wrong side of the Right Front Pant (P).
Fold the fused portions to the wrong side. Press.
Serge the raw edges of the crotch seam on both the right and left pant leg.
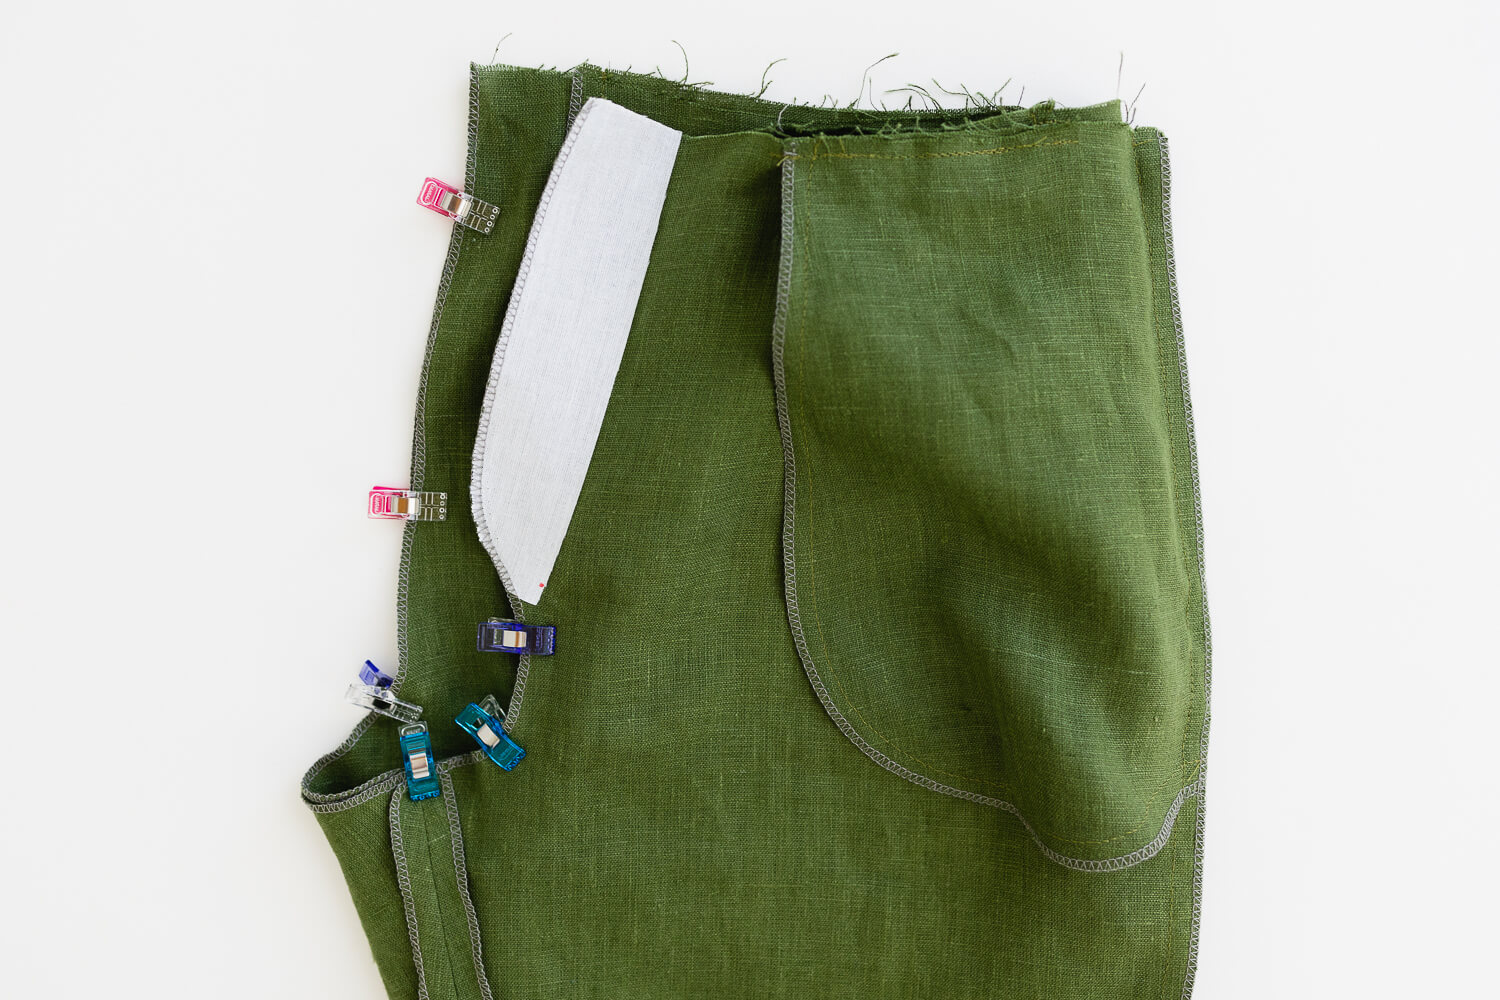
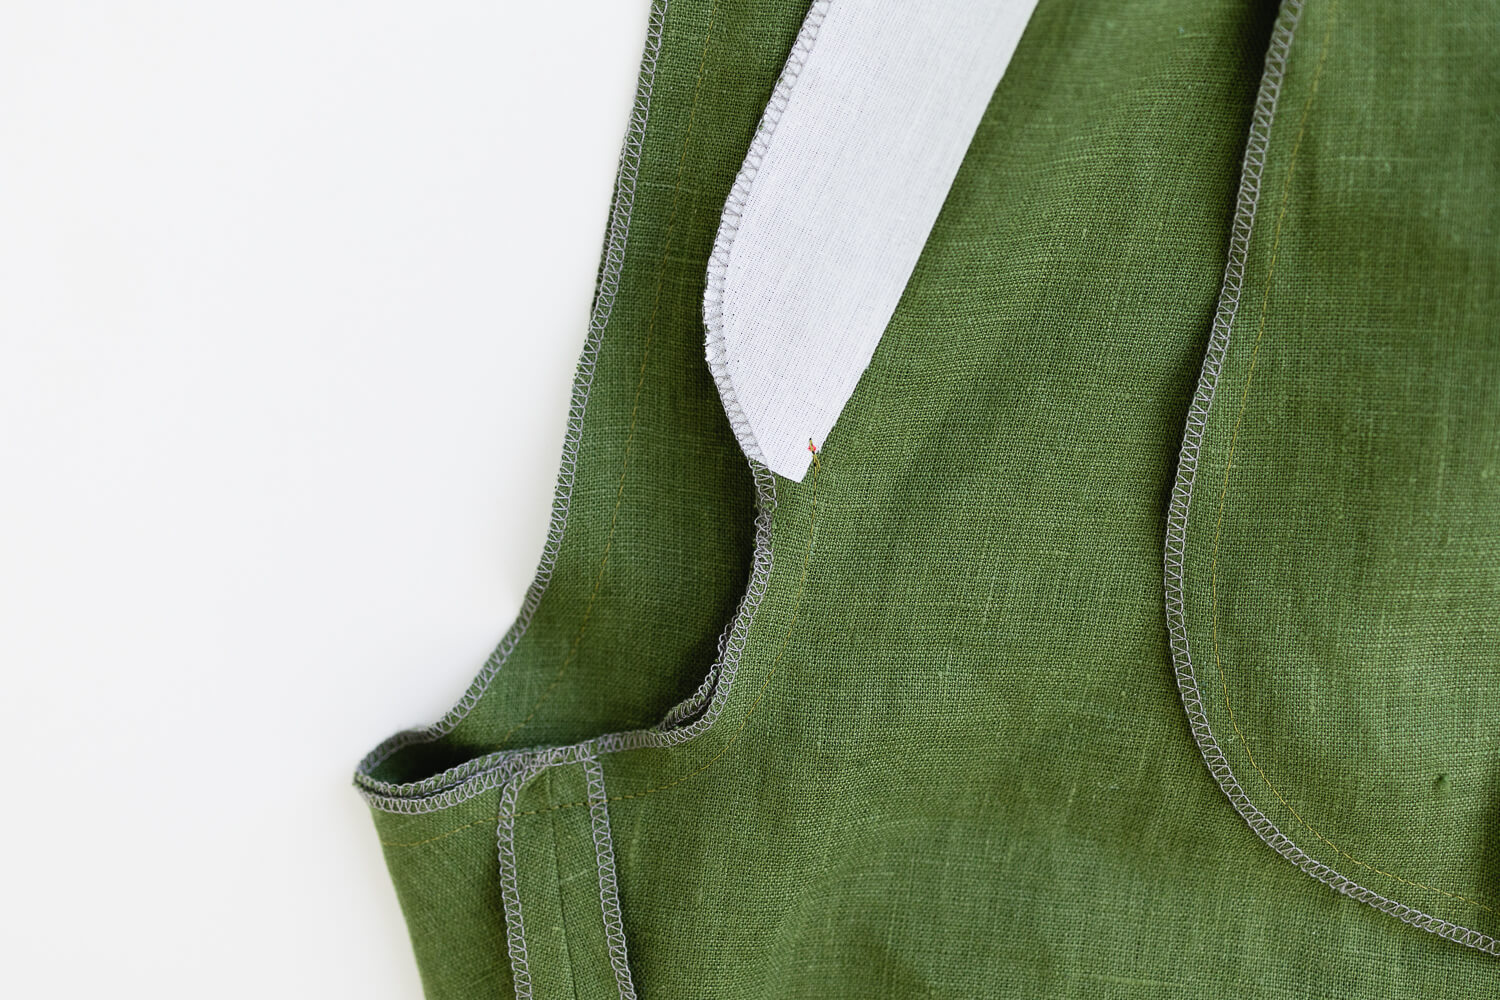
Place the left pant leg (Q) inside the right pant leg (P) with right sides together. Sew the crotch seam with 1/2” seam allowance. Stop at the pattern marking at the bottom of the Front Fly Fusing.
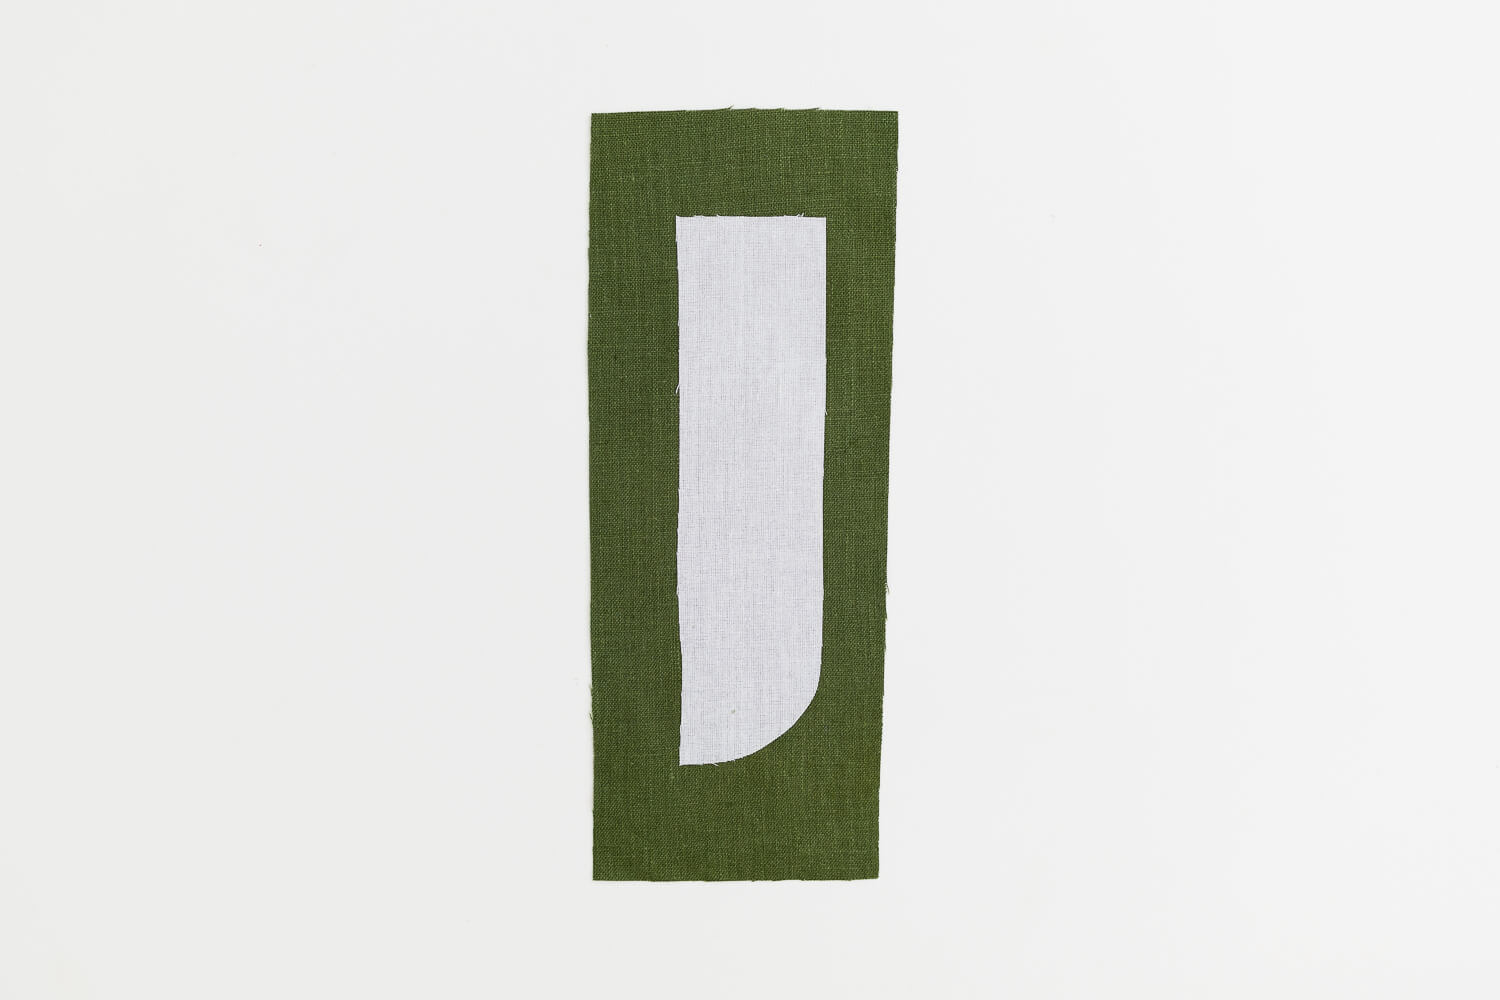
Apply fusing to the wrong side of the Upper Fly Extension (U).
Tip: It can be tricky to get fusing to line up perfectly on small pieces like this. To get extra crisp pieces, apply the interfacing to a scrap of fabric. Then cut around the interfacing.
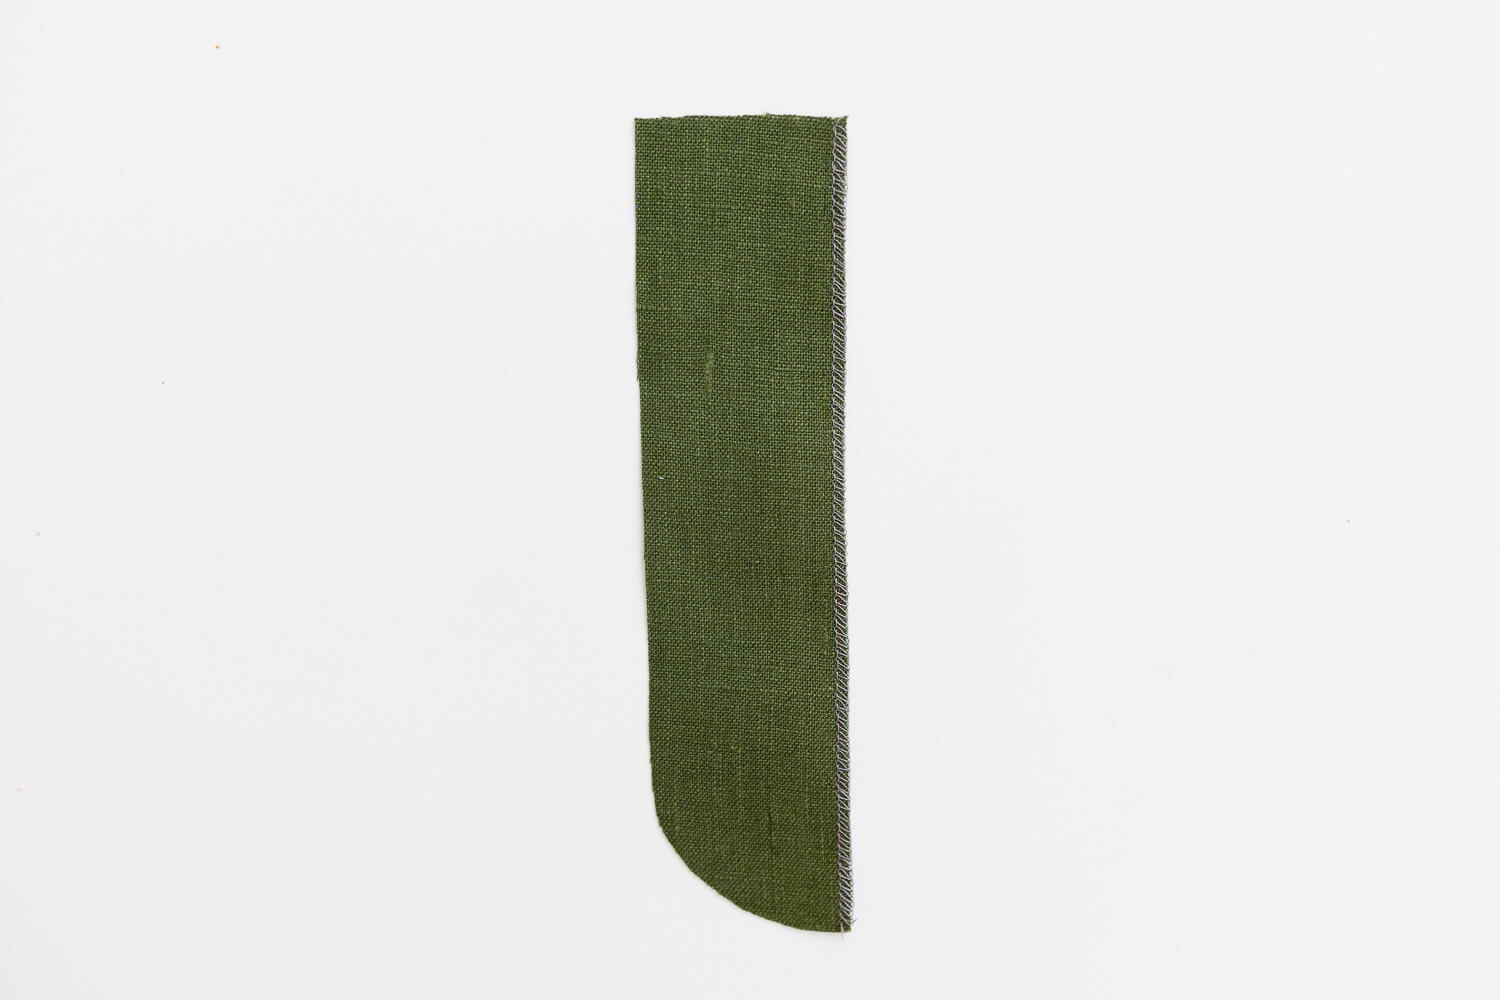
Serge the straight edge of the Upper Fly Extension (U).
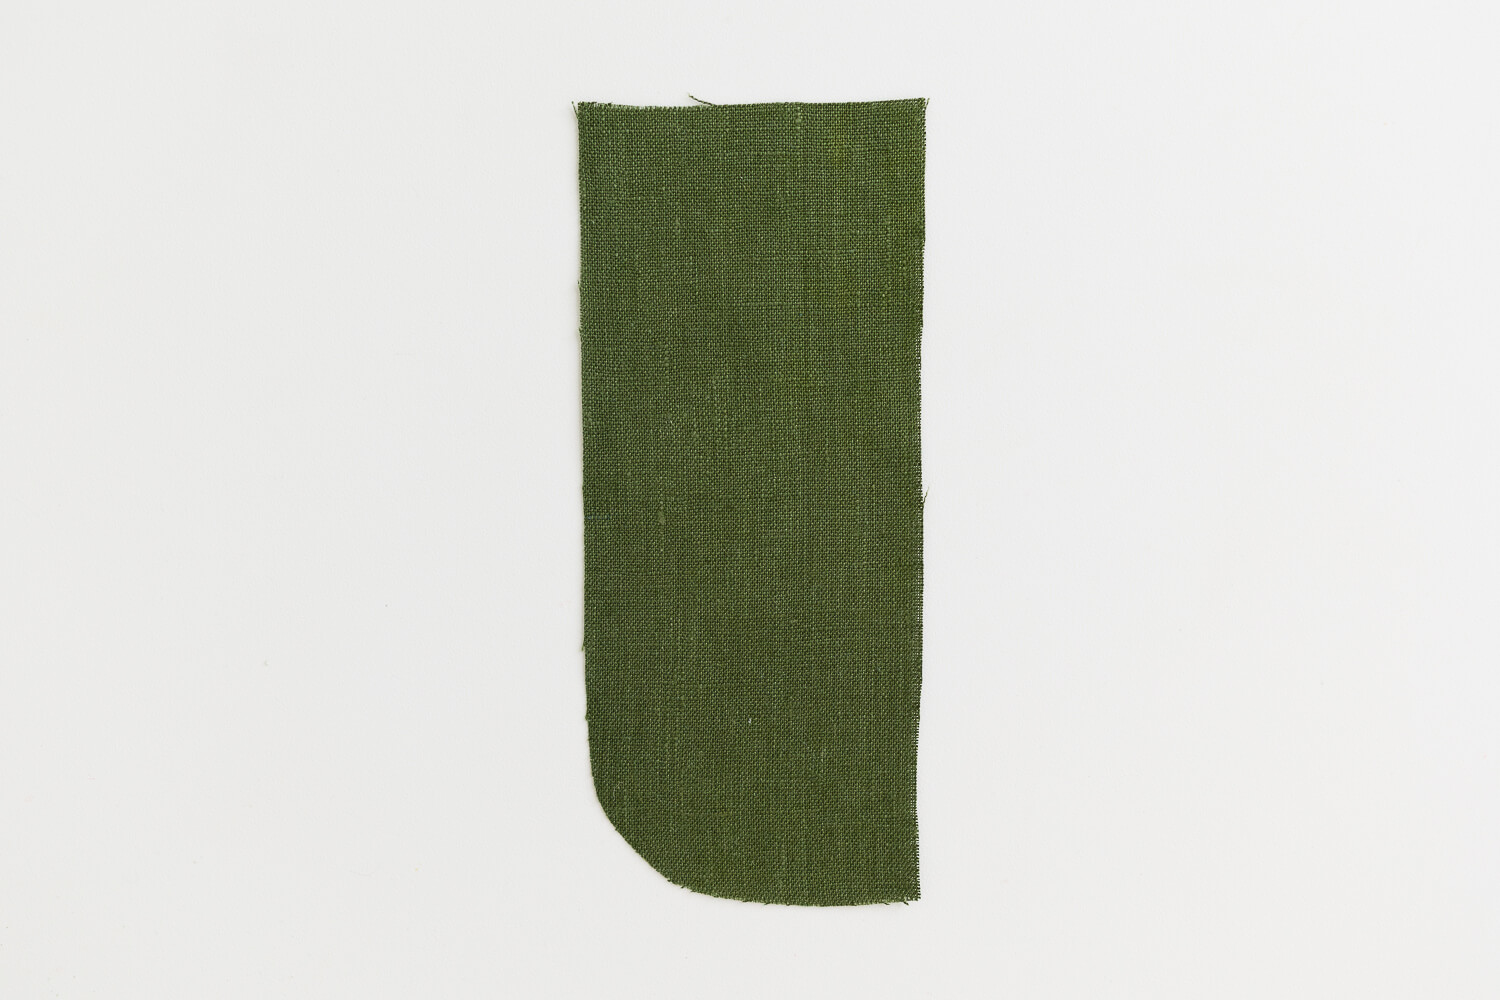
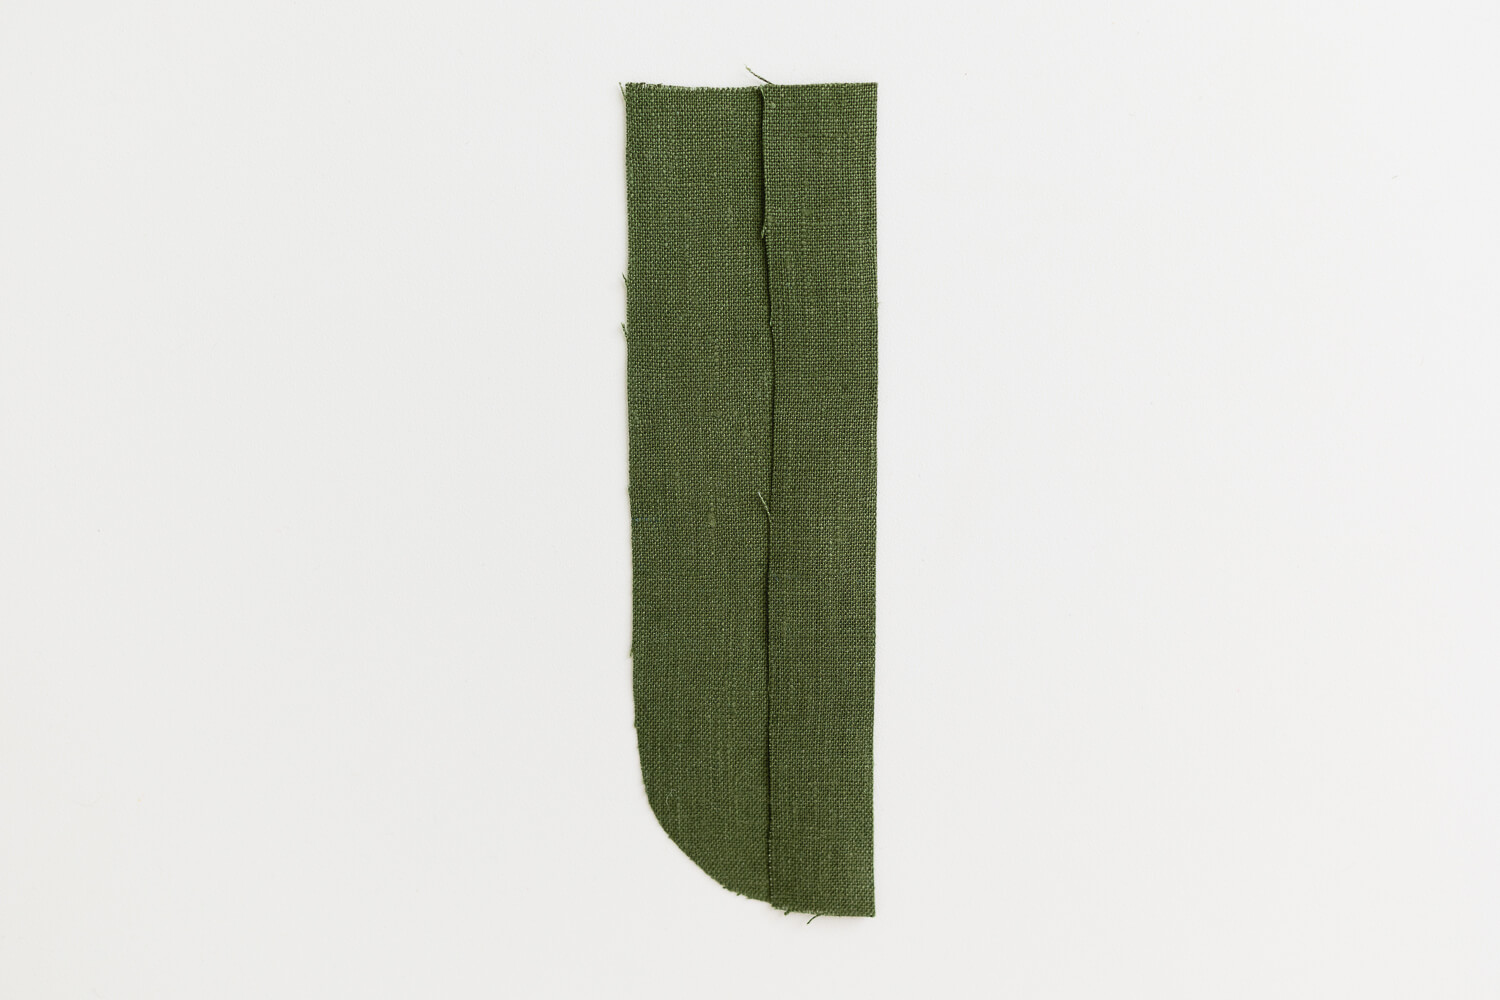
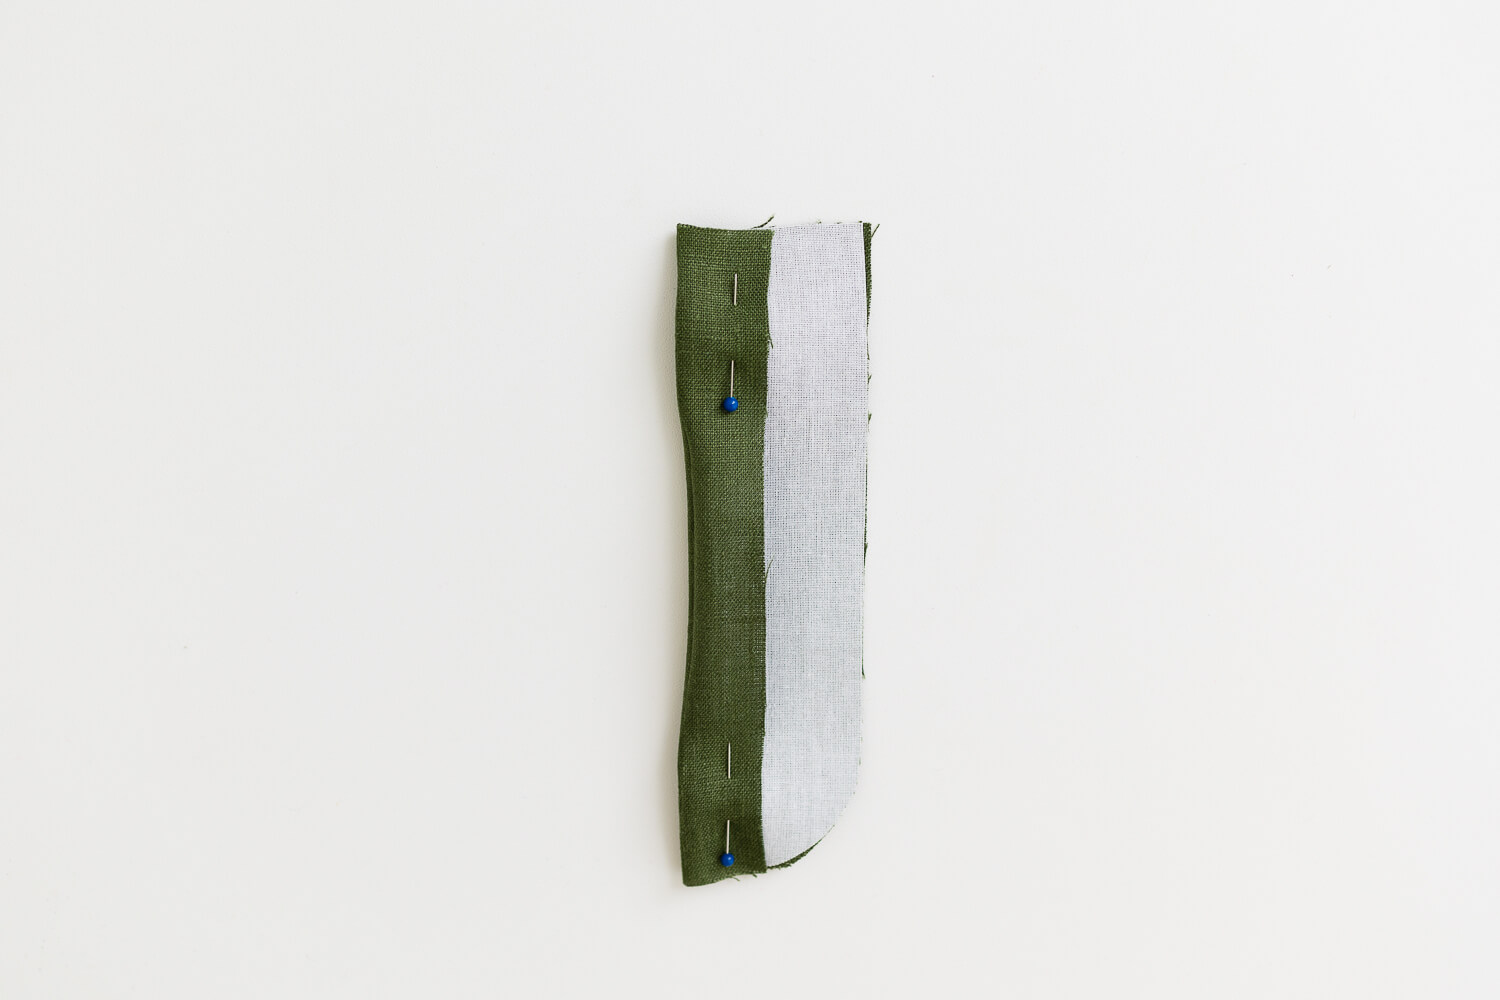
Fold the straight side of the Lower Fly Extension (V) wrong sides together at the notches. Press.
Place the Upper Fly Extension (U) right sides together with the Lower Fly Extension (V). Then flip the folded edge over top of both and pin in place.
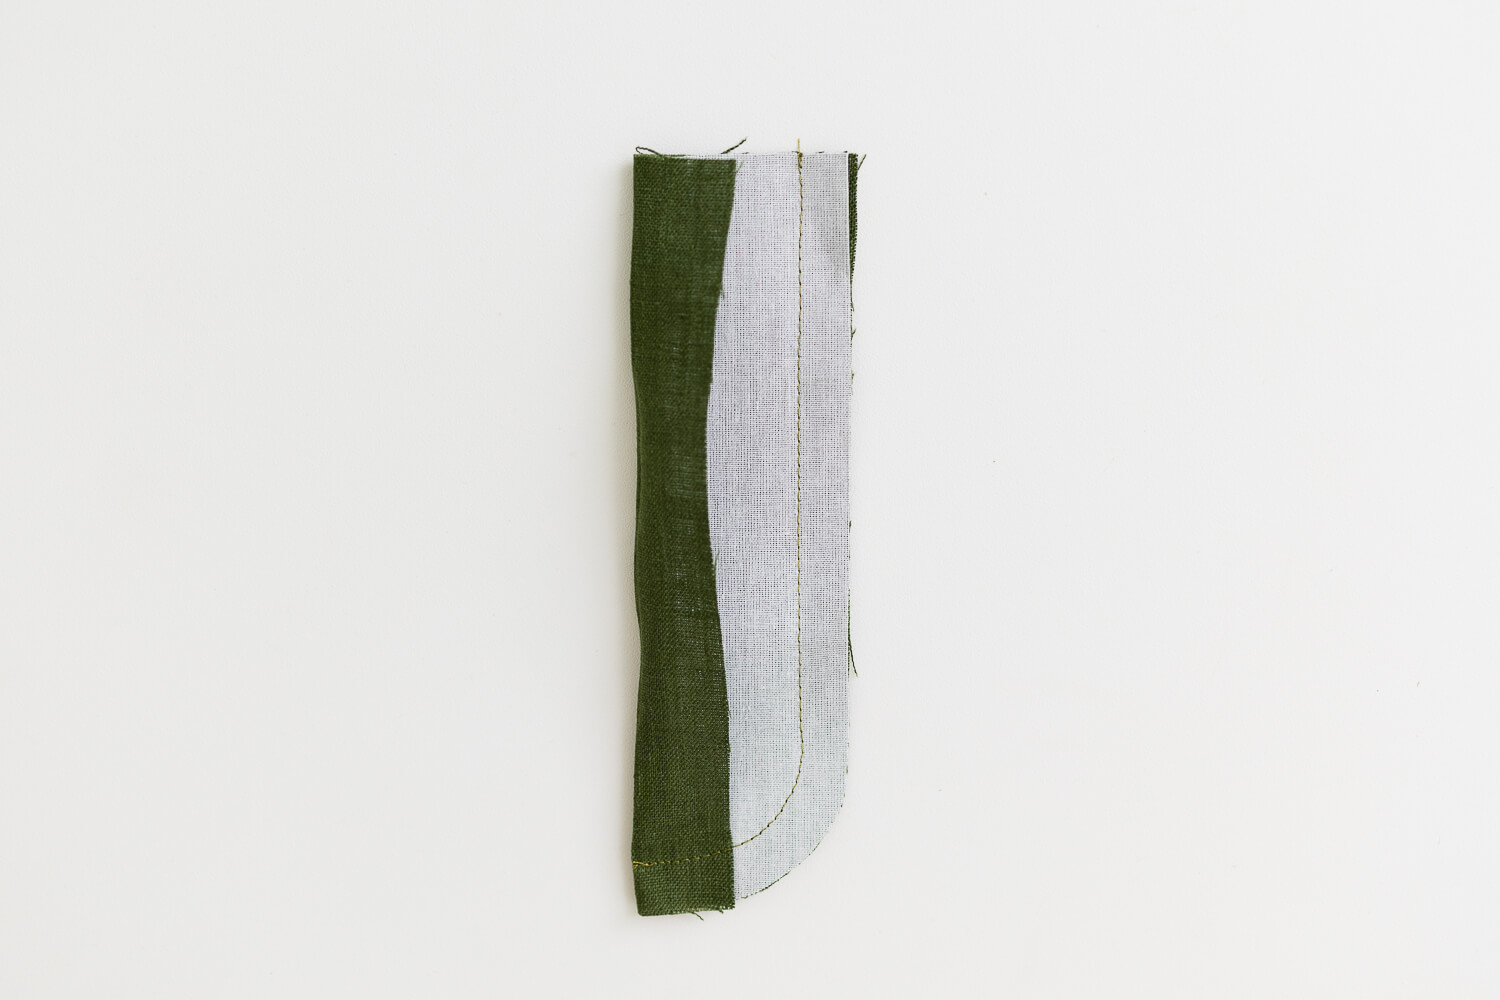
Sew with 1/2” seam allowance along the curved edge.
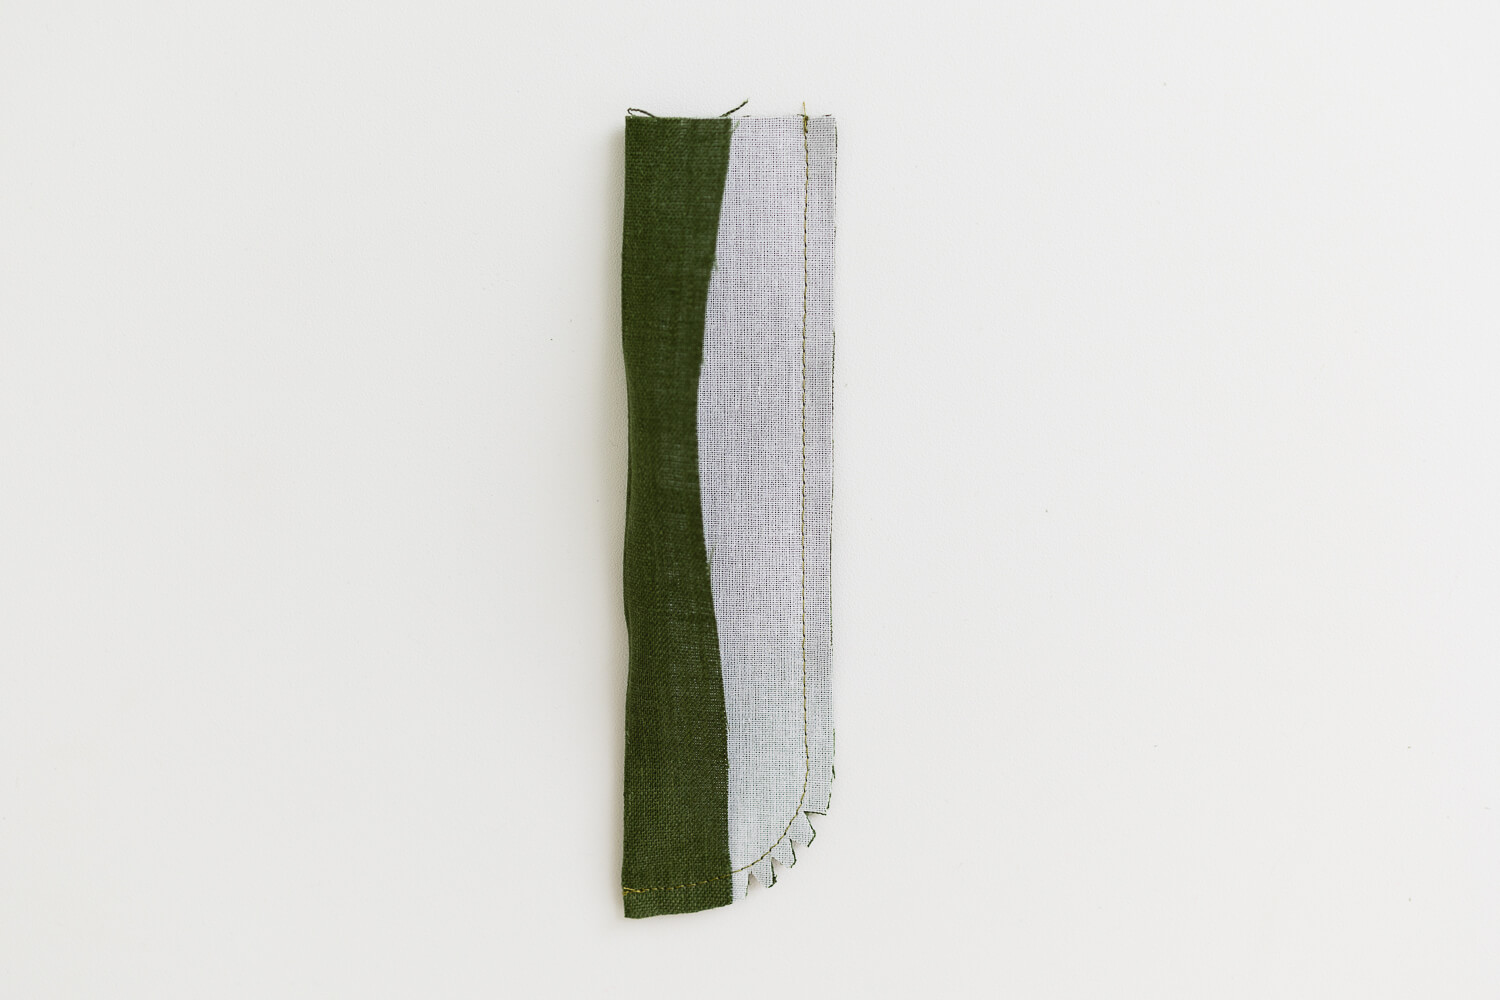
Trim seam allowance to 1/4” and clip some wedges in the curve.
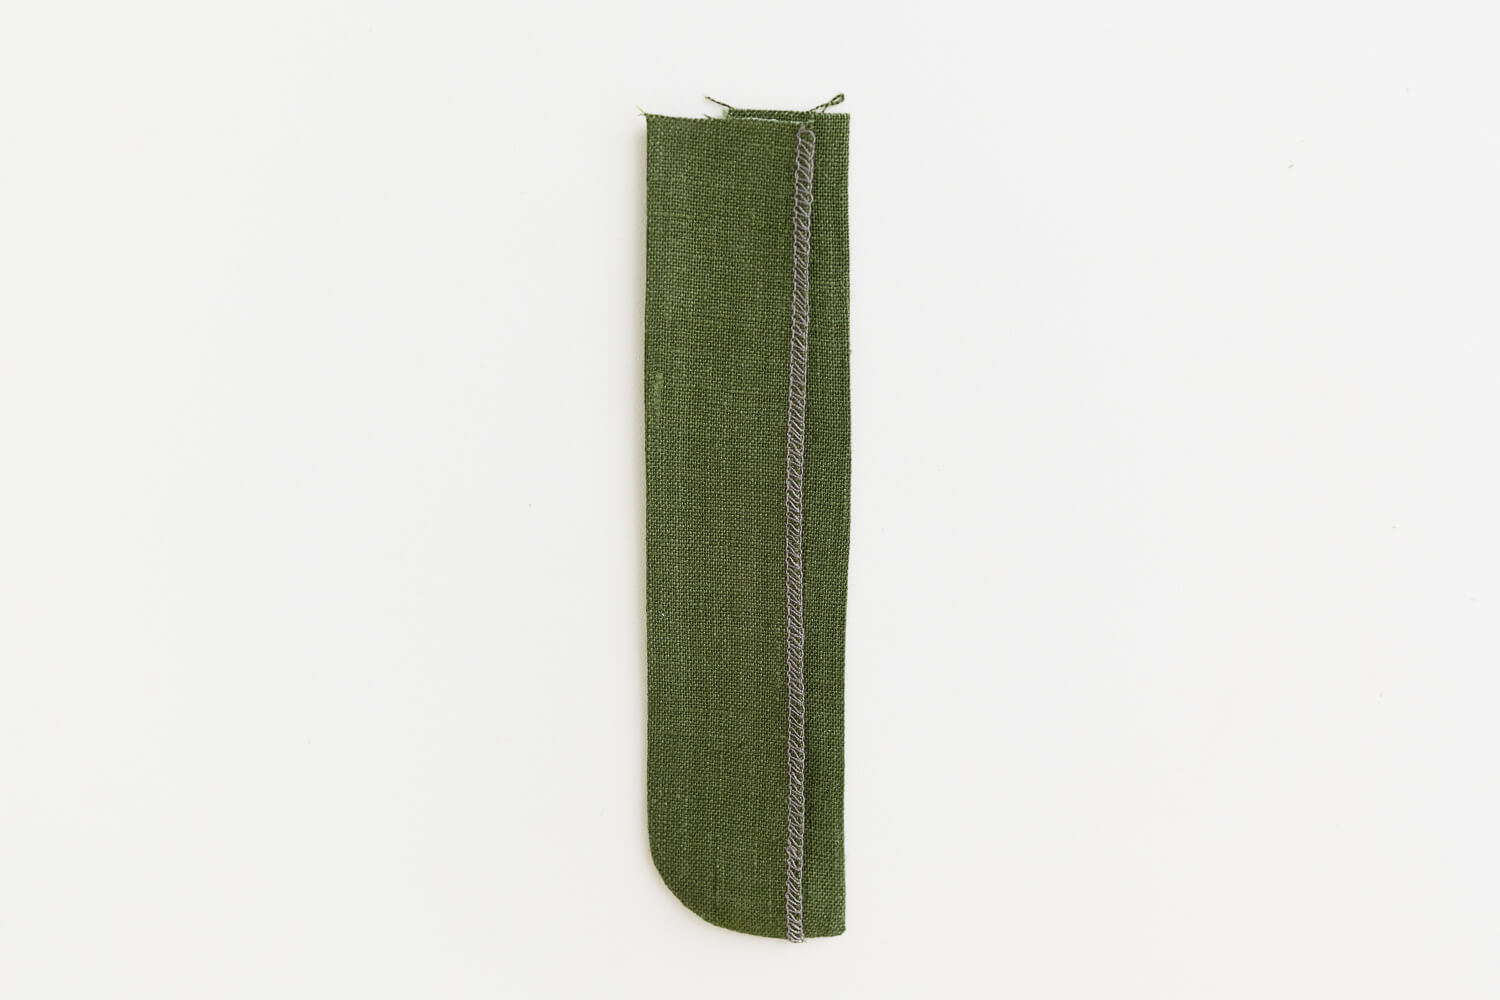
Fold the piece right side out. Press.
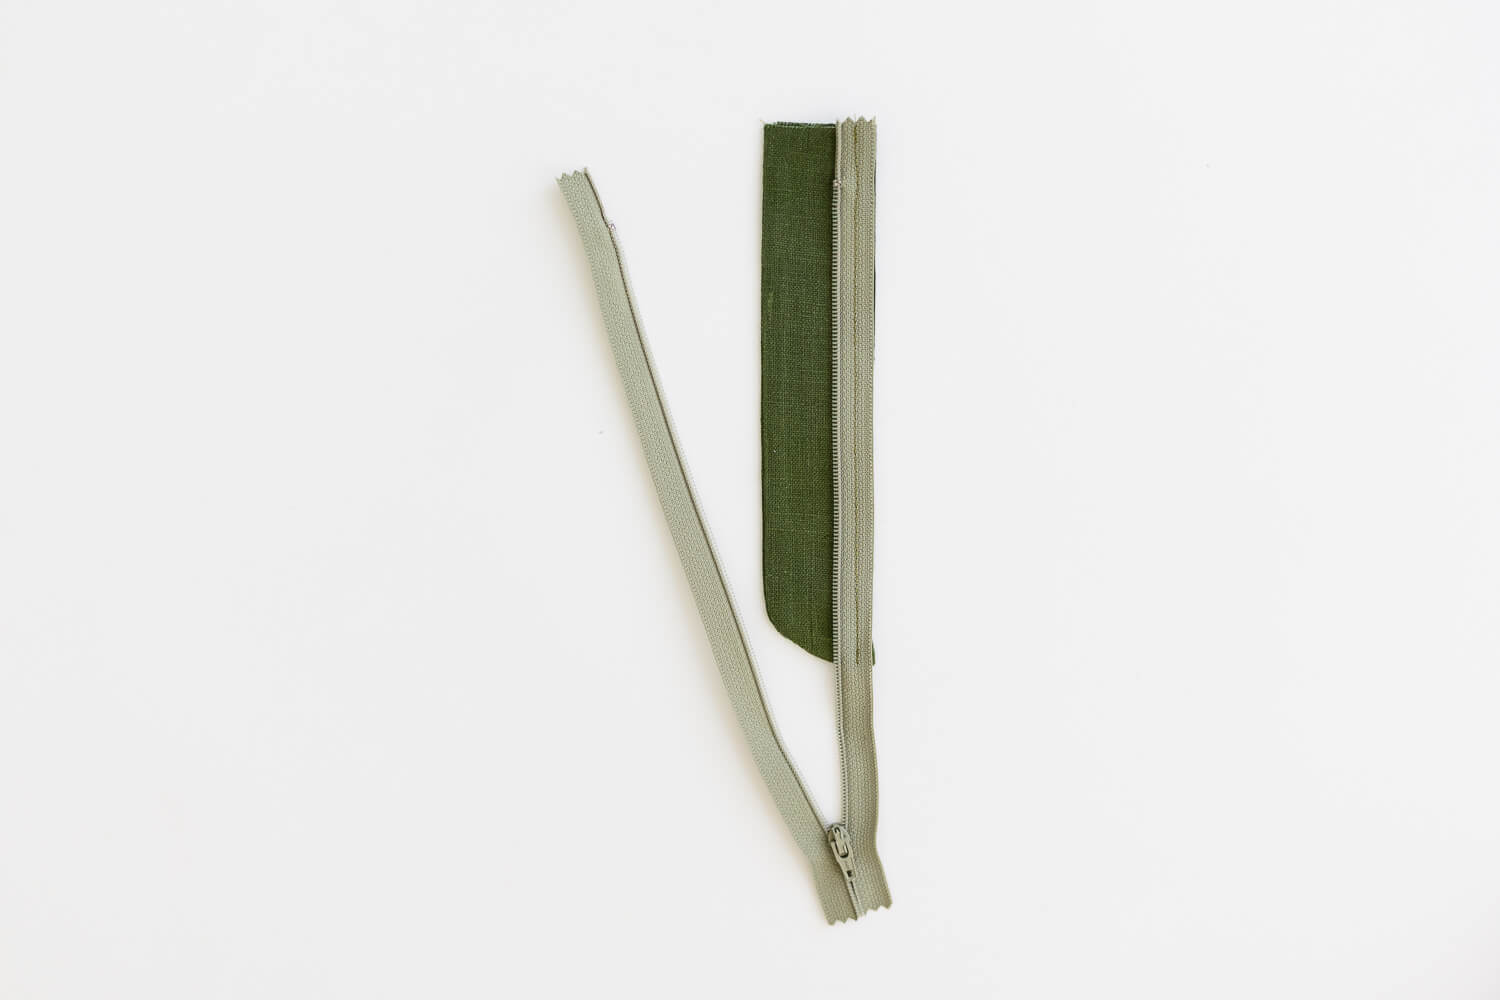
With the serged side facing up, place the zipper right side up on top. Line up the edges and sew in place with a 1/4” seam allowance.
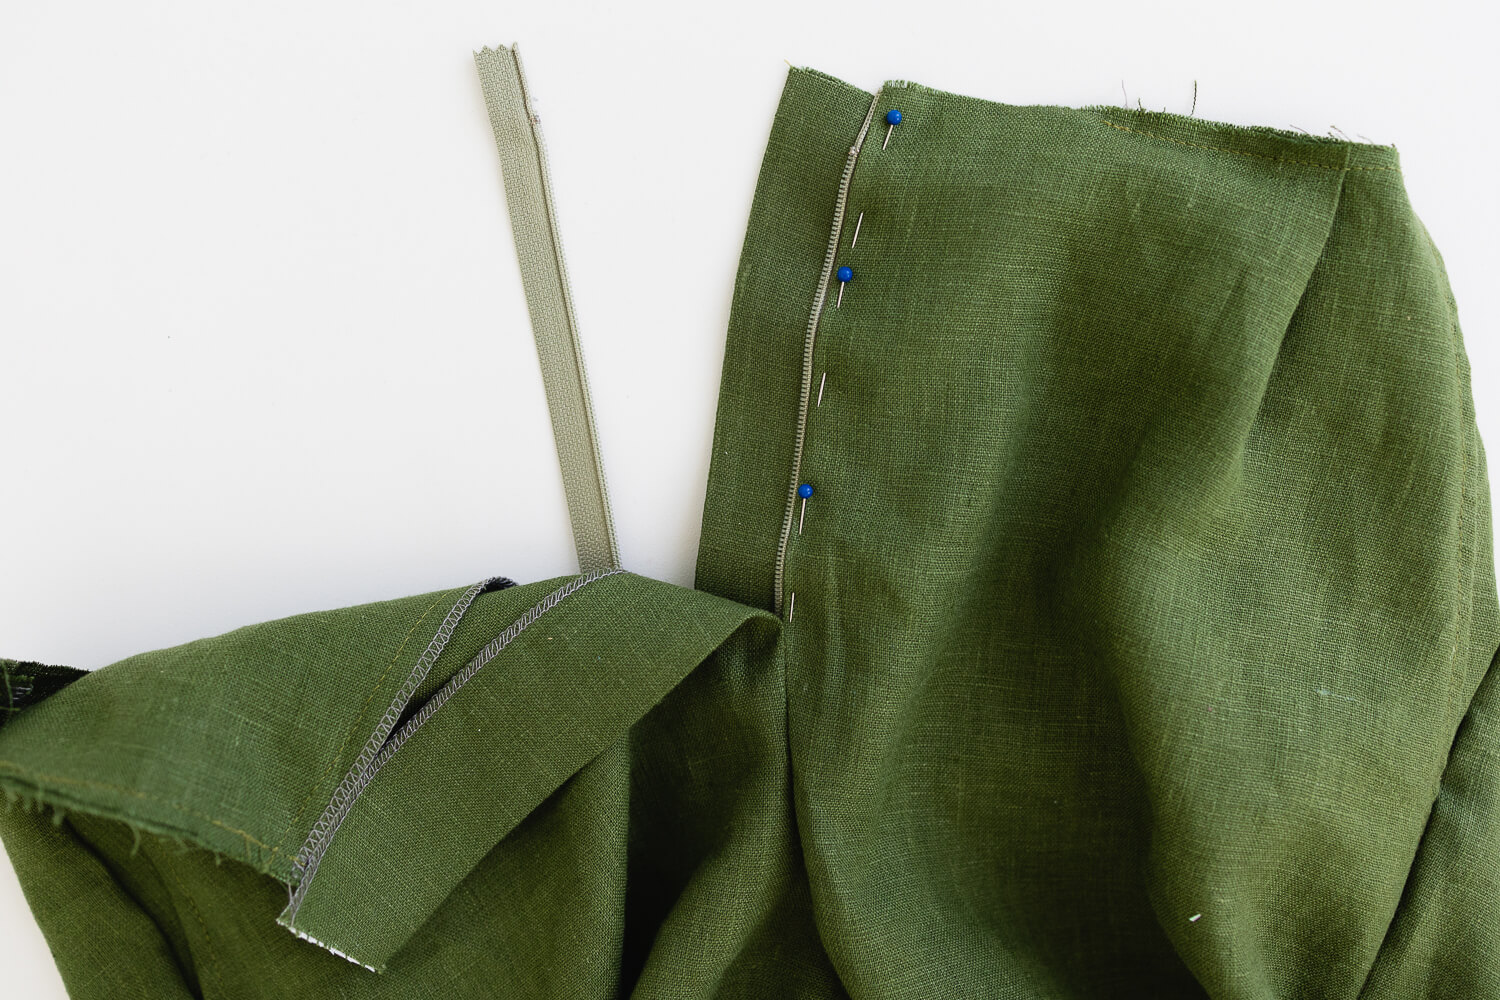
Place the assembled zipper and fly extension under the folded edge of the Left Front Pant (Q). Position the teeth of the zipper close to the folded edge, but enough room for the zipper slider to not get caught.
Sew in place with 1/16” seam allowance.
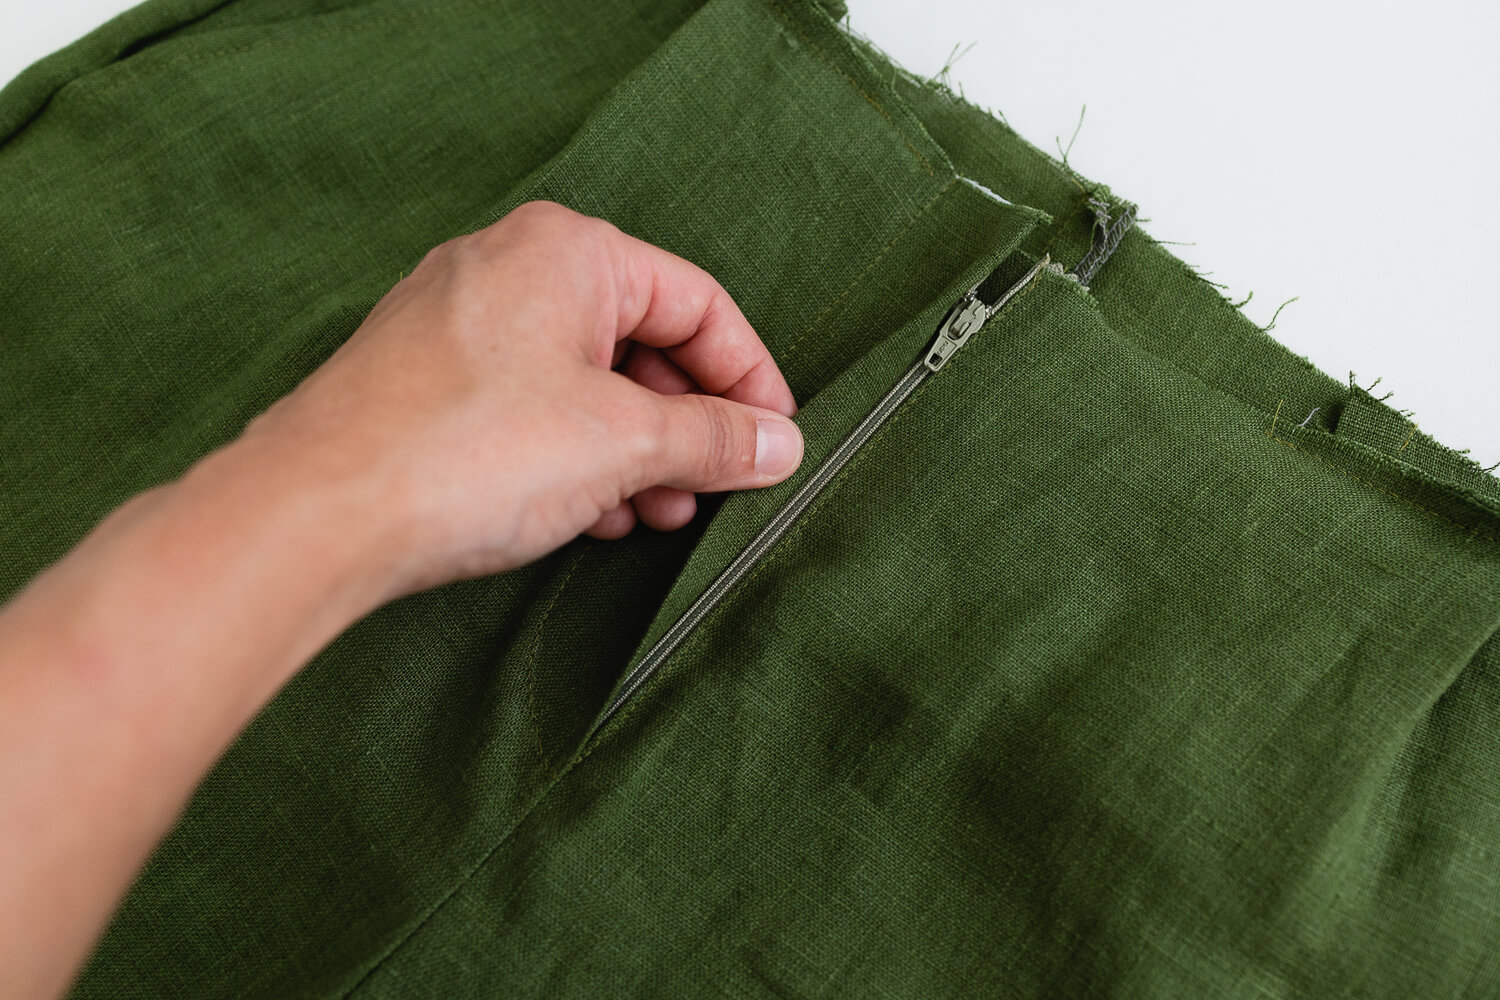
To figure out the best placement to sew other side of the zipper, zip up the zipper, and arrange the pants so the fly area lays neatly and the right fly is fully covering the zipper and zipper seam. Give the pants a press if needed.
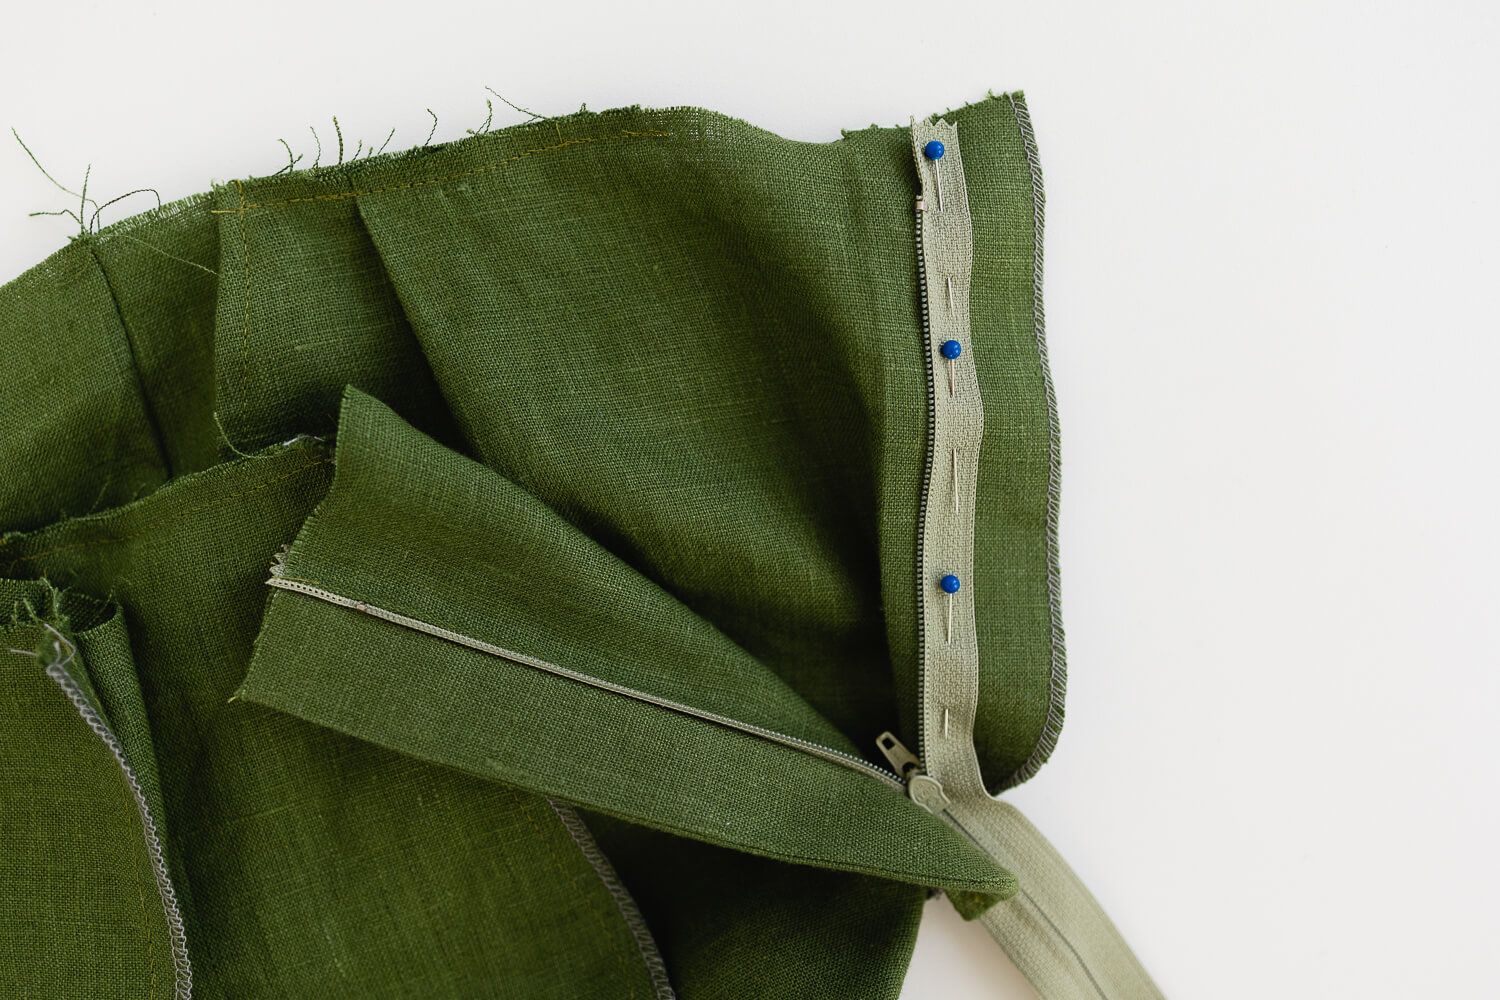
This part can be a bit tricky. With everything laying neatly, pin the unsewn half of the zipper in place. The placement can be fine-tuned later, but stick a few pins in to get an idea of where it is lining up on the Right Front Pant (P) fly.
Unzip the zipper and fine-tune the zipper tape placement. Pin the zipper securely in place to the fly facing of the Right Front Pant (P). With the zipper tape straightened out and pinned in place, turn the pants right side out and zip up the zipper again to double check how it lays.
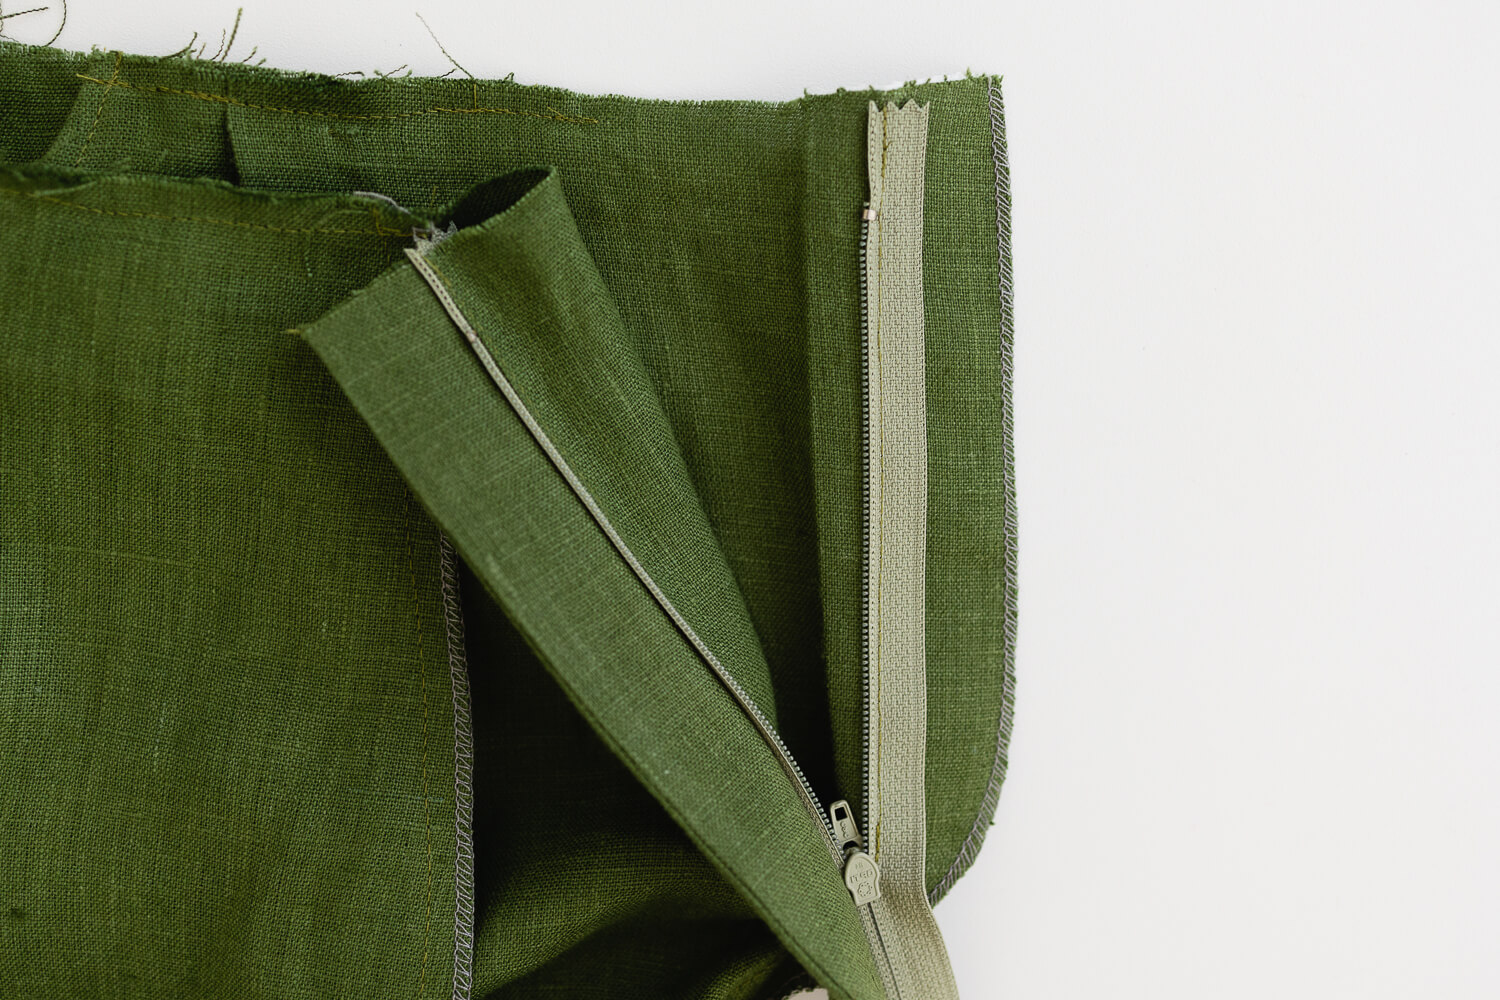
Sew the zipper tape to the Right Front Pant (P) fly facing close to the zipper teeth.
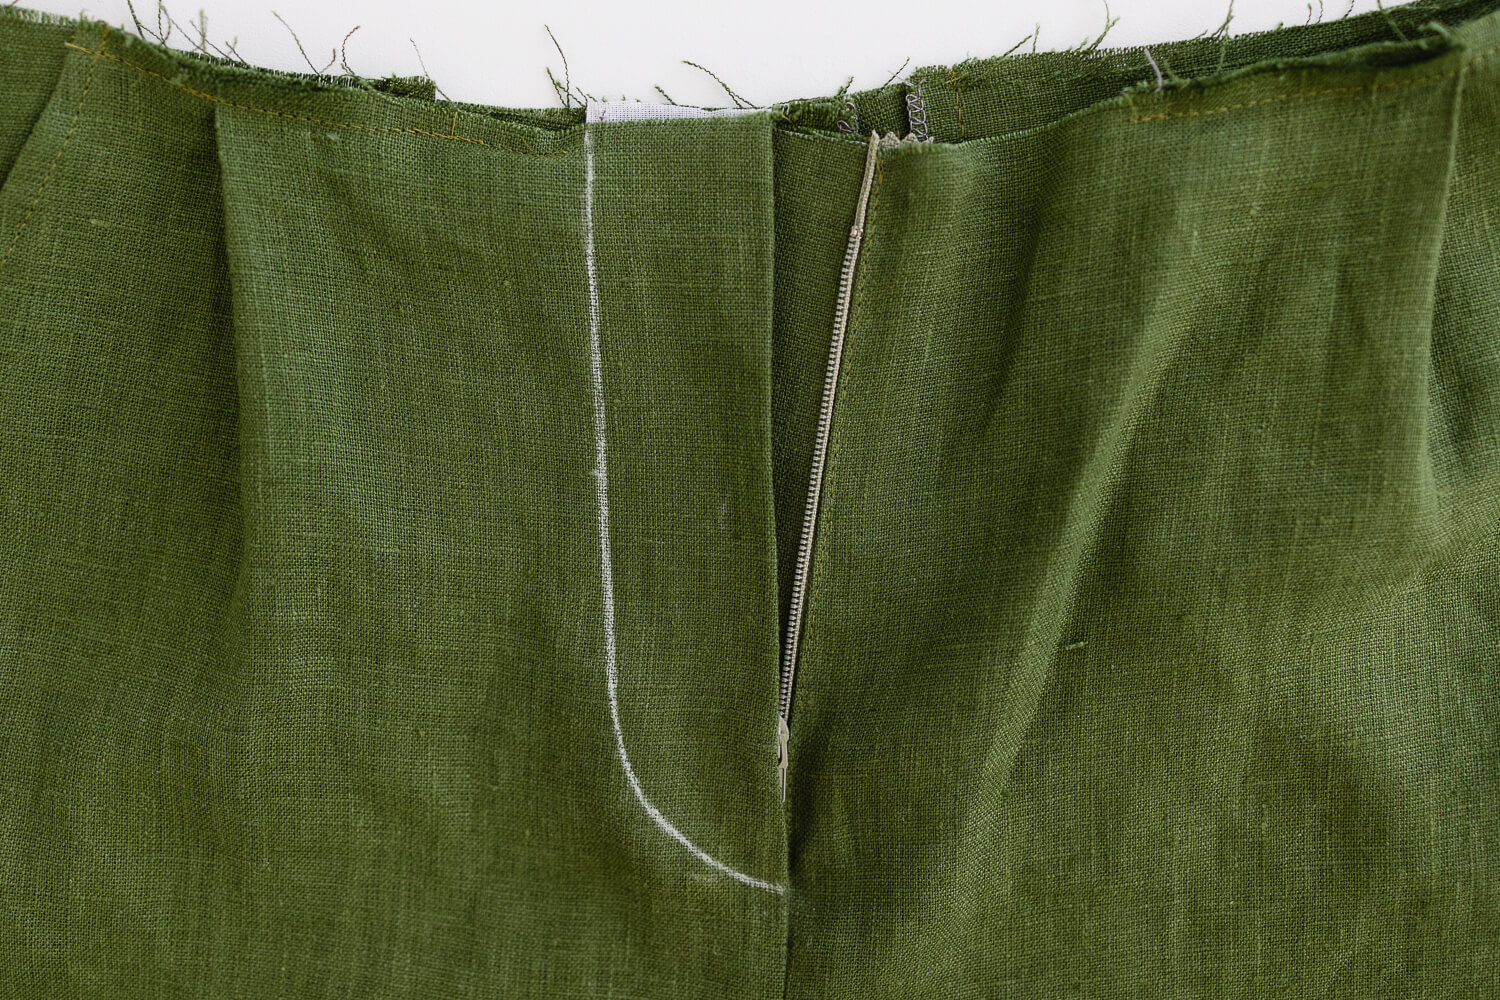
Transfer the fly pattern markings using either the pattern piece (P), or using the Upper Fly Extension piece (U) for a stitch guide.
Start stitching from the top with the fly extension folded out of the way. When you get to the curve, back stitch and then fold the fly extension back into place and continue sewing to the crotch seam. Add a few back stitches along the curve to reinforce the fly extension.
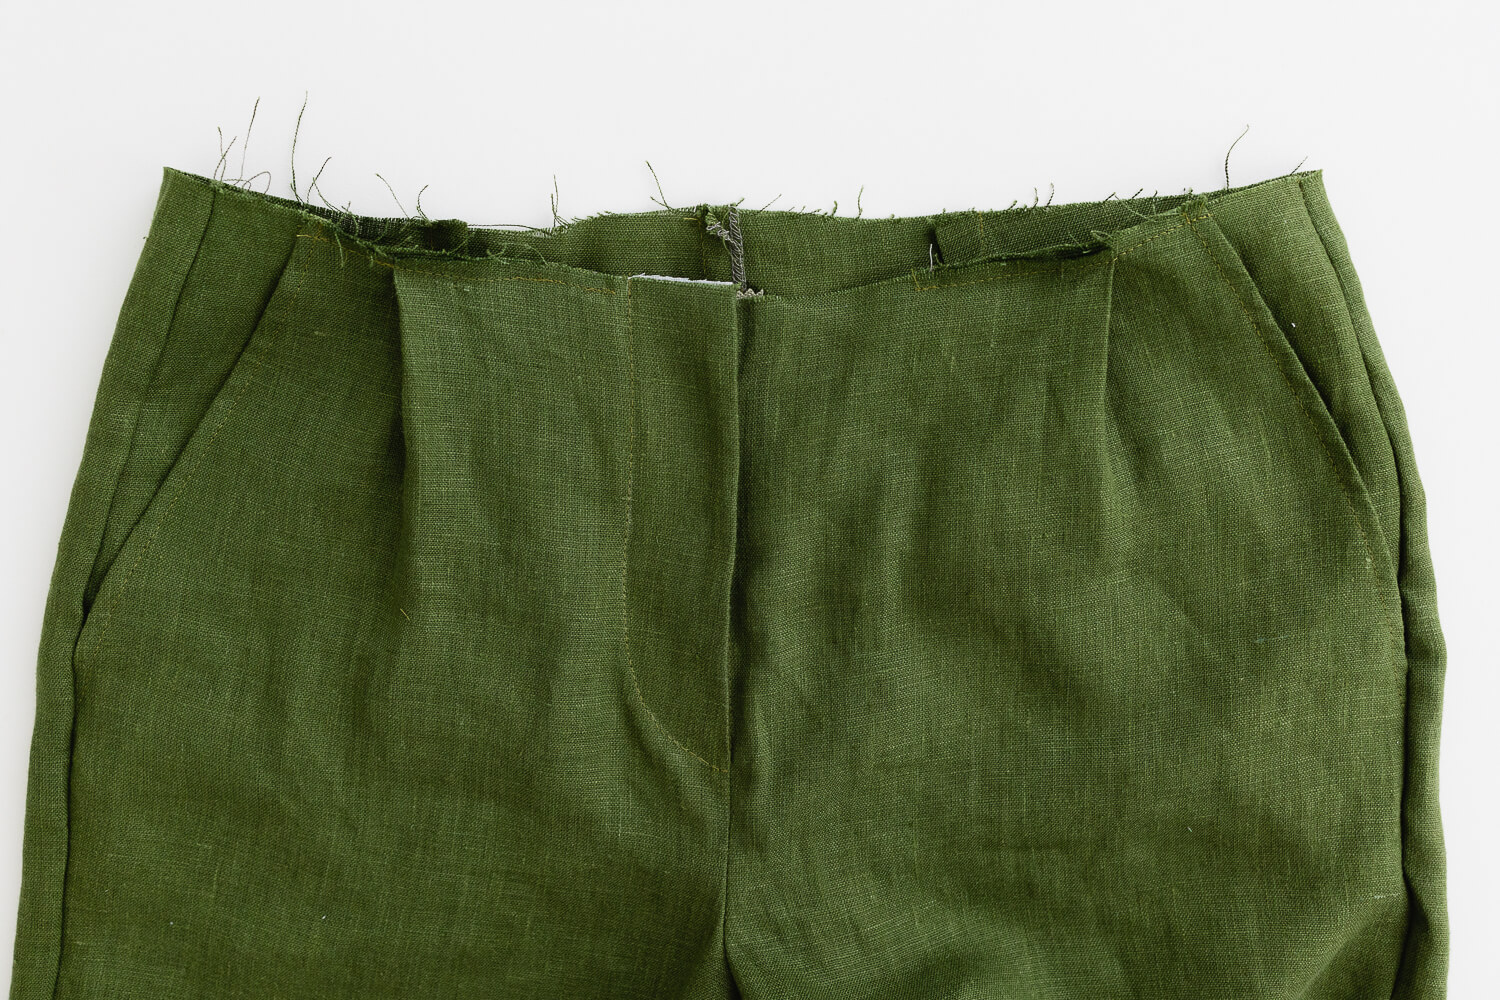
That’s it! The zipper is installed!













2 Comments
Linda Hamilton
That’s interesting. I was taught to always put the stop end of the zipper where it is supposed to be and cut off any excess from the top of the zipper so it doesn’t weaken the zipper itself & cause pop opens. Have you ever had issues with zippers popping open when you cut off from the bottom end? After sewing this way for 50+ years, I’m a bit hesitant to shorten from the bottom.
Vicki Lang
Thank you for the detailed photos. It sure helps to see the how to on a difficult zipper instillation.