Tutorial: How to Sew the Mykonos Welt Pockets
This tutorial is to support the welt pocket instructions in the Mykonos Pattern booklet found on pages 60-63.
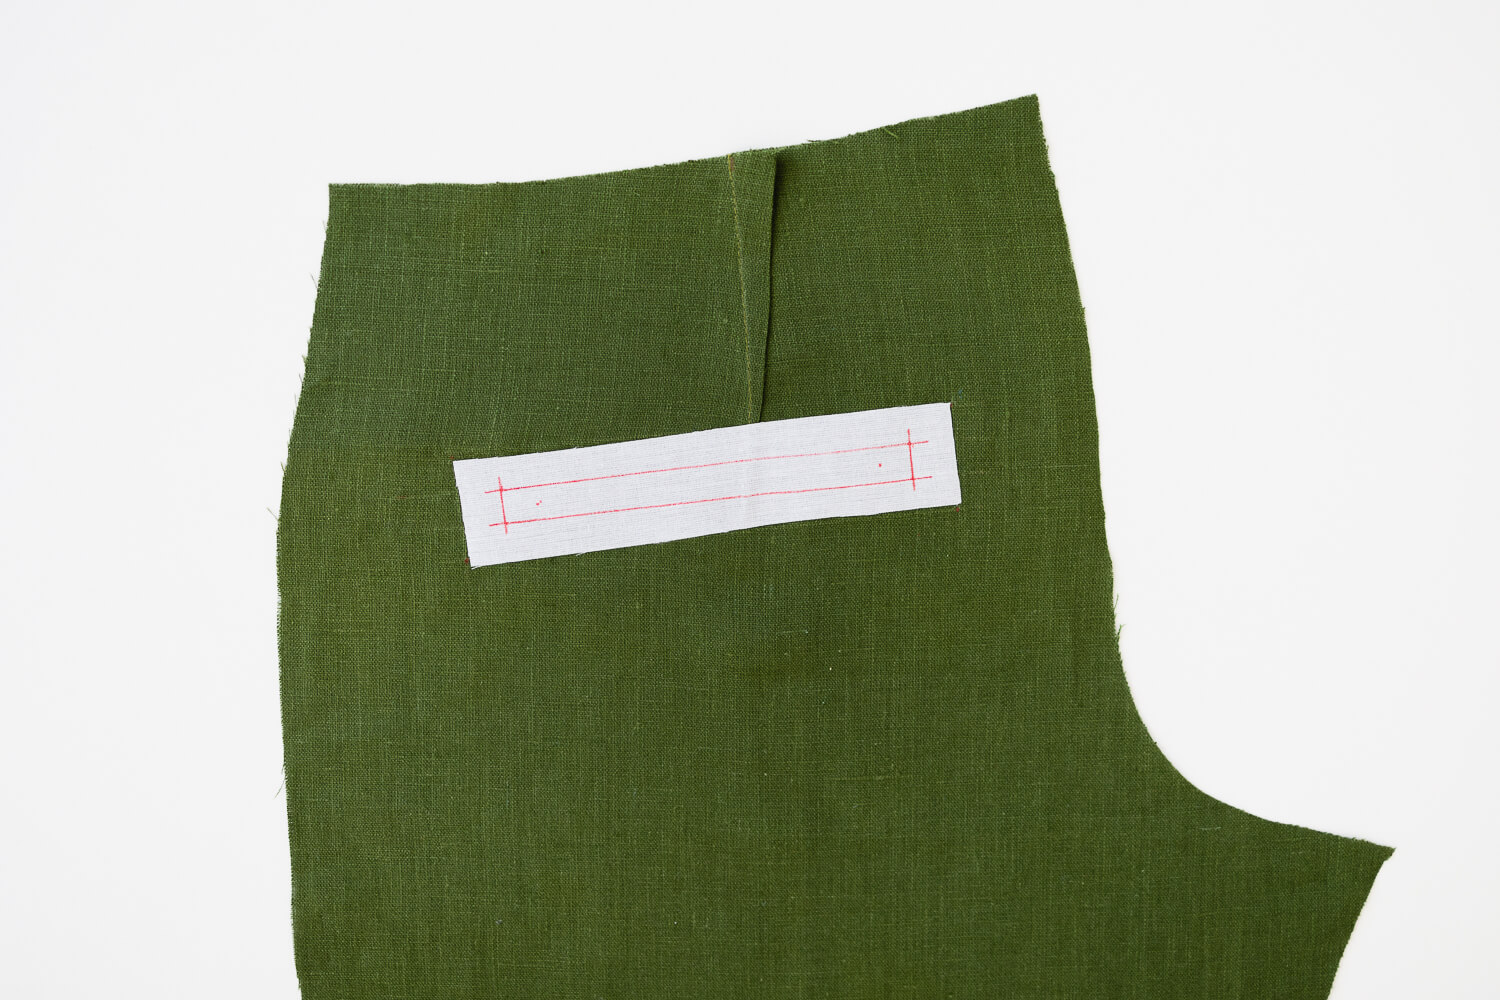
Position the Welt Opening Fusing (AG) on the wrong side of the pants using the Back Pocket Template (AH). Apply fusing with an iron and transfer pattern markings.
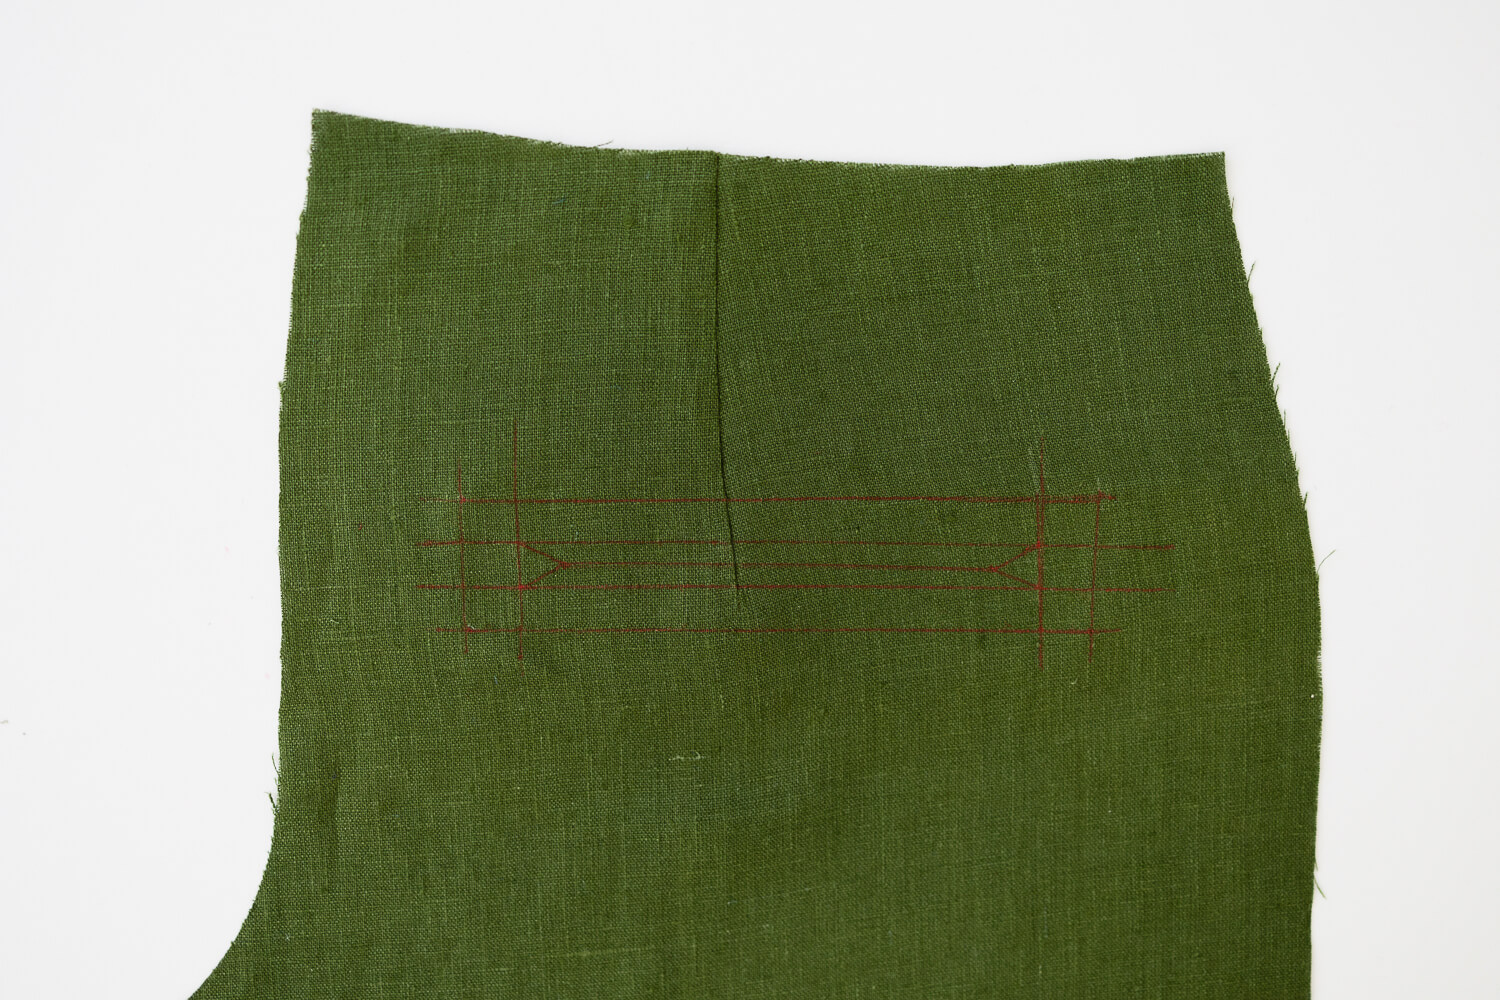
On the right side of the fabric, transfer all pattern markings using the Back Pocket Template.
Note: Since a lot of the lines will be covered up while sewing, it’s helpful to extend some of the lines past the rectangle for easy reference.
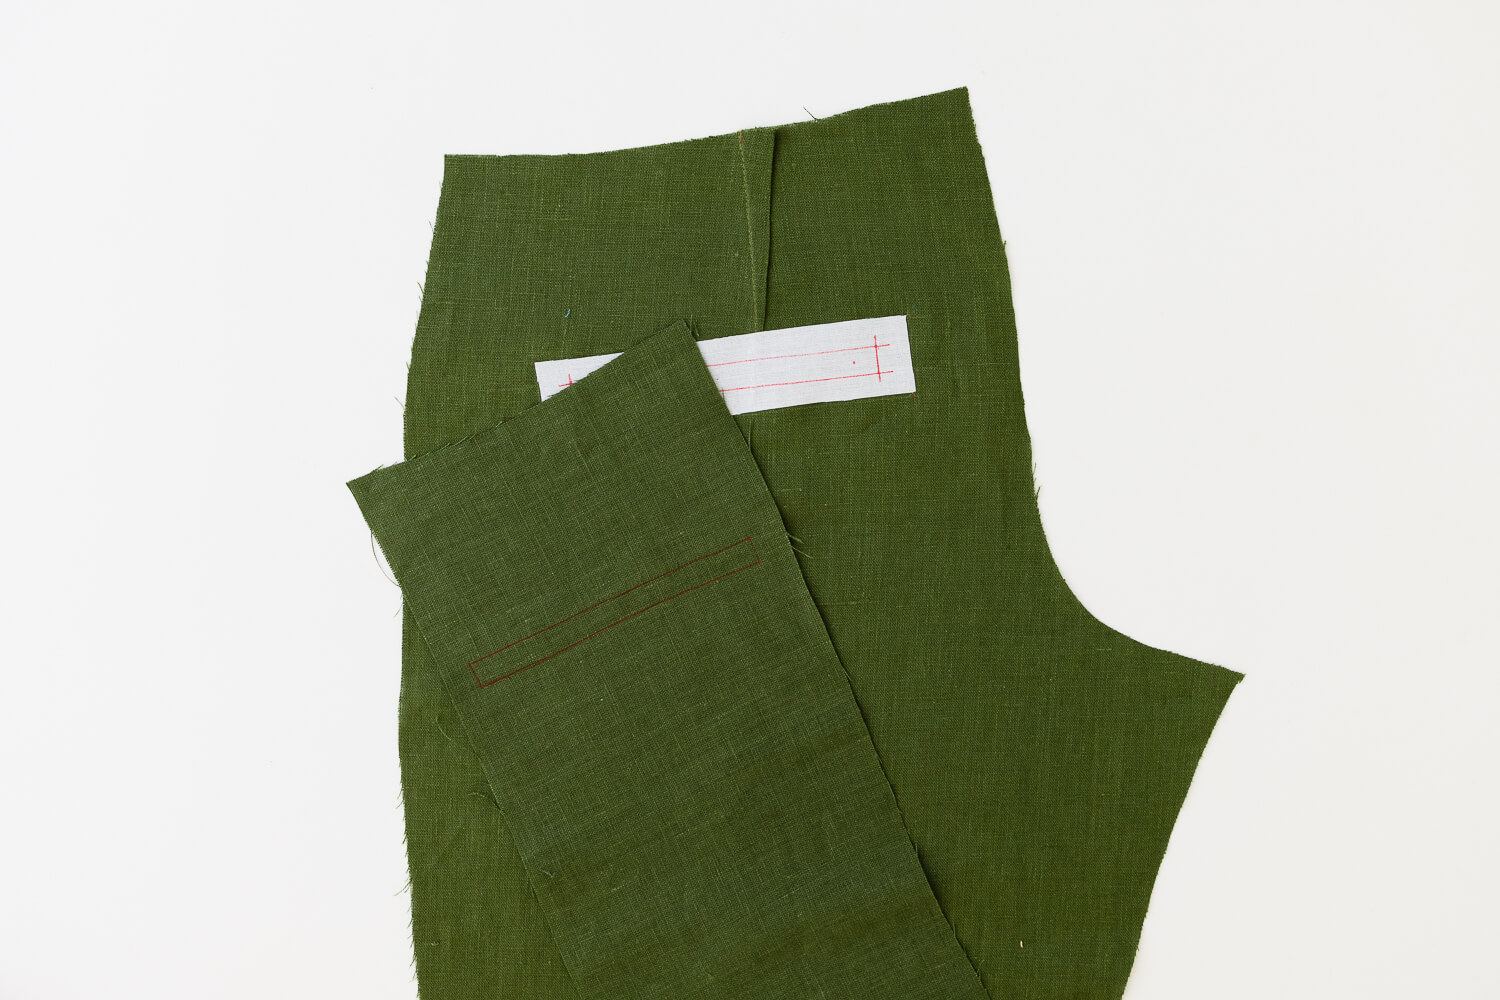
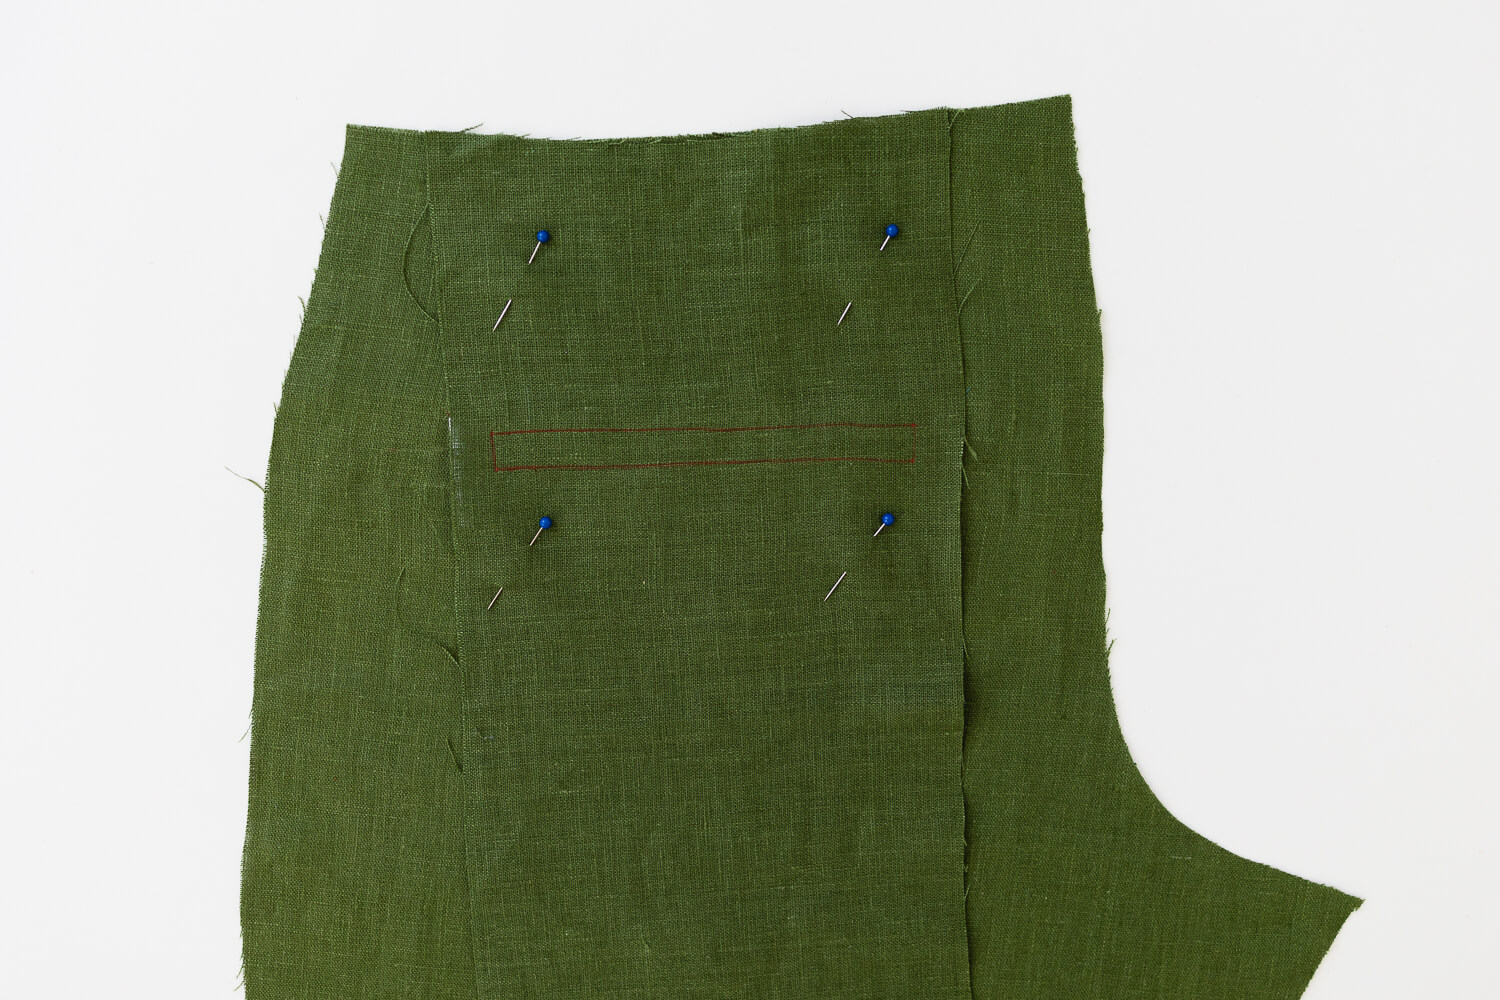
Place the Back Pocket (X) and the pants wrong sides together. Match up the pattern markings and pin or baste stitch in place.
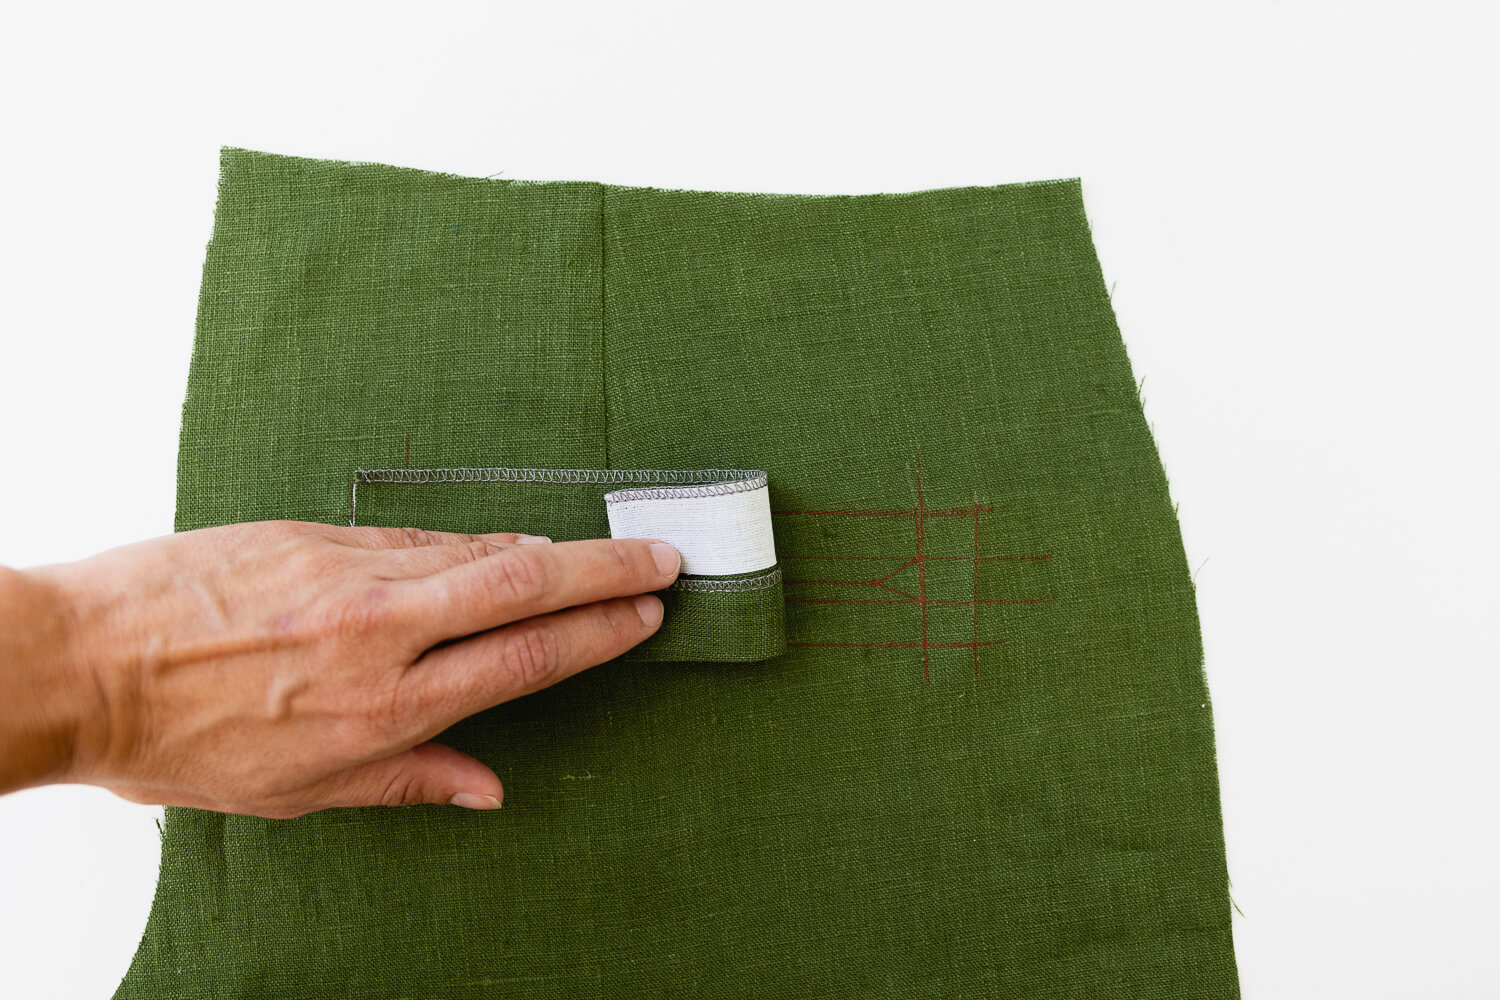
Apply the Back Welt Fusing (AE) to the wrong side of the Back Welt (Y). Fold up the other edge to the bottom edge of the fusing. Press.
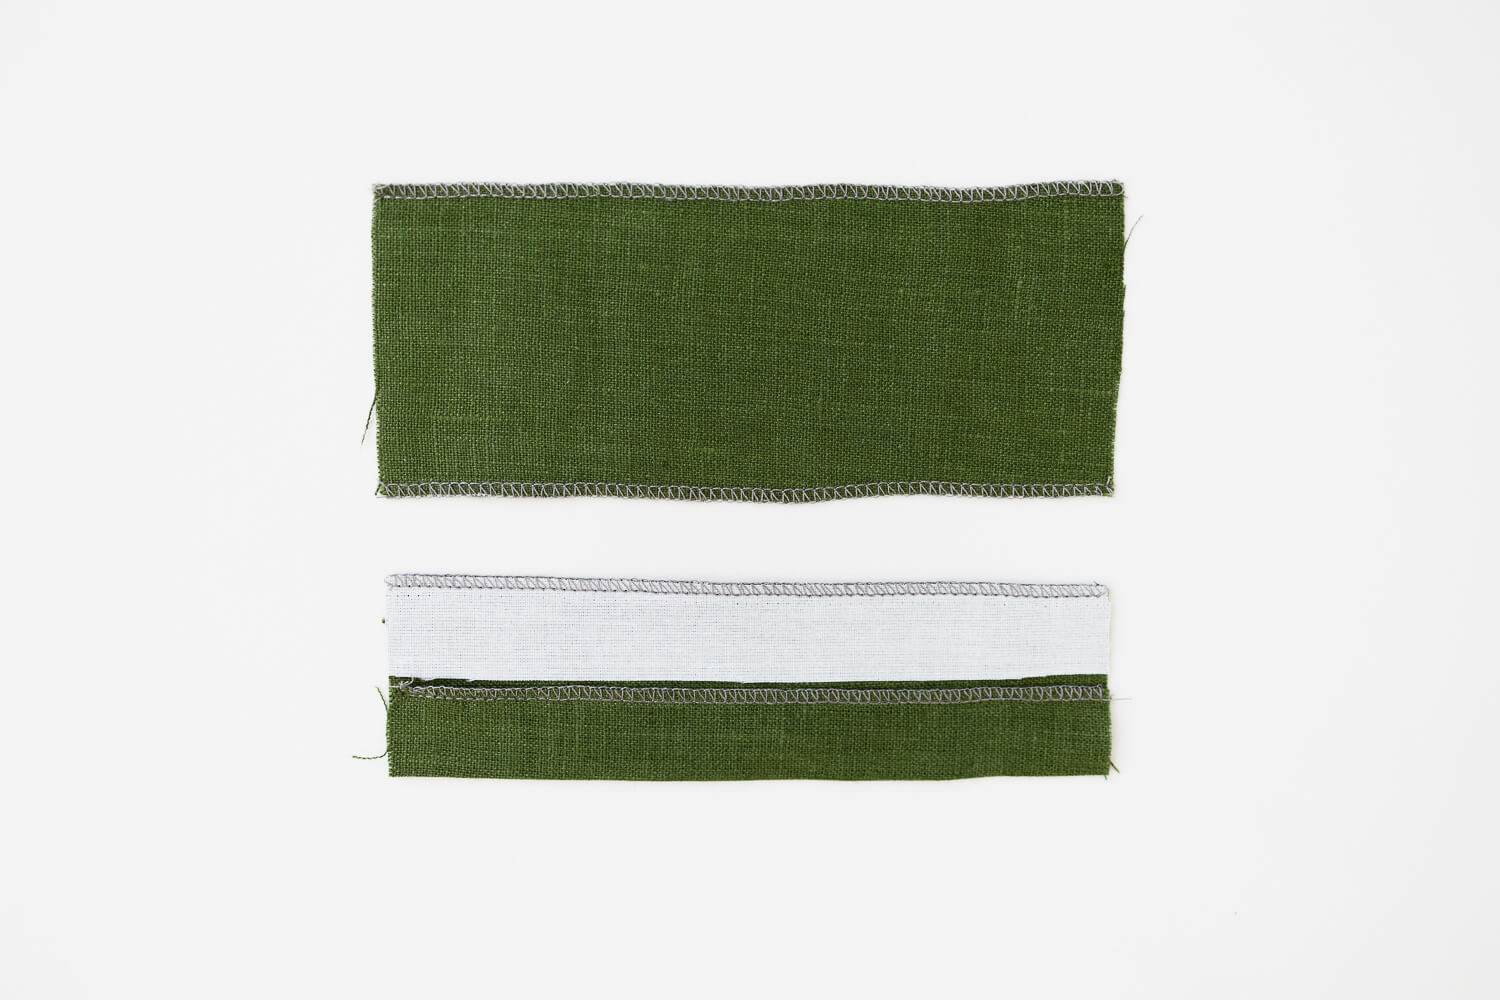
Serge the long sides of the Back Welt (Y) and the Back Pocket Facing (Z).
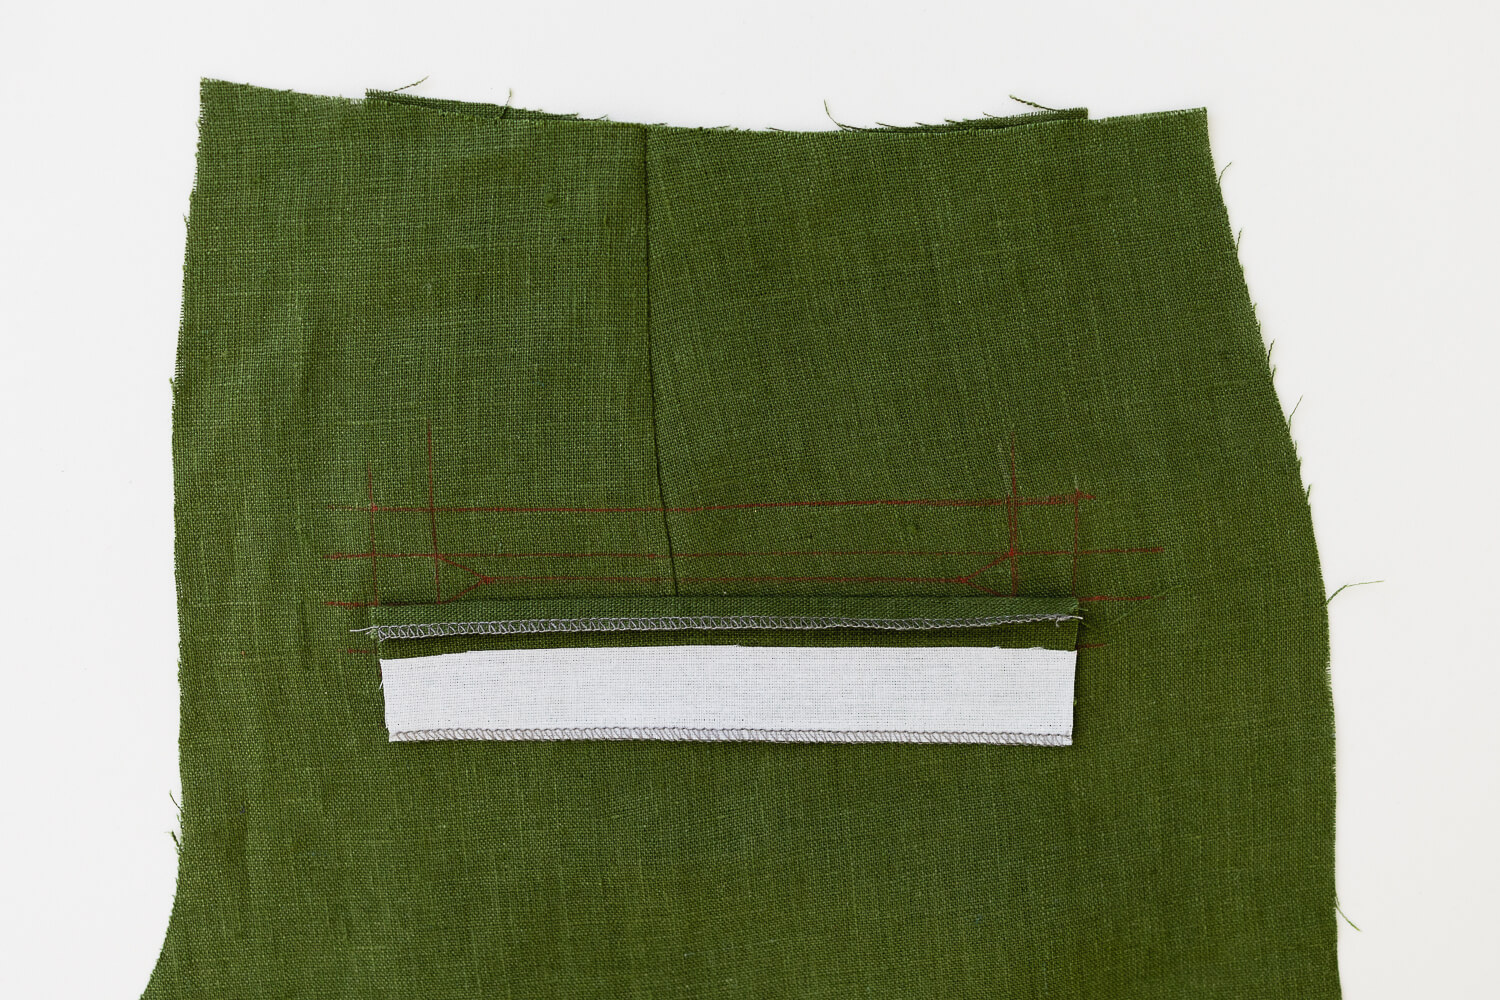
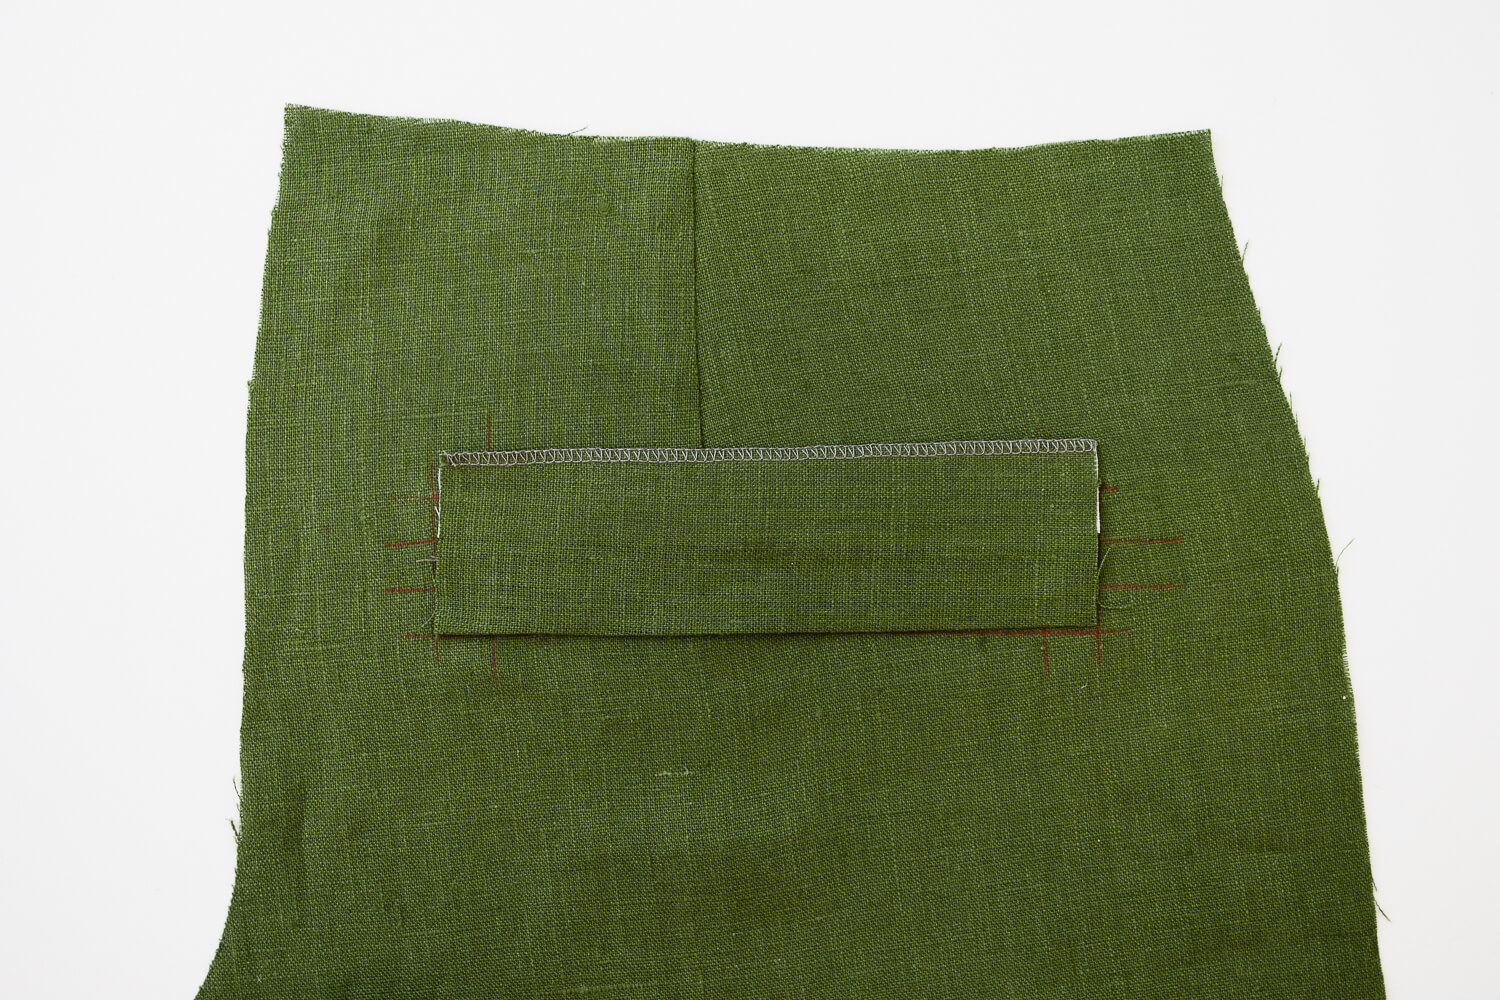
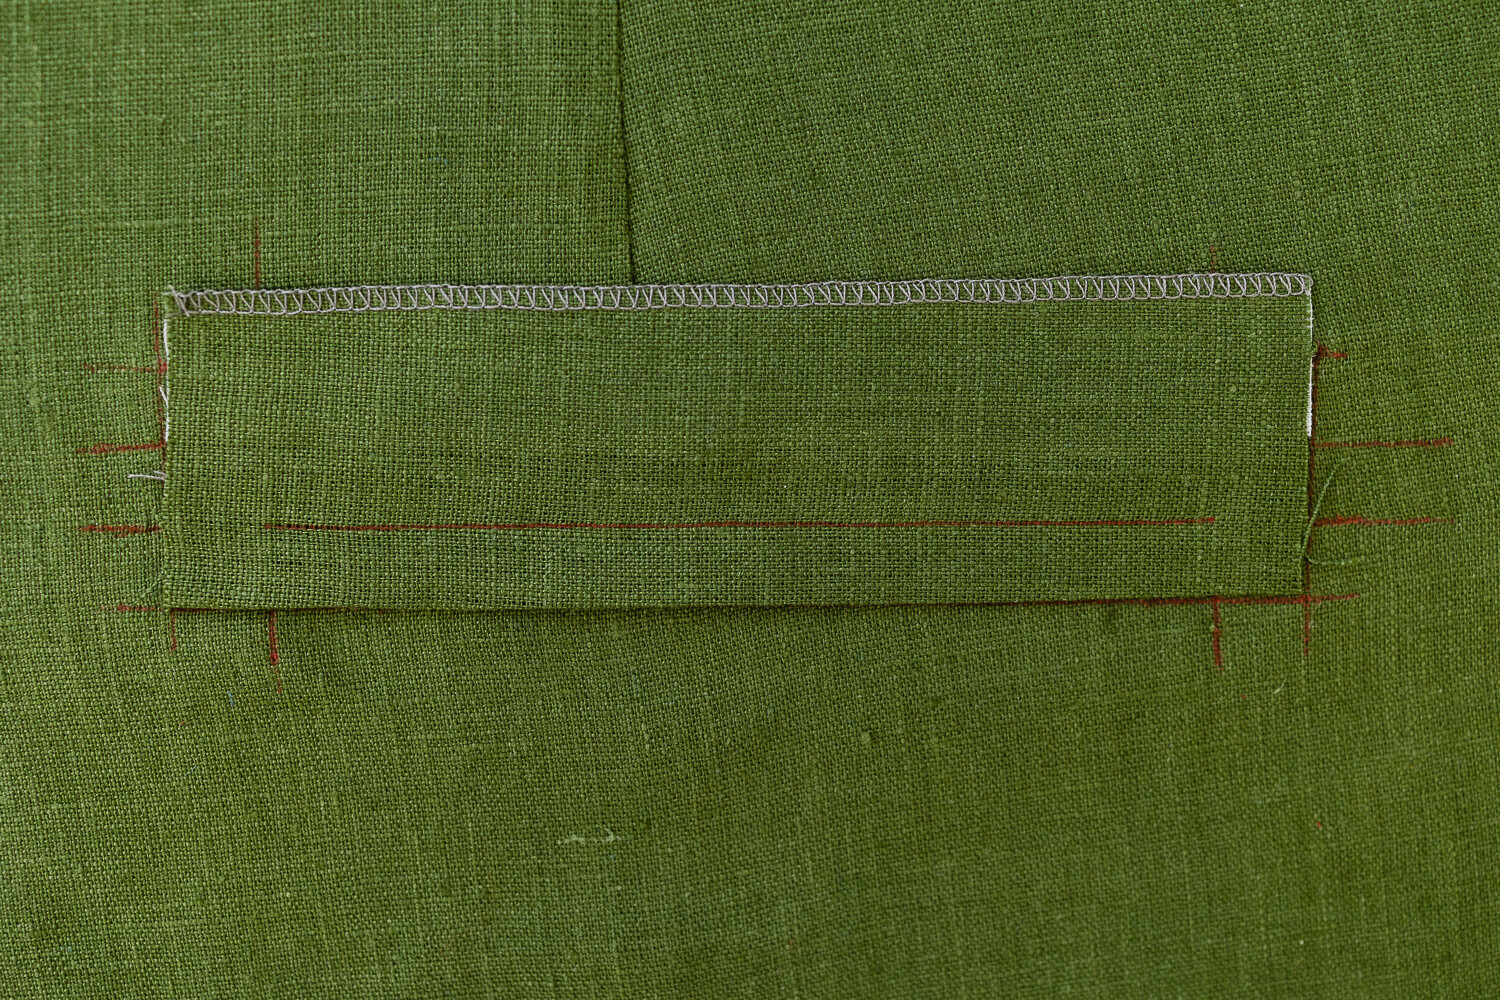
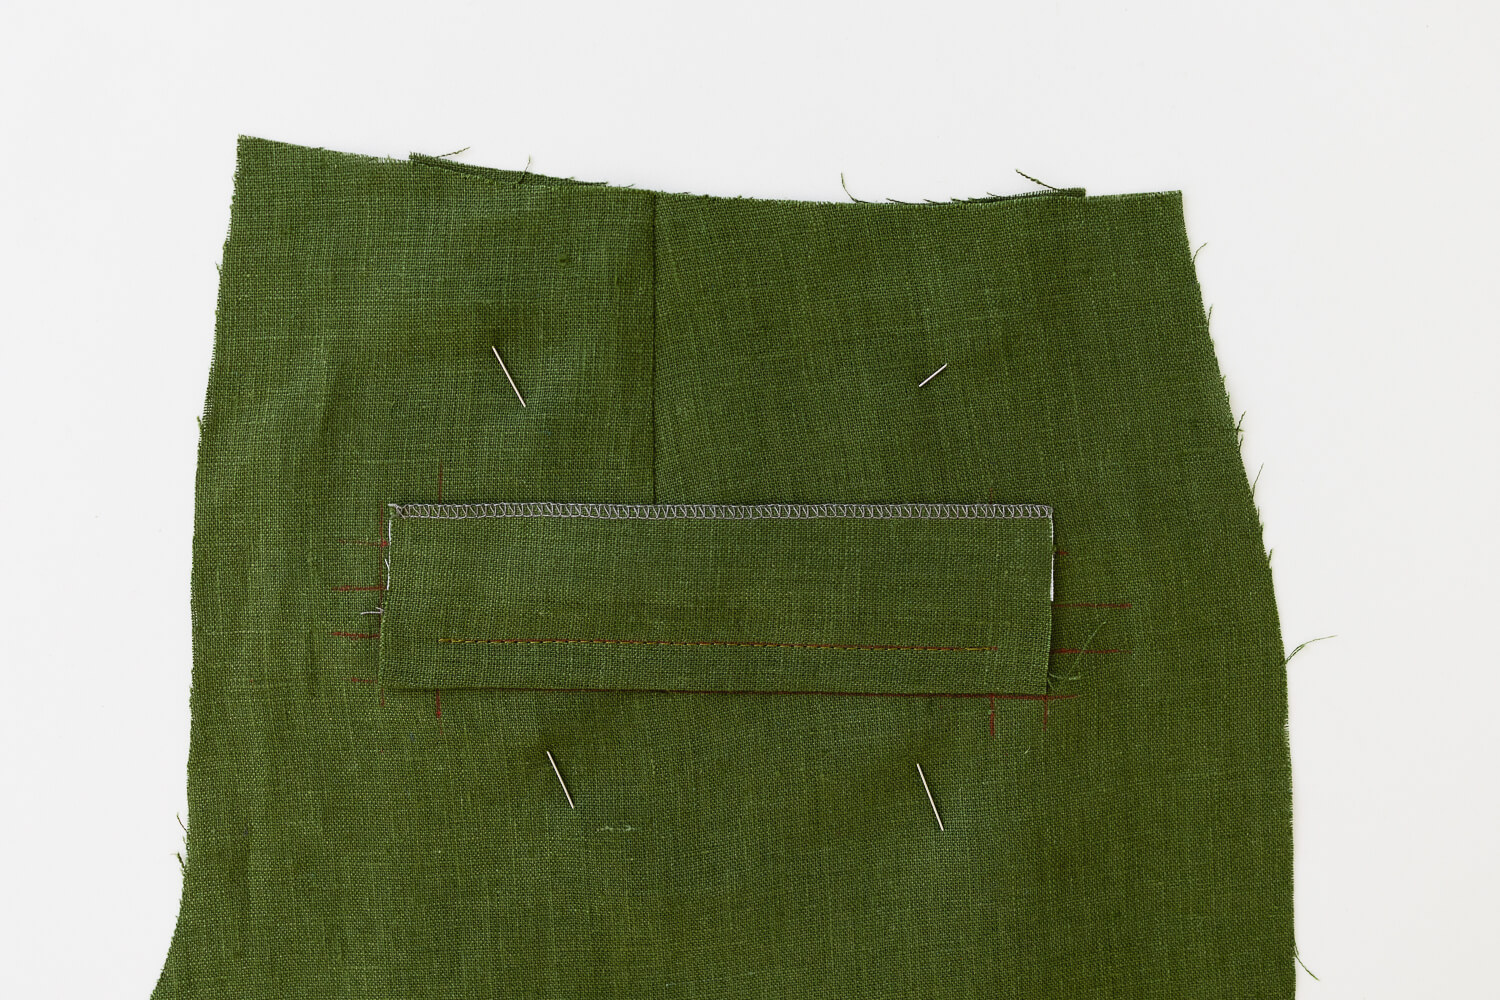
 On the right side of the pants, place the folded edge of the Back Welt (Y) along the bottom pattern marking line.
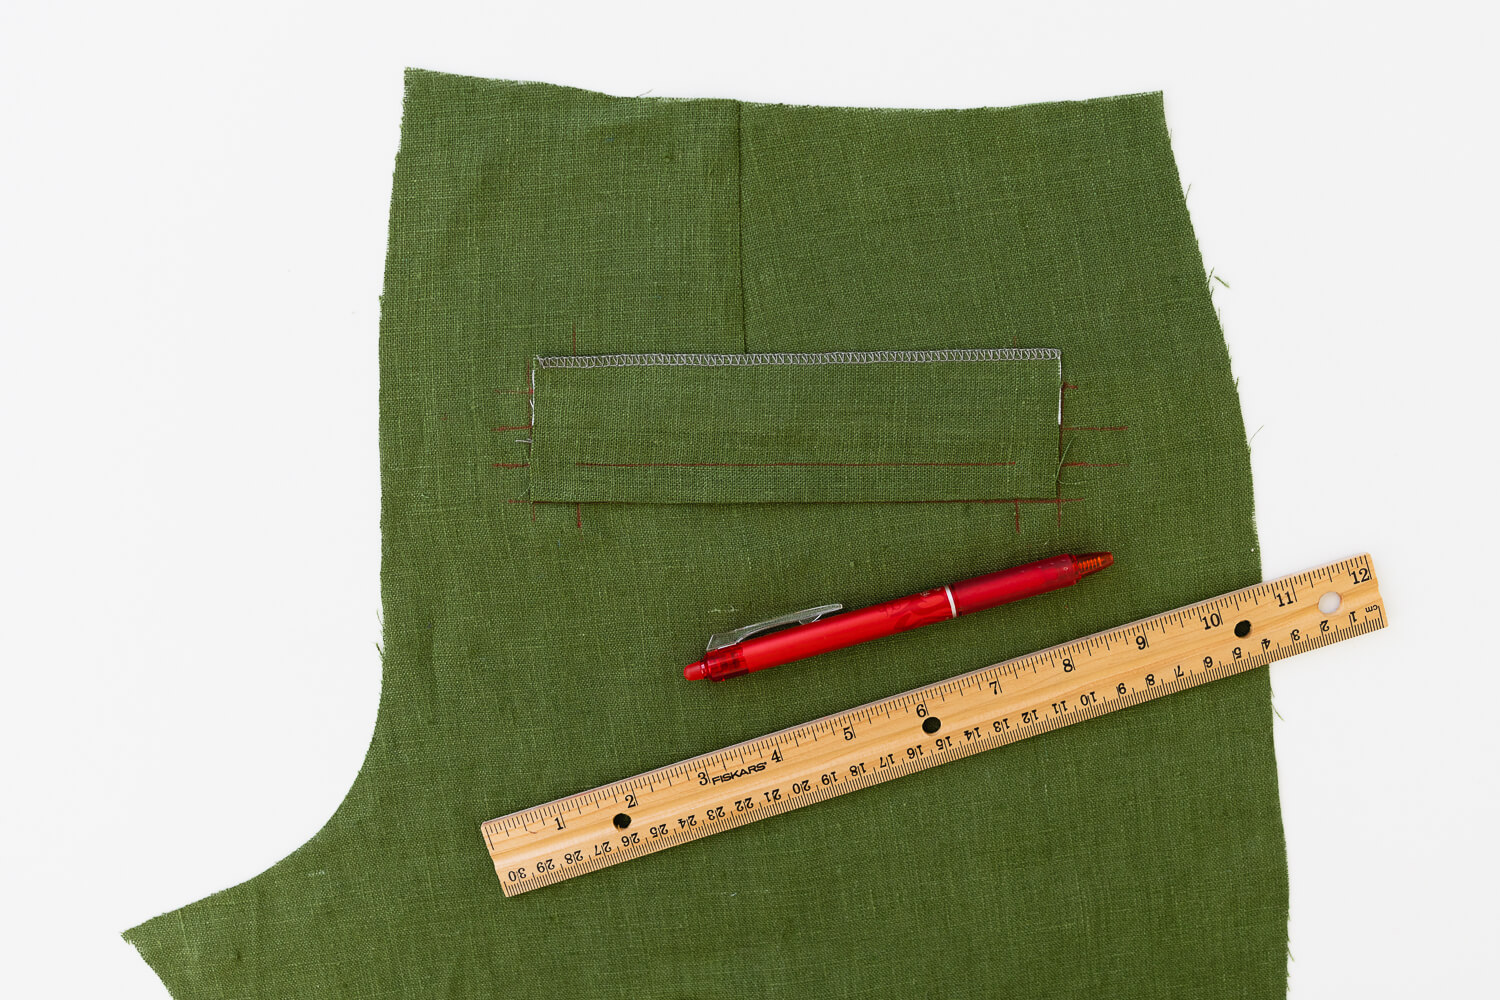
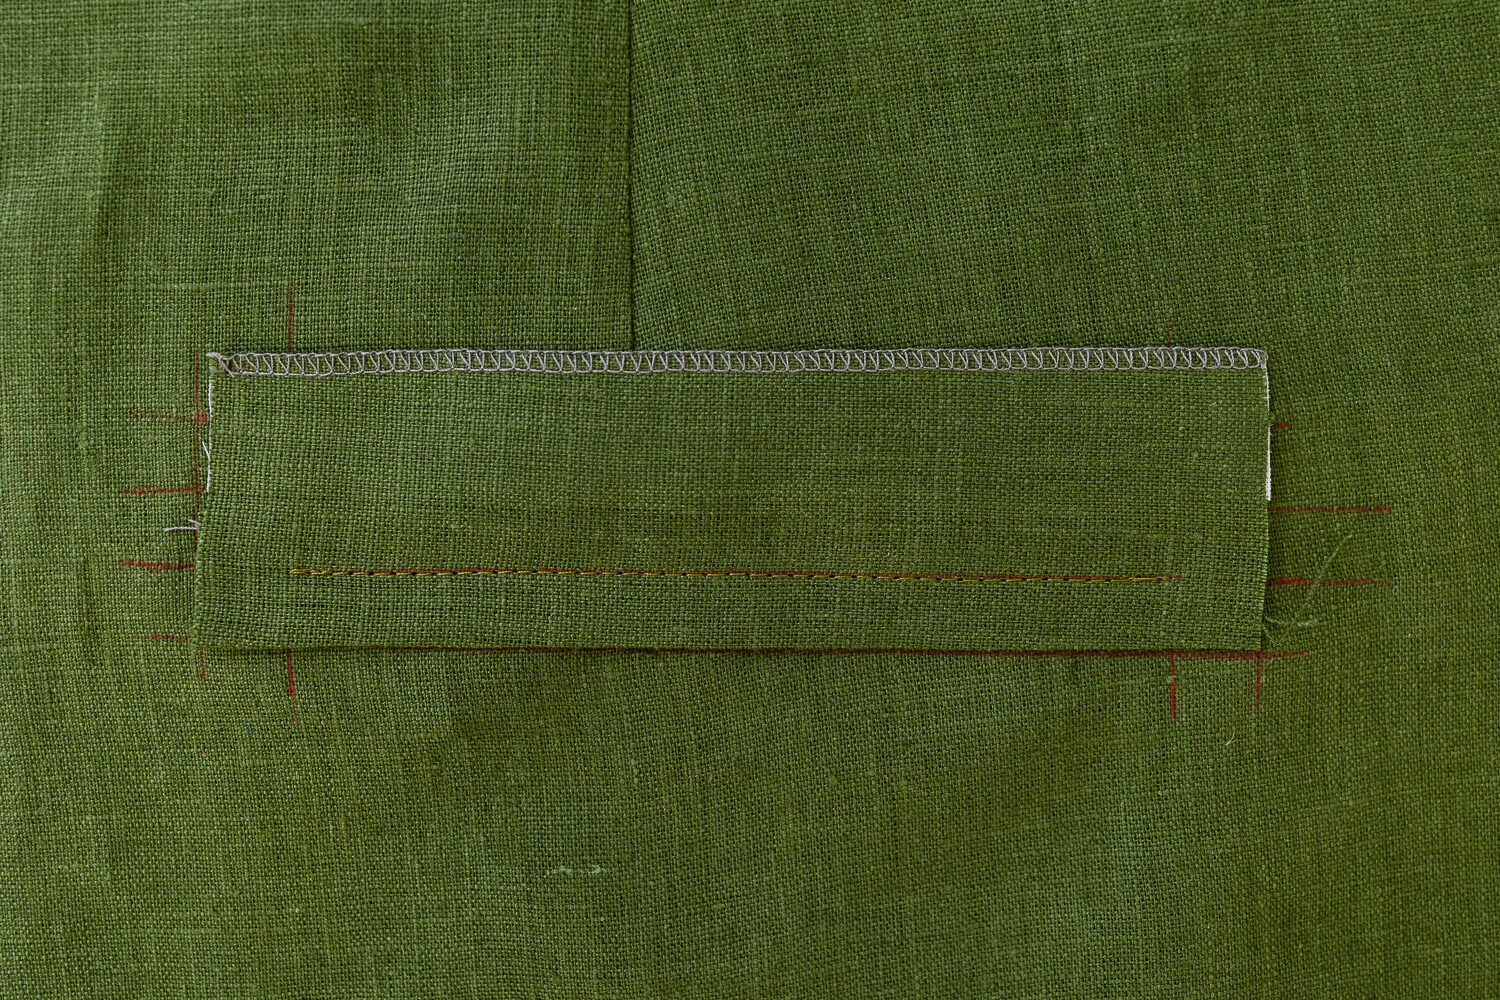
Use a ruler to mark where to stitch since the markings are now covered. The line you’re going to stitch is second from the bottom.
Note: One key to getting crisp welt pockets is to make sure both the top and bottom lines of stitching on the welt start and end on exactly the same vertical line. Since all guidelines underneath are covered up, it’s highly recommended to draw this stitch guide on top.
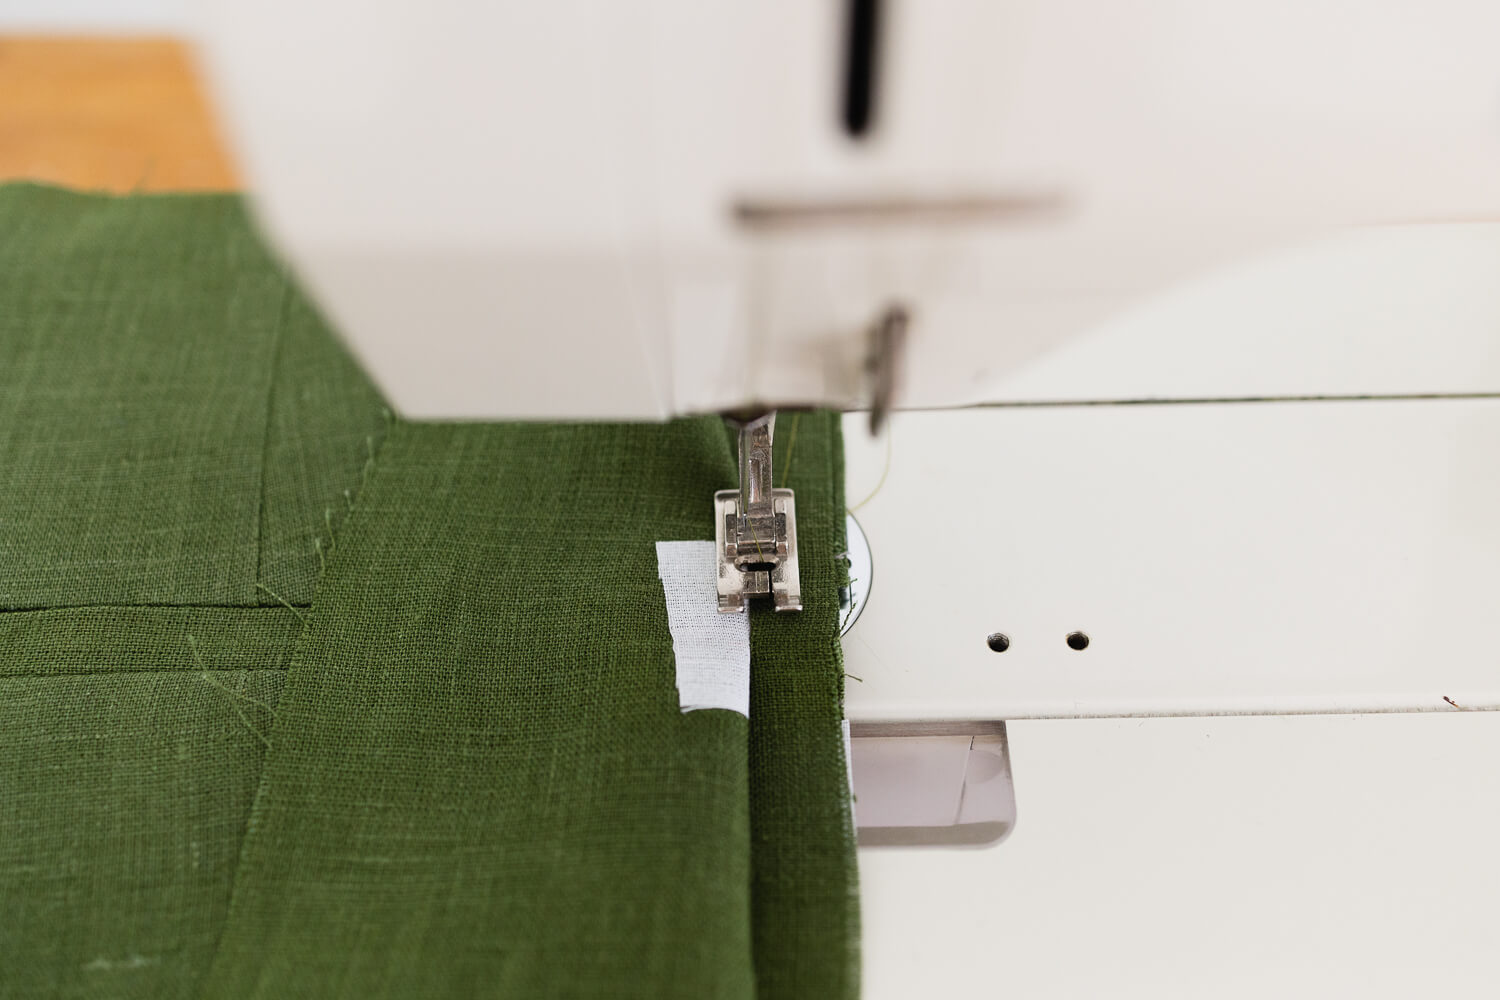
Carefully stitch along the stitch guideline.
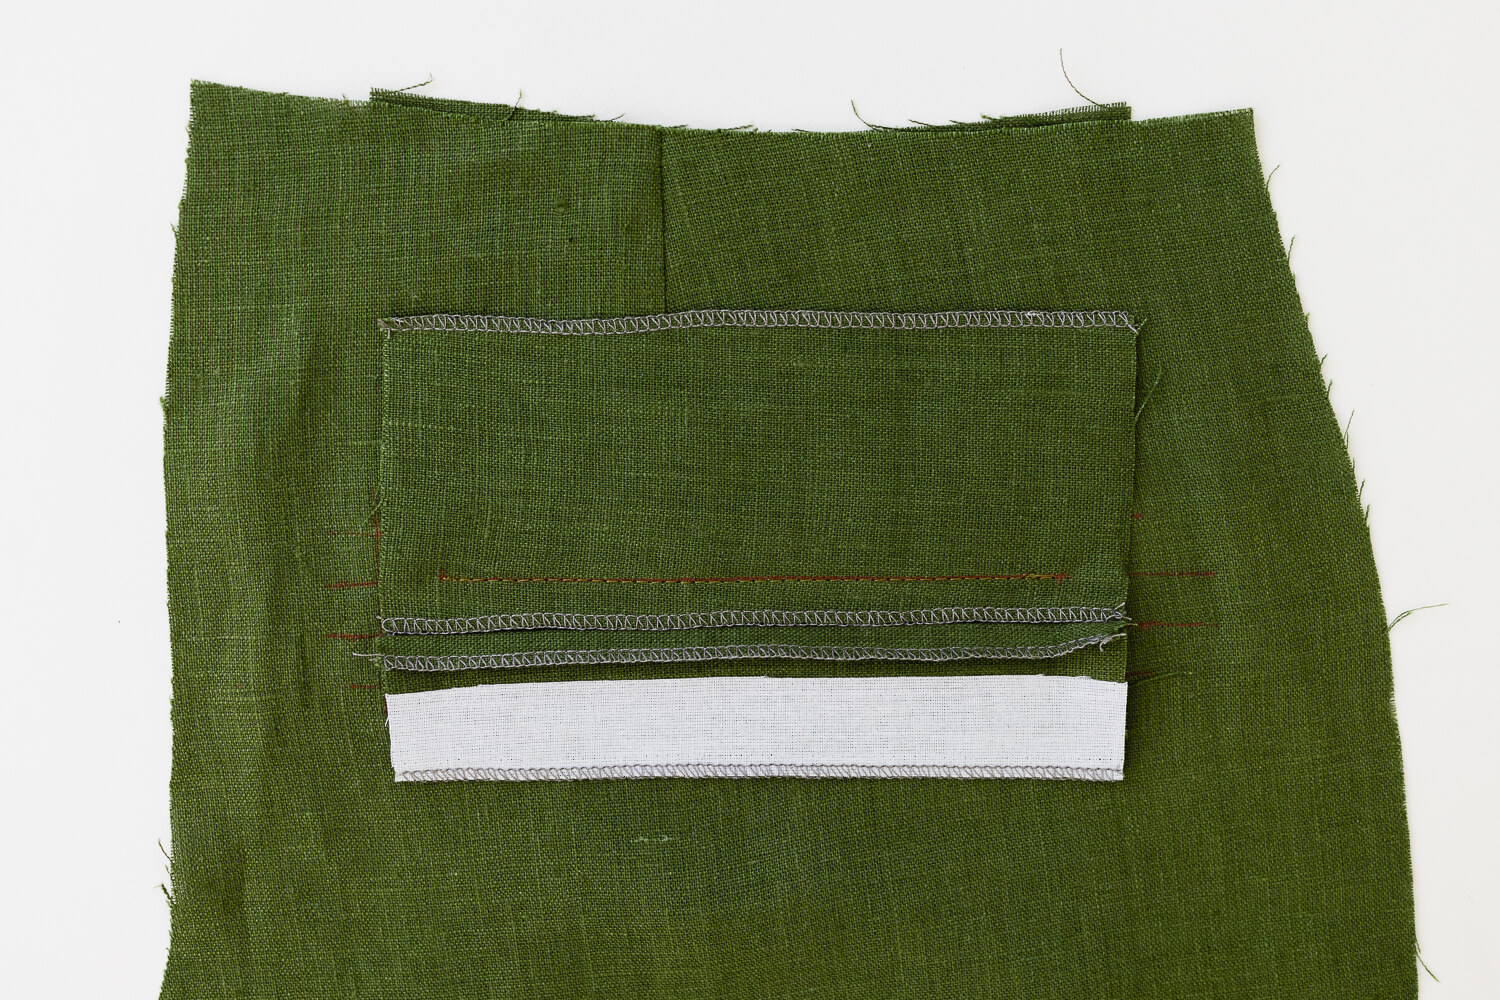
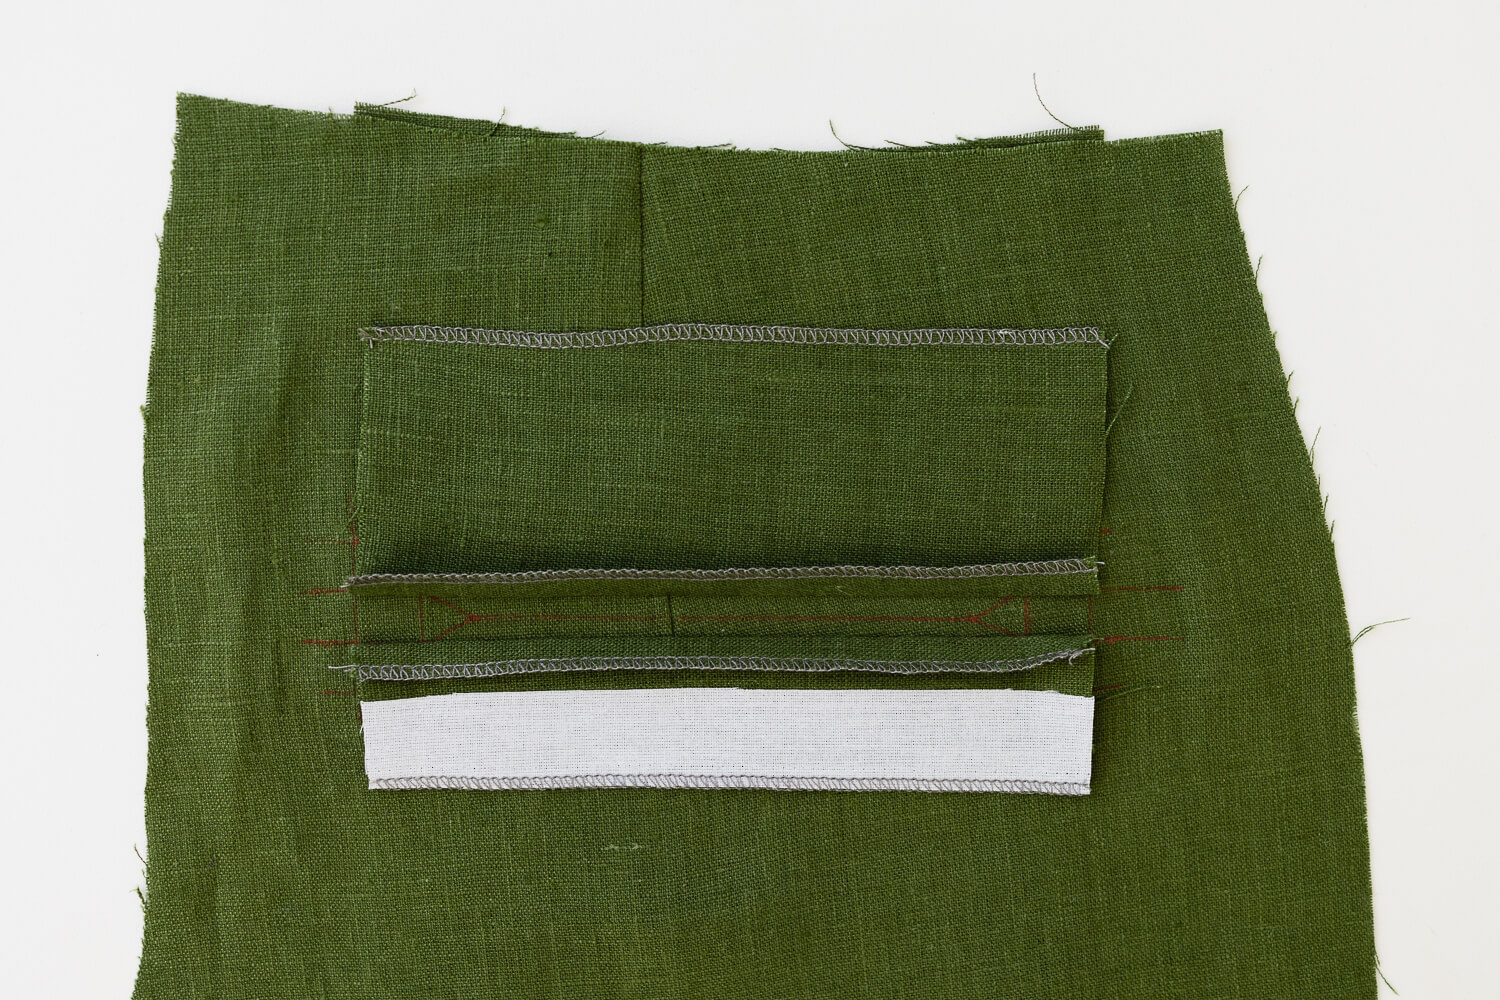
Fold all the fabric of the Back Welt (Y) down and out of the way for now.
 With the right side facing down, place the bottom edge of the Back Pocket Facing (Z) so it abuts the line of stitching just sewn.
Draw a stitch guide along the pattern marking line that is second from the top.
As mentioned before, it’s key to sew these two stitch lines so they start and end on the exact same vertical line. So take extra care to match this stitch guide with the start and stop place of the stitching in the previous step.
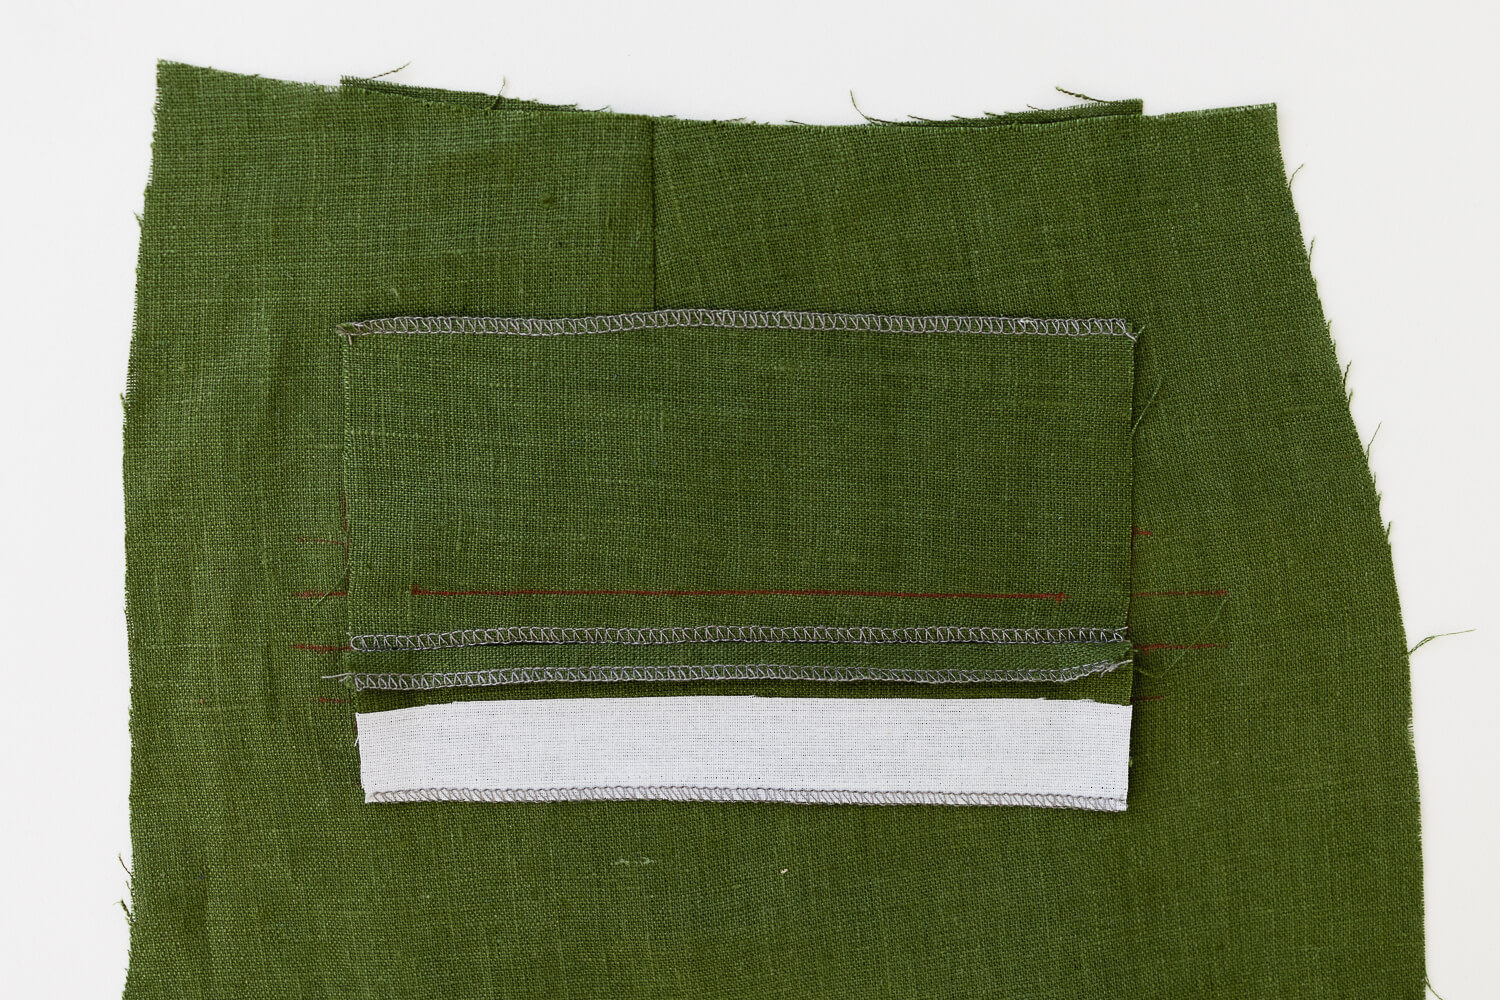 Carefully stitch along the stitch guide.
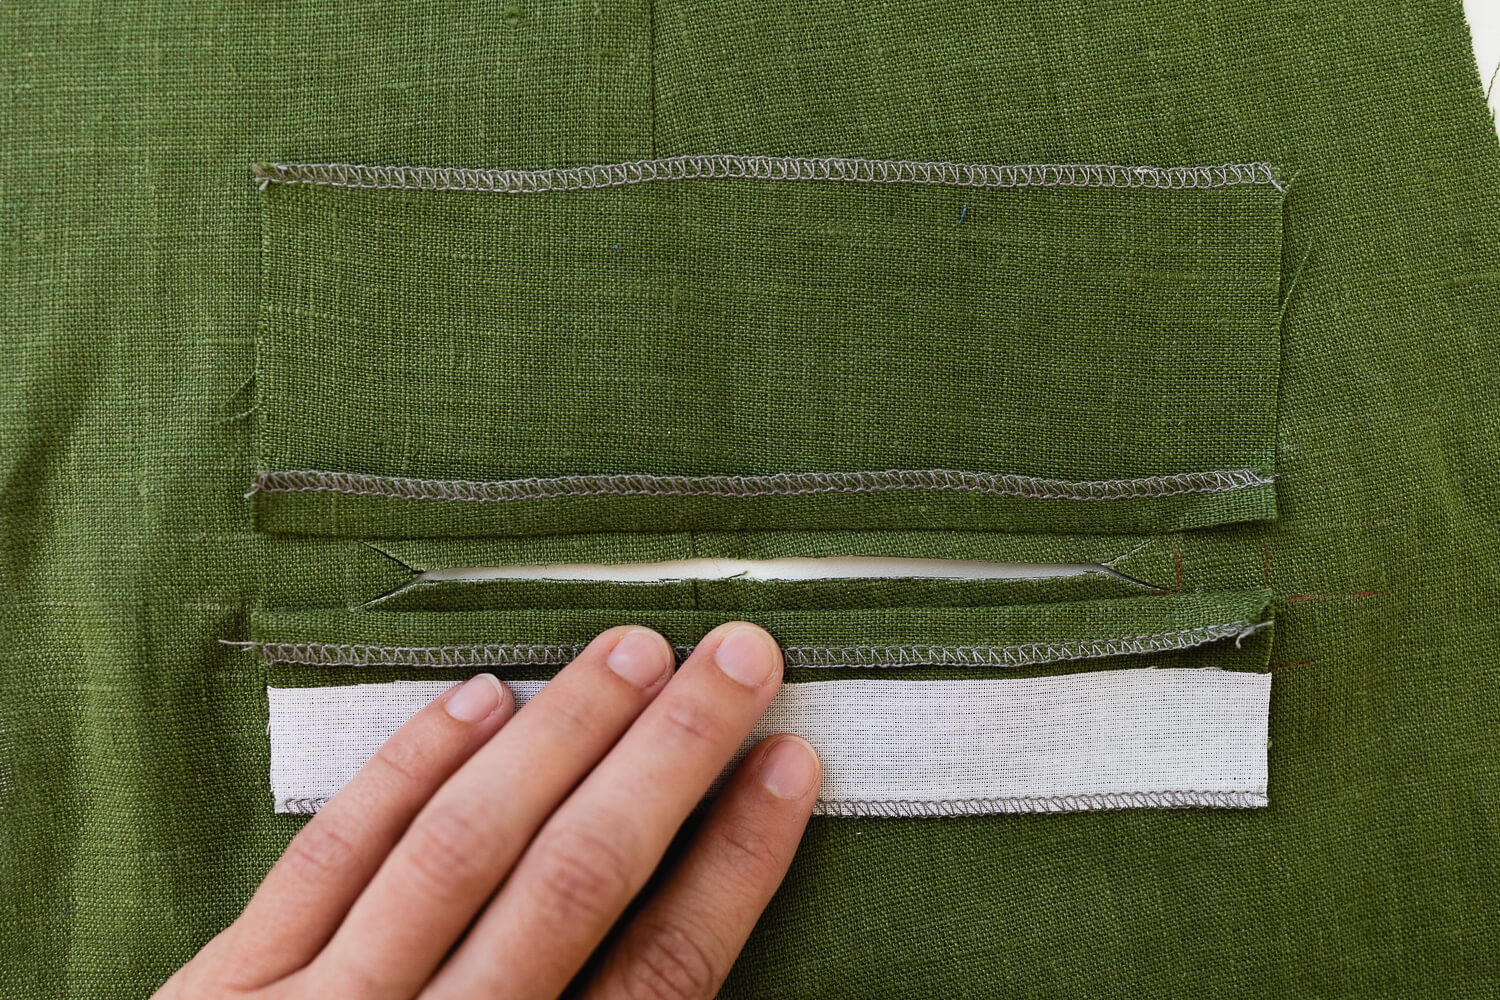
Fold up the bottom edge. The pattern marking cut lines should be visible underneath.
Carefully cut along the cut guide. The cut should go through the pants and through the Back Pocket (X).
Note: Another key to getting crisp welt pockets is to carefully snip the corners of the opening to the very tips of the top and bottom lines of stitching. Cut right to the tip but be careful to not cut through the stitching.
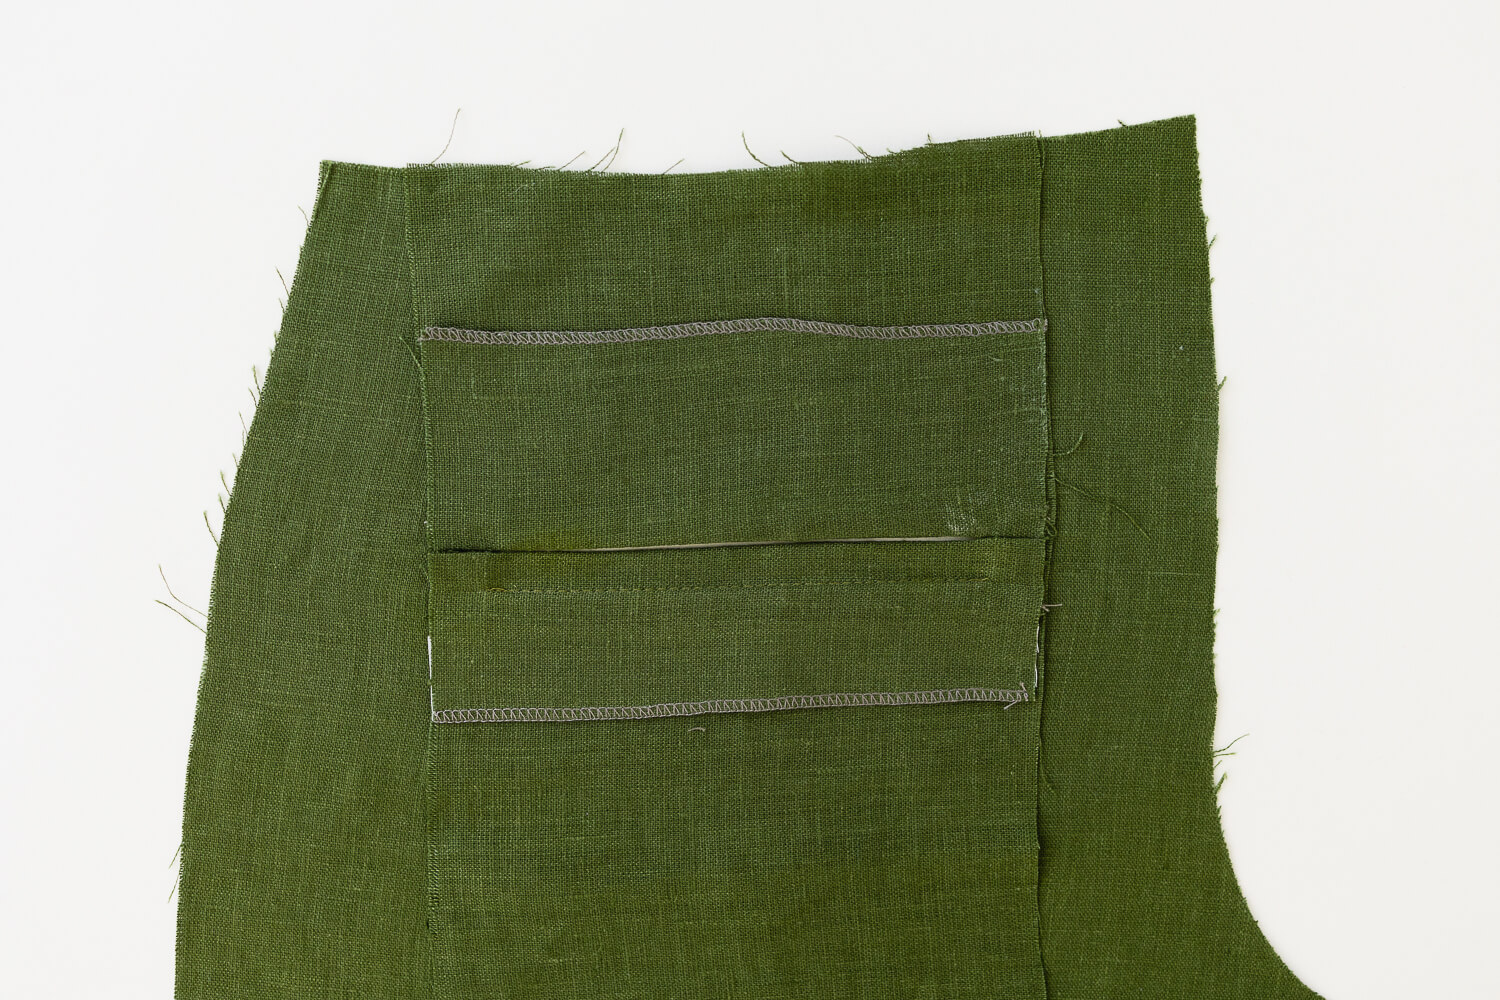
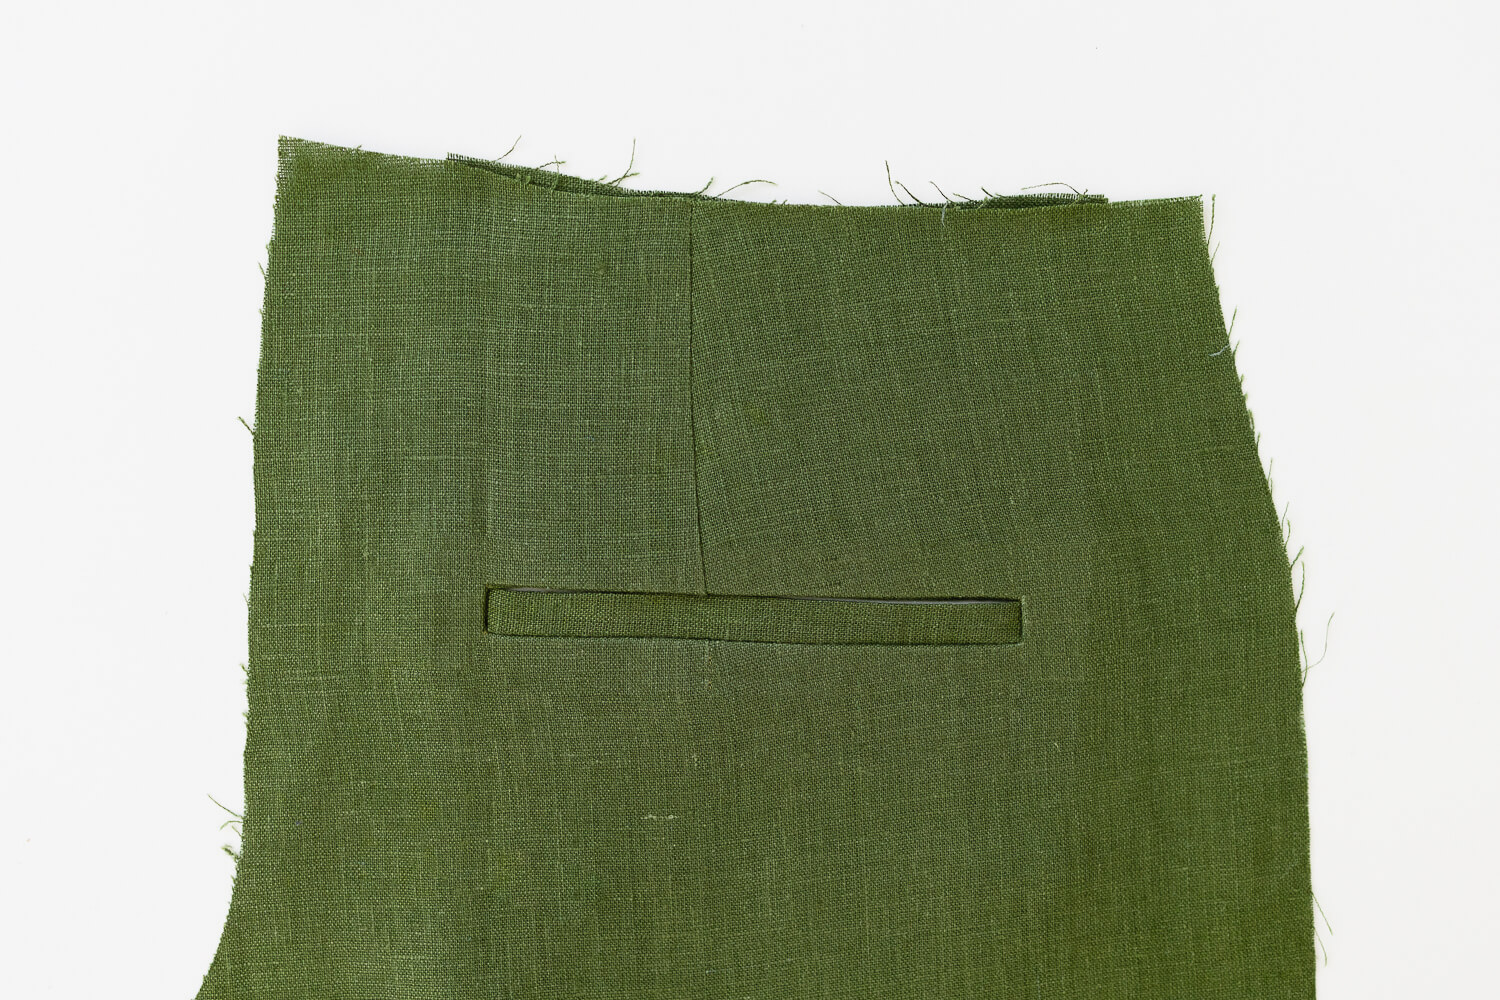
Fold both pieces to the wrong side of the pants. Press.
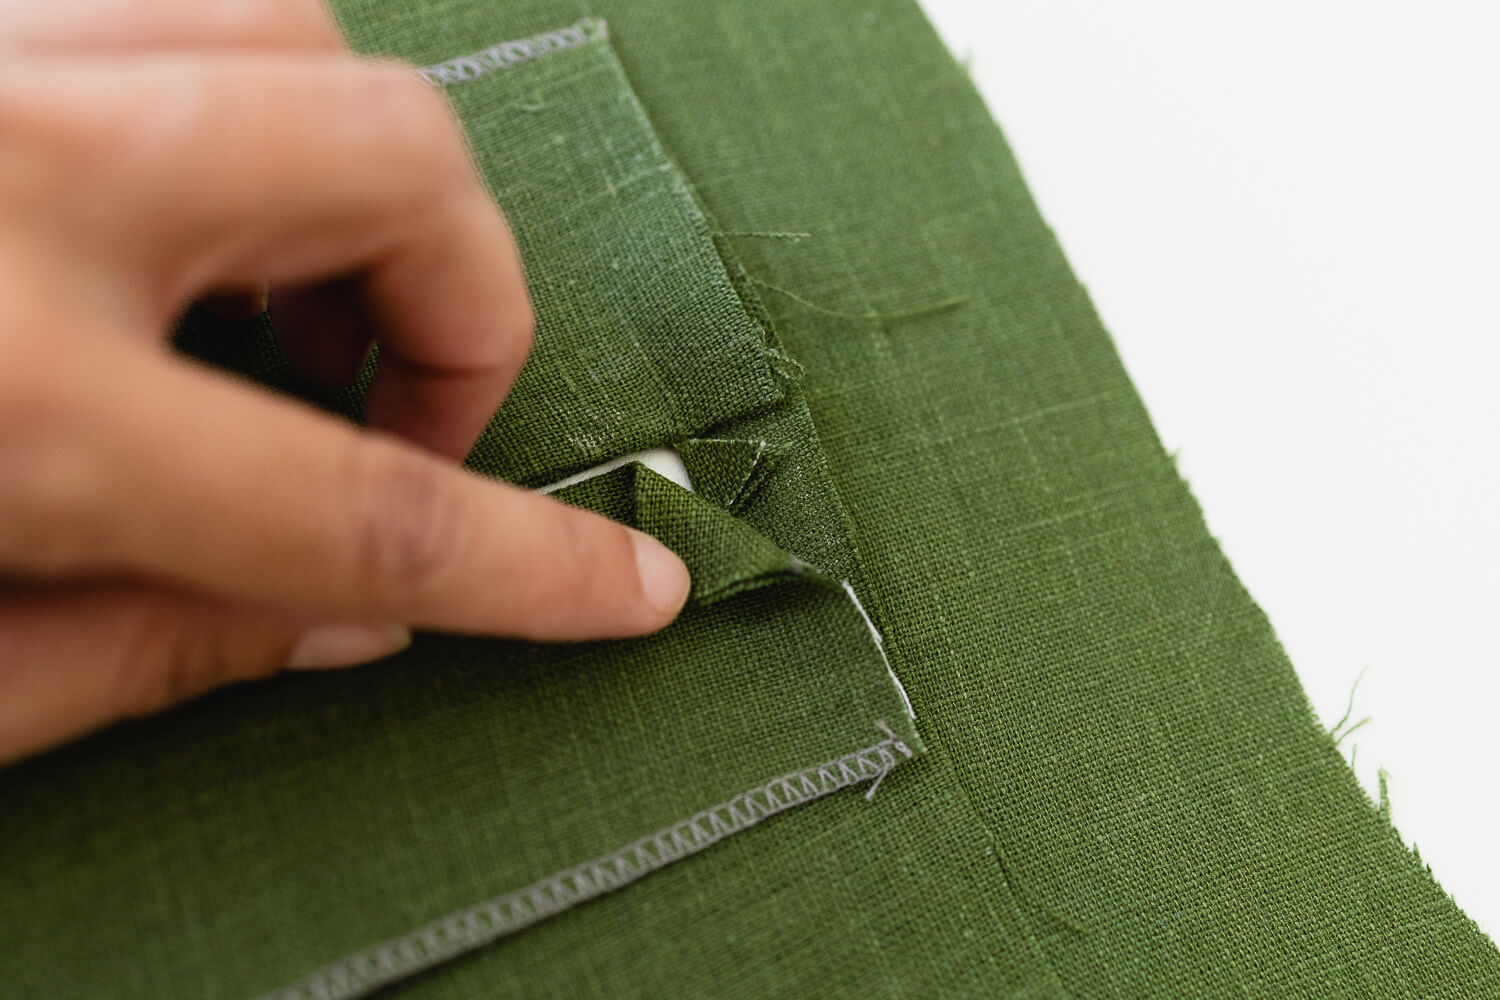
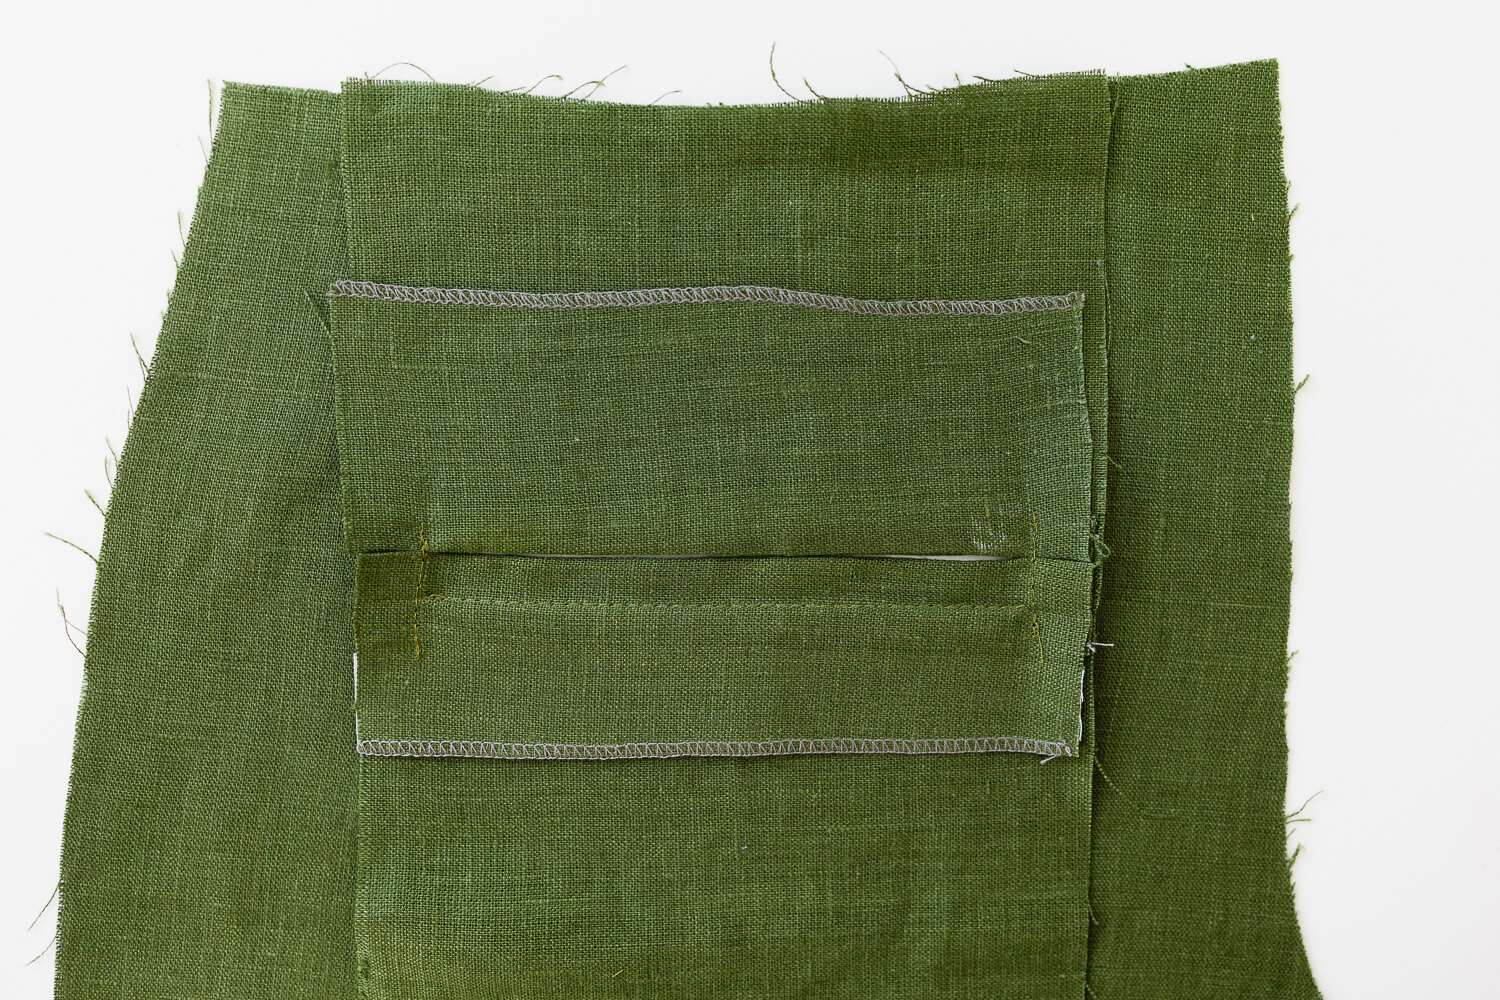
The final step is to secure the little triangle of fabric along the sides of the welt.
With the pants facing right side up, fold the Back Pant (R) layer out of the way. Carefully stitch as closely as possible to the folded edge, but not on top of the folded edge.
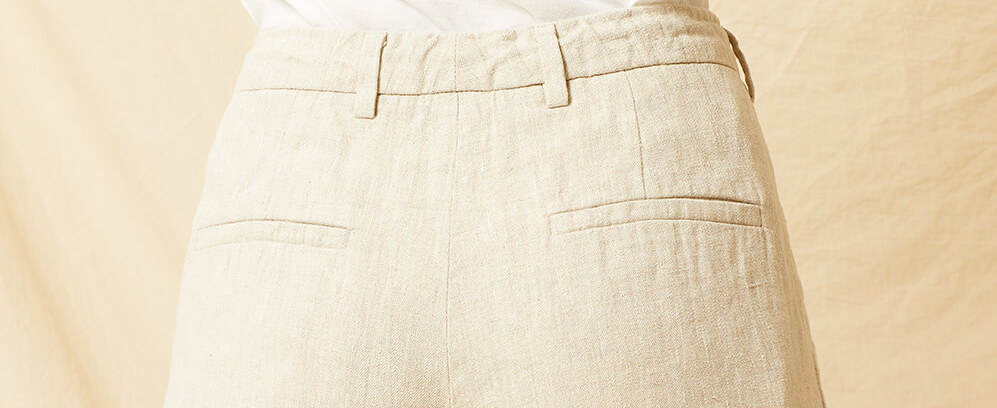
That’s it for the tricky bits! Finish the rest of the welt pocket following the instructions on page 63.







One Comment
Kelly Singh
Thank you for this. I’ve struggled mightily with welt pockets application. This gives me courage to give it another try.