Tutorial: How to Sew the Cameron Placket
This tutorial is to support the neckline placket instructions in the Cameron Pattern booklet found on pages 27-35.
This tutorial uses dark blue thread to clearly show stitching. Be sure to use matching thread when sewing your Cameron.
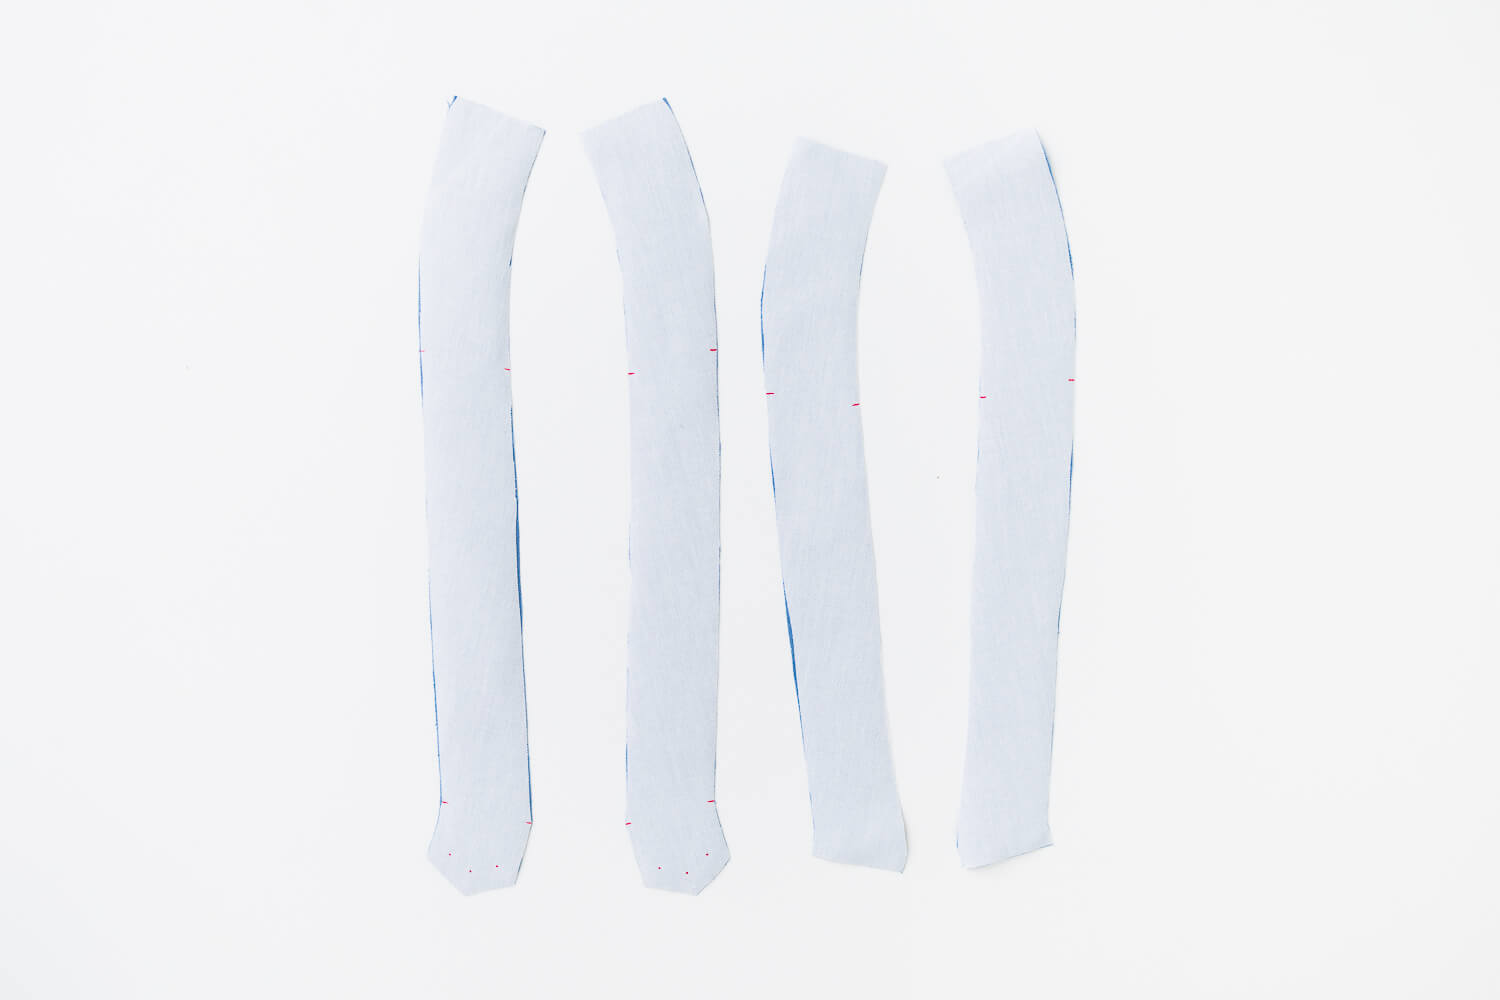
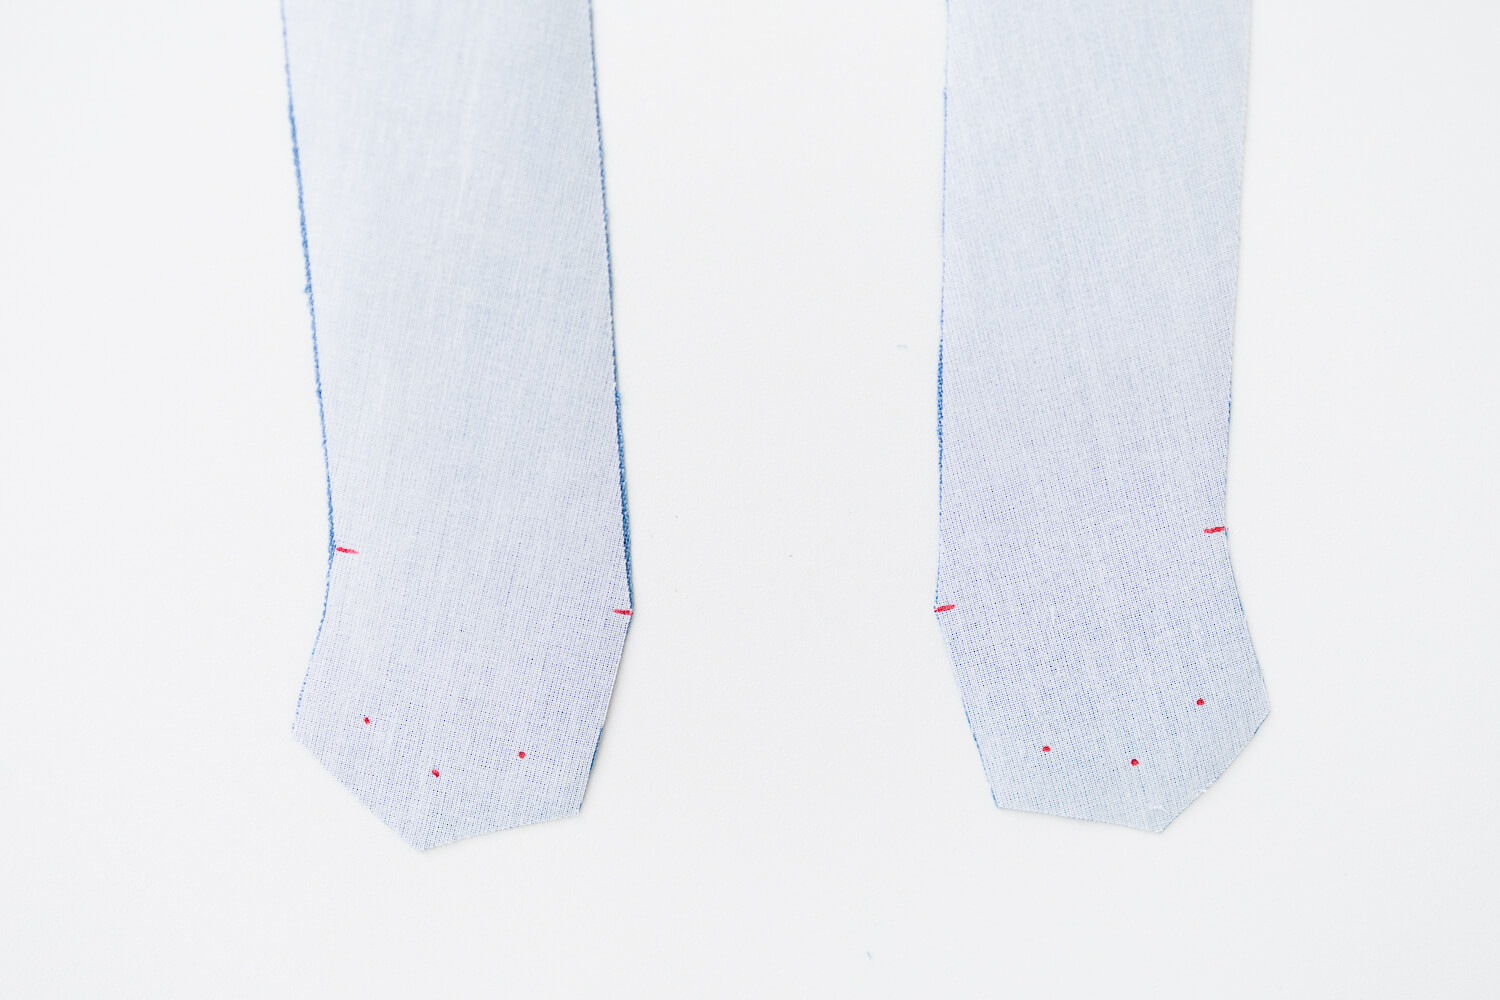
To get started, make sure the interfacing is applied to the wrong side of all four neck placket pieces and the pattern markings are transferred to the fabric.
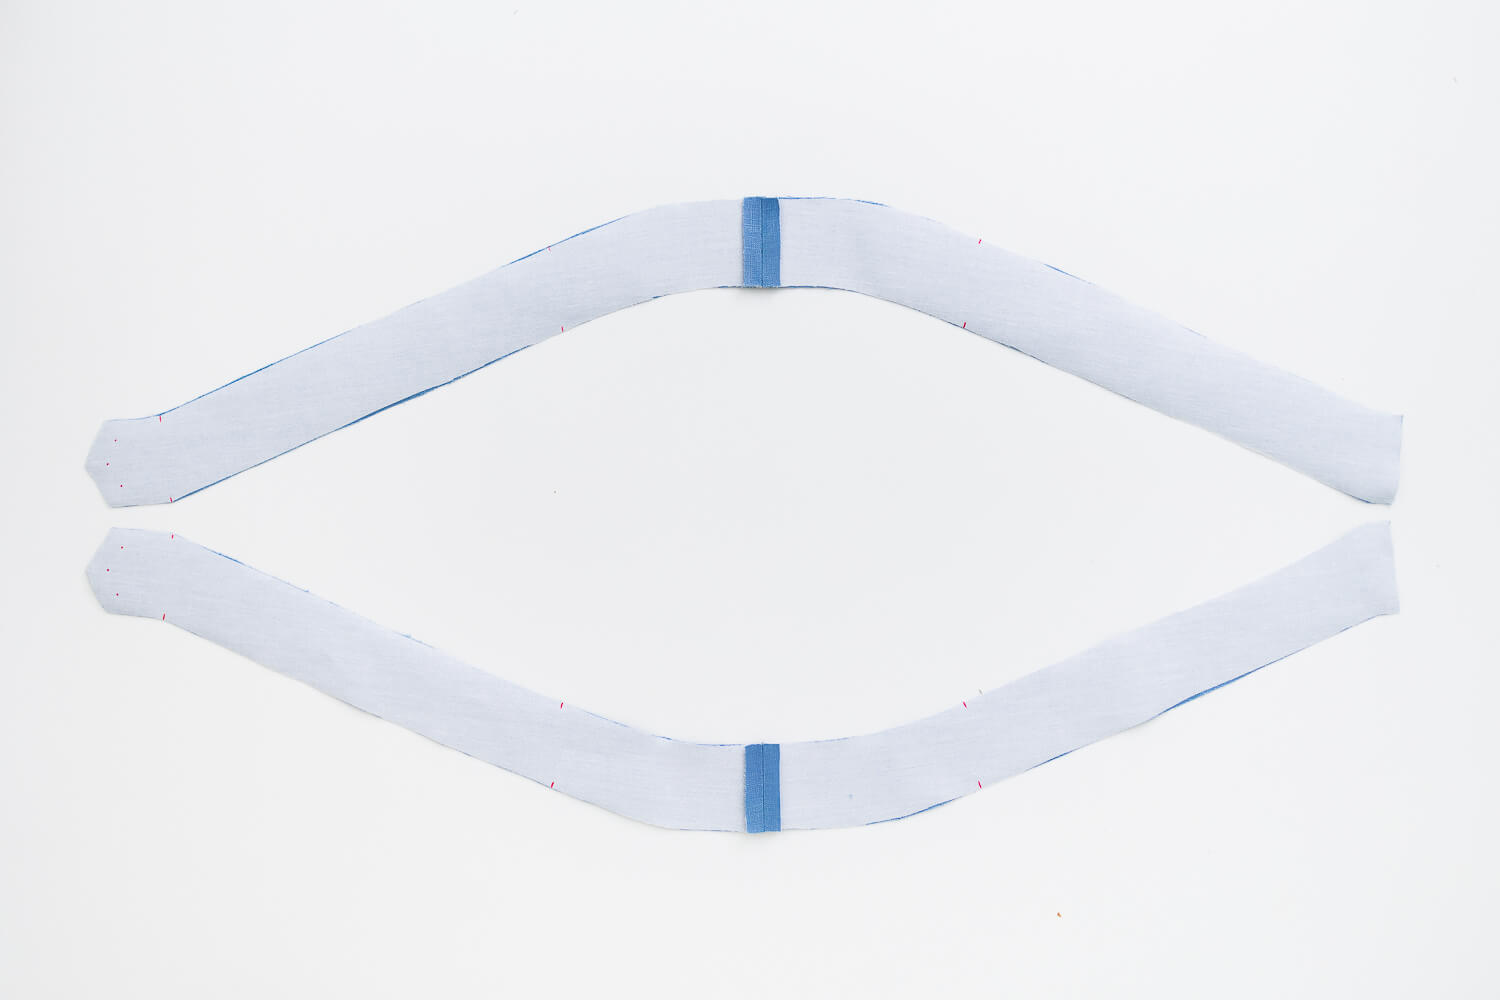
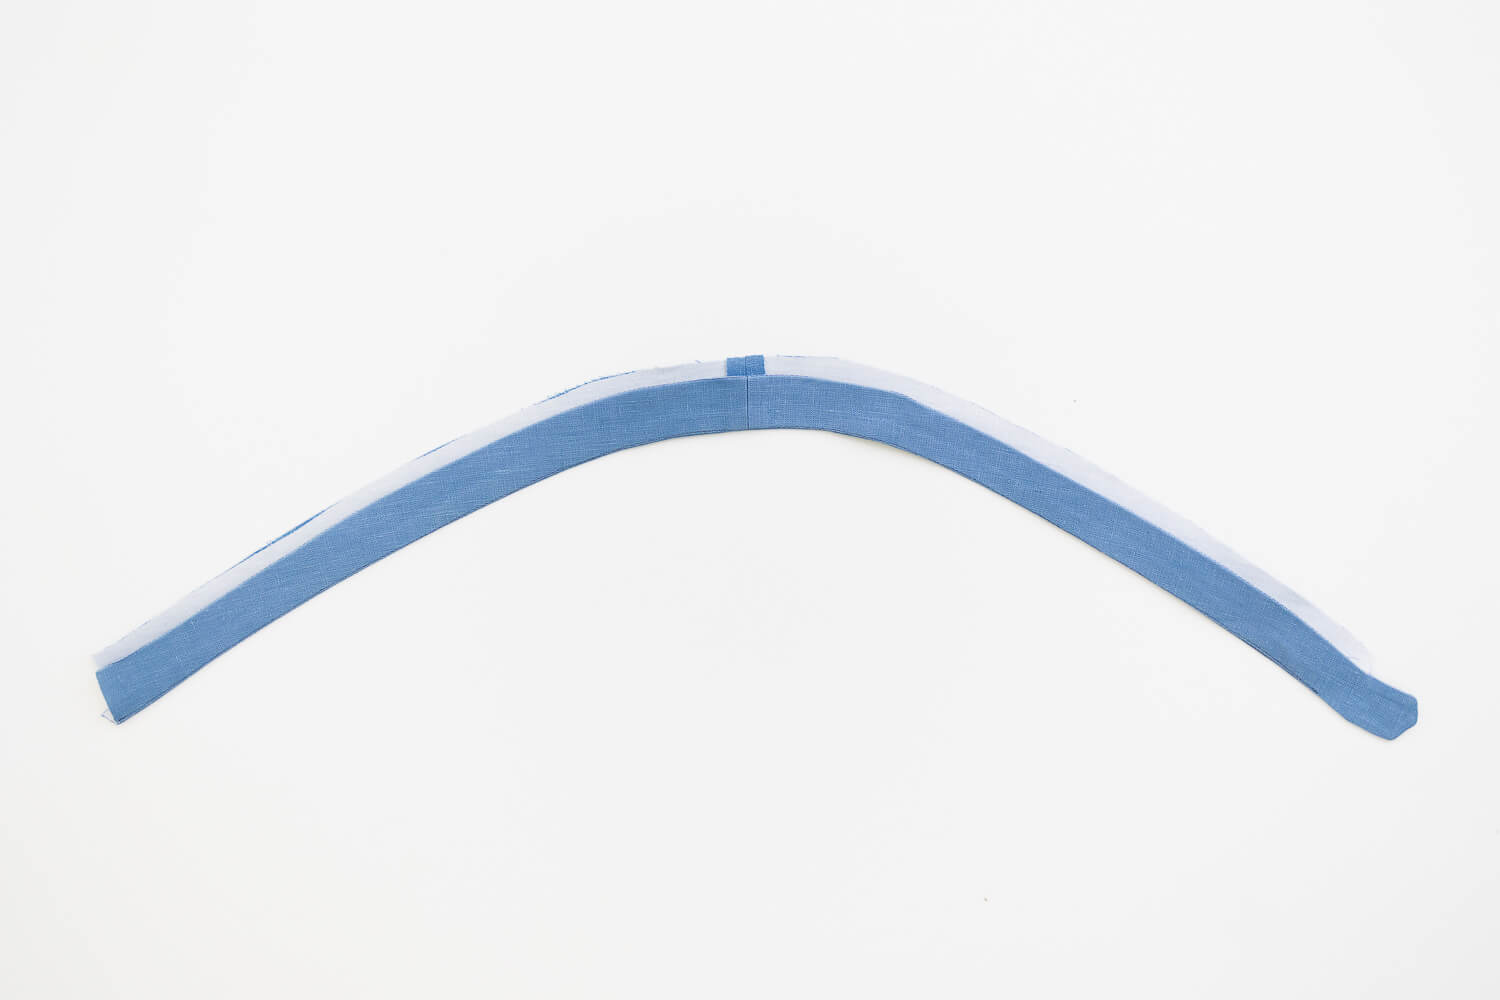
Sew each Right Neck Placket to their respective Left Neck Placket with right sides together. 1/2” seam allowance. Press seams open.
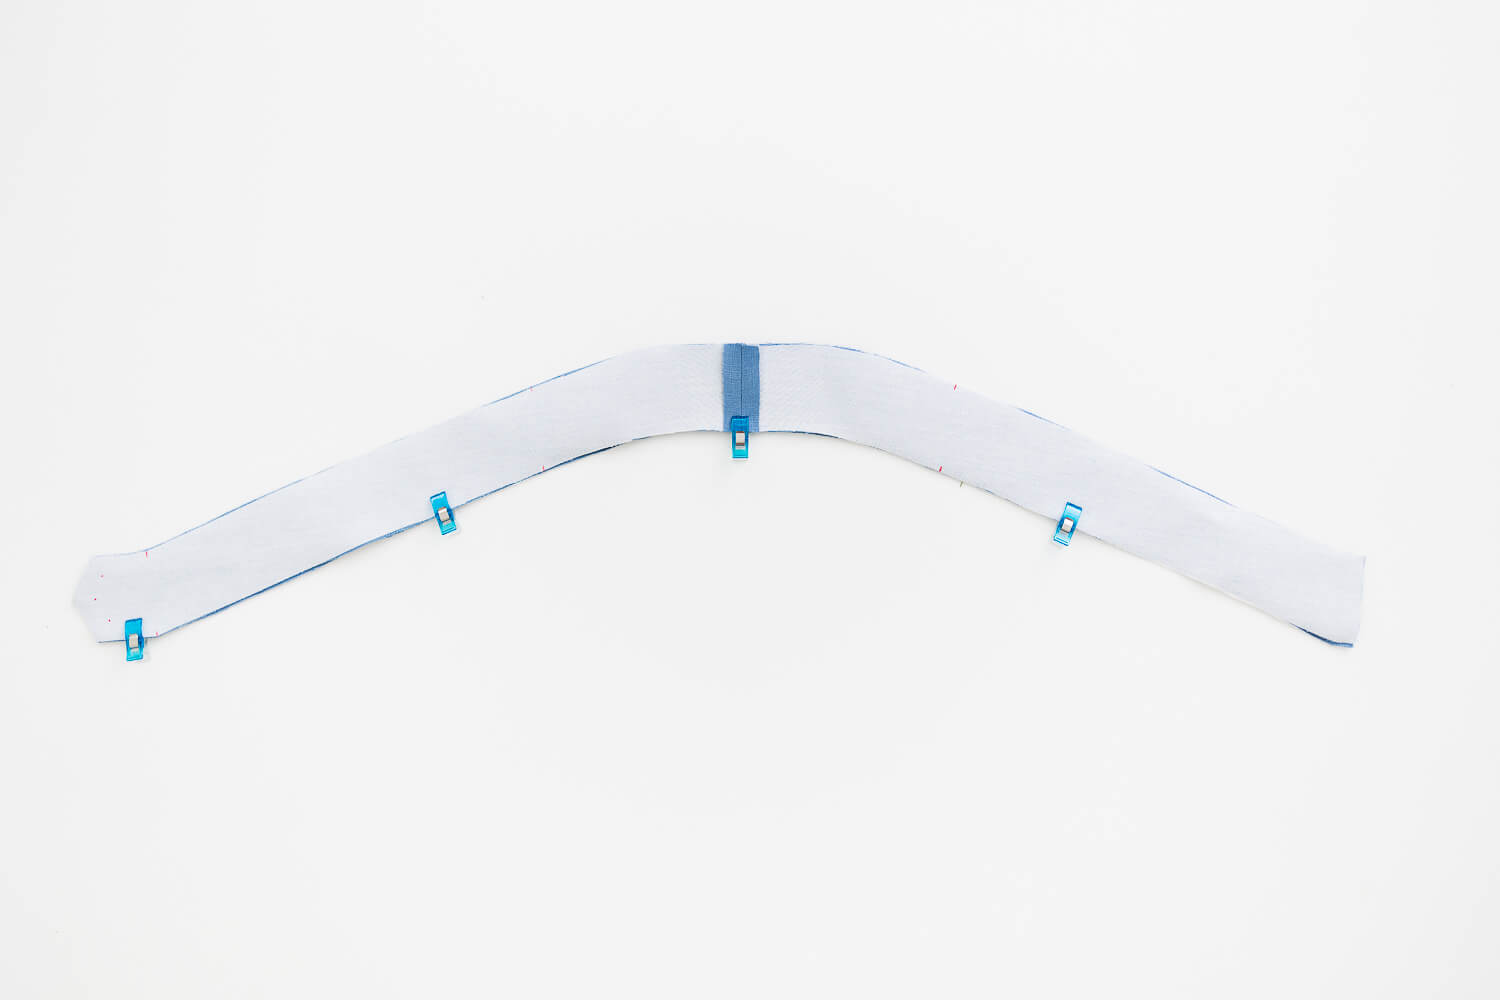
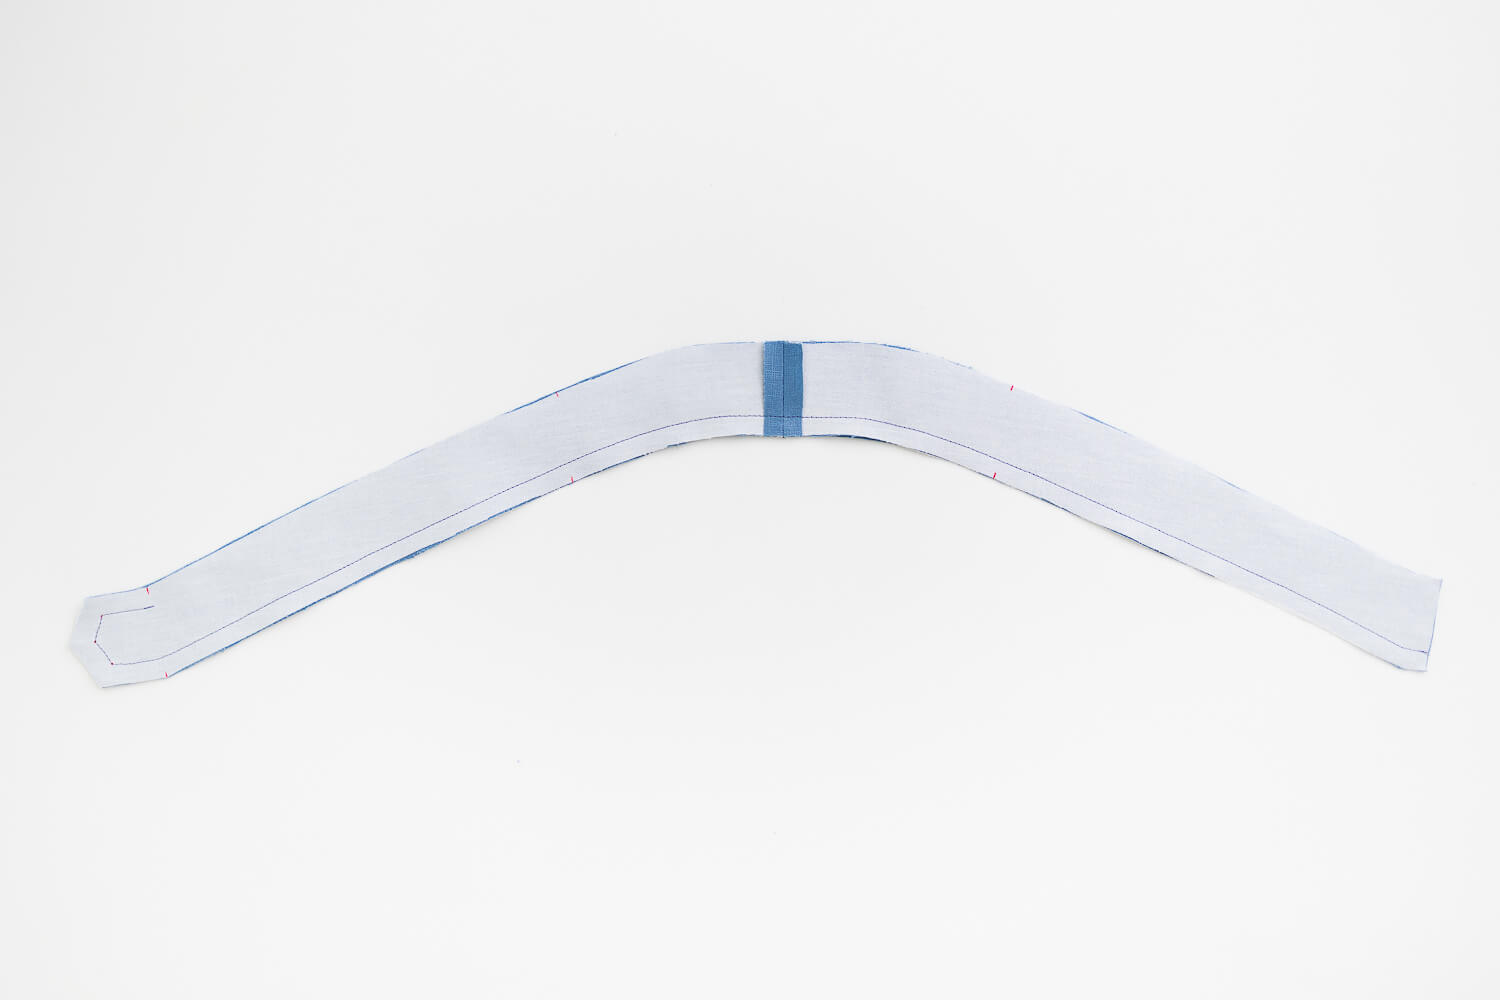
Place the two assembled neck plackets right sides together and clip or pin in place along the inside curve.
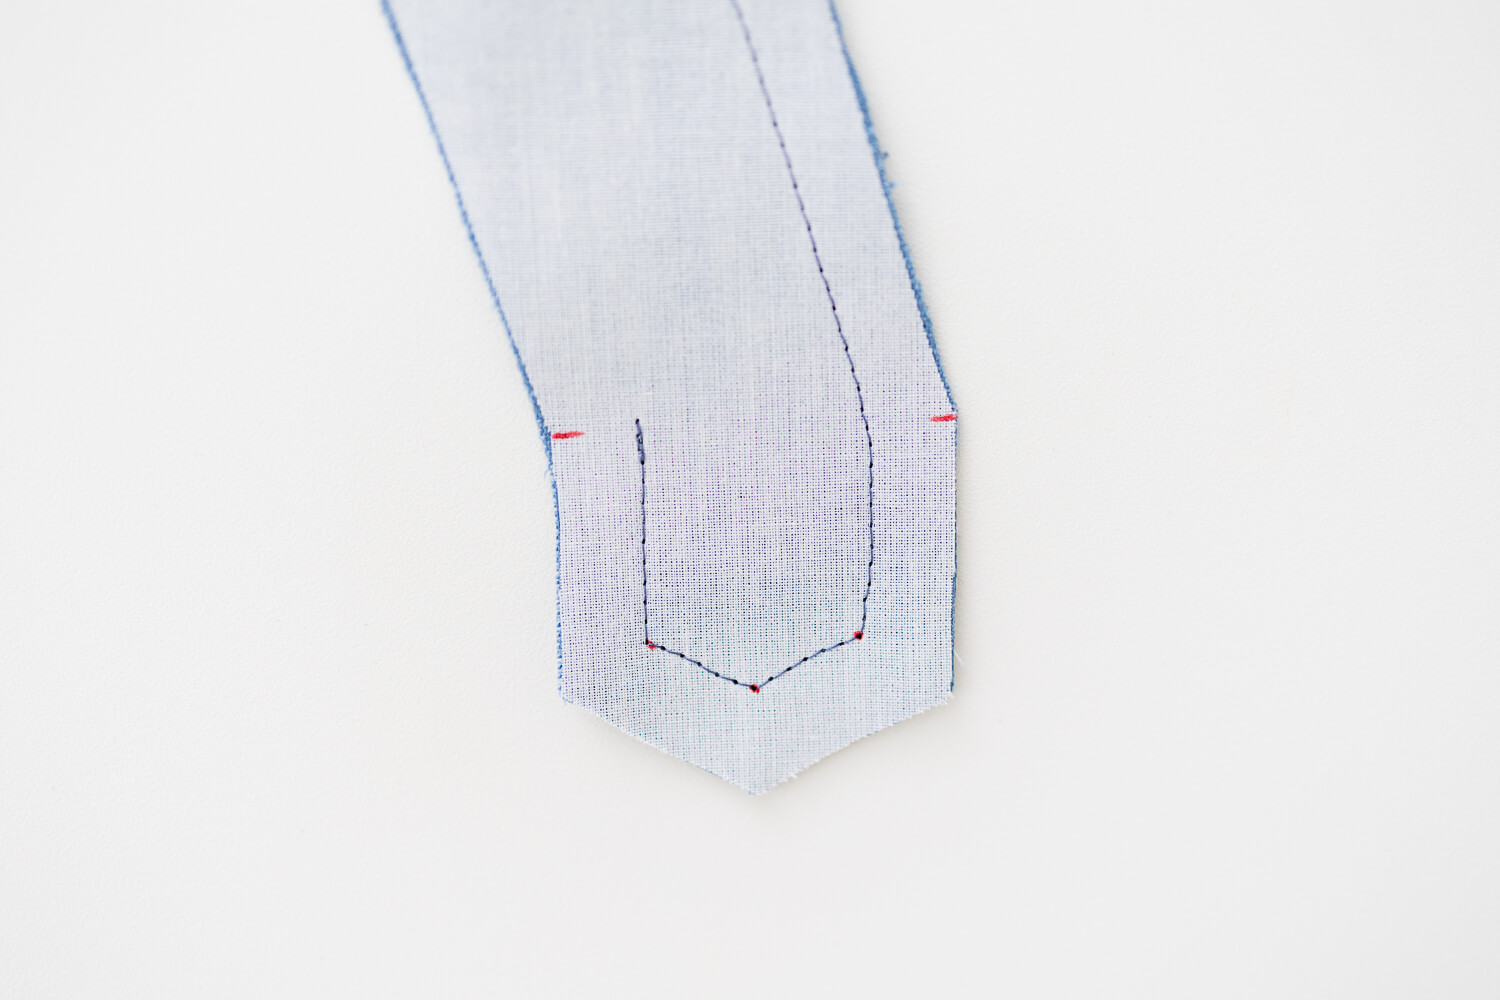
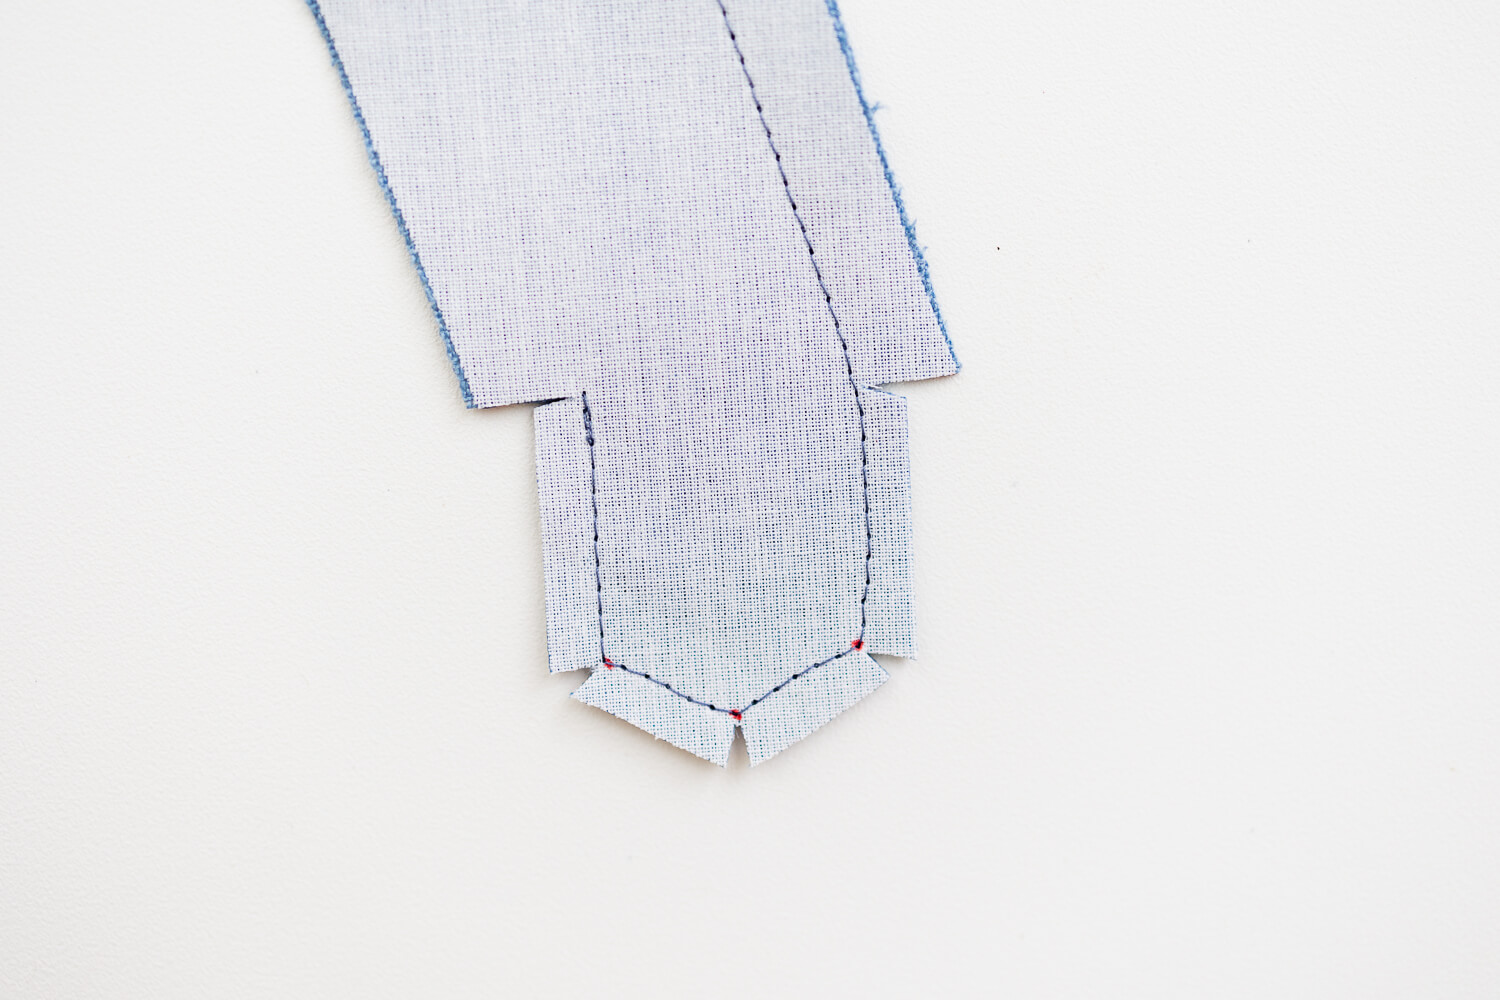
Sew the inner curve with 1/2” seam allowance. At the tabbed end, sew all the way around and stop at the outer notch. Be sure to make sharp pivots around the pattern markings in the placket tab. To make a sharp pivot, leave the needle in the fabric, lift up the presser foot and rotate fabric.
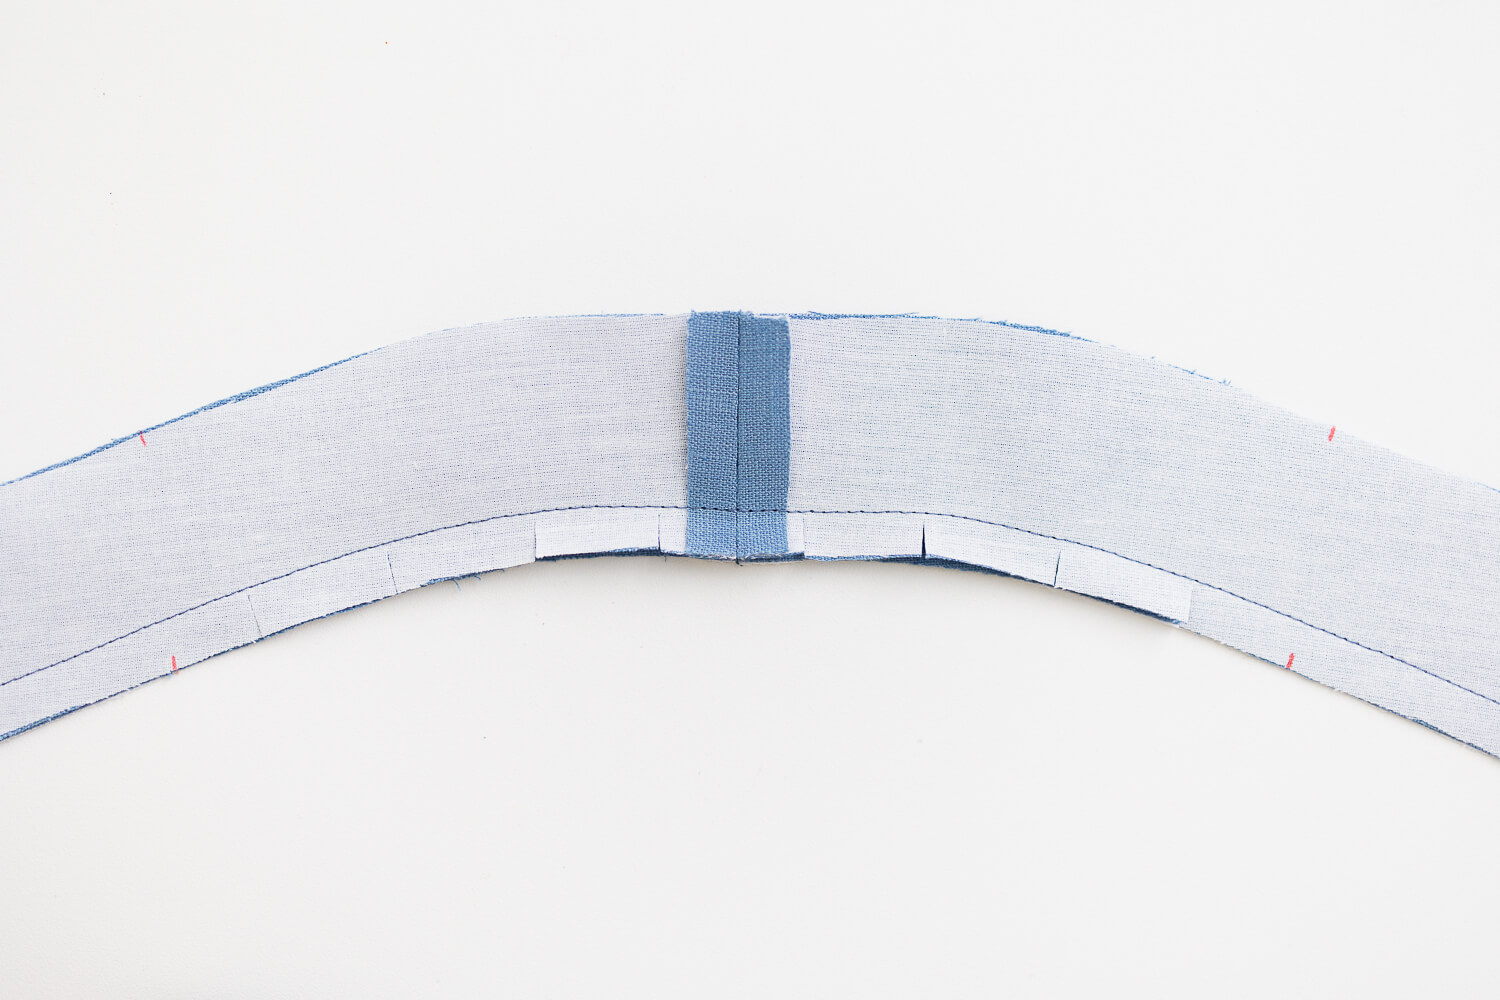
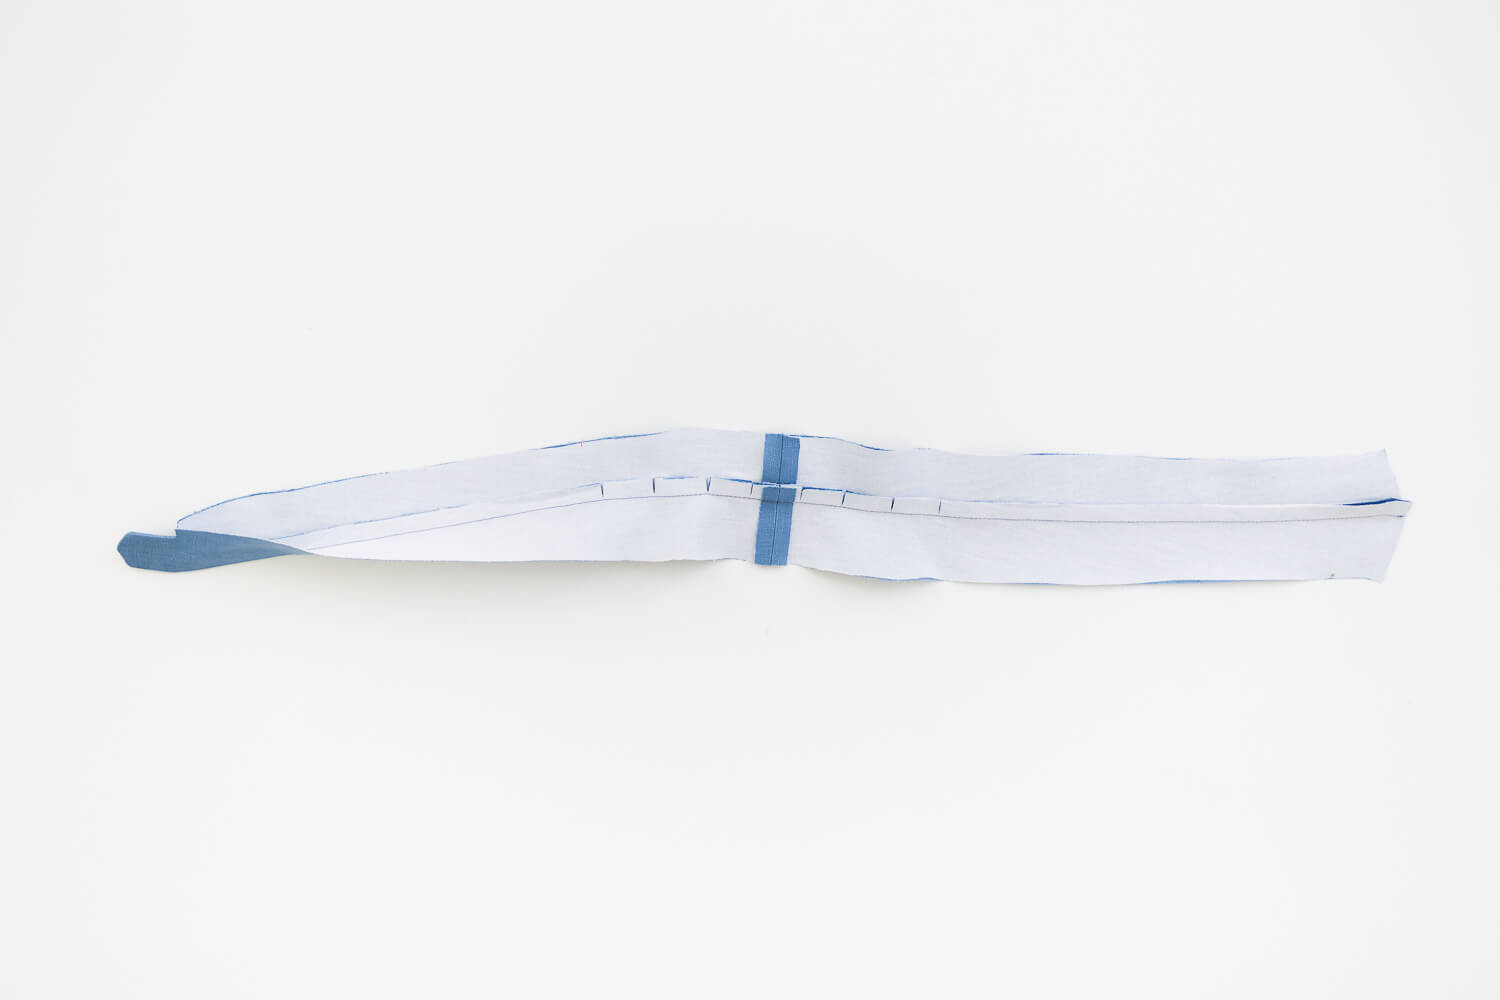
Make a series of snips along the seam allowance of the inner curve. Snip to the line of stitching but not through it. If the seam can be pulled to a straight line, there are enough snips. If not, add a few more on each side.
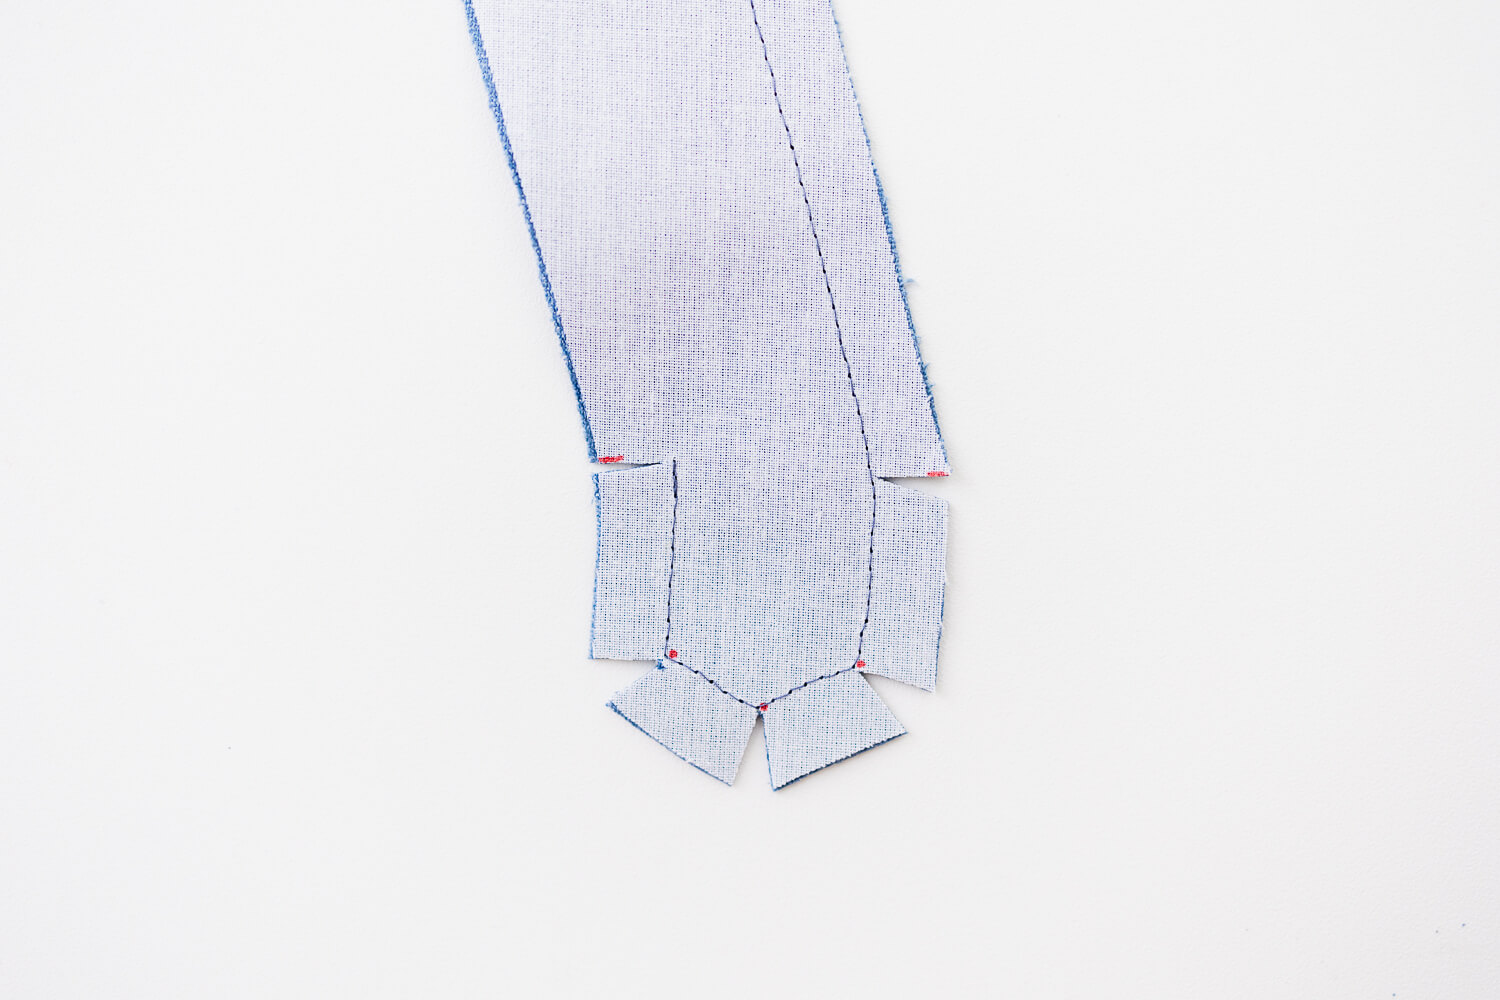
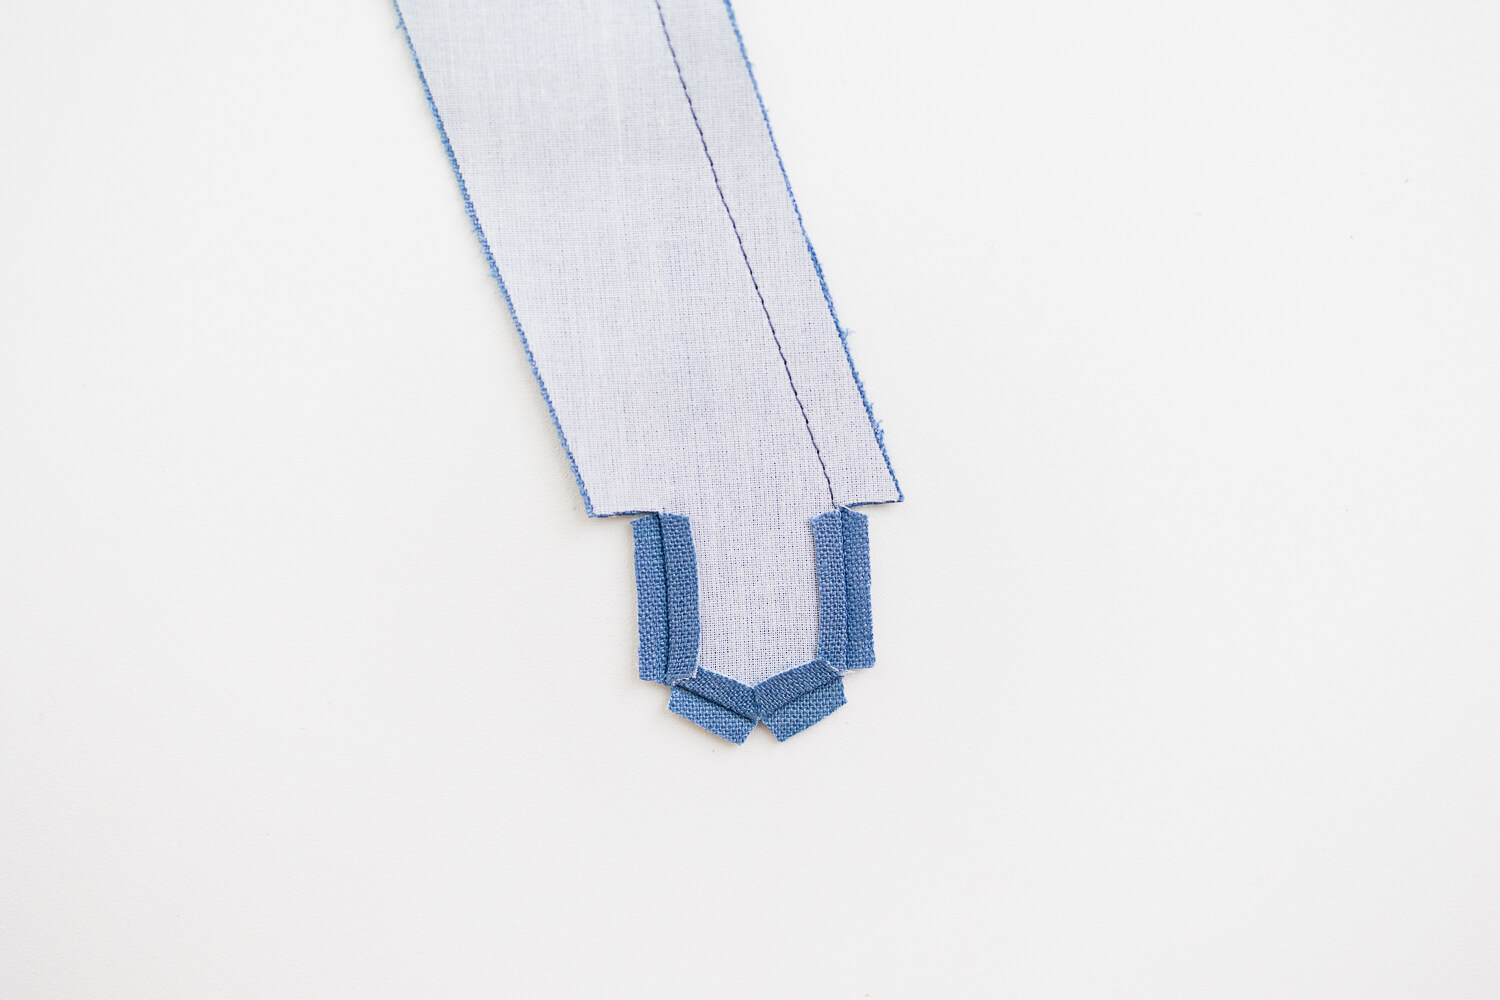
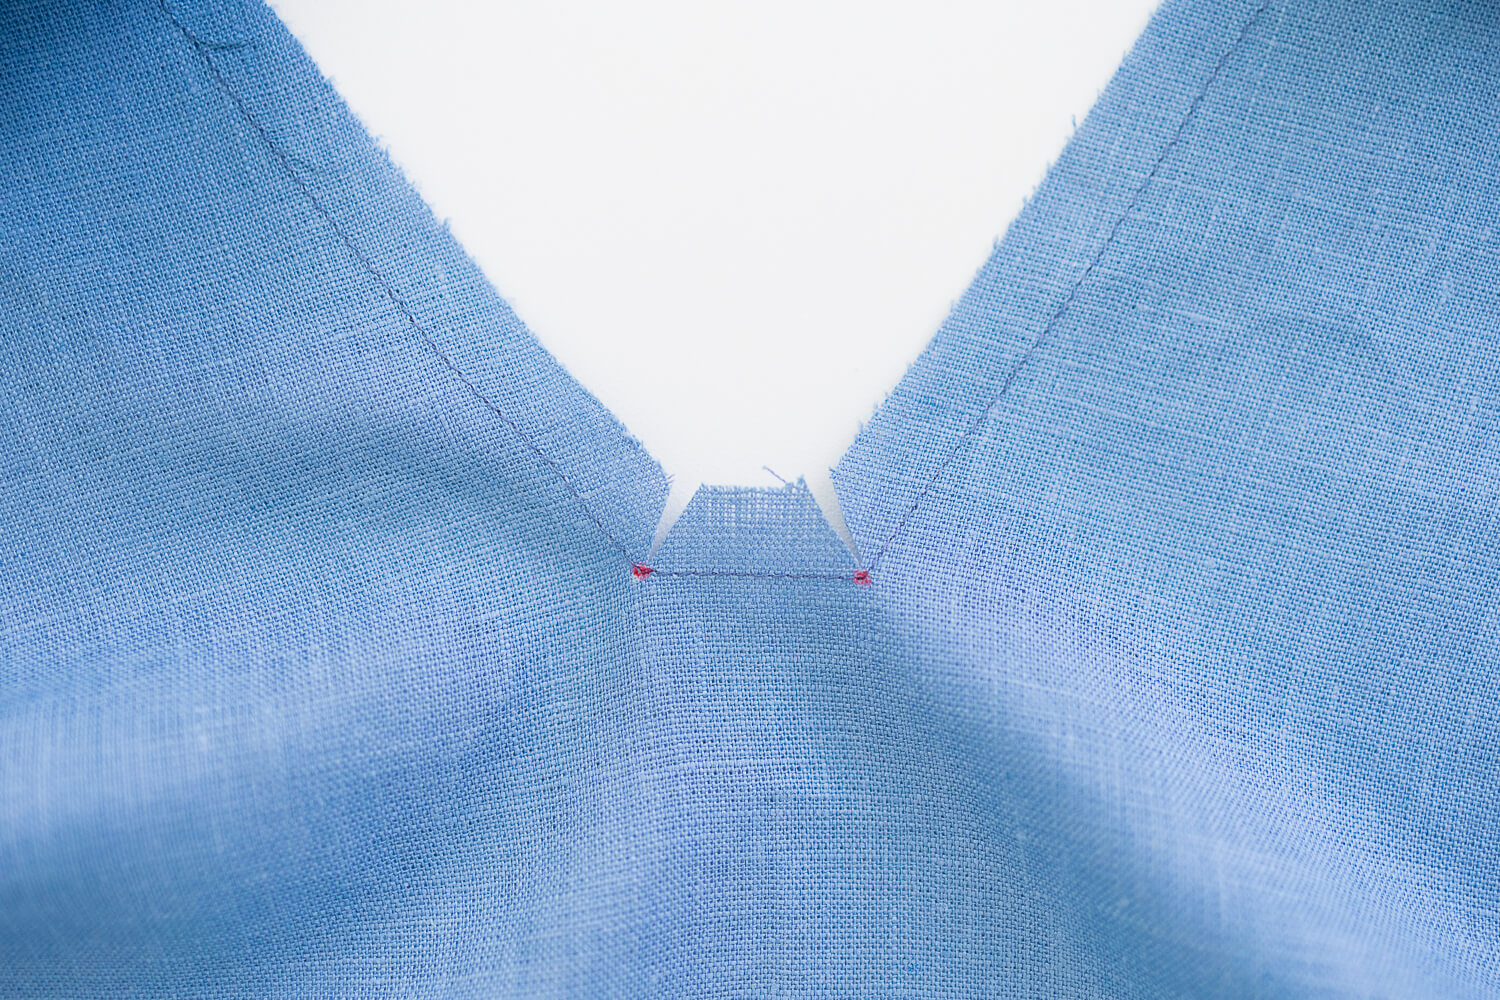
In the tab area, clip a wedge to the line of stitching at each pattern marking. Then trim the seam allowances to 1/4”. This will help reduce bulk.
Firmly press one side of the seam allowances in toward the tab.
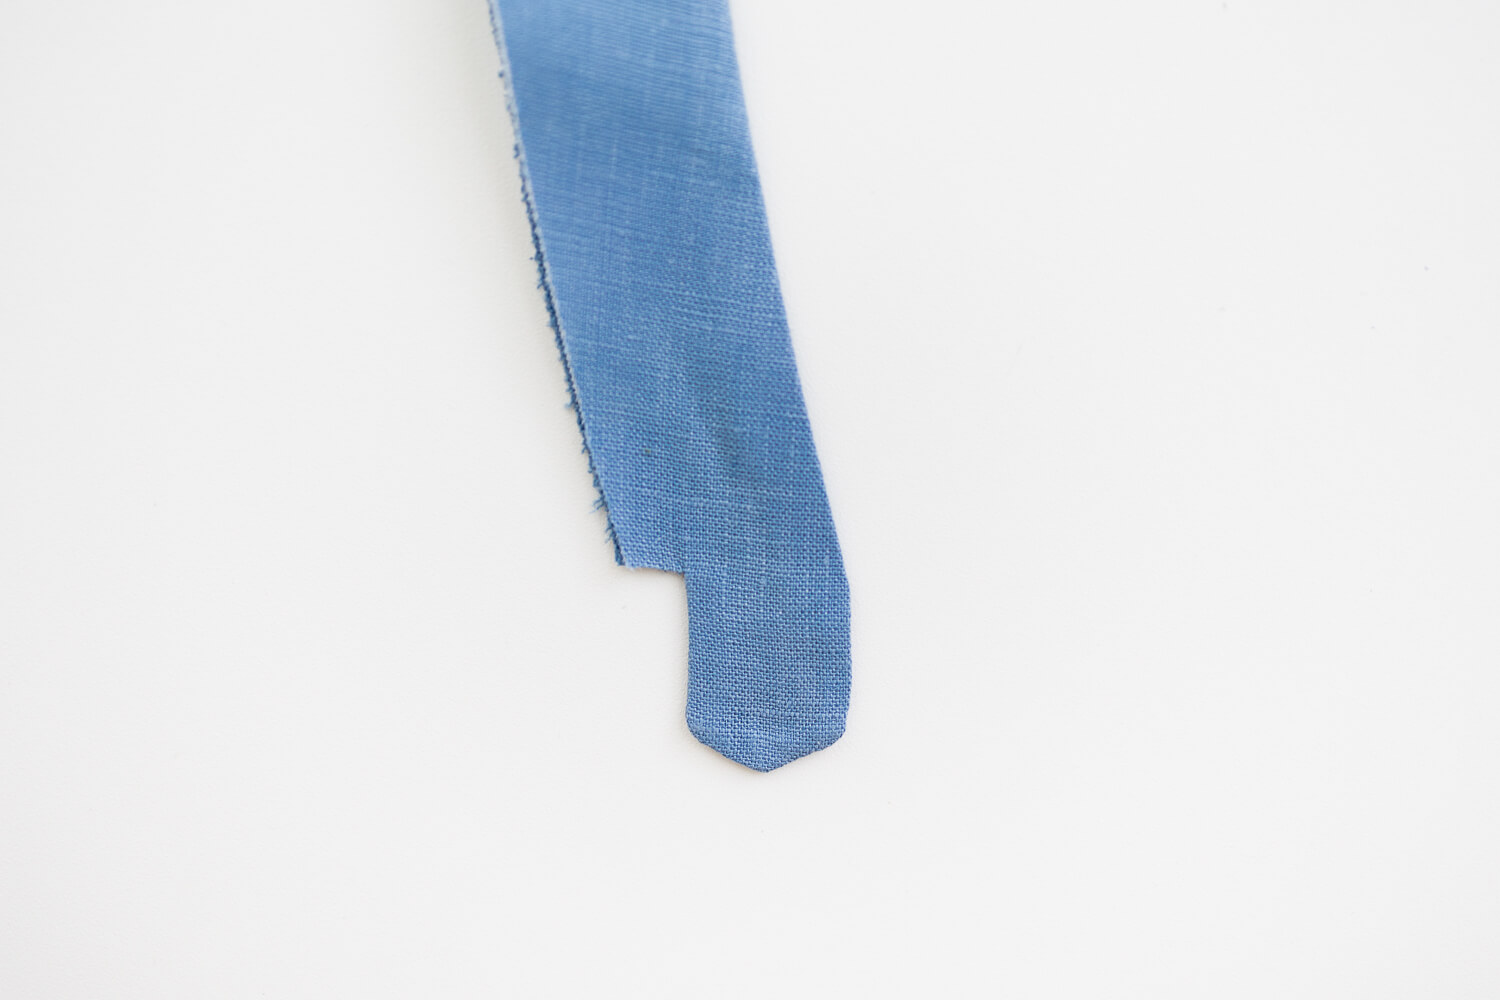
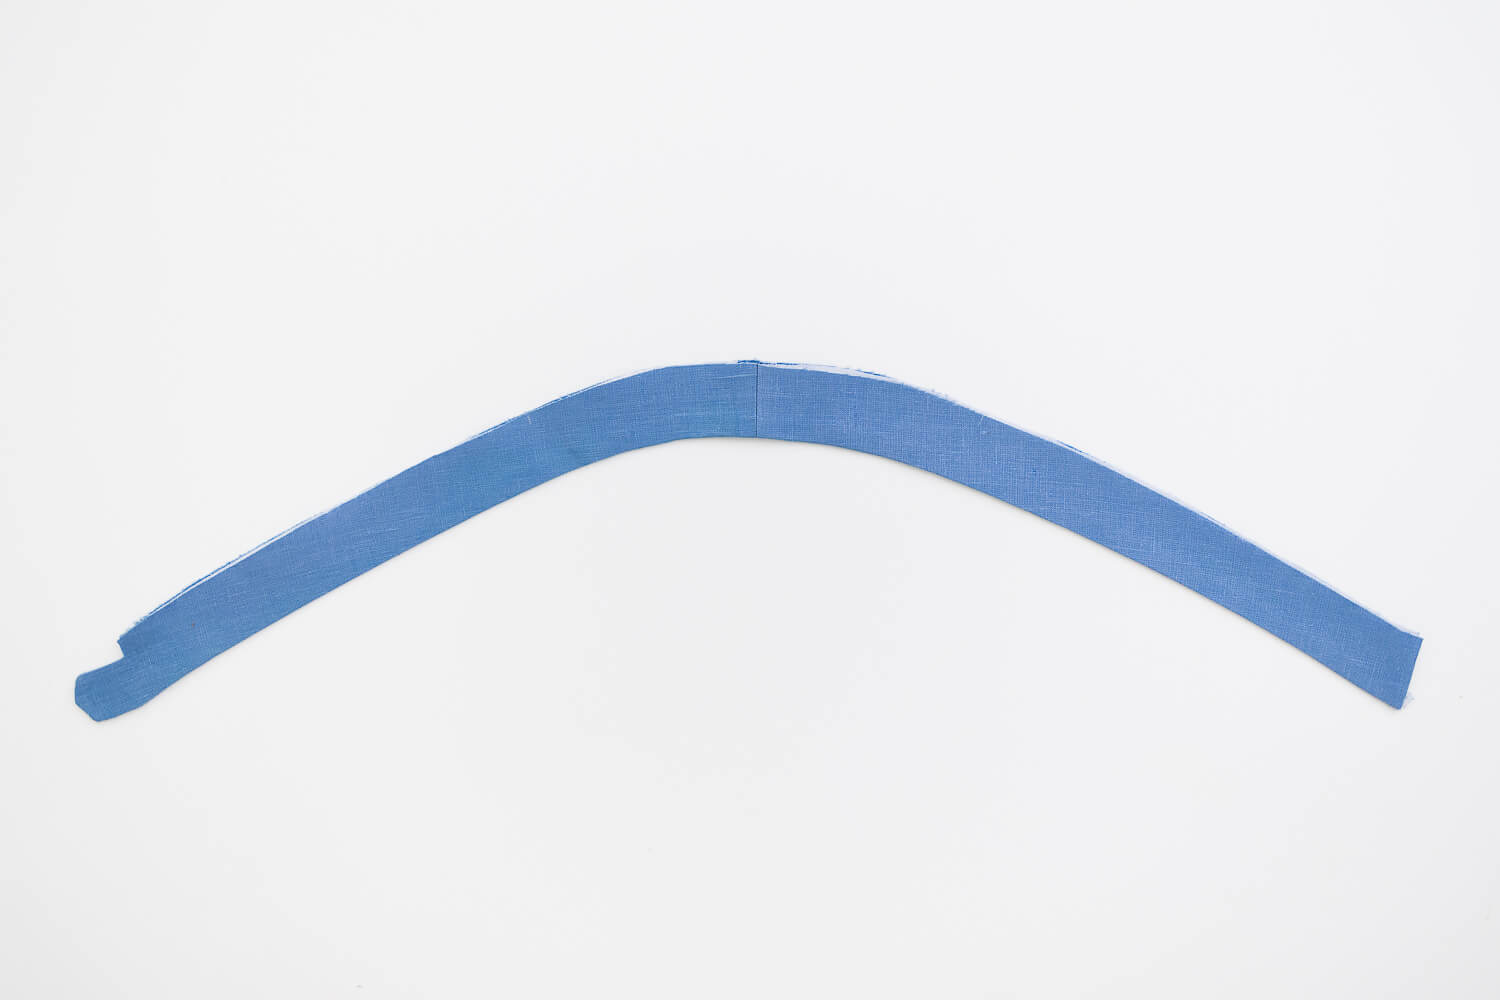
Fold the tab area right side out and press. Note, it can be a bit tricky to get it folded to the right side. Using the non-ink end of a pen may help to push the end up the tap up.
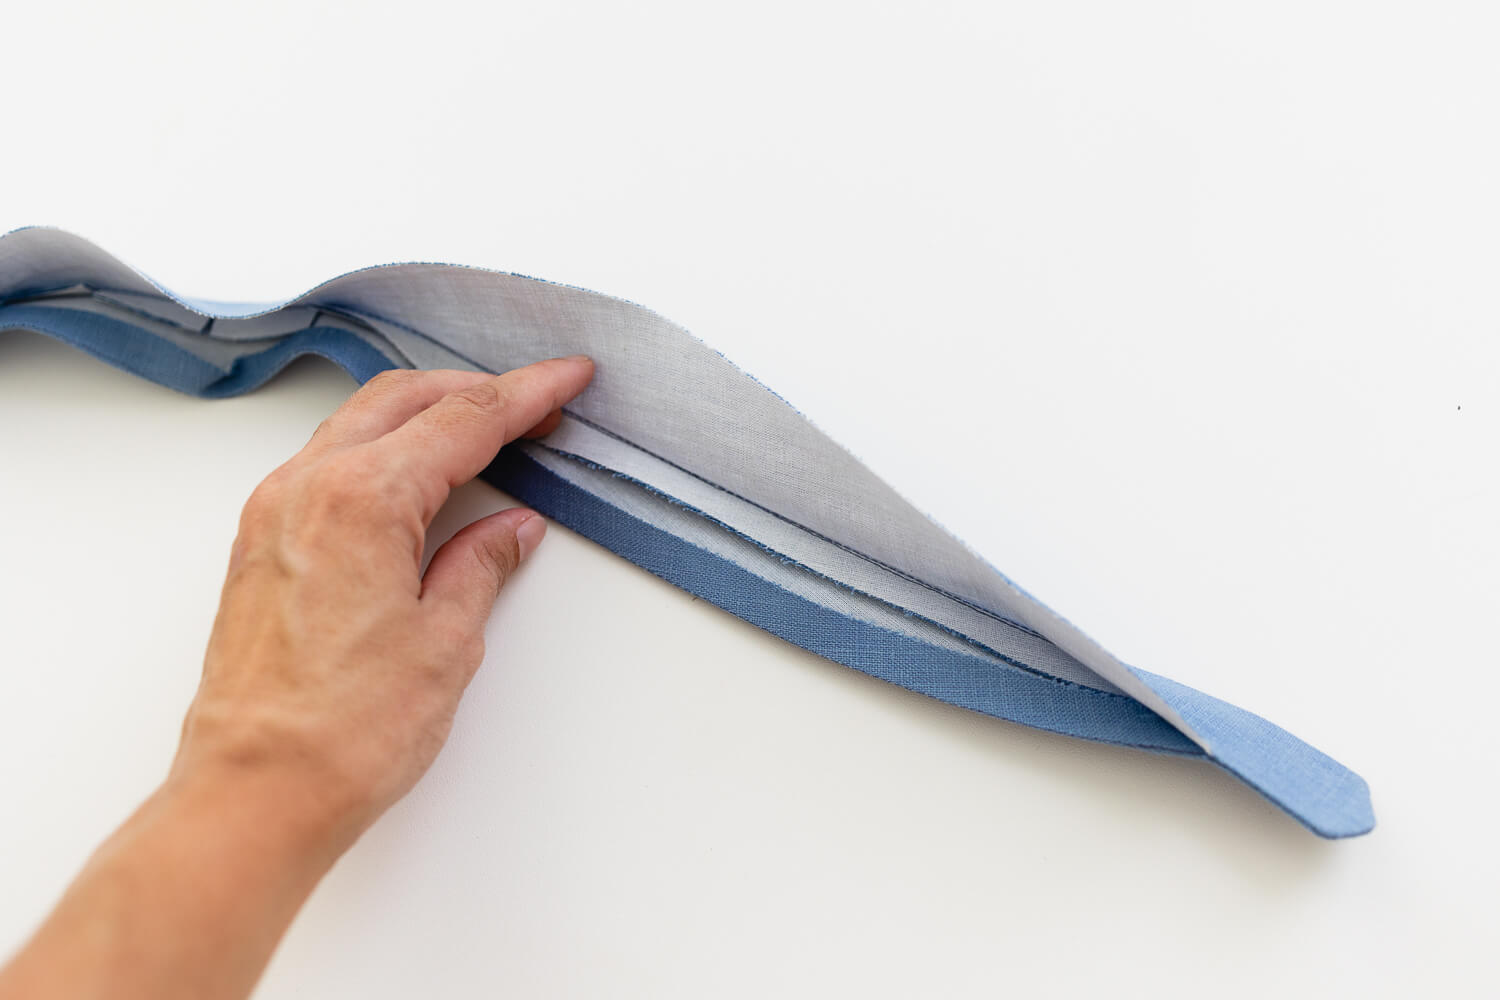
Press the whole length of the seam allowance toward the side as shown.
Note: Be sure to press the seam allowance to the correct side.
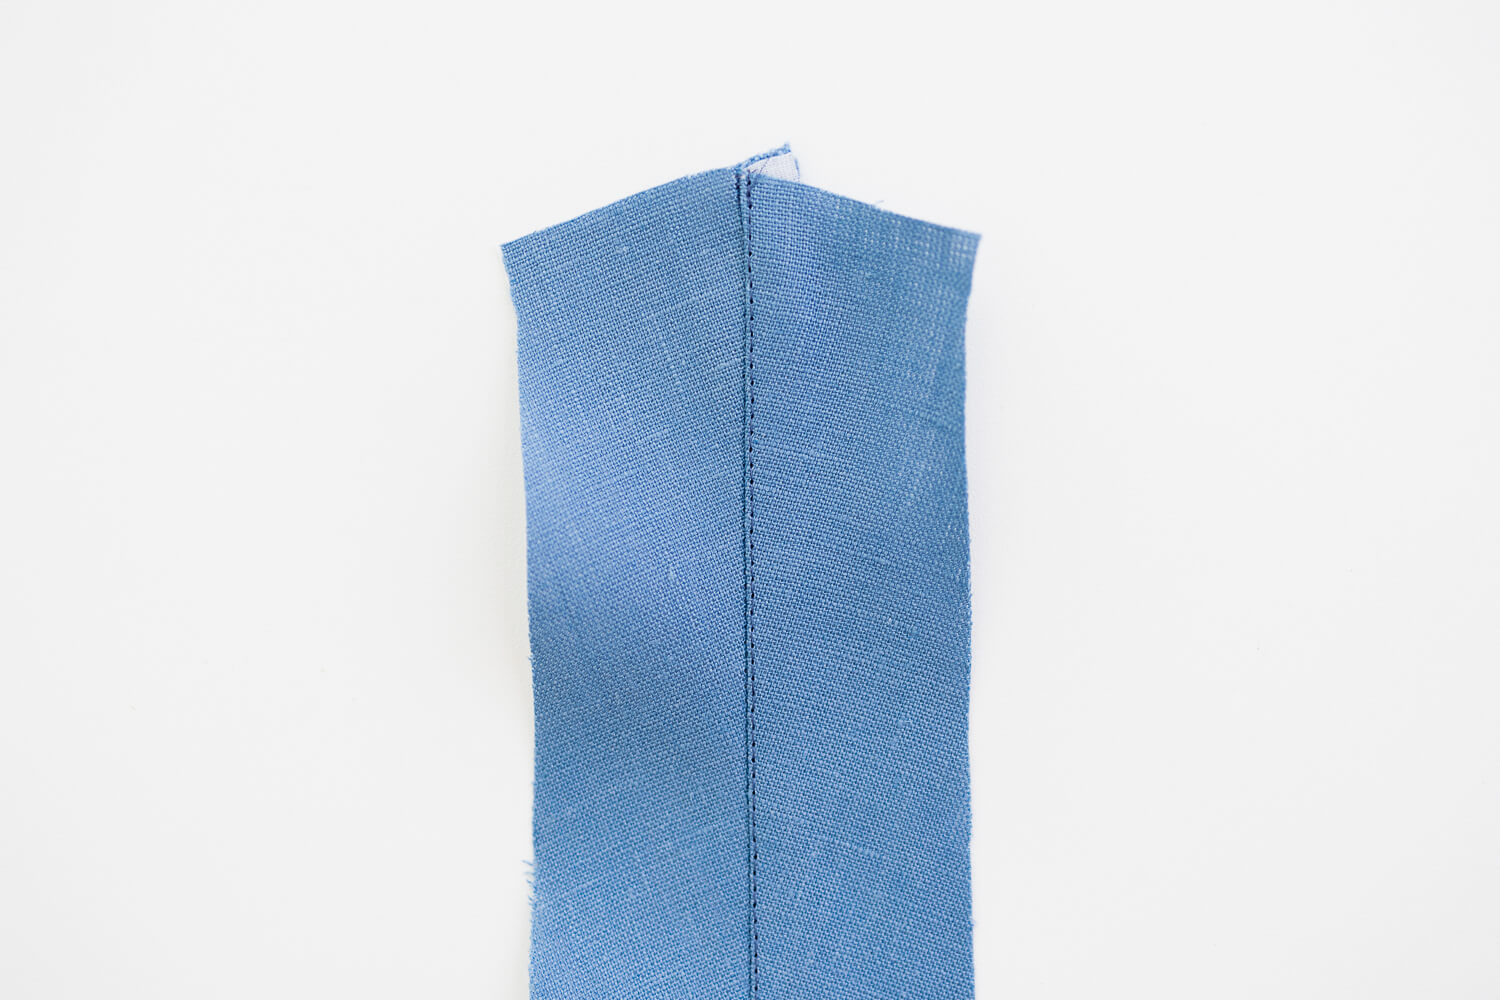
From the right side of the neck placket, understitch the seam allowance 1/16” from the edge. Stop sewing just above the tap area.
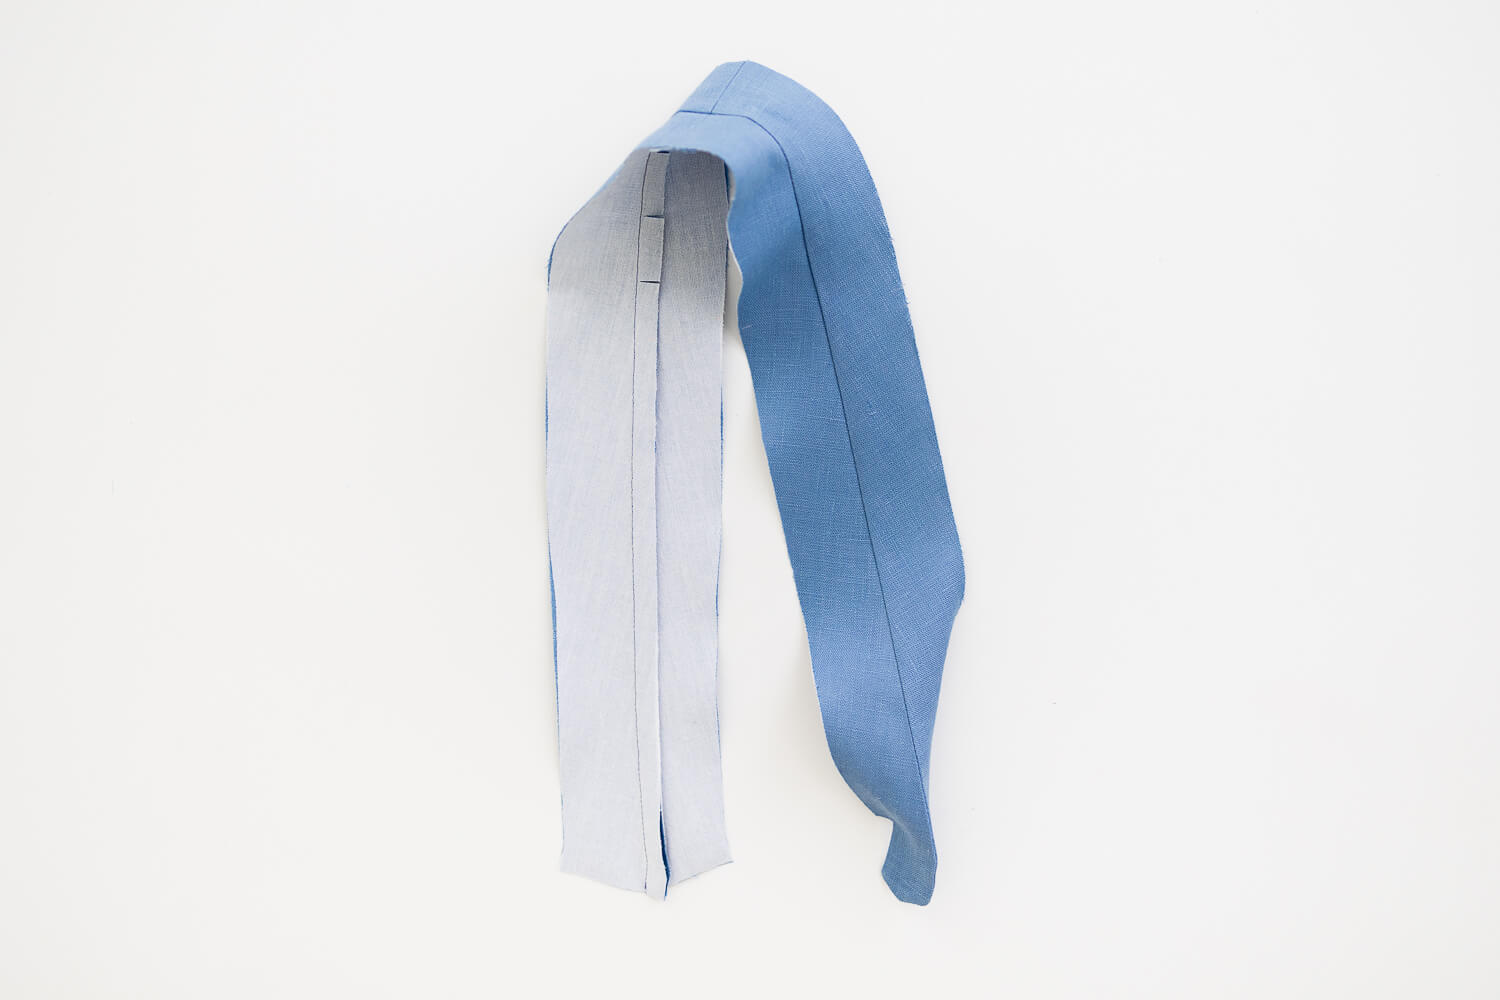
After understitching the seam allowance, neatly press the seam of the neck placket with wrong sides together.
Staystitch along the edge of the neck placket 1/2” from the edge. Then fold the fabric in along the stitching line and firmly press.
Note: Be sure to fold and press the correct side of the placket for this step. Follow the picture for guidance.
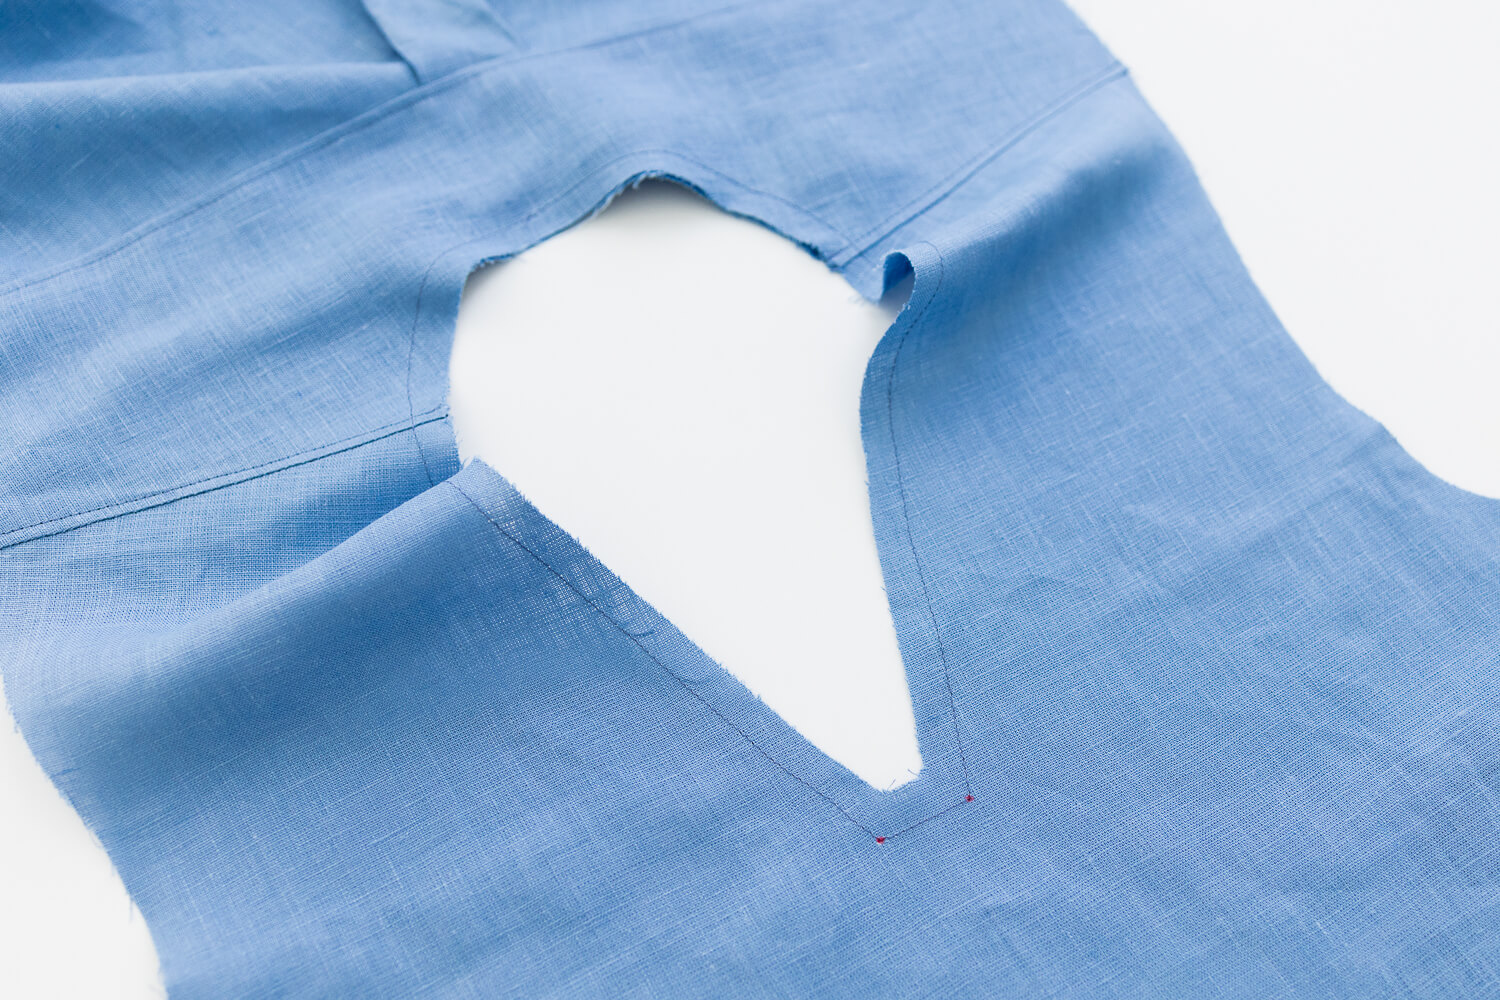
Sew a line of stay stitching around the neckline opening, 1/2” from the edge. Use the pattern markings to make sharp pivots by the front center. To make a sharp pivot, leave the needle in the fabric, lift up the presser foot and rotate fabric.
Clip the front neckline corners. Clip to the stay stitching but not through it.
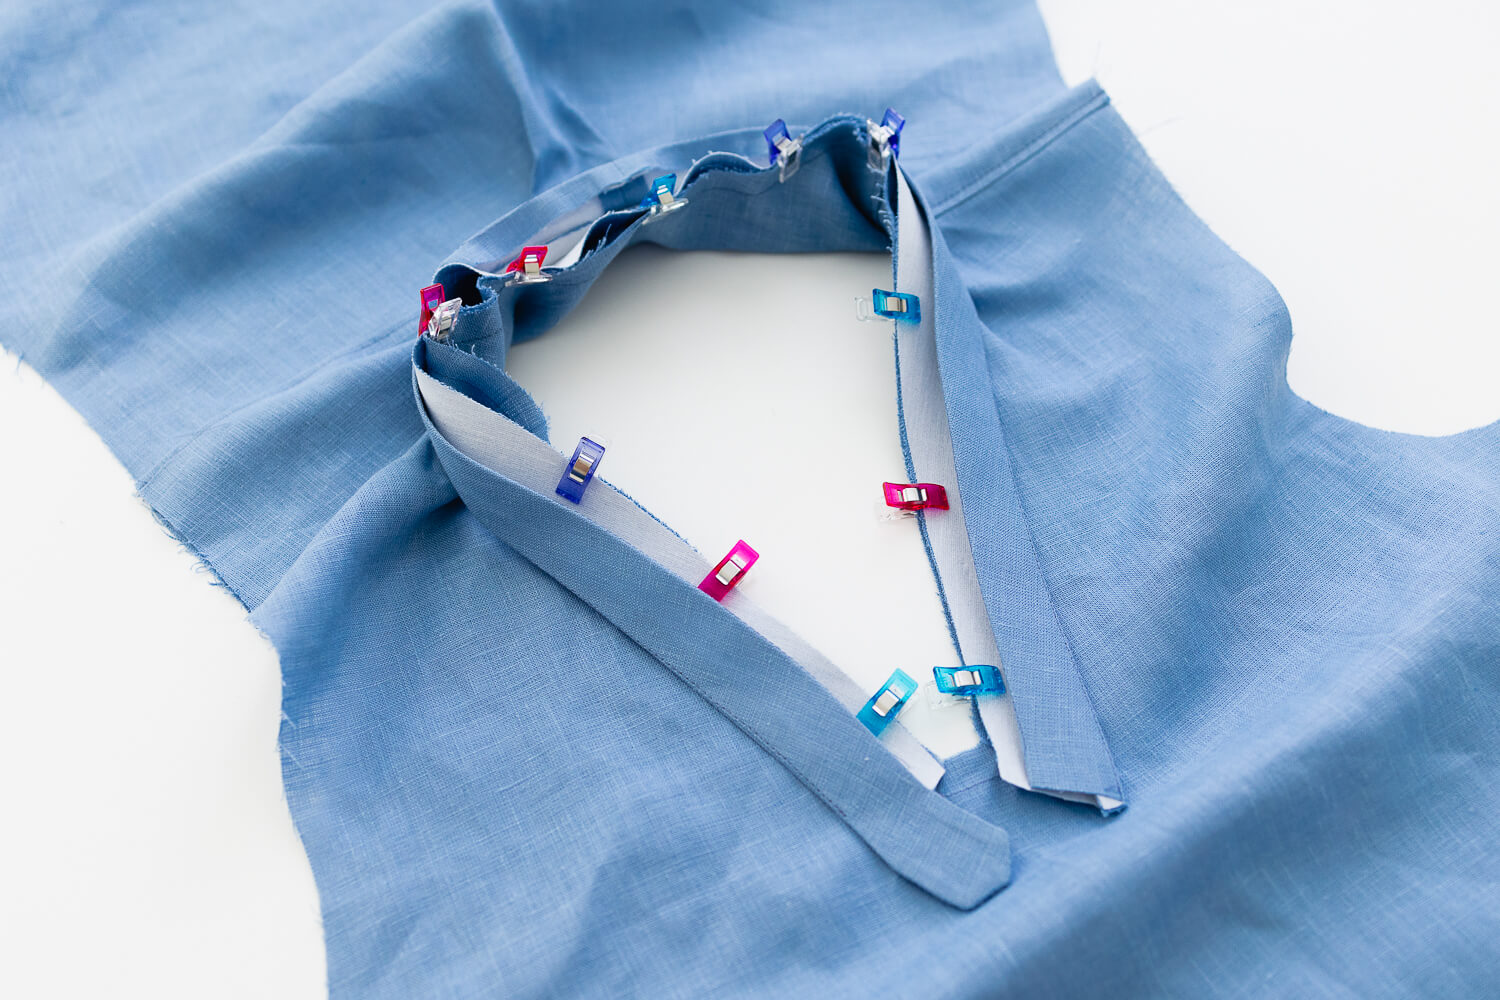
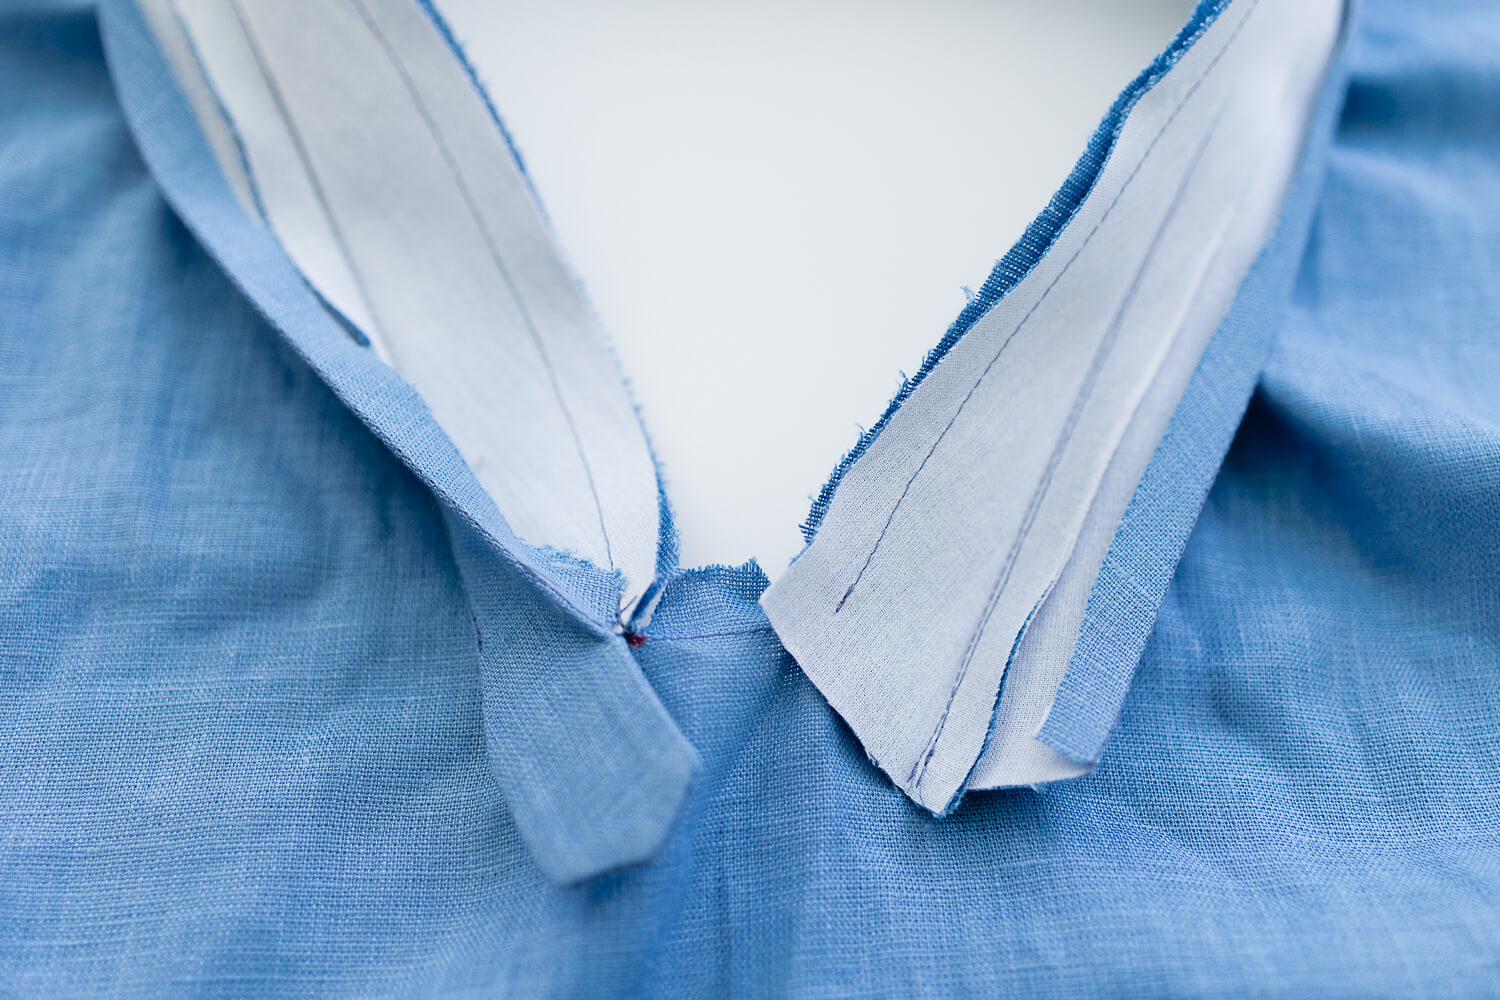
Clip or pin the neck placket to the right side of the blouse neckline. Line up the center back of the placket with the center back of the blouse neckline and line up shoulder notches as the placket is clipped or pinned in place.
Note that the seam allowance on the tab end will stop right at the pattern marking on the blouse. The seam allowance of the straight end of the placket will extend 1/2” past the pattern marking on the blouse.
Sew with 1/2” seam allowance. Note again the seam allowance of the straight end of the placket extending beyond the pattern marking on the blouse and the seam allowance of the tabbed end stopping right at the pattern marking.
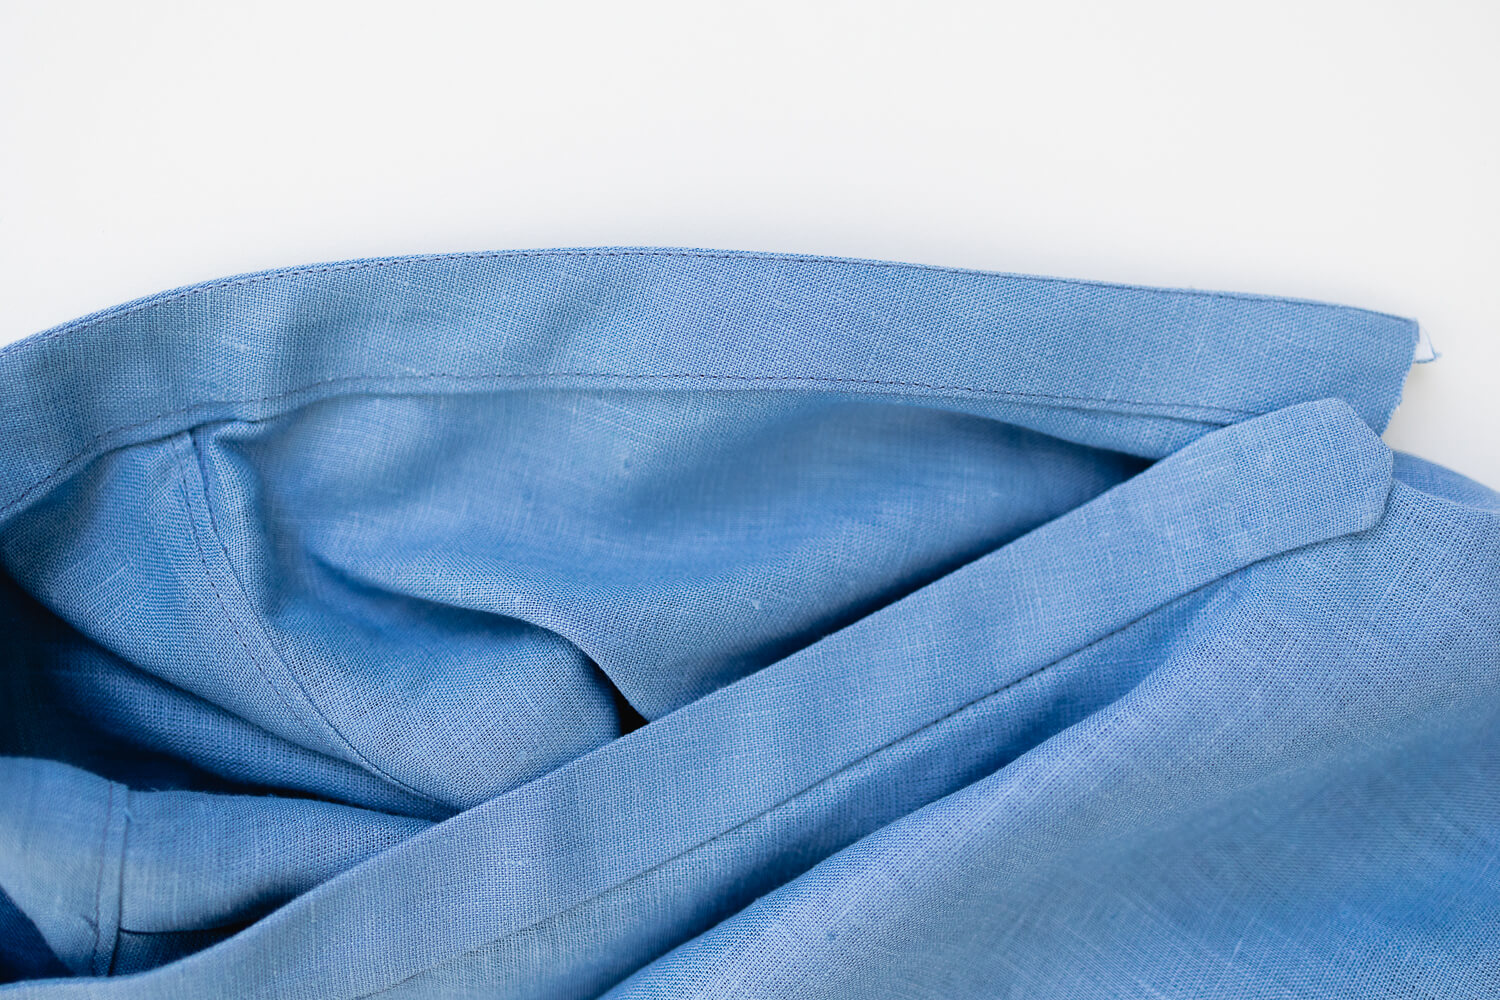
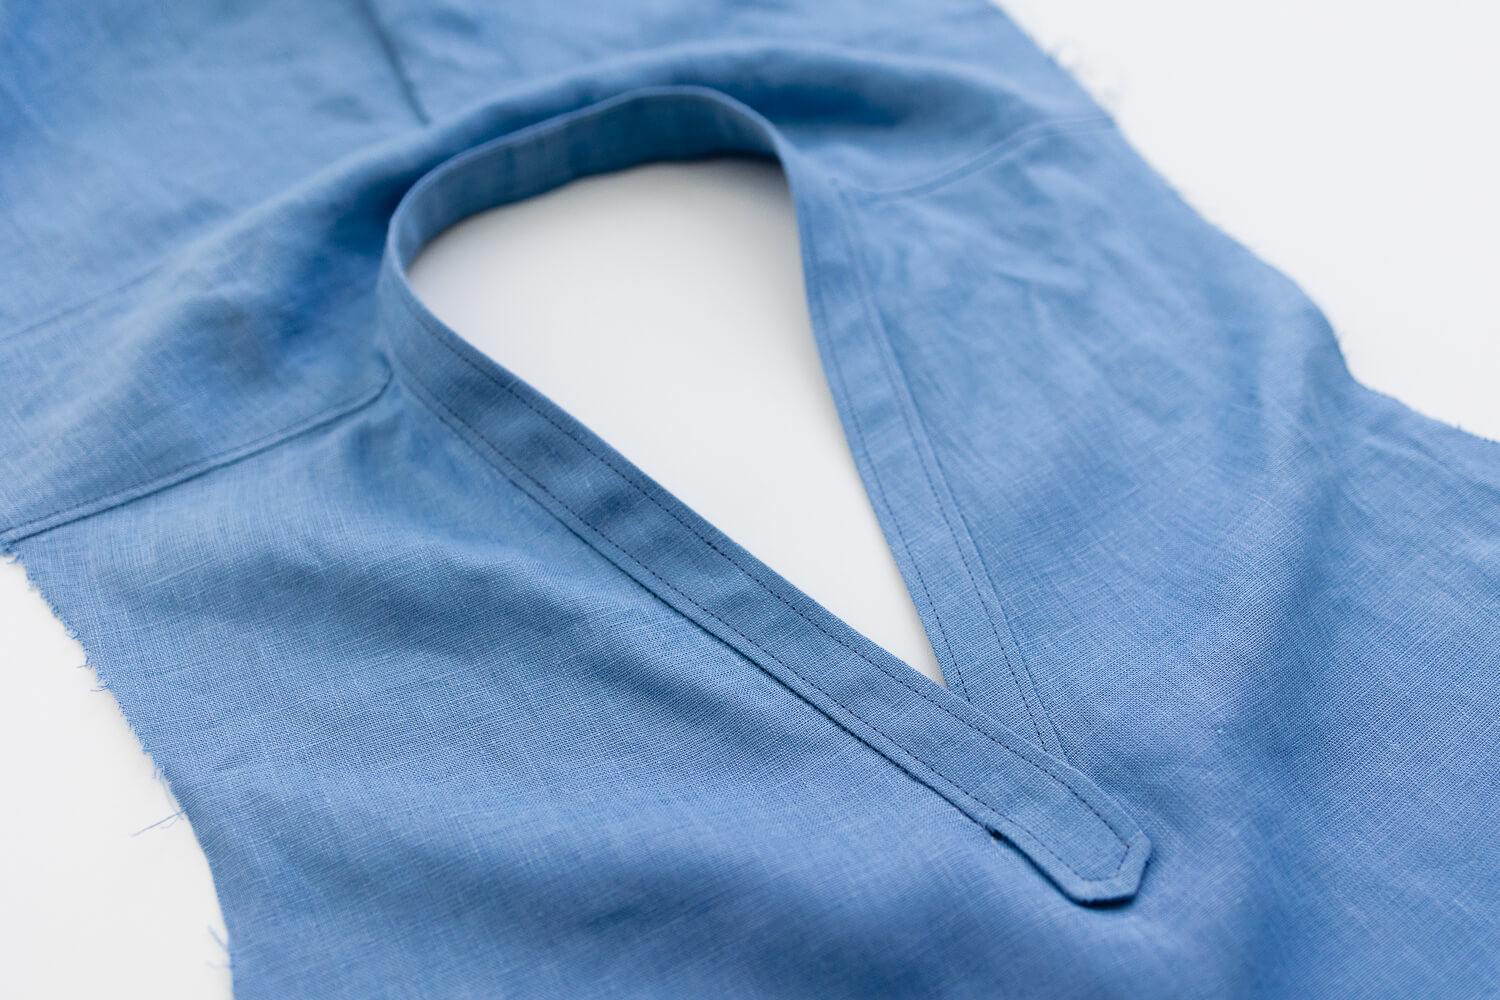
Press the seam allowance toward the placket. Then flip the placket through the neckline so the underside of the placket is on the wrong side of the blouse and the upper placket is on the right side of the blouse. Press in place.
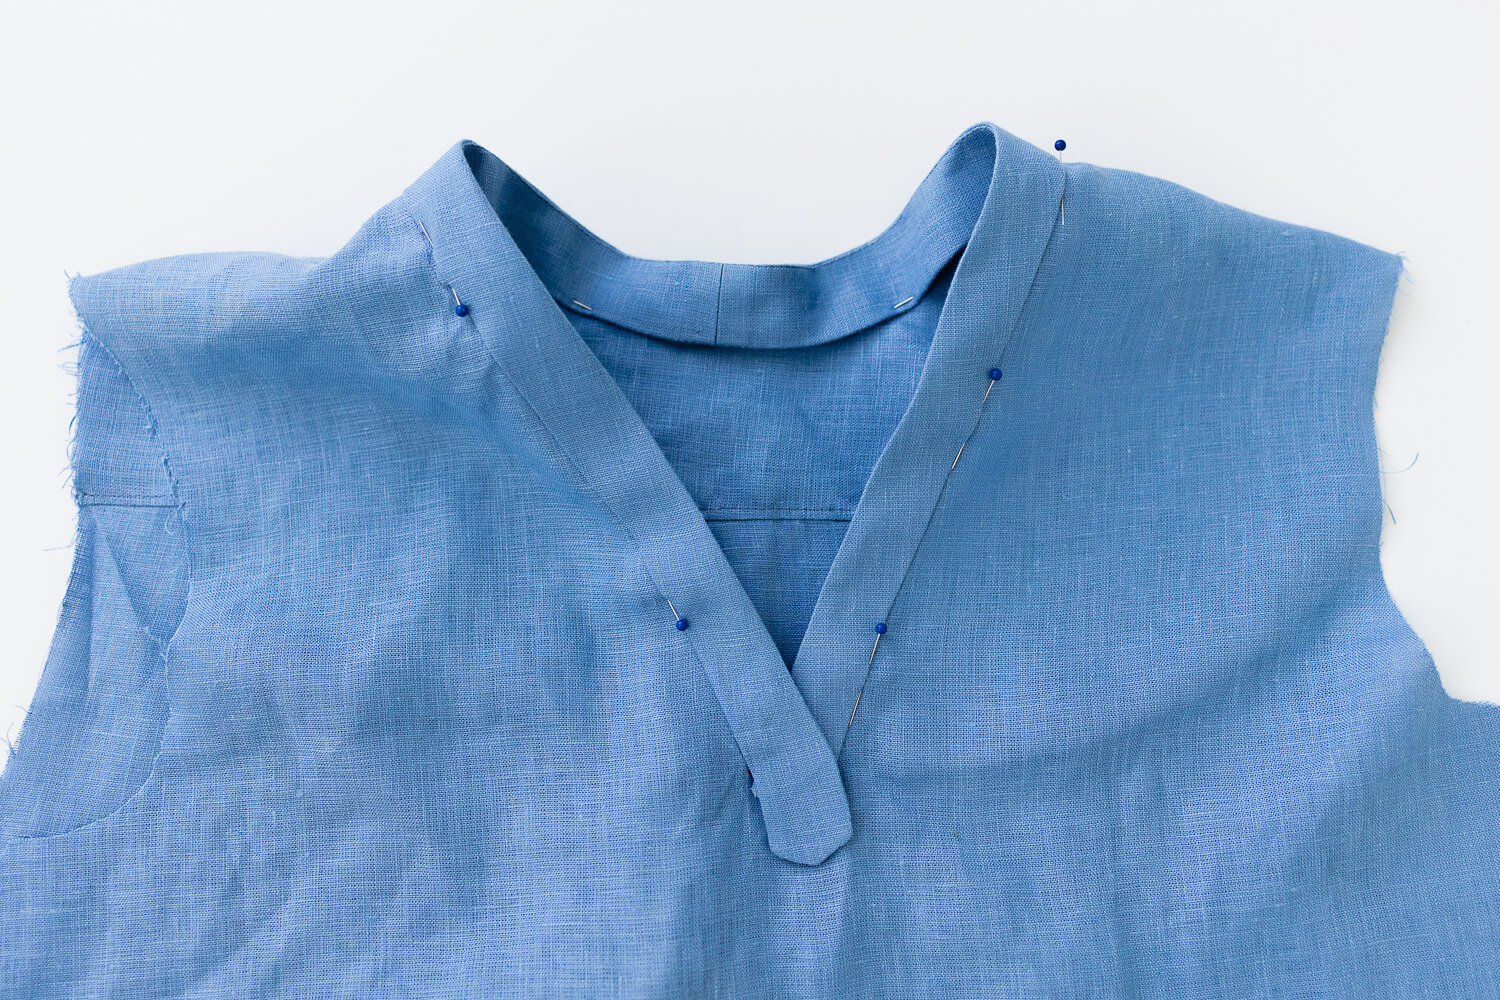
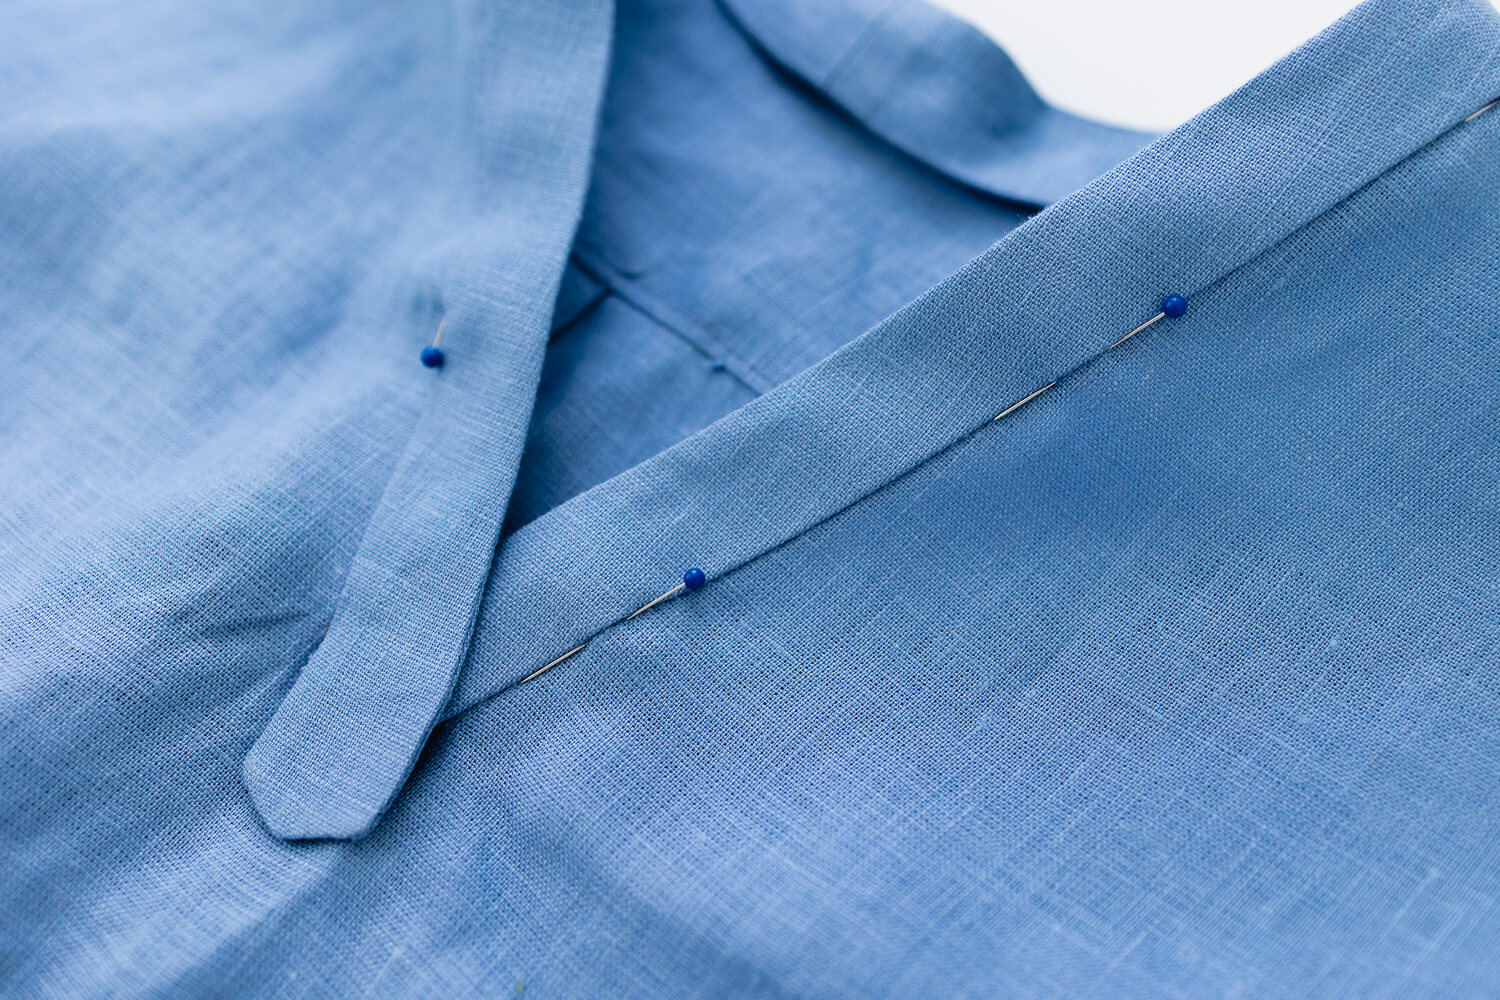
Carefully pin the underside of the placket right along the seam of the upper placket. The pressed edge of the underside of the placket should extend just past the seam of the upper placket, enough to catch about 1/8” with the pins.
From the right side, carefully stitch in the ditch along the whole length of the placket, catching just about 1/8” of the placket edge on the inside of the blouse.
It’s difficult to get the sewing line perfectly straight on the inside for this step, so don’t be too hard on yourself if it doesn’t look perfect.
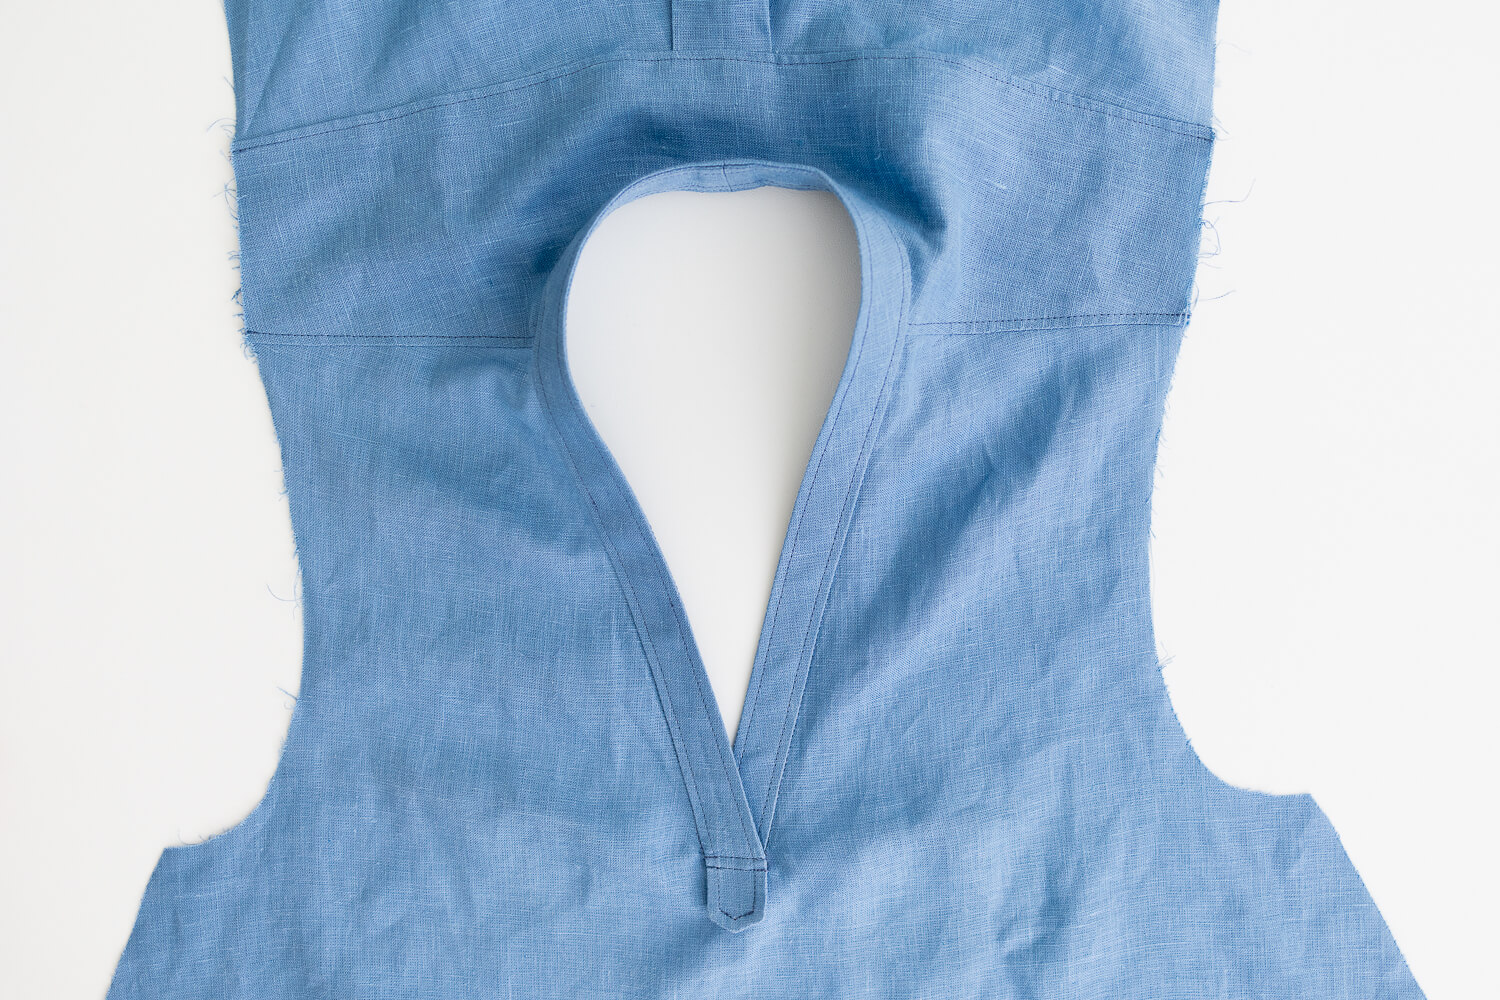
Starting at the straight end of the placket, top stitch all the way around the permitter of the placket 1/4” from the edge. Take care to make sharp pivots around the tab. It can be helpful to transfer pattern markings again to help guide stitching.
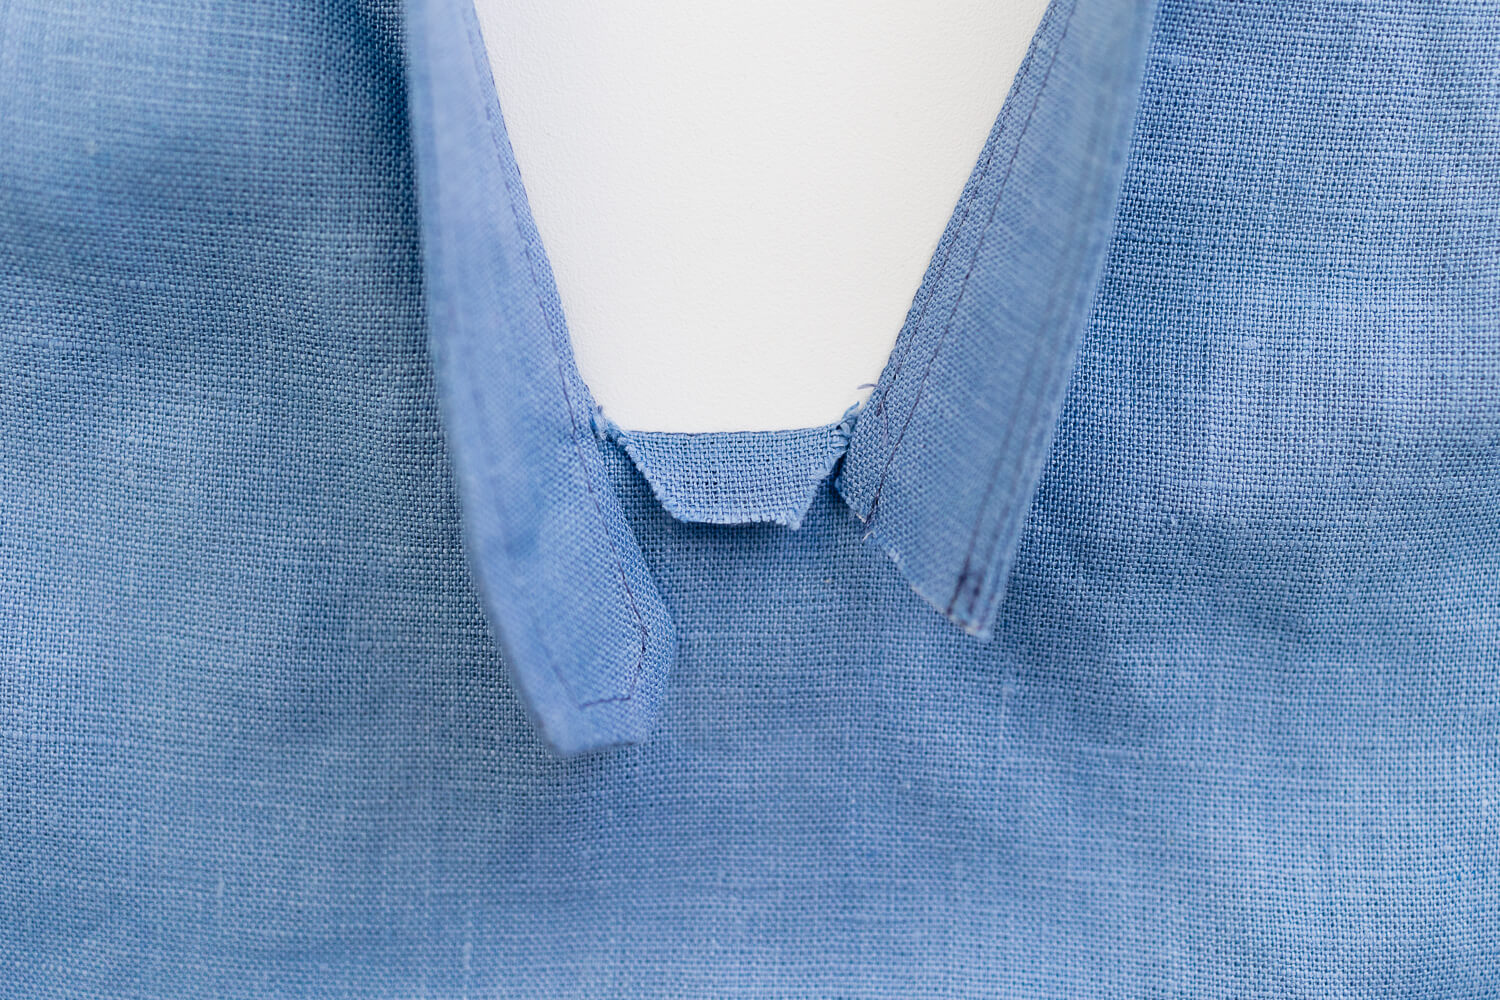
Press the center neckline raw edge down.
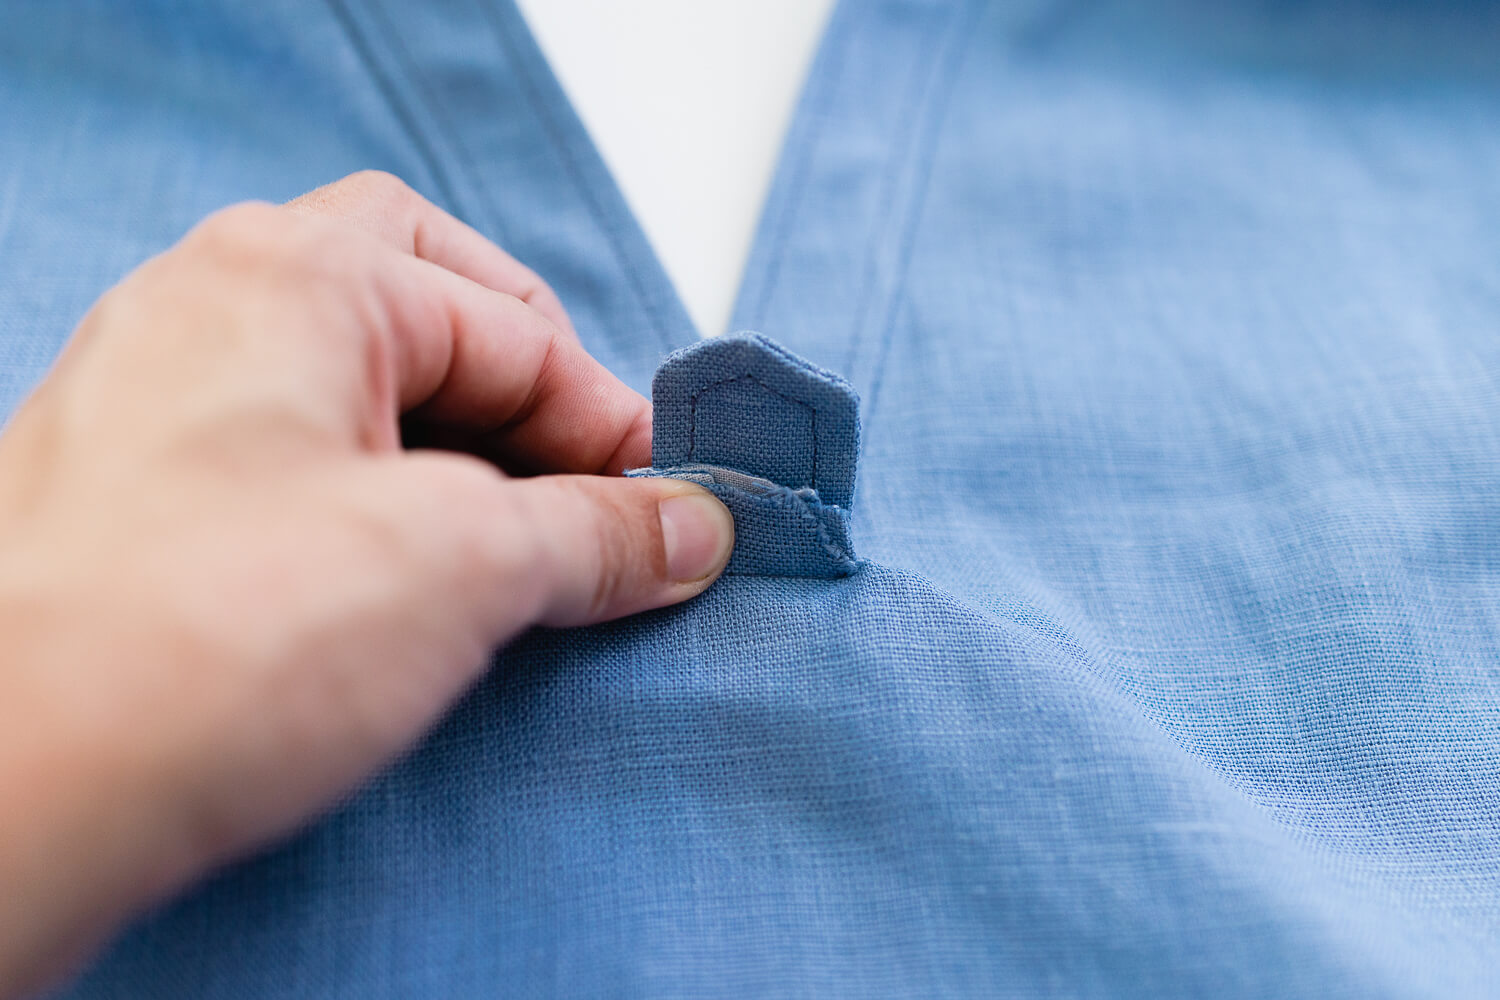
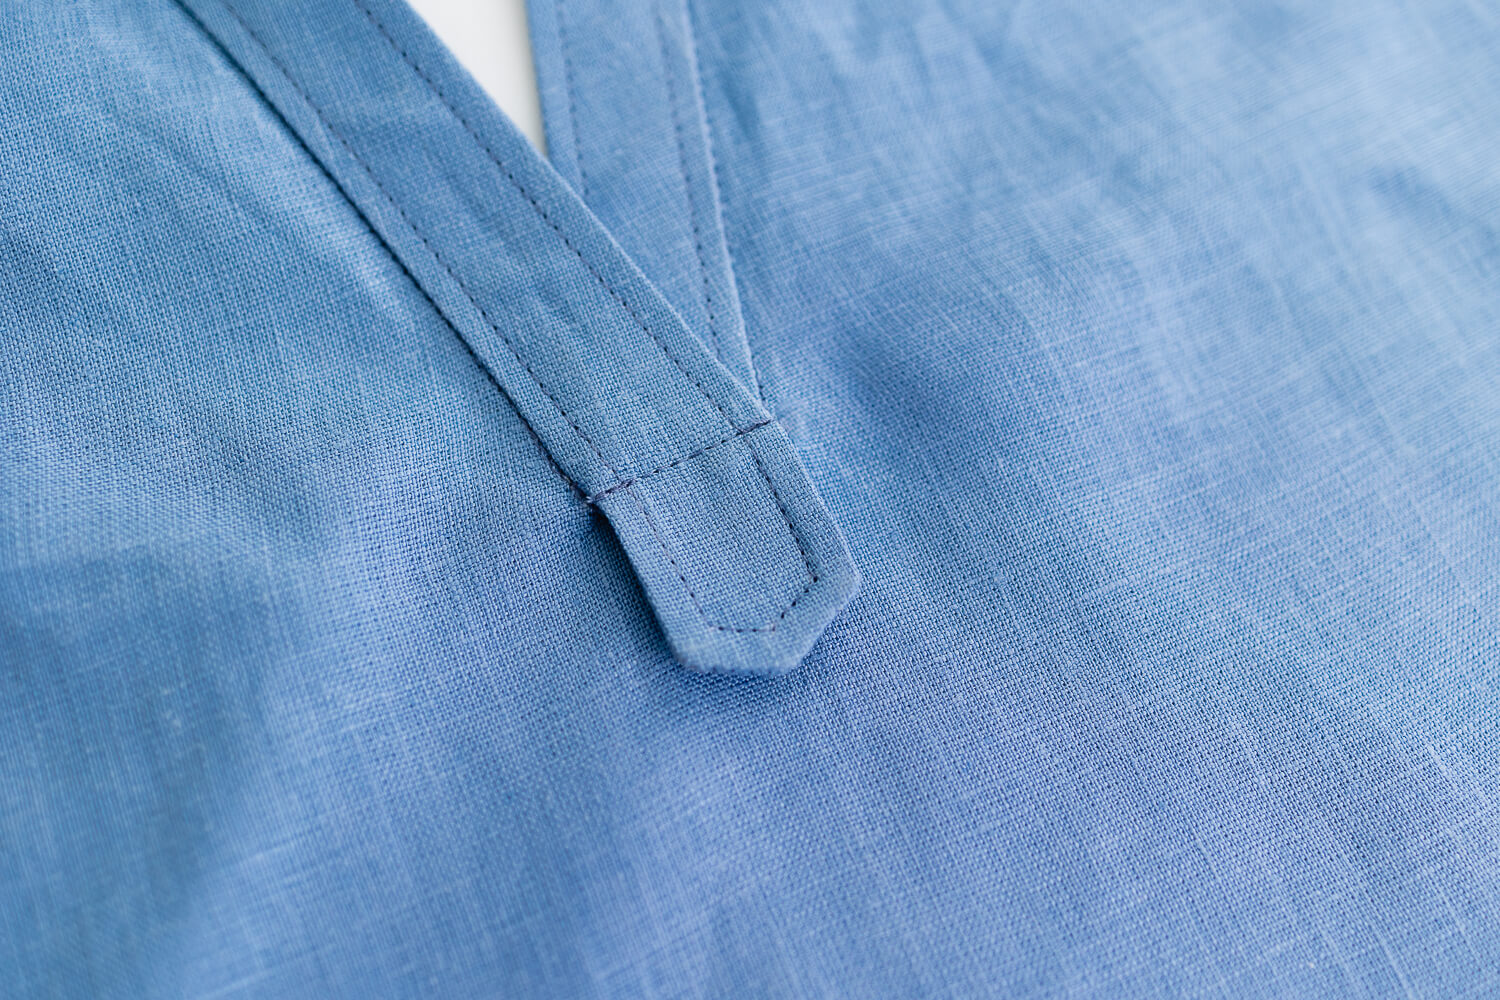
Position the straight end of the placket over the center neckline raw edge. Then place the tabbed end of the placket on top. Stitch all layers together right along the folded crease in the center neckline raw edge.
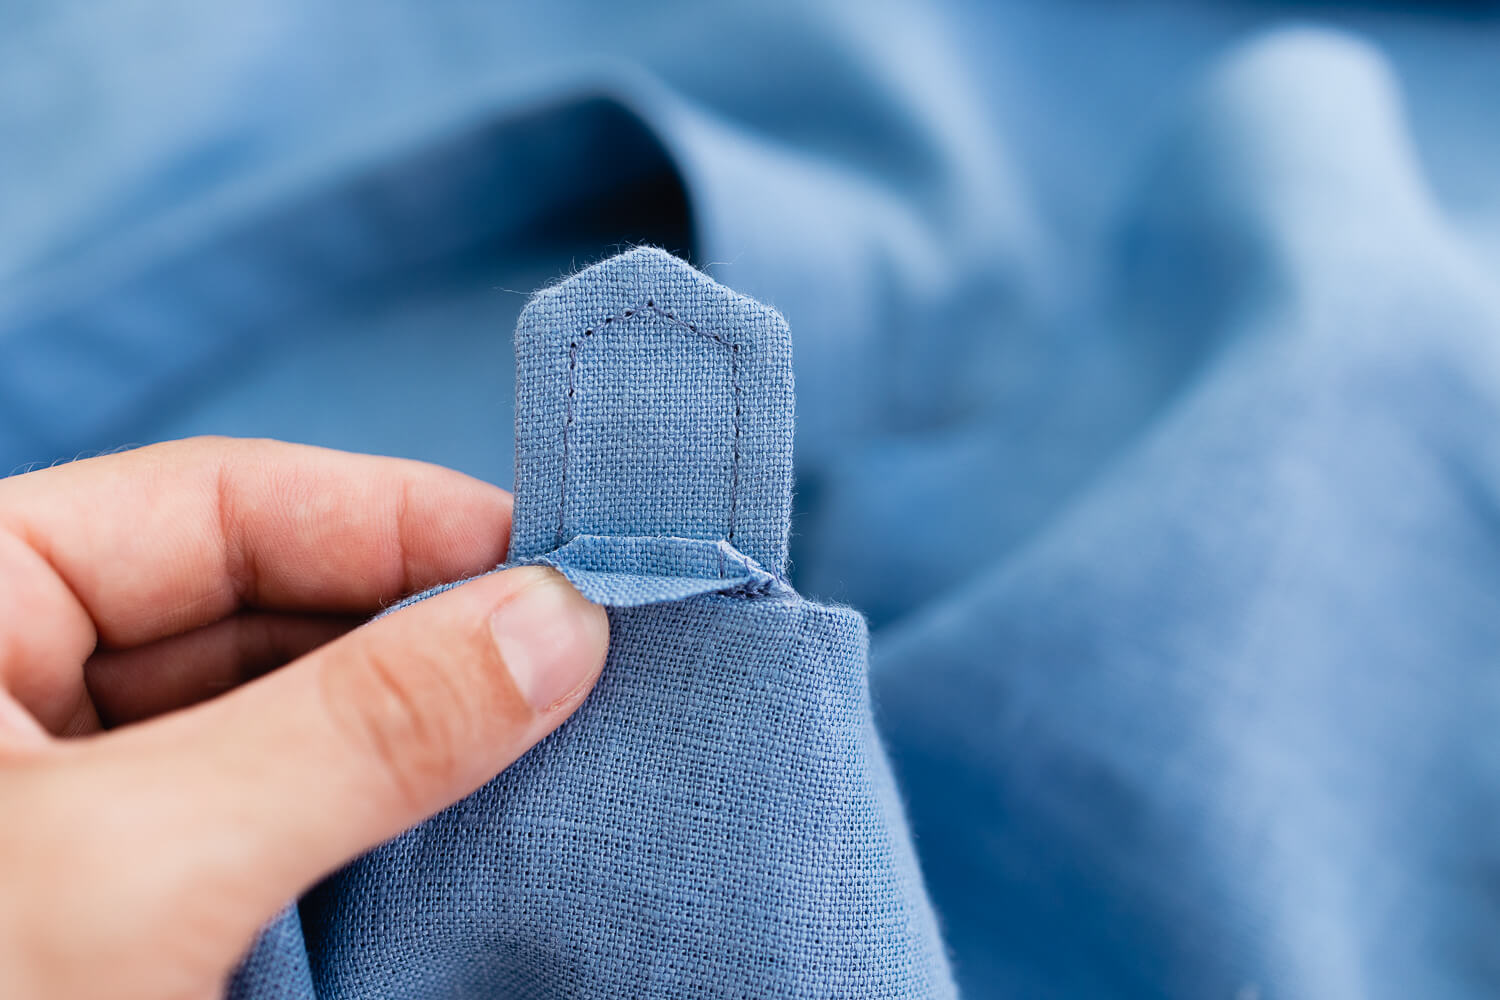
Trim the layers underneath the placket tab to 1/8” and 1/4” and clip the corners so the edges don’t peek out the sides.
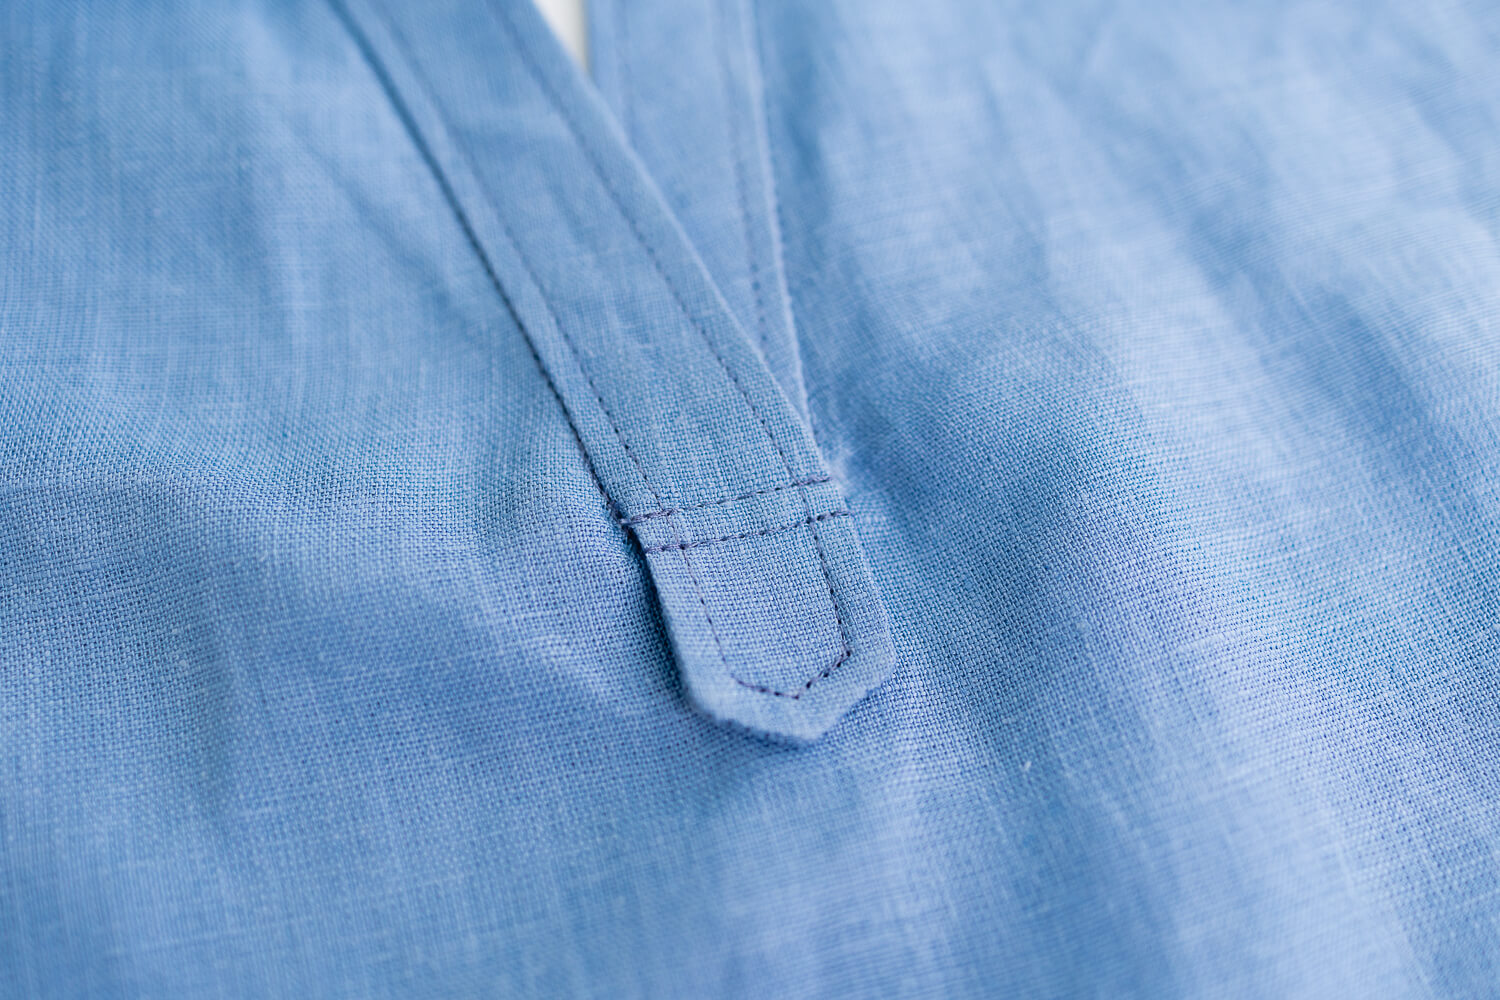
With the placket tab laying flay against the blouse, sew a second line of stitching 1/4” below the first line through all layers. This conceals the raw edges and secures the tab to the blouse.
Finally, sew a few stitches on top of the existing stitches in the V of the tab to secure it also to the blouse.
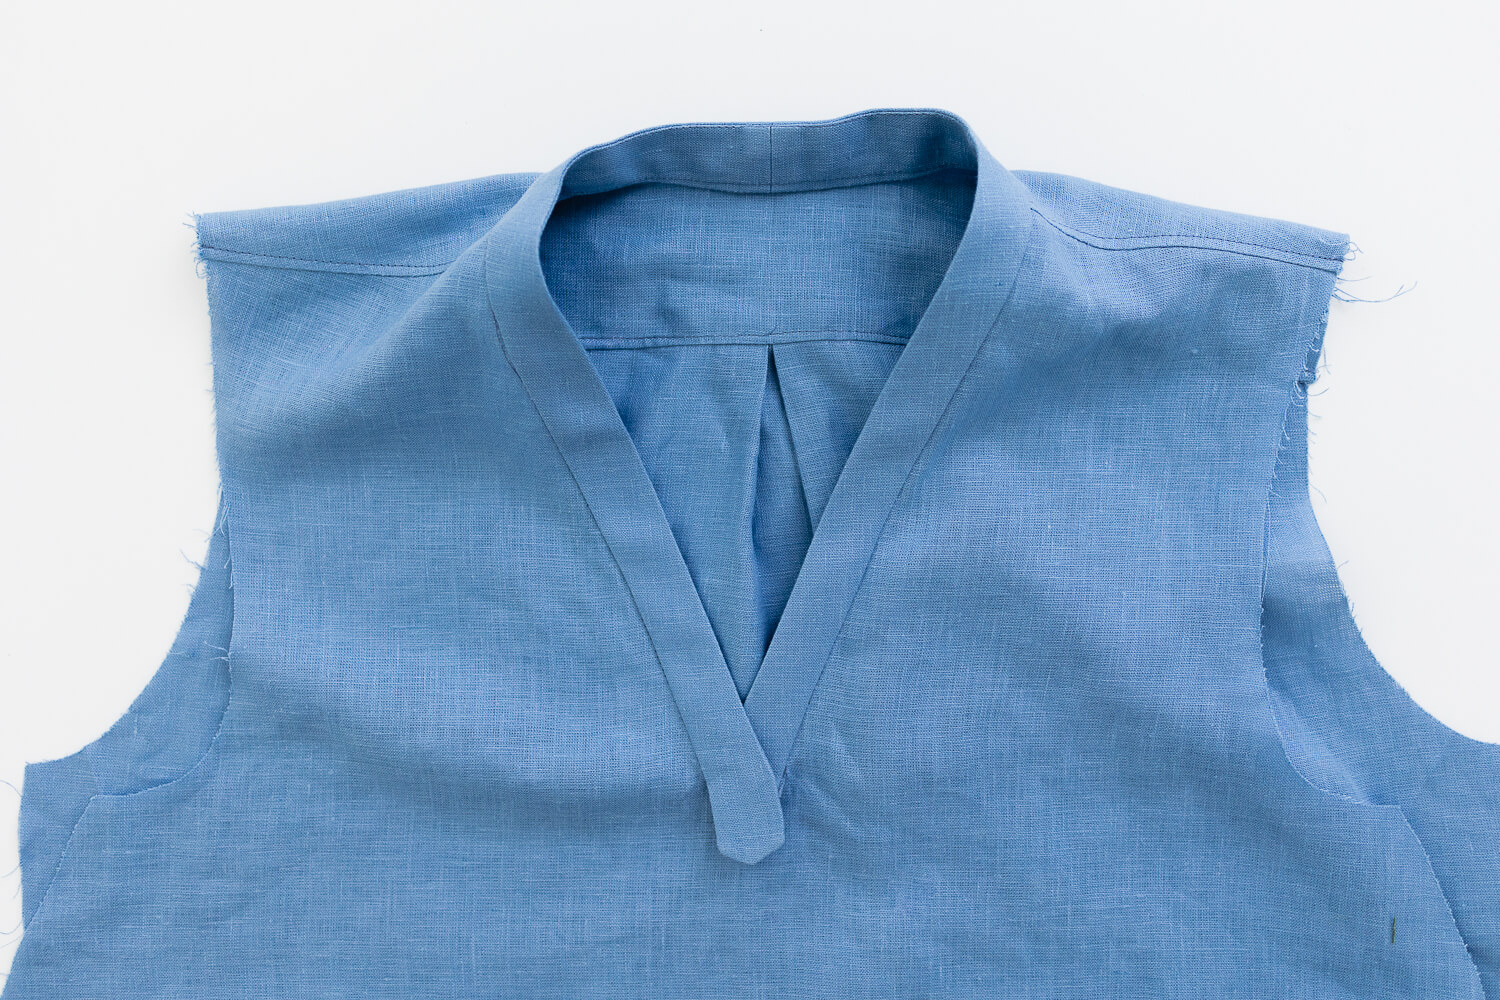
That’s it! Congratulations on completing the Cameron placket!





One Comment
Lisa Robinson
I don’t see how to whatch the video