Tutorial: How to Sew the Hana Waistband
This tutorial is to support the waistband instructions in the Hana Pattern booklet found on pages 47-56.
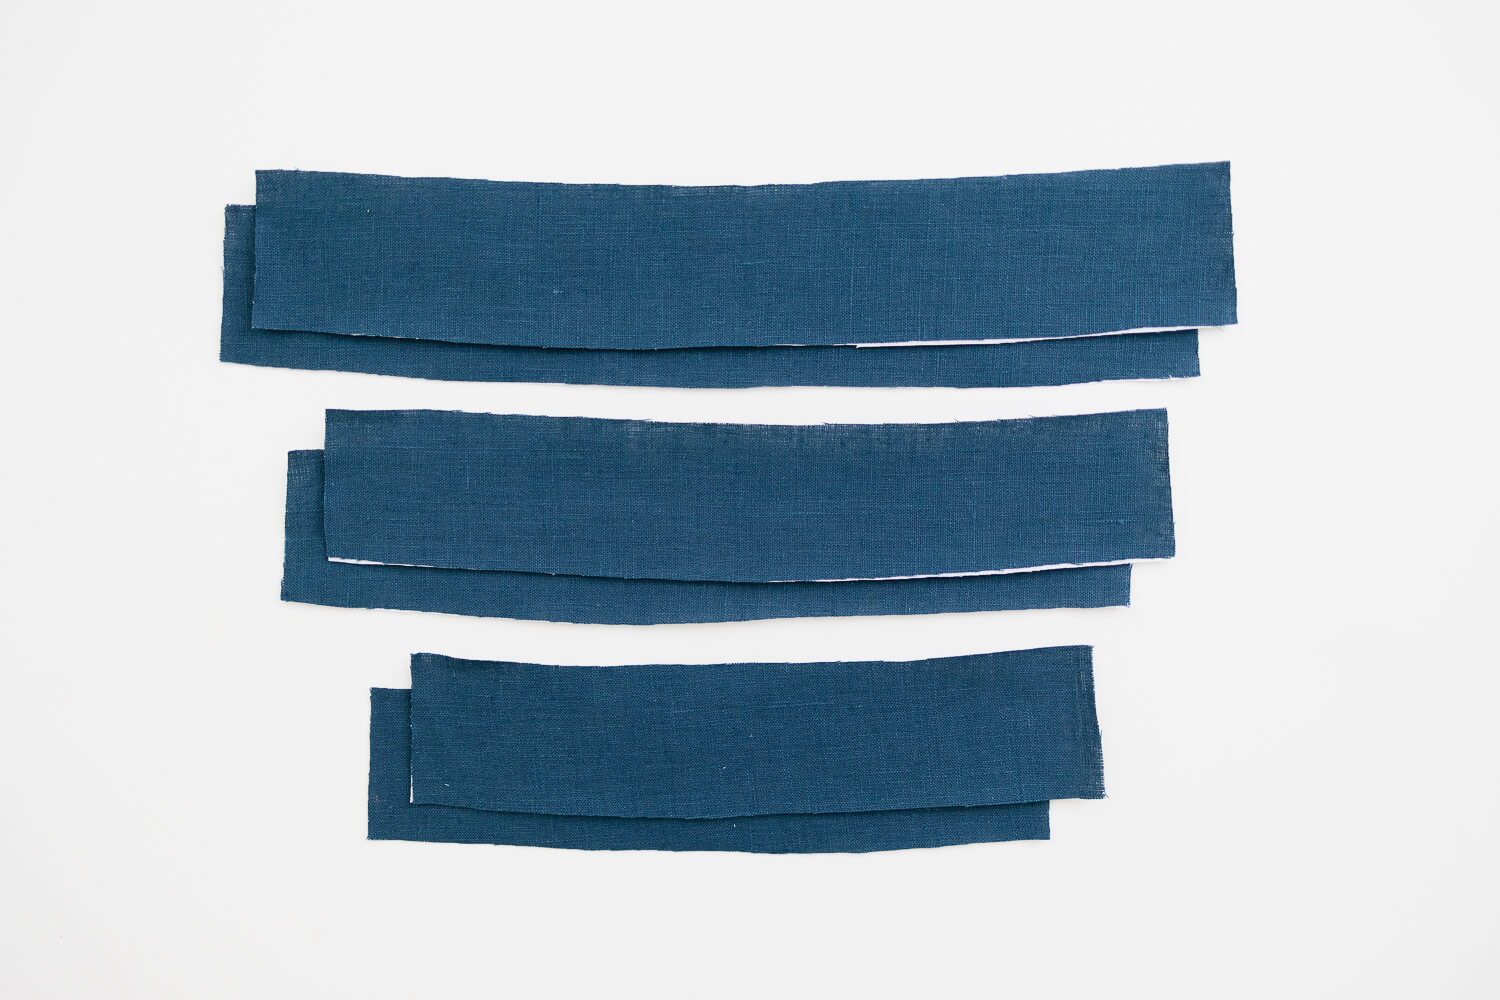
To start, make sure the Back Waistbands, Right Front Waistbands, and Left Front Waistbands are cut mirrored and interfaced on the wrong sides.
Use the pattern markings and refer to page 48 of the booklet to tell which set is the outer waistband and which is the inner.
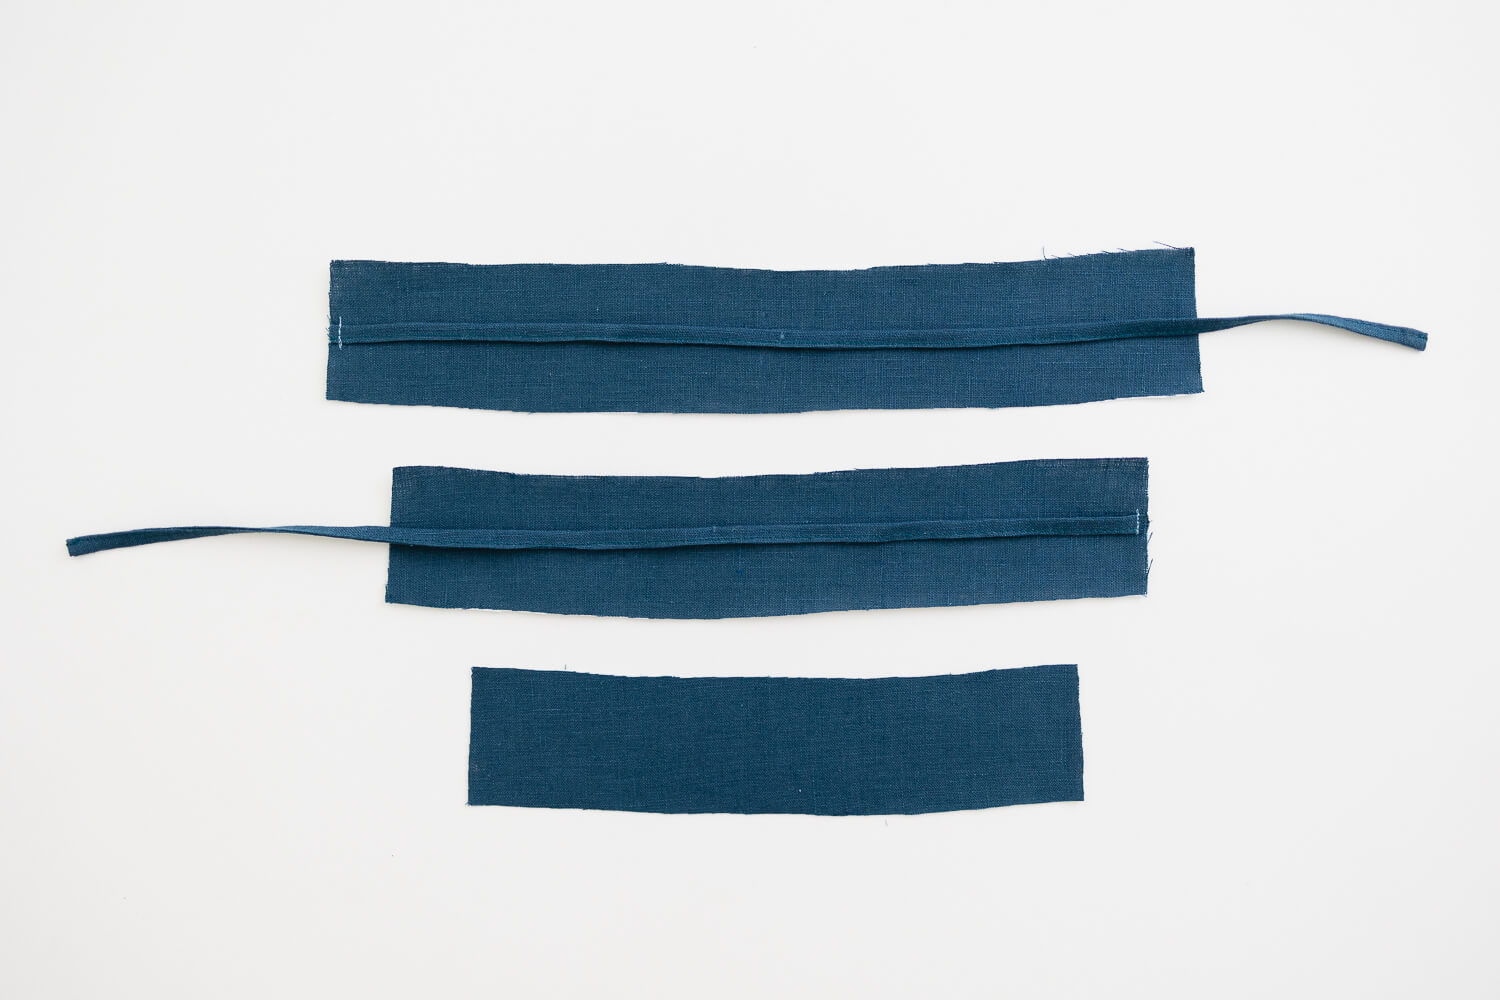
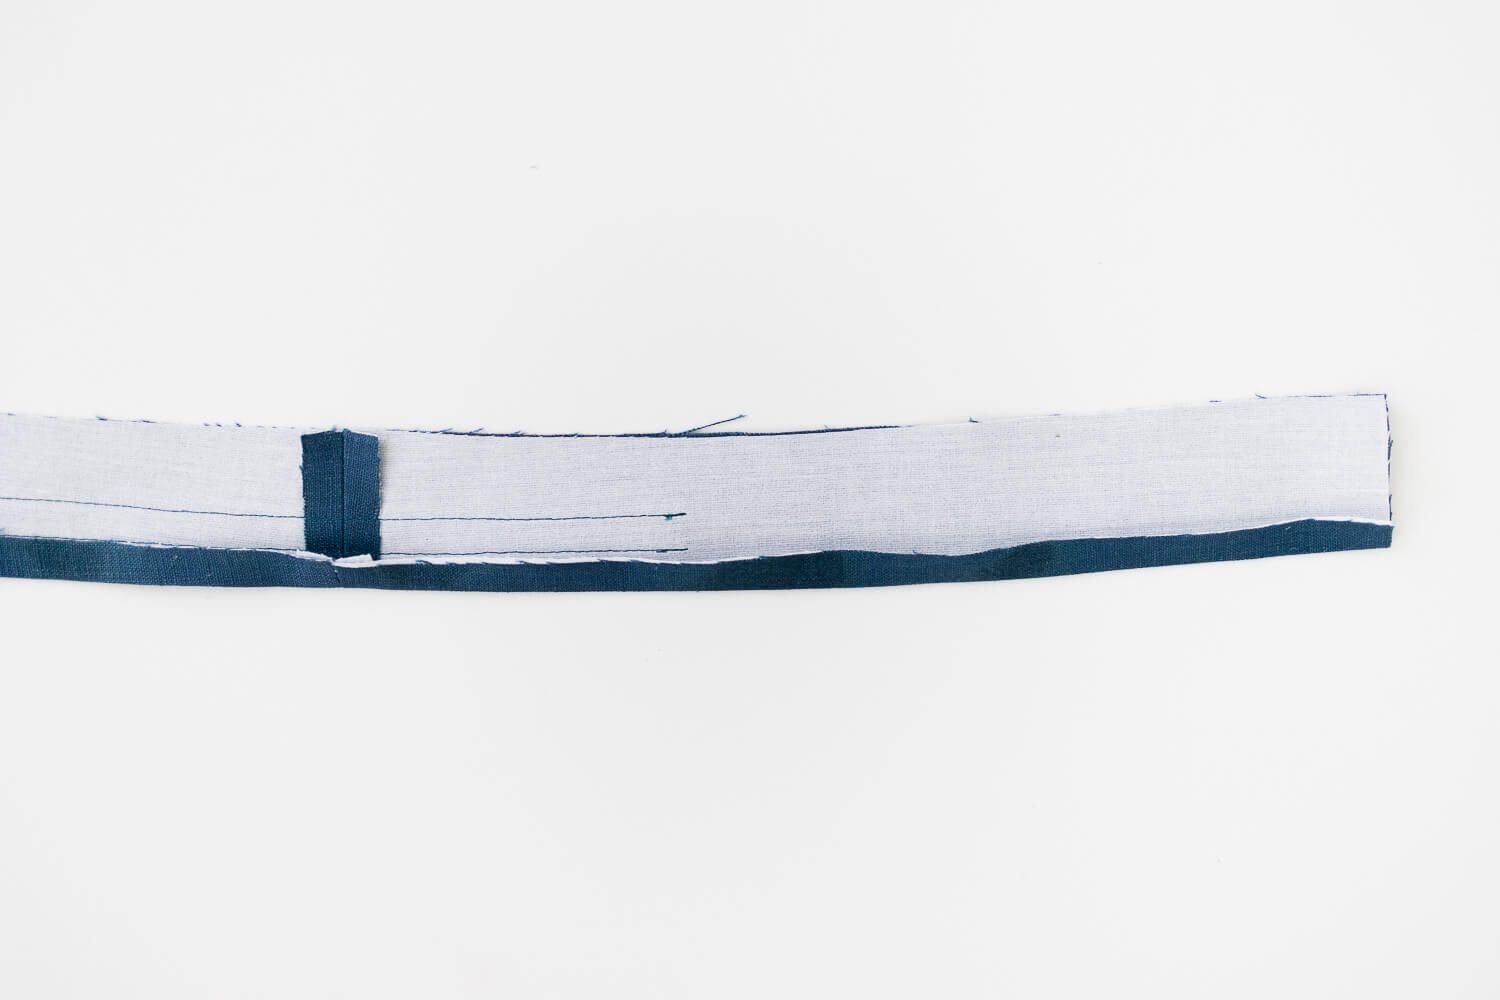
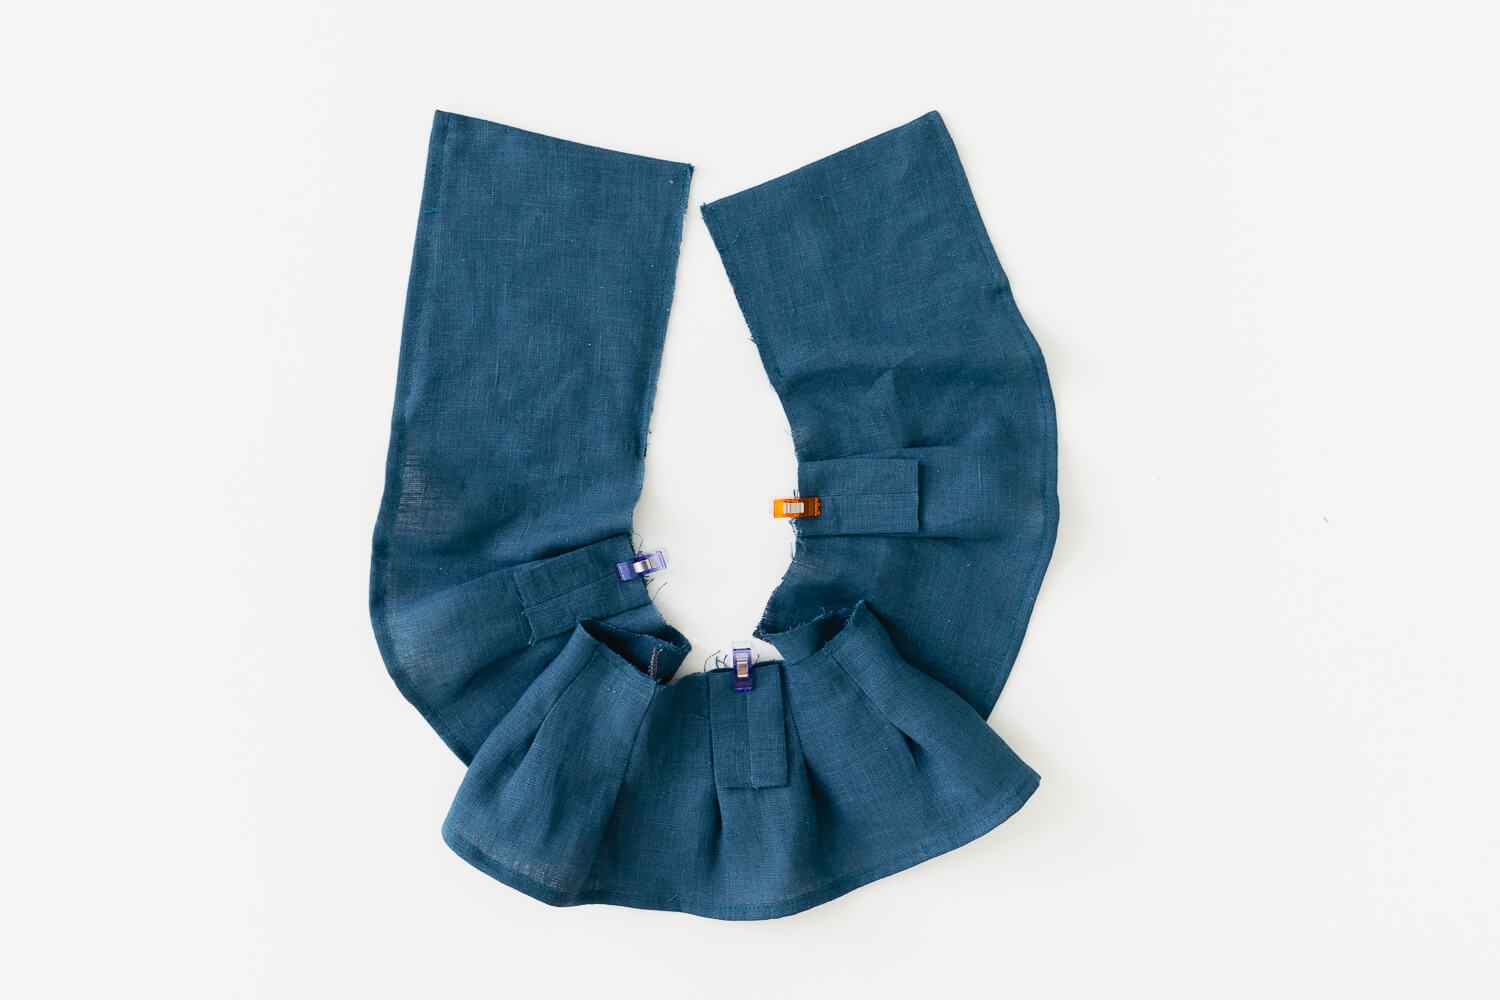
Starting with the inner waistband set, sew the Inner Waist Ties (S) to the Back and Left Front pieces. Sew with 1/4” seam on the right side of the waistbands as shown.
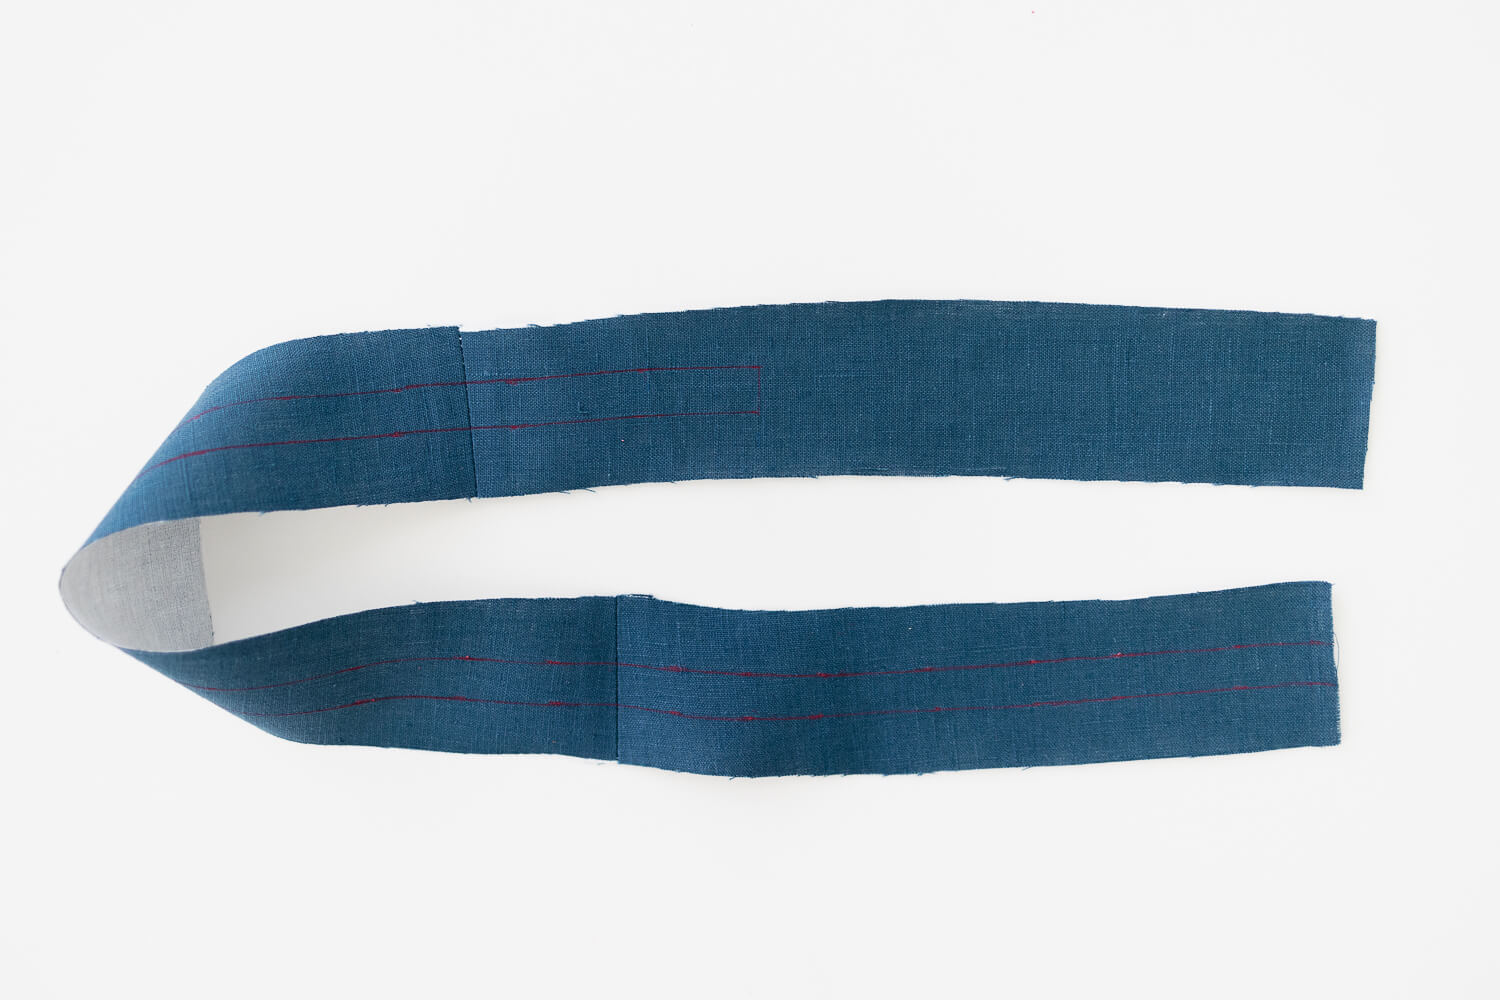
Sew the inner and outer waistband sets together with 1/2” seam allowance. Press seams open.
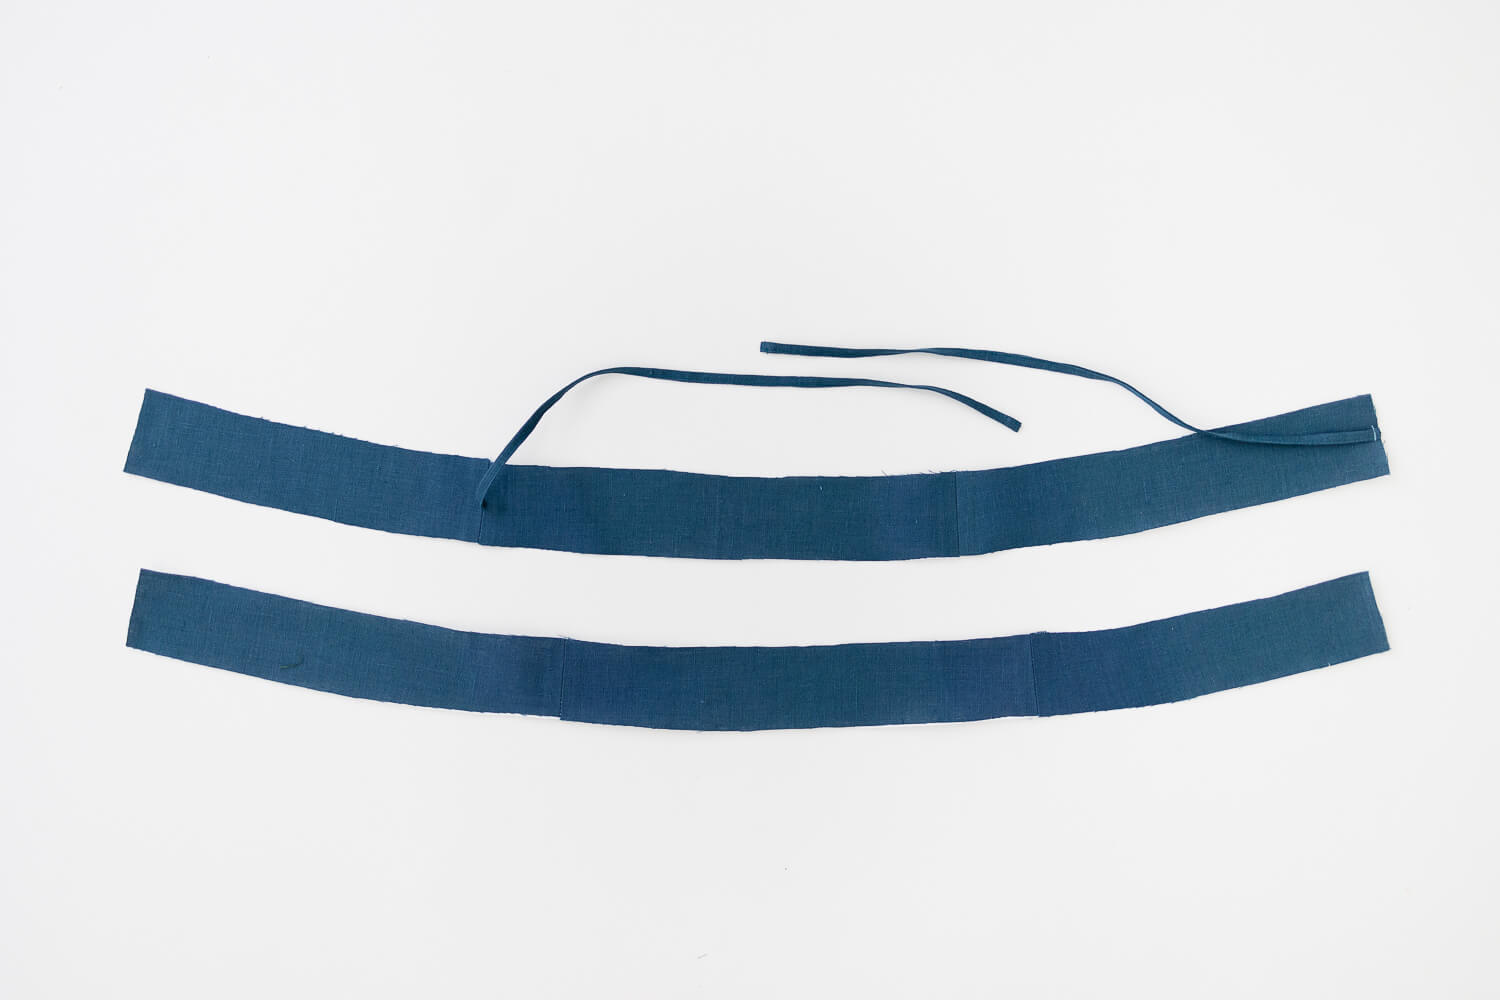
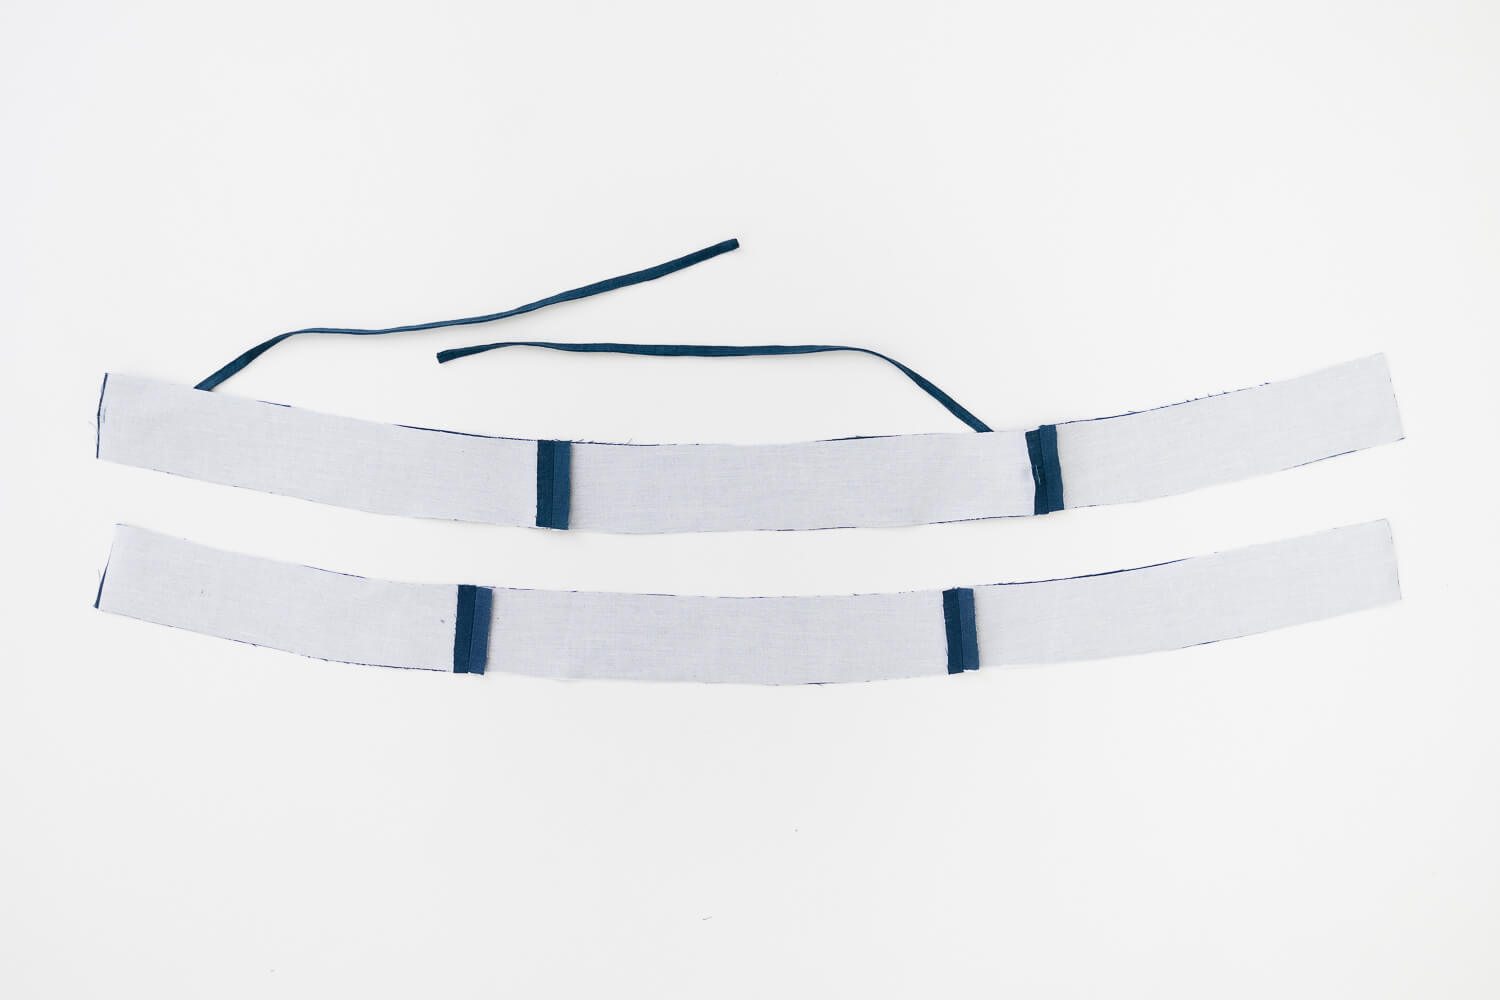 Set aside the inner waistband for now.
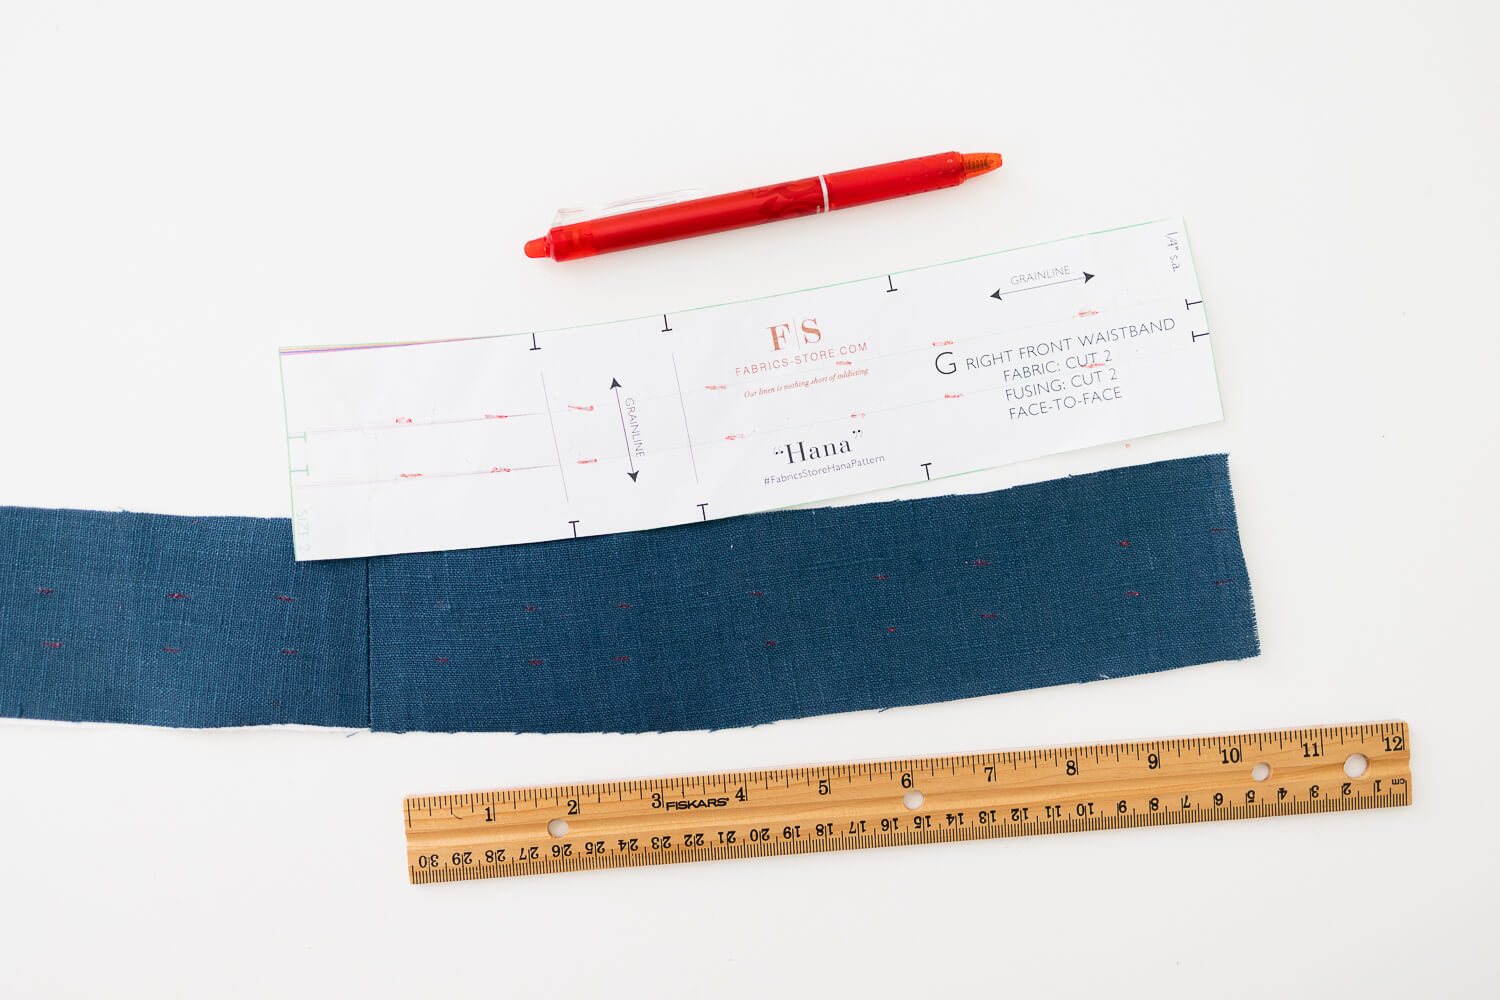
On the outer waistband, transfer the center pattern markings for the casing placement. One way to do this is to use a fabric pen. Draw a series of dashes through the paper pattern onto the fabric with the pen, then connect the dashes using a ruler.
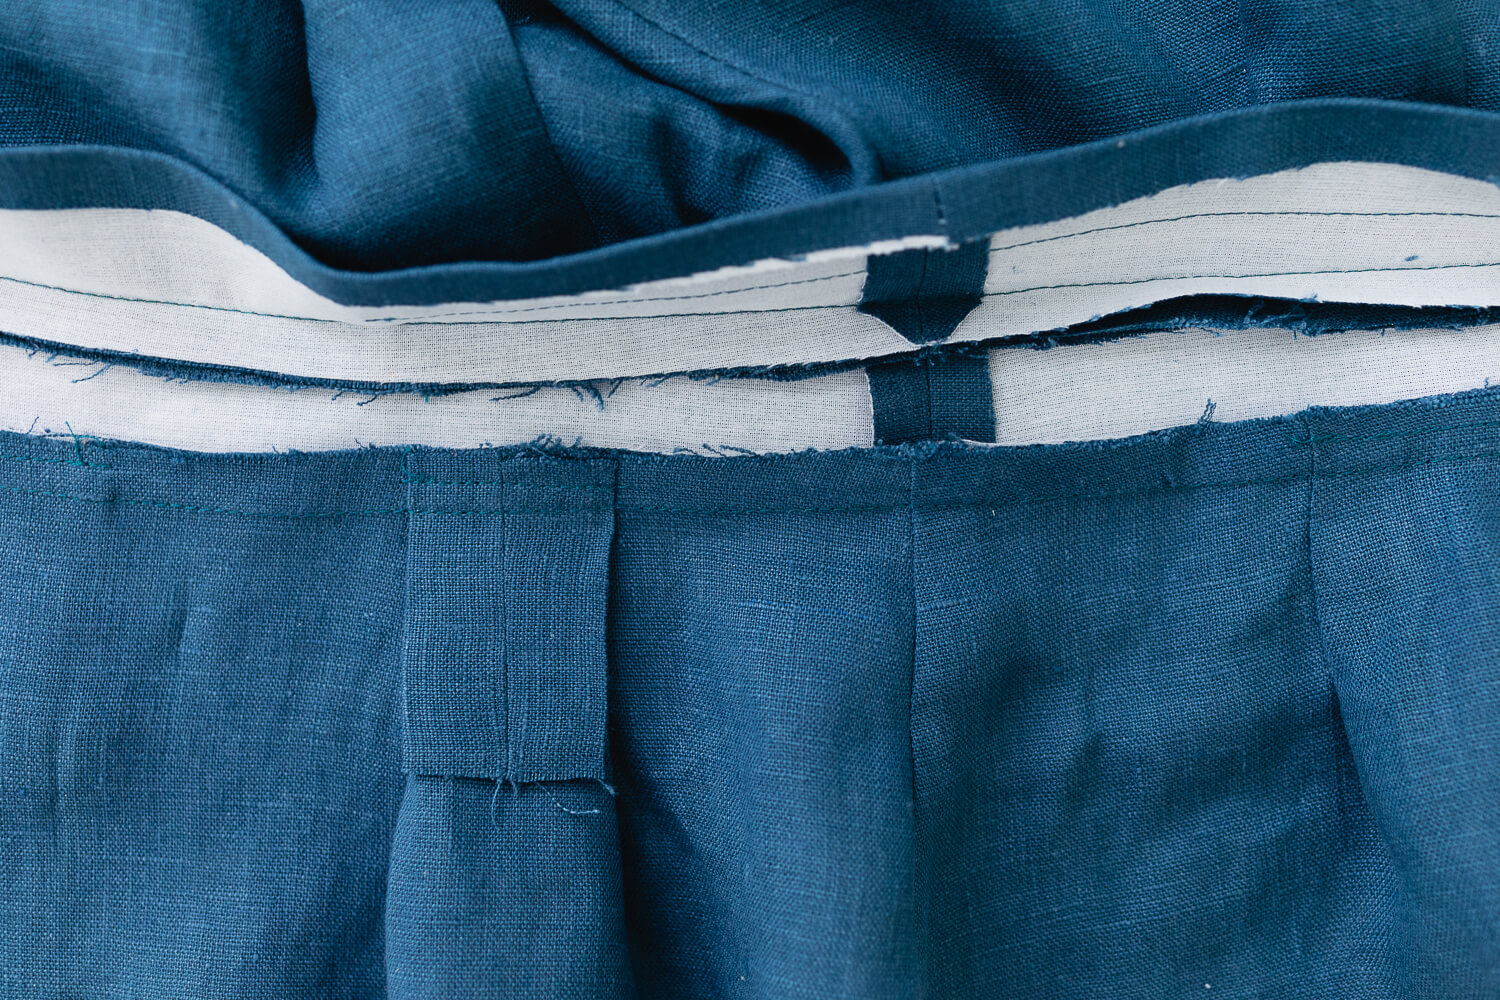
To prepare the drawstring casing, fold each end in 1/2” toward the wrong side and press. Then fold in each long edge 1/4” to the center and press.
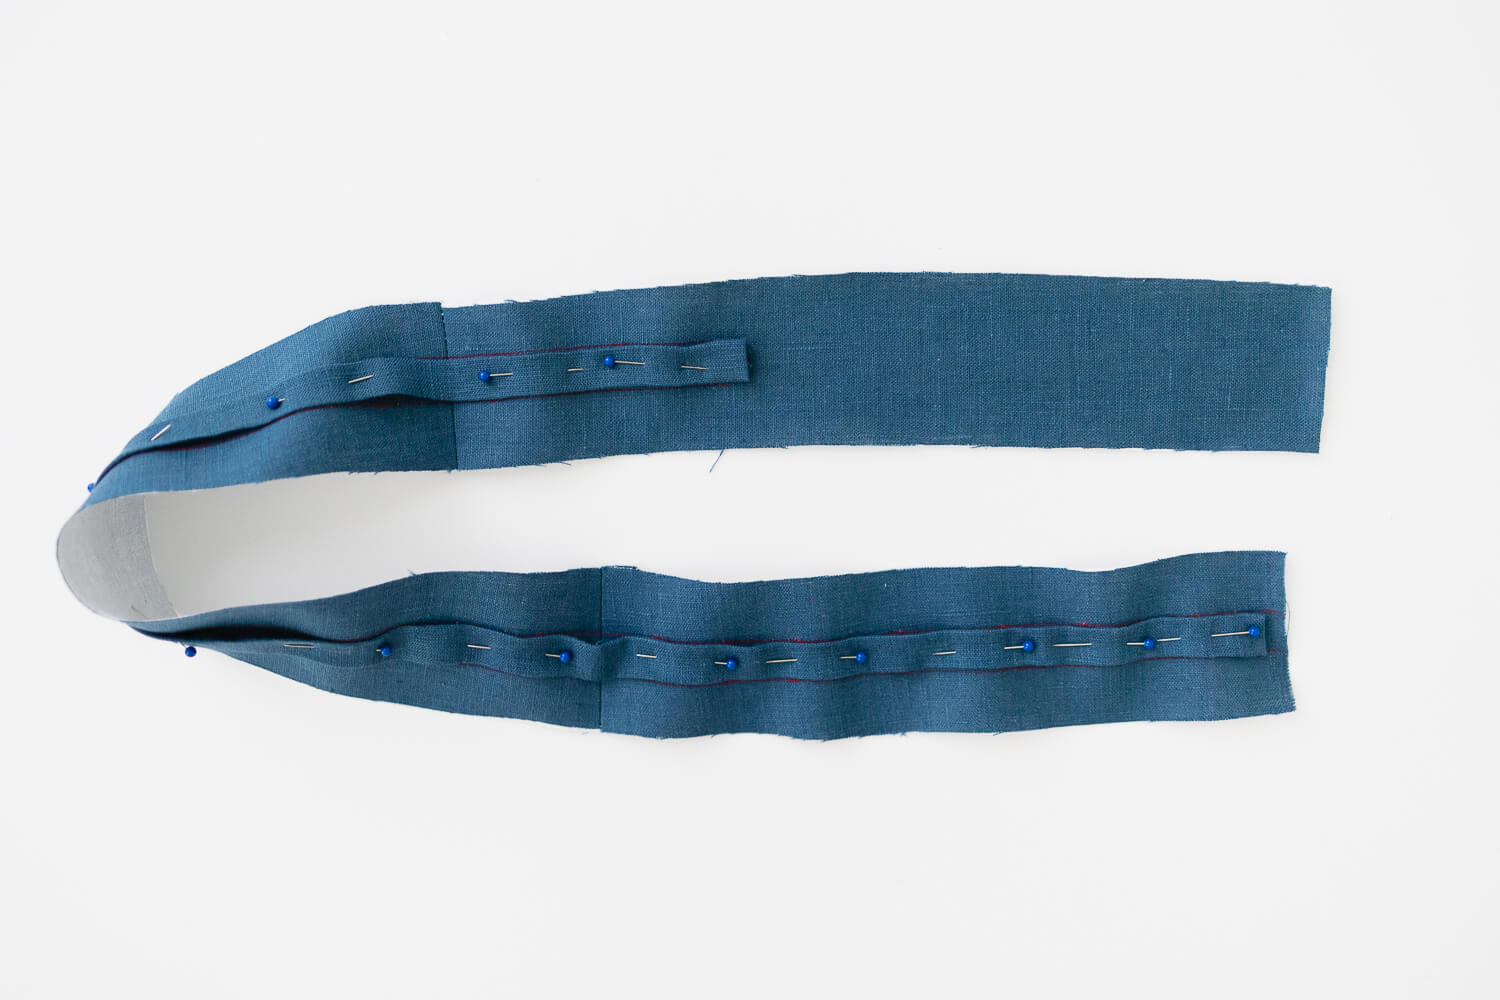
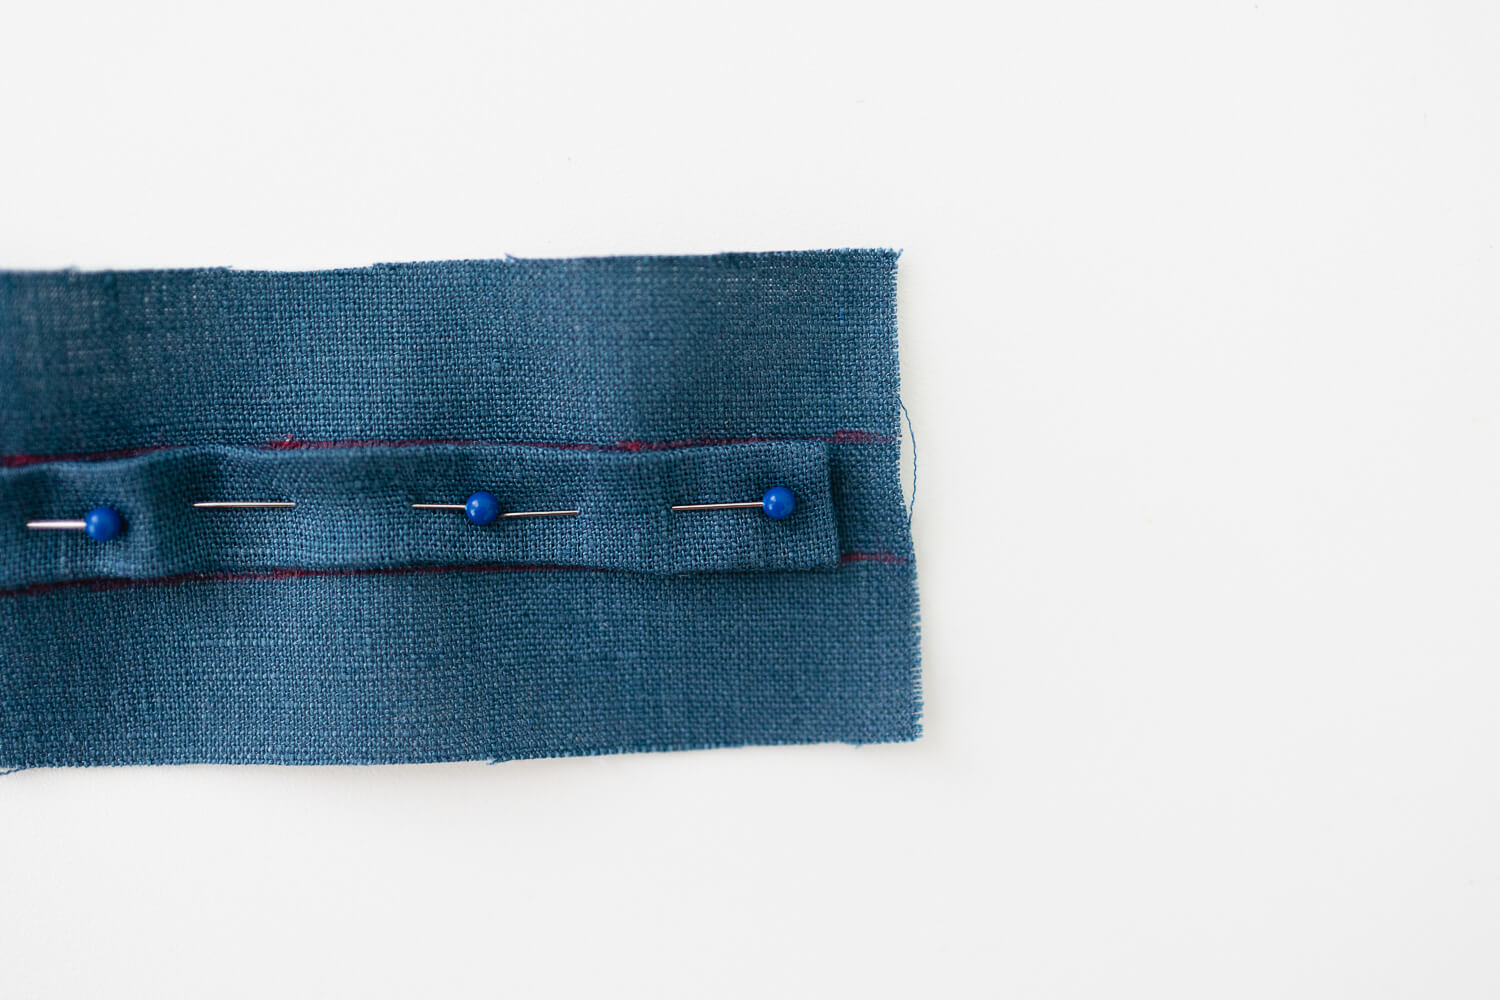
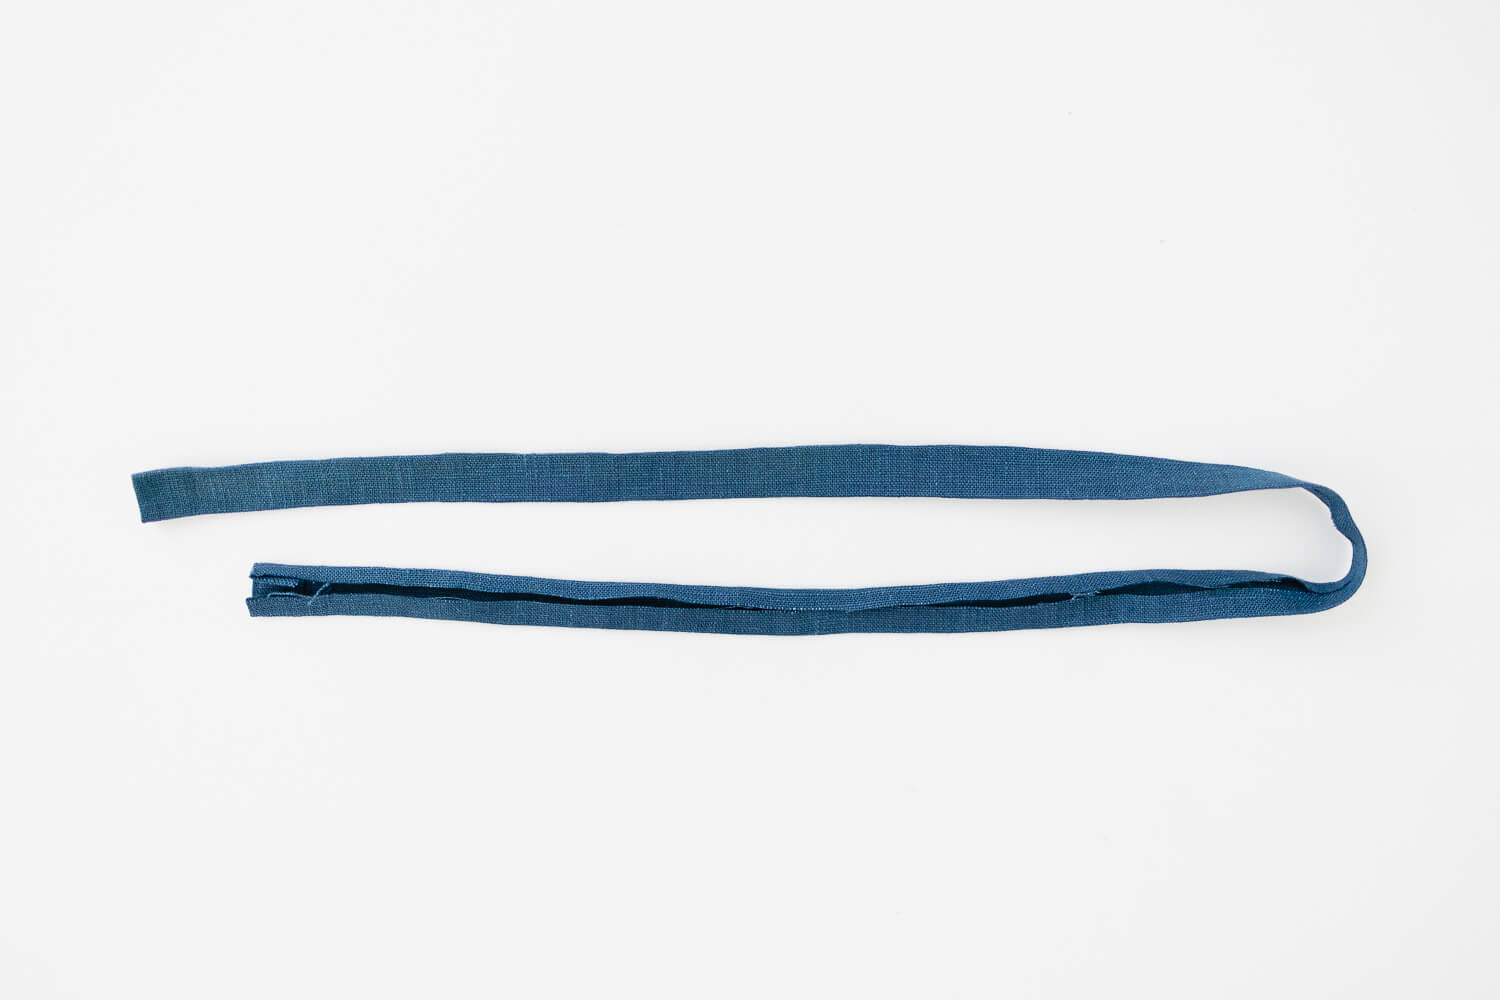 Pin the casing in place using the pen markings as a guide. Be sure the end of the casing is about 1/4” away from the short edge of the Right Front Waistband (G). This will be a seam allowance to sew the inner and outer waistbands together.
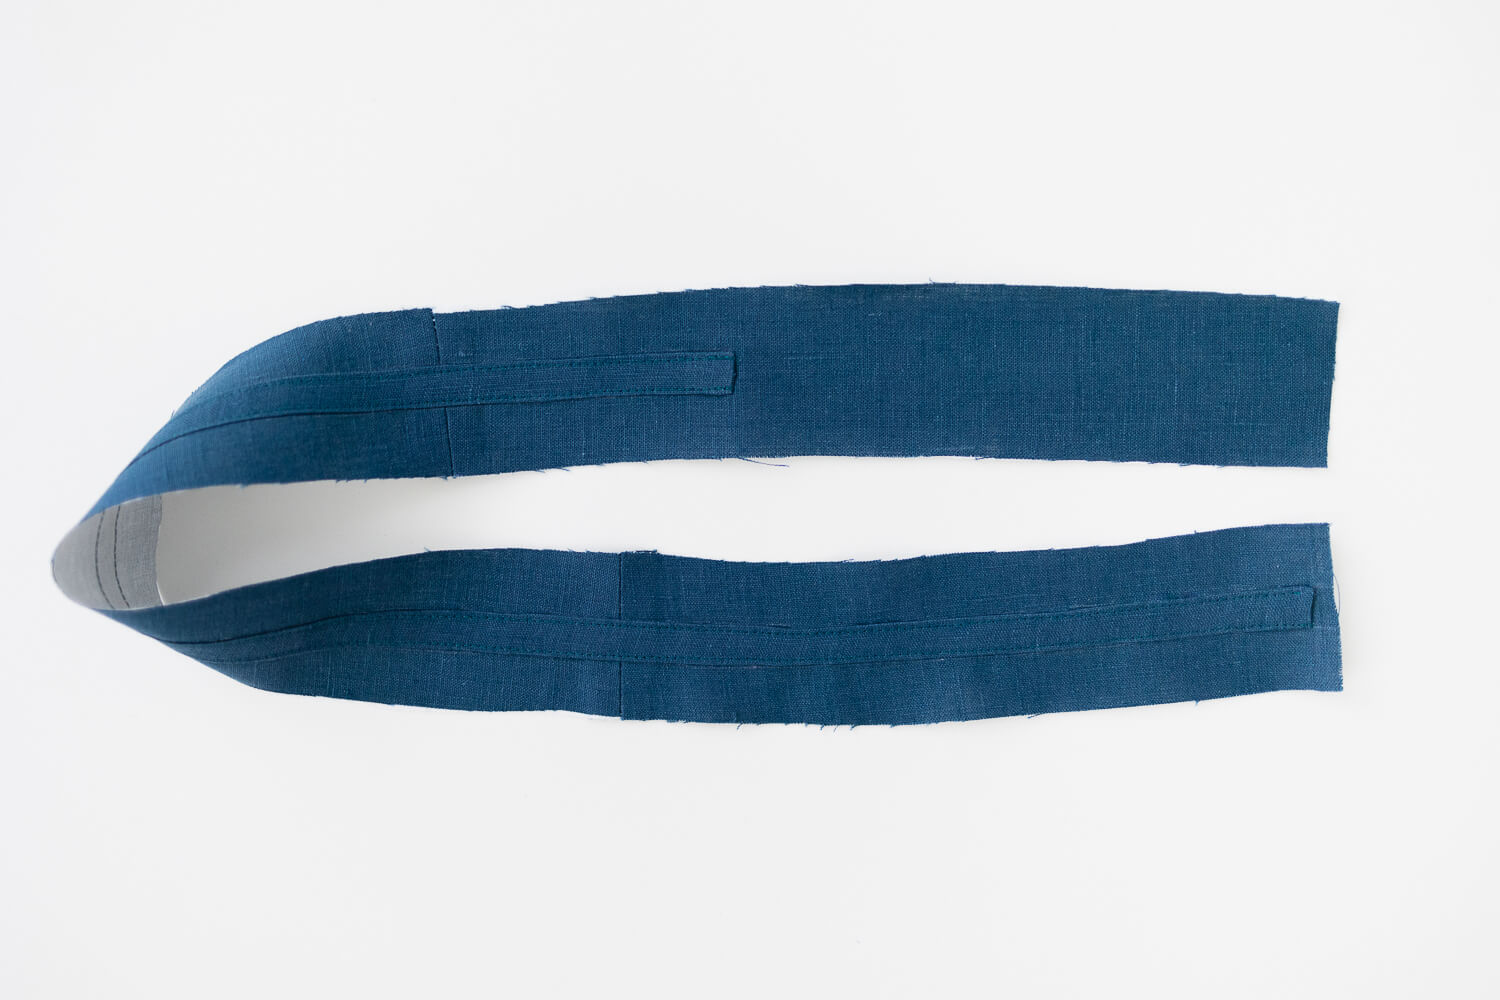
Carefully edgestitch the top and bottom of the casing to the outer waistband. Sew 1/16” from the folded edges.
Fold the bottom edge of the outer waistband 1/2” to the wrong side. Press.
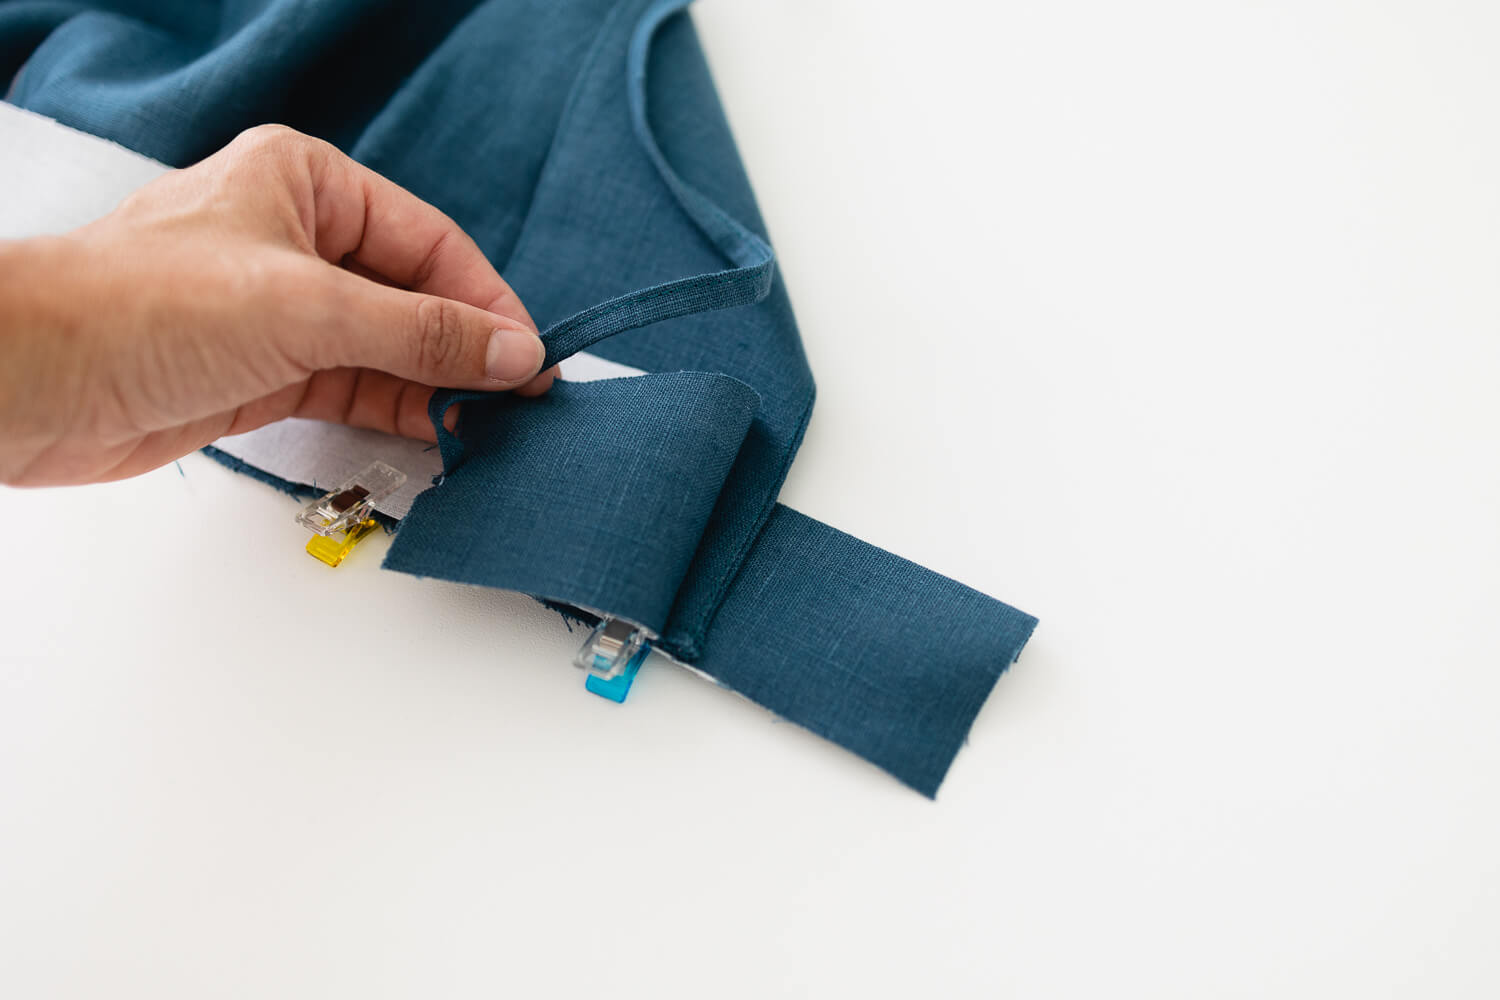
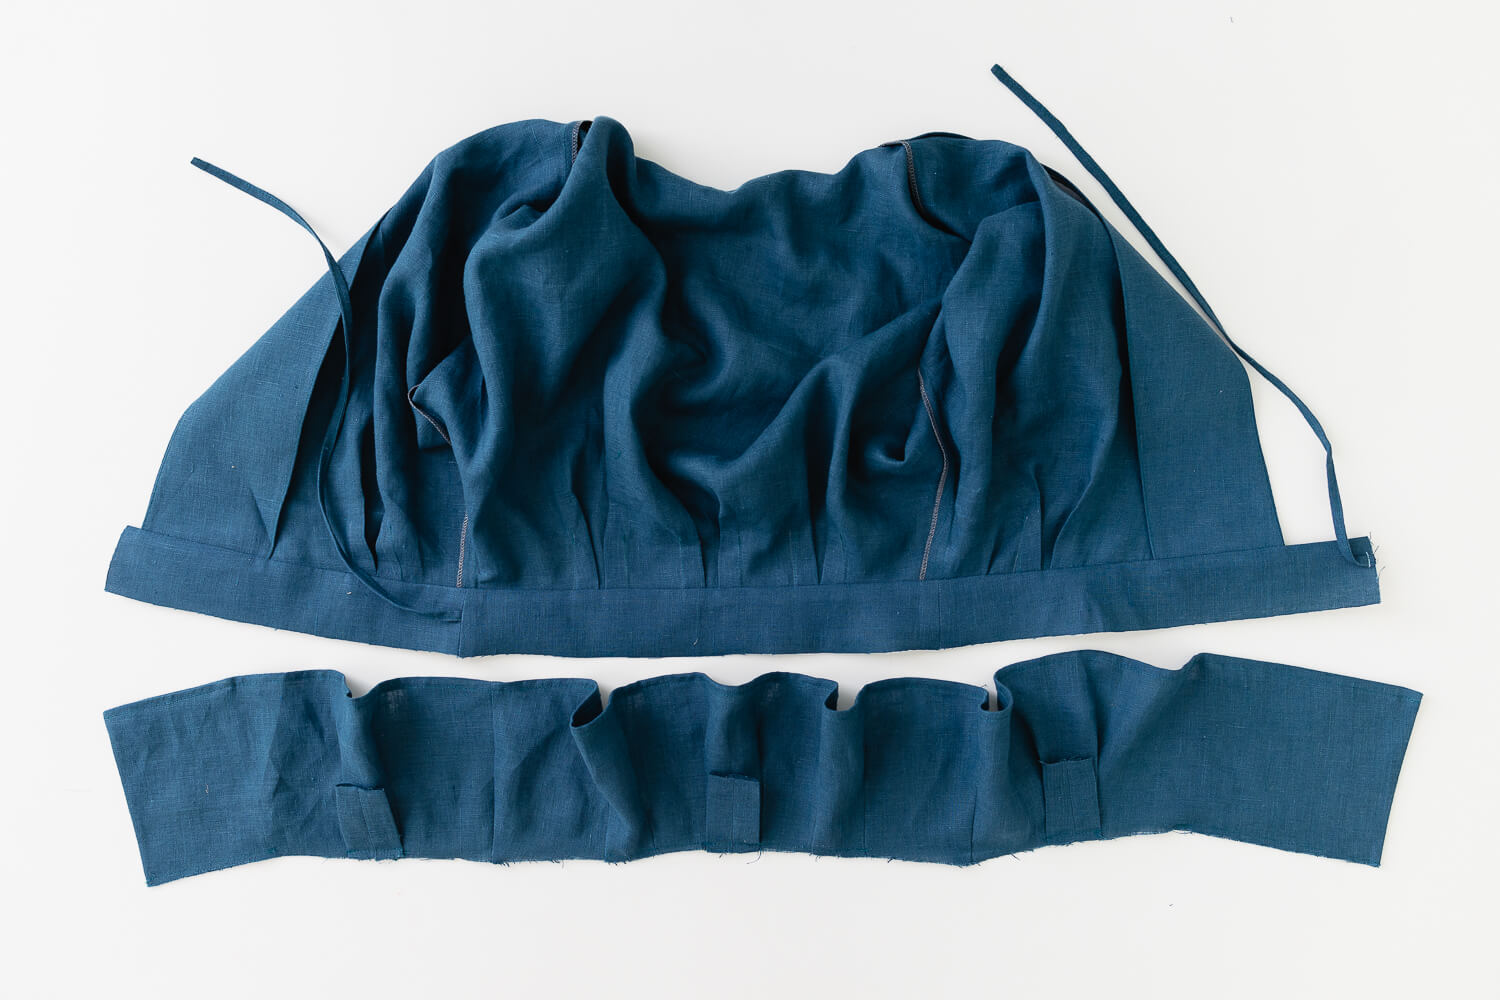
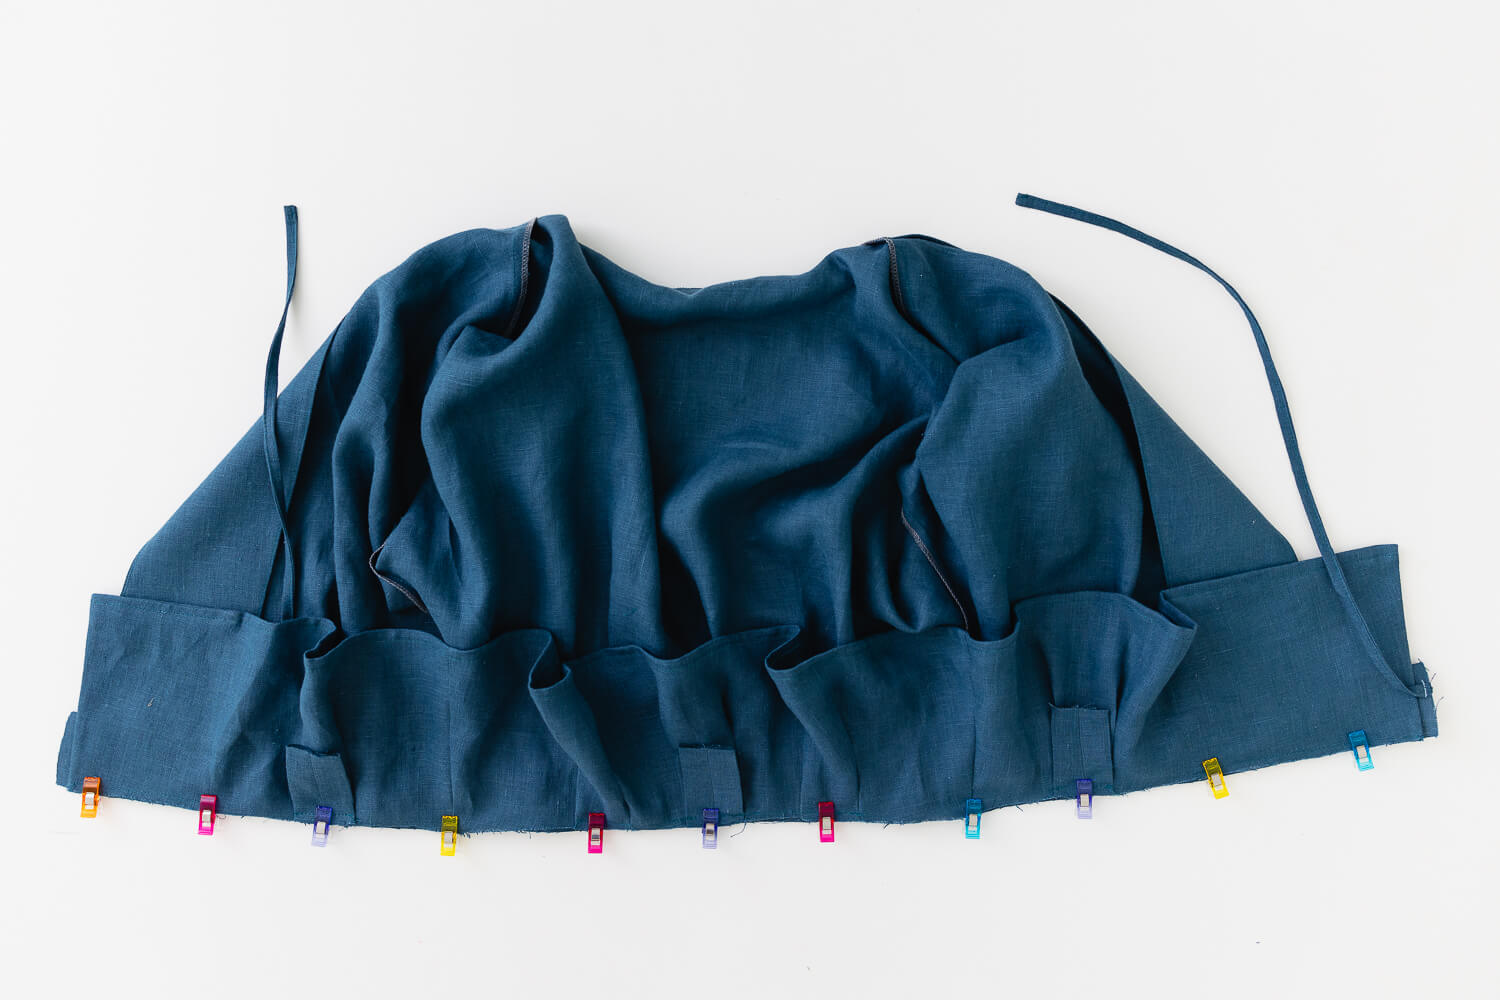
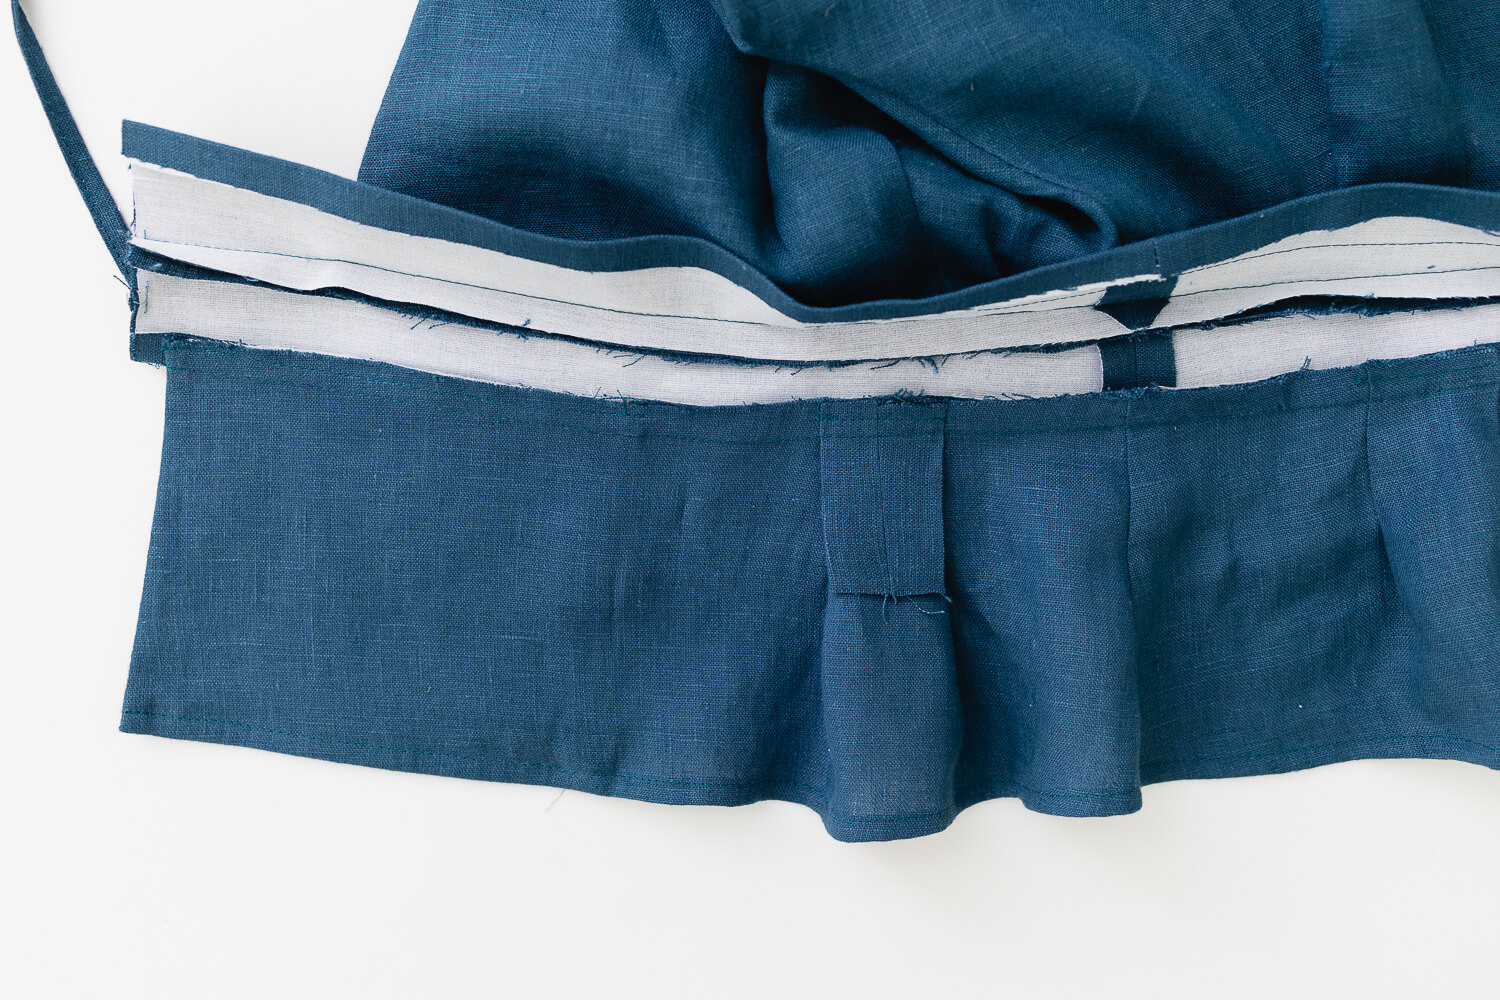
Sandwich the bottom edge of the Hana bodice in between the top edge of the inner and outer waistbands. Place the outer waistband right sides together with the bodice. Then place the inner waistband’s right side to bodice’s wrong side.
Match up the side seams and pin or clip in place.
Note: It can be difficult to get everything to line up perfectly in a pattern with so many moving parts. Ideally the pleats of the bodice and skirt align, and the side seams of all four pieces align. But have some grace if everything doesn’t line up perfectly. It doesn’t have to be perfect to be beautiful.
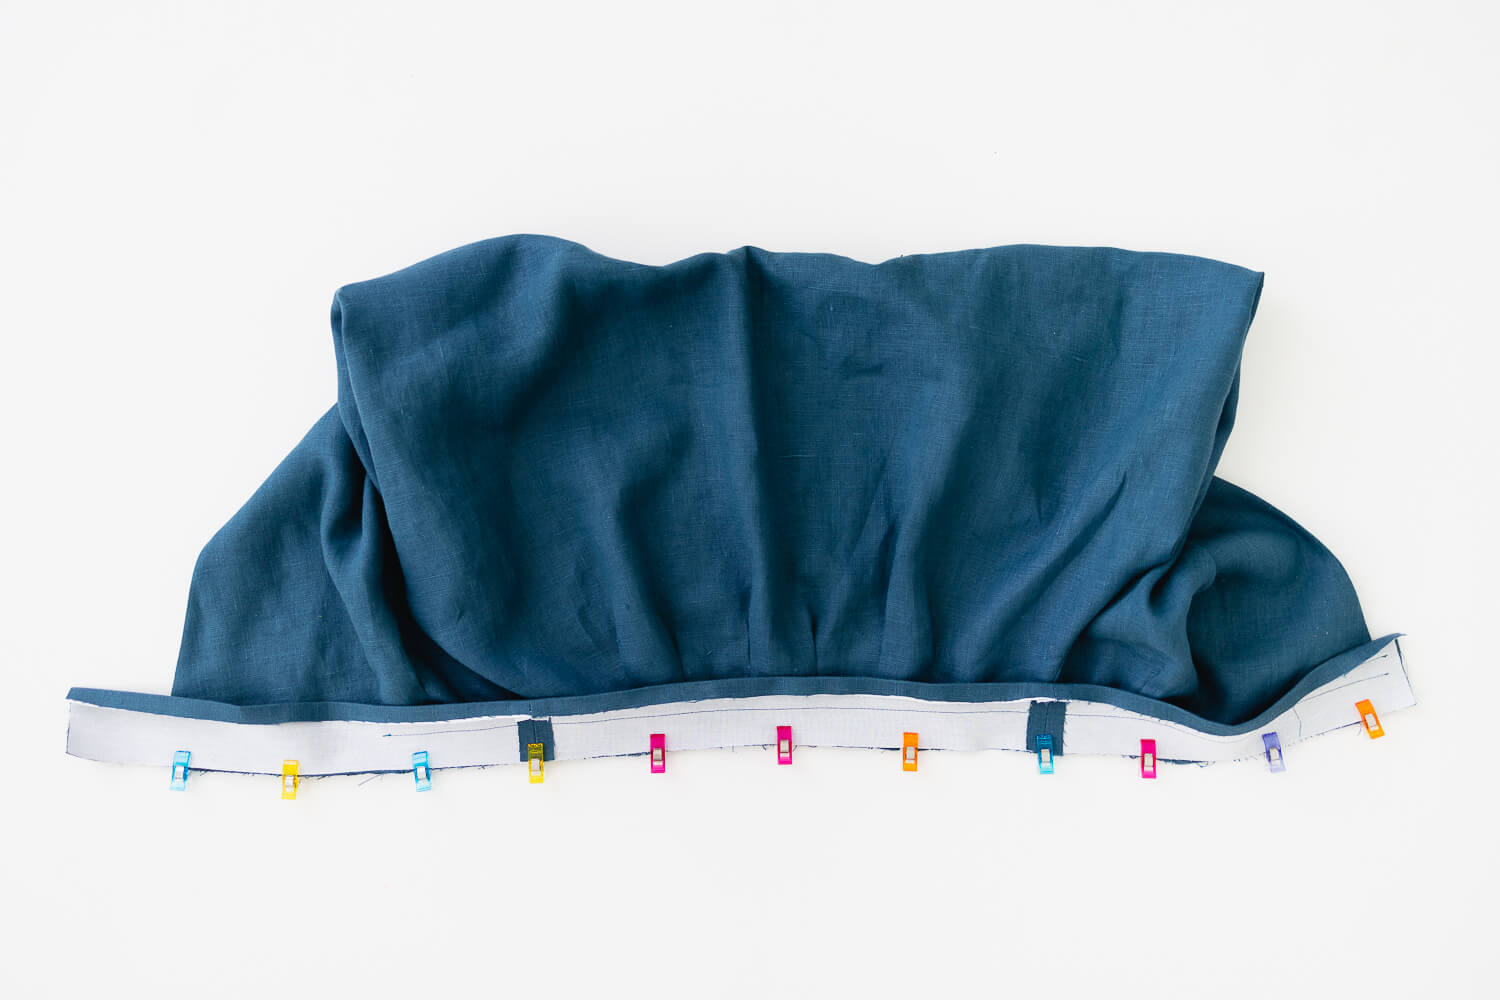
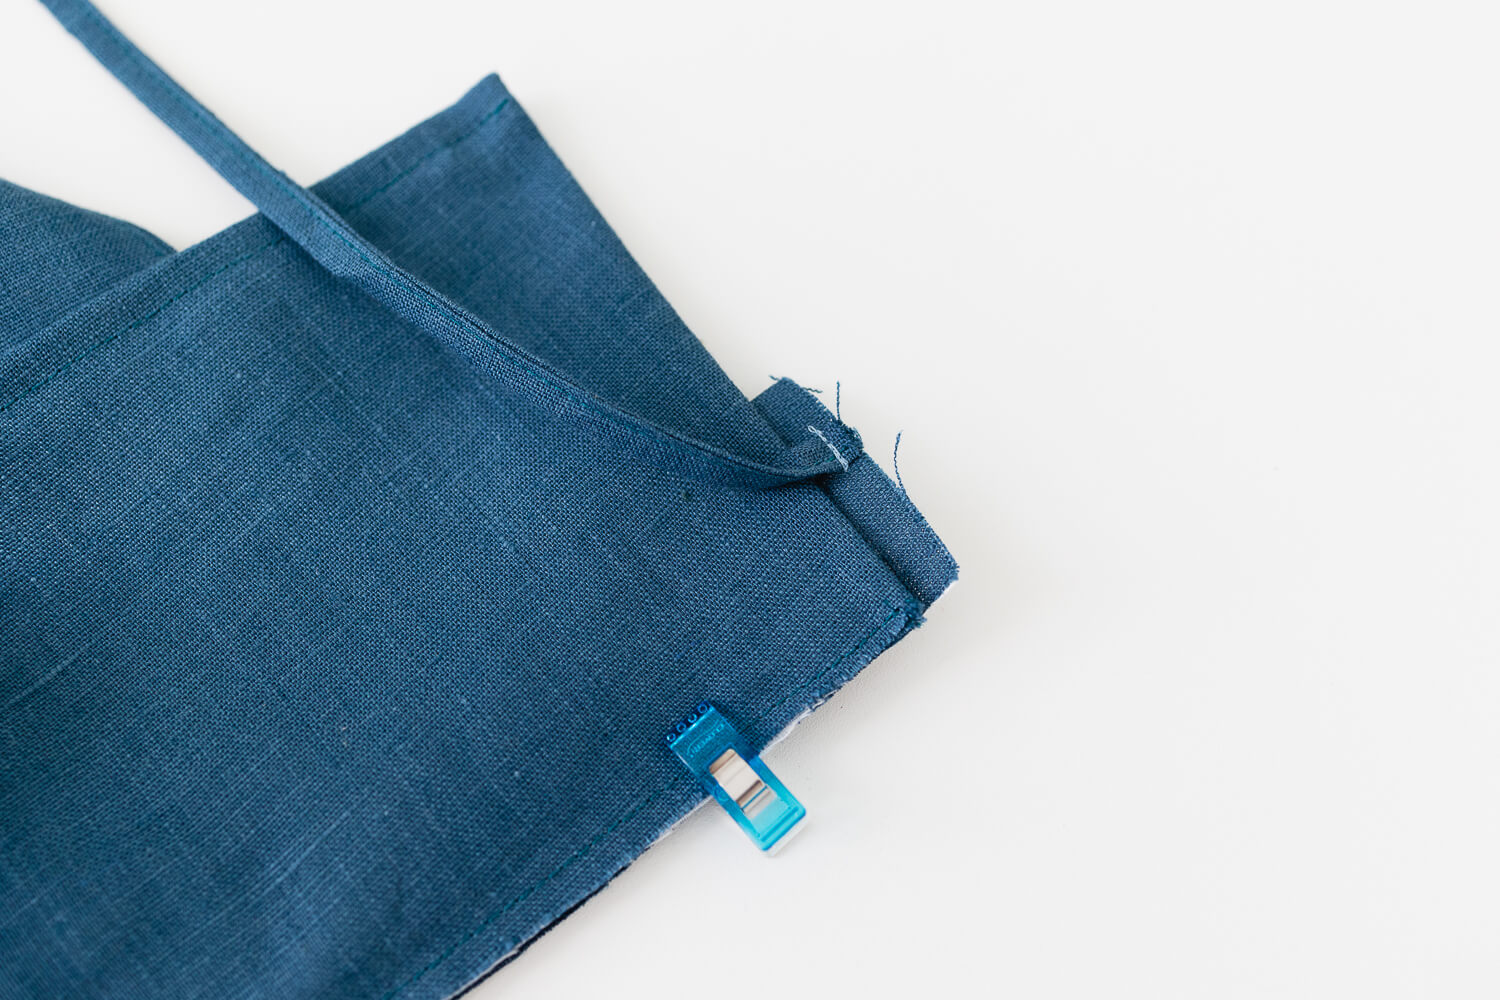
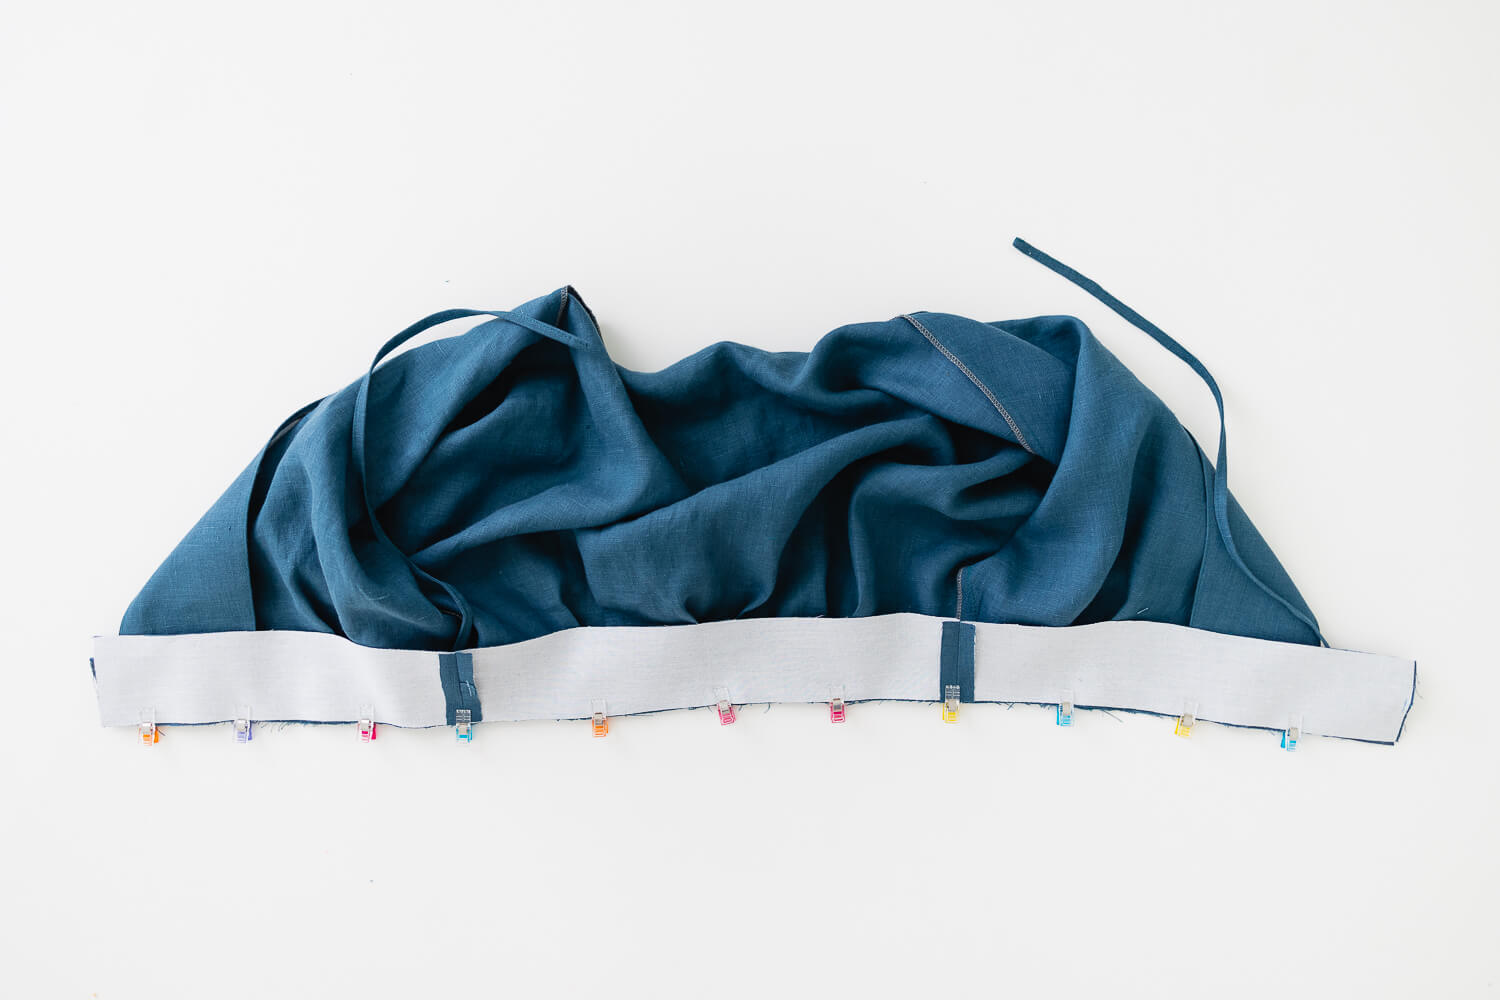 On the wearer’s right, be sure to leave about 1/4” overhanging. This will be the seam allowance to sew the waistbands together later.
On the wearer’s left, there should be a few inches overhanging.
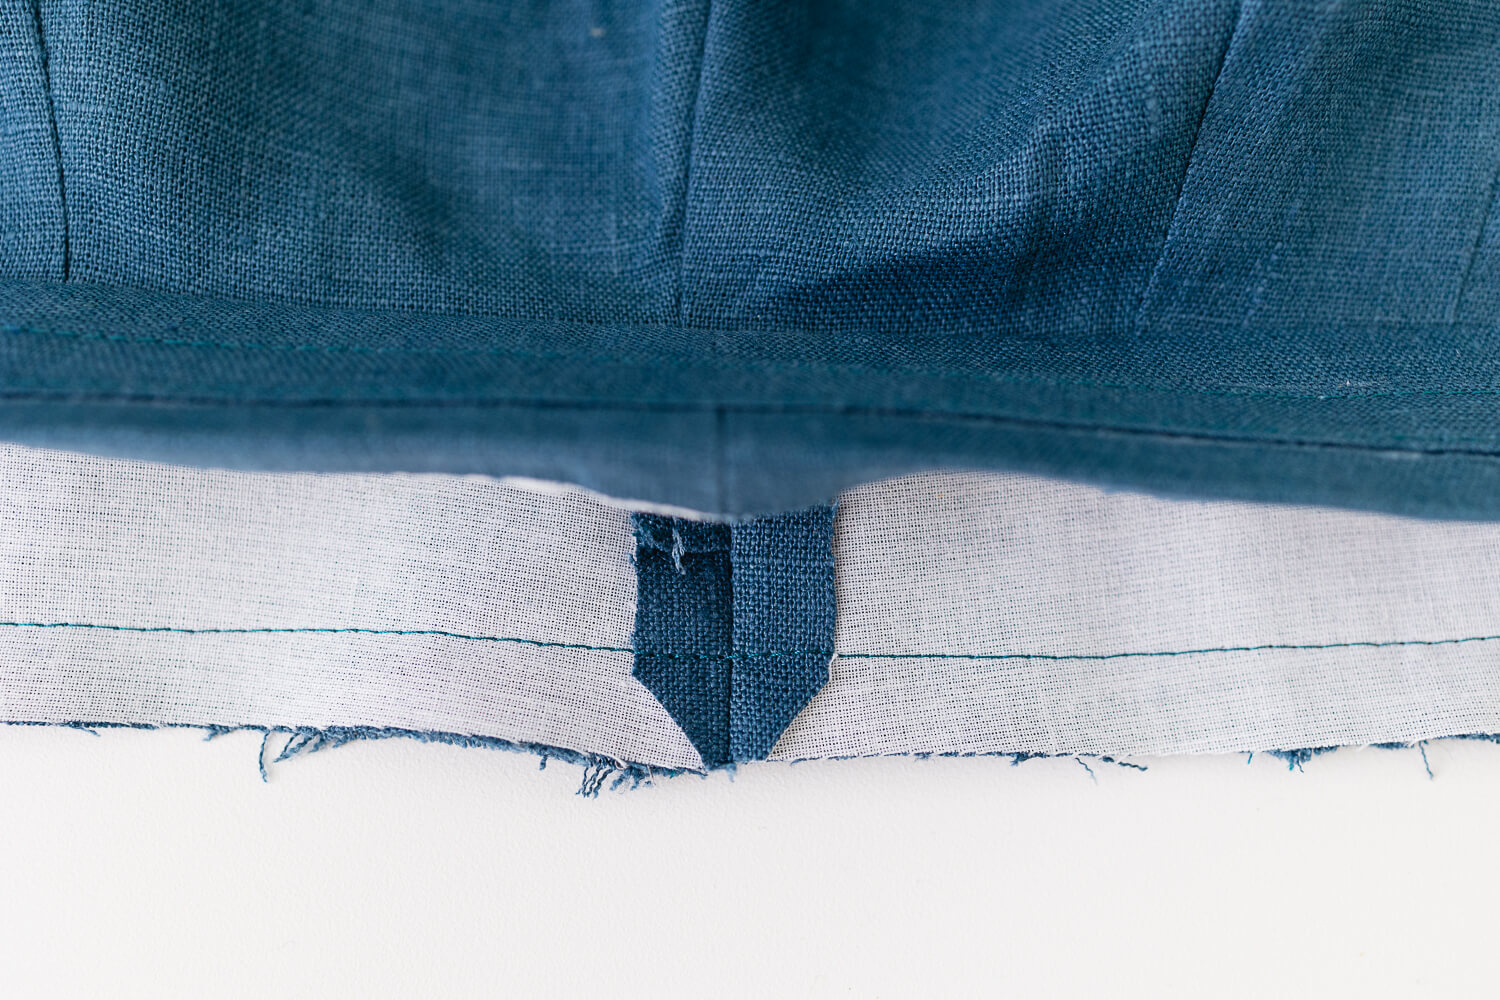
Sew with 1/2” seam allowance. To reduce bulk, clip the corners of the waistband side seam seam allowances.
Fold both outer and inner waistbands down and press.
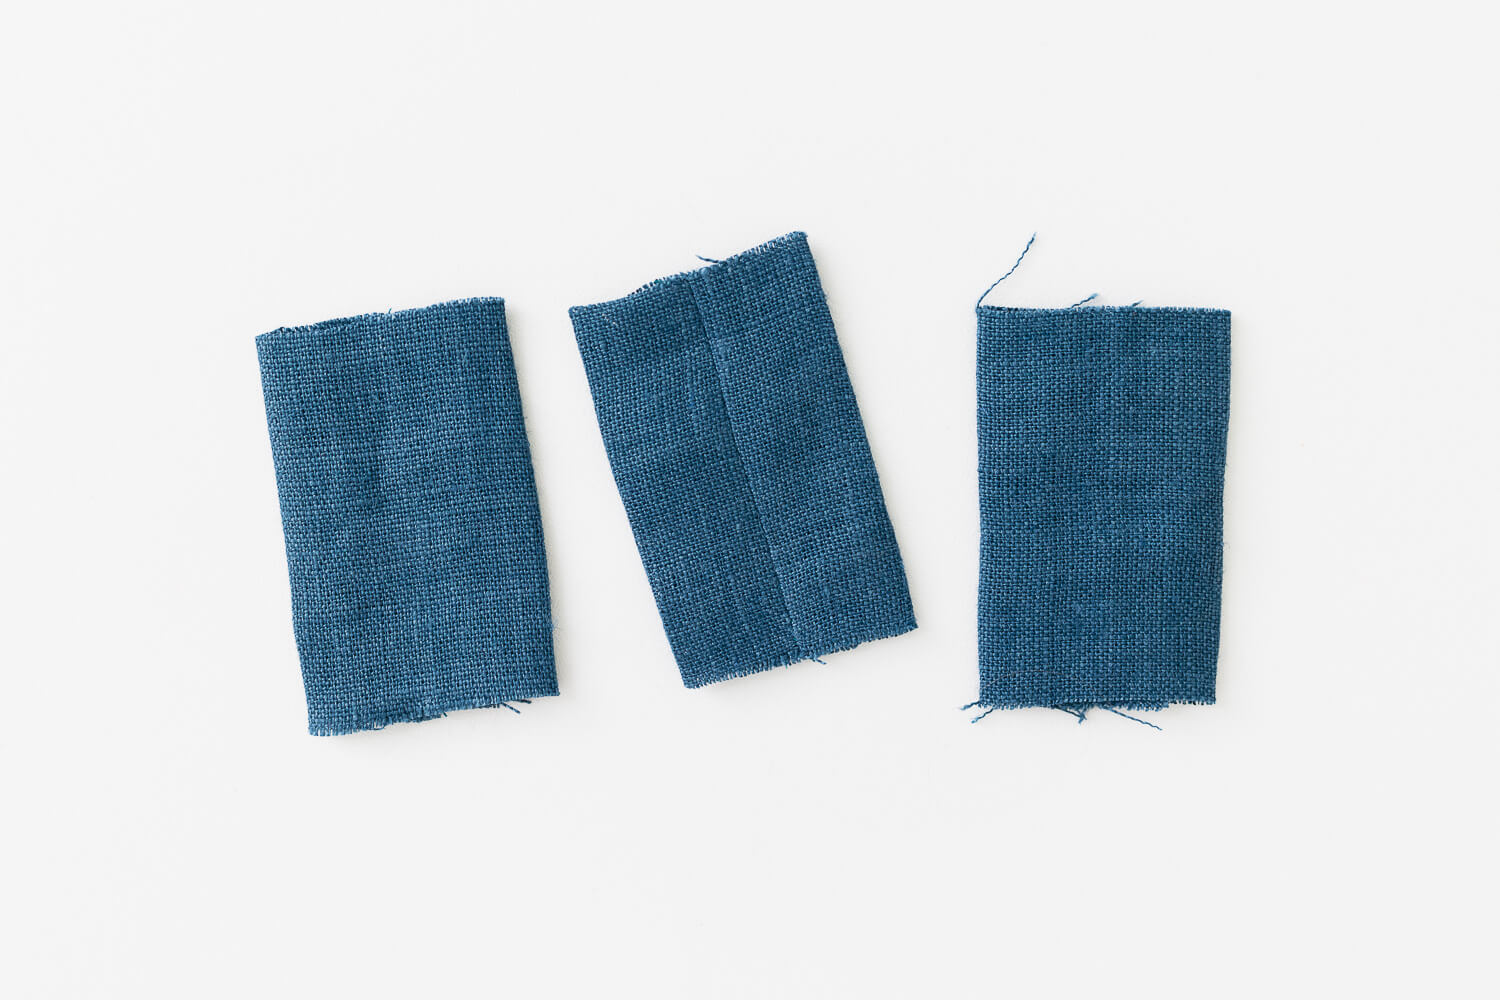
Prepare the belt loops by following the steps on page 53.
Attach the belt loops to the top edge of the skirt. Place one on the back center pleat, one on the front right pleat, and one on the front left pleat. Place right sides together and sew with 1/2” staystitch.
With the bodice’s and skirt’s wrong sides facing each other, align the top edge of the skirt with the bottom edge of the inner waistband. Note: The wrong side of the skirt will be sewn to the right side of the inner waistband. Clip or pin in place.
The waistband should be protruding about 1/4” beyond the skirt on both the right and left side.
Sew with 1/2” seam allowance. (Sew just to the inner waistband, not also through the outer waistband.) Again to reduce bulk, clip the corners of the inner waistband side seams.
Press the seam allowance of the skirt up toward the waistband.
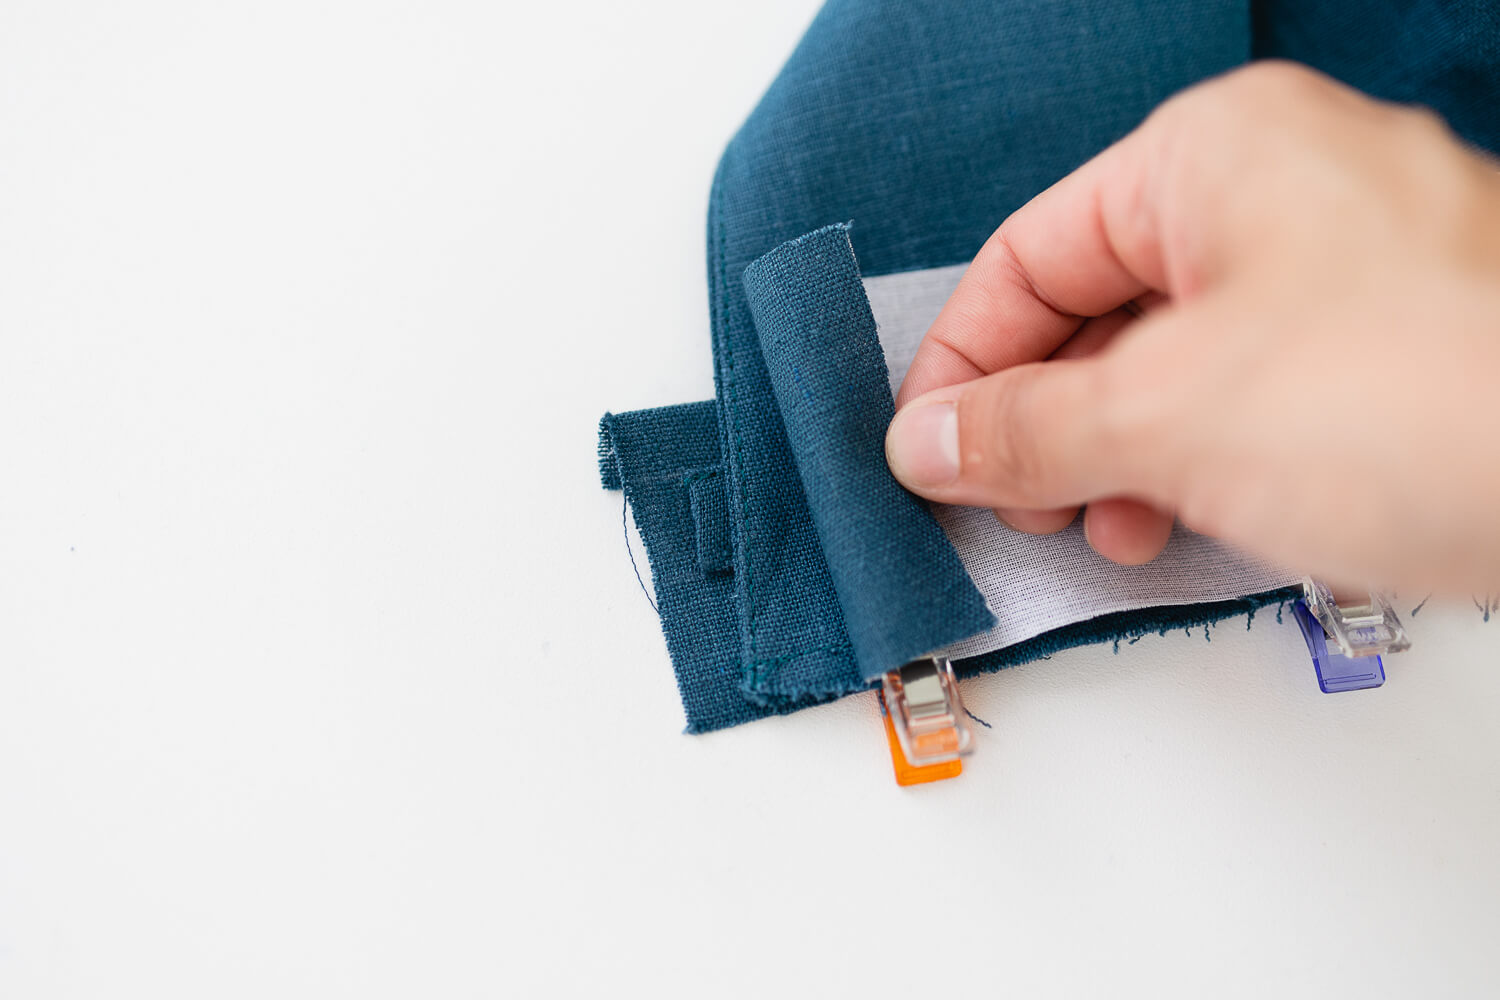
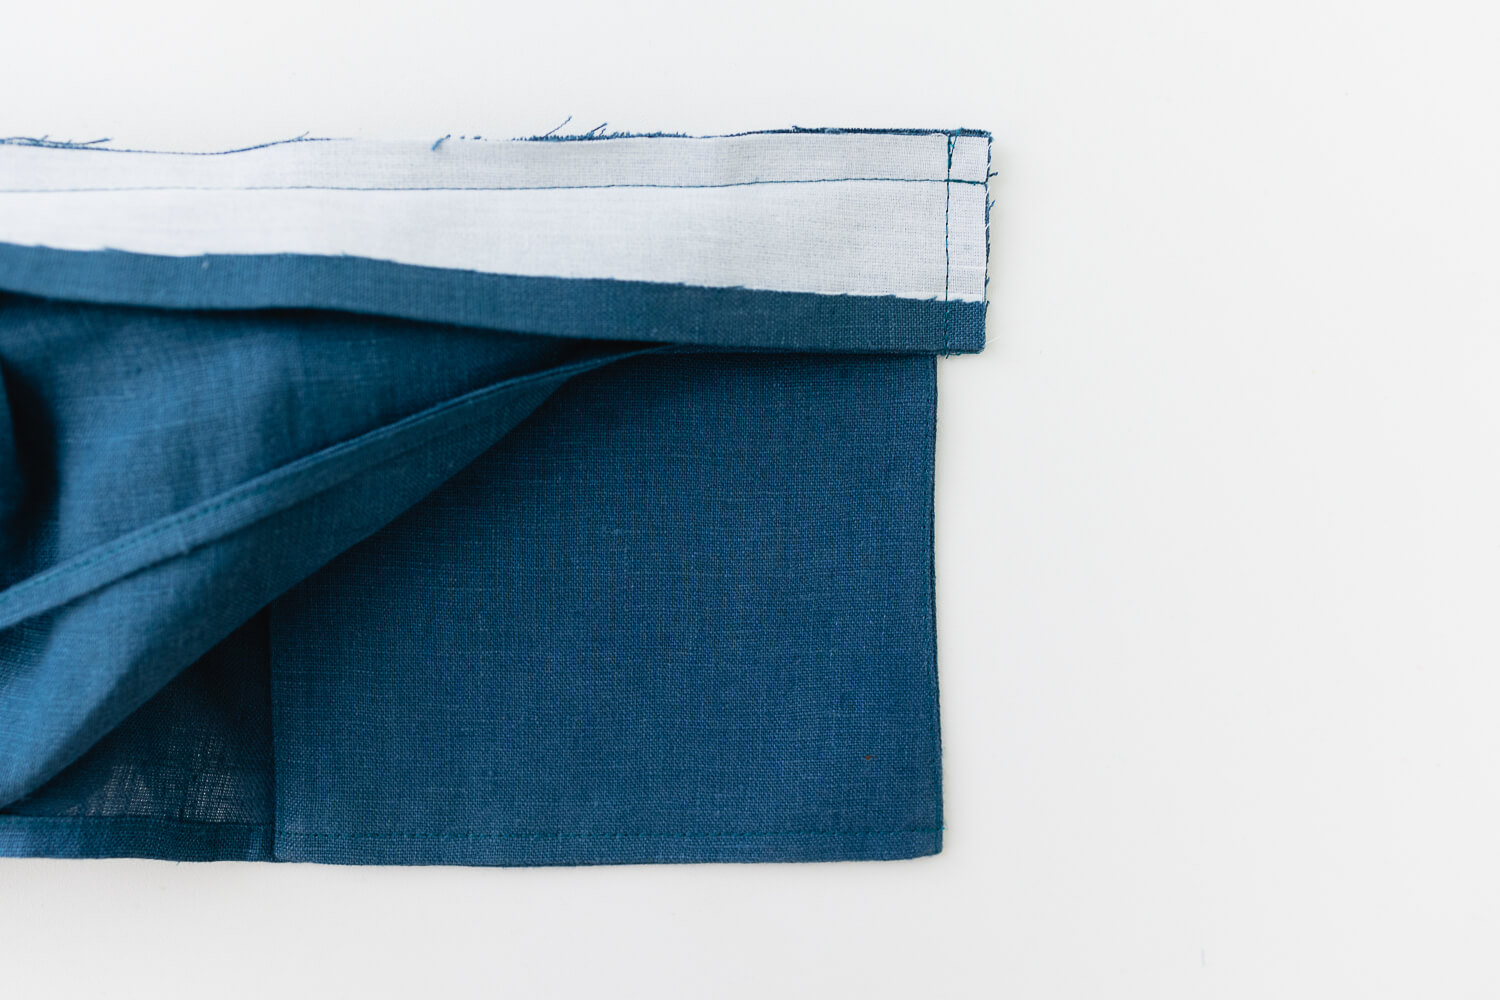
Fold the ends of the waistband right sides together. Sew with 1/4” seam allowance.
Trim the corners and turn right side out. Push out the corners with a point turner and press.
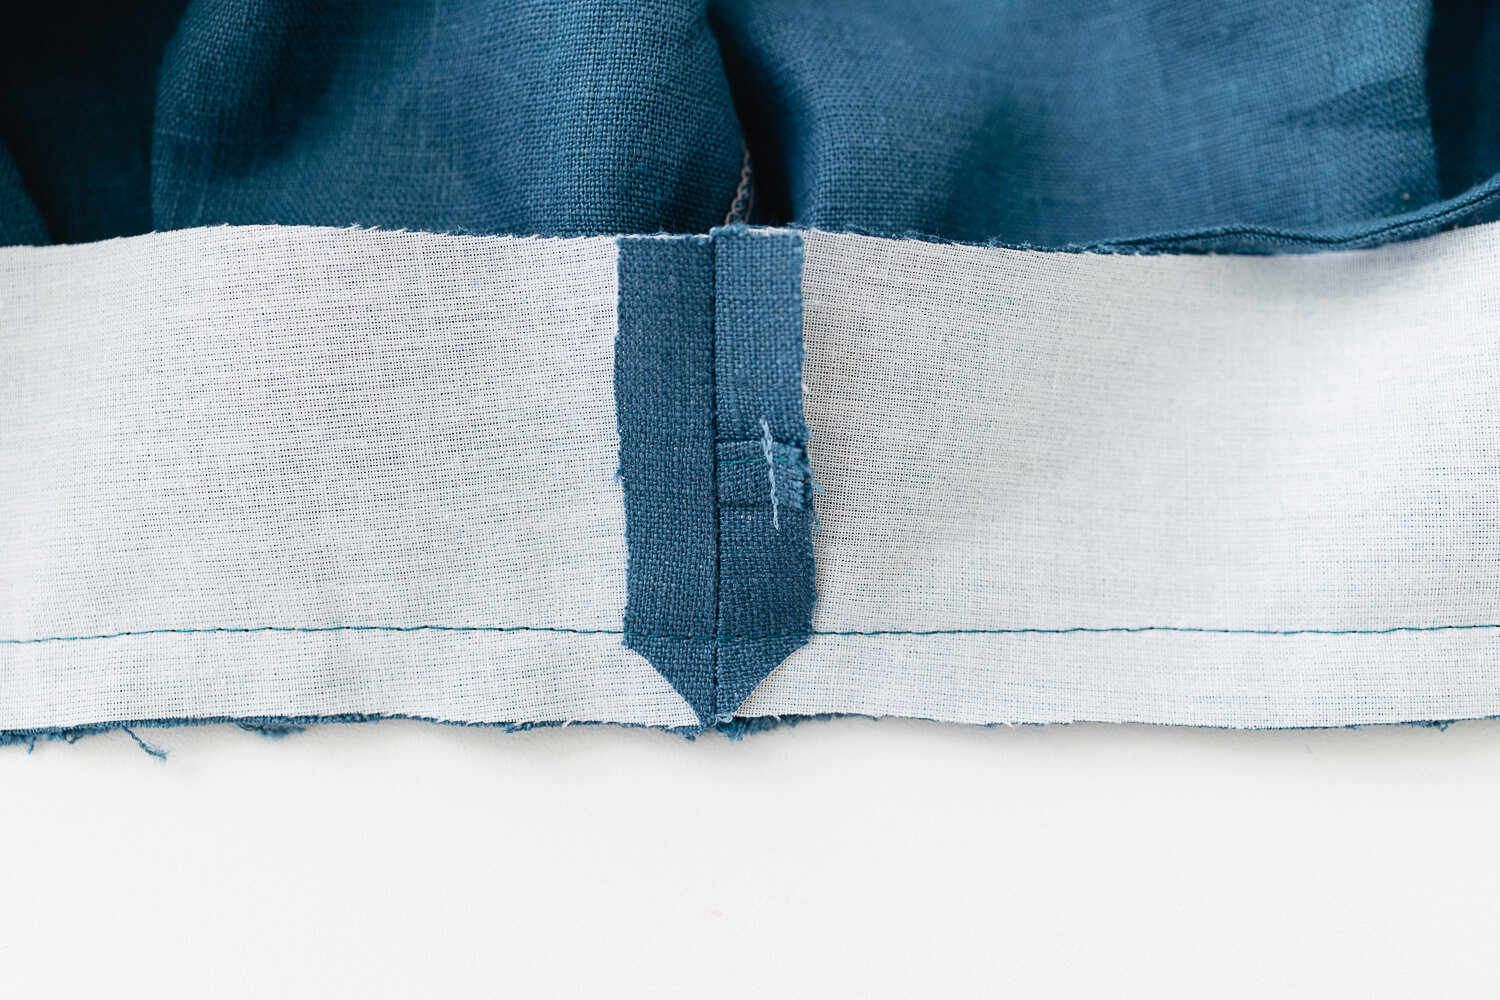
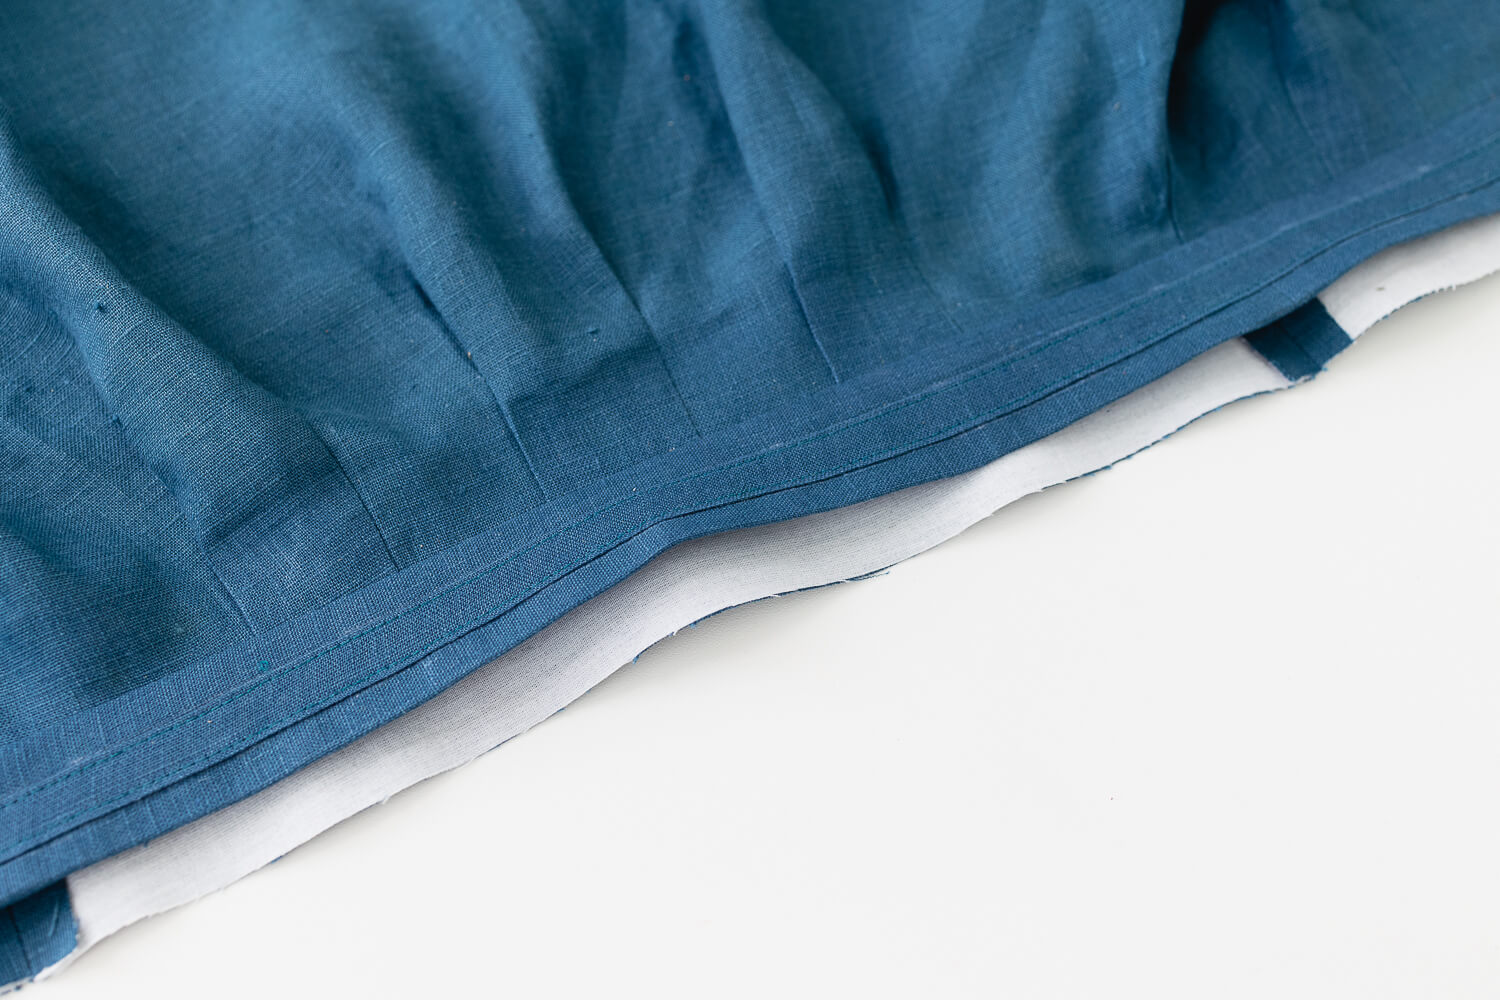
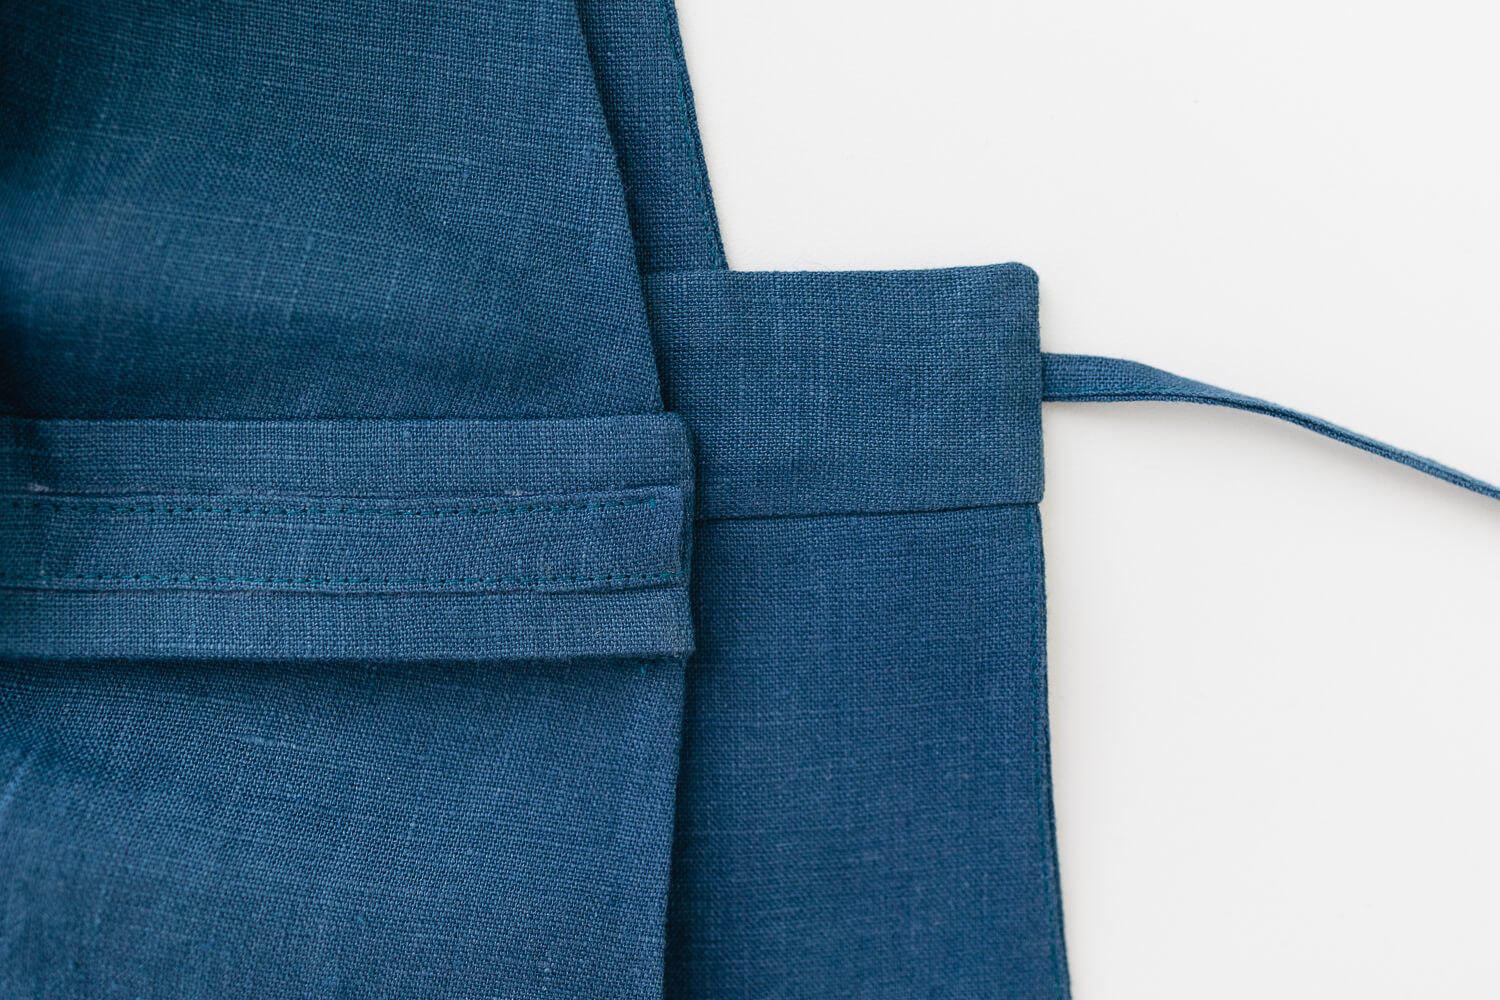
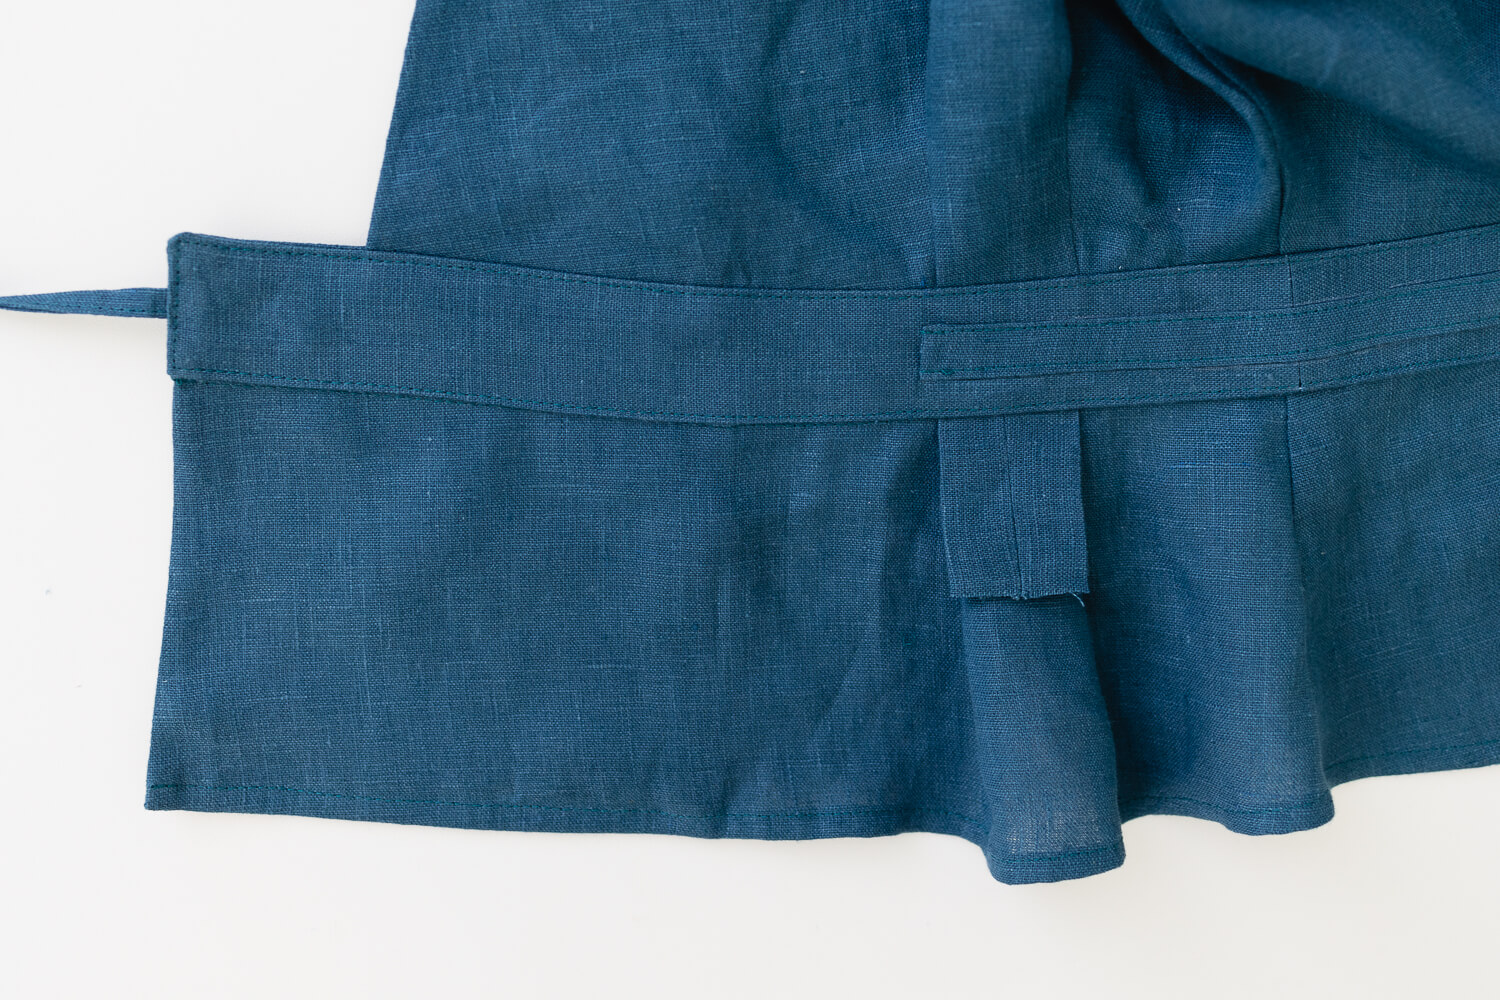
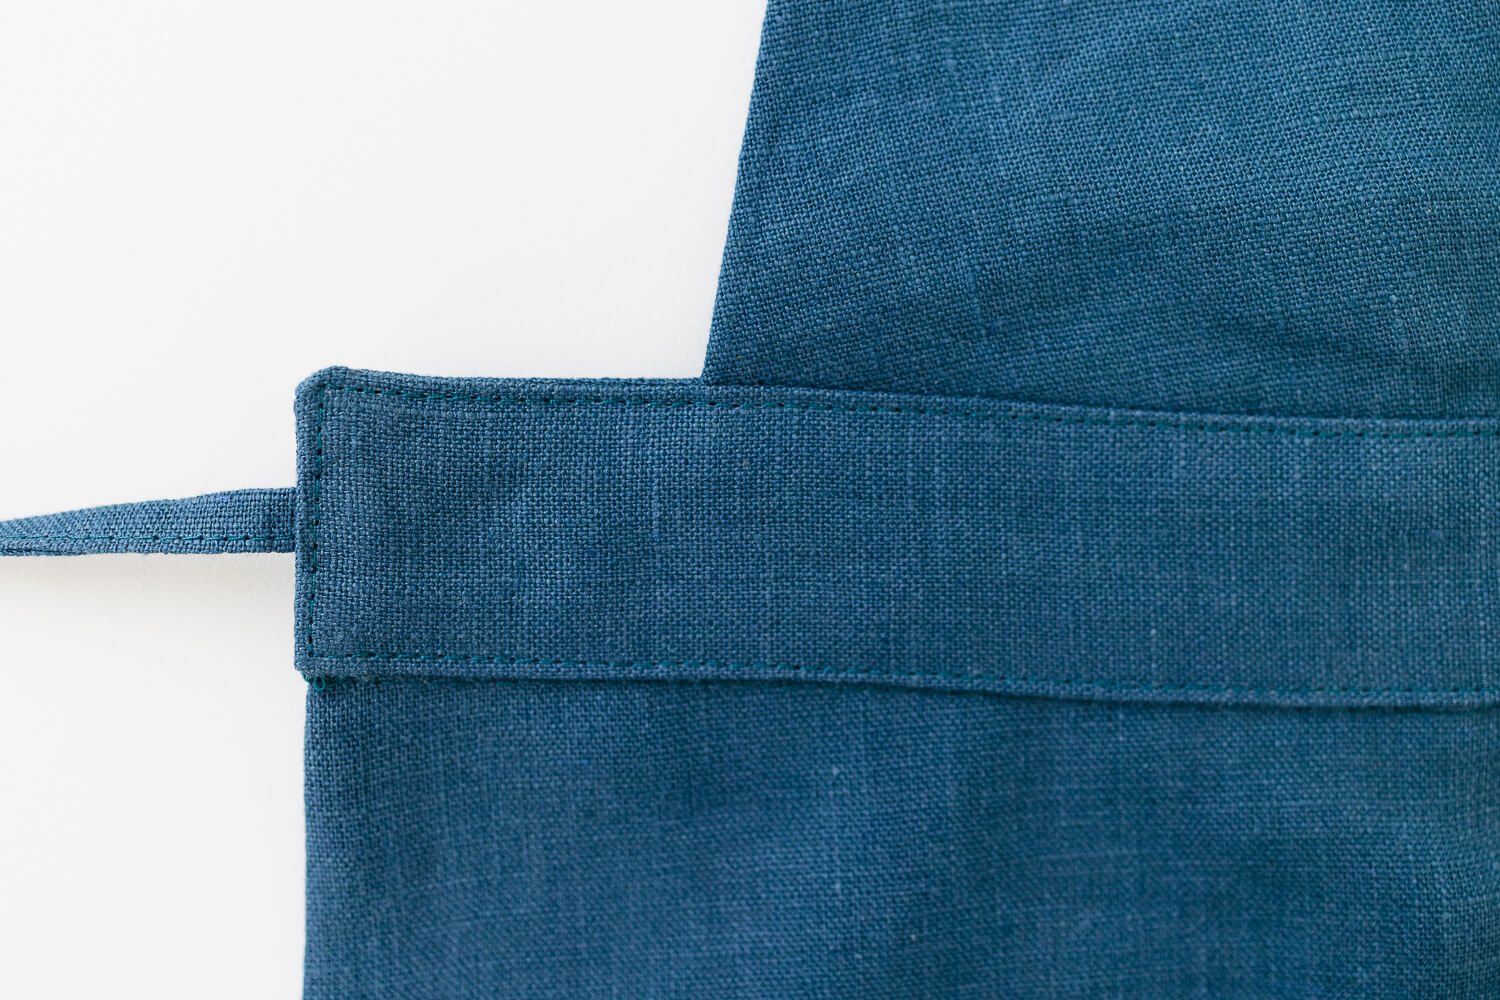
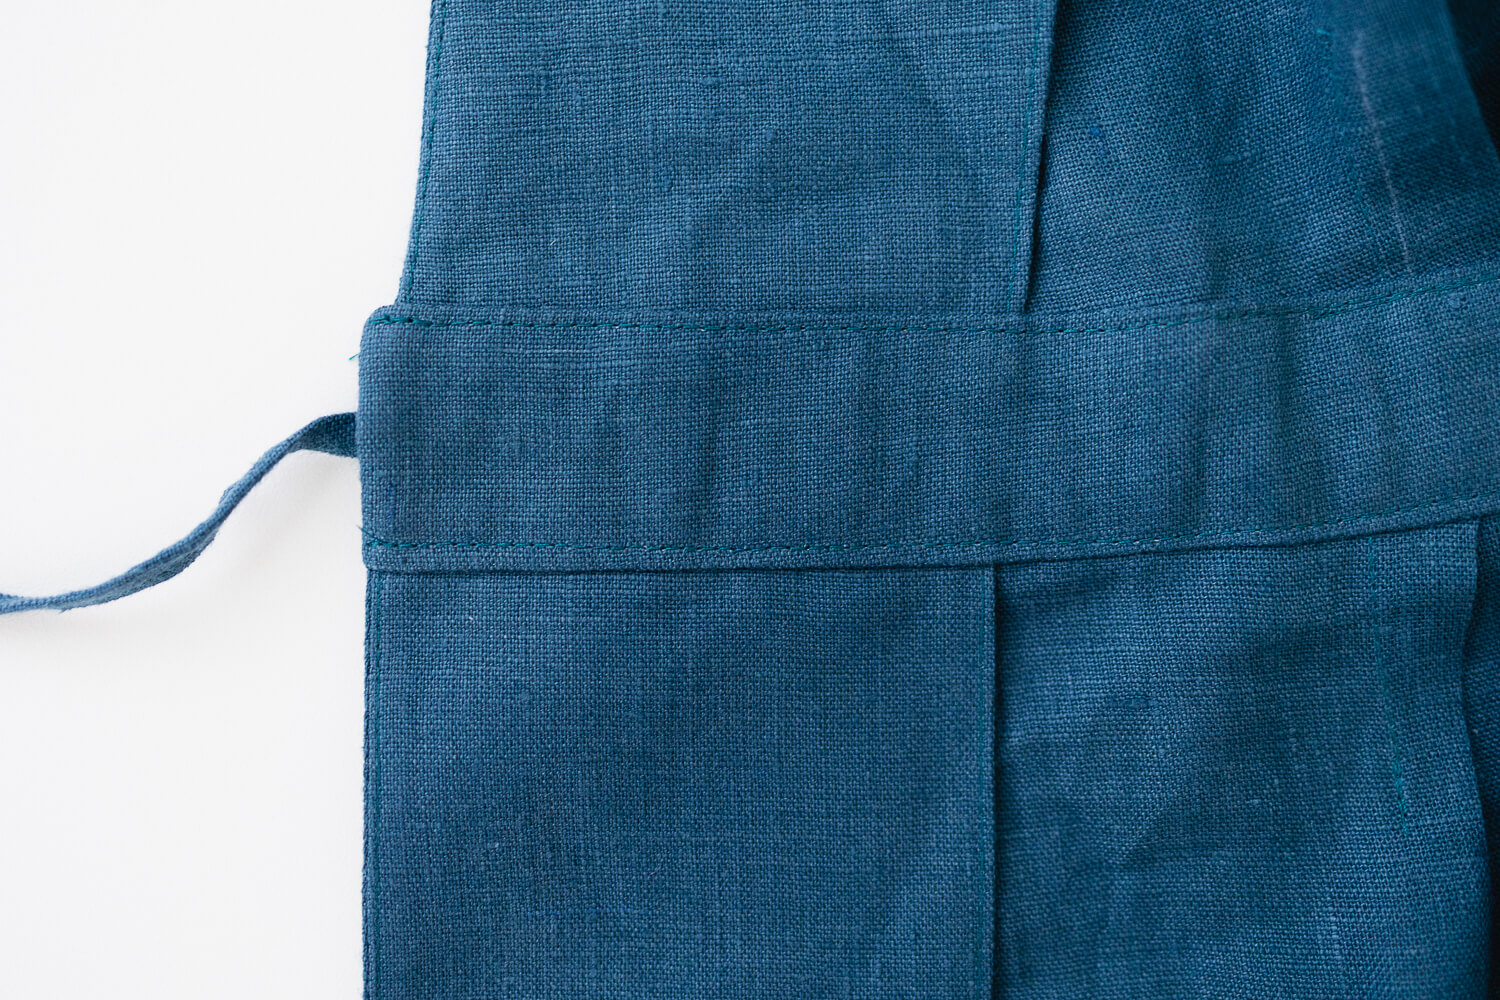
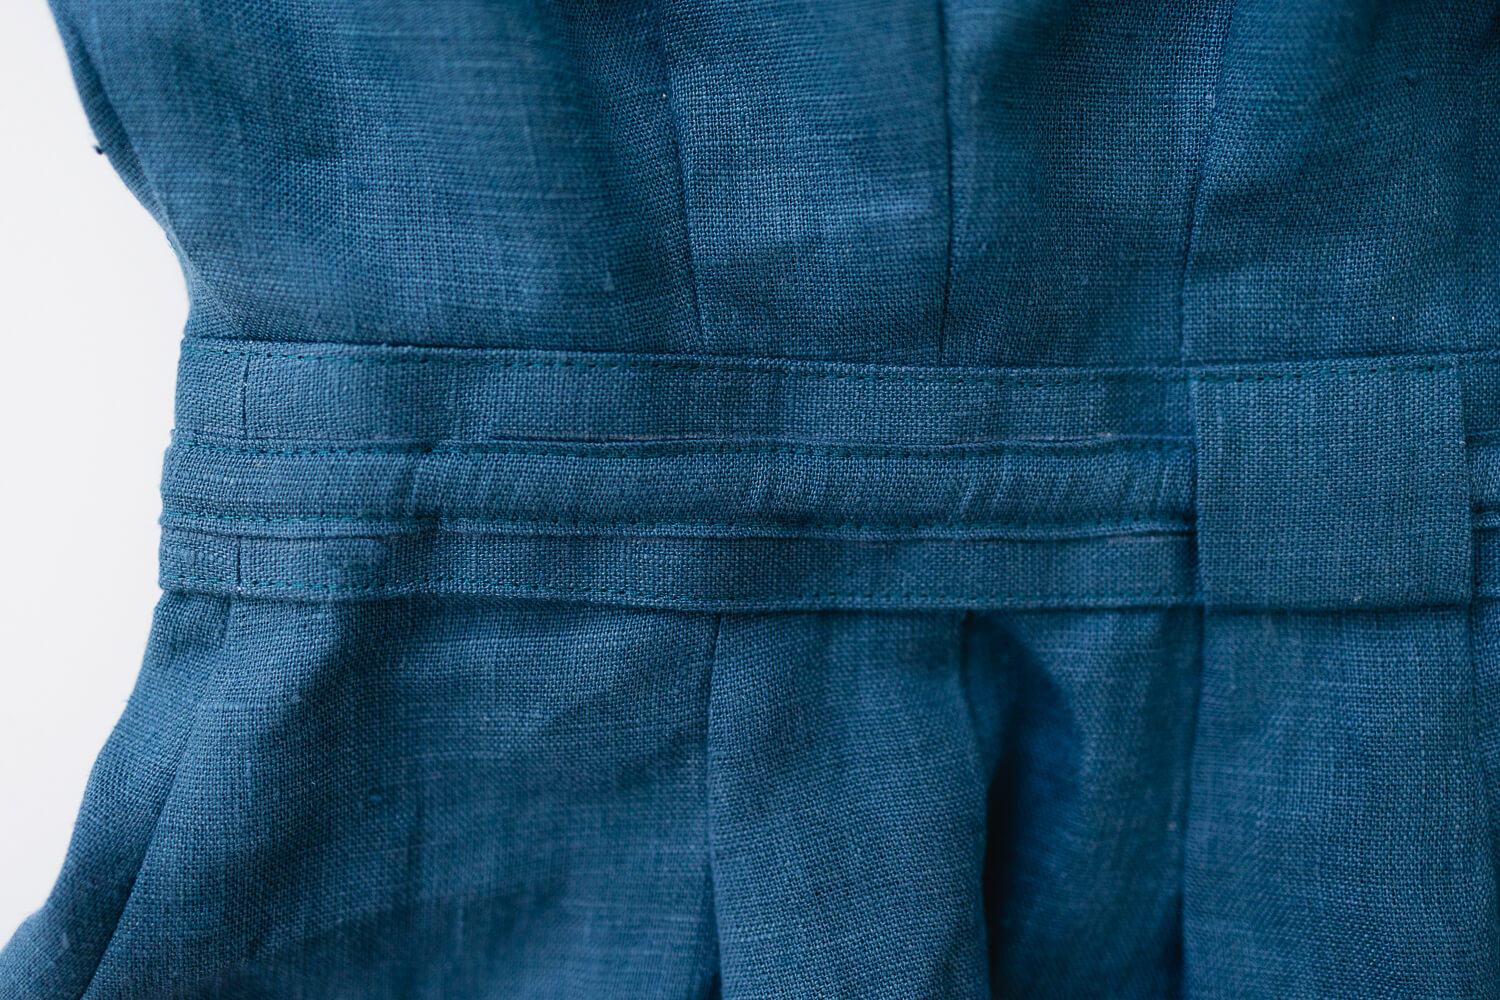
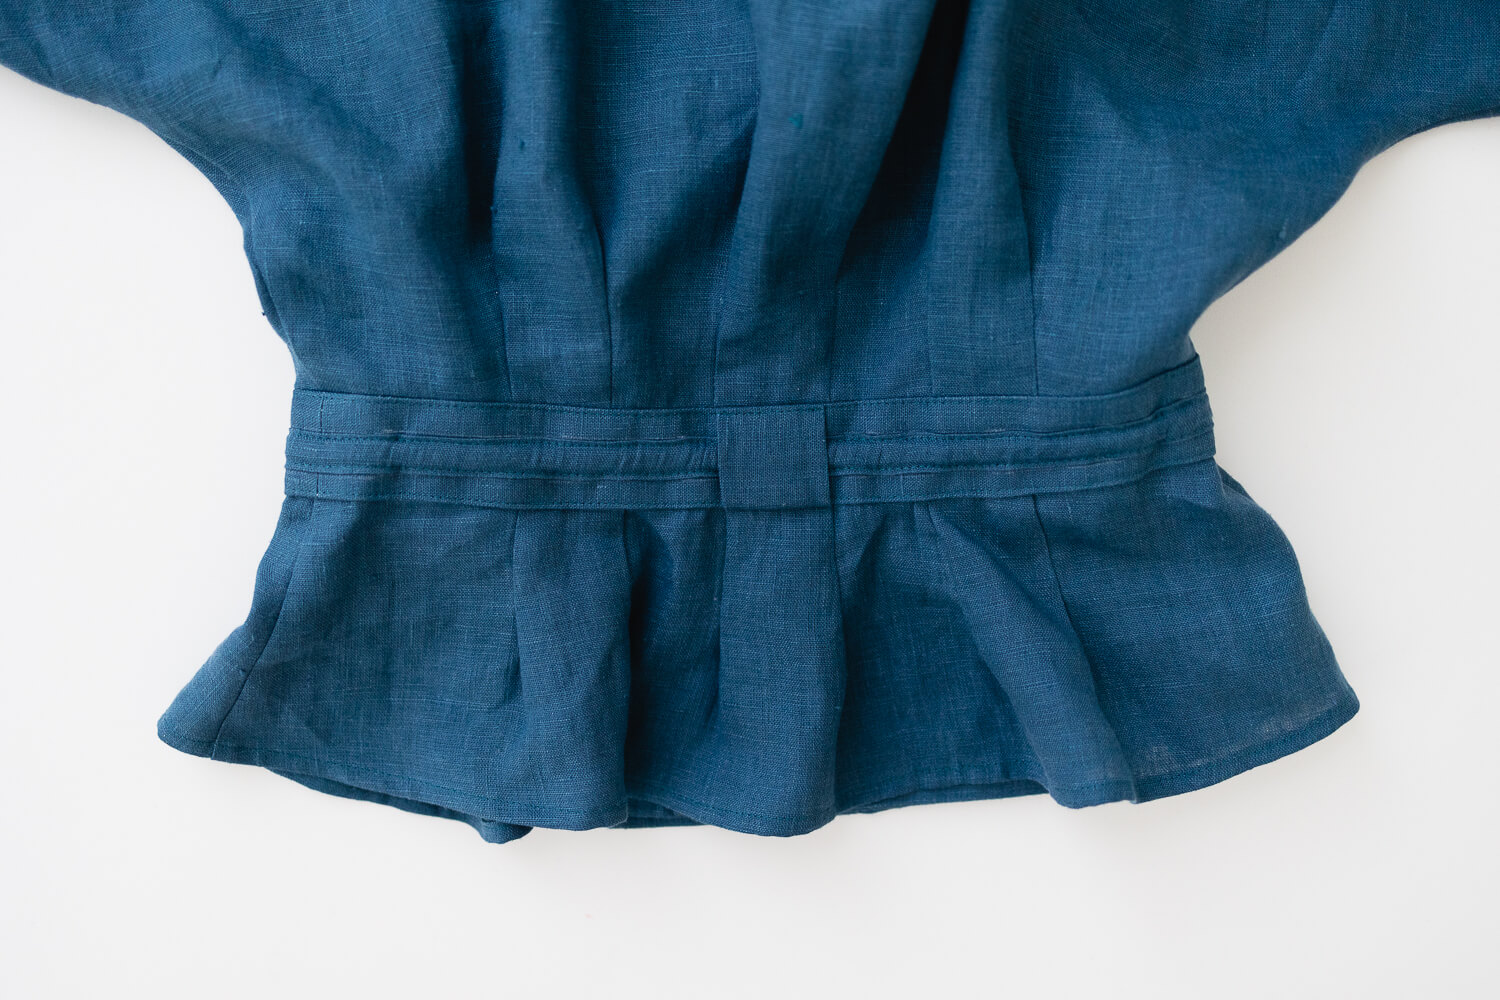
Carefully edgestitch the bottom edge of the outer waistband to the skirt. Stitch 1/16” from the folded edge along 3 sides of the waistband. Leave the right short side of the waistband unstitched so the drawstring can move freely.
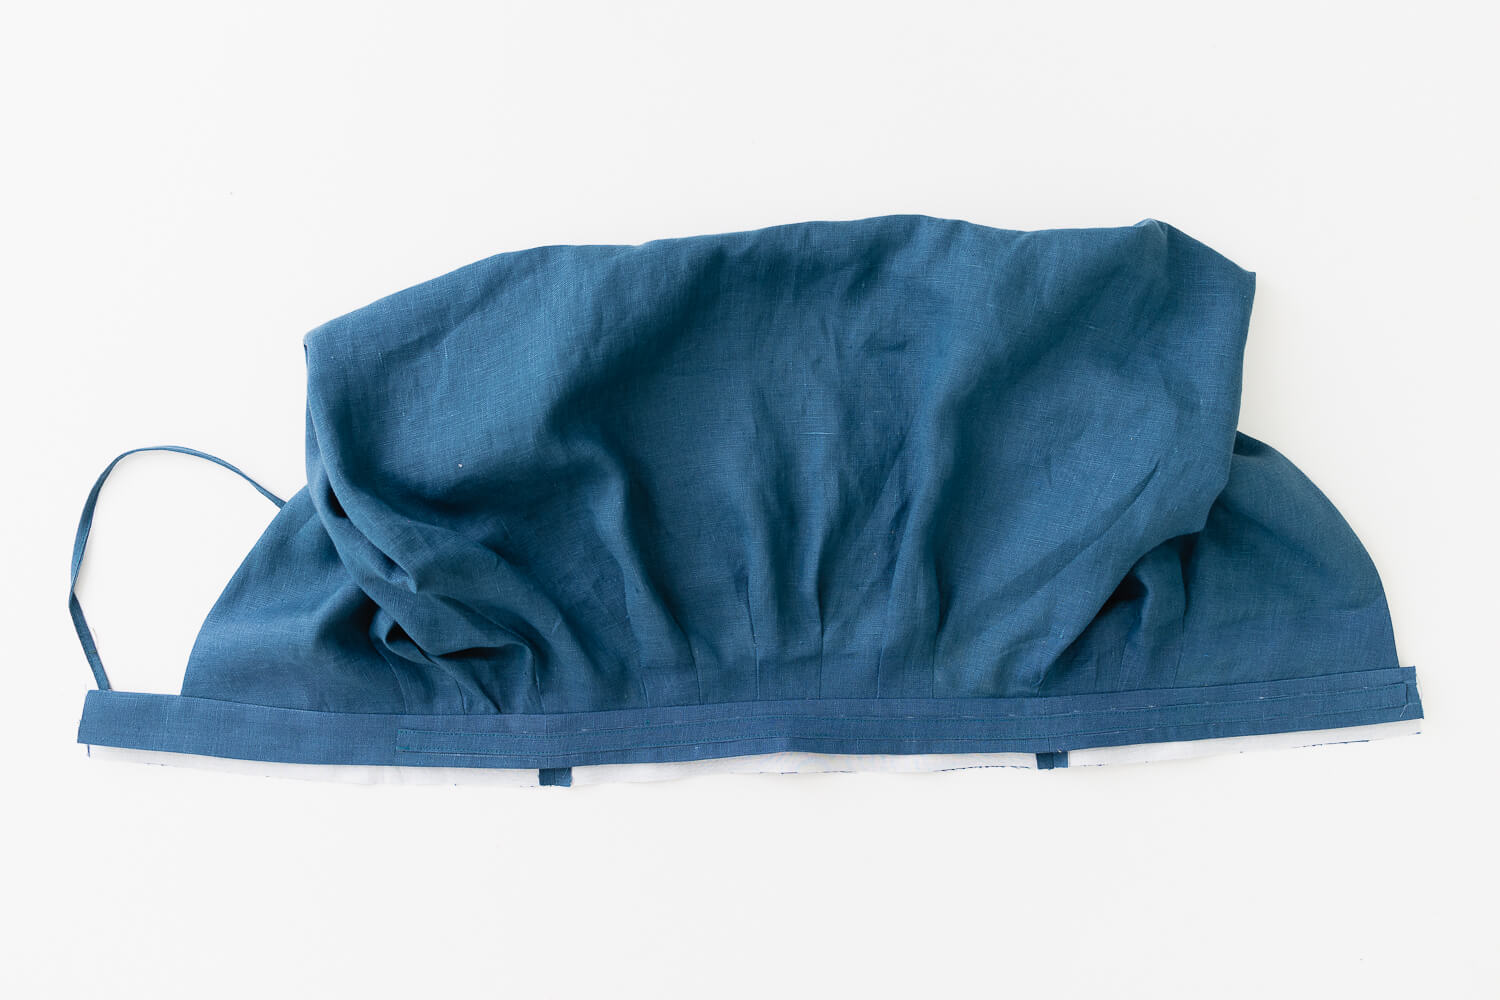
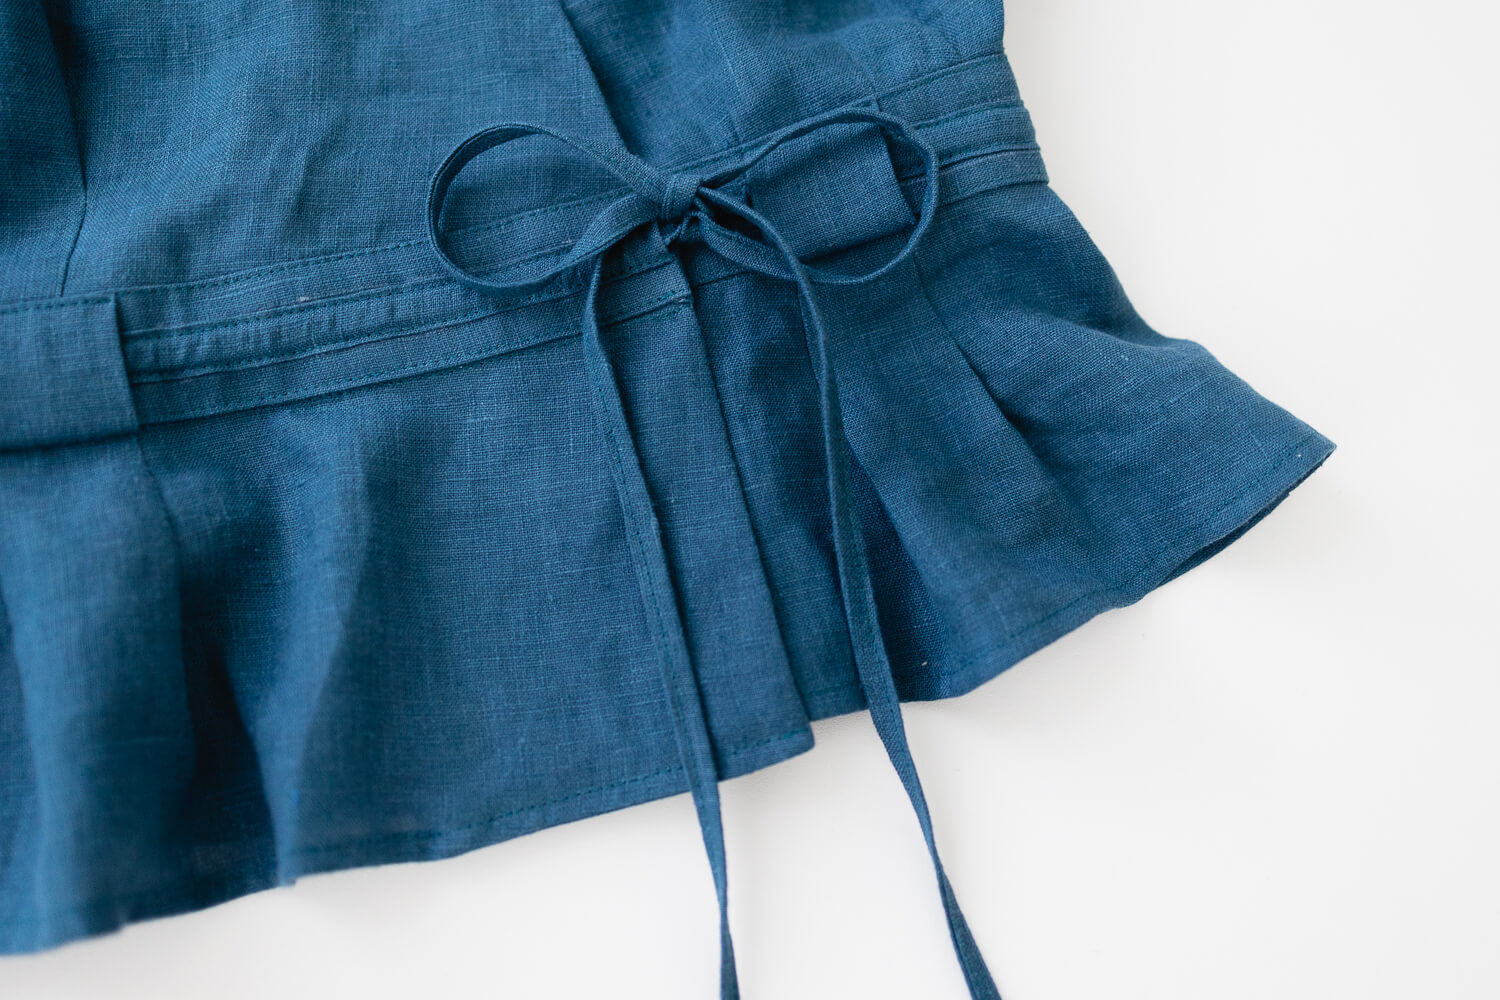
That’s it! The waistband is installed and the blouse is almost done!
Finish the instructions to attach the belt loops and insert the drawstring on pages 56-57.













3 Comments
Candace Strong
Would it work to make this pattern and leave off the collar, so it’s just a v wrap?
Sarah Kirsten
Hi Candace, great question. I think it would take a bit of reshaping around the neckline due to how the wrap facings lay, but I think it’s totally possible and would look lovely if you decide to try it!
kathi richards
Good tutorial. Maybe in the future use lighter colored fabric?