Tutorial: How to Block Print on a Garment
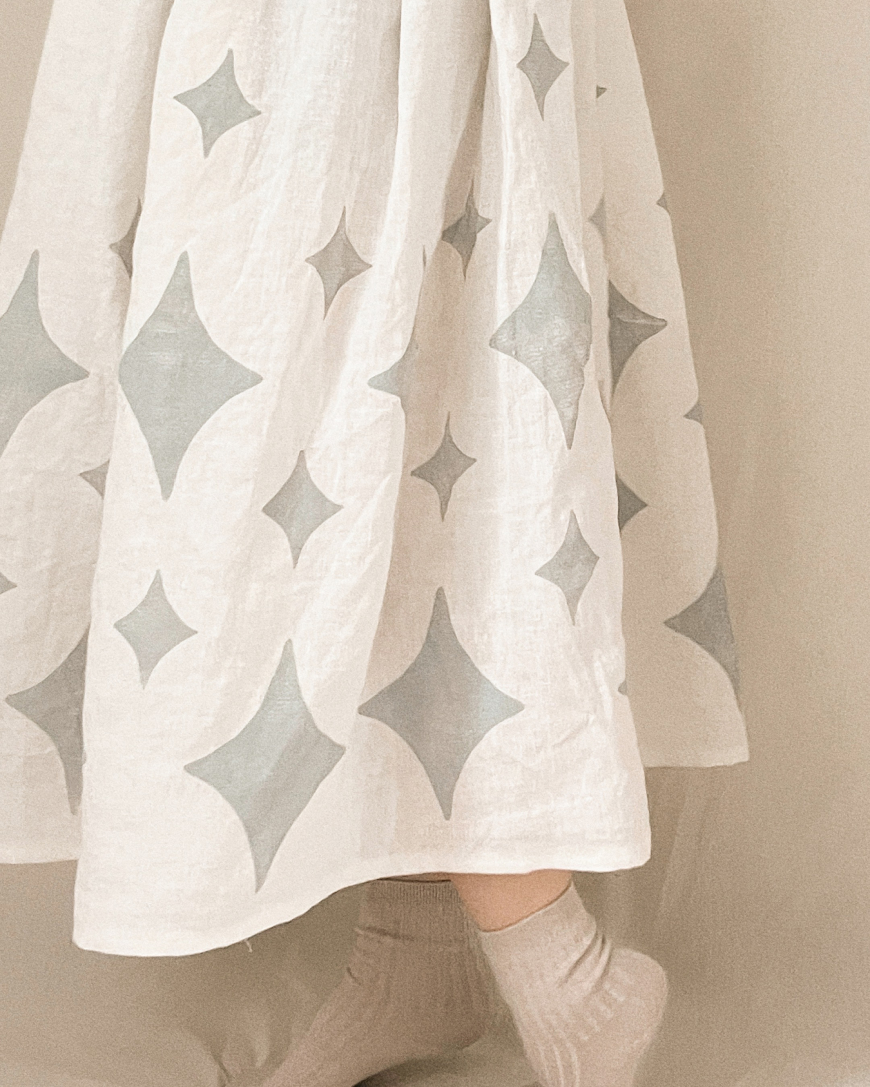
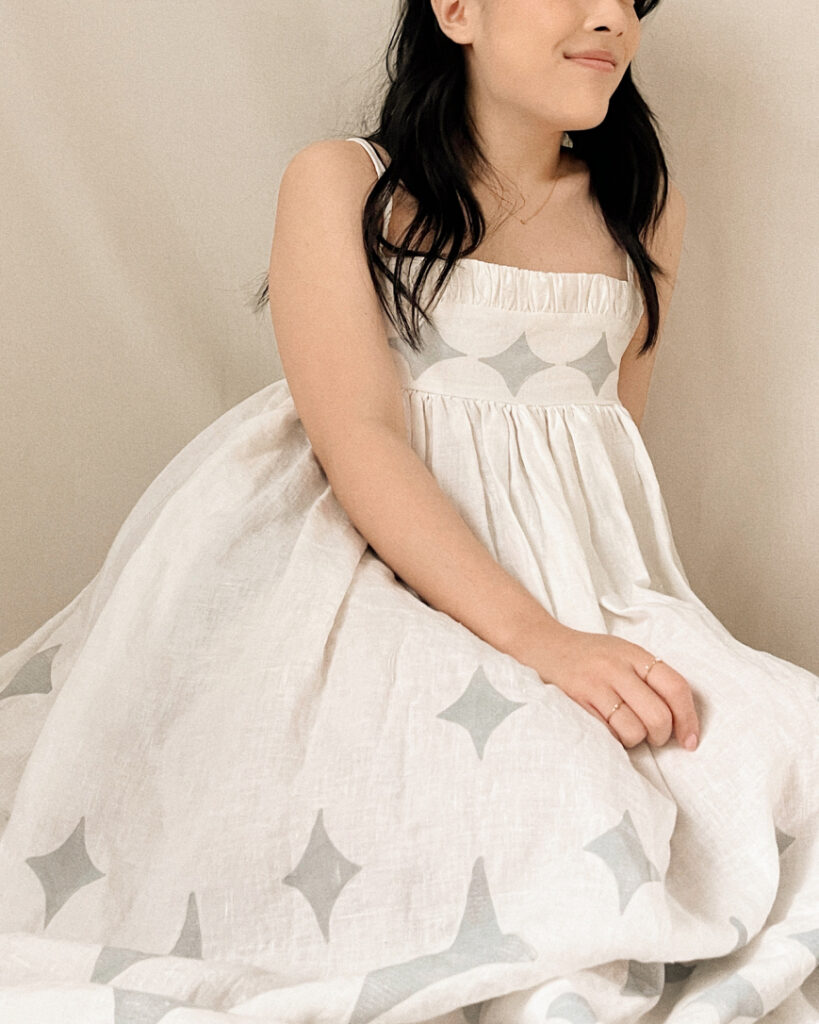
Block printing can be a fun way to experiment with textile design and add a little bit more flair to a project, especially if you’re looking to add some complexity to a specific part of the garment. I’ve wanted to make the Matilda Dress pattern for a while, but was struggling to choose a fabric that wouldn’t feel too overwhelming or too plain on a voluminous maxi dress. Block printing was the answer!
I was gifted the All-Purpose 100% Bleached Linen, the perfect blank canvas for me to think about any patterns and colors. Despite having no finishes, it’s quite soft with enough structure where the fabric wouldn’t stretch or move too much while being sewn. It’s also important to use a natural fiber like linen or cotton for block printing to ensure the ink stays.
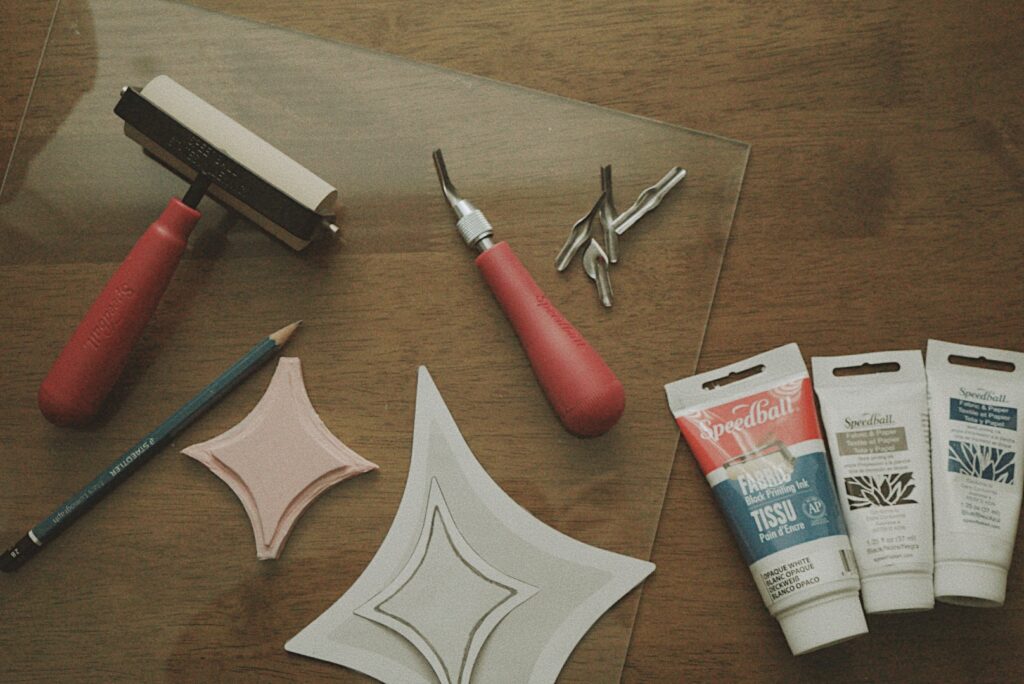
Materials
Fabric
Carving block
Fabric block printing ink
Carving tools
Brayer
Acrylic board
Pencil
Creating the pattern
The hardest and most fun part of block printing is that the ideas are endless! Patterns are everywhere: tiles, quilts, art—I encourage looking around in unexpected places for inspiration.
When creating a pattern, there’s four important aspects to consider:
- Intricacy: How detailed is the graphic you plan to print? Simpler shapes could be easier for repeating a lot whereas a piece with a lot of detail can make for a great accent on a garment.
- Precision: How precise does your printing need to be with this pattern? It can be hard to ensure precise printing every time, so make sure you’re okay with embracing the imperfections or pick a pattern that doesn’t need as many connections.
- Stamp size: Remember, you’ll be carving individual stamps for parts of your pattern. How easy will it be for you to maneuver a stamp of this size?
- Color: How many colors are you planning to incorporate? The more layers and colors you plan, the more time it will take to finish the panel.
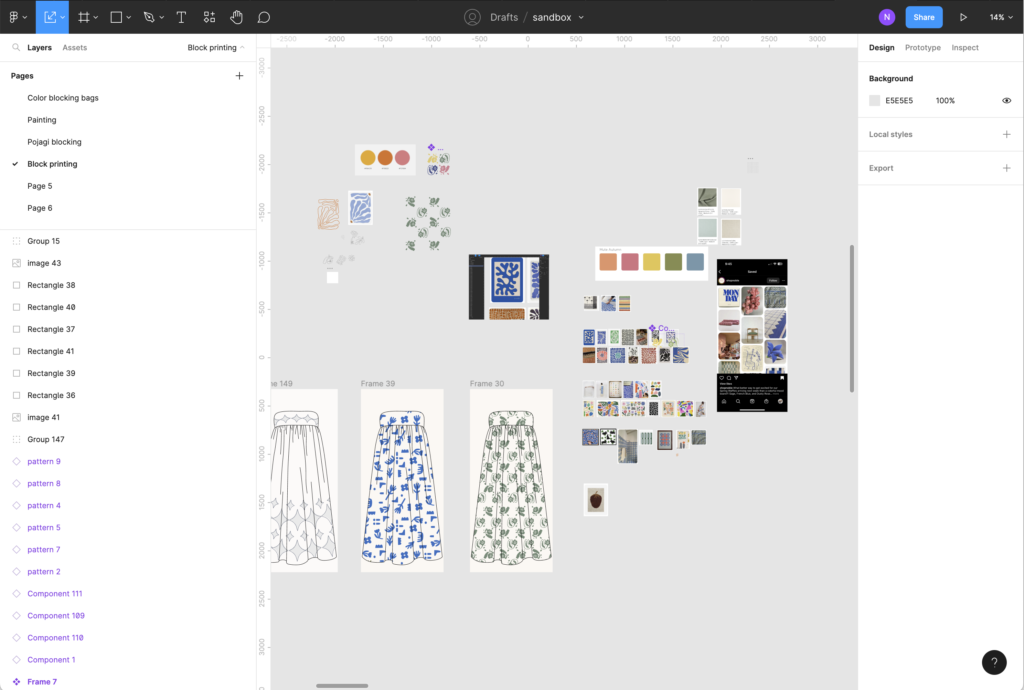
Most of my time completing this project was actually spent on Pinterest and Figma, an online design tool, to mock up potential options.
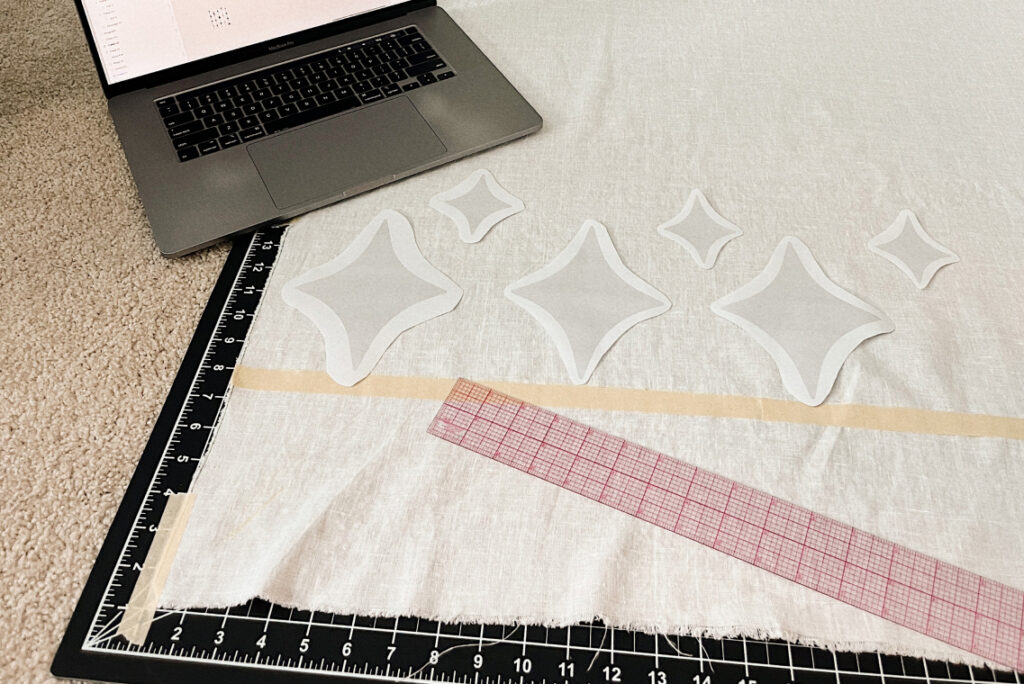
After you’ve decided on a pattern, I recommend printing it out a couple copies and playing around with spacing. Things can look very different on a screen versus in real life, and making sure your pieces are the right size will come in handy when transferring onto the block.
Prepping the fabric
I’ll be honest, I don’t always pre-wash my fabric…but I have to strongly recommend it this time. Pre-washing will get any shrinkage out of the way, and make sure whatever you print will look the same after washing.
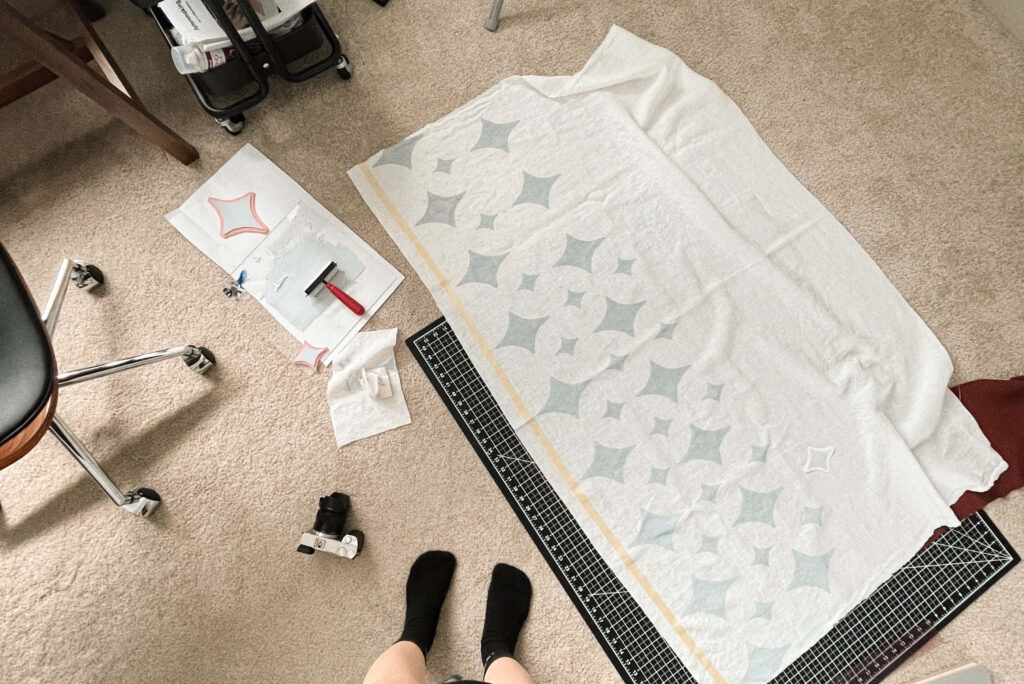
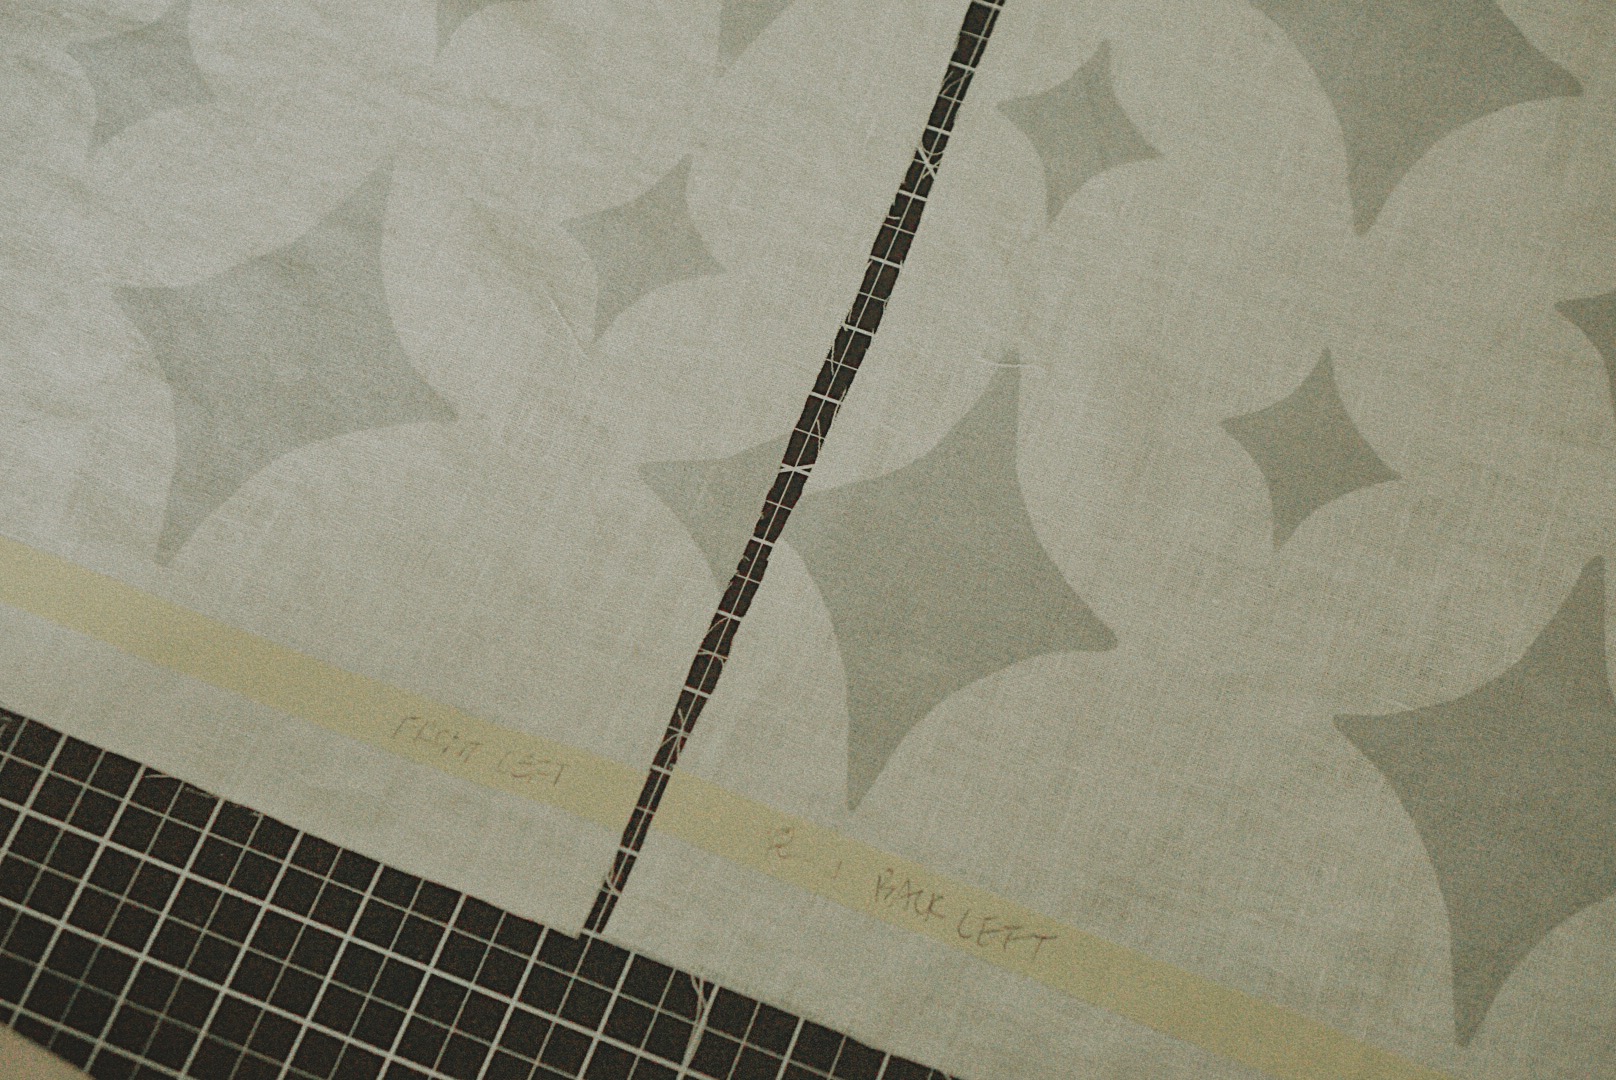
Depending on where you’re printing your design, you may want to mark the grainline and/or a line perpendicular to the grainline to make sure you’re stamping in a straight line. For example, since my design will be along the hem, it was important for me to make sure I was printing horizontally straight along it.
If your pattern piece is relatively small like a top, you could cut the pattern piece before printing so it’s easier to maneuver around. This will also make it easier to pattern match later.
Lastly, other tutorials recommend placing another layer of fabric below the one you’re printing on so the stamp has some flexible resistance when touching the fabric. This is optional and I think it depends on how intricate your stamp is.
Carving your design
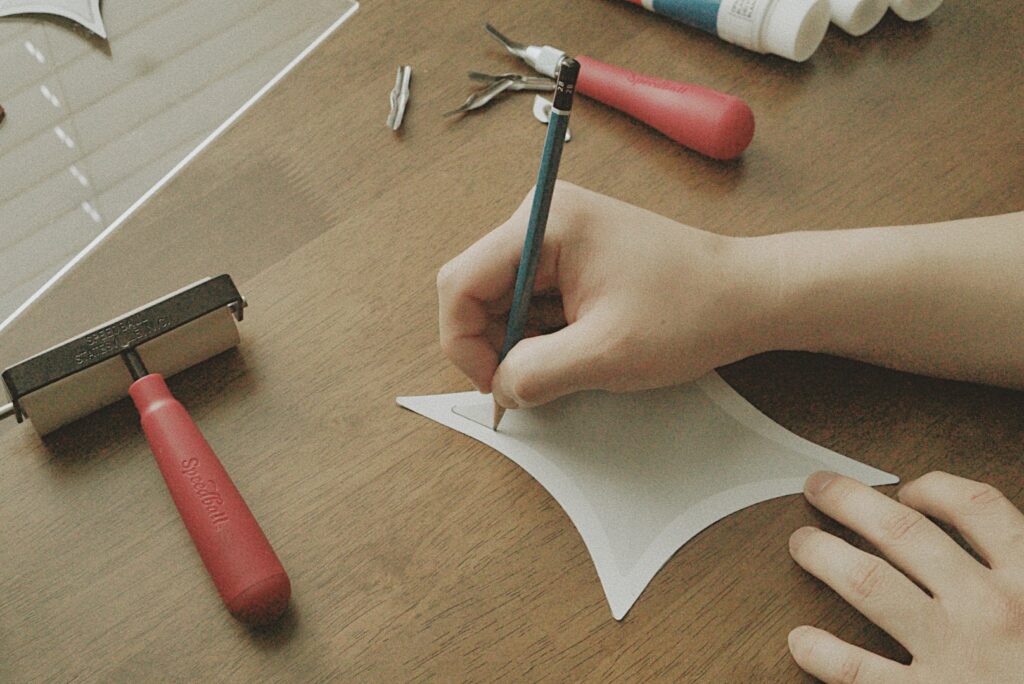
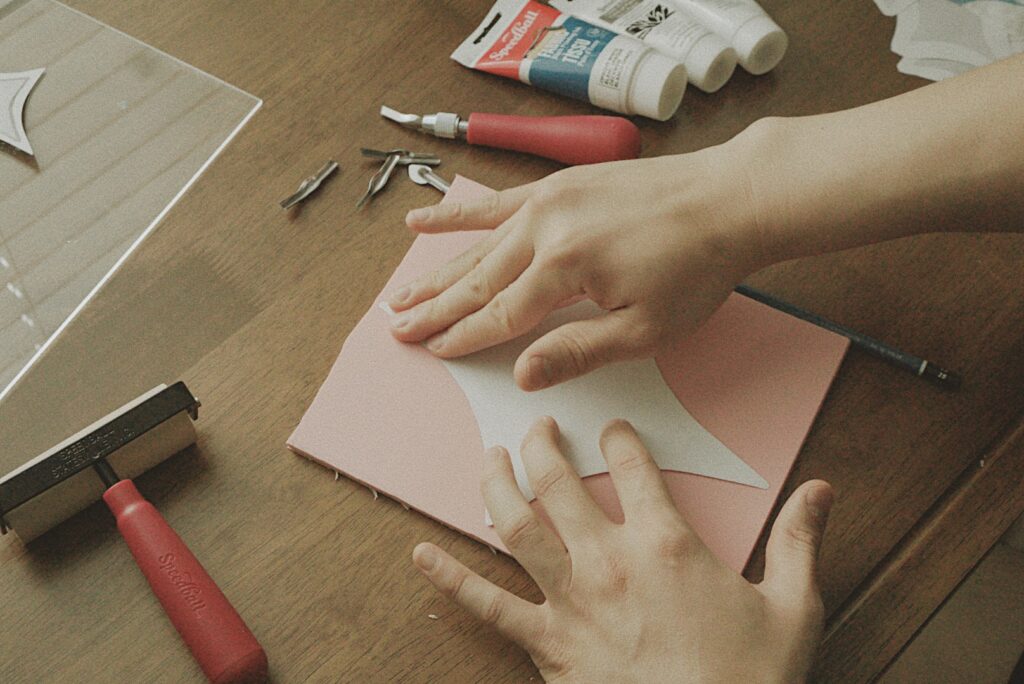
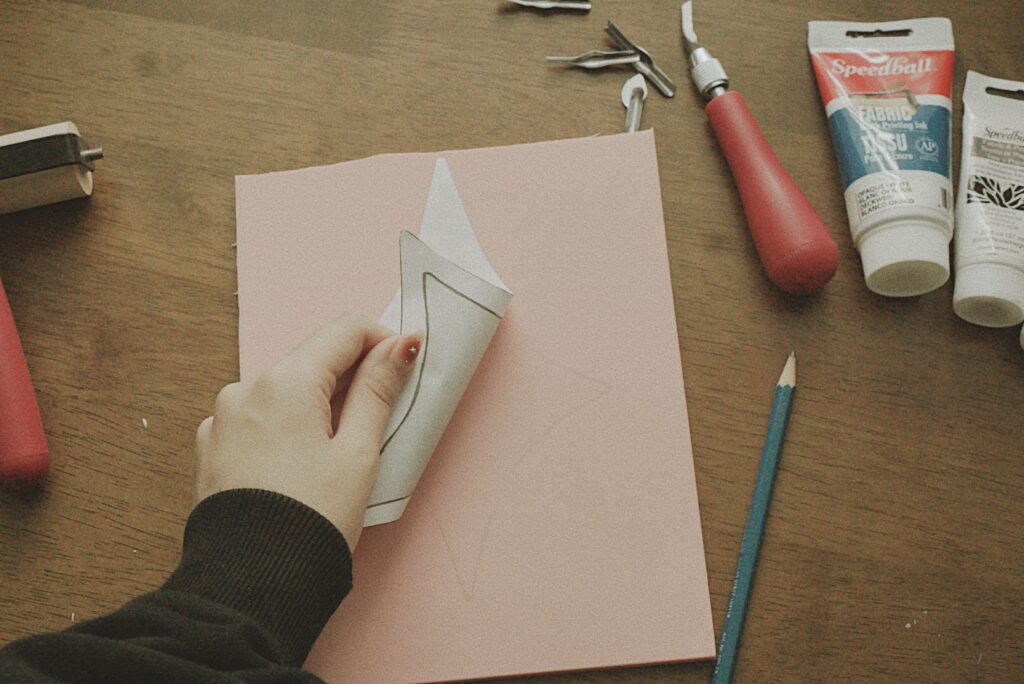
First, transfer your design by tracing over the parts of the design you want to carve out, or where the ink won’t touch with a pencil. Then place it face down onto the carving block and rub so the pencil transfers onto the block.
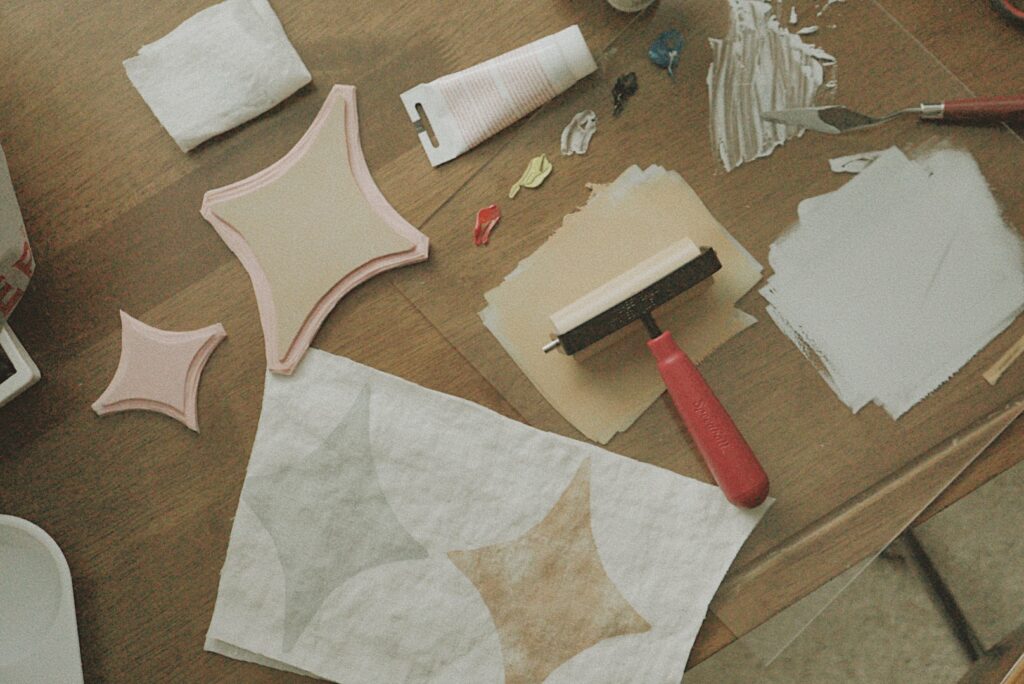
Now you can start carving the parts you’ve transferred onto the block. I recommend experimenting with the carving tool and the various tips first to get familiar with their uses. I started with a deeper blade (#2) to carve the initial shape, and then used a shallower but wider tip (#3 & #5) to carve out the border/negative space. You can see above the progression of how I completed my stamp (carving clockwise starting from the left).
Once you’ve finished carving, make sure you also carve out ~½ inch border around the whole piece before trimming the overall stamp. Doing this beforehand on a flatter surface will be easier and can ensure you’ve trimmed it down enough so that paint won’t transfer.
Printing
Once you have all your pieces carved, you’re ready to start printing!
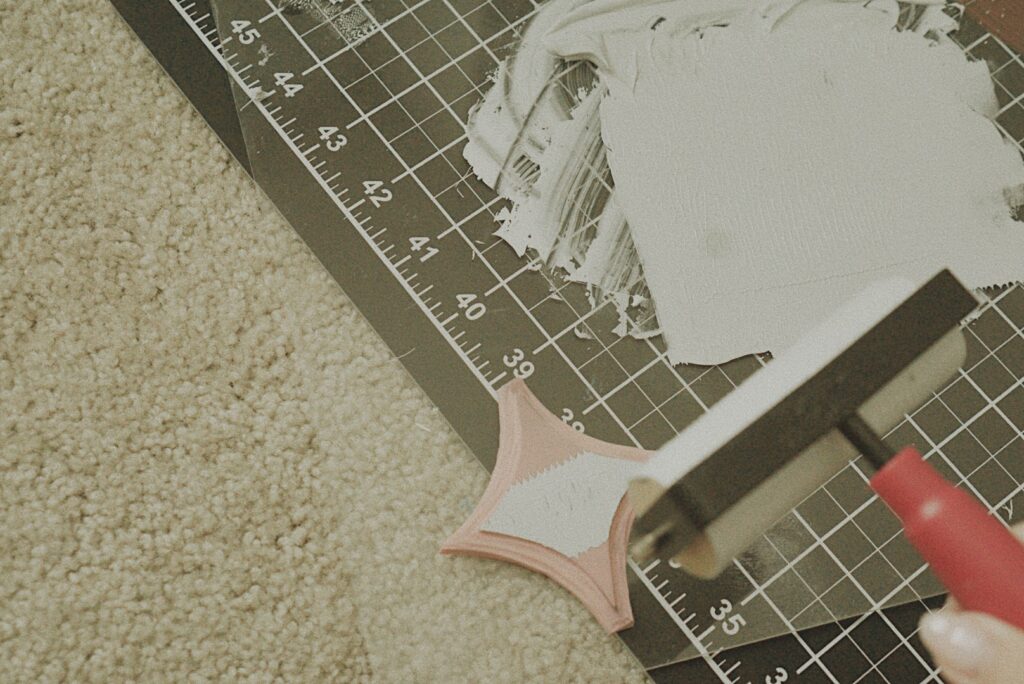
Squeeze a thin line of paint onto your acrylic board. Use the brayer to spread the paint, making sure that you’re also coating the brayer all around. You should have enough paint where you’re seeing some texture on the board and hearing a velcro-like sound.
Then lightly roll the brayer on top of your stamp, making sure not to get paint on the edges of the stamp. If you do, you can lightly wipe it off before stamping.
Then, carefully place your stamp onto your fabric. I don’t recommend shifting the stamp once it’s touched the fabric—once it’s on there, it’ll be fairly obvious if the stamp is moving around and the paint won’t be distributed evenly.
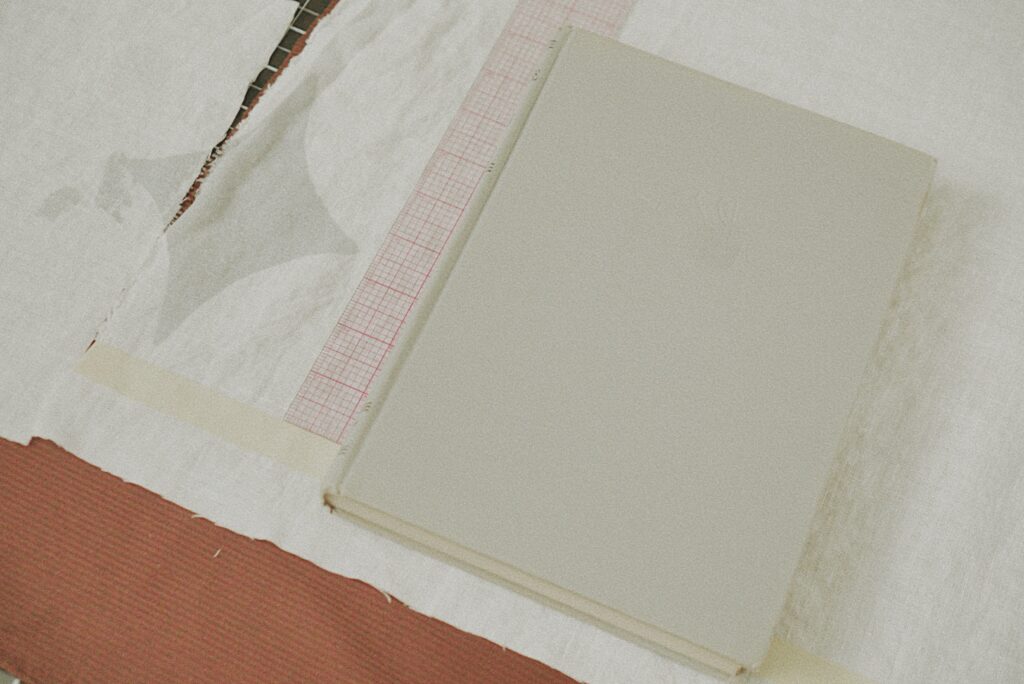
Without shifting the stamp, use your hands or a hard surface like a book to make sure you’re pressing on every inch of the stamp to ensure the paint is transferring onto the fabric.
It can be hard to develop a feel for the right amount of paint, so I recommend doing some practice runs before printing on your main fabric. This will also help make sure you’ve carved deep enough and transfer the way you want it.
Once you’re done printing, let the panels air dry in a ventilated area. Read the instructions on the ink you’re using for any curing instructions. Some inks need heat setting which you can do with an iron, or if using the Speedball Fabric Block Printing Ink, it will need to dry for a week before washing.
Sewing your garment
Once your panels are dry, you can go ahead and cut and sew the garment according to the pattern instructions. If you didn’t cut the pattern pieces beforehand, keep in mind your seam allowances when pattern matching.
Fin!
Block printing can open up a lot of creative doors and I’m so excited to bring an idea to life with this project. I’ve included a lot of things to consider while choosing and printing your design, but I think block printing embraces the small imperfections and gives it an authentic feel.
Hope this tutorial was helpful for those looking to add a bit of *sparkle* to their future projects!







7 Comments
Kerry Pitt-hart
Very beautiful Netty! ?
Daniela Skrein
Gorgeous! Thank you for sharing. I will get right to work! — Do you or your team have any resources on non-toxic inks to use for this project?
Lauren Linen
Derivan is a brand which stocks non-toxic inks.
Jen Jin
So lovely. Is the grey you used a mixture of the white, black and blue speedball? Thanks
Shari Thorley
I love to embellish fabric, and stamp designs on frequently. Presto I have a one of a kind fabric. The dress is beautiful.
Vicki Lang
What a great way to customize your fabric and make it your own.
Elizabeth Mangler
I really love this project and your instructions. Gorgeous!