Tutorial: How To Make A Tea Towel Three Ways
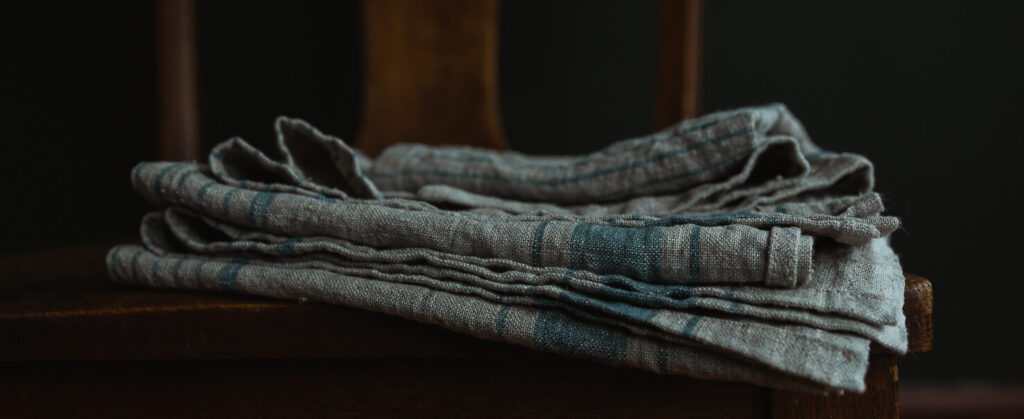
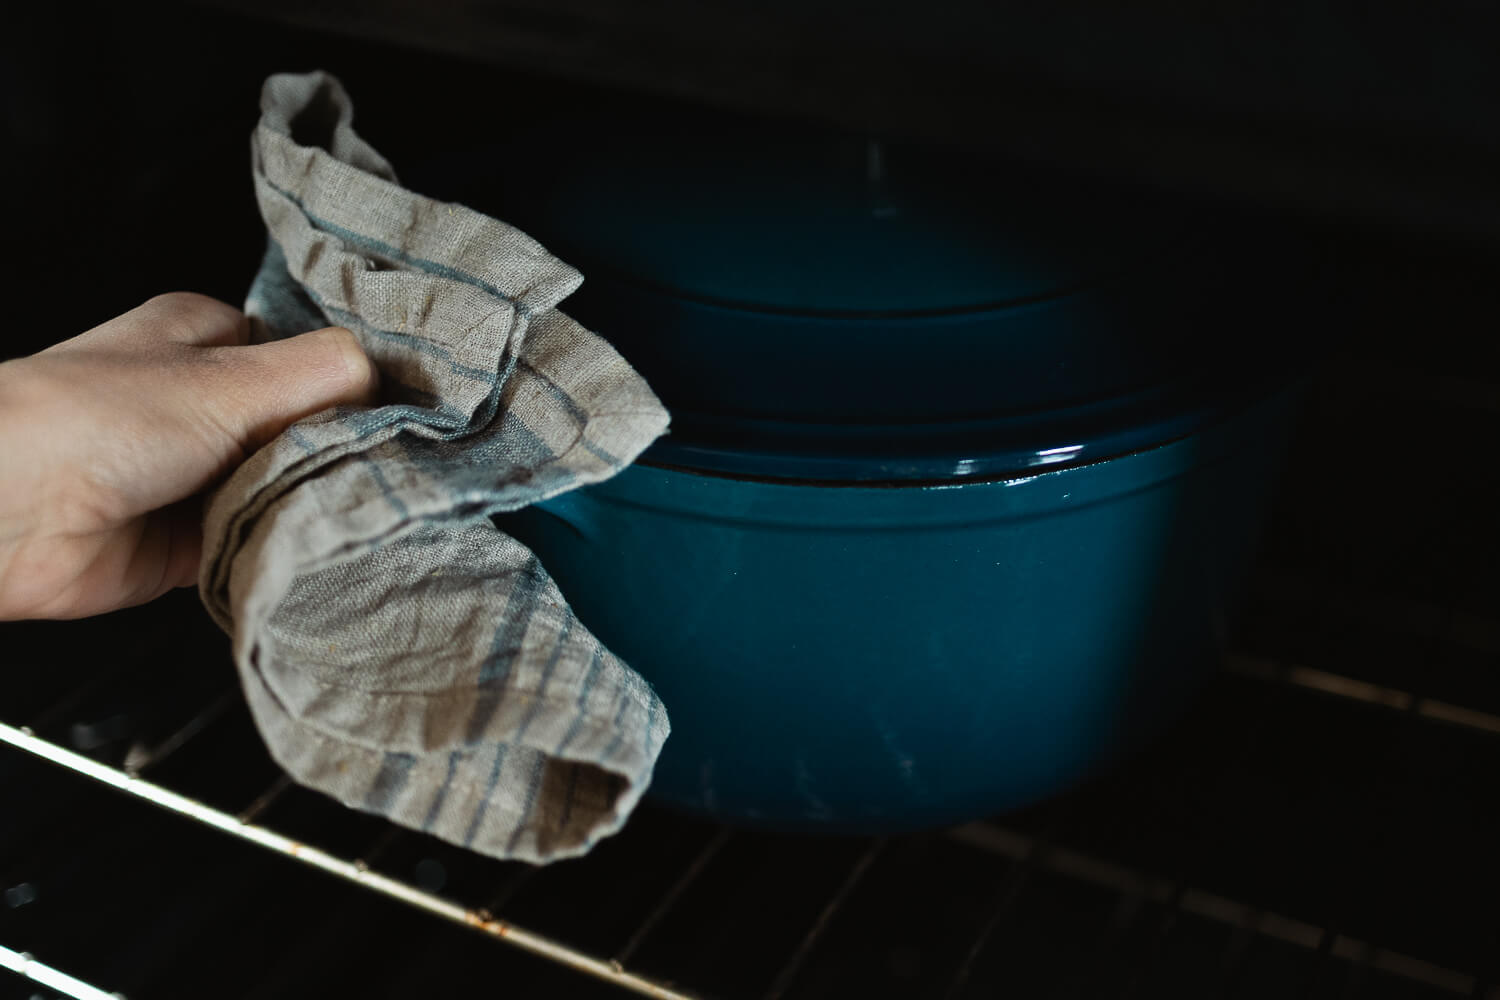
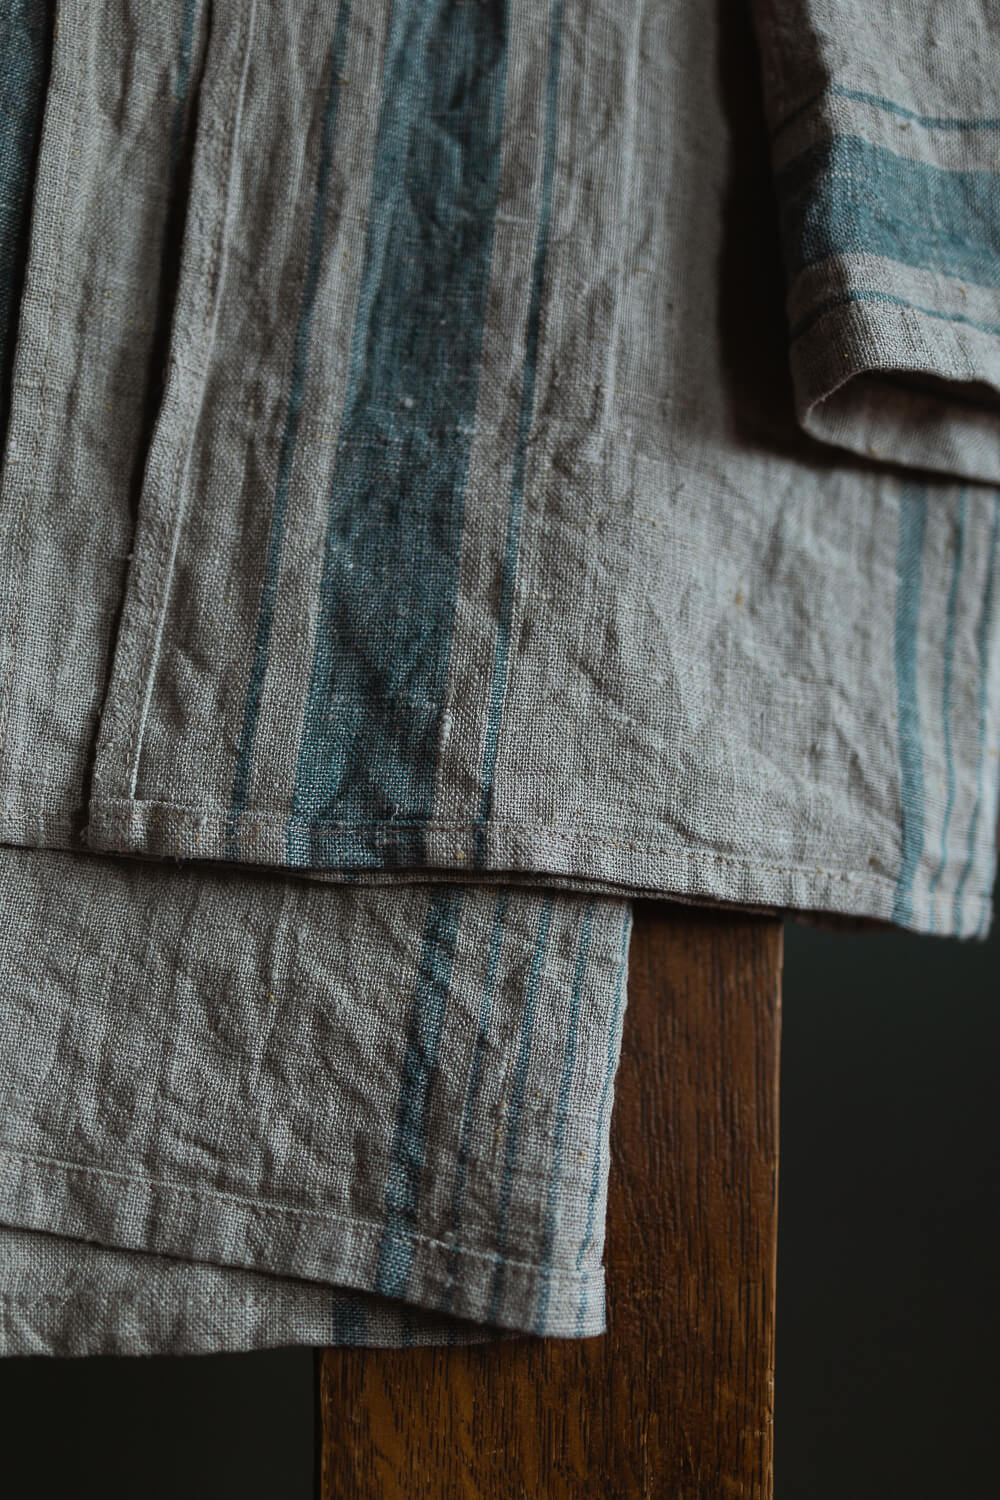
One of the small luxuries of life is having me-made rustic linen tea towels draped about in your kitchen. One on the counter underneath drying cups and bowls, one hanging on the stove handle to lift the hot pan off the stovetop, one tucked into your waistband, serving as an apron while you bake. When you touch them, it’s a little reminder of how lovely life can be. Here is a tutorial of three was to hem before enjoying them in your kitchen.
Notes
In this tutorial, ½” (~1.3 cm) and ¼” (~6 mm) hems are used to show what different hems will look like. You can use any width of hem with any method. Hopefully, these images will help you decide which width and which method you would like to sew.
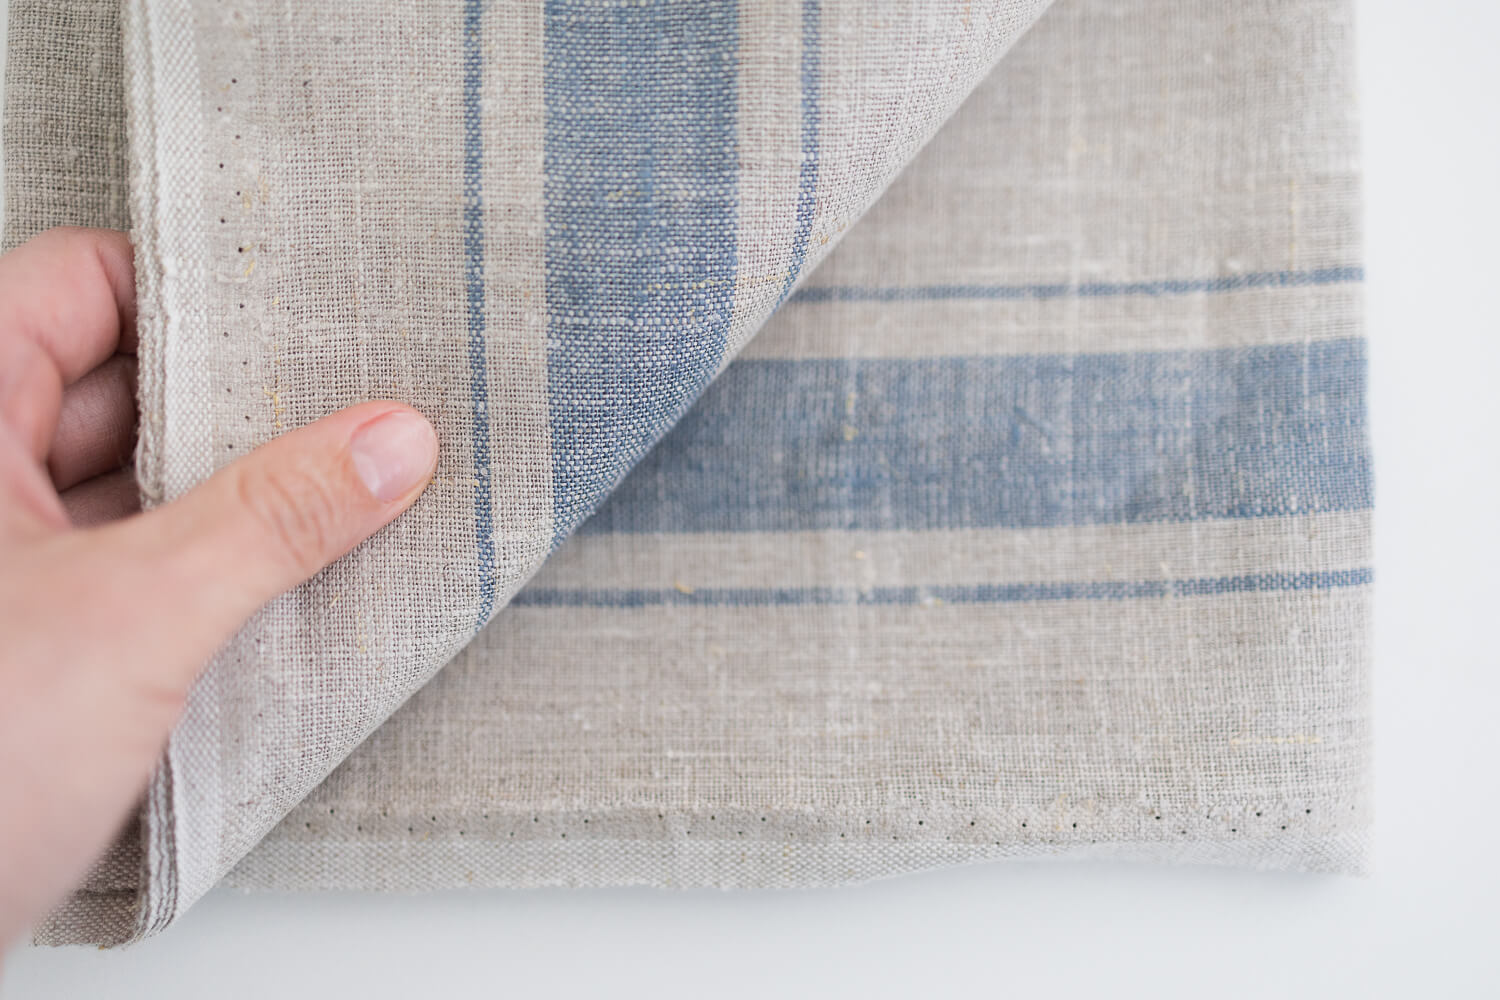
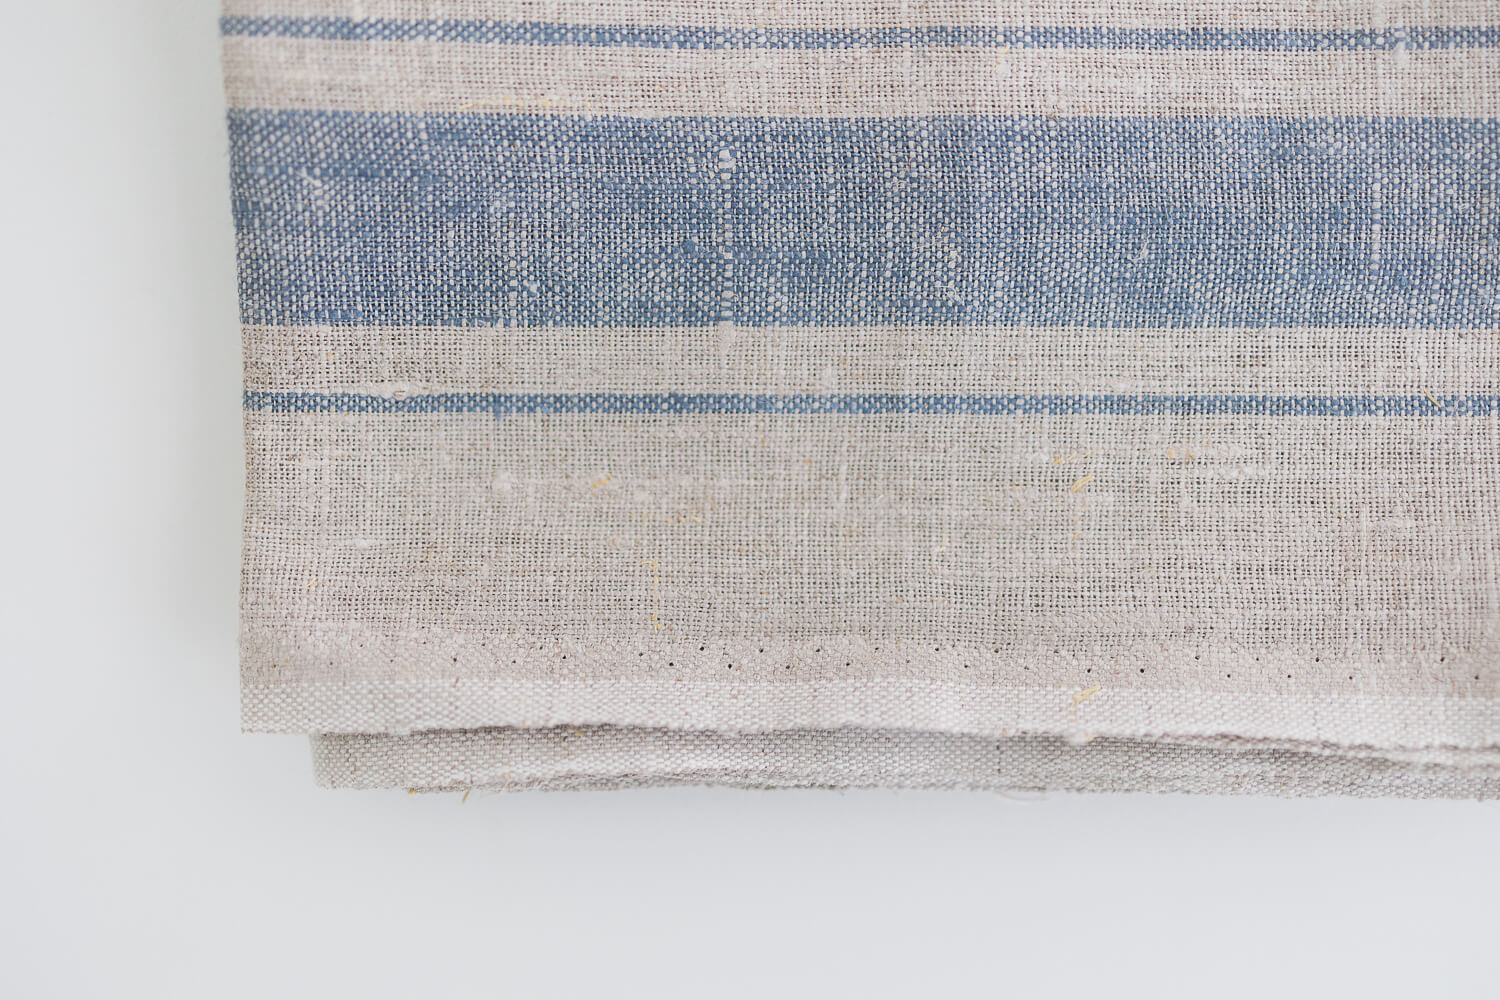
This fabric doesn’t have a right and wrong side. For the sake of detailing which side is which for instructions, the language of right and wrong sides is used.
Sizes
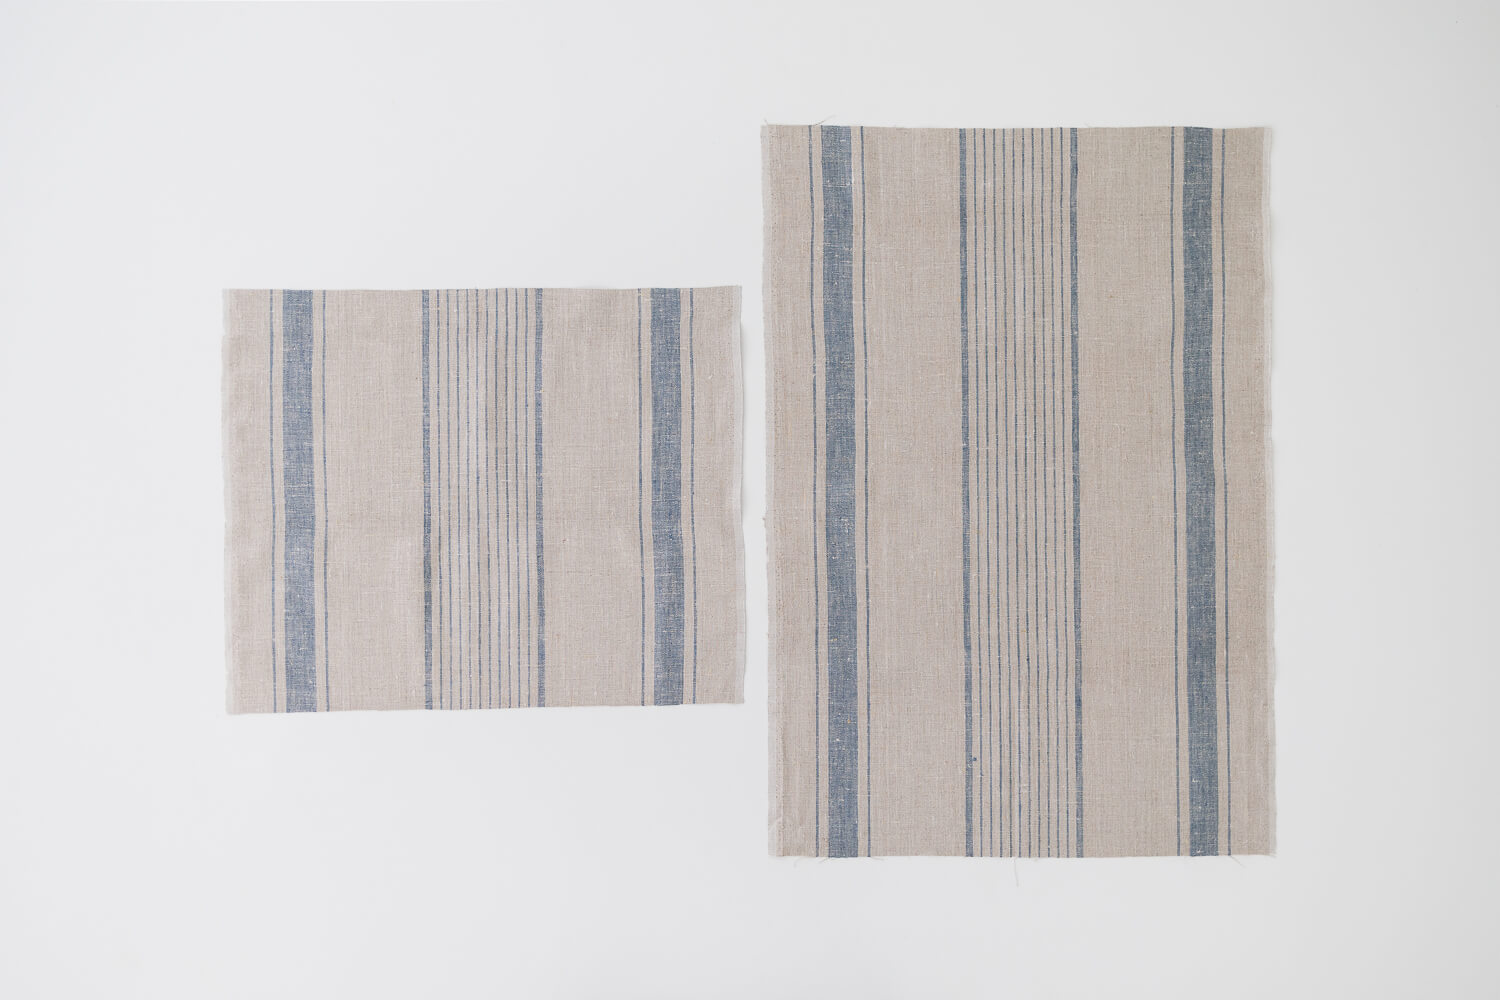
The tea towel linen is 19″ (~48 cm) wide and is sold in whole yards. Everyone has their own preference on what length works best for them and their kitchen space, but here are some options to get the most out of your fabric.
– With 4 yards, you can get 5 tea towels 28″ (~71 cm) long OR 4 tea towels 28″ (~71 cm) long and 2 tea towels 16″ (~40.5 cm) wide.
– With 3 yards, you can get 4 tea towels 27″ (~58.5 cm) long OR 3 tea towels 36″ (~91.5 cm) long.
– With 2 yards you can get 2 tea towels 28″ (~71 cm) long and 1 tea towel 16″ (~40.5 cm) wide OR 2 tea towels 36″ (~91.5 cm) long.
These dimensions are for unwashed fabric. If you are looking for a specific size, be sure to wash the fabric before sewing. It will shrink a bit the first wash. If you aren’t too particular about the exact size, you can sew then wash.
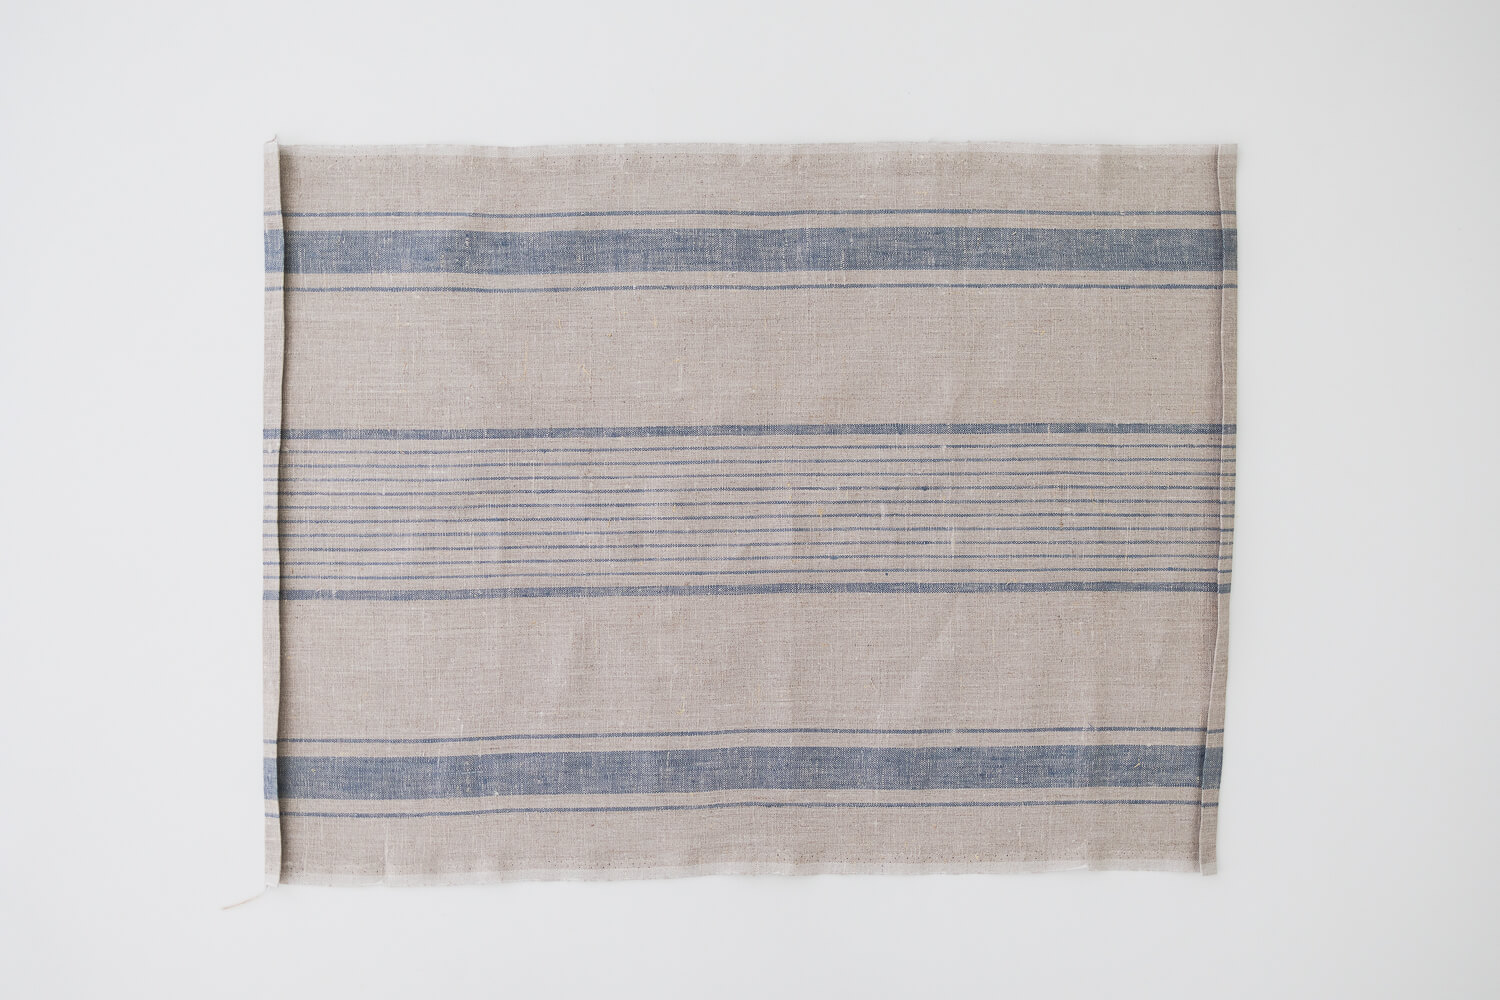
For this tutorial I used 2 yards and cut 2 tea towels 28″ (~71 cm) long and 1 small tea towel 16″ (~40.5 cm) wide.
Let’s Jump In!
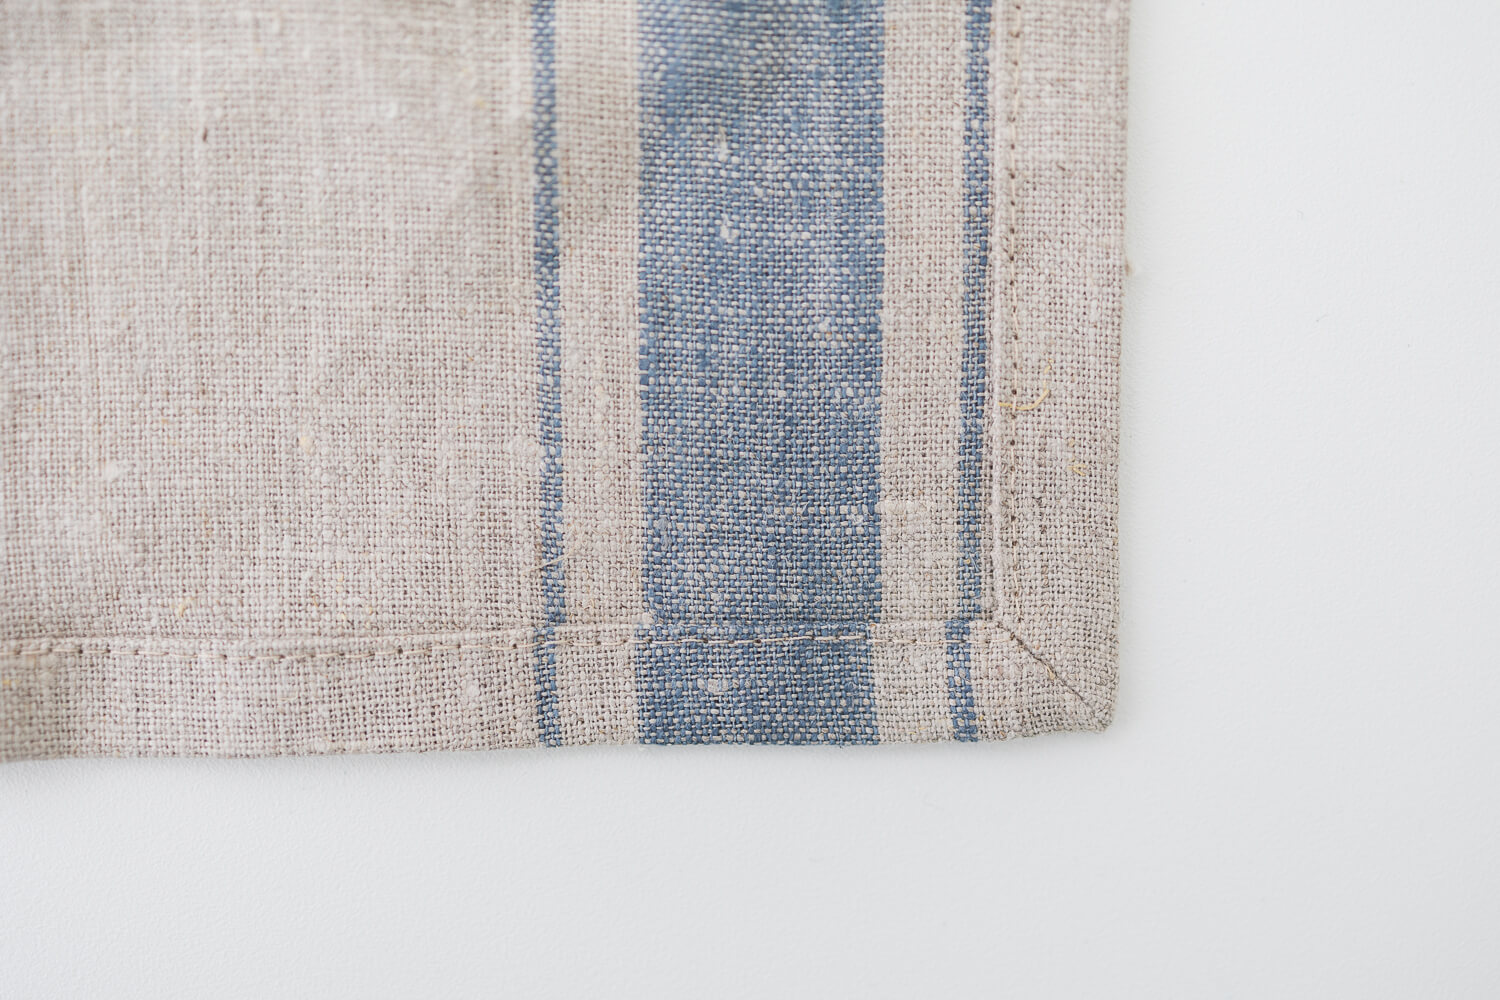
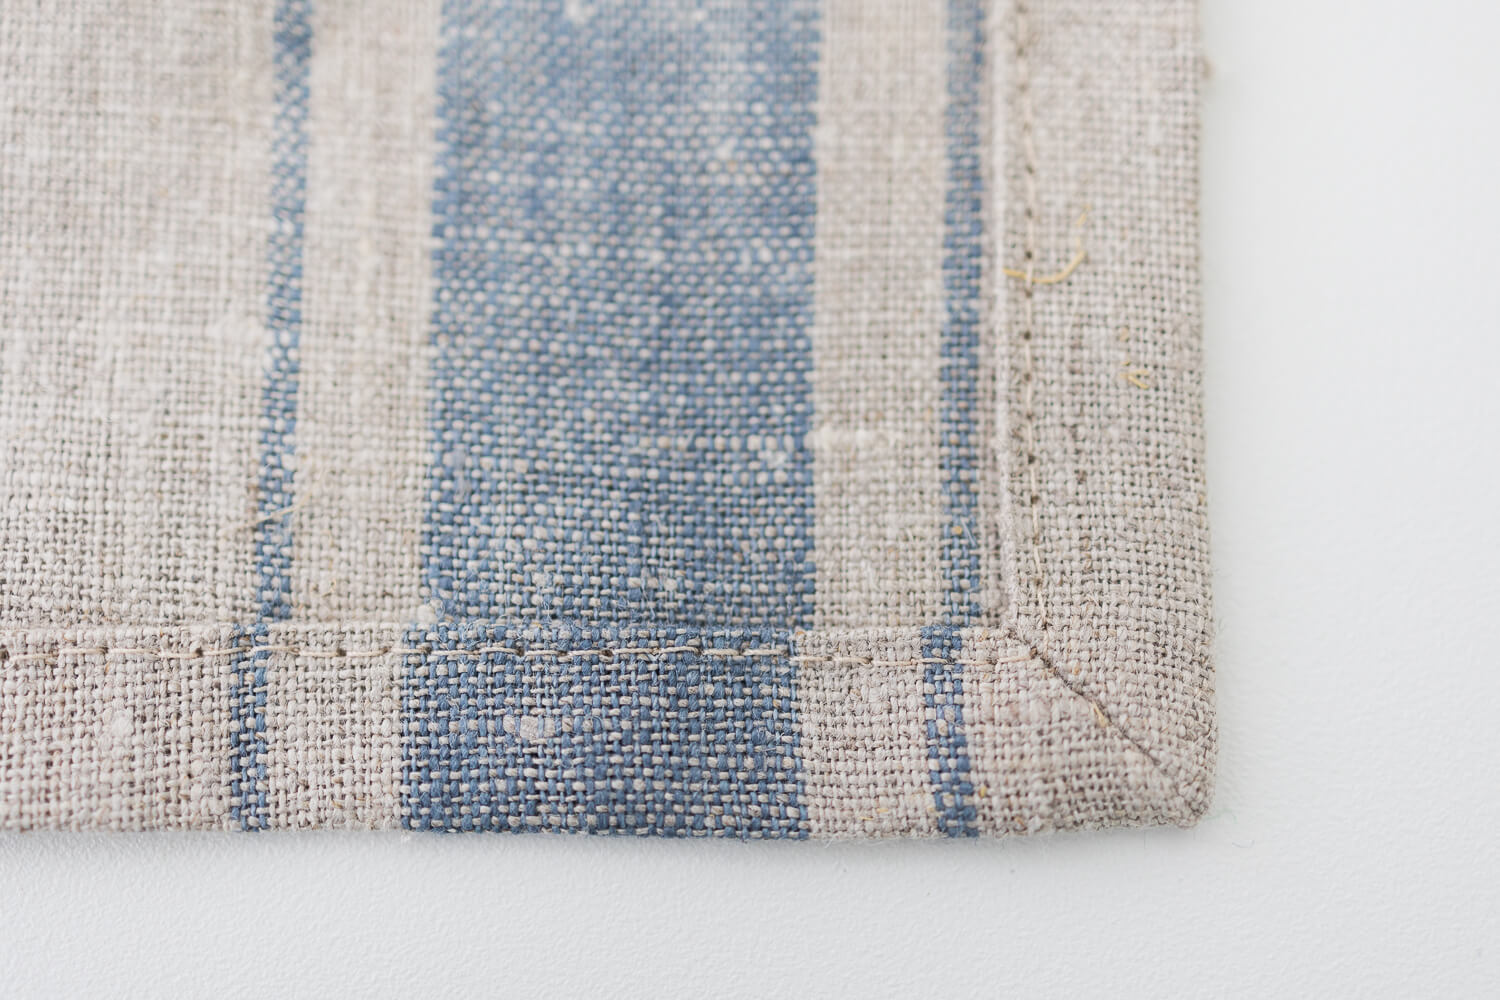
Method One – Mitered Corners
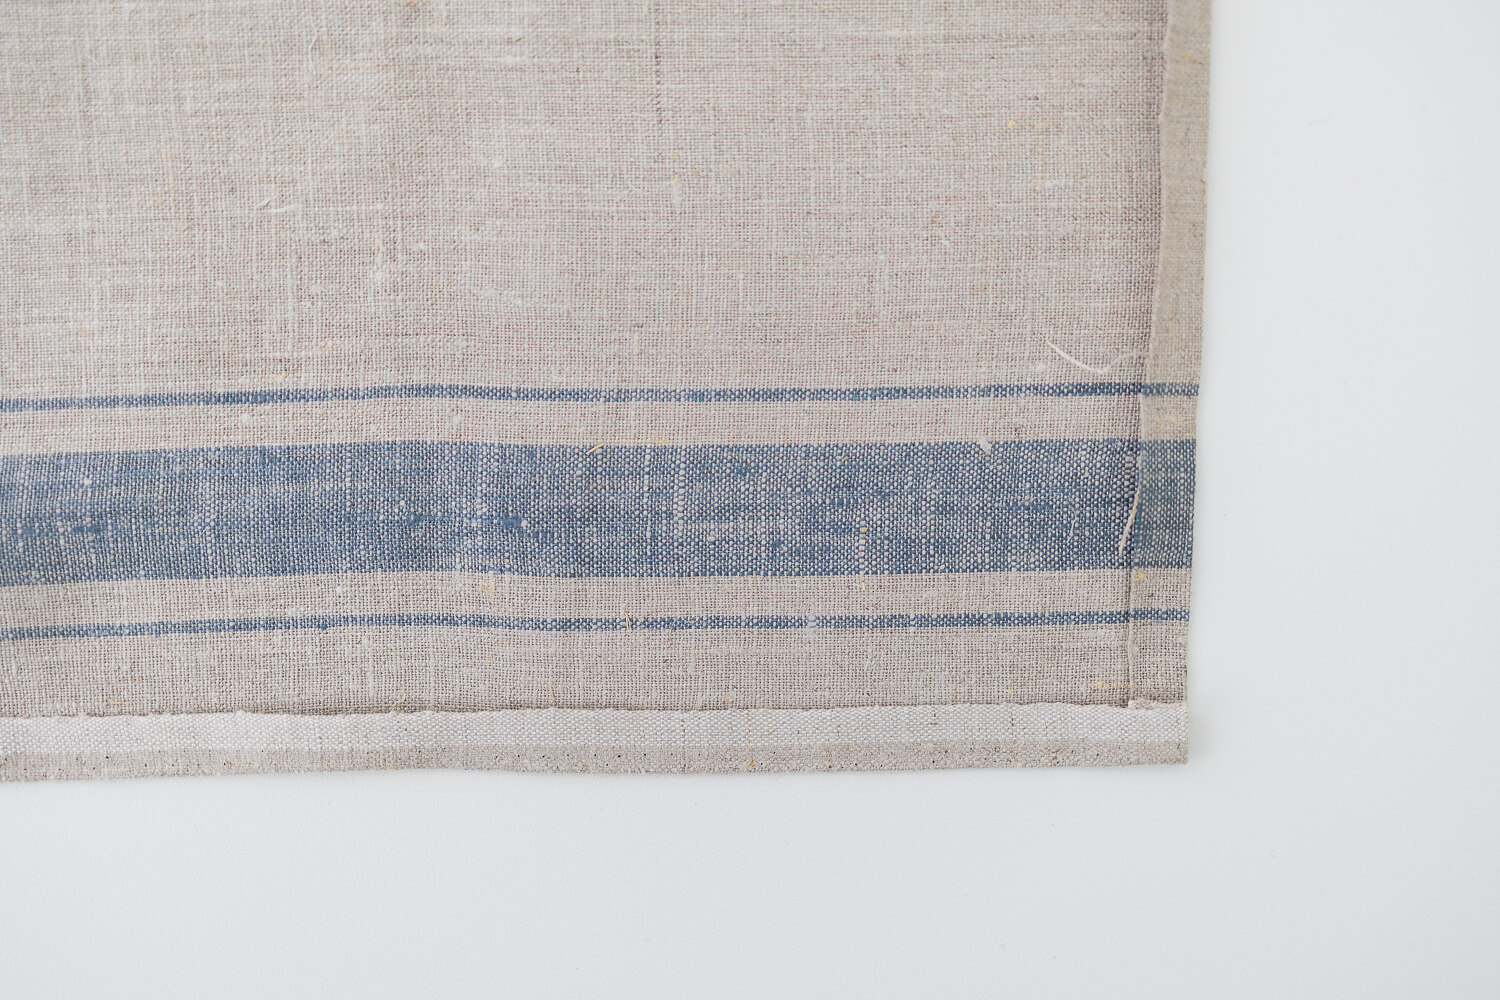
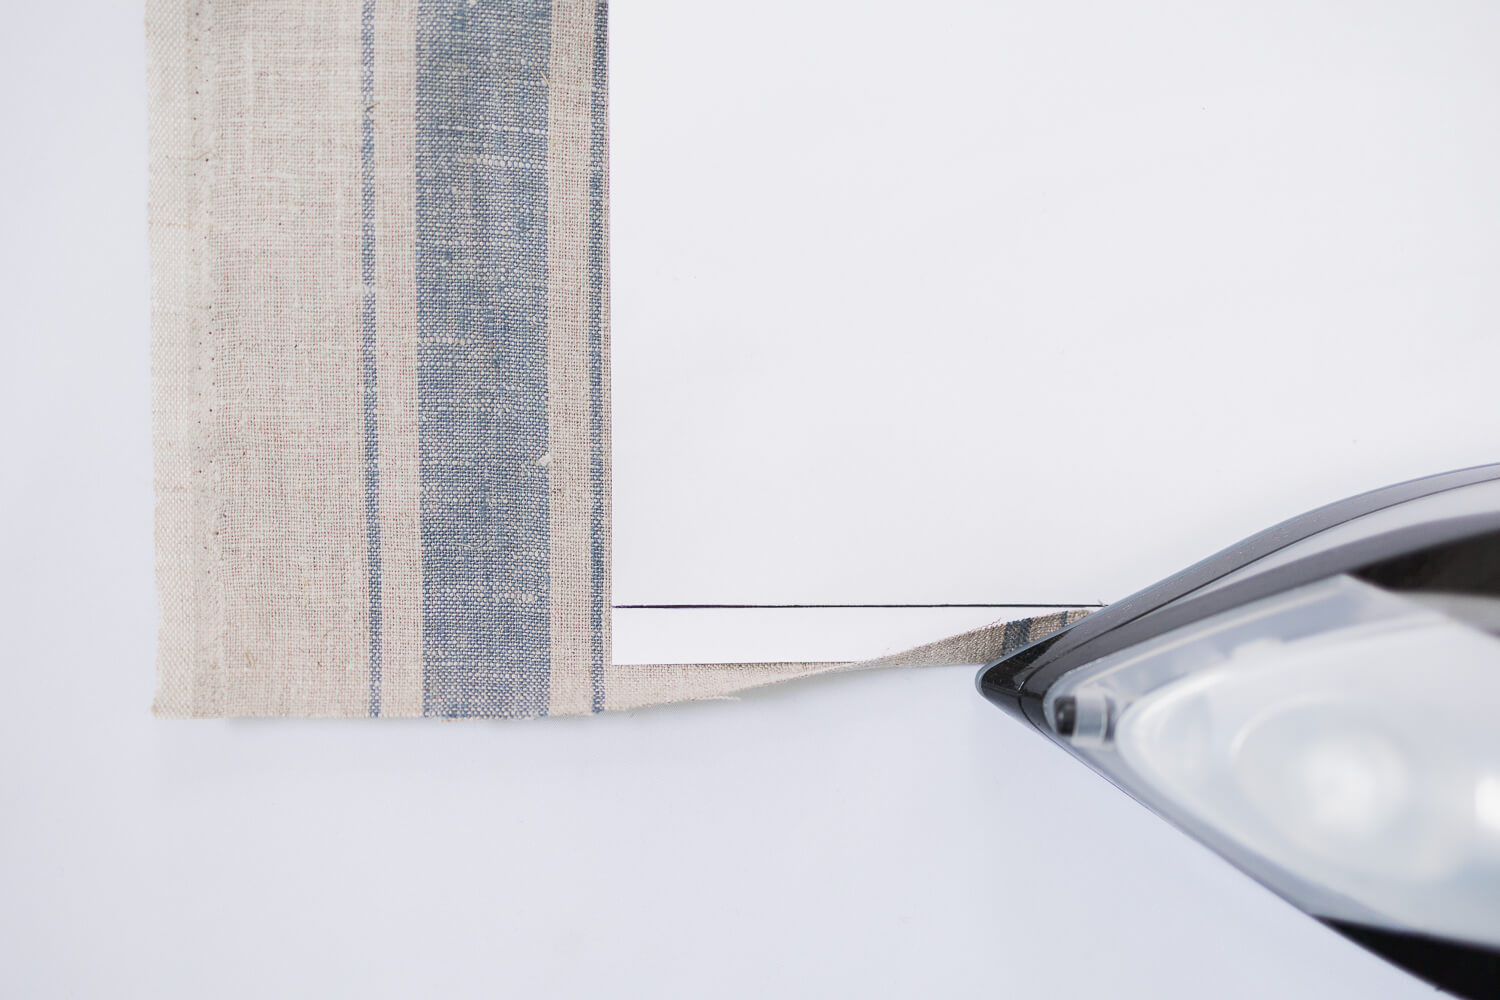
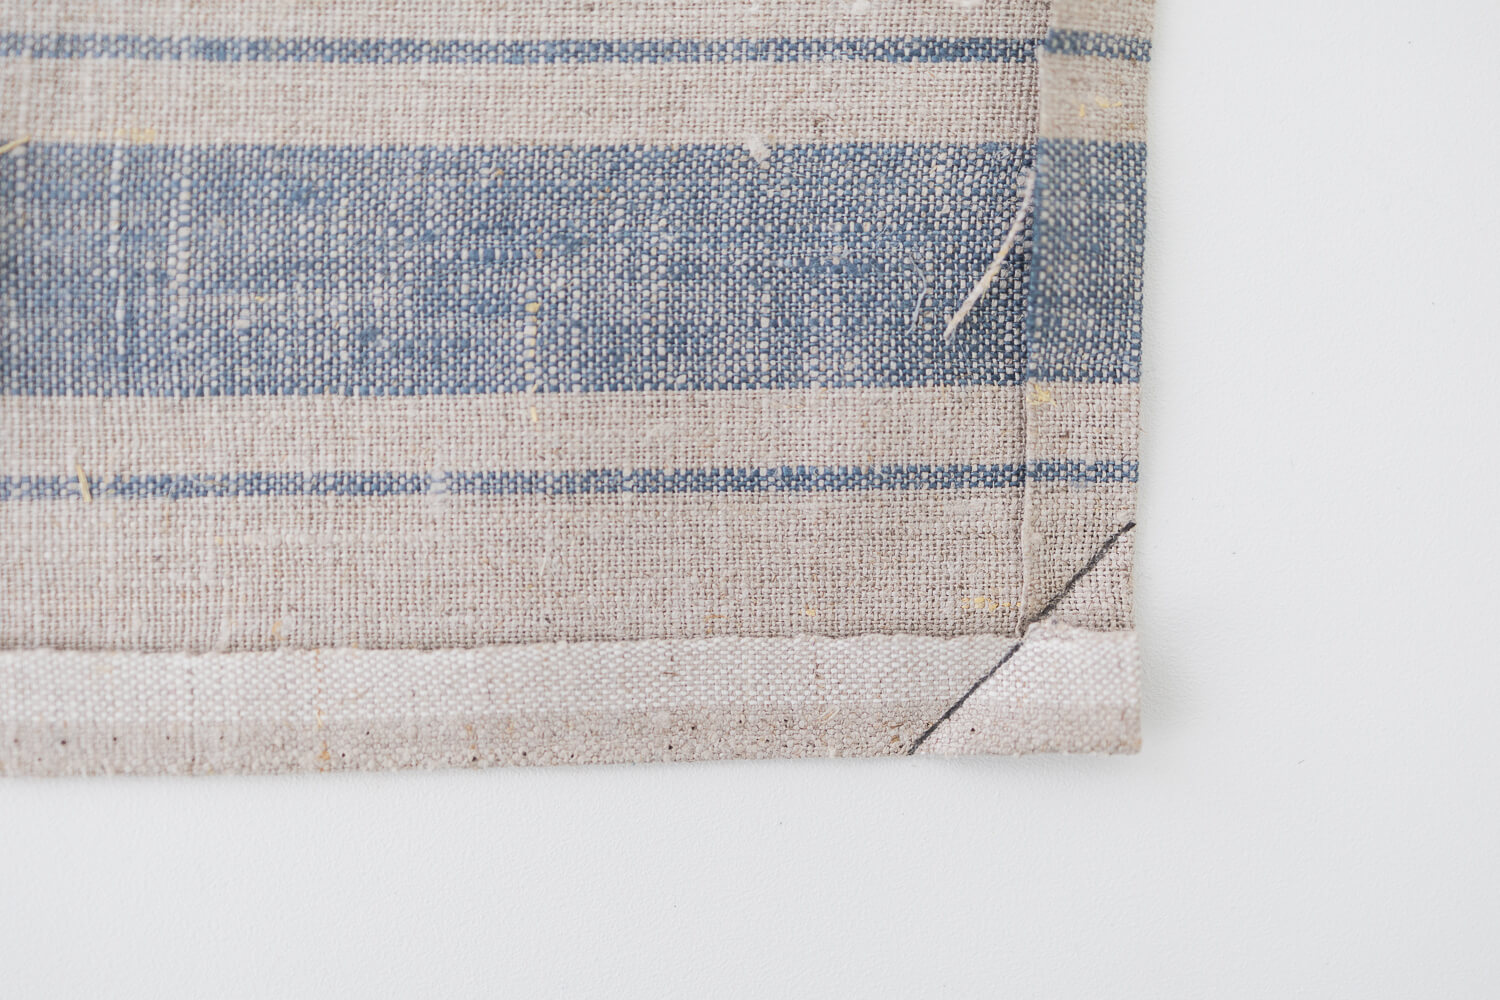
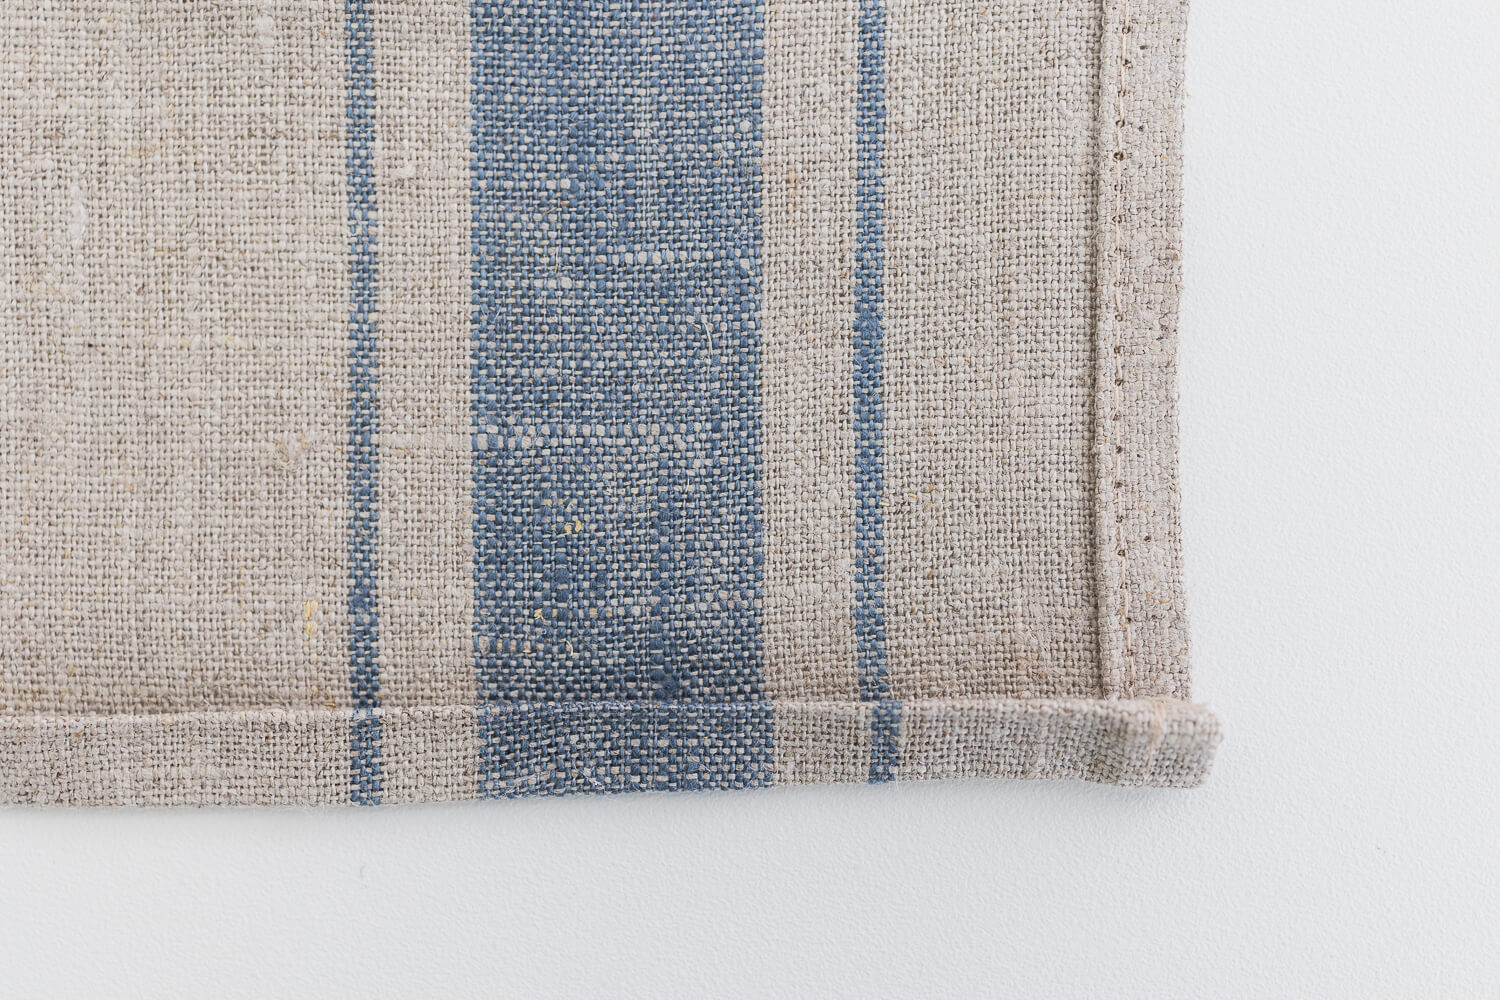
- Fold all edges of the tea towel in ½” (~1.3 cm) toward the wrong side and press.
Tip: Use a ruler to mark ½” (~1.3 cm) on a piece of cardstock paper and use it as a guide while ironing.
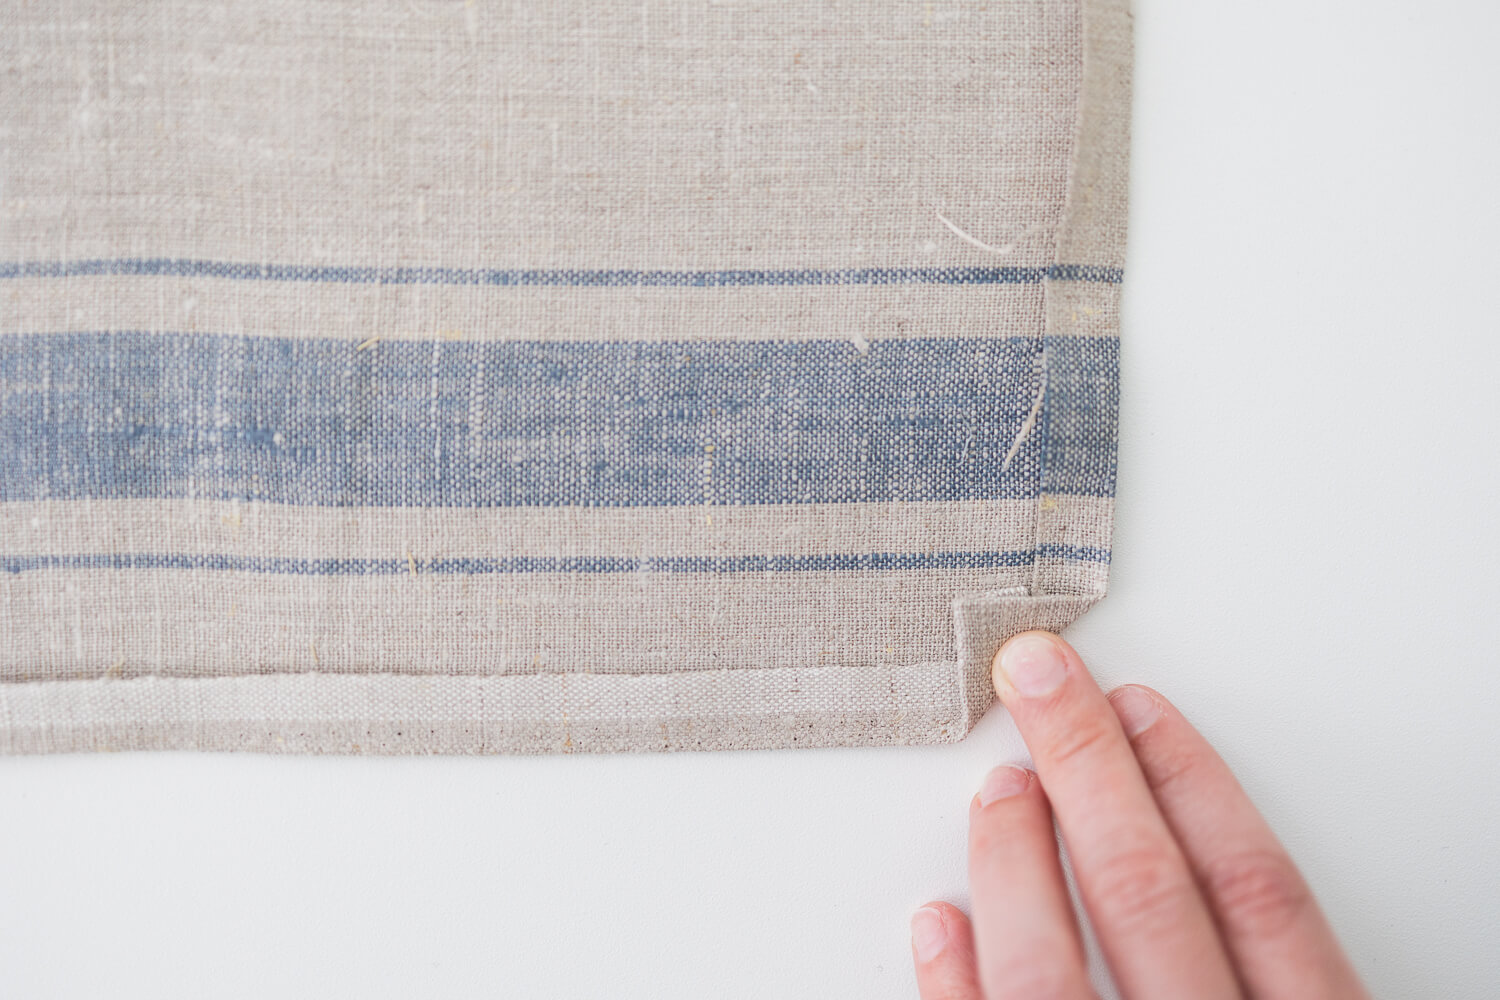
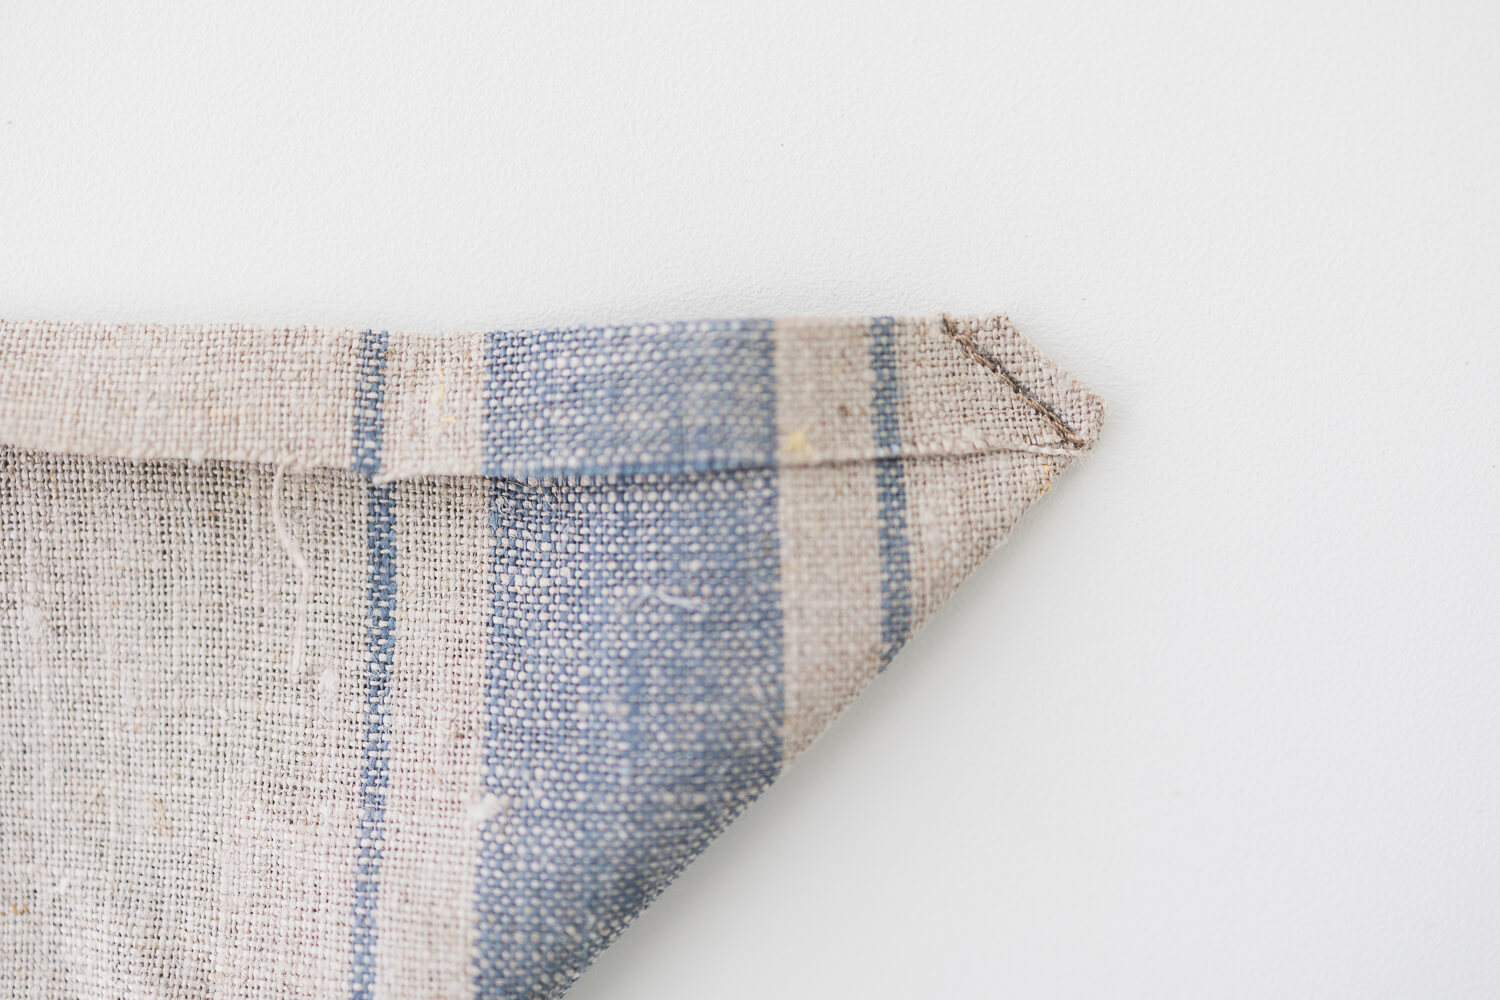
- Where the inside edges of the folded fabric meet, turn the corner up toward the wrong side and press so it leaves a visible crease. Try to orient the corner so the crease is a true 45 degree angle.
- Mark along the crease with a fabric pen.
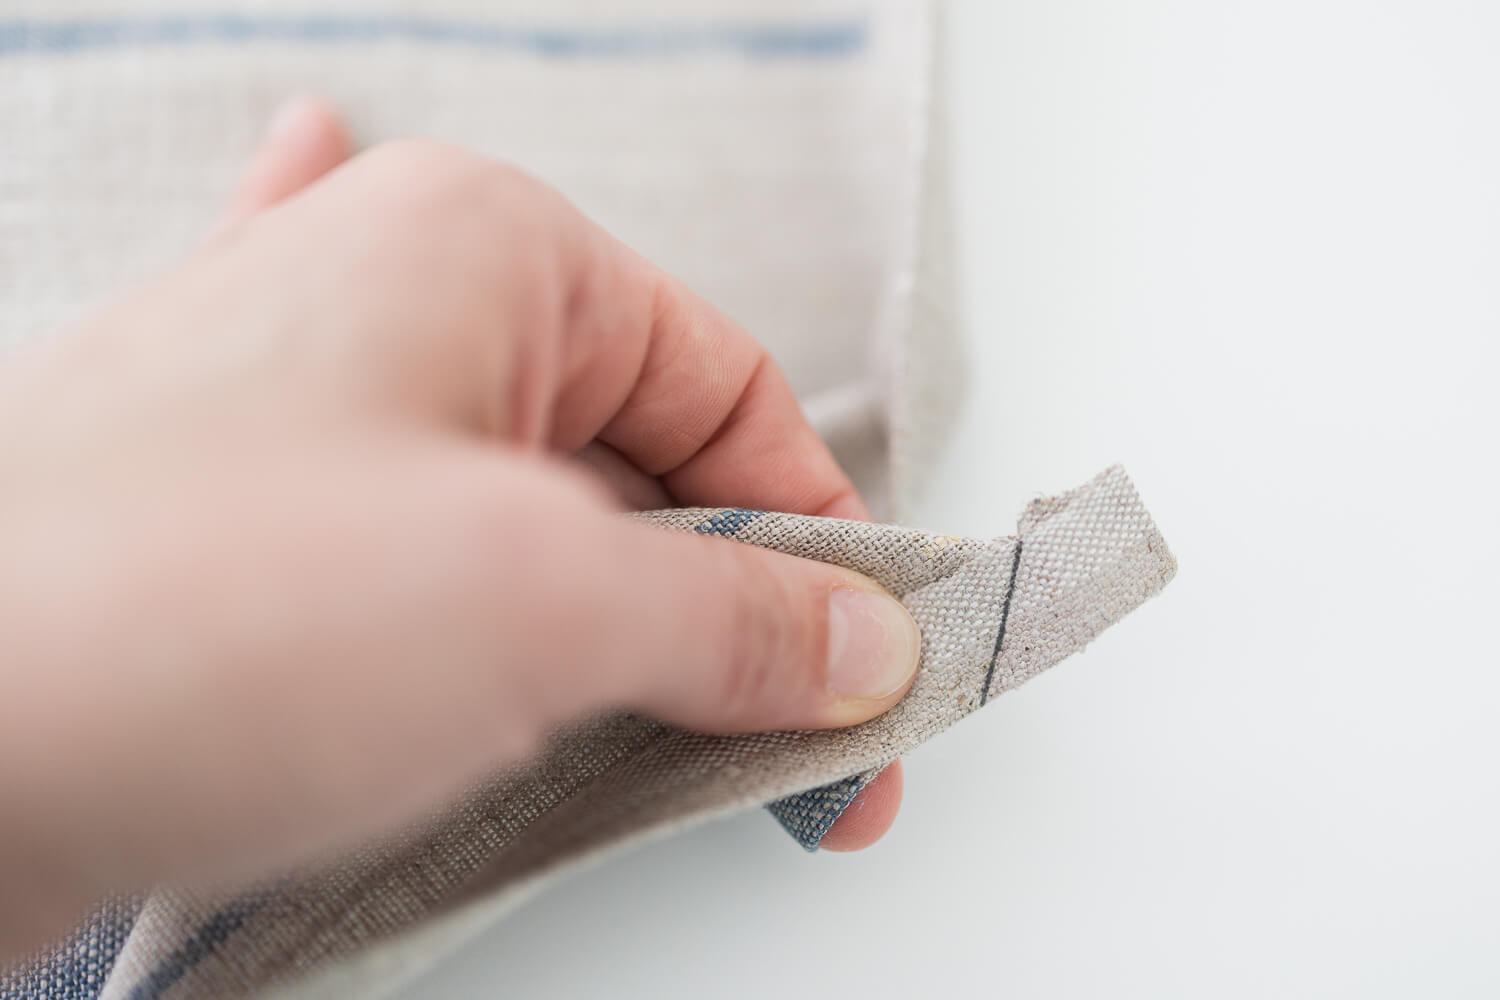
- Fold the corner right sides together so the pen mark lines up on each side.
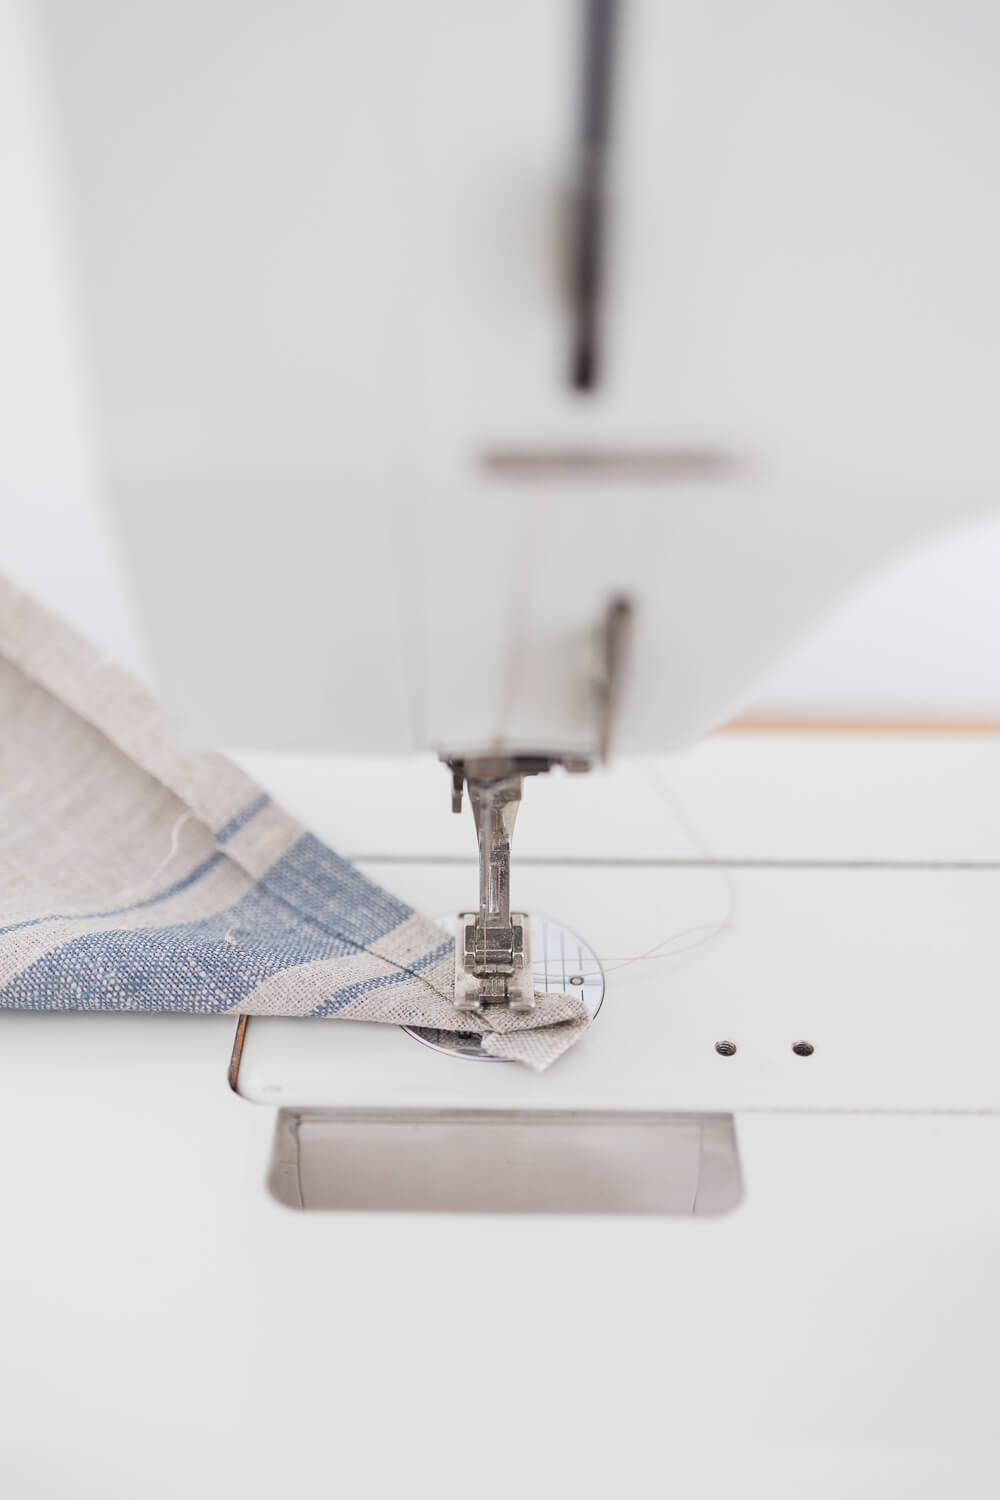
- Stitch along the pen mark.
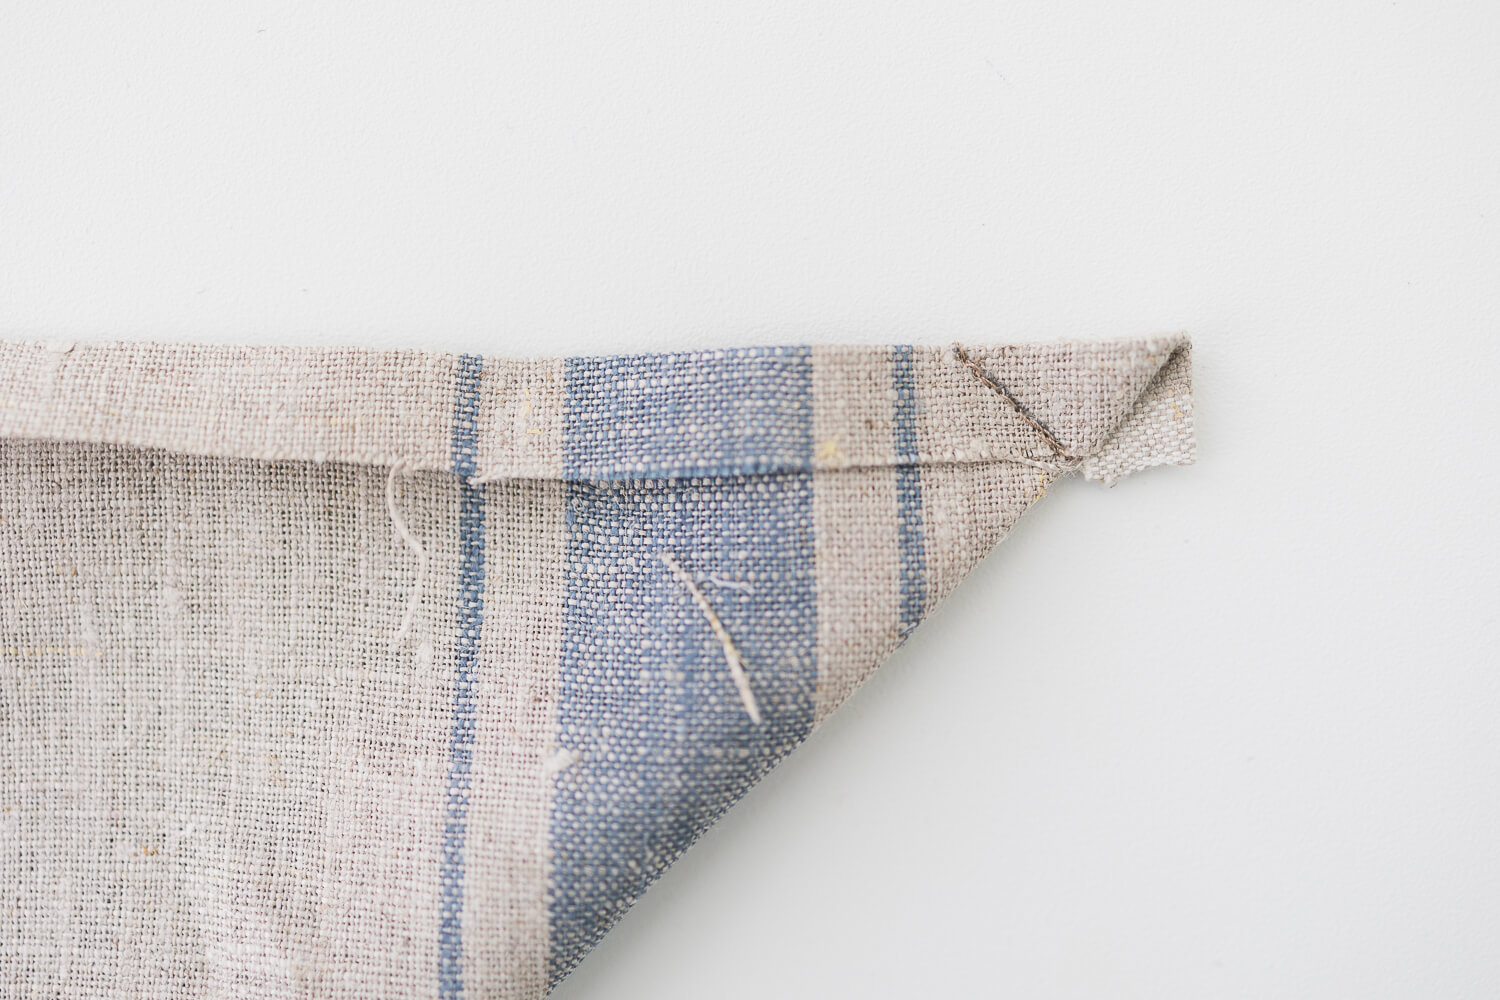
- Trim the corner and press the seam open.
- Flip the seam to the wrong side. Use a point turner or pen to make the corner crisp.
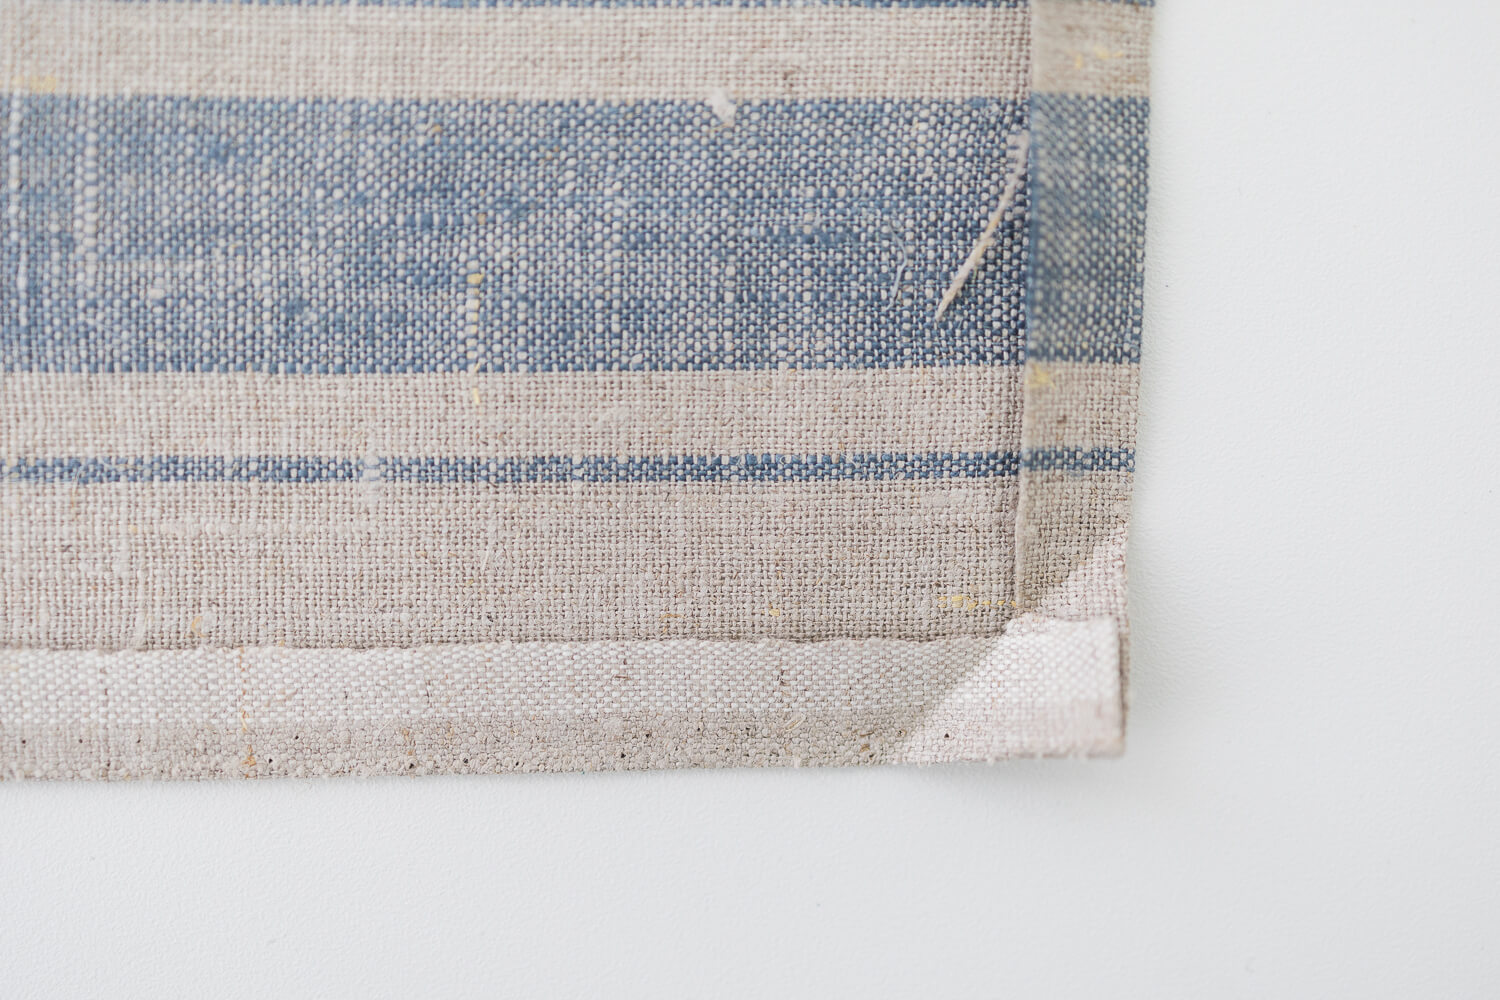
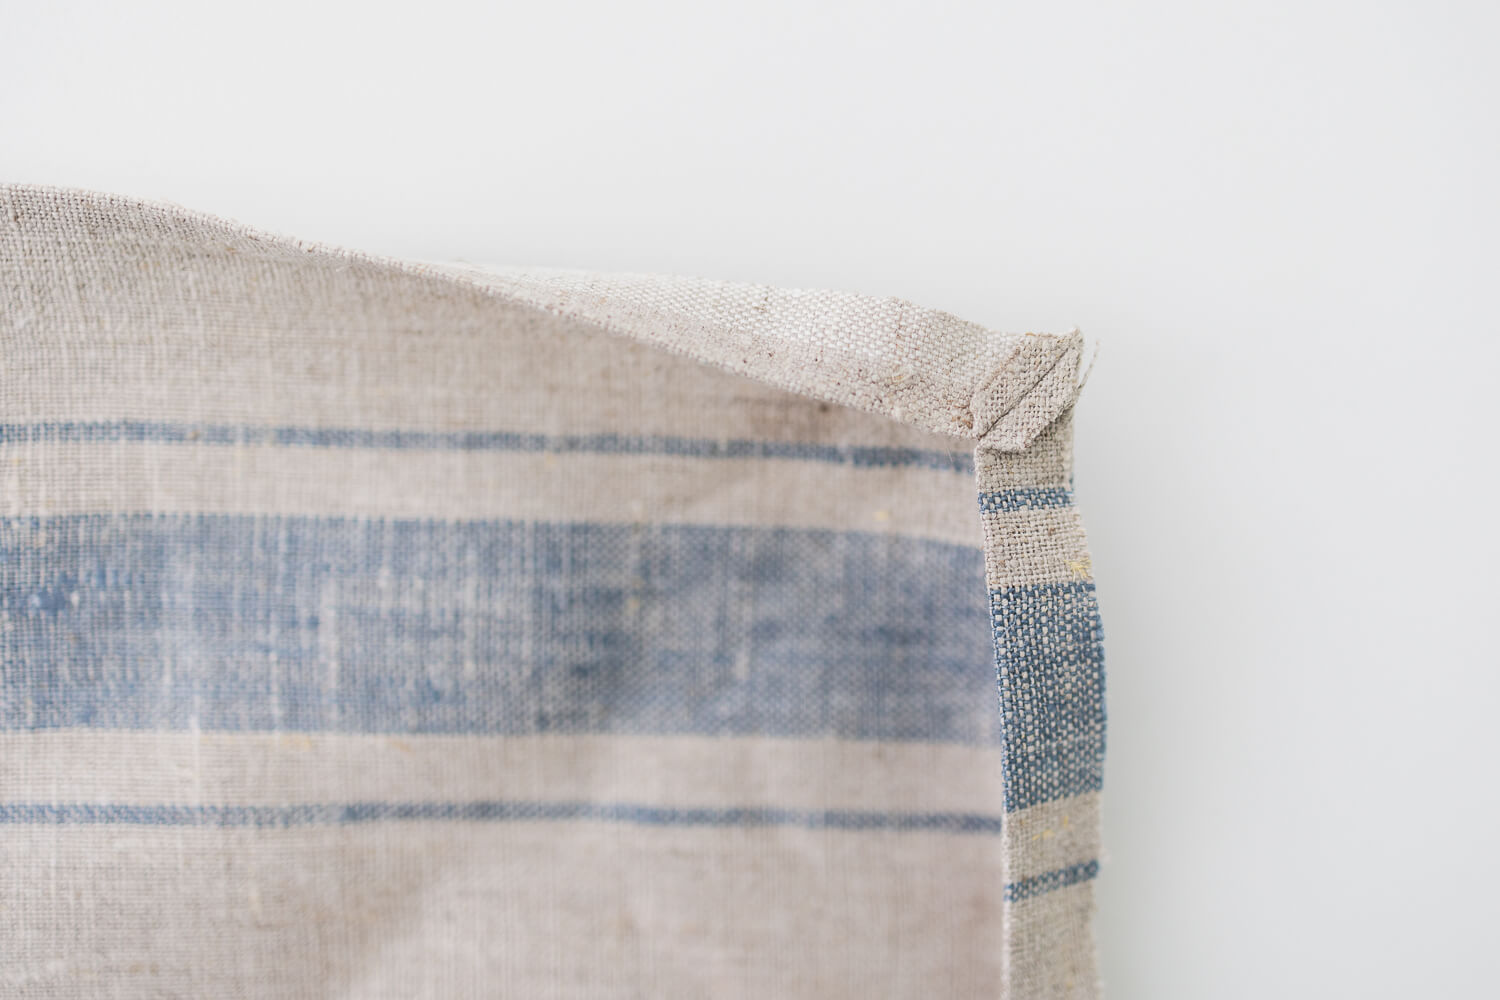
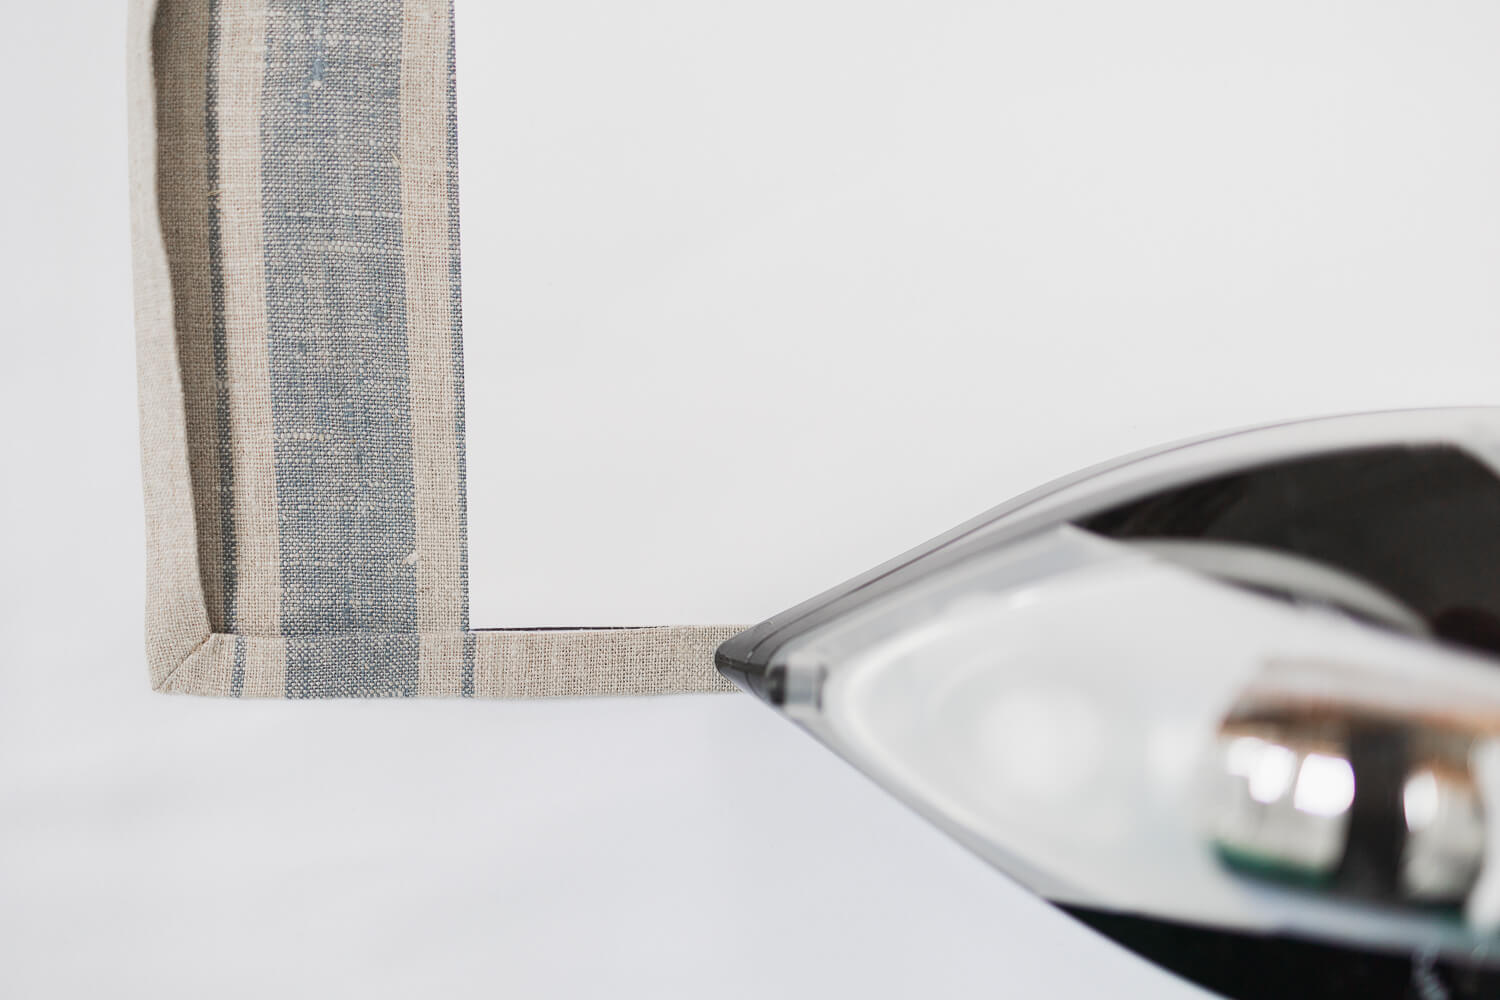
- Press all edges of the tea towel with another fold about ½” (~1.3 cm) wide. Press the corners firmly.
- Stitch around the whole perimeter of the tea towel, 1/8” (~3 mm) from the inside folded edge. On the corners, put the needle down within the miter seam, then lift up the foot, pivot the tea towel, and continue to the next corner.
Method Two – Hem the Raw Edges, Leave the Selvage Edges
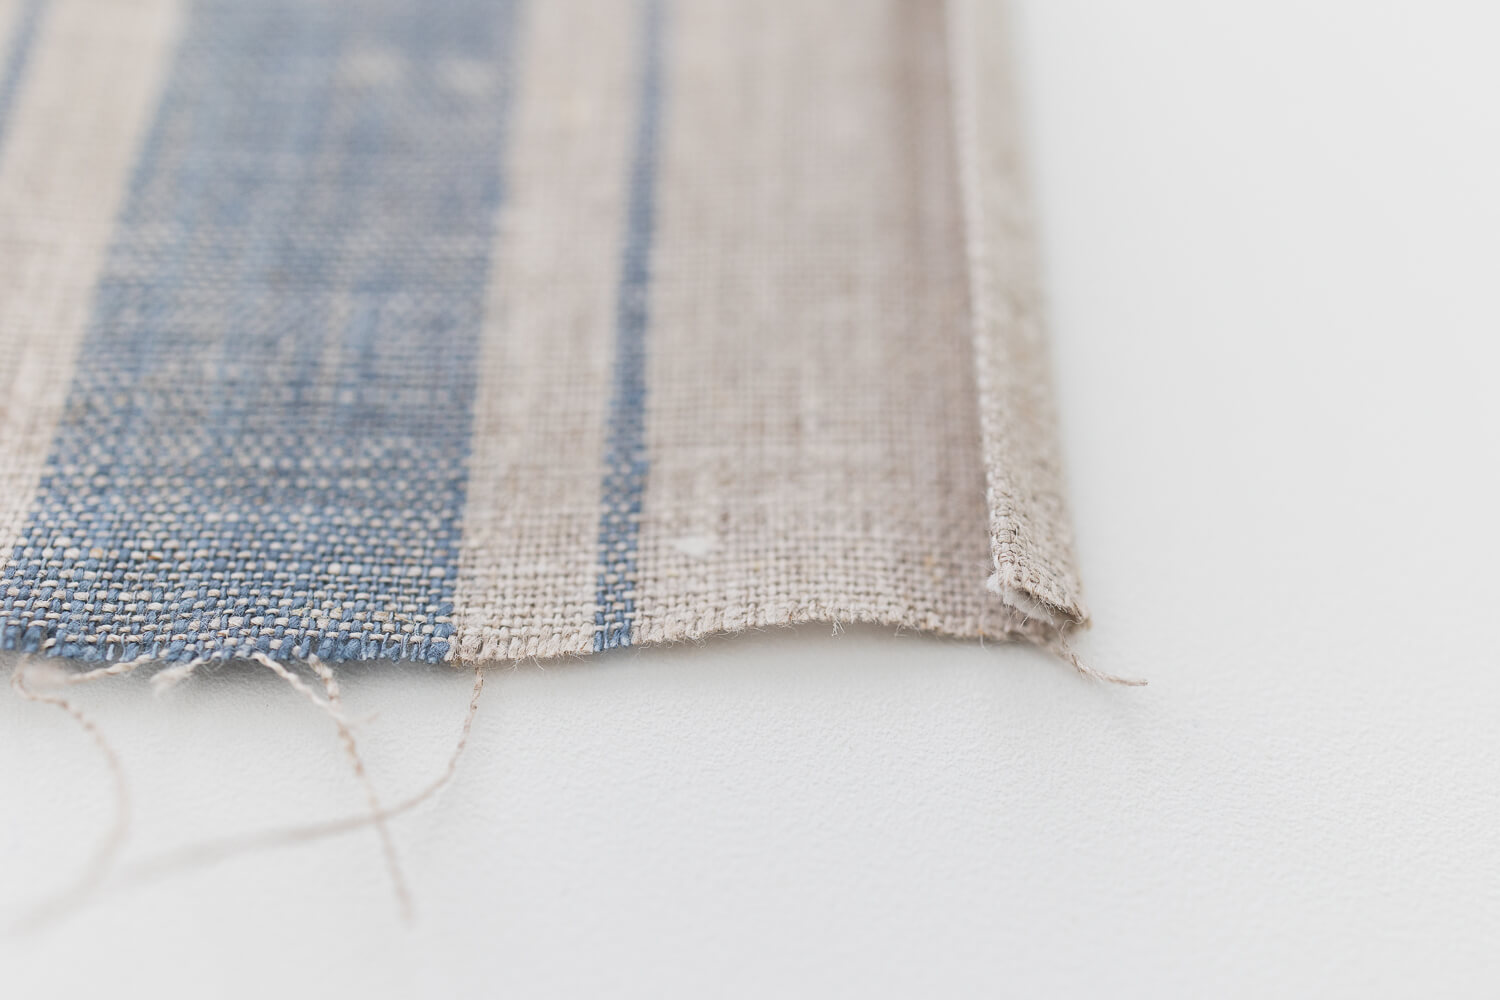
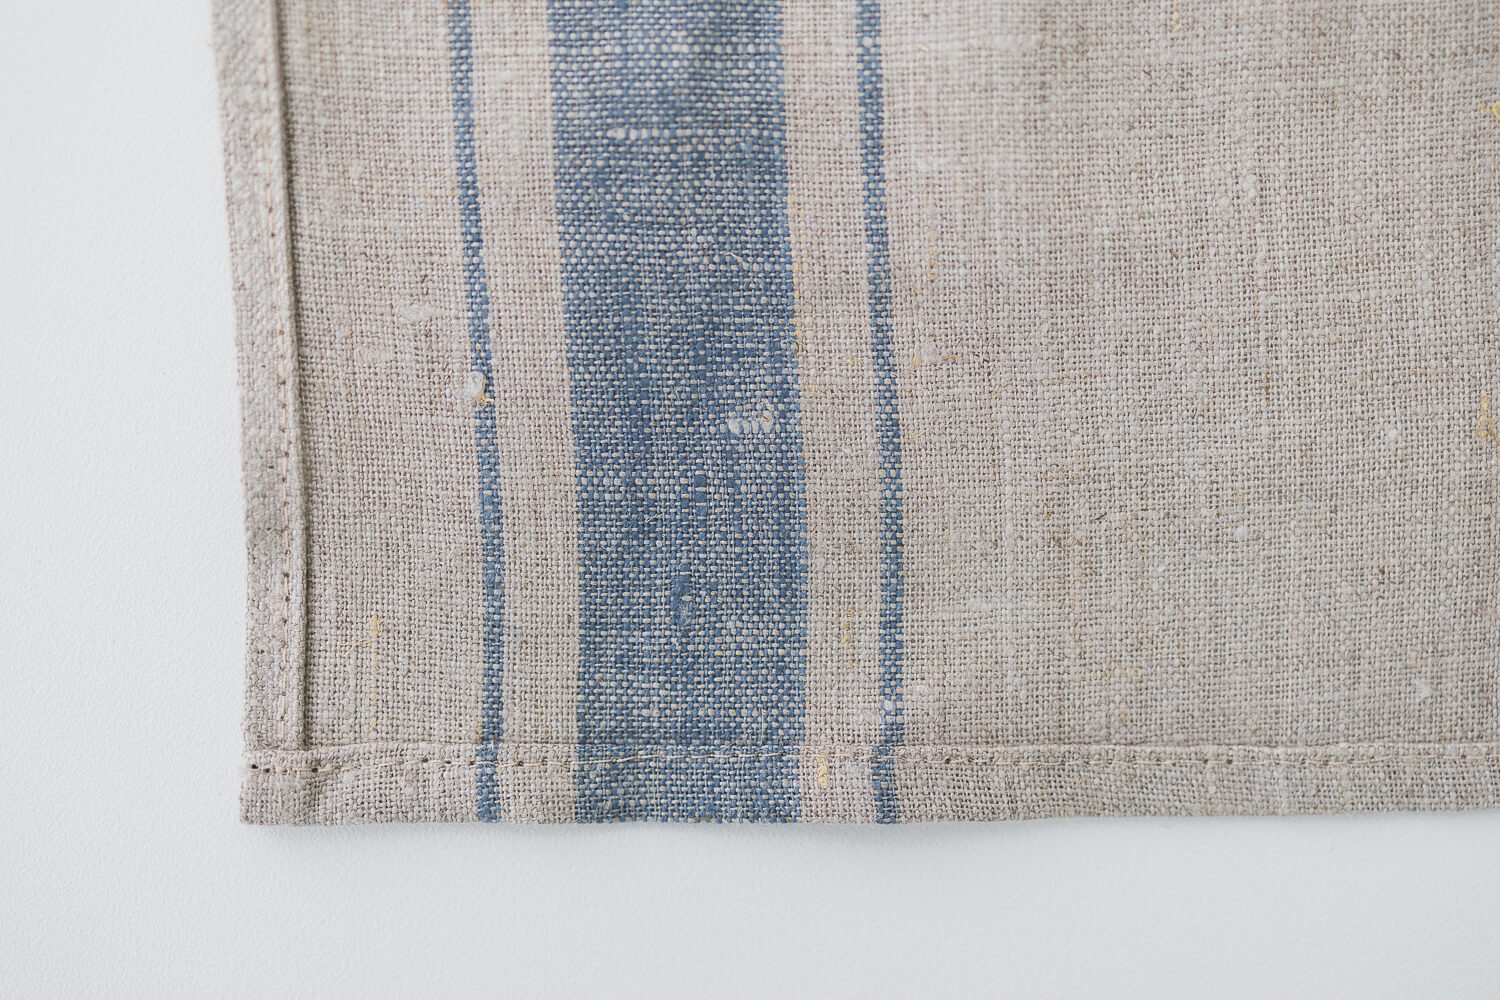
- Fold the raw edges of the tea towel toward the wrong side ½” (~1.3 cm) and press. Fold again ½” (~1.3 cm) and press.
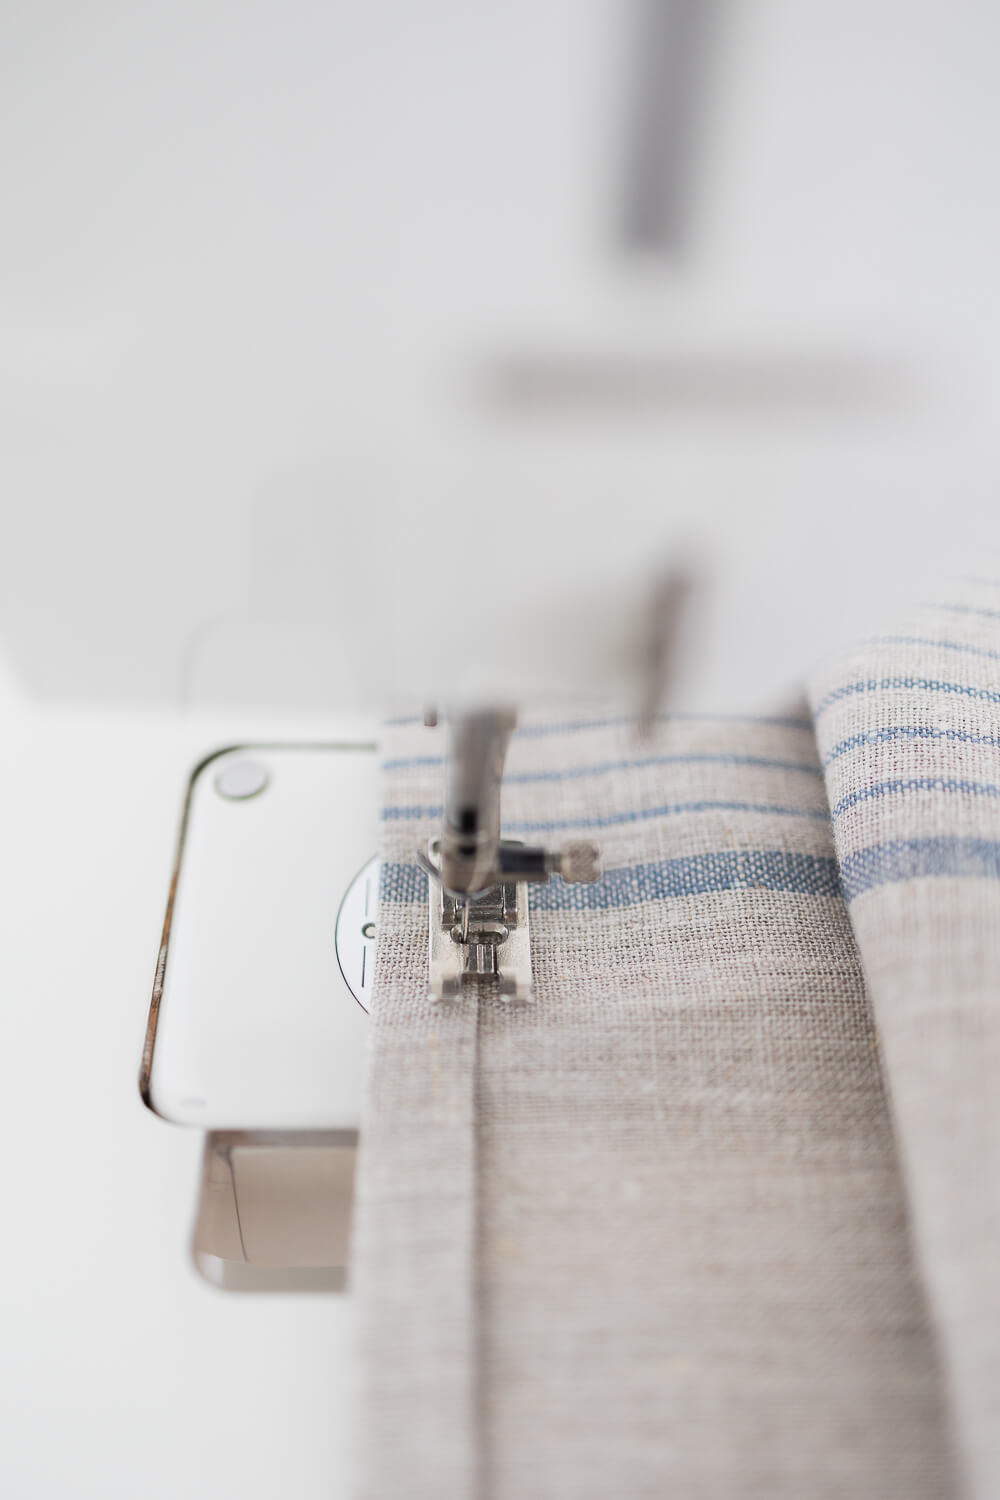
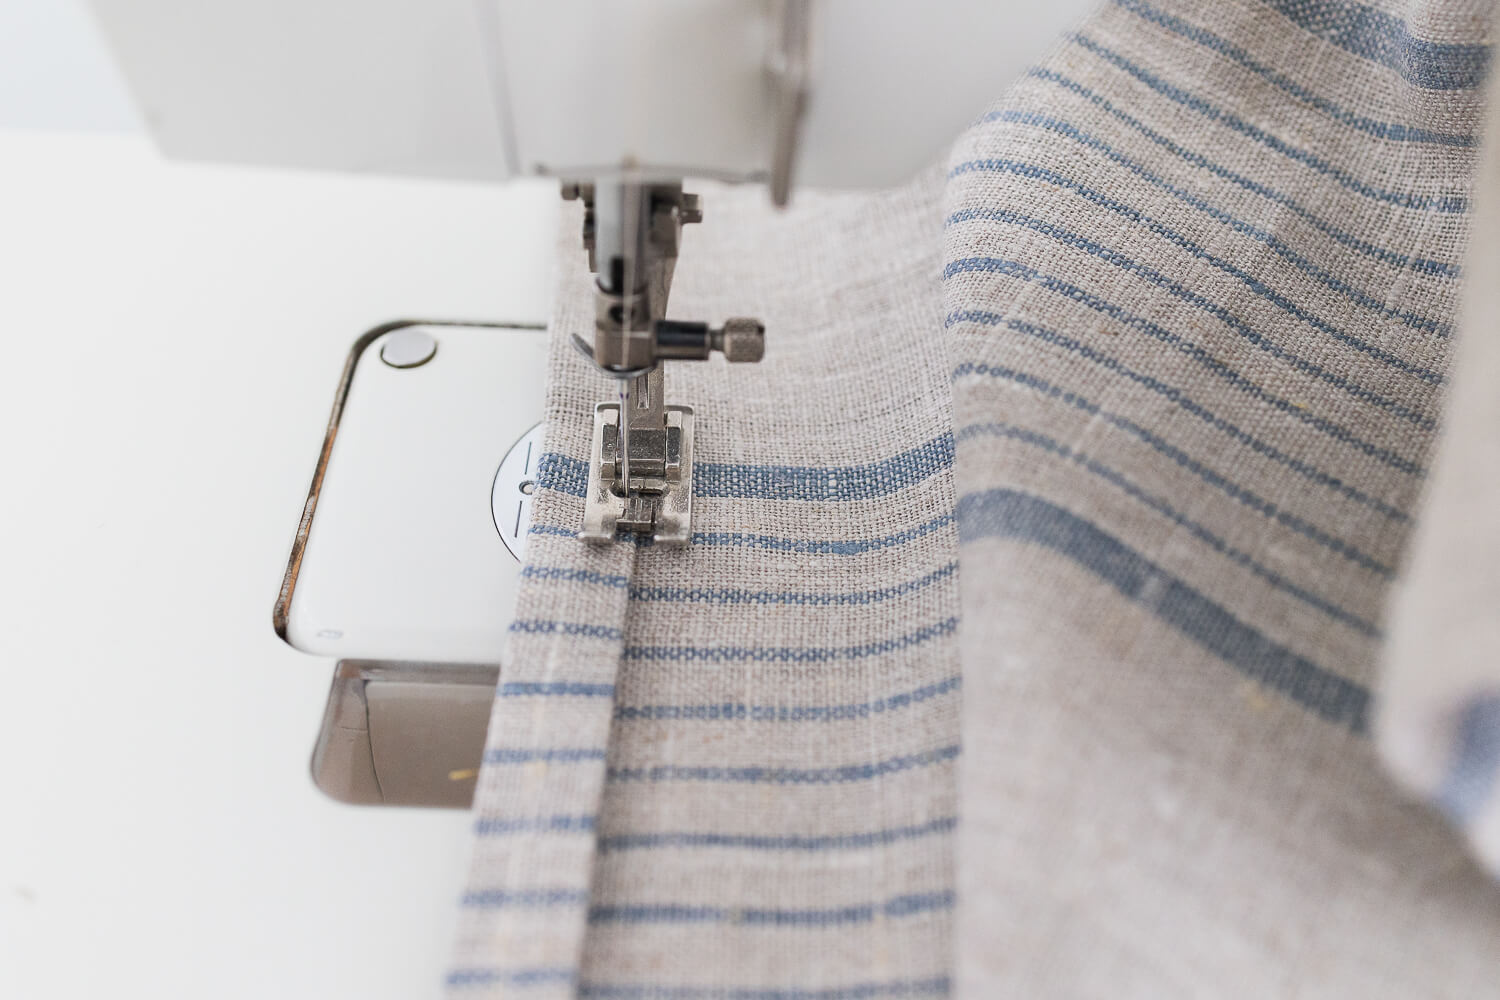
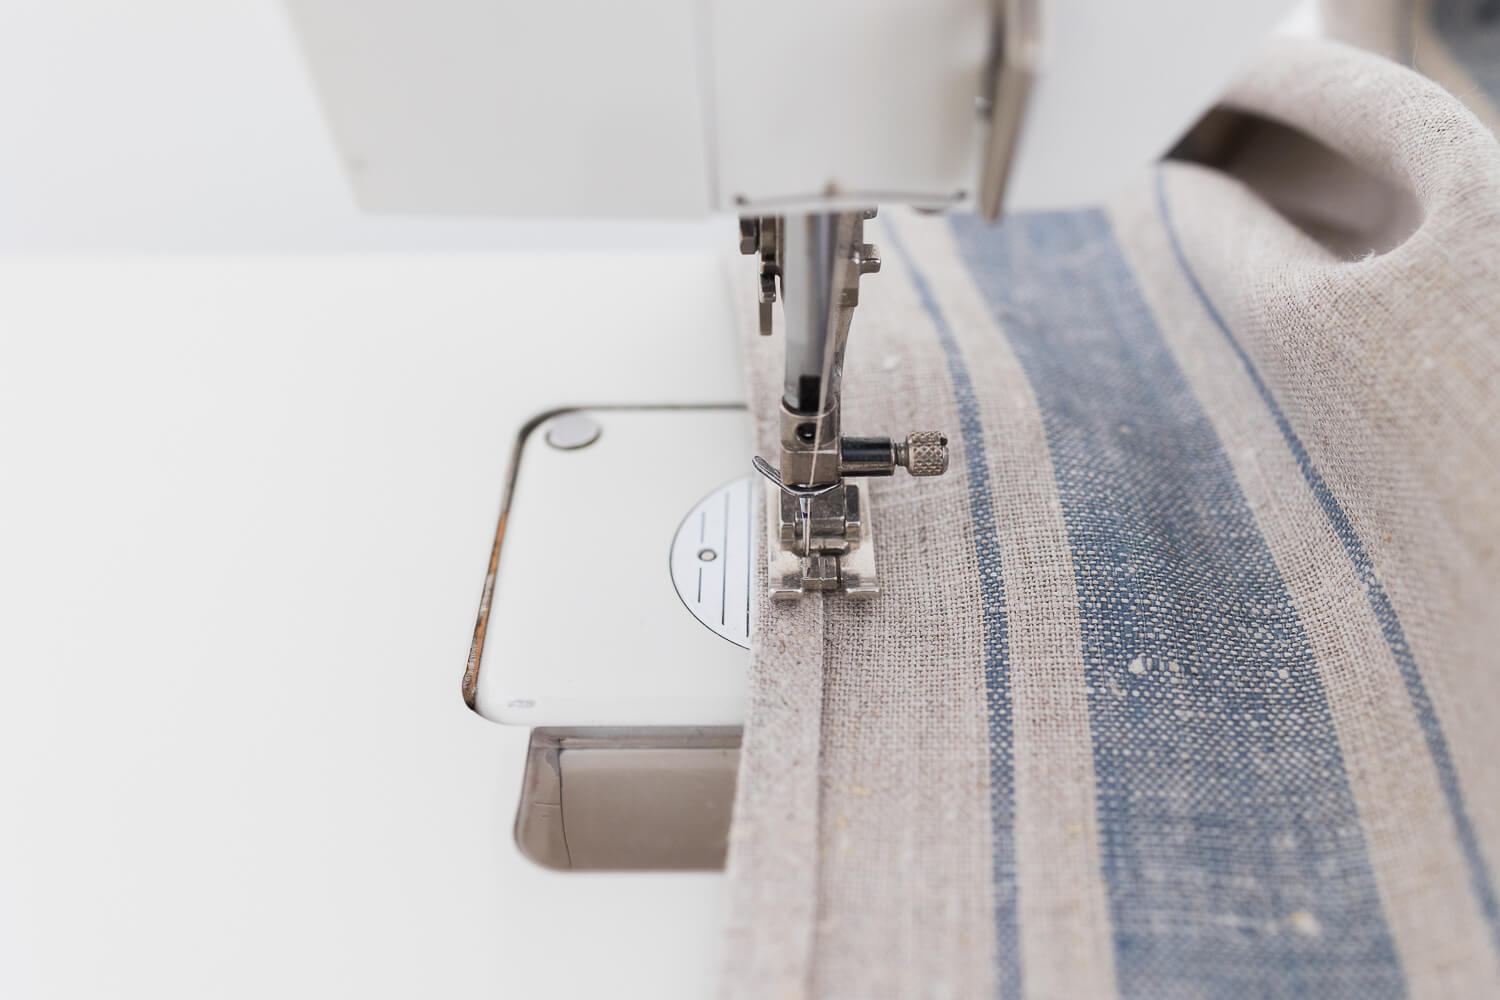
- Stitch along the hem, 1/8” (~3 mm) from the inside folded edge.
Method Three – Straight Hem
- Find whichever two parallel edges of the tea towel are longest. In this case the selvage edges are the longest. Depending on the dimensions cut, the long edges may be the raw edges. Fold the long edges toward the wrong side ¼” (~6 mm) and press. Fold again ¼” (~6 mm) and press.
- Stitch along the hem, 1/8” (~3 mm) from the inside folded edge.
- Fold the short edges toward the wrong side side ¼” (~6 mm) and press. Fold again ¼” (~6 mm) and press.
Comparison
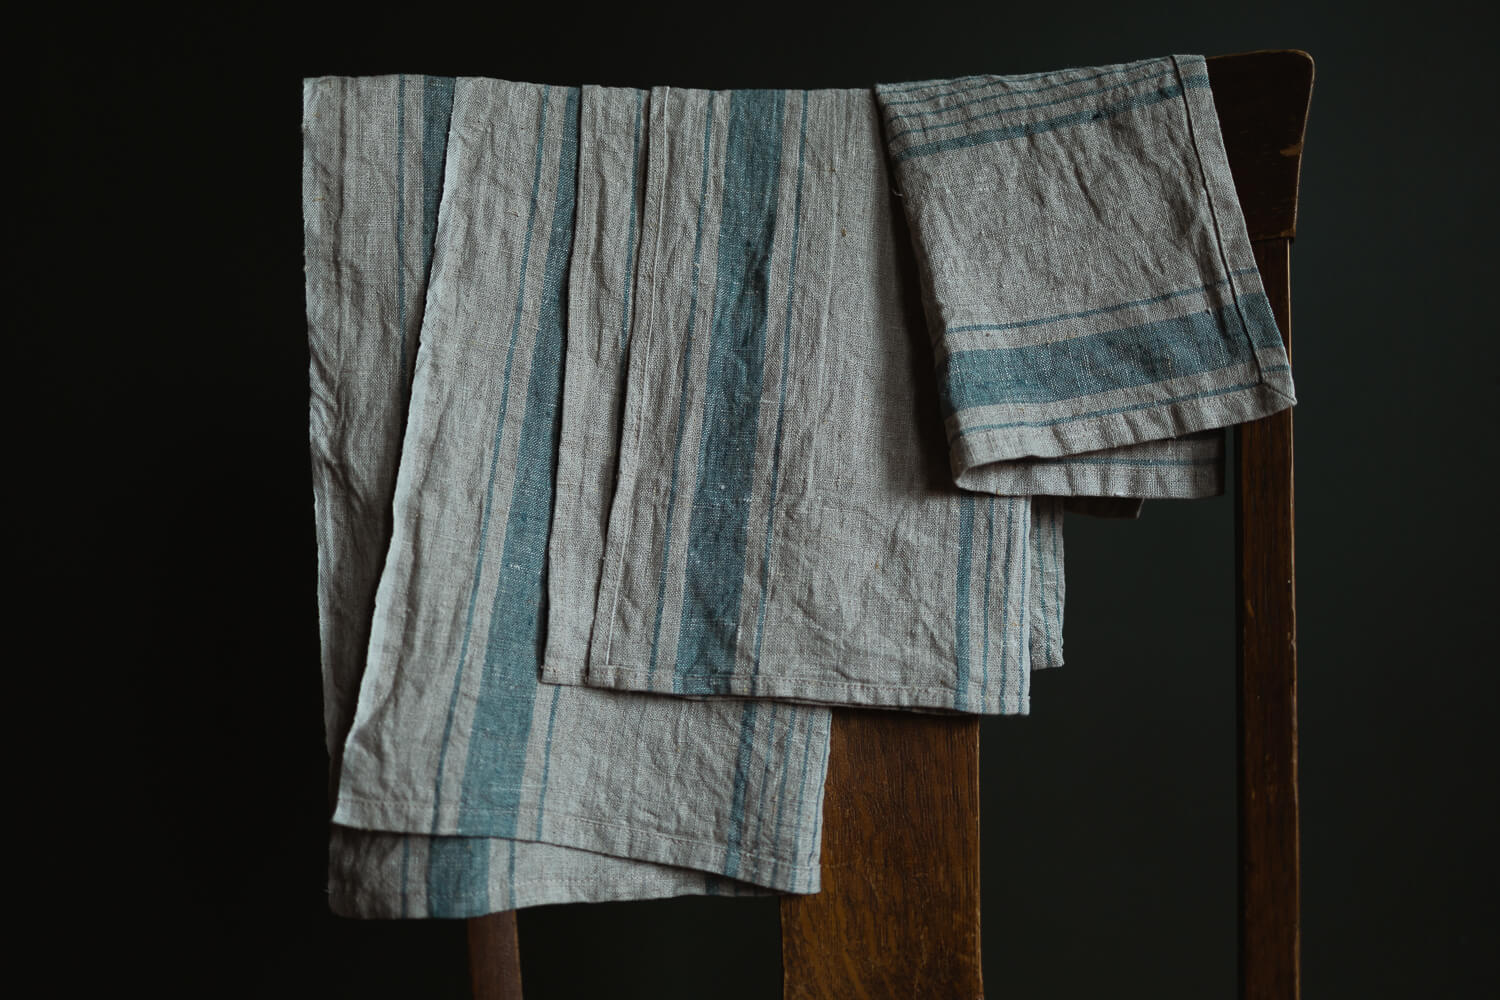
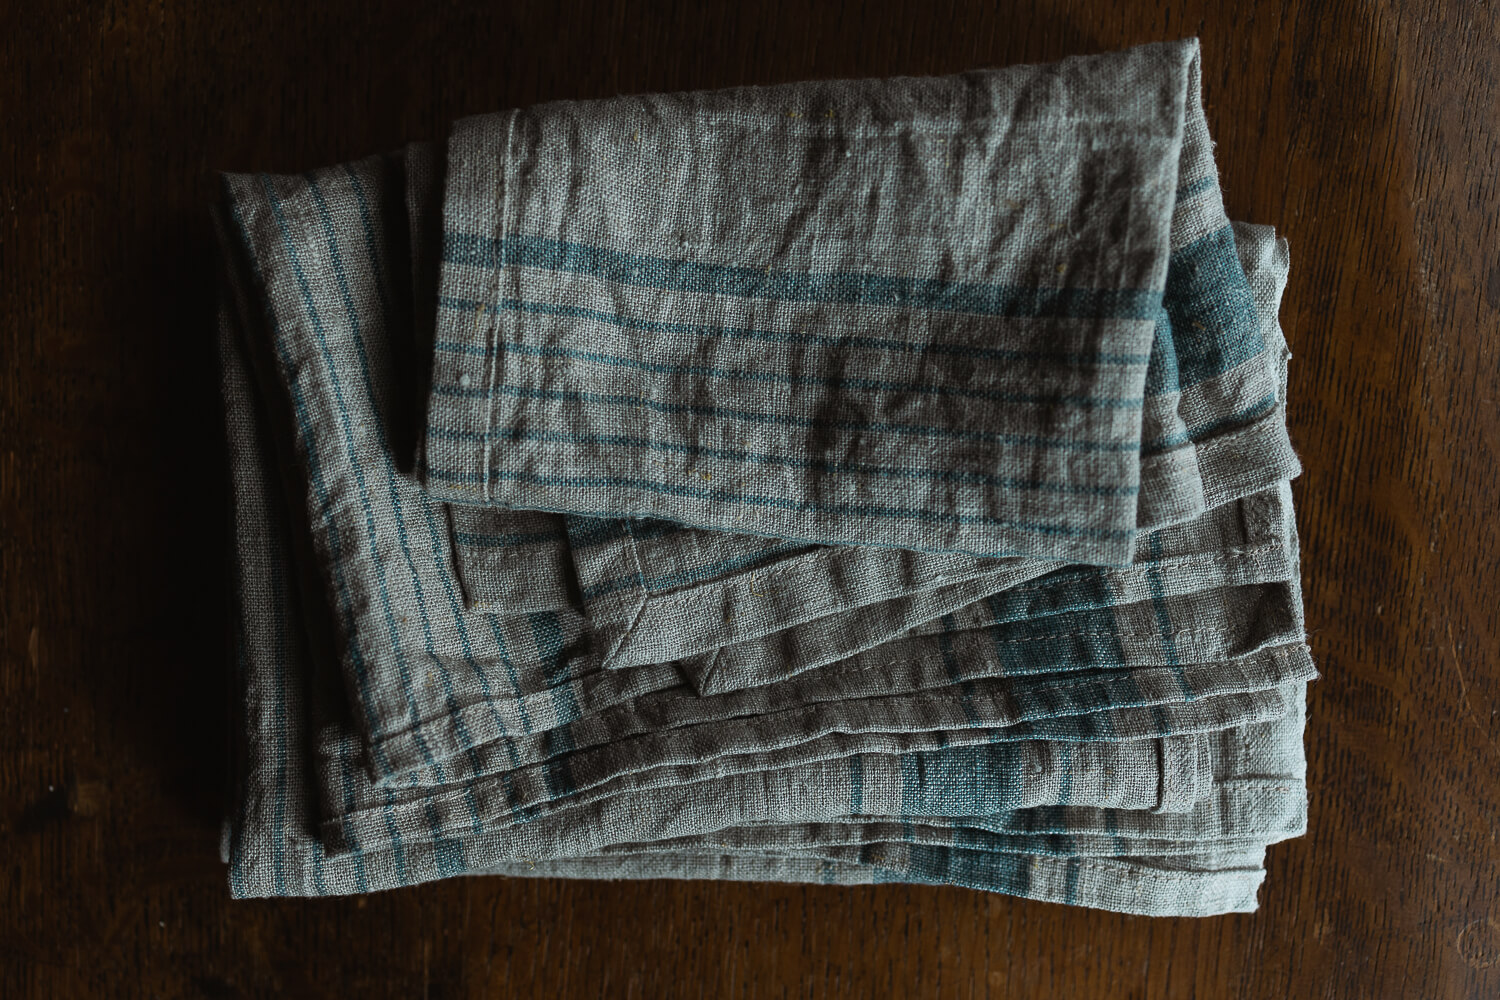
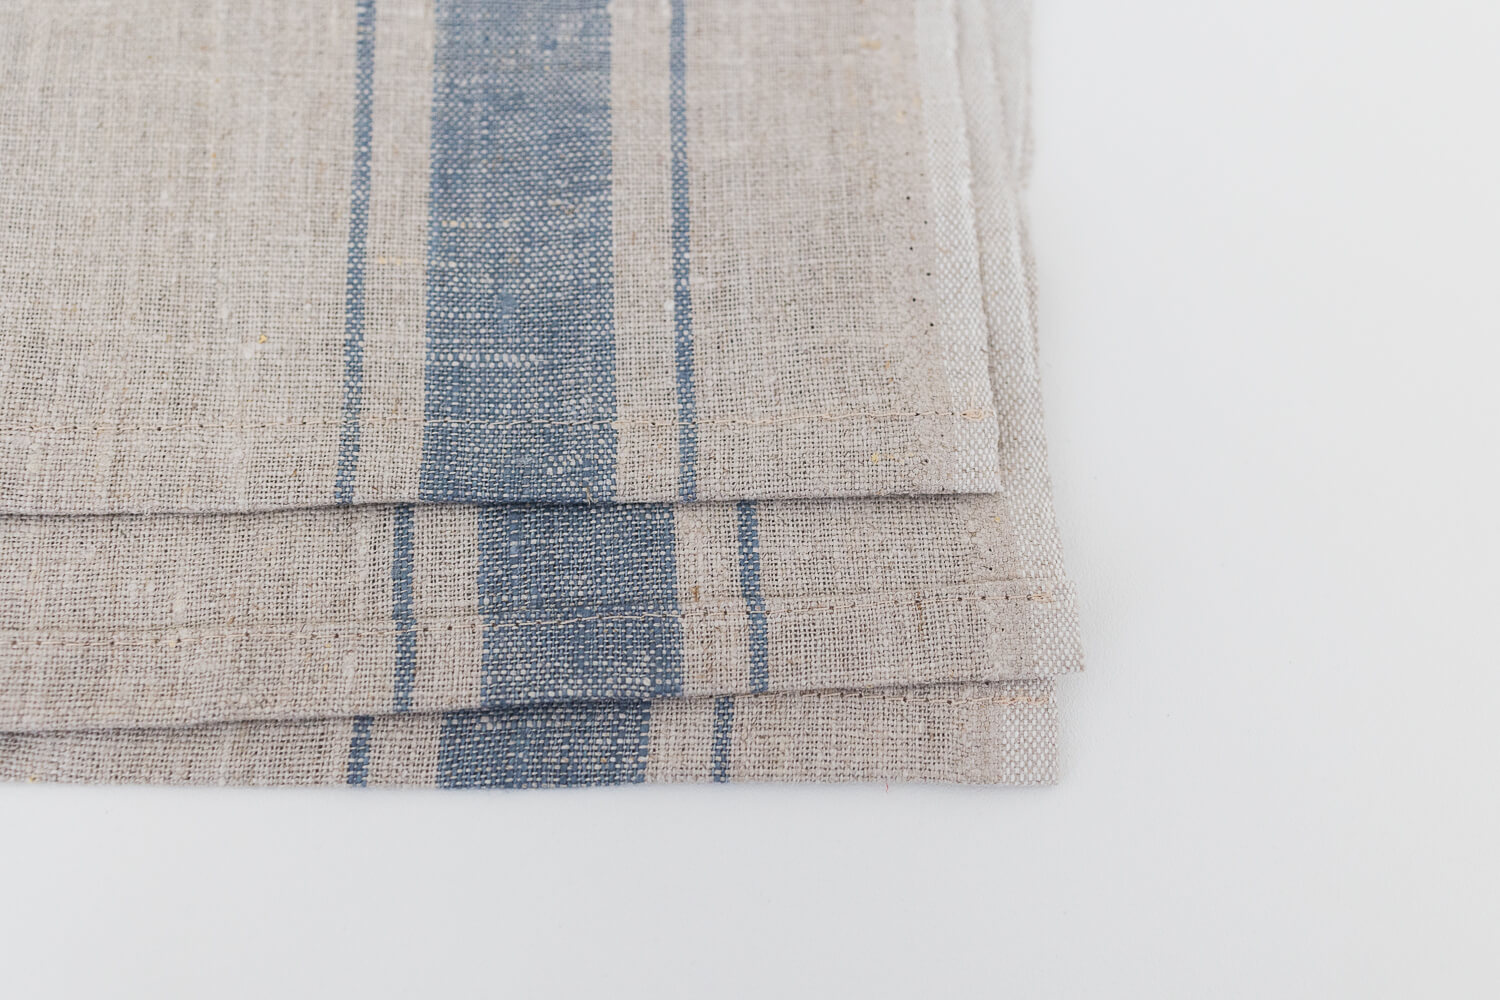
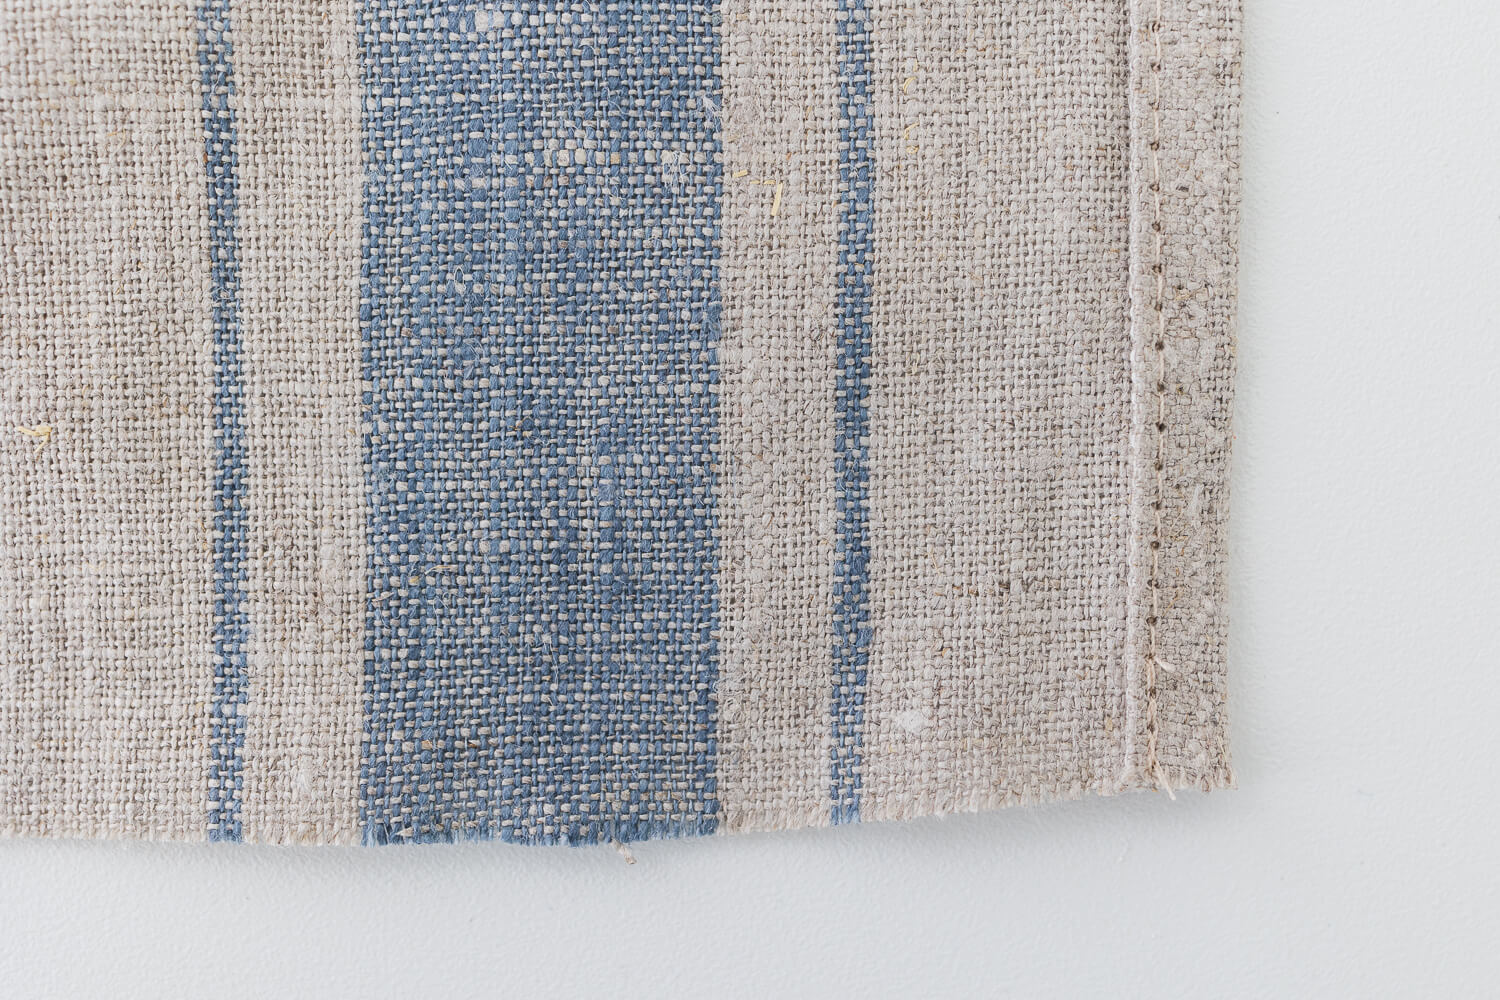
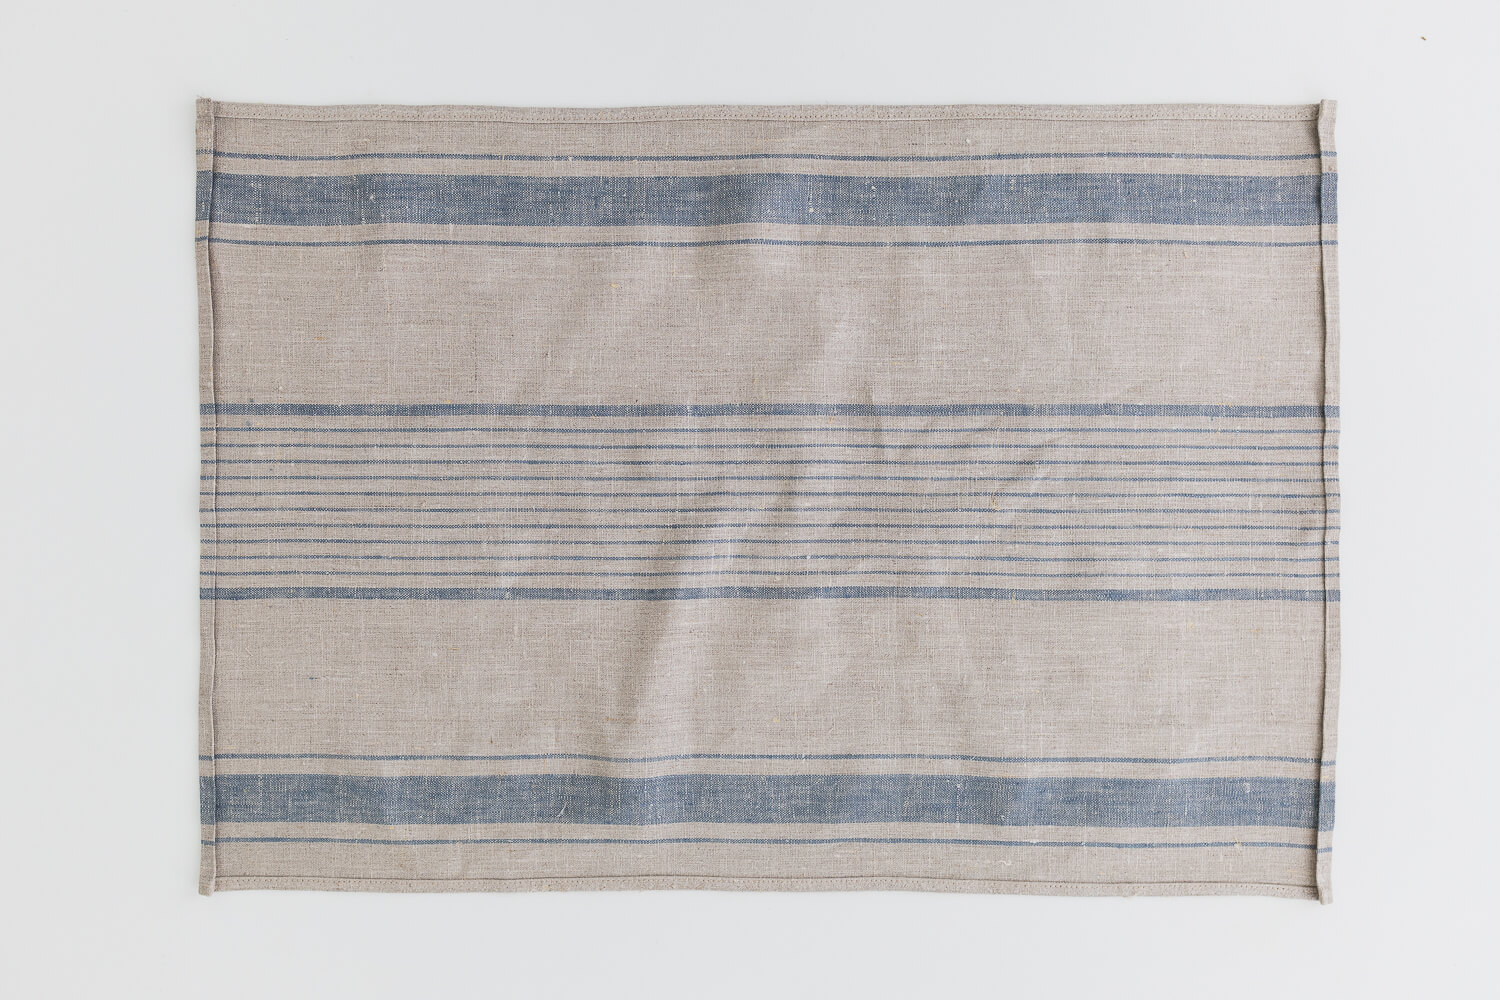
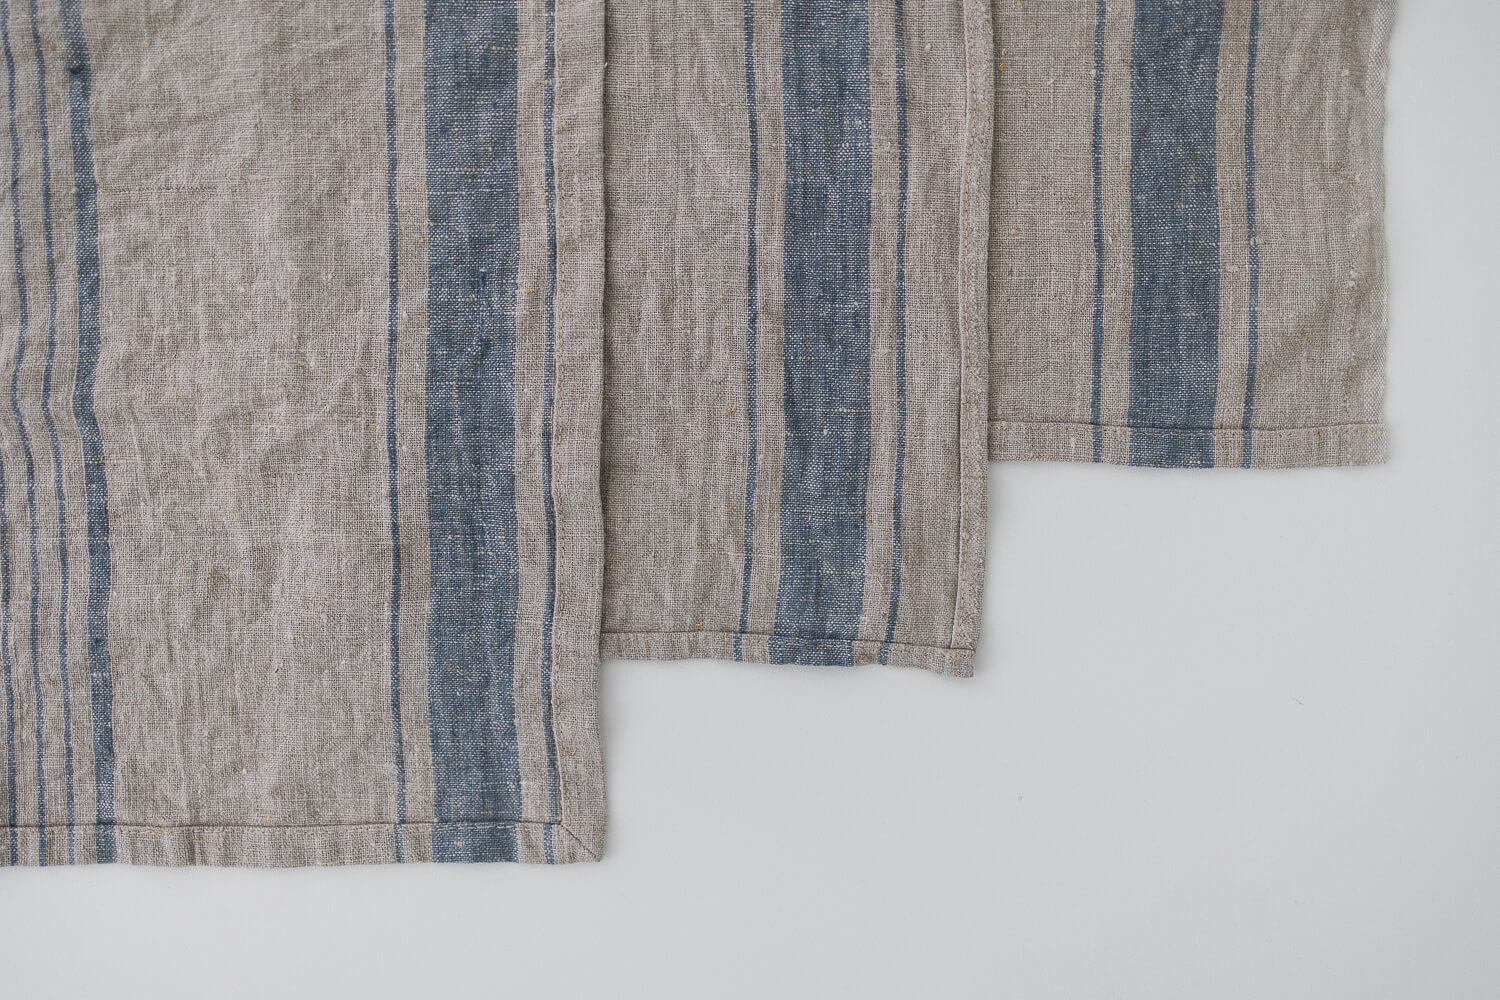
Here are all three hem methods side by side. I personally like Method Two best – it’s easiest to sew, it leaves the tea towel slightly larger, and most of all, I love selvage edges — especially in this beautiful linen. I also like the combination of the wide ½” (~1.3 cm) hem with the selvage edge. To my fingers, it gives a lovely balance to the tea towel as a whole.
There is no right or wrong size or method of hemming. You can use any combination with any fabric! One of the wonderfully fun things about sewing is the ability to play and experiment. I hope this serves you with some ideas of ways to create your own tea towels to add delight to your kitchen. Which method is your favorite?













6 Comments
Pingback:
Tea Towel Hems – Blogula RasaAli Holm
Just a clarification on the mitered methods.
My newbie-sewist brain took a while to figure out that after you press the first him, you then roll it over again and press a *second* hem.
Then unfold one and sew the corner.
Took me a lot of blowing up the illustrations to figure out!
Tracie Tracie
Hi, is there a particular thread length you use to get over the bulk on the corners?
Thank you,
Tracie North
Maria Stahl
Thanks for the tutorial on the “real” way to miter corners. 🙂 (I got my hand slapped in tye Facebook group for daring to do them “wrong”.)
I’m with you: Method 2 on the towels. It also allows a seam to tuck a hanging loop into if you’re into that sort of thing.
Lauren Linen
Hi Maria, which ever method works best for you and gives you the same results is the “real way”. There are many “real ways” of doing various techniques in sewing, and people are all too happy to argue about them in my experience! I’ve even had young adults tell me I was casting on my knitting wrong because their grandmothers did it differently. I think they were a little surprised to know I use multiple techniques for different projects and yarns for best results and ultimately for my own pleasure.
Sarah Kirsten
Hello Maria, I agree with Lauren — no right or wrong method. I’m sorry you had that experience. I’ll cheerlead for you to do corners however you want to do them!