Tutorial: Beeswax Food Wraps – A No Sew Fabric Project
Beeswax Food Wraps. The idea occurred to me that these food wraps would be a very cute Valentine Gift with a little card and treat. I have heard so much about these food wraps as a more sustainable option than cling-wrap or plastic wrap for food storage. I have seen some cute ones in shops and online. The price varies quite a bit depending on the size where you purchase them. My Grandma Lula who was raised Mennonite as a child and young adult always had a “can do” attitude and would love to know that I often pick things up in stores and think “I could make this”…and so I do!
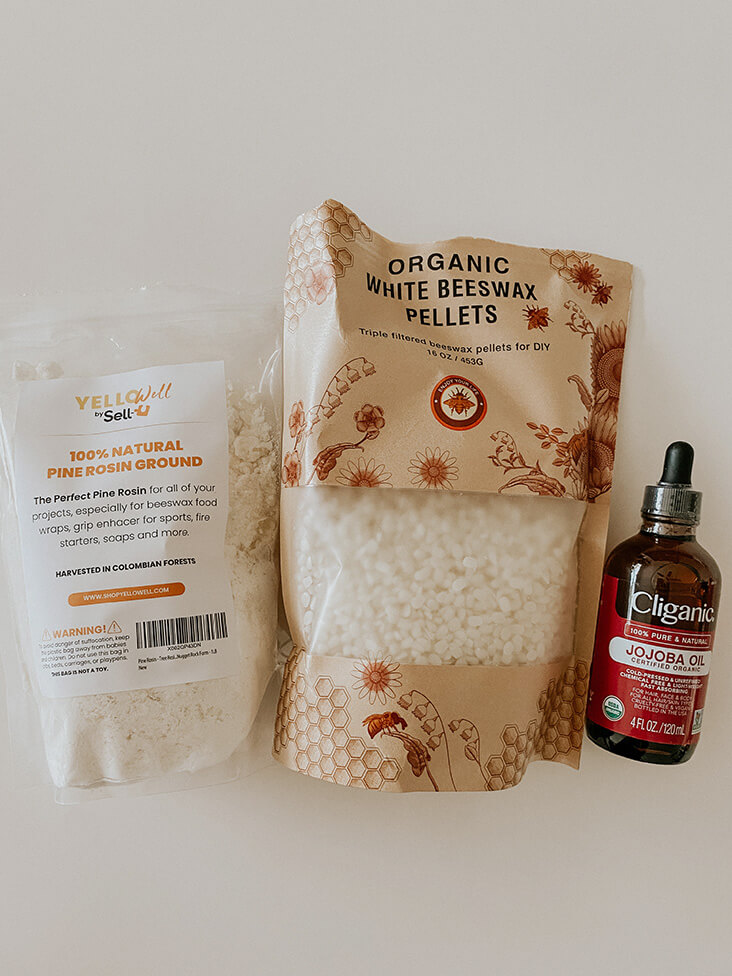
I set out and did some research. I am not reinventing the wheel, since I am new to this project and it’s always good to seek the wisdom of those that have gone before you. I found some VERY useful tips to pass on. I also wanted to make sure the supplies I used were extremely food safe. I found the three main ingredients online and spent around $45 BUT then discovered you can buy smaller amounts than what I purchased or the wax and resin in bar form and then grate or chop them smaller. They are all Organic and/or Food Grade making them very safe for your project. Additionally, you should know that the wraps last approximately 6 months and then can be composted. They should never be used to store meat as the meat juices can penetrate the fabric and grow bacteria but it seems like the majority of other foods get the greenlight and apparently they are ideal for cheese storage. These can also be super cute to wrap your packed lunch sandwiches.
Let’s jump into this project.
Materials
Jojoba Oil
Beeswax
Pine Resin
Fabric cut to size
Pinking shears
Aluminum Foil and Parchment Paper
Iron
Heat Safe Glass Jar
Pot
Wooden spoon or chopstick for stirring
Disposable Paint Brush
Food scale (optional)
–
Measurements for 4 wraps:
3 teaspoons Jojoba Oil
100 grams Beeswax
20 grams Pine Resin
Fabric
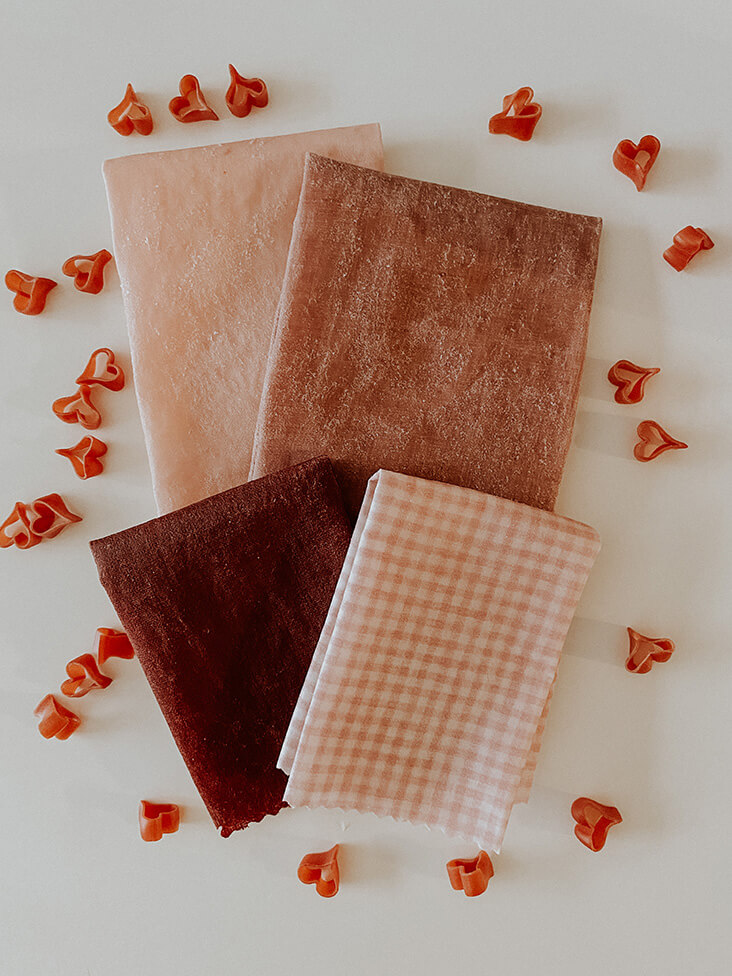
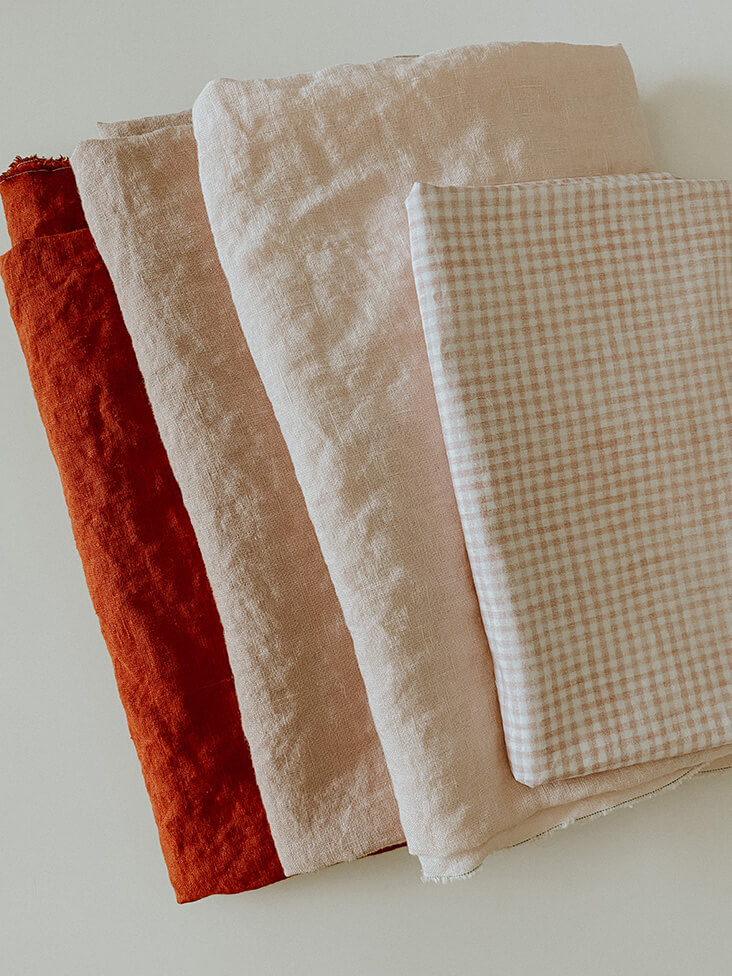
Typically, it seems like people use cotton more than linen for this project. Here are my thoughts on this: all the natural antibacterial, hypoallergenic and sustainable properties of linen make linen a great choice for me! I used Fabrics-store’s Light Pink Softened, Sahara Rose SF and Barn Red 5.3oz as well as the Pink Cotton Gingham 3.6oz and can see that I might have preferred the 3.7 oz for the linens just for the thinner fabric but am still pleased with my project in both linen and cotton.
Steps
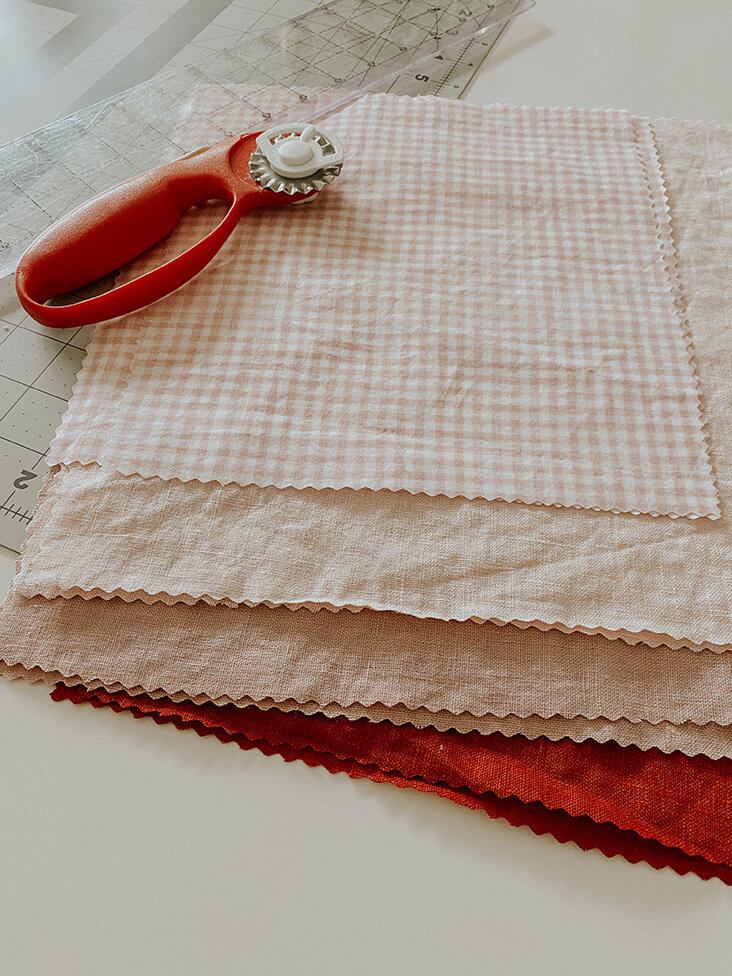
1. Wash, dry, iron and cut your fabric. Using pinking shears makes the edges lovely but is optional. The size options are up to you. I cut several options 9×9 inches to 15×15 inches.
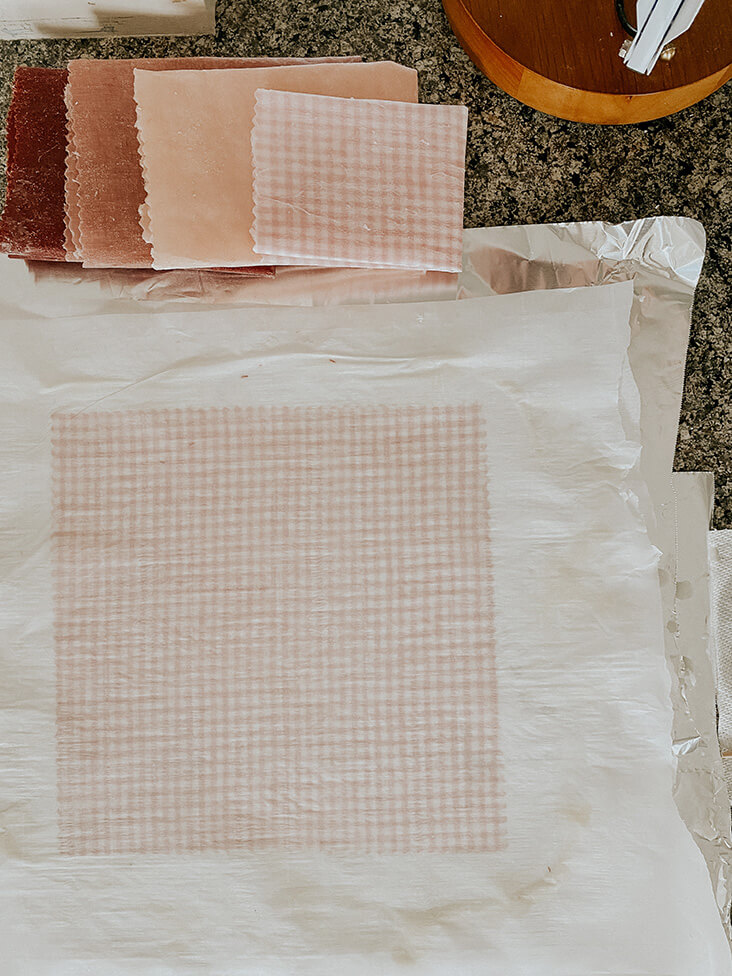
2. Prep your work area. Cleaning up a waxy mess afterward can be avoided. Lay out two large pieces of aluminum foil. Cover with a generous piece of parchment paper and have another cut to the same size set aside for a top layer when ironing. Lay out your first piece of cloth. Get your pot ready with water and your heat safe glass jar. Cover your iron with aluminum foil! This was a warning I am glad I listened to as the wax did eventually spill out of the parchment and would have been rough to clean off my iron.
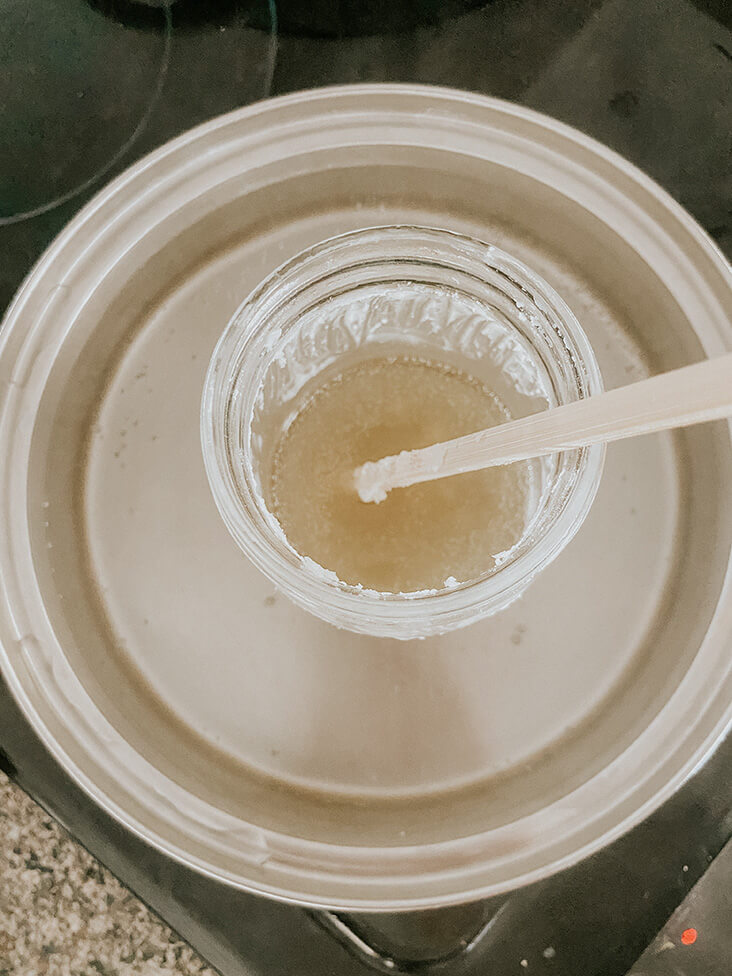
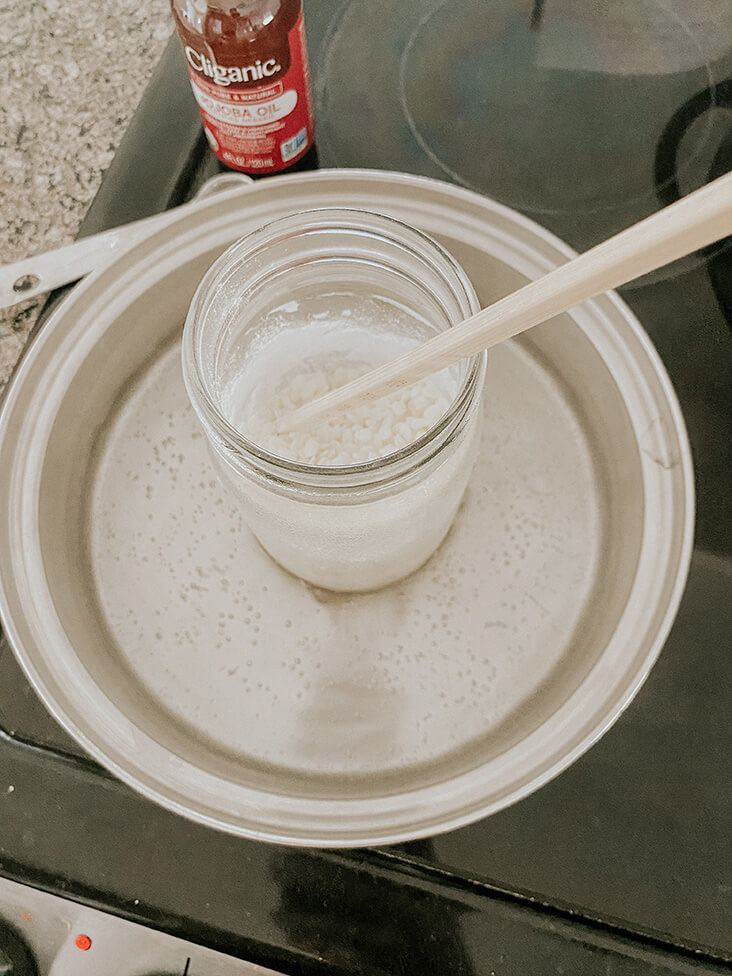
3. Measure out your 100 grams of beeswax and 20 grams of resin into the glass jar and begin to melt the contents double broiler style.
4. Once those two ingredients are almost melted, add your 3 teaspoons of jojoba oil and stir.
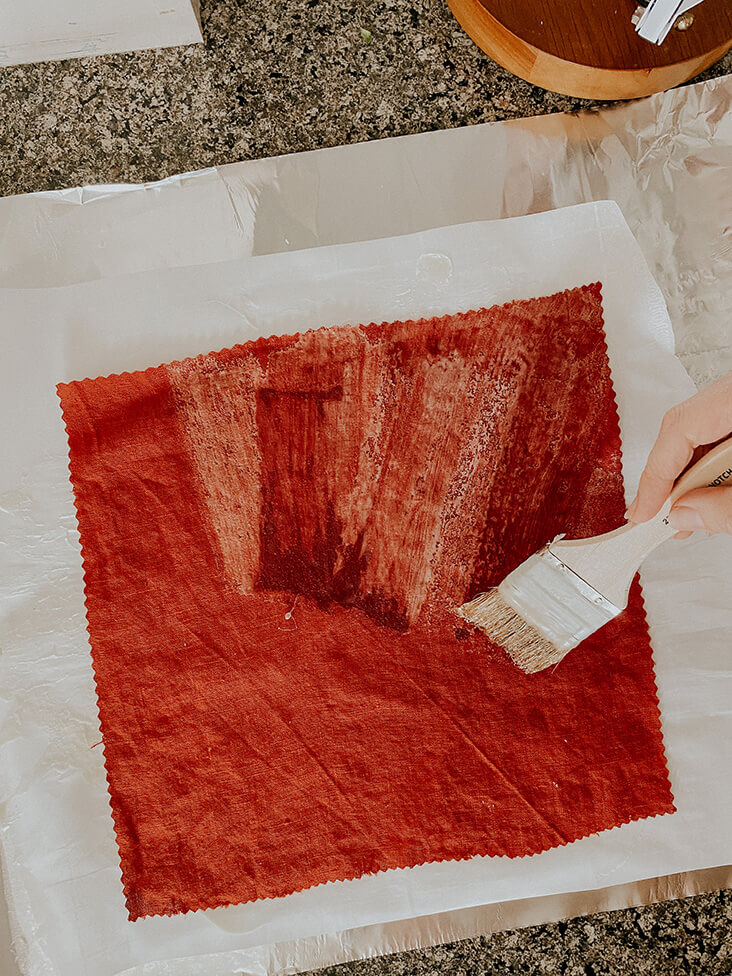
5. Use the paintbrush to brush the mixture onto the fabric as evenly as possible.
6. Cover with the additional piece of parchment and iron the fabric. This will help the wax penetrate through to the other side and will smooth the wax evenly around the cloth. Flip the parchment/fabric “sandwich” over and iron the other side to help spread the wax coating evenly.
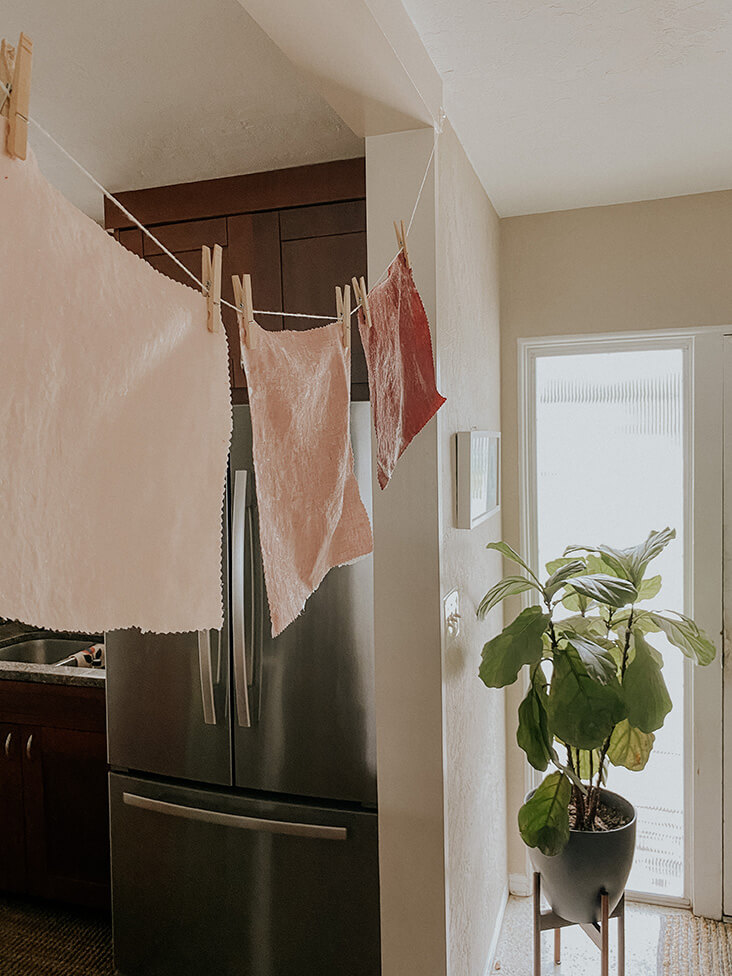
7. Pull the cloth gently from the center of the parchment and shake gently in the air to dry or hang on a clothesline. I still had command strips up from Christmas decorations so I made a little indoor clothesline.
8. YAY! You did it and I bet you will want to make bunches of them!
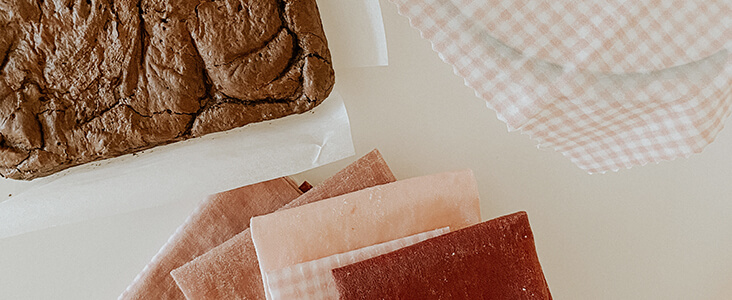
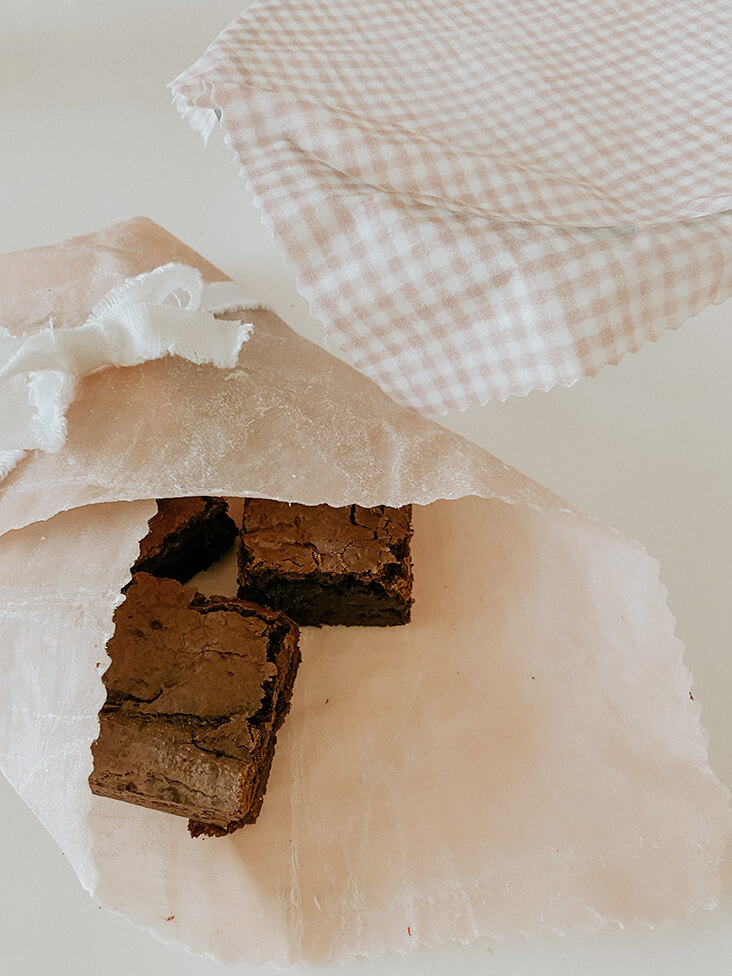
Now you can make some brownies or other valentine’s treats. The little red hearts in the picture are pasta colored with red beet and tomato and I will definitely be making alfredo sauce and serving these in a bowl for my Valentine.
Happy Valentine’s Day OXO ~ Alisha




6 Comments
Sharon Brehm
This will be a first attempt for me. Appreciate all the tips. What about keeping the wraps clean? Is it a simple wipe down, or can you wash the wraps separately in the machine?
Maria Stahl
Dear Sharon – No, you must not run these through the washing machine. In fact if you dip them in warm dishwashing water you will damage them. I wipe them with a cool damp cloth, or if they’re really messy, I run cool tap water over them to rinse away food. Pat dry and then let fully dry hung.
Eventually the wax will wear away no matter what you do 🙂 and then if you like you can retreat them with your wax mixture. Or use the worn ones for fire starters when camping!
Sharon Brehm
Thank you!
Alisha Cooke
I am very happy to see others adding tips. This method worked for me and the resin powder didn’t give me too much trouble melting. This was a very interesting process but I will happily try the oven method next time! Thank you ladies for the additional tips.
Maria Stahl
The pine resin is very reluctant to melt. I suggest melting it first and then adding the beeswax since the beeswax will melt so much faster than the resin. Make sure you do allow the resin to fully melt before coating your wraps.
I also use the oven and a jellyroll pan to do mine rather than a brush and iron. Line the jelly roll pan with foil, place the fabric on it, pour a sparing amount of warm wax over it, flip the fabric over so both sides are covered, and then put it in the oven on low heat for 15 minutes to really soak it in. LOW heat. You do not want this stuff catching fire. Remove the fabric, let the excess wax drip off – or better yet, squeegee it off – into the jelly roll pan, hang the fabric and do the next piece of fabric so you don’t waste the drips of wax. I find this less messy and risk to my iron and ironing board.
Christine Rooney
I am an artist. I teach the encaustic painting. The word encaustic originates from the Greek word, enkaustik, which means “to burn in.” It does not mean using acids nor blazing heat. It’s painting with molten beeswax and resin and pigments.
I agree with Martha’s method however I want to add that when using heat, the temperature must never go above 225°F. Otherwise the medium will begin smoking and deteriorating.