DIY Linen Tablecloth Tutorial
Another week, another home sewing project.
With a majority of my summer plans being cancelled, I decided this was the year to tackle my long list of personal sewing projects. So out came my antique trunk full of found textiles. My mission? To make a custom tablecloth for my grandma’s mid-century modern kitchen table that now sits in my apartment.
First, a little background information. I live in a tiny apartment on my brother and sister-in-law’s Wisconsin farm. 480 square feet to be exact. Life here is simple. My possessions are few. The small space serves as a physical boundary for my purchasing decisions. My time, my space, my design choices are thoughtful because, well, they need to be. Being selective about what I choose to bring into these four walls has helped narrow my style, focusing on the colors, textures, and materials I truly love. Neutral linen has emerged as a favorite.
Linen continues to be one of my favorite textiles to wear for its longevity, strength, and beautiful drape. Warm but breathable. Lightweight but strong. Comfortable but elegant. “Embrace the wrinkle”, I find myself saying. For the same reasons linen is a top textile in my wardrobe, it’s predominant in my home as well.
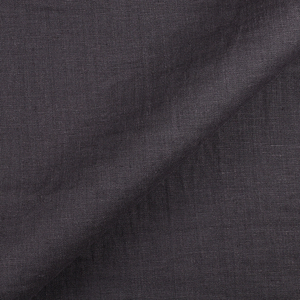
As I sifted through my beloved fabric stash with a tablecloth on my mind, a grey linen rose to the top. Here are the steps I used to create my custom linen tablecloth.
Materials
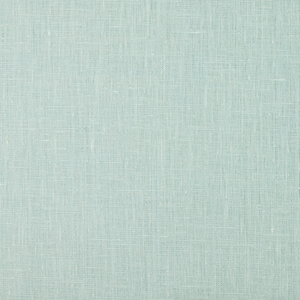
Linen fabric (I used IL019 EXCALIBUR)
Ruler
Chalk
Thread
Iron
Sewing Machine
Snips
Shears
Steps
1. Measure Table
Measure the length and width of your table. I added 8 inches to each side to ensure the tablecloth would hang a bit over the edge. Record your measurements. Your table shape will determine your pattern piece. My table is a rectangle measuring 36” x 48”, so my tablecloth measurement was 52” x 64”.
2. Iron + Trace
Linen is naturally wrinkly and textured. Iron as flat as possible (not looking for perfection here). Then lay the ironed linen onto your cutting table. Using your ruler, chalk, and recorded measurements, trace your rectangle onto the fabric while being conscious of the fabric grain. I use a self-healing cutting mat with a grid to make sure my corners are 90 degrees. Trim as needed.
3. Cut + Iron Edges
As my college professor would say, “measure twice, cut once”. After you have determined your measurements are correct and your rectangle is on-grain, cut along the chalked lines to reveal your tablecloth piece. Take your cut fabric back to the ironing board and fold the two long sides under ½”, then ½” again, to create a finished edge.
4. Sew Sides
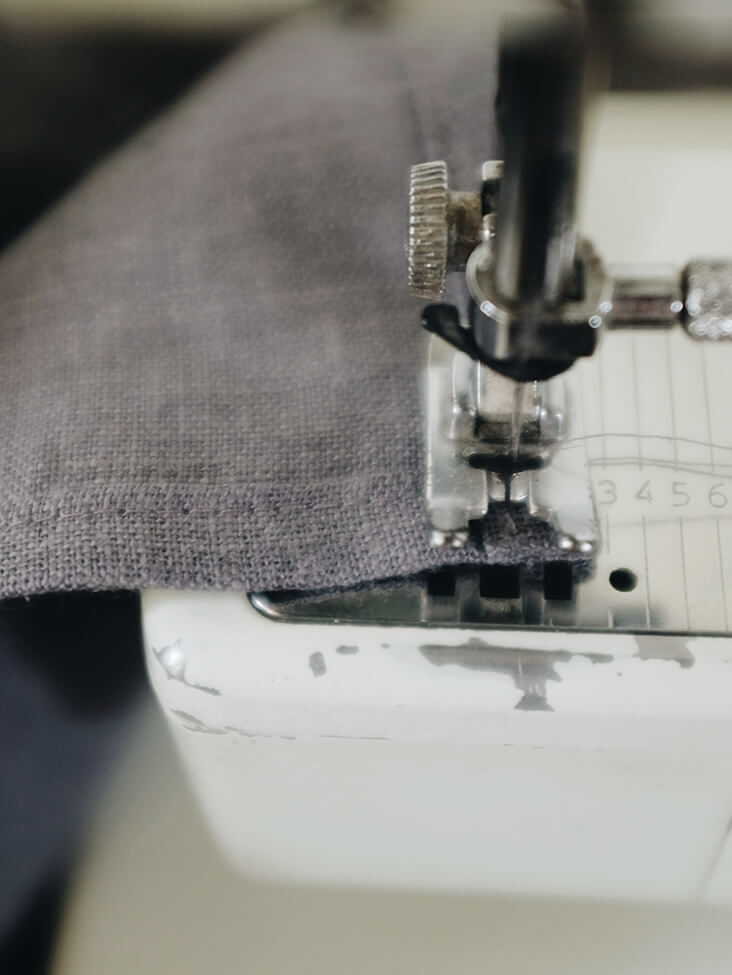
Hem the long sides by stitching as close as possible to your ½” ironed edge. I used a simple straight stitch. Once the two long sides are sewn, repeat the ironing and sewing process for the short sides.
5. Iron + Enjoy
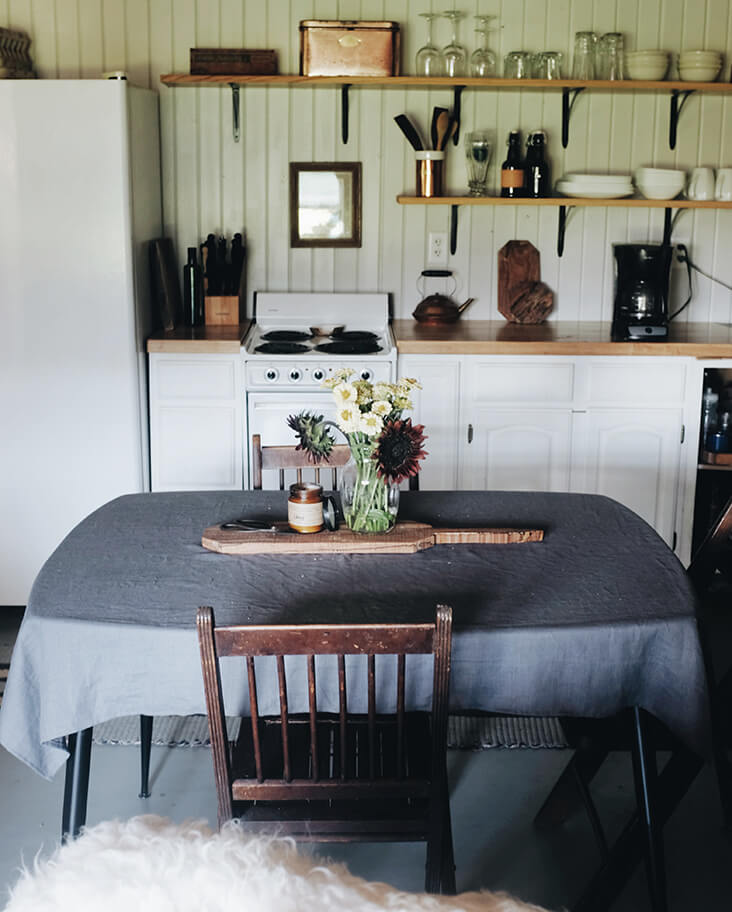
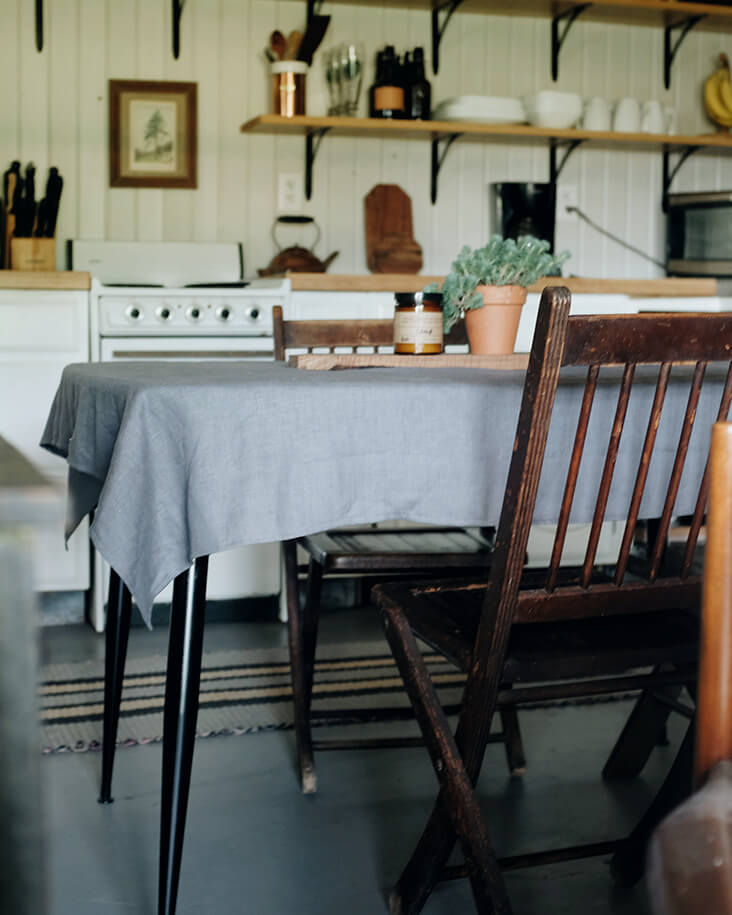
Iron one more time along your finished edges so they lay flat and drape nicely. That’s it! Place the tablecloth onto your kitchen table and finish with your favorite candle or plant or both.
The grey linen has added just the right amount of warmth to my kitchen. A previously hard surface now feels soft and inviting. The slight wrinkle in the fabric gives my home a comfortable and lived-in look.
Small project, big impact (my favorite kind). What should I make next? Back to the antique trunk I go for inspiration.
Happy sewing!
Morgann












14 Comments
Pingback:
Transform Your Kitchen: Bold Red Decor Ideas to Embrace VibrancyPingback:
Greener Gatherings: Eco-Friendly Party Ideas Without Losing the FunPingback:
23 Scandinavian Dining Room Ideas To Make Your Home CozyPingback:
20 Black Dining Table Decor Ideas That Will Impress Your GuestsPingback:
13 choses à coudre à partir de mini-charm packs – Couture – ETHAN PIKEPingback:
13 Things to Sew from Mini Charm Packs – Sewing – cybercraftworks – Cyber CraftsPingback:
Plongez dans la couture avec du lin avec ces 30 modèles à essayer pour un model et un confort intemporels – Couture – ETHAN PIKEPingback:
Dive into Sewing with Linen with These 30 Patterns to Try for Timeless Style and Comfort – Sewing – cybercraftworks – Cyber CraftsPingback:
Luxe Linen Love: Dive into Sewing with Linen with These 30 Patterns to Try for Timeless Style and Comfort – SewingMargot Nowicke
My table is 44”x 72”. Is there a wider fabric you could recommend as I would really rather not have seams in my tablecloth.
Sandra Ling
If you search on the word “napkin” there is a tutorial on this site for napkins with mitered corners. 🙂
Morgann McCoy
Thanks Sandra! I love mitered corners too 🙂
Maria Stahl
I was hoping you were going to give us some great tips on easy mitered corners. 🙂
Masha Karpushina
We have a great tutorial for this: https://blog.fabrics-store.com/2018/12/05/sewing-glossary-how-to-sew-mitered-corners-tutorial/