FS Cameron Top Pattern Sewalong Part 3: Sew The Side Seams and Hem
In our previous posts of the CAMERON sewalong series you’ve learned how to attach the back yoke and sew the neck placket. Today we start the next part of the pattern construction where we will show you how to sew the side seams, attach the gussets and finish the hem.
Please note that this example shows the top length garment. However, the steps will be the same for all versions. Gather your supplies and let’s start sewing!
Difficulty
Beginner
Sewing Time
1-2 hours
Pattern
If you don’t have your copy of the Cameron pattern yet, you can order it from our shop.
Steps
Note: Prewash and dry your linen fabric, in the same manner, you would your finished garment. This will soften your fabric and eliminate further shrinkage.
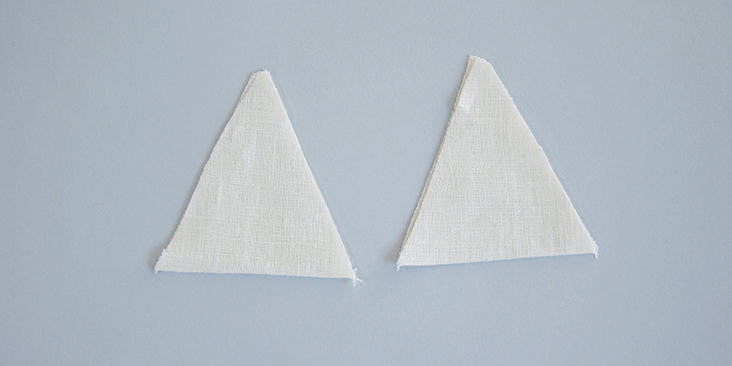
For this step, you will need the sewn body of your garment and two pieces of gusset (L).
1. Fold both gusset pieces in half with the crease running along the shortest width. Make sure that you’ve transferred the notches from the paper pattern onto your fabric.
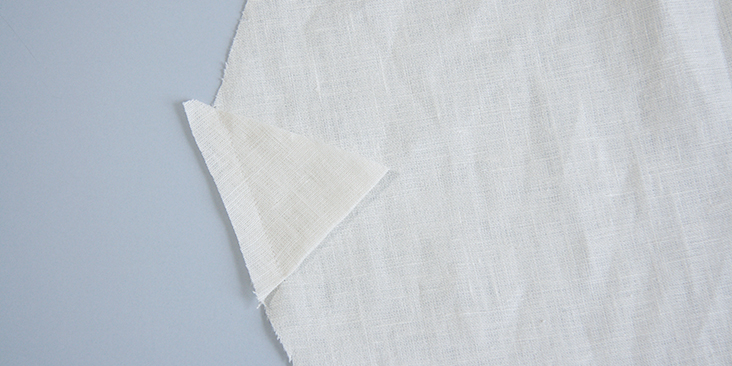
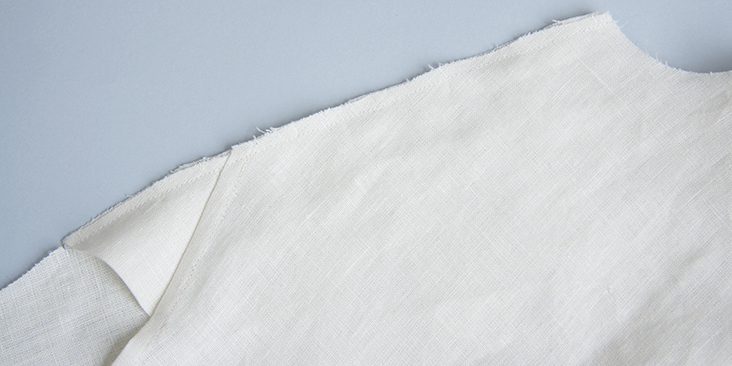
2. With your front top facing right side up, align the notch at the top of the gusset with the notch at the side hem of the front bodice only. Sew together with a ½” seam, stopping at the bottom of the gusset.
3. Turn the garment wrong side out and trim away only the seam allowance of the front bodice to about 1/8”, stopping about ½” before the gusset ending notch.
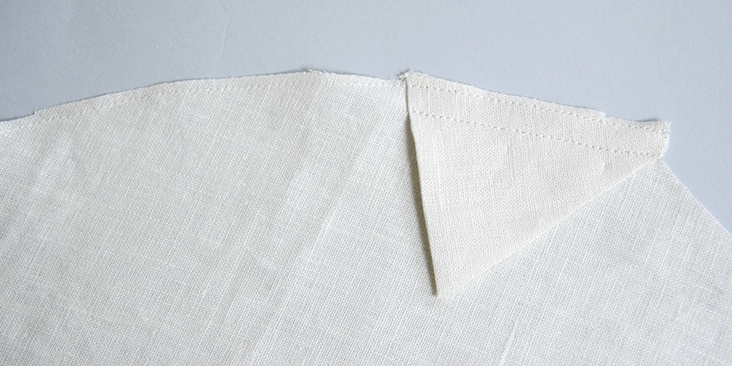
4. Sew a scant 1/8” staystitch along the raw edge of the gusset and all around the bottom hem area.
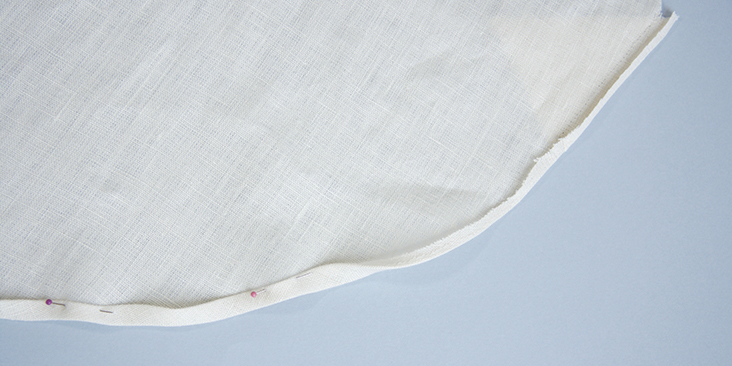
5. Working from the wrong side of the front bodice, turn the gusset and hem staystitching under a full 1/8” and press using your line of stitching as your guide. Use plenty of steam and try not to stretch the fabric too much. Turn under again a full ¼” and press.
6. Edgestitch through the gusset edge and hem all around to the other gusset on the opposite side.
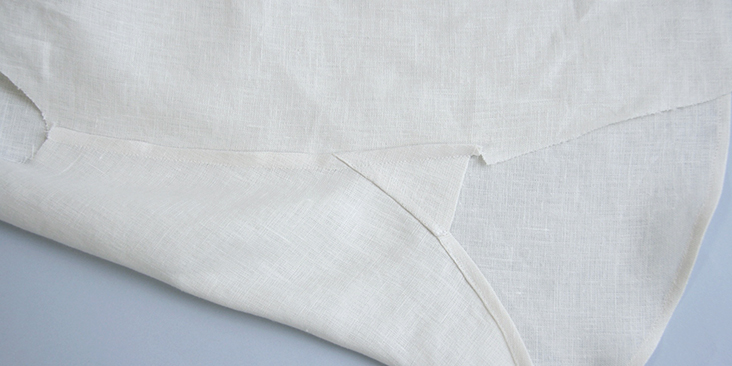
7. With wrong sides together, align the side seam of the front and back bodices and pin in place. Note that there will be a slight pivot at the top point of the gusset. Sew a scant ¼” seam.
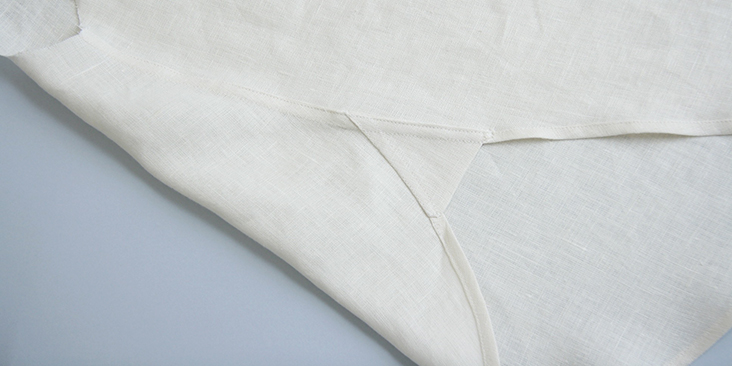
8. Turn the garment with right sides together. Sew a full ¼” seam stopping at the end of the gusset. You’ll notice a slight ripple with bulk at the end of the gusset. Make a small snip to release the jog of the seam allowance.
9. Open the side seam with wrong side facing up. Press the seam allowances neatly towards the back body. Turn under the back hem area a scant 1/4″, and again a full 1/4″ and press. Topstitch through the side seam edges and hem 1/4″.
Your side seams and hem are now complete. Now your Cameron top begins to really take shape! In our next and last tutorial we will be showing you how to attach the sleeves. Happy sewing!















Leave a comment