Val Backless Maxi Dress Tutorial
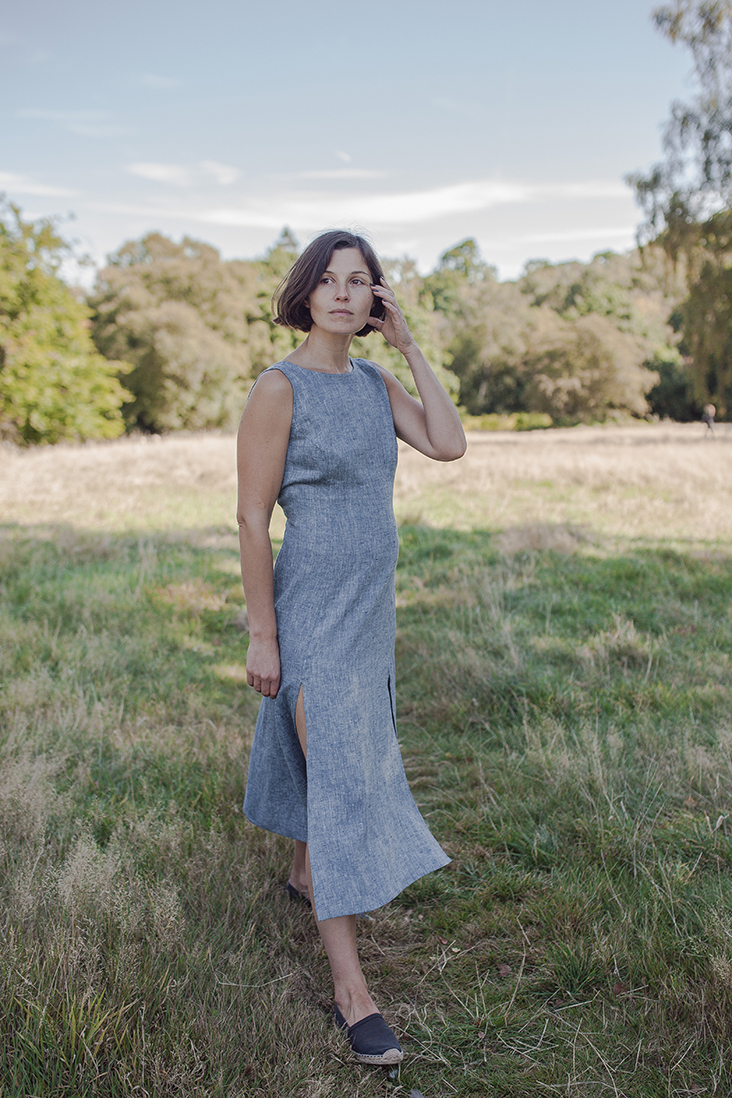
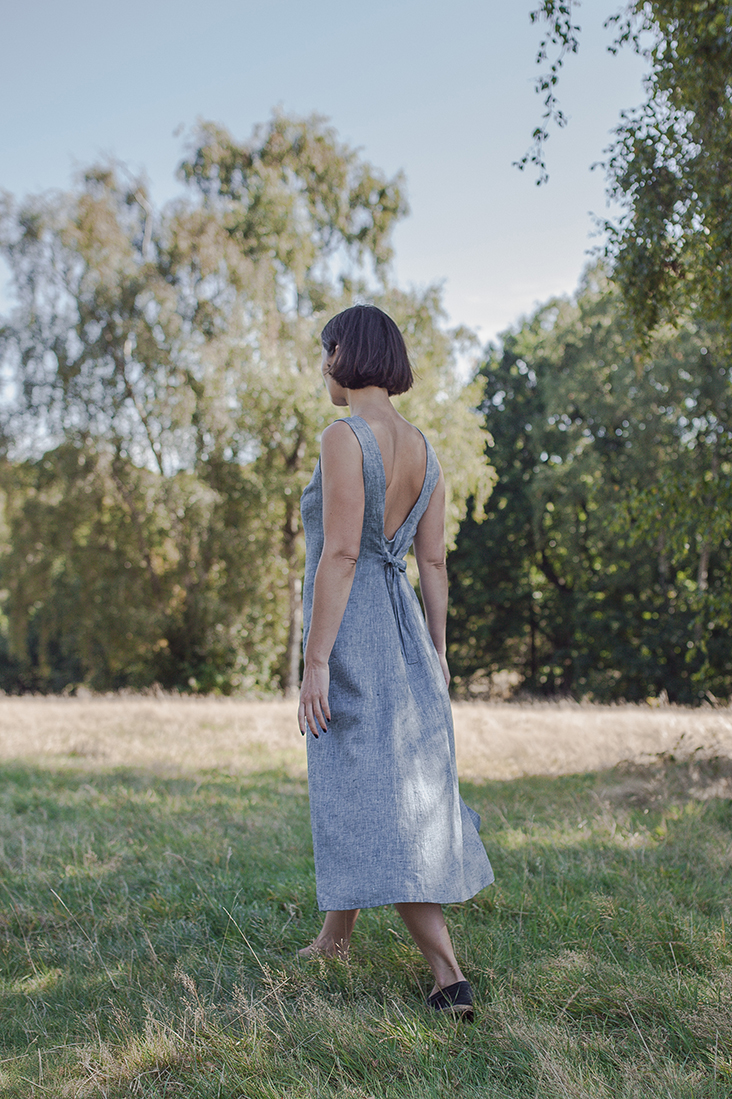
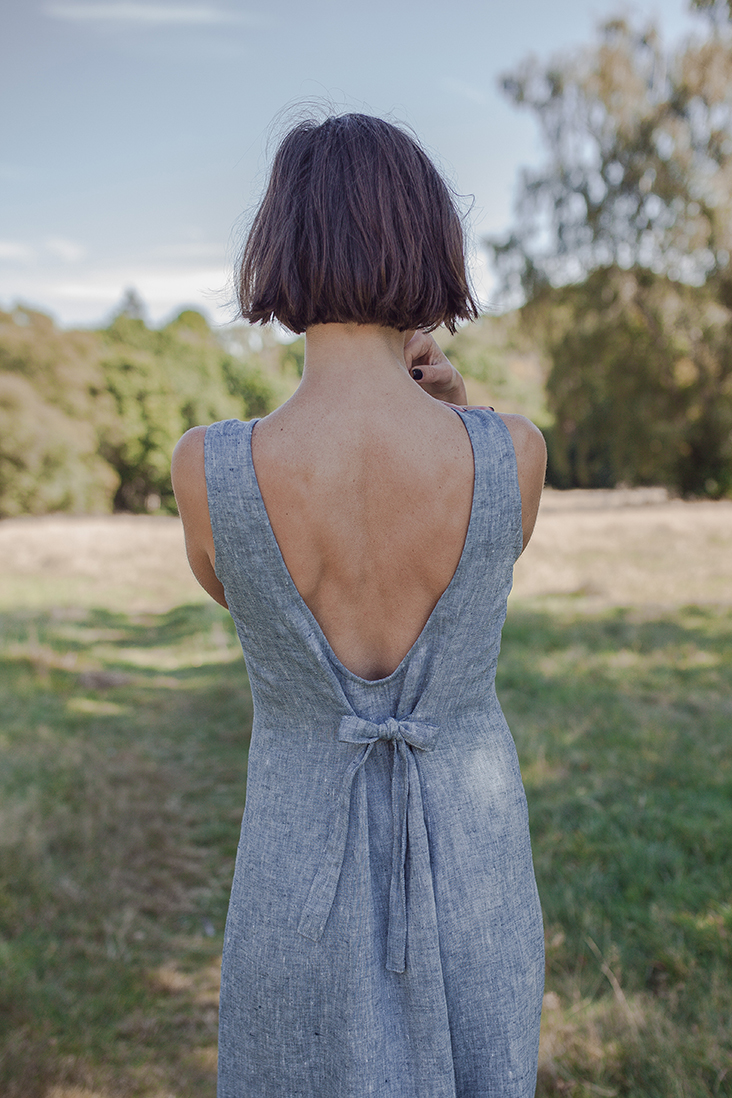
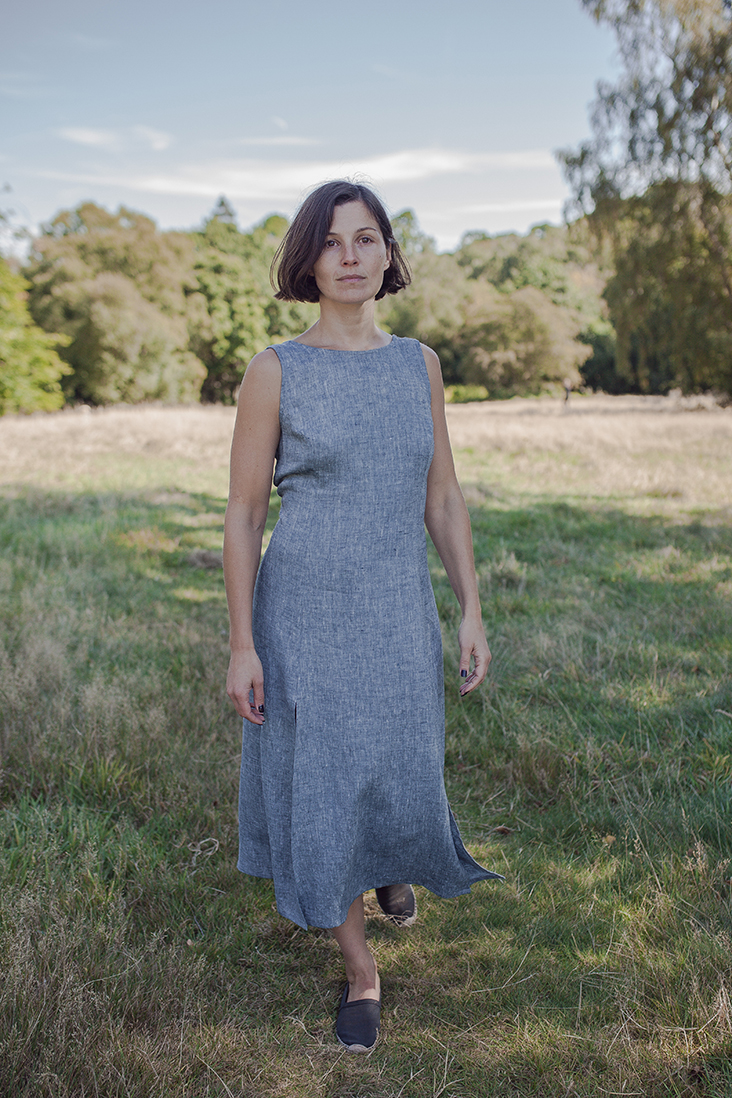
The Val pattern is a stunning scoop-shaped open-back maxi dress with two adjustable ties and flattering princess seams. By following the curves of your body, these seams elongate your silhouette and create a figure slimming effect. We’ve added two front slits for a touch of sexy and ease of movement.
The secret to sewing princess seams that lie perfectly flat is to carefully transfer your notches, perfectly match them and clip along the curves after they’re stitched together.
Effortlessly chic, the Val dress is a perfect beginner sewing pattern that would look beautiful in any linen fabric. Use these style lines to add some color-blocking and create a unique dress that’s guaranteed to turn heads!
Materials
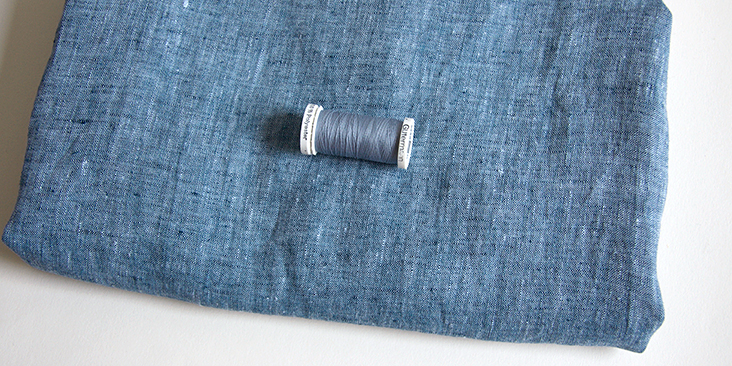
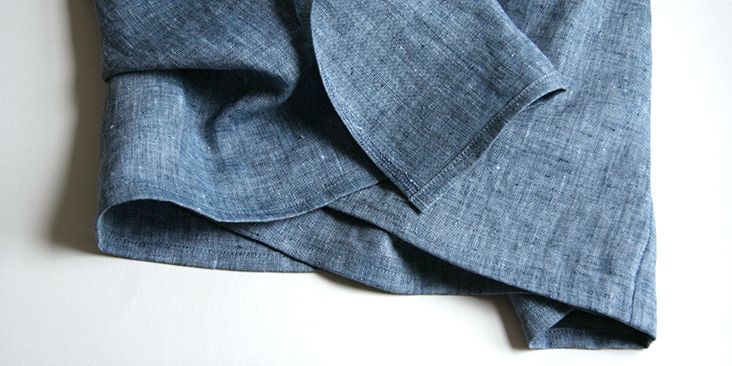
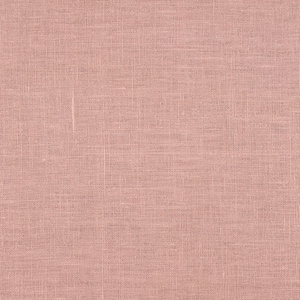
For our sample US size 6 pictured in this tutorial we used 3 yards of IL042 909 FS Premier Finish Medium Weight Linen
For other sizes, please refer to the yardage table in the PDF pattern to determine the required amount of fabric.
Matching sewing thread
Tools
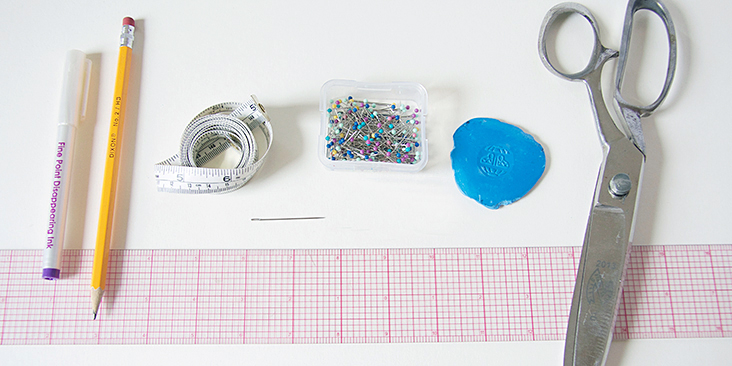
Scissors, pins, ruler, chalk, measuring tape, fabric marker, seam ripper, needle, sewing machine
Difficulty
Beginner
Sewing Time
6-7 hours
Pattern
You can access the multi-sized printable PDF pattern by following this link HERE. All seam allowances are included and are 3/8” unless otherwise specified. The model is wearing US size 6.
Remember to transfer all the notches onto your fabric.
Steps
Note: Prewash your fabric and tumble dry it until it is still slightly moist, dry at room temperature. Iron the fabric so it is easier to work with.
1. To start, finish the long side raw edges of all of your panels, front and back, using your preferred method (serge or zigzag).
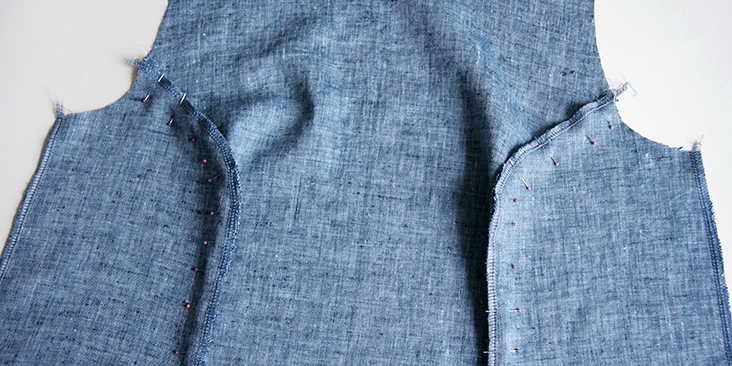
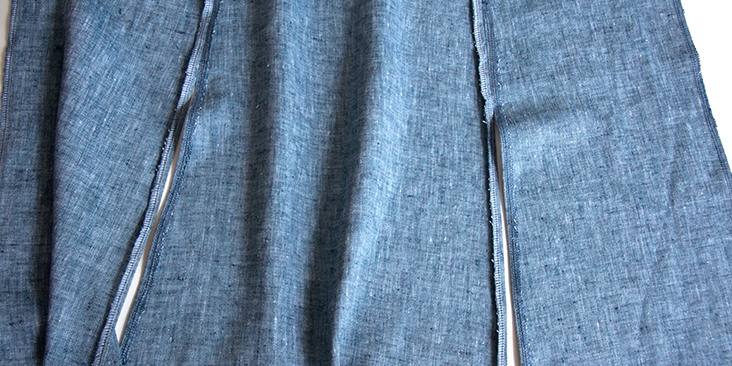
2. Take your front panels and pin side panels to the center panel right sides together and matching the notches.
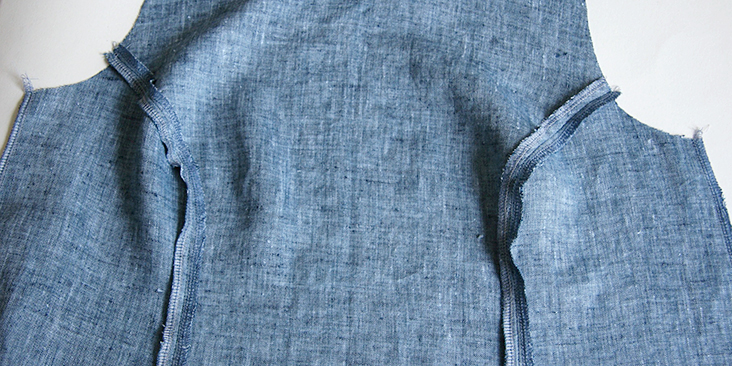
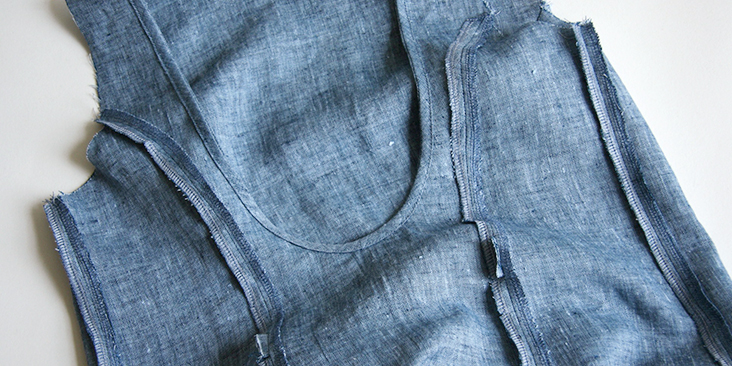
3. Stitch the pinned edges at a 3/8” (1 cm) seam allowance stopping at the notches indicating the beginning of the slits. Remember to backstitch at the beginning and the end of each seam. Press the seams open and the slits seam allowance 3/8” to the wrong side.
4. Topstitch the edges around the slits to keep them in place.
Before assembling the back panels, you need to sew the back ties that will be inserted into the seam.
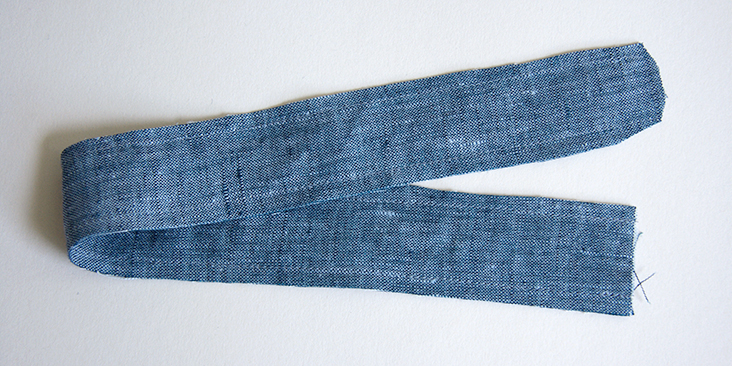
5. Pin the two rectangles right sides together and stitch along the edges at a 3/8” seam allowance leaving one short end open. Trim the seam down to ¼” and clip the corners. Finish the raw edges of your open end using your preferred method.
6. Turn the fabric right side and press. Topstitch along the sewn edges 1/8” from the edge.
7. Repeat for the other tie.
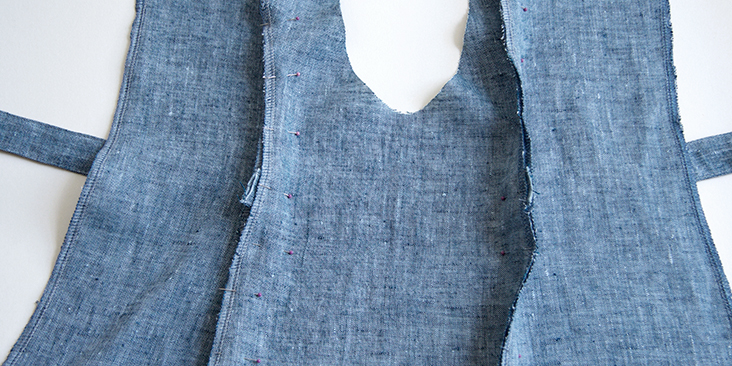
8. Now pin the back panels right sides together matching the notches, just like you did during the front construction in step #2. Insert the serged/zigzagged ends of your back ties into the seam between the notches and pin to secure.
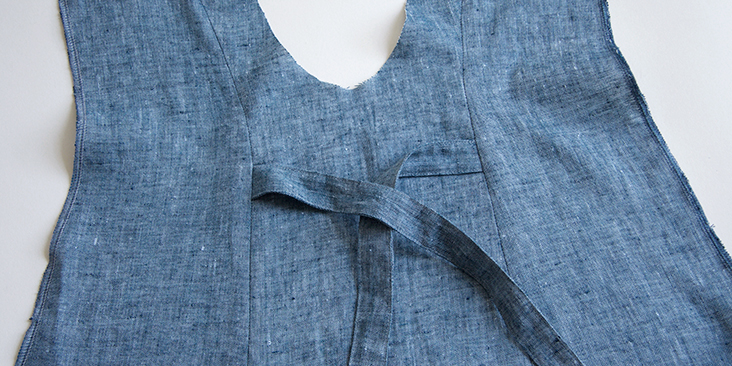
9. Stitch the pinned edges at a 3/8” (1 cm) seam allowance. Remember to backstitch at the beginning and the end of each seam. Press the seams open.
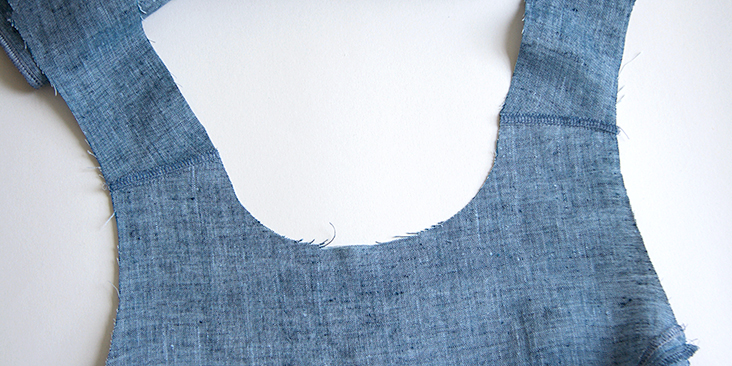
10. Pin the front and back bodices right sides together at the shoulders and stitch at a 3/8” seam allowance. Finish the raw edges together and press towards the back.
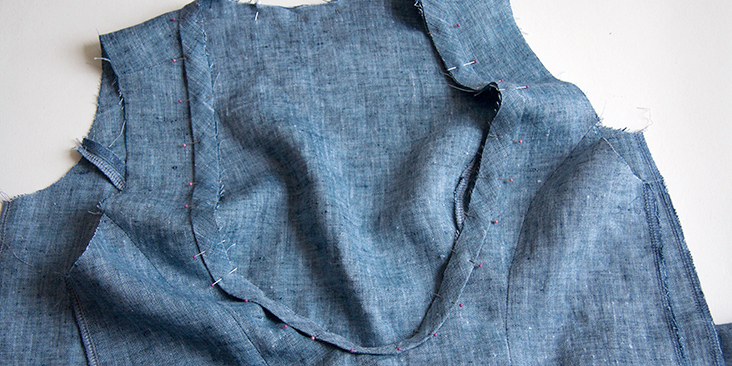
11. Bind the front neckline and the back opening following the instructions in this this step-by-step tutorial.
12. Pin and stitch the side seams at a 3/8” (1 cm) seam allowance. Press the seams open.
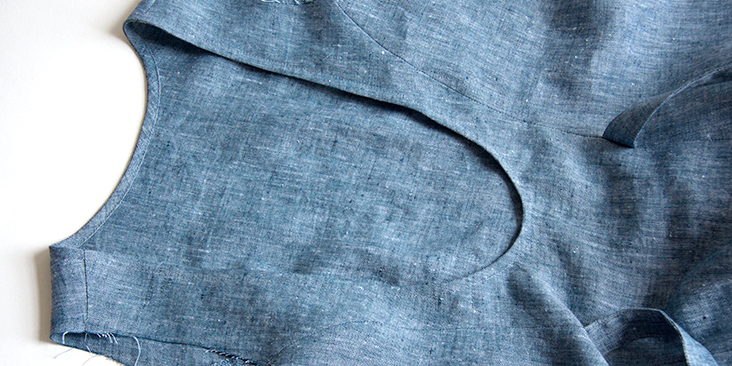
13. Bind the armholes using the same technique.
14. Hem the bottom edge of the dress. Fold the fabric twice to the wrong side (first 3/8”, then another 1/2″), press, pin and edgestitch.
15. Give your finished dress a good last press and you are all done!
We love seeing what you make! Don’t forget to share your pictures and tag your creations with #FabricsStoreValPattern hashtag.

















30 Comments
Pingback:
Où trouver les meilleurs patrons de couture gratuits en 2024 ? - Etoffe et Motifsandra kourik
hello, do I cut all the pattern pieces along the bias? I cant seem to find where in the instructions say they do or not. If I do cut all the pieces on the bias, does the yardage chart account for that? cutting on the bias uses much more fabric.
Lauren Linen
Hello, you cut the pattern pieces according to thier grainline arrows. So check each pattern and lay them with the grainline laying in the same direction as the arrow.
Abby Litman
Hi! I want to make this dress but don’t want to include the slits. Do I have to adjust the pattern or can I just ignore the slits and sew the pieces together?
Lauren Linen
You can just sew the pieces together 🙂
Dianne Ennis
Where do I find instructions on how to download a pattern?
Lauren Linen
Hi Diane, The pattern can be downloaded at this link:
https://fabrics-store.com/dress/val-backless-maxi-dress-pattern-type-pdf
Simply log in or create and account, then click the download button.
For more information about our free patterns please see our Help Center here:
https://support.fabrics-store.com/hc/en-us
Cath Griffits
Any thoughts on how I could make this work as a maternity dress? My niece loves the pattern – and she is struggling to find things she likes 🙂
Christine Opatrny-yazell
I don’t have a serger. I really want this dress to last a long time. Are there alternate directions to finish the edges for those of us with old 1960s Singer machines, please?
Lauren Linen
You may like to look through this list of alternative seam finishes:
https://support.fabrics-store.com/hc/en-us/articles/360060749692-7-ways-to-finish-your-seams-when-working-with-Linen
stefanie voigt
hi,
I chose size 8/10 and just tried the dress on(no Neckline/Arm line attached yet). I noticed, that it’s ok around the hips, but the bodice is too big(about one size). How can I adjust it?
Lauren Linen
Hello, You can pinch out any excess into your side seams, and blend that into the nicely fitting hip area.
Rachel Pearl
Hello! Thank you so much for this pattern. I’m looking forward to sewing it.
If you want to add inches (I’m 5’11”) where is the best place?
Before the flare at the bottom?
JJ Hughes
For a dress, it’s best to add length in two places, approx. 3/4 inch (2 cm) below the bust and 3 inches (7 cm) below the hip. Split the amount based upon how much length you need to add to the bodice — might be as little as 1/2″ or as much as an inch or more if you are long-waisted. Add the additional length you need at the “below the hip” line. True the lines to match the original flare at the bottom of the dress.
Rachel Pearl
Thank you so much, JJ!
Lauren Linen
Hello Rachel, You can use the guidance provided by JJ, but sometimes our bodies don’t always need the extra below the bust or the hip depending on our body shape. If the bodice is fitting you correctly you can add length to the skirt only. You can do this on the Val dress just above the slits.
rhonda Susini
Anyone built in a bra to this pattern?
thx
Darcie Renault
Hello, I need help with this pattern. I have assembled the dress and the back side panel armhole is huge on me. I wonder if you have a suggestion as to how I can fix this. Thank you very much, Darcie
Lauren Gates
Hello Darcie,
I’m Lauren, the In-house seamstress and fit expert. I’d be happy to help out, please look out for an email from me.
Abby Litman
Hi Lauren, I have this same problem! Wondering if you’d be able to email me?
Lauren Linen
Hello Abby,
I don’t check the blog comments everyday, so the best way to get in contact me is via email. Please email Ask@fabrics-store.com with your fit issues and photos and I’d be happy to help.
Diane Castillo
What is the best way to lay out and cut pattern pieces to optimize fabric and have enough fabric to cut bias strip pieces? I see no information on cutting layout.
Lauren Gates
Hello Diane,
I’d recommend laying your largest pieces on the fabric first, paying close attention to their grain. Then fitting the smaller pattern pieces in between. If you’d like more assistance, please send us an email and I’d be happy to help further. Ask@fabrics-store.com
R Day
Hi,
I am excited to start making this dress!
I am a beginner and a bit confused about the bias neckline. On the patter layout it shows to cut the neck and arm bias strips straight down (in line with the other fabric pieces) but on the pattern pieces themselves, in instructs to cut at a diagonal – which is correct?
I just want to make sure I have enough fabric. Thanks!
Lauren Gates
Hello! We recommend cutting your fabric on the diagonal, which in fabric speak is called the ‘bias’. I think the pattern layout you are referring to is just the way the pattern pieces will need to be arranged when they come printed out on your A4/letter-sized paper. I wouldn’t use this layout as a guide for laying your pattern pieces on your fabric.
Franci Kettman
https://fabrics-store.com/sewing-patterns/val-backless-maxi-dress-pattern
Still available, just d/l it today.
Renata Gruber
Hello, how do I access this pattern, I would love to make this dress?
Franci Kettman
https://fabrics-store.com/sewing-patterns/val-backless-maxi-dress-pattern
Still available, just d/l it today.
ella clausen
Will the pattern be uploaded again? Looks like it’s gone, but would love to make this one!
Franci Kettman
https://fabrics-store.com/sewing-patterns/val-backless-maxi-dress-pattern
Still available, just d/l it today.