Pattern and Tutorial: Antonia Kaftan With Side Slits
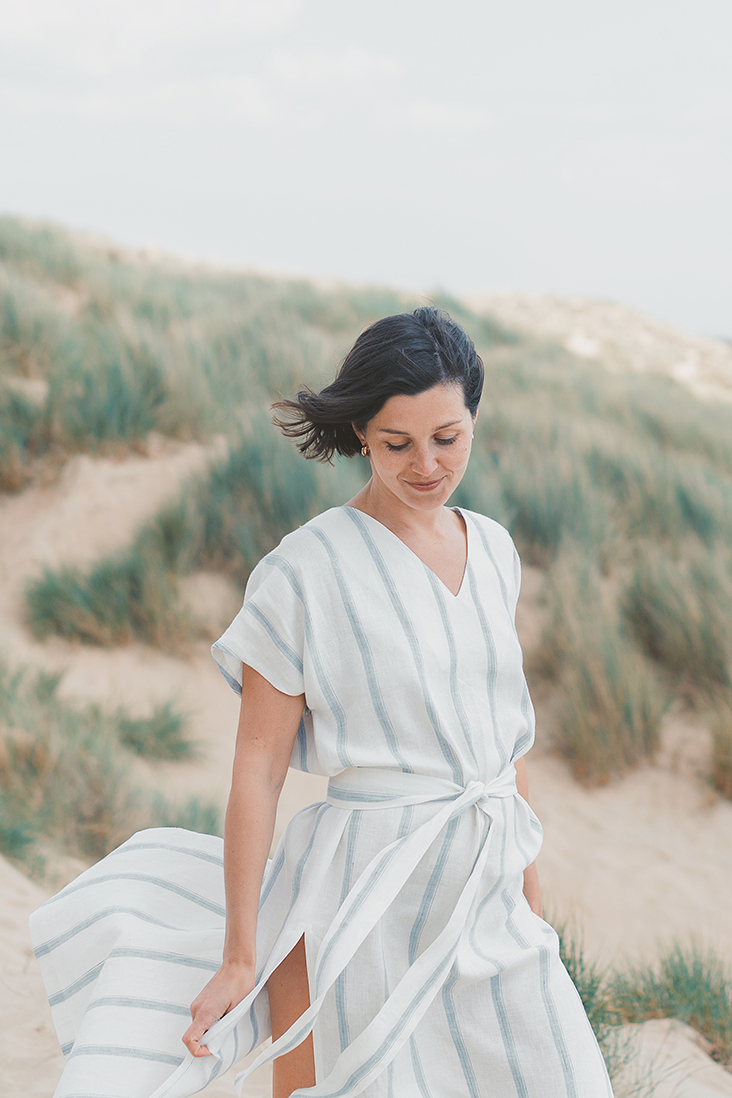
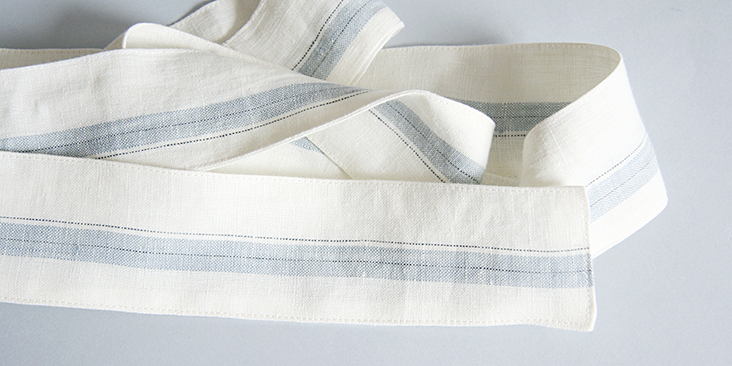
Antonia is a chic, easy to wear maxi kaftan that could do double duty as a beach cover-up. With its ankle length, a deep V-neckline and two dramatic side slits, it looks relaxed and feels glamorous. The detachable belt can be tied around the waist to give it more definition.
A perfect beginner sewing project, this kaftan will become your next favorite summer staple.
Materials
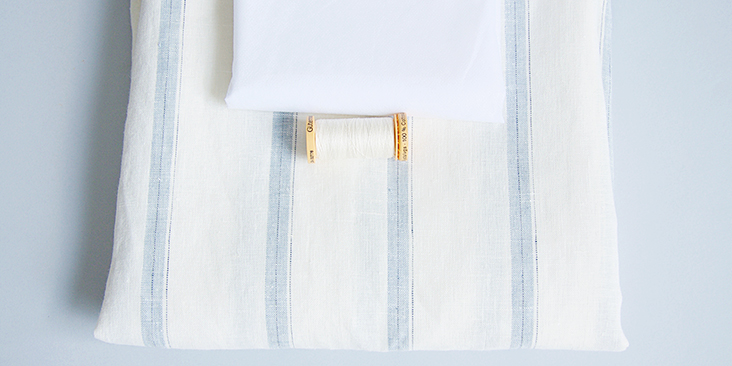
For our sample size S pictured in this tutorial we used 3 yards of IL042 902 Premier Finish Medium Weight Linen.
For other sizes, please refer to the yardage table in the PDF pattern to determine the required amount of fabric.
Matching sewing thread, lightweight fusible interfacing
Tools
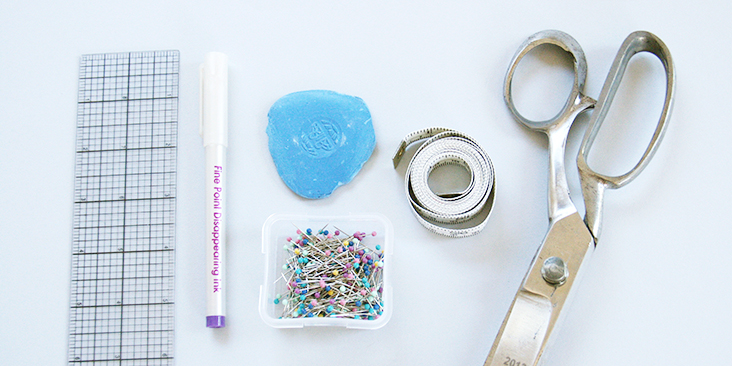
Scissors, pins, ruler, chalk, measuring tape, sewing machine
Difficulty
Beginner
Sewing Time
3-4 hours
Pattern
You can access the multi-sized printable PDF pattern by following this link HERE. All seam allowances are included and are 3/8” (1 cm) unless otherwise specified. The model is wearing size S.
Remember to transfer all the notches onto your fabric.
Steps
Note: Prewash your fabric and tumble dry it until it is still slightly moist, dry at room temperature. Iron the fabric so it is easier to work with.
1. To begin, finish the side seams of both front and back pieces. Serge or zigzag stitch all four edges to prevent them fraying.
2. Pin and front and back bodices at the shoulders right sides together. Stitch at a 3/8” (1 cm) seam allowance, then finish using your preferred method and press towards the back.
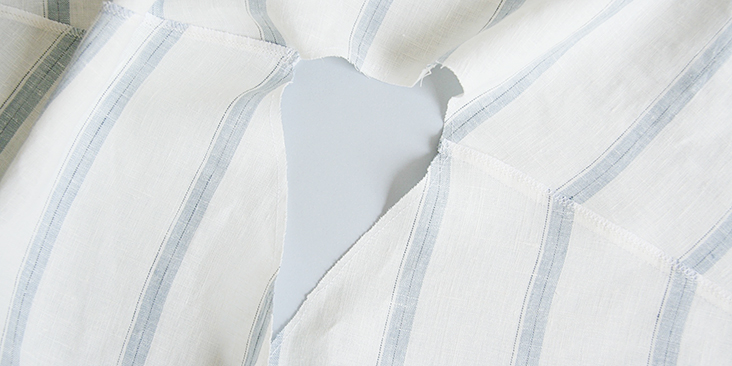
3. To prevent the neckline from stretching, staystitch along the entire neck opening 3/16”-1/4” away from the edge.
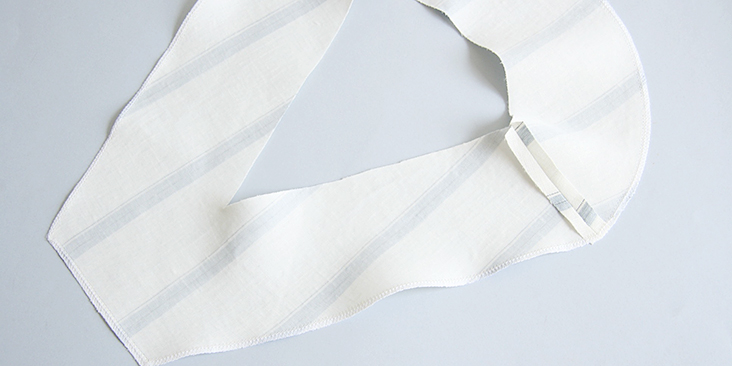
4. Apply fusible interfacing to the wrong side of your facing pieces. Then stitch them at the shoulders right sides together using a 3/8” seam allowance. Press the seams open and finish the outer raw edge with a serger or a zigzag stitch.
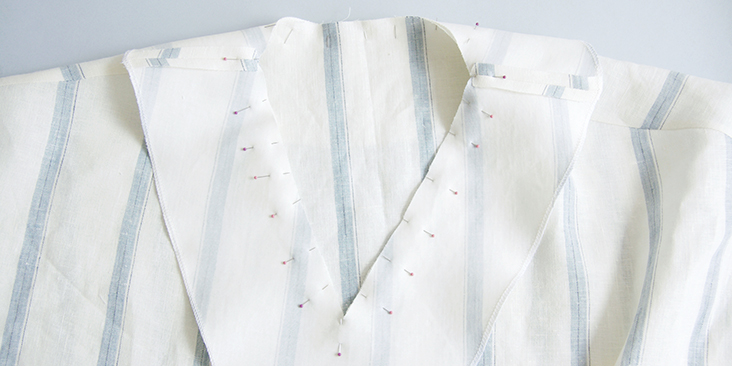
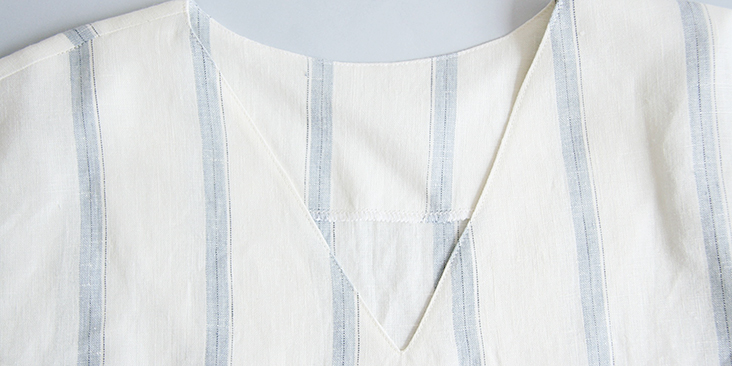
5. With right sides together, pin the facing to the dress matching the shoulder seams, the center back notches and the Vs.
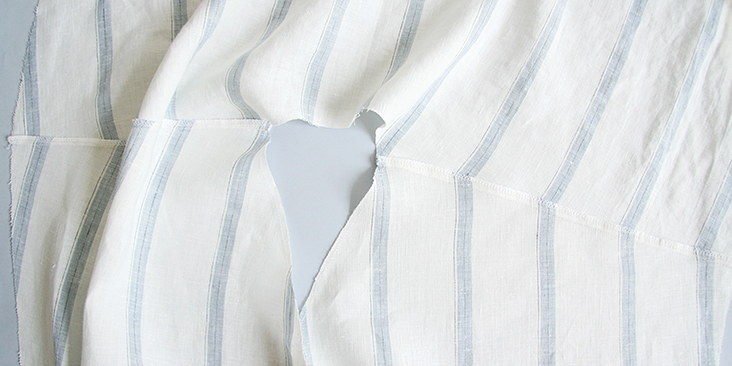
6. Stitch the two together at a 3/8” seam allowance, then grade the seam to ¼” and clip along the curves and at the V-point to release tension.
Tip: When you come to the V, stop the machine with the needle still in the fabric, sew one horizontal stitch and turn the fabric to sew the rest of the V. This will help you get a nice corner when you flip the facing.
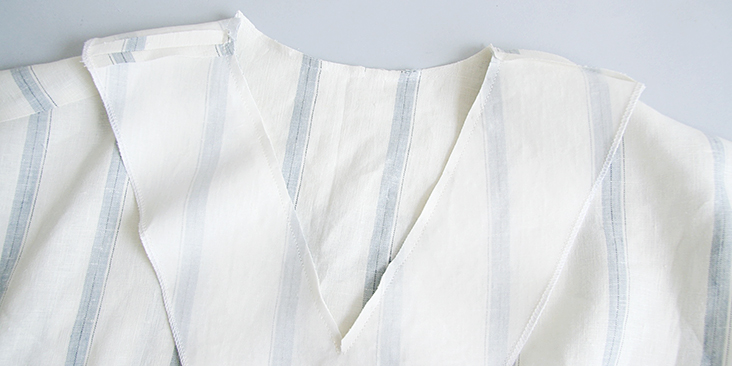
7. Pull the facing to the wrong side of the garment, pin the fold making sure that the seam isn’t showing on the right side and press it. Take a few seconds to really get in the corner of your V with your iron.
8. Topstitch the entire neckline 1/16” from the seam. It will help to prevent the facing from popping back out and lay flat on the inside.
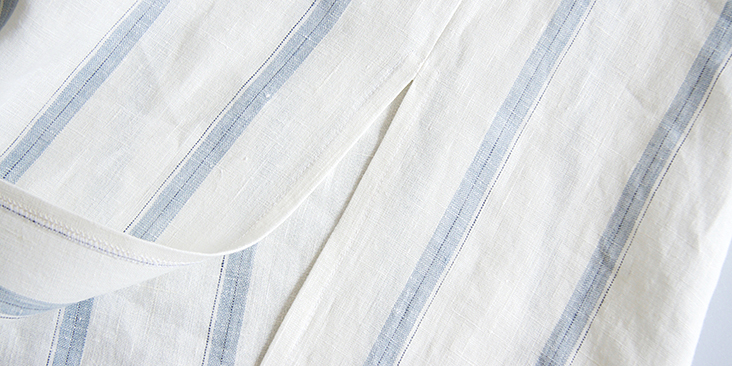
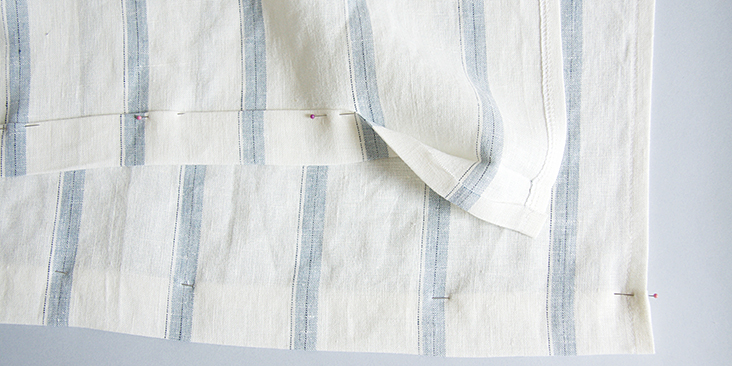
9. Pin the side seams right sides together from the armpit down to the slit notch. Sew at a ½” seam allowance backstitching at both ends of the seam.
10. Press the seams open. Following the line of the side seam, press the slit edges open.
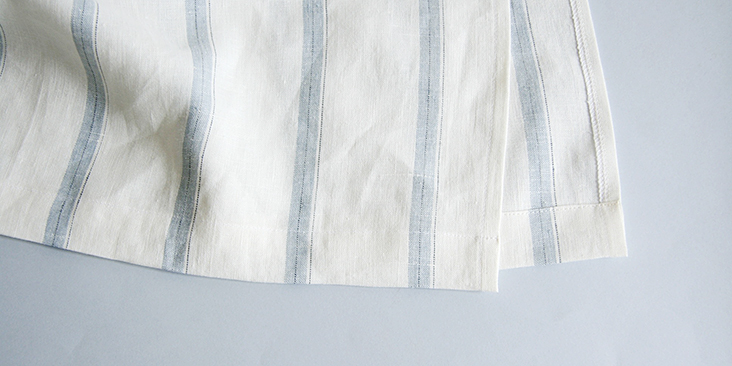
11. Starting at the hem, topstitch the folded edges of the slit in place as close to the outer edge as possible.
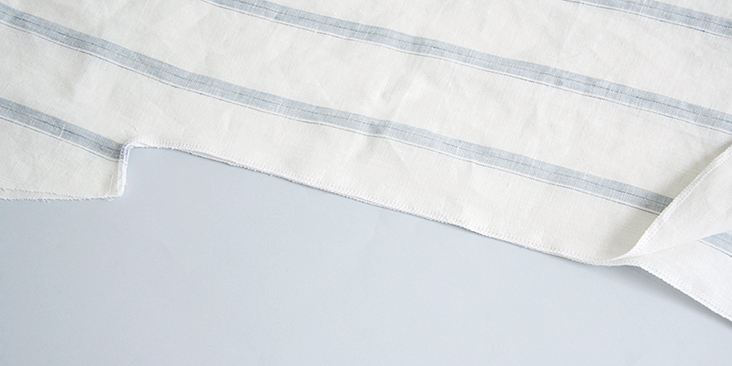
12. Finish the hem by folding your fabric twice to the wrong side, first 1/5” then another 1.5”. Pin and edgestitch.
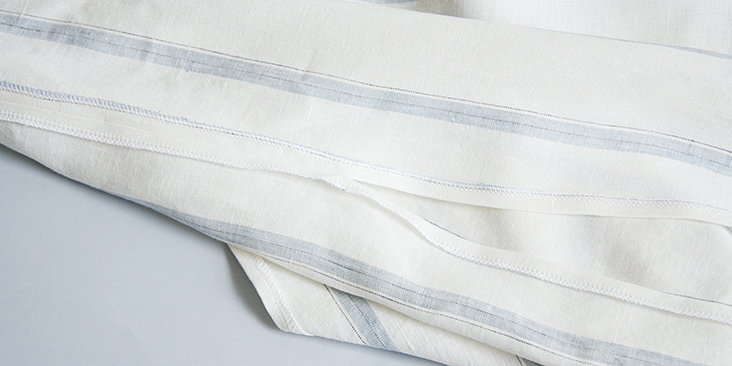
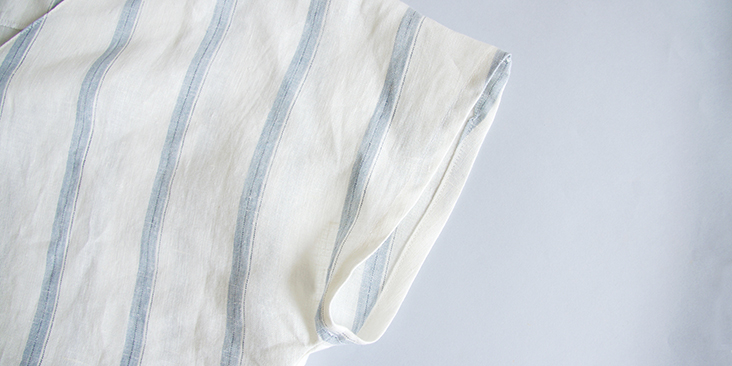
13. Finish the armholes with a rolled hem. Fold the fabric ¼” to the wrong side, then another ½”. Press, pin and edgestitch.
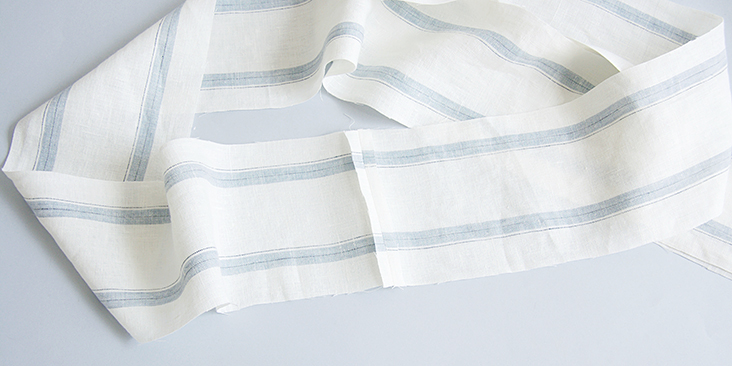
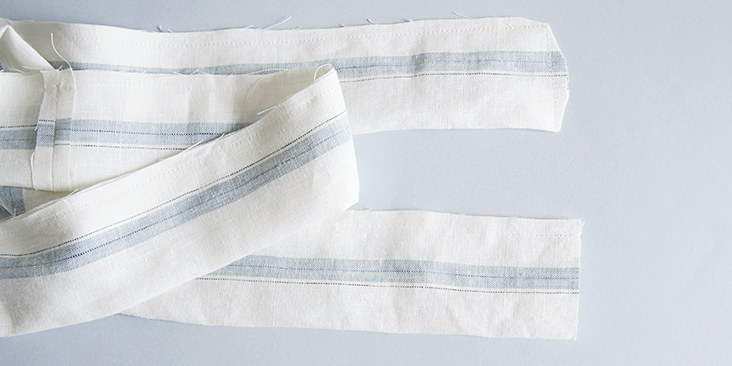
14. Lastly, sew the detachable belt. Join the two short ends of your long rectangles right sides together and stitch at a 3/8” seam allowance.
15. Fold the fabric in half lengthwise right sides touching. Leaving one end open, stitch along the long edge (1/4” away from the raw edge) and then pivot at the end corner and finish the end. Backstitch at the start and finish of the seam. Clip the corner.
16. Turn the belt right side out, use a sharp tool or a chopstick to turn the corners and press. Tuck in the raw edges into the opening, then stitch along the perimeter of your belt 1/8” from the edge to close the opening and prevent the belt from twisting in the future.
17. Give your finished kaftan a good press and you are all done!
We love seeing what you make! Don’t forget to share your pictures and tag your creations with #FSAntoniaKaftan #FSPatterns











8 Comments
Janae Crable
Good morning,
Lovely piece. I am having trouble clicking the link in the PDF for the pattern. Can you please assist?
Maria Marques
Hi!
Im making this dress for a friend. She is a size 4/6 at the bust (35.4inch) and a 8/10 at the waist (29.9inch) and hips (39.4inch). Is it ok if I join this two sizes together, I mean the “bodice” a 4/6 and from the waist down a 8/10, blending the patterns?
Thank you!!
Lauren Linen
Yes of course Maria 🙂
Nicola Hood
Hello – I’m a beginner who has completed a couple of project and would like to give this a go. Would it be suitable to add whirring under the bust line to create more of an empire line?
Lauren Gates
Hello, yes, some shirring would be a very nice touch. I would experiment with some scrap fabric first before applying it to your finished garment.
Nicola Hood
Thank you – and ooops for my “whirring” typo lol
Lauren Gates
No problems at all, I know what you meant 🙂
Elvira Laurien
I just made this dress/kaftan, super happy with this pattern! As an advanced beginner, it was a good make to reinforce some skills (e.g. interfacing), and also learn something new such as making slits. As for mods, I shortened the dress by approx 28 cm due to fabric shortage, and decreased the slits to being around 10 cm high. I used a light cotton fabric for a wearable muslin but will definitely recreate this dress in something a Little more Heavy weight. My only issue is that the interfacing is a Little stiff, but I’m guessing this is because of the thickness of the fusible interfacing I used. Overall super happy with my make, it took around 5 h for me which is just enough 🙂